There are many horticultural terms that get tossed around in casual conversation. We hear these words or phrases in presentations, and read them in books and seed catalogs. Presenters often assume that everyone knows what they mean without much explanation. Here are a just a few words I use from time to time that I would like to define for you.
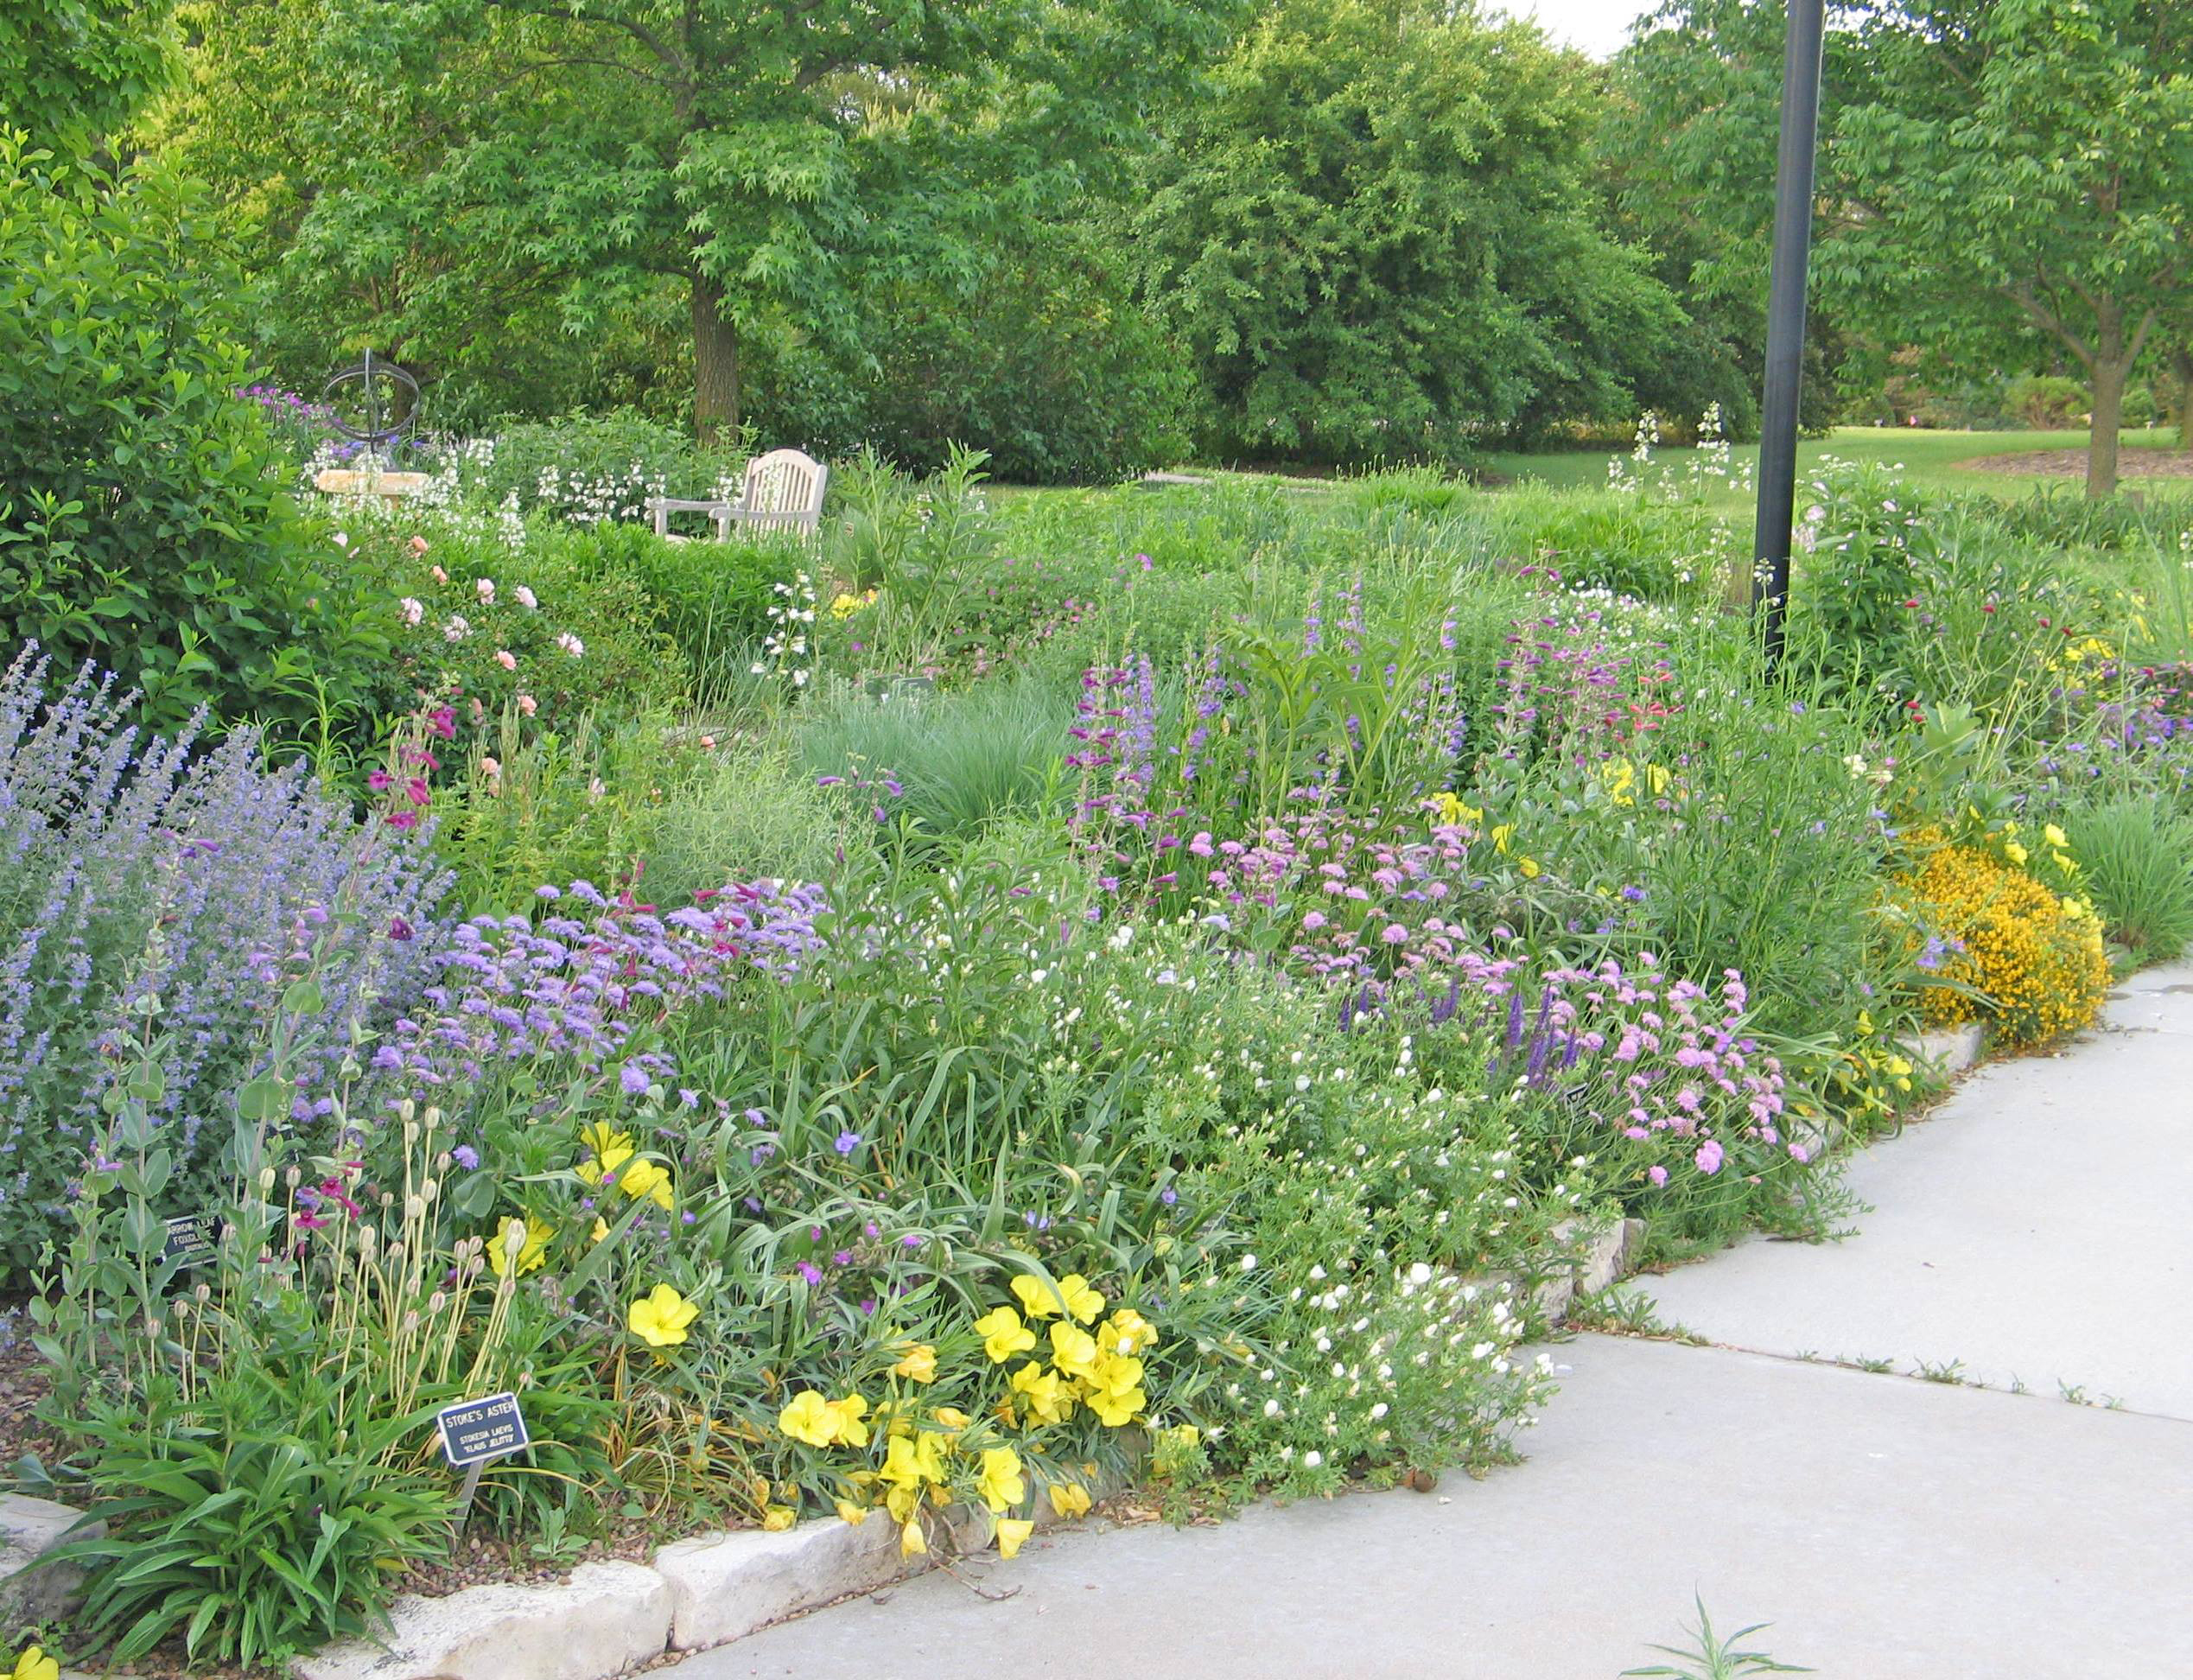
Xeriscape
Denver Water coined the term xeriscape in 1981 by combining landscape with the Greek prefix xero-, from (xēros), meaning ‘dry’. Xeriscaping = water-conserving landscapes. This landscaping concept focuses on several water conserving measures such as:
- Planning and design that matches plants to the site
- Water-efficient plant materials, especially native plants
- Efficient irrigation systems including drip irrigation
- Use of water-conserving mulch or densely planted gardens
- Soil preparation only if necessary
- Appropriate turf since it can be very water consuming
Something to remember: a xeric garden can still be a beautiful garden. It will just require less water over time so it’s a win, win situation.
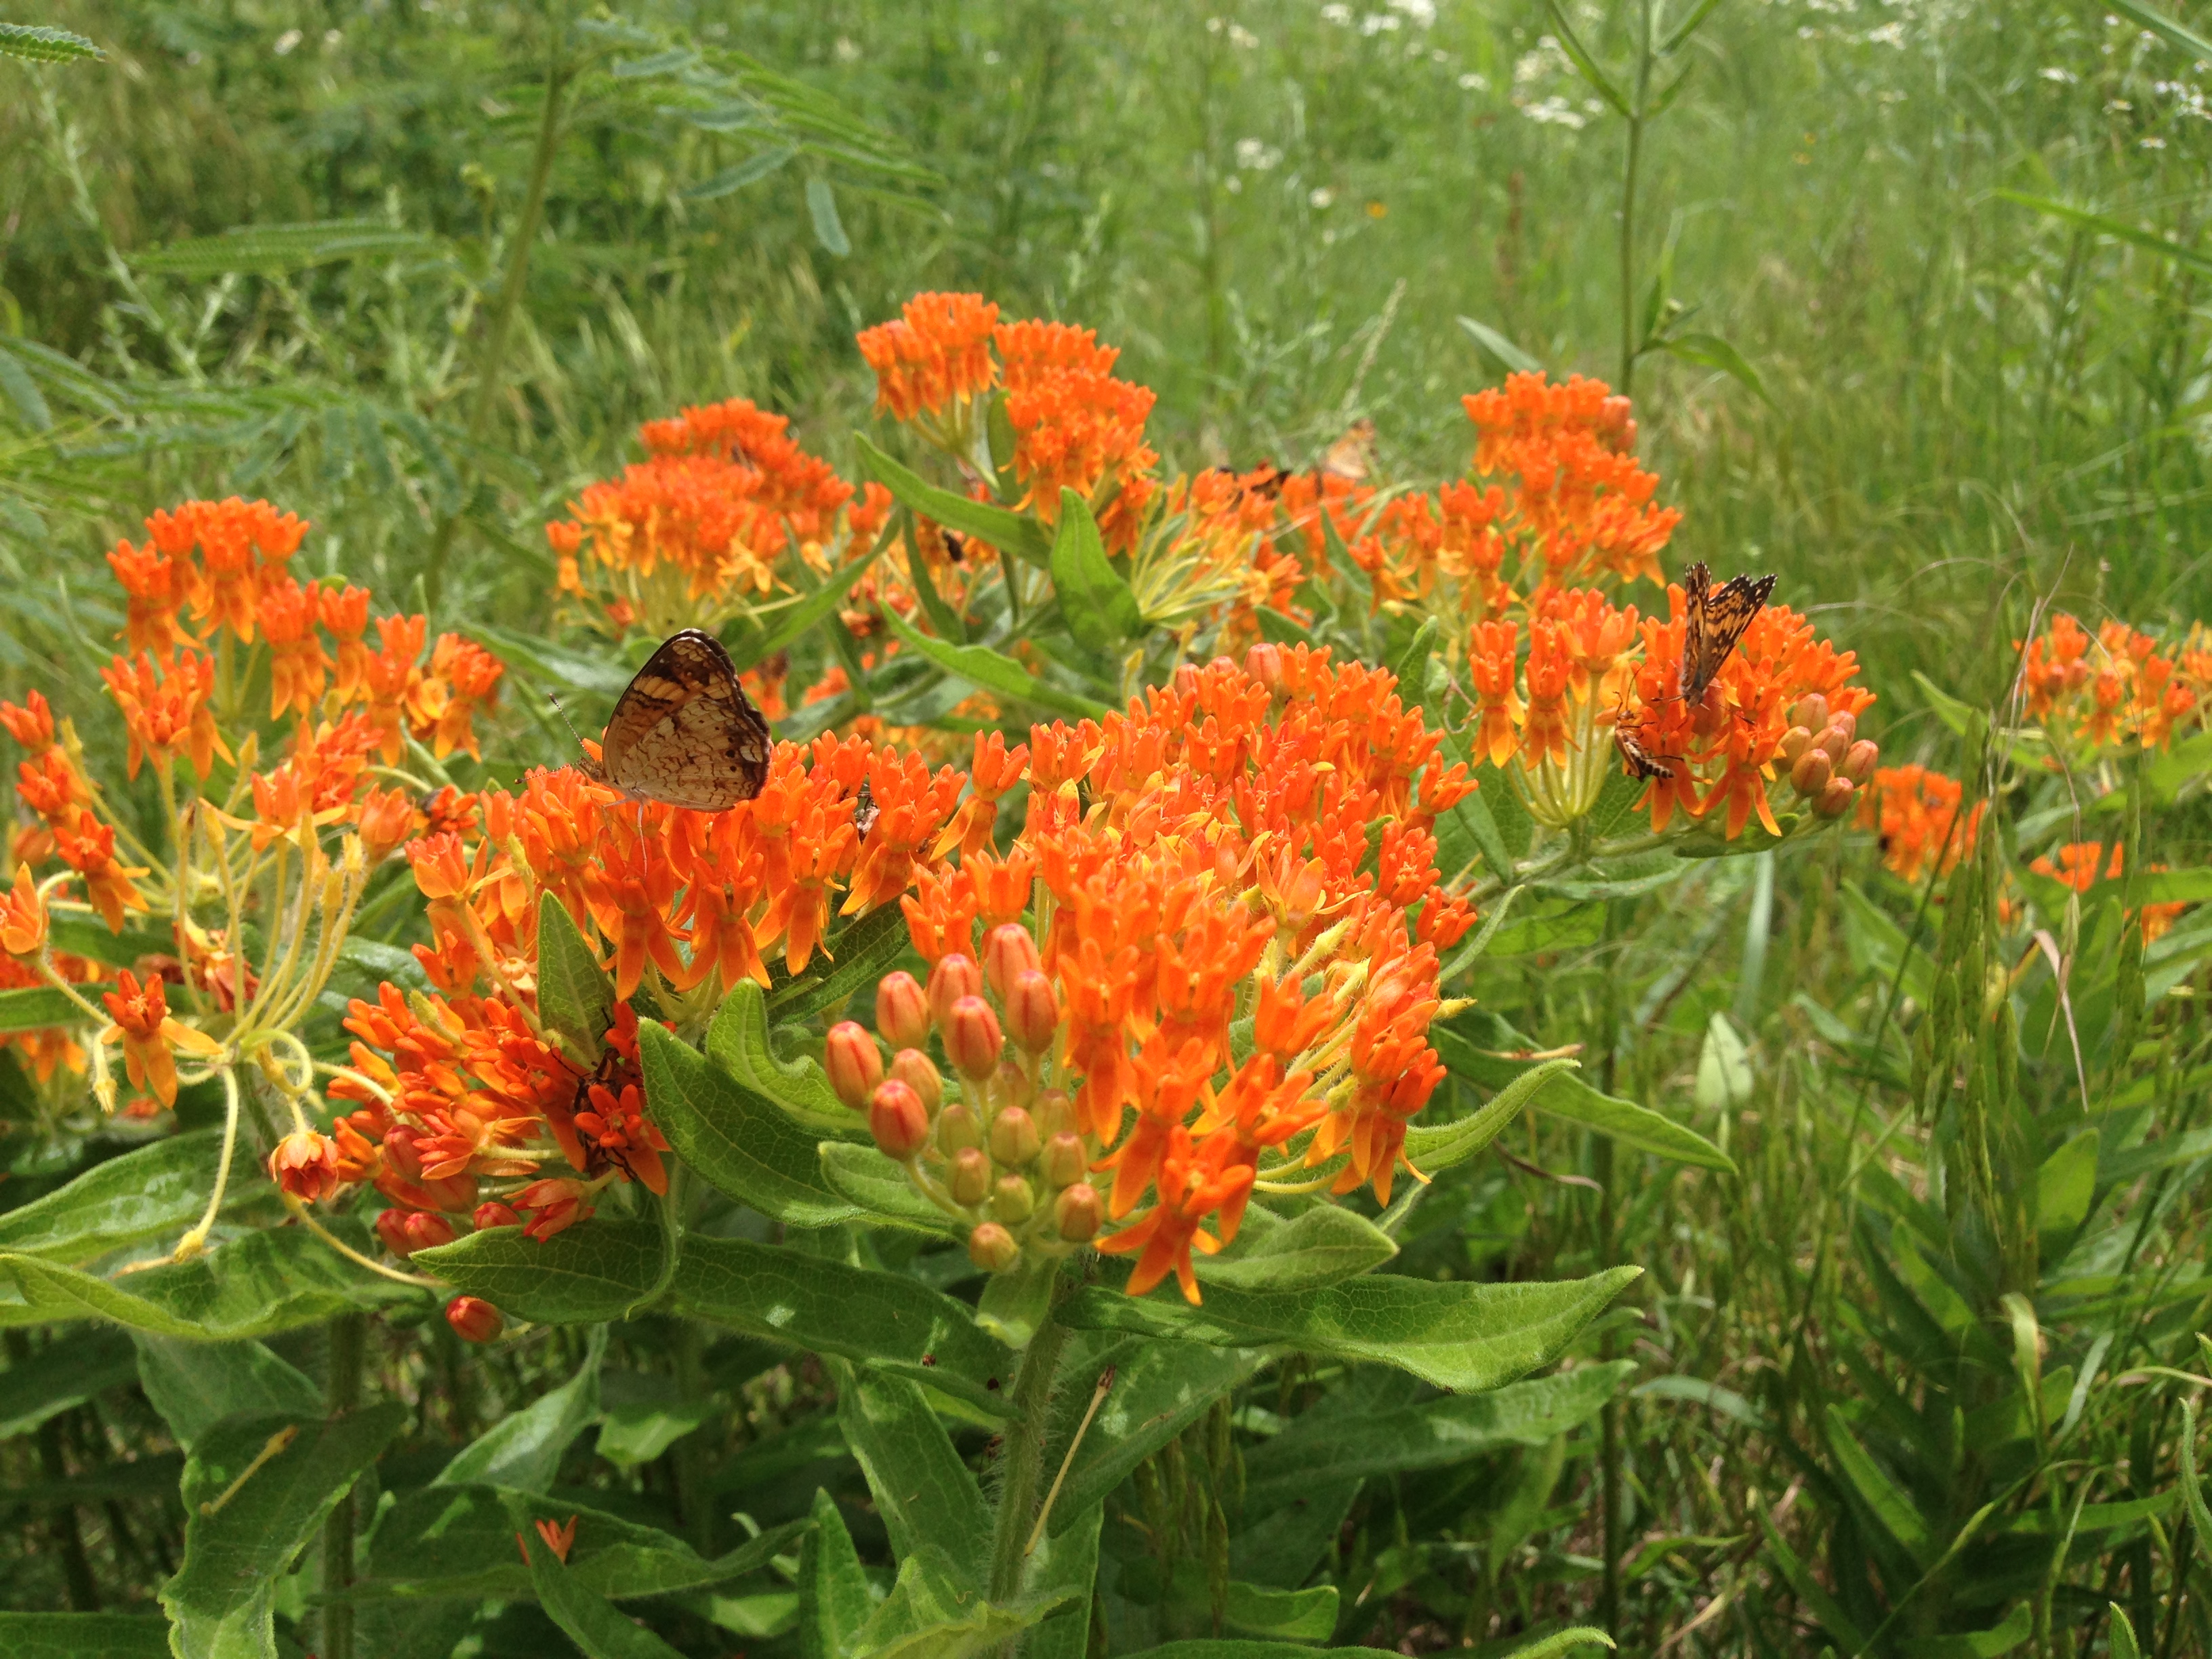
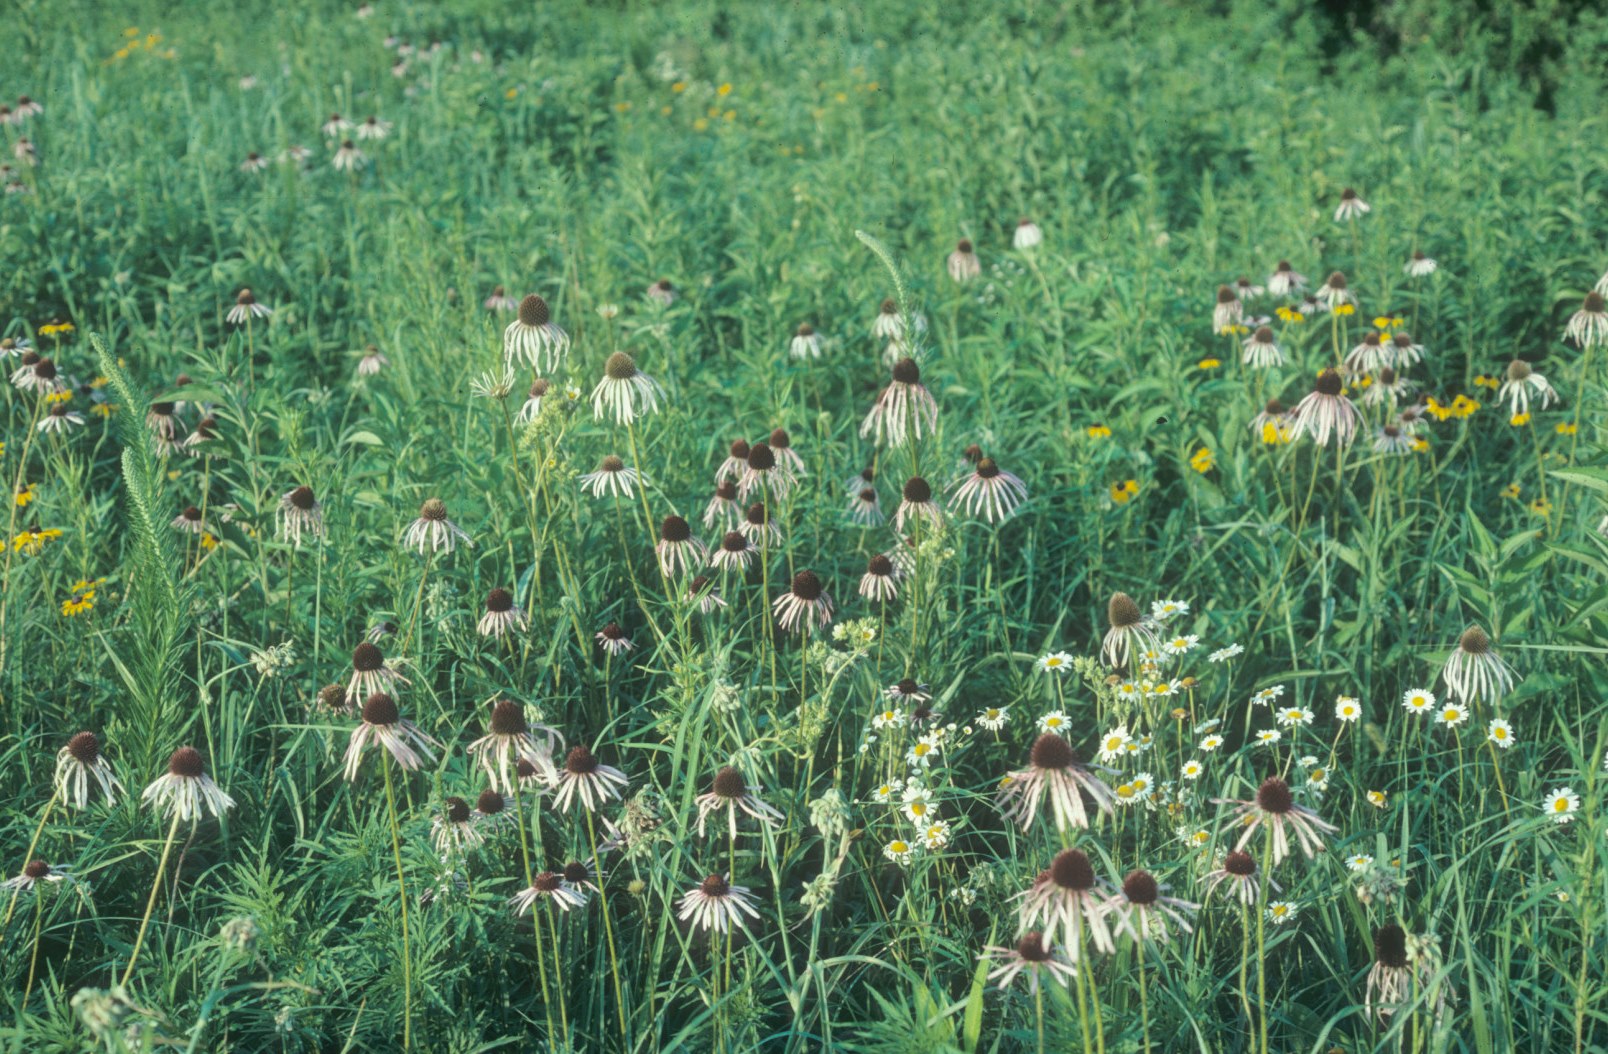
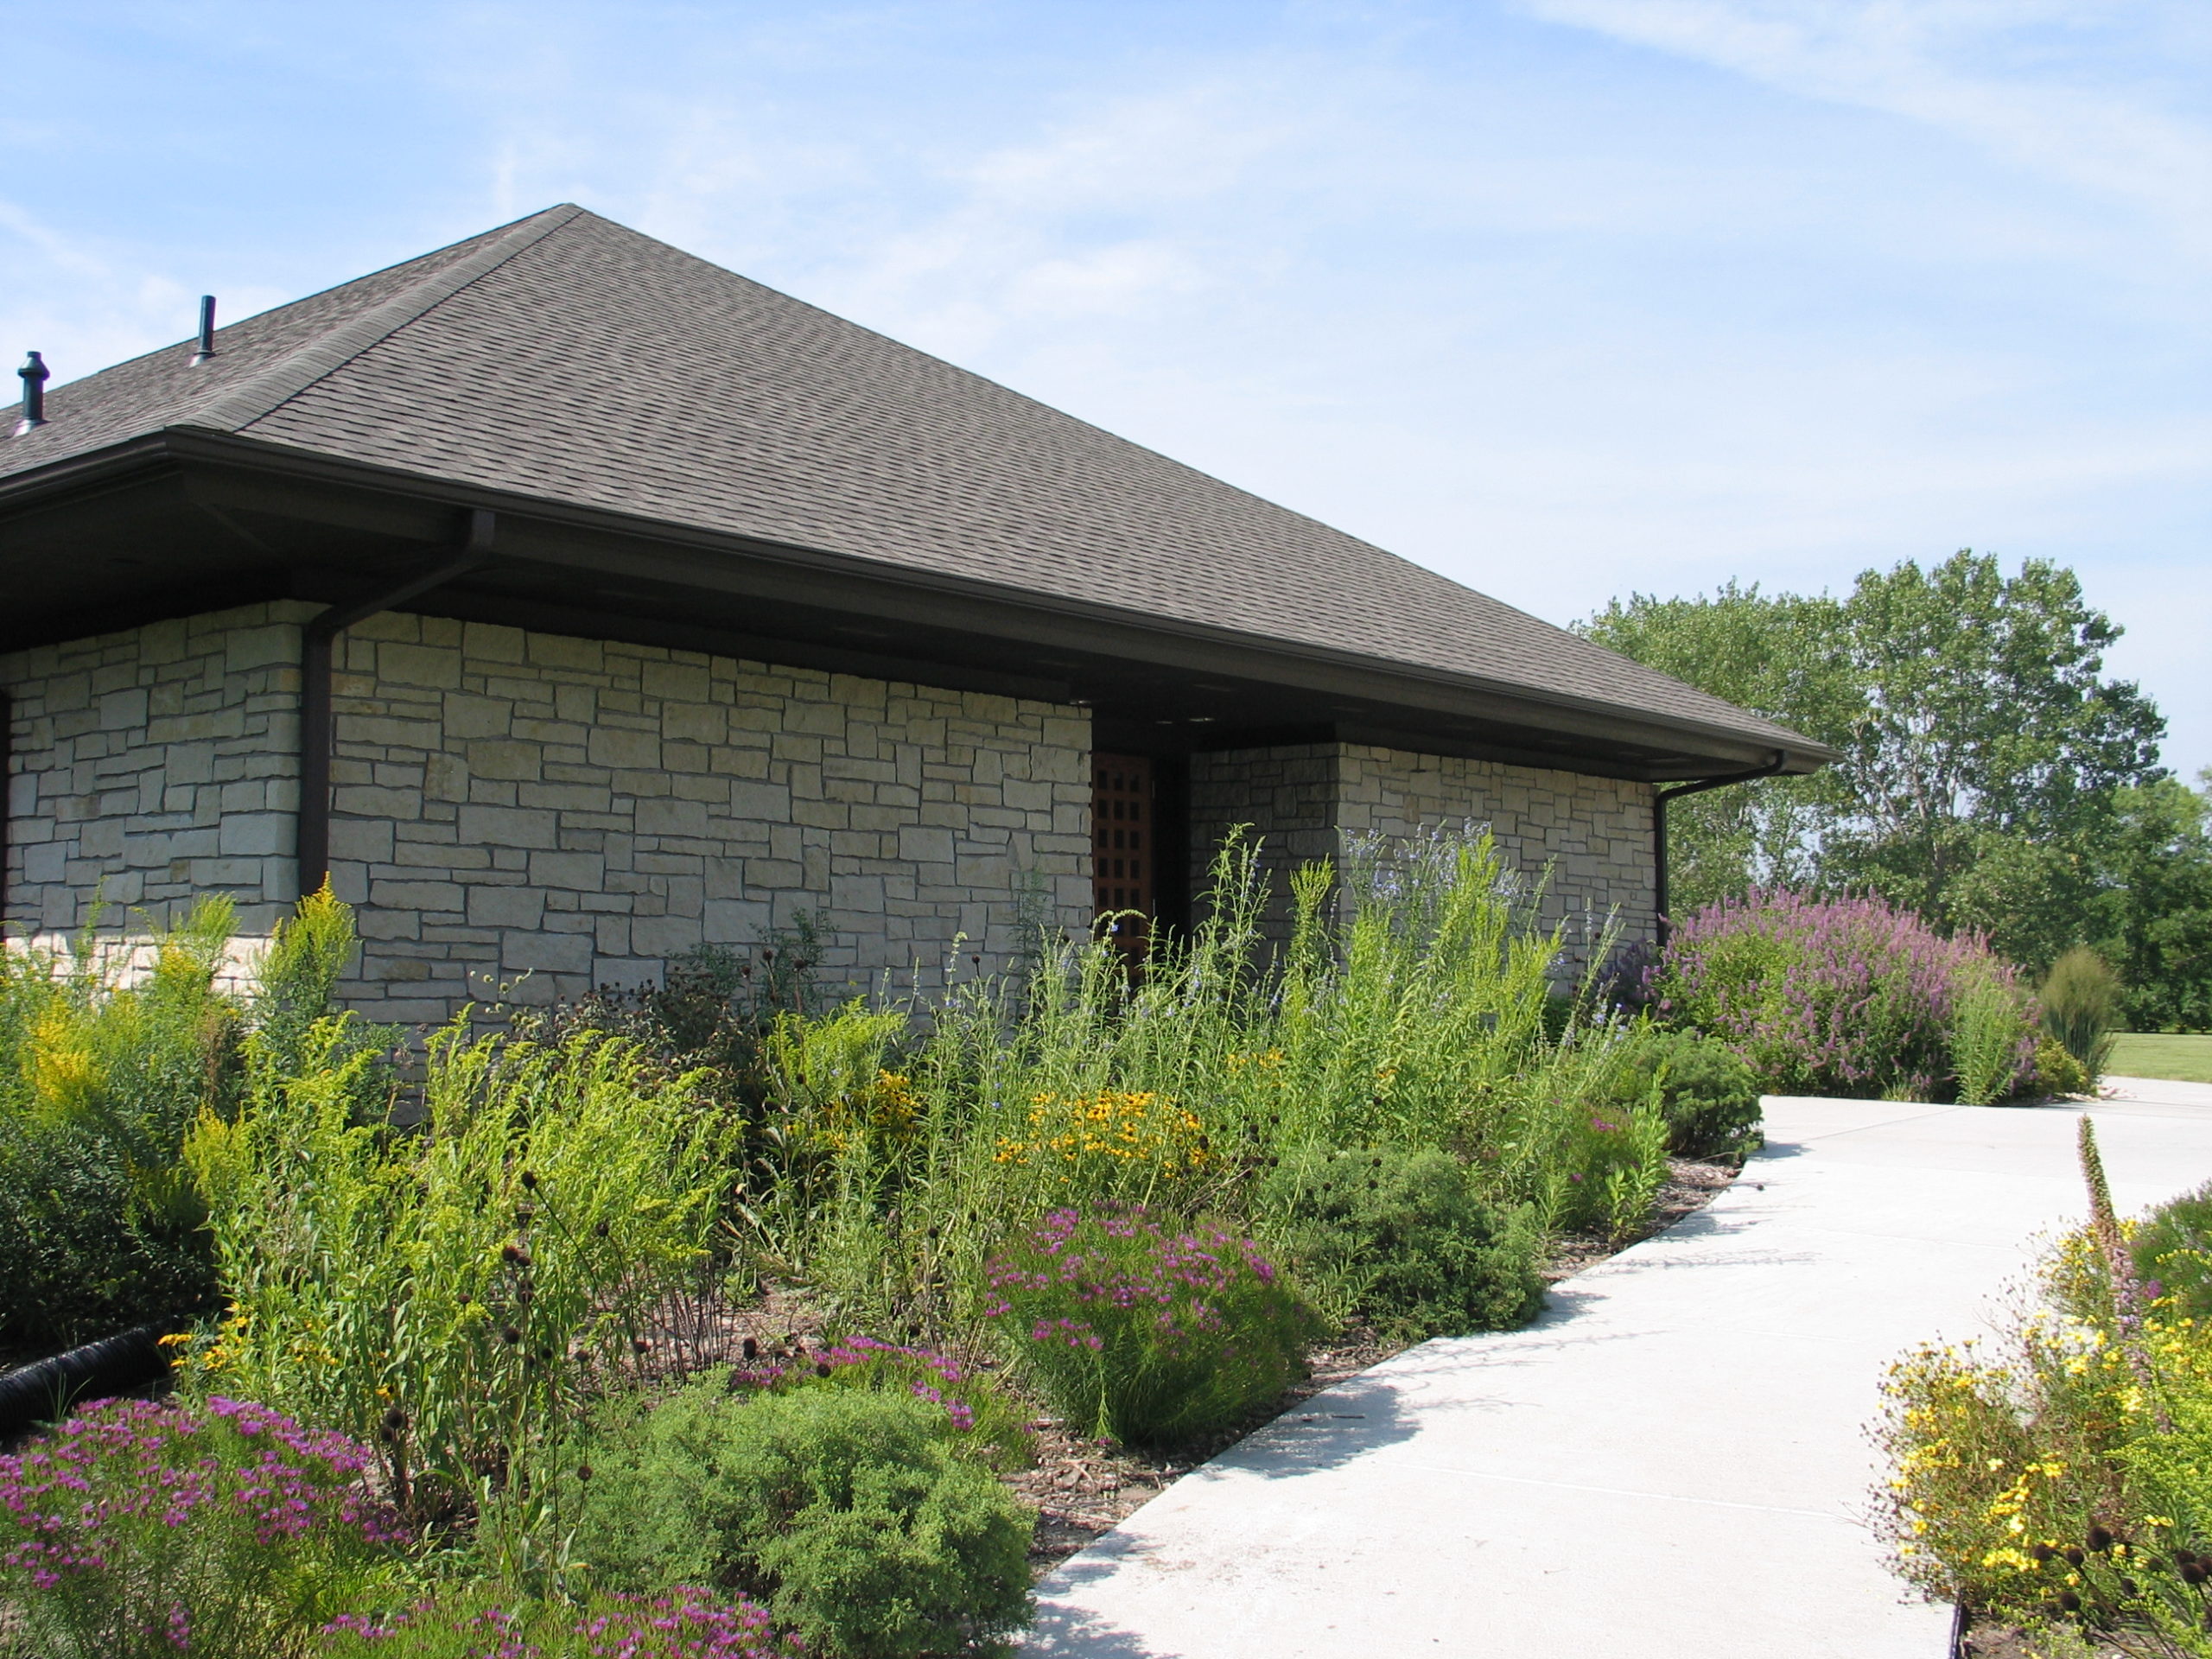
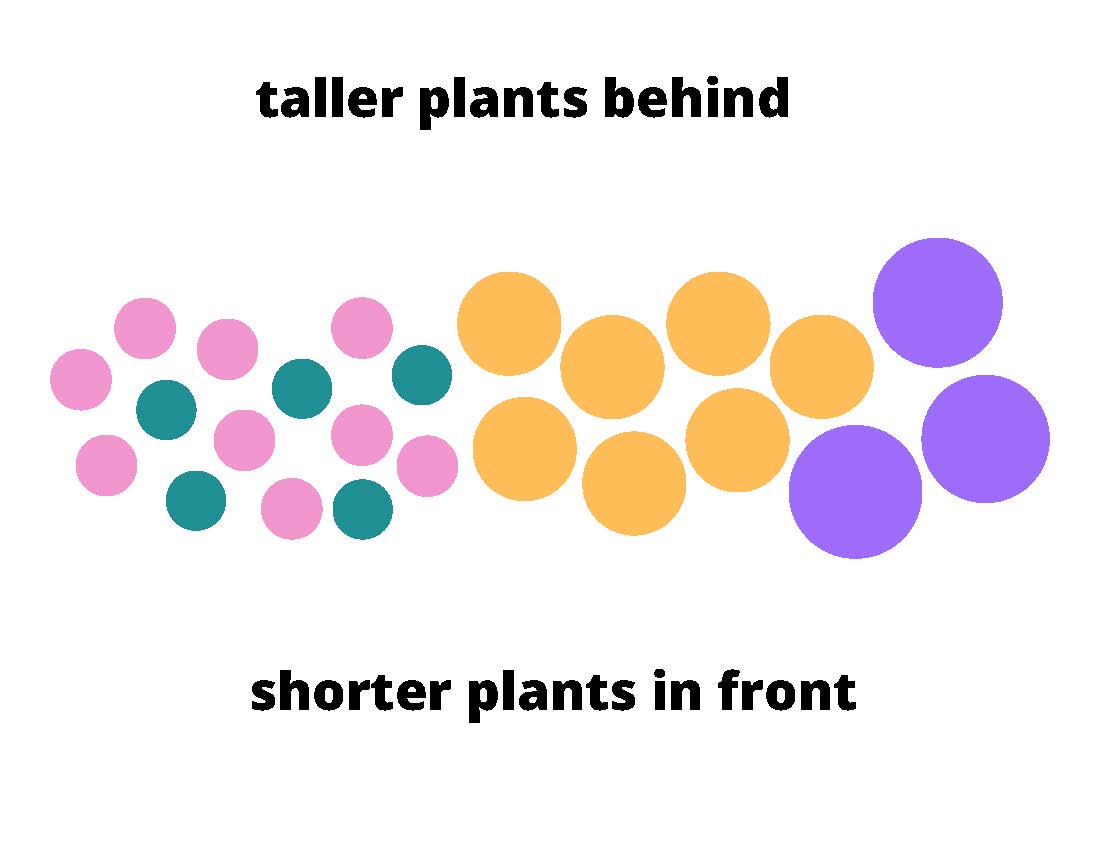
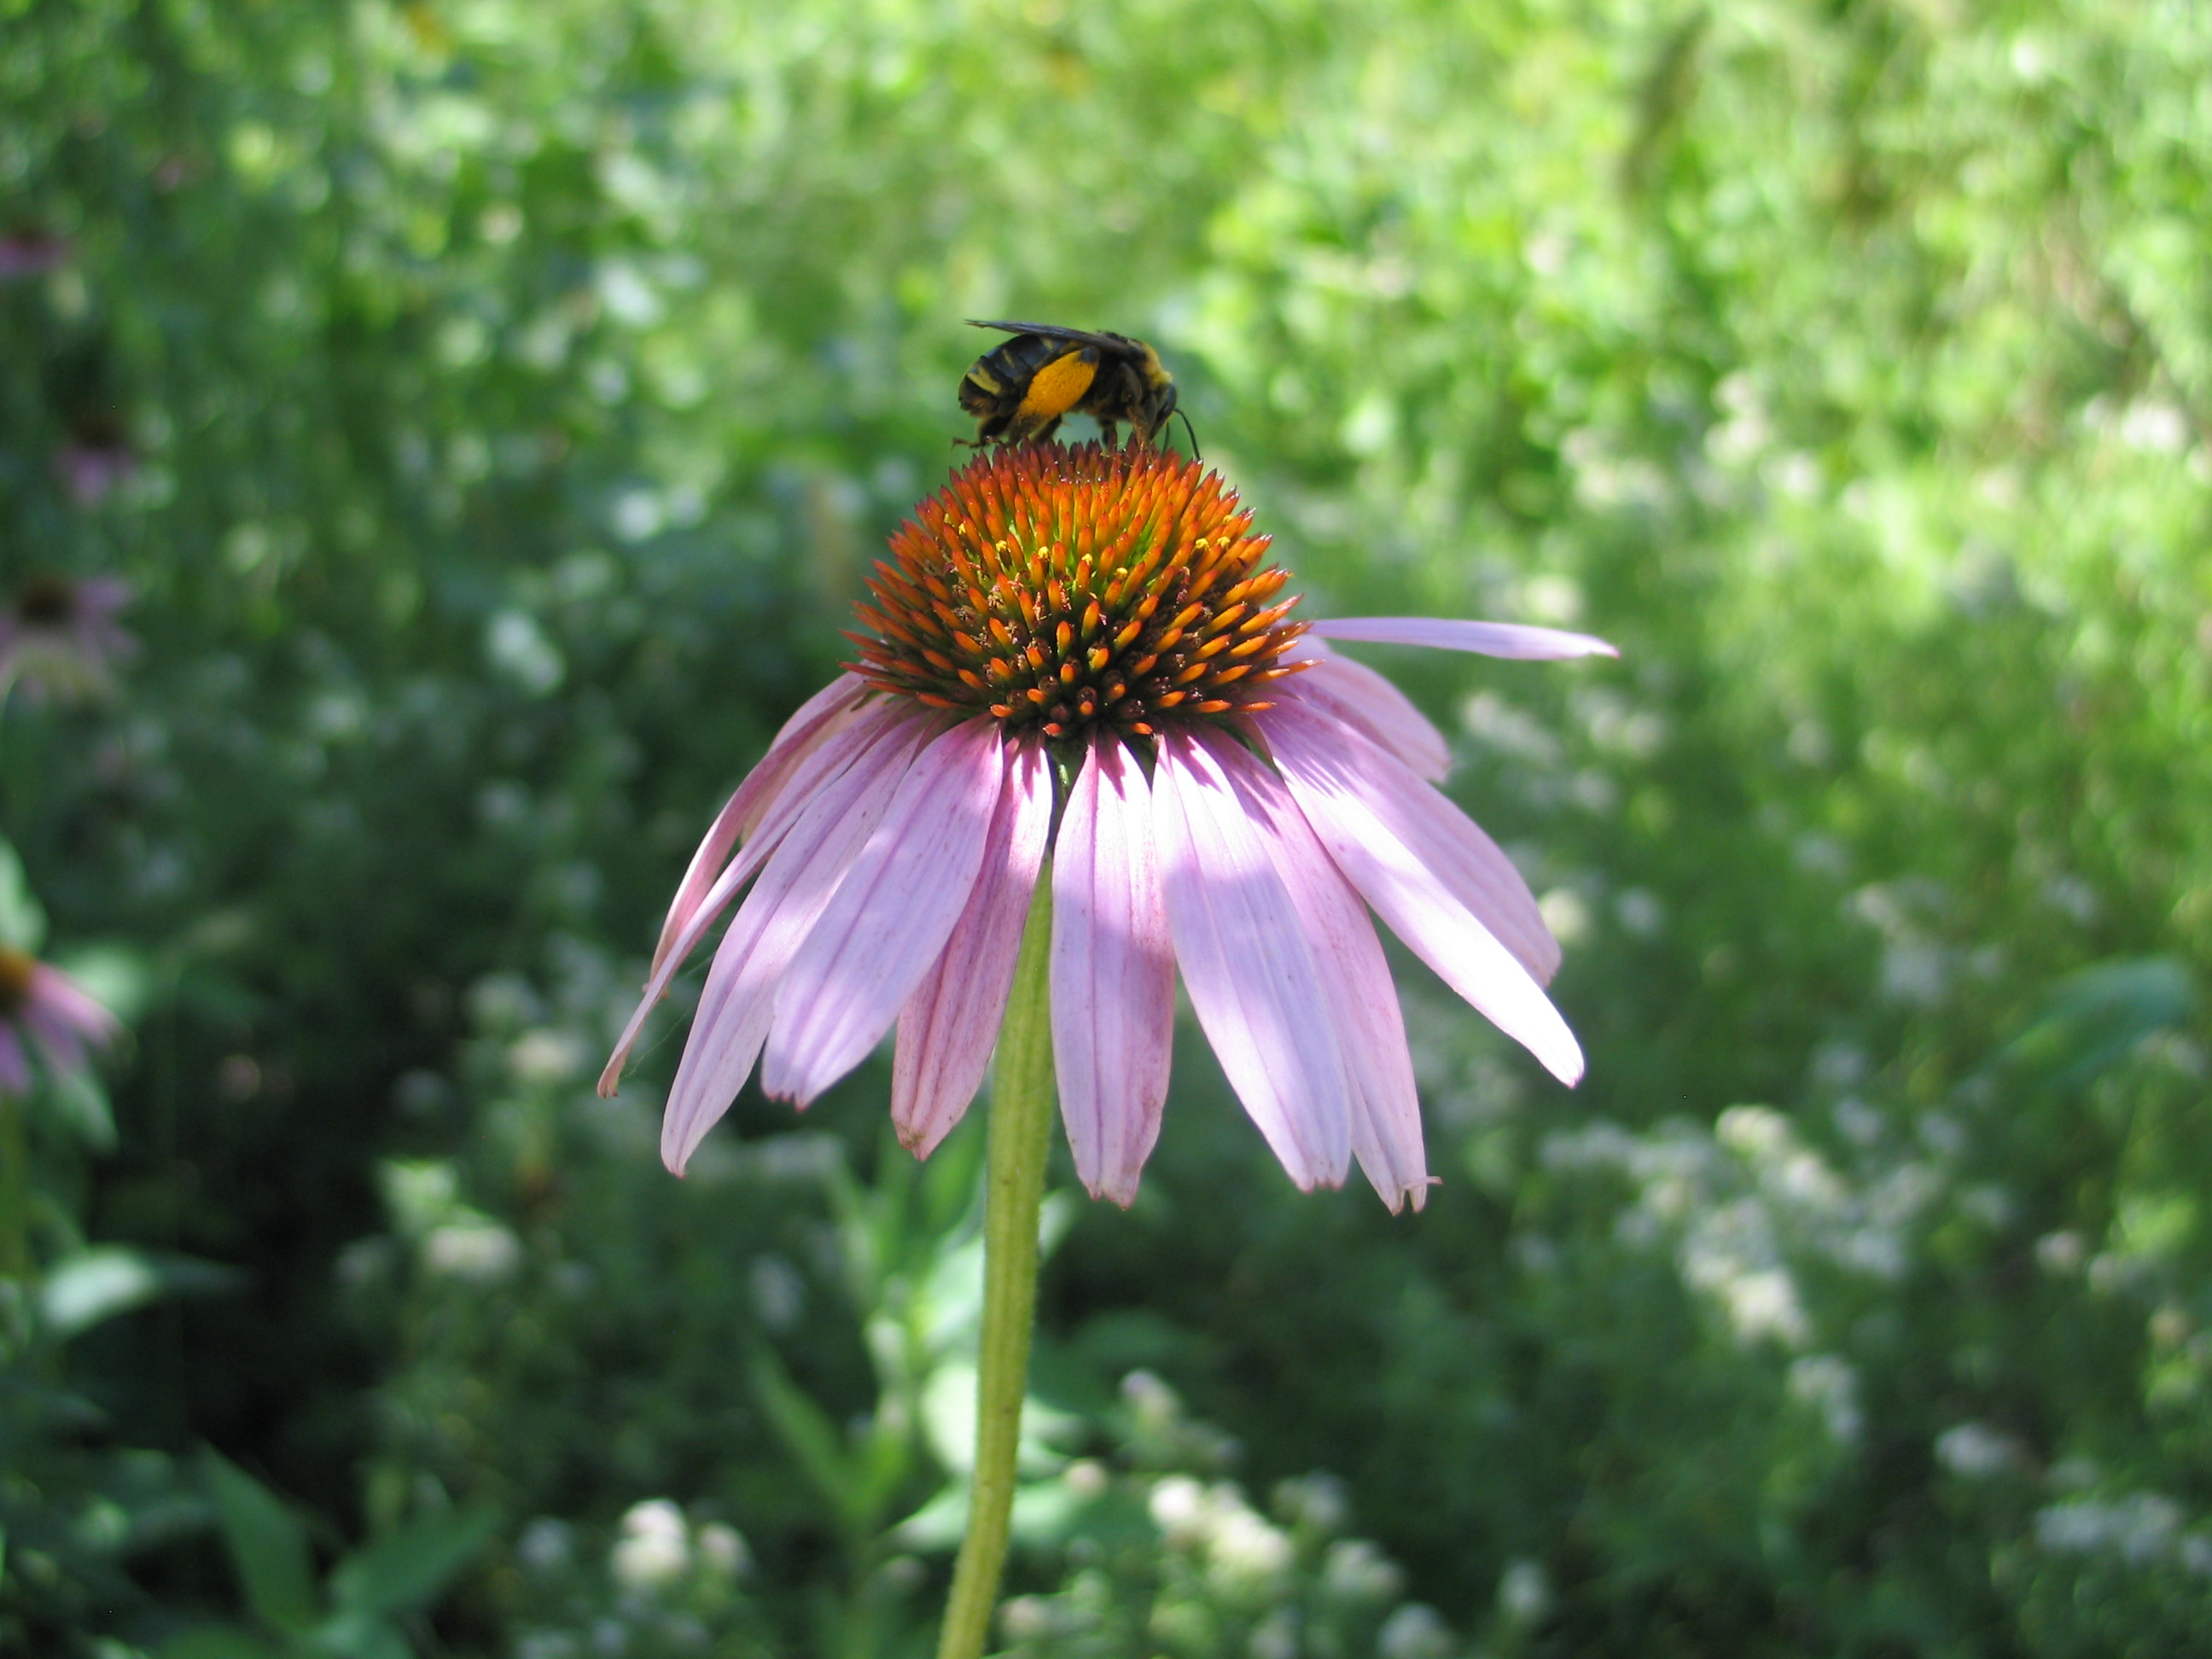
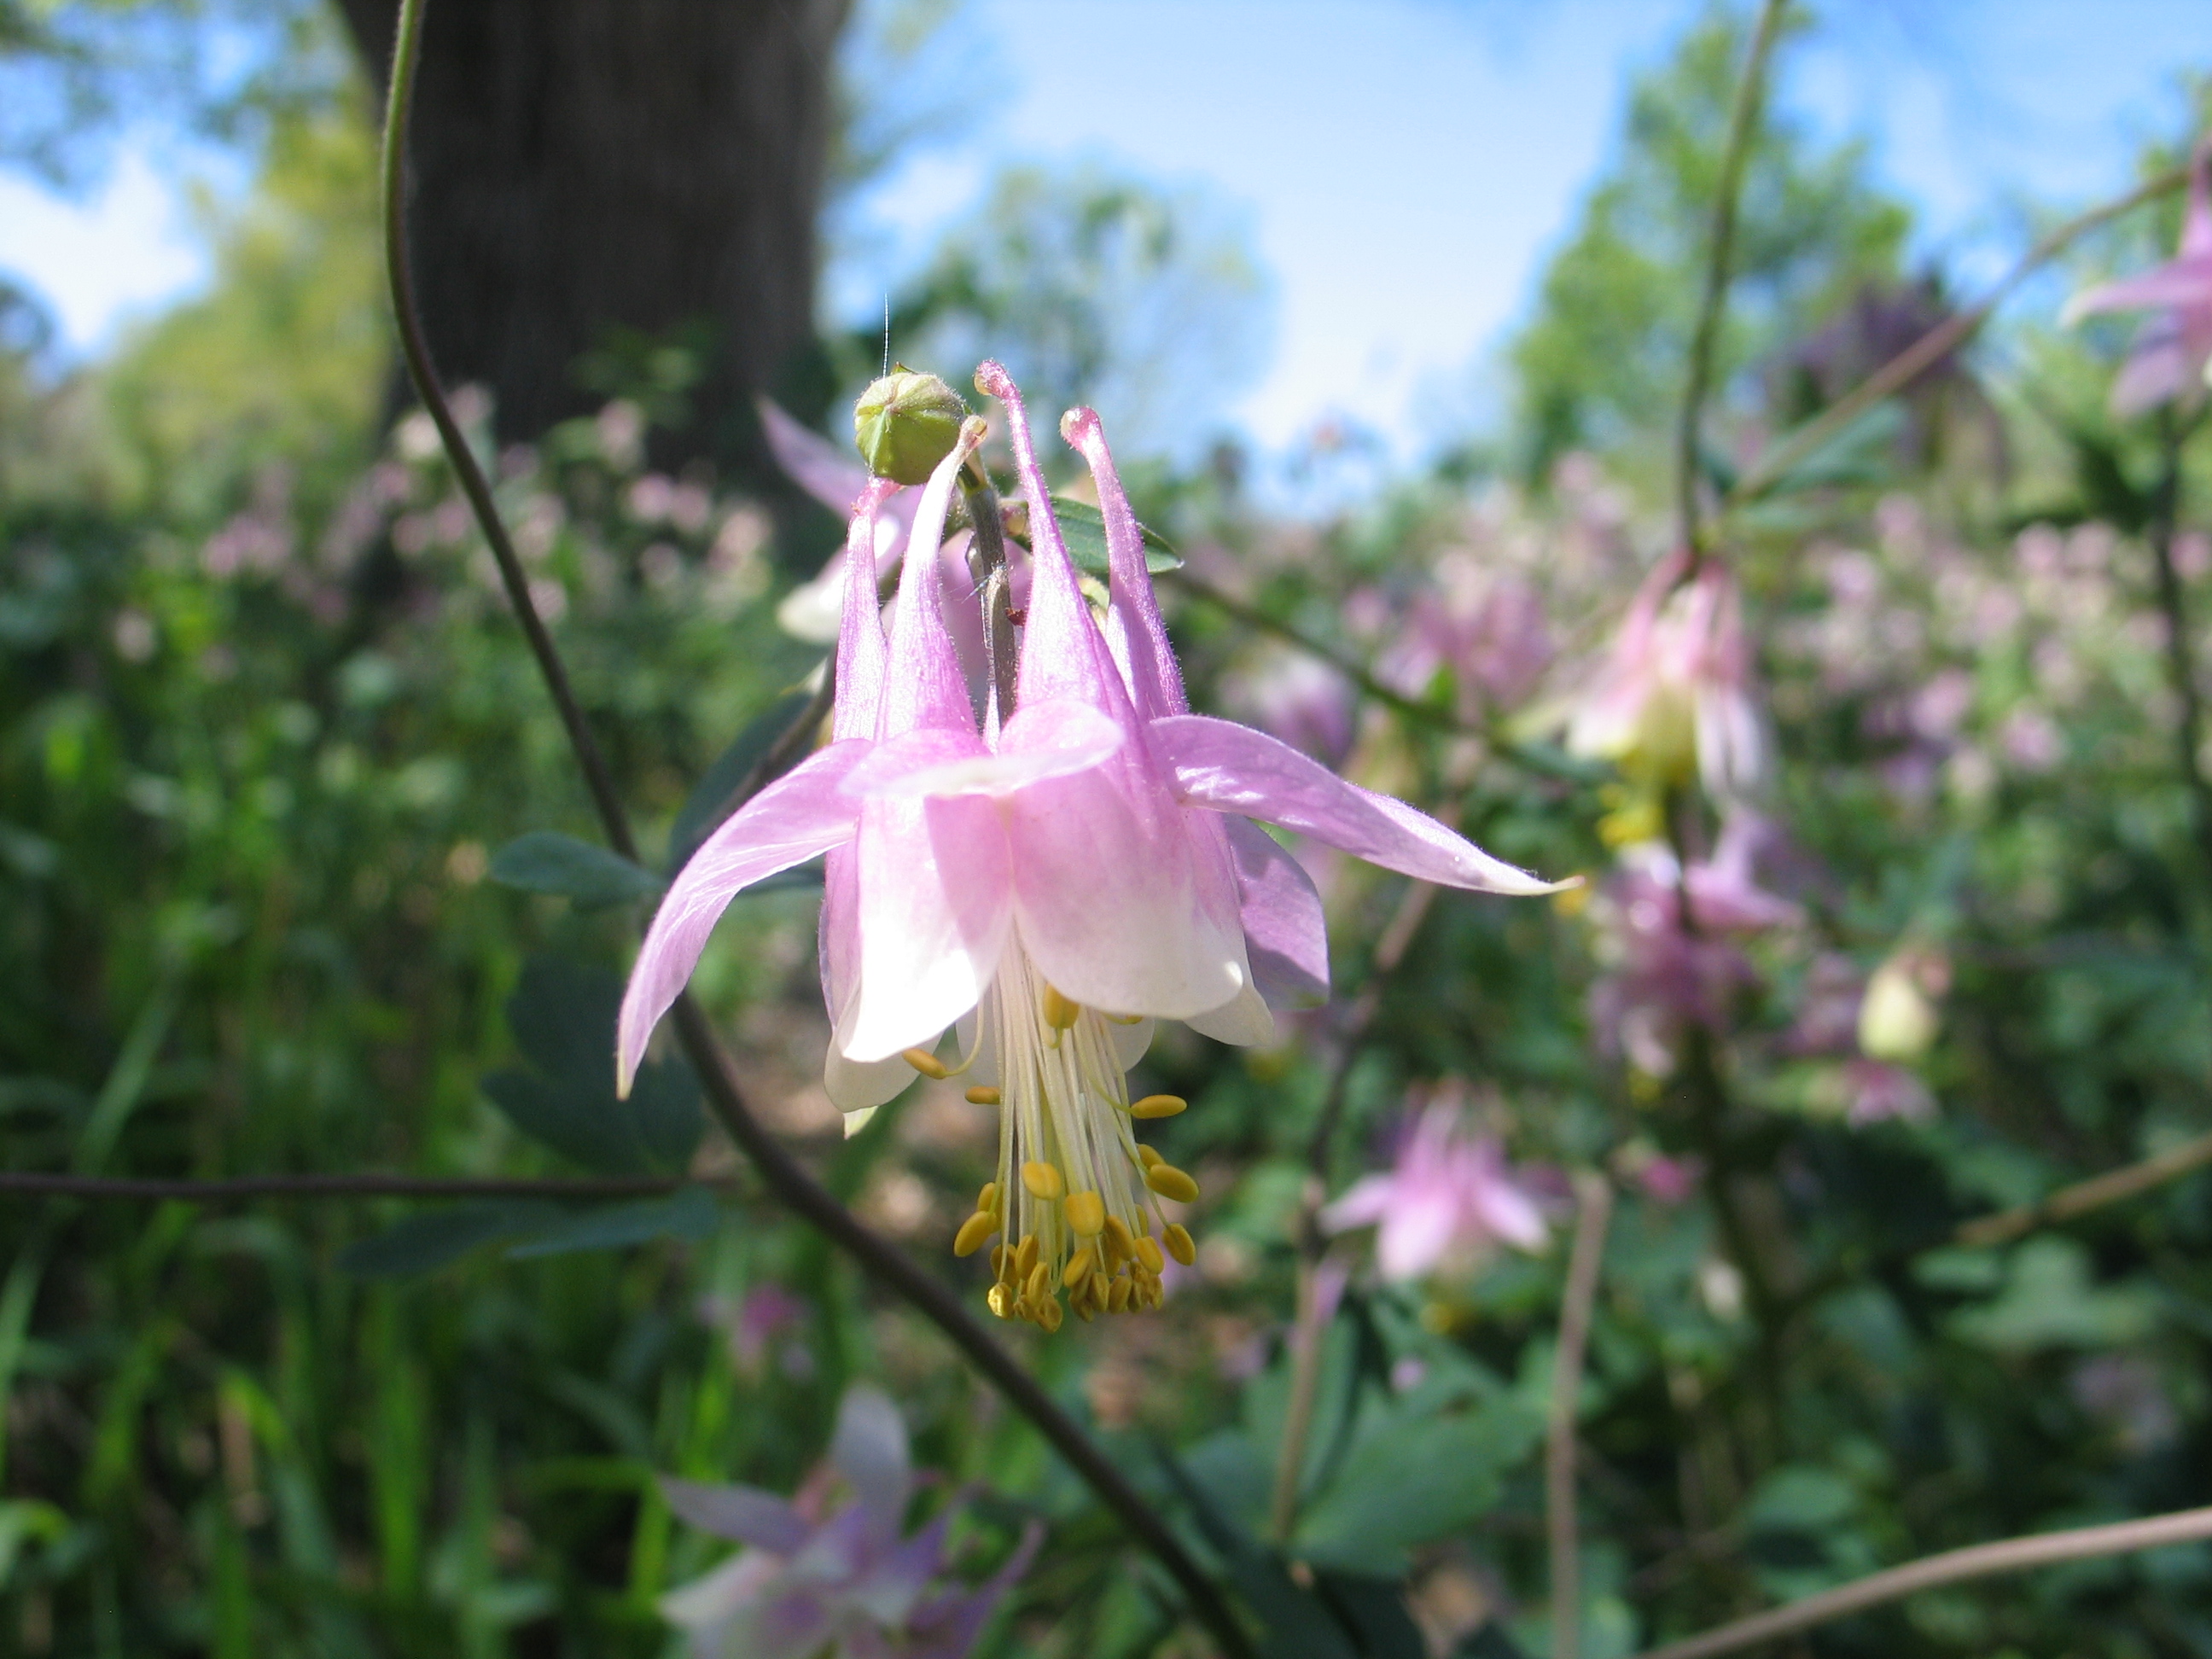
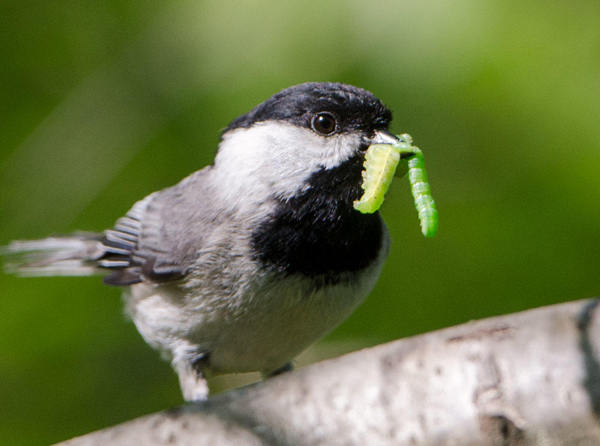
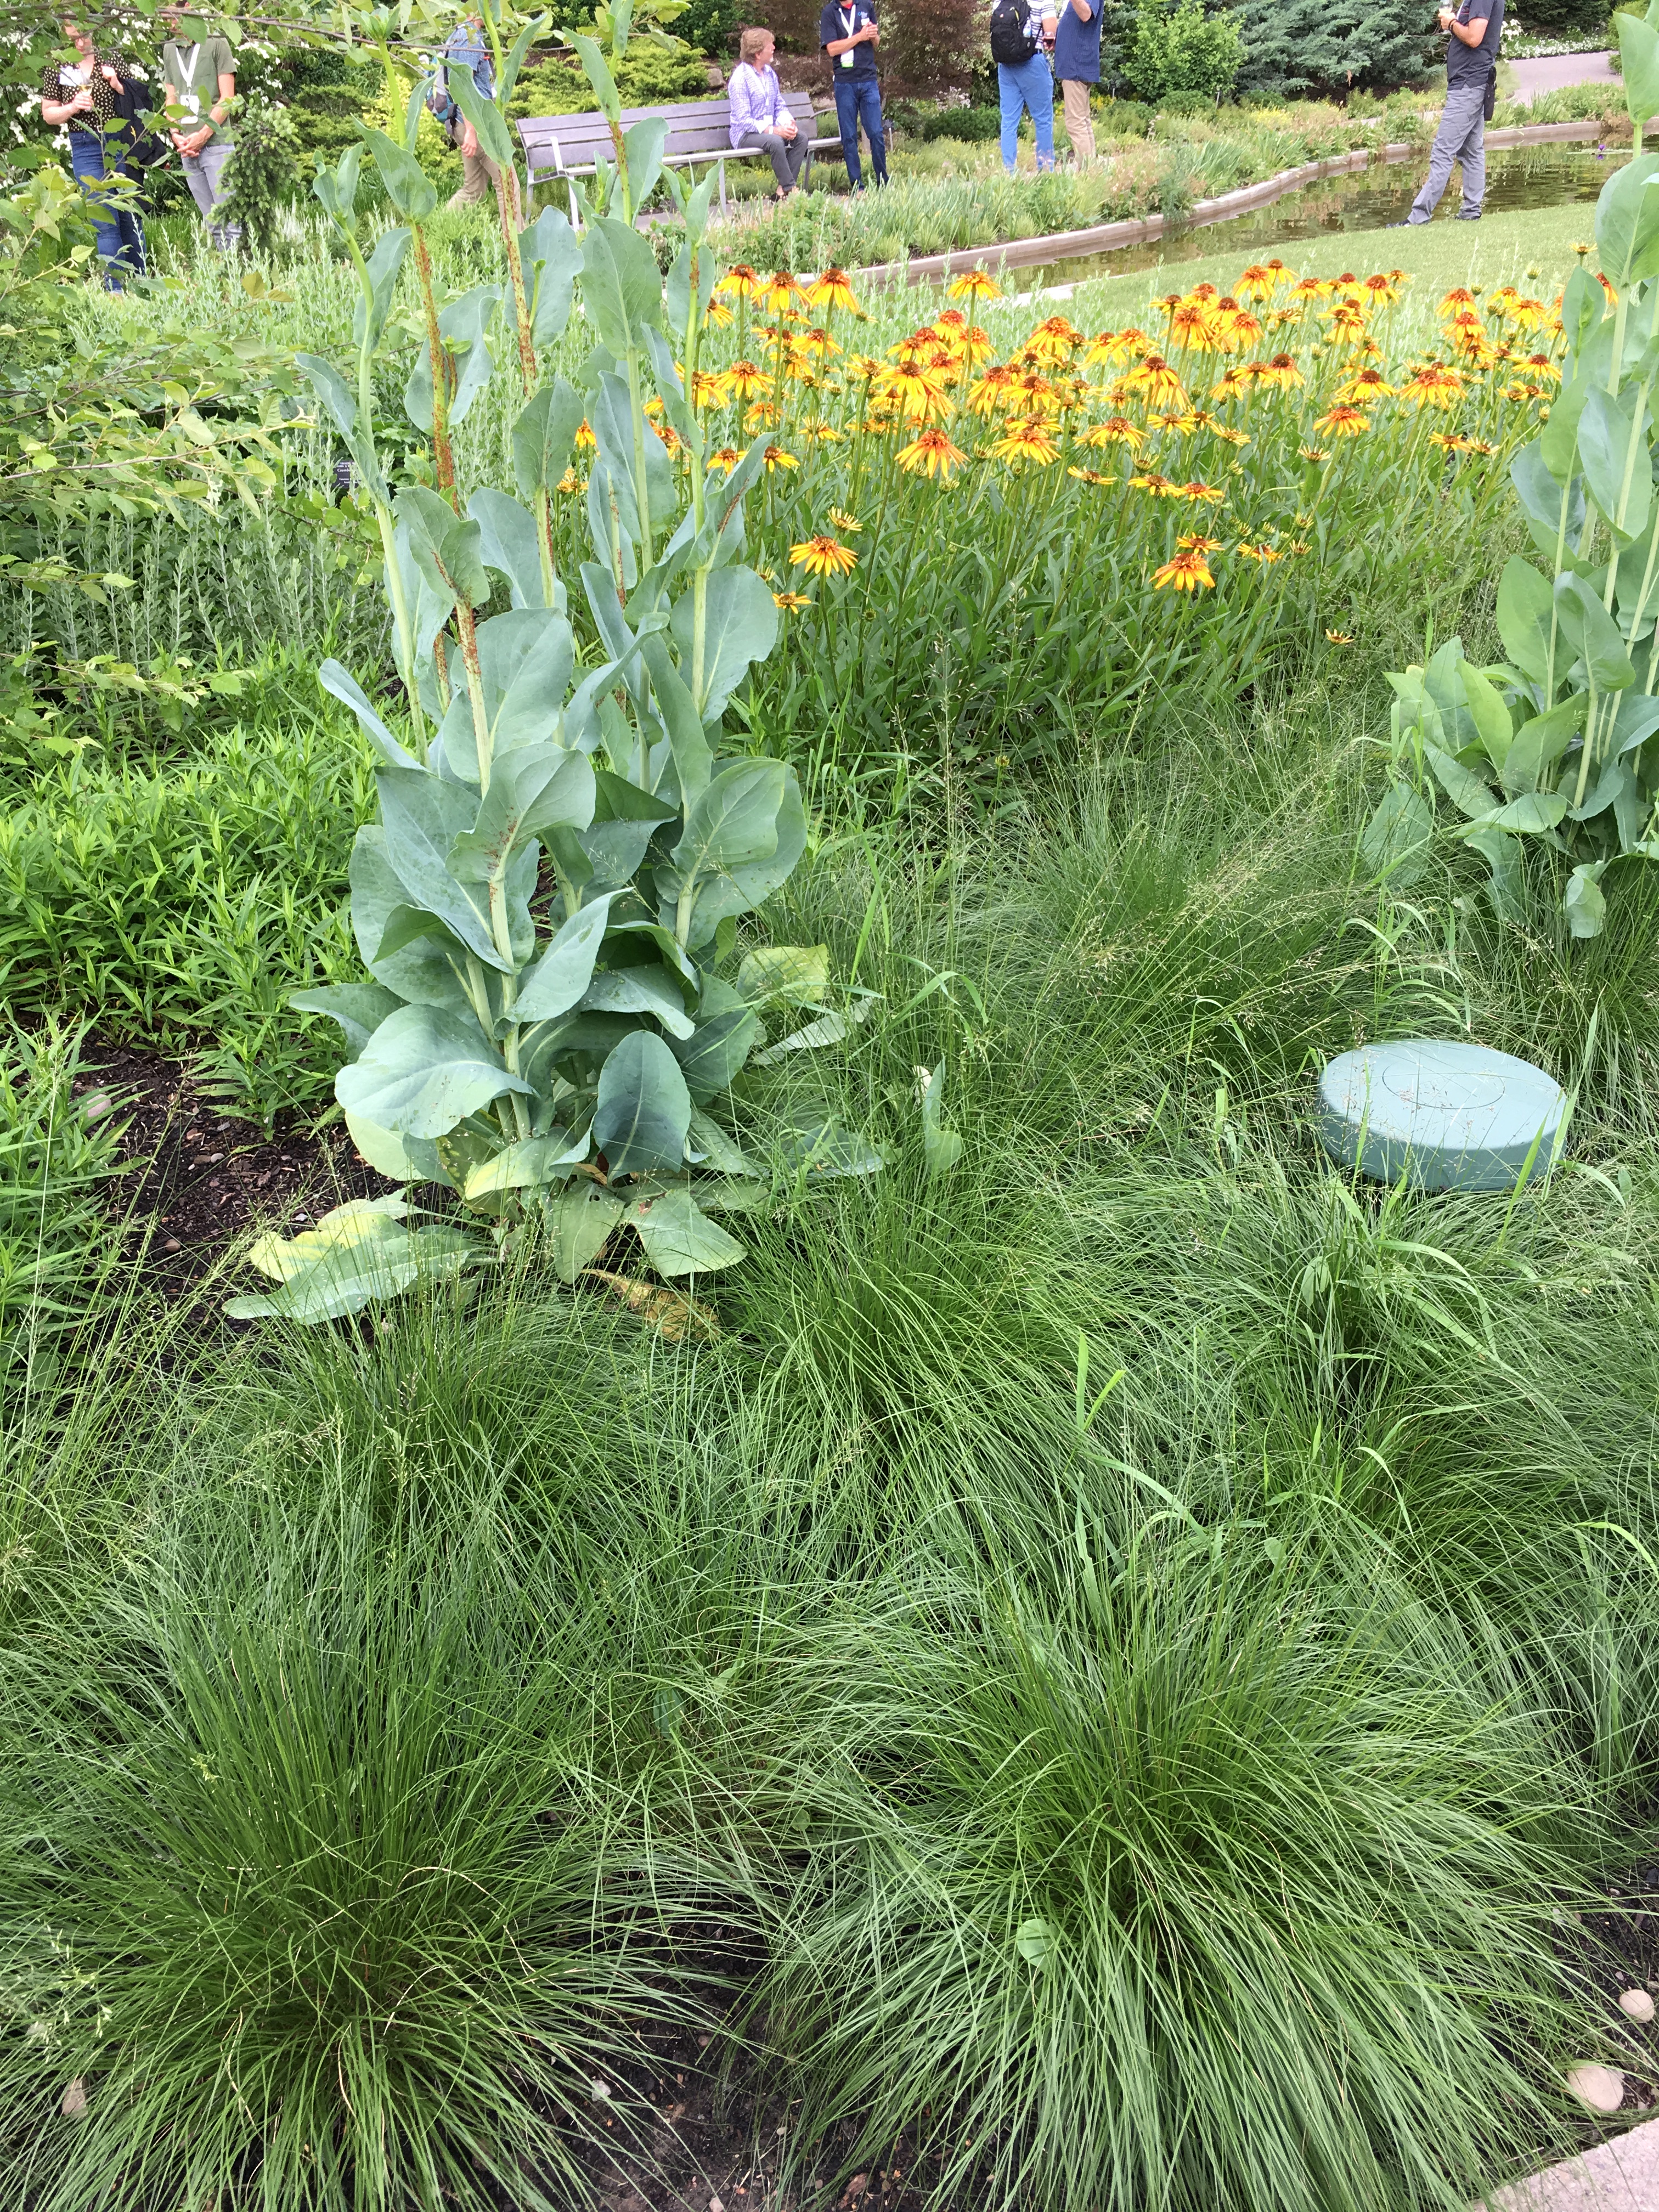
Habitat
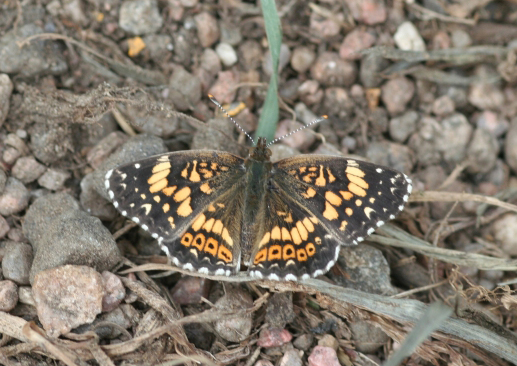
A habitat garden is a garden that mimics the natural landscape while also providing food, shelter and potentially water for wildlife, including pollinators. A habitat garden has layers of plants and a succession of blooms. It is a very intentional way of landscaping focused more on giving back rather than taking something from your landscape. Don’t get me wrong, a habitat garden can still be beautiful, but it will certainly give you much more enjoyment as you attract a host of pollinator, birds and other wildlife to your yard.
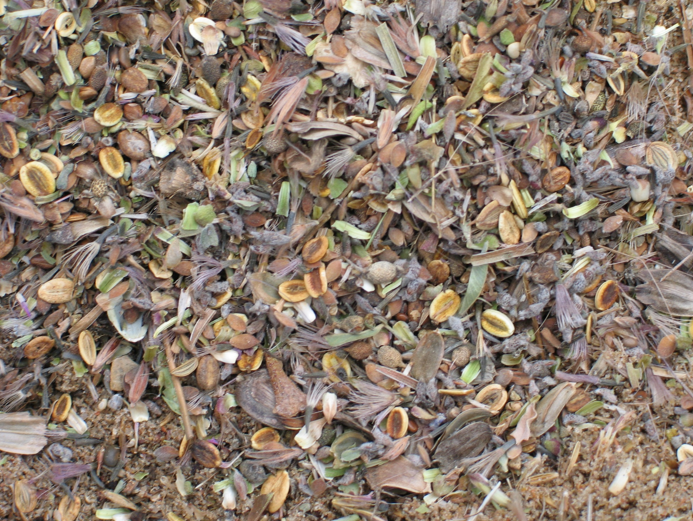
Stratification
One of the most interesting processes I learned when I first started working at the Arboretum was the process of stratification. It intrigued me that I could collect seed from the wild and get it to germinate in the greenhouse simply by simulating the chilling and warming that seeds would endure if left outdoors for the winter in their native climate. This chilling and warming that seeds are exposed to breaks down natural germination inhibitors until they are ready and able to germinate the next year.
This process is so important for plants and their survival because it keeps seeds from germinating the same year of development. They must go through a cold period such as winter before they are able to germinate. This does two important things: keeps seeds from germinating in the fall and allows the seeds to be worked into the soil over the winter with the natural freeze/thaw of the soil so they can germinate in spring.
If a seed would germinate in the fall, that tiny plant would not have enough time to develop a sustaining root system. The tiny seeding would not survive the winter. The natural process allows a seed to lay dormant all winter and germinated in the spring when conditions are more favorable for survival, it would have the entire growing season to develop a healthy root system.
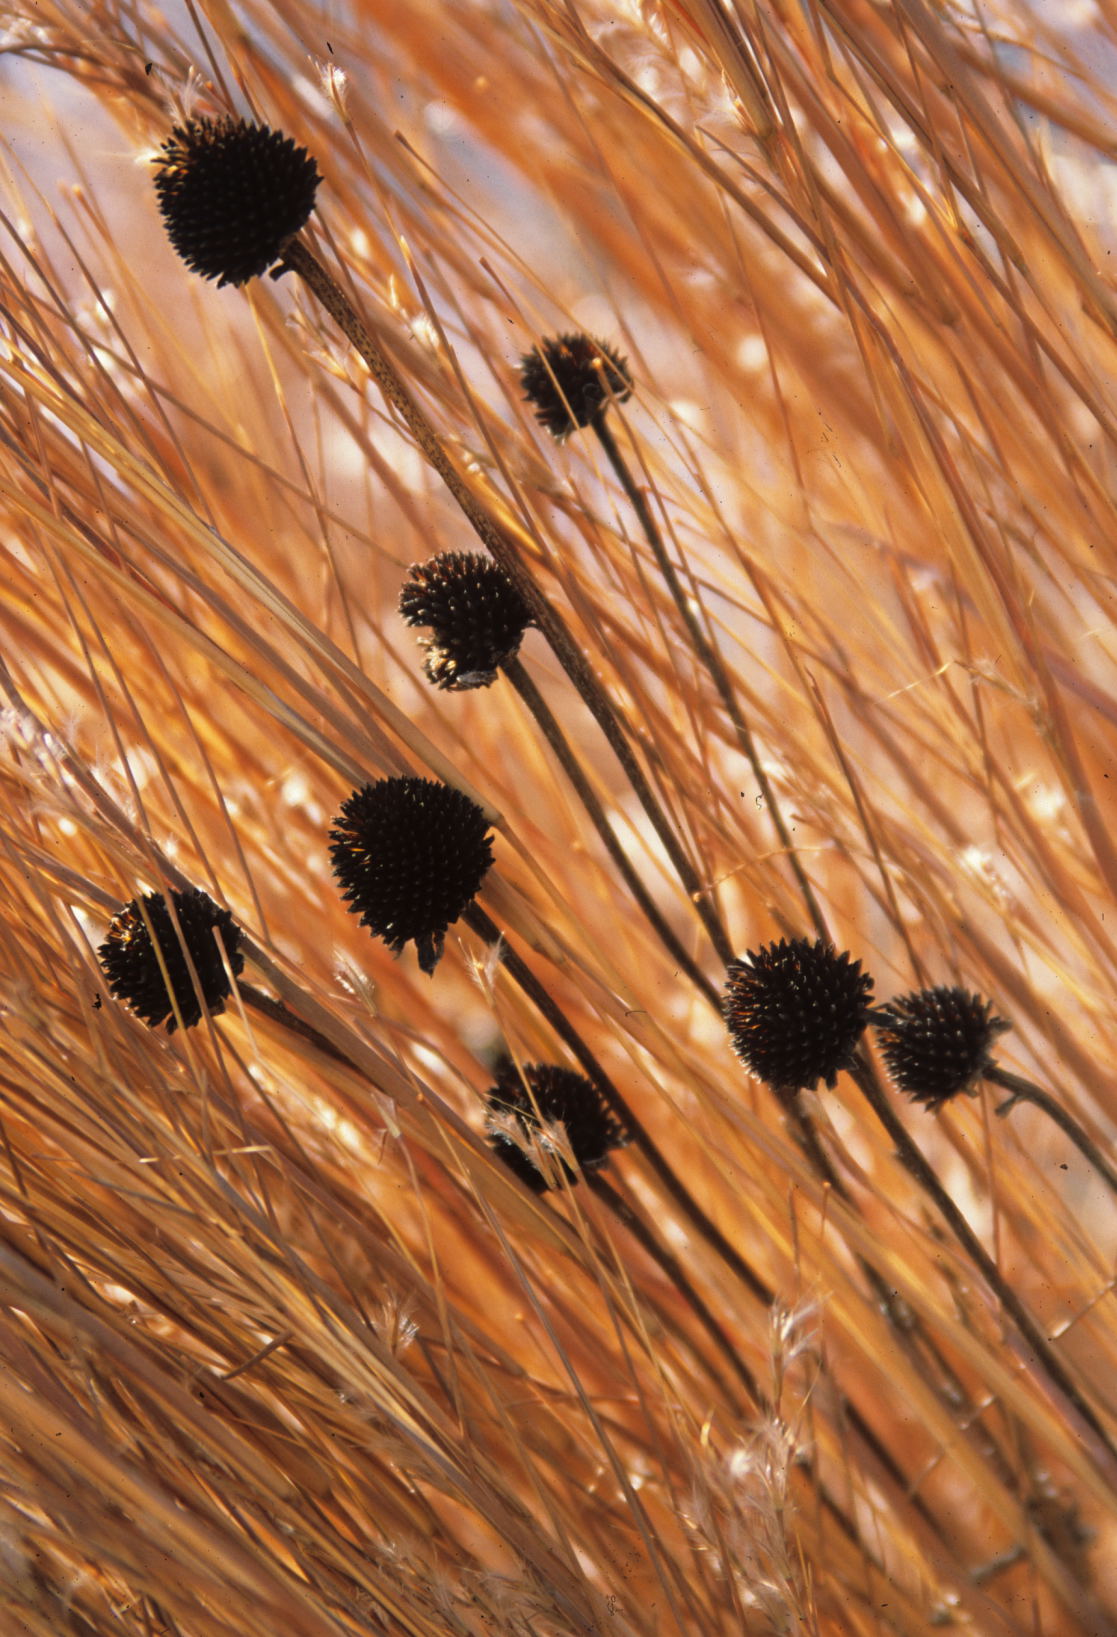
This process of stratification is why we encourage people to scatter prairie wildflowers and grass seed in November and December. It allows time for this process to occur so the seeds will germinate the following year.
Hopefully, this is helpful. I will discuss some other terms in upcoming blogs.