
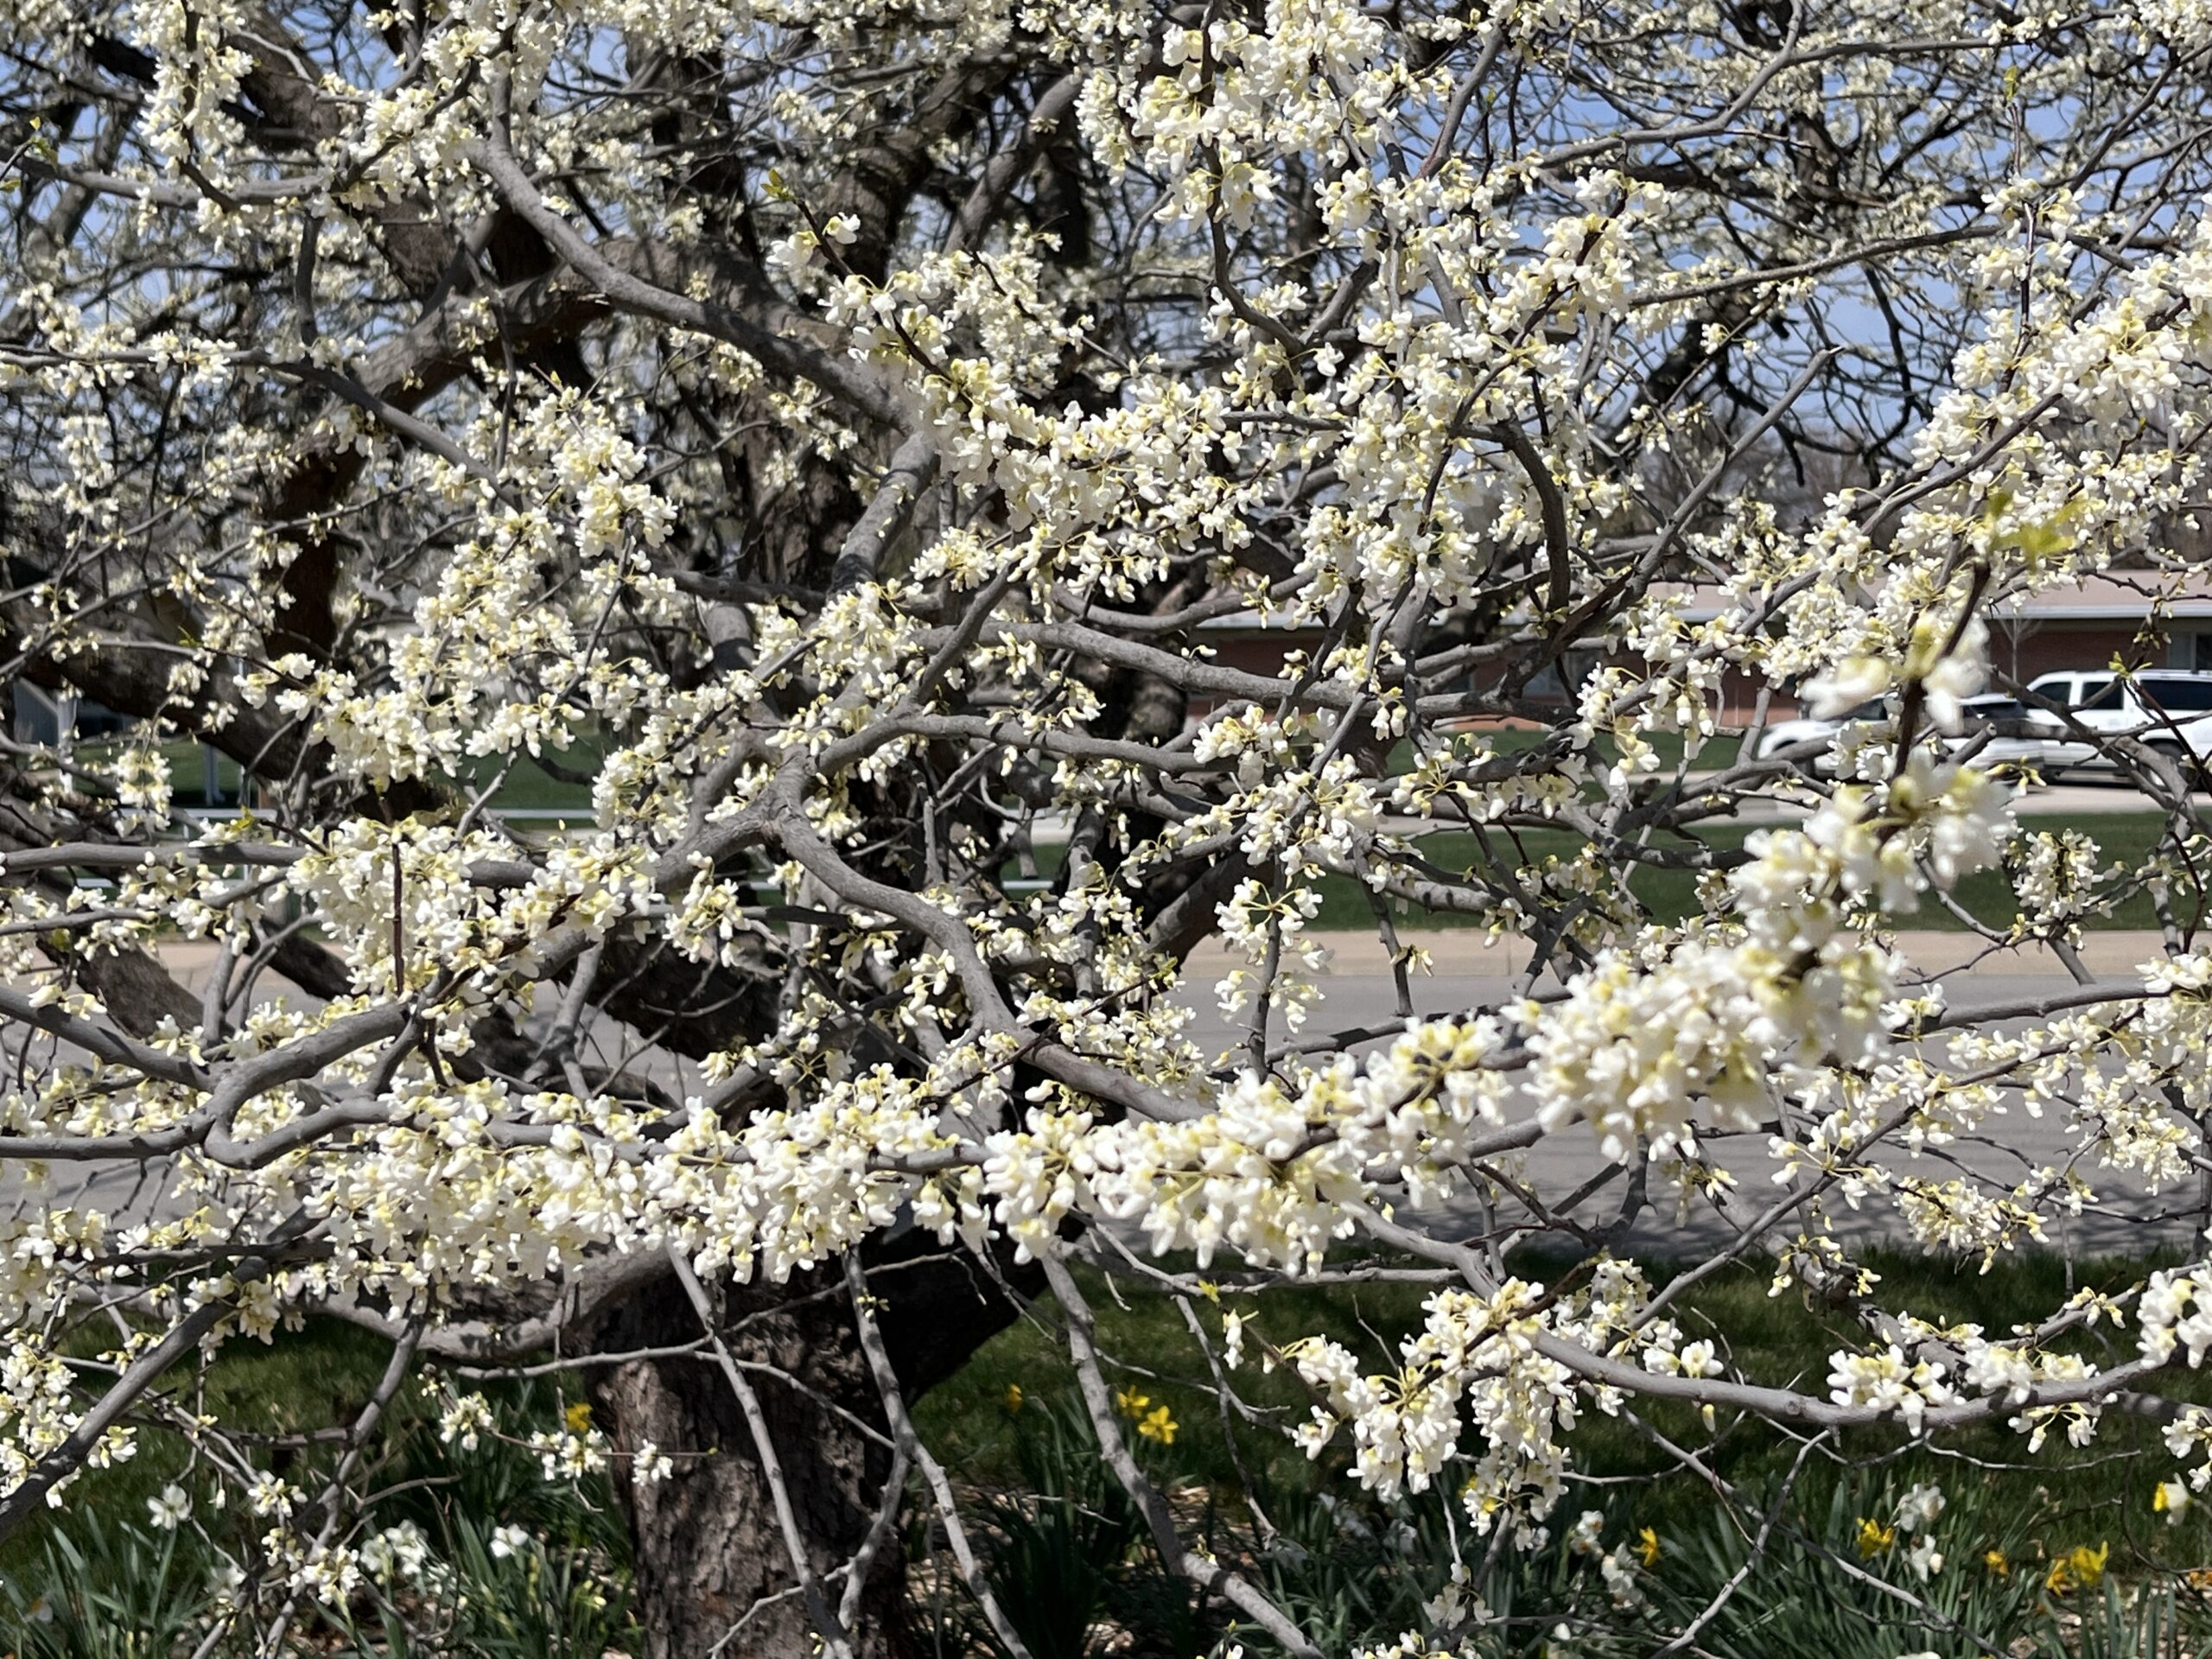
South Central Kansas presents a unique challenge for gardeners: the region’s signature “oven-blast” summer winds and intense sun make shade a sanctuary, but the dense shade under established canopy trees can be a difficult place for typical bedding plants to thrive. Moving toward a native shade garden isn’t just an aesthetic choice; it’s a strategy for resilience. Here are some ideas that may help you as you think about your own shade garden.

The Ground Layer
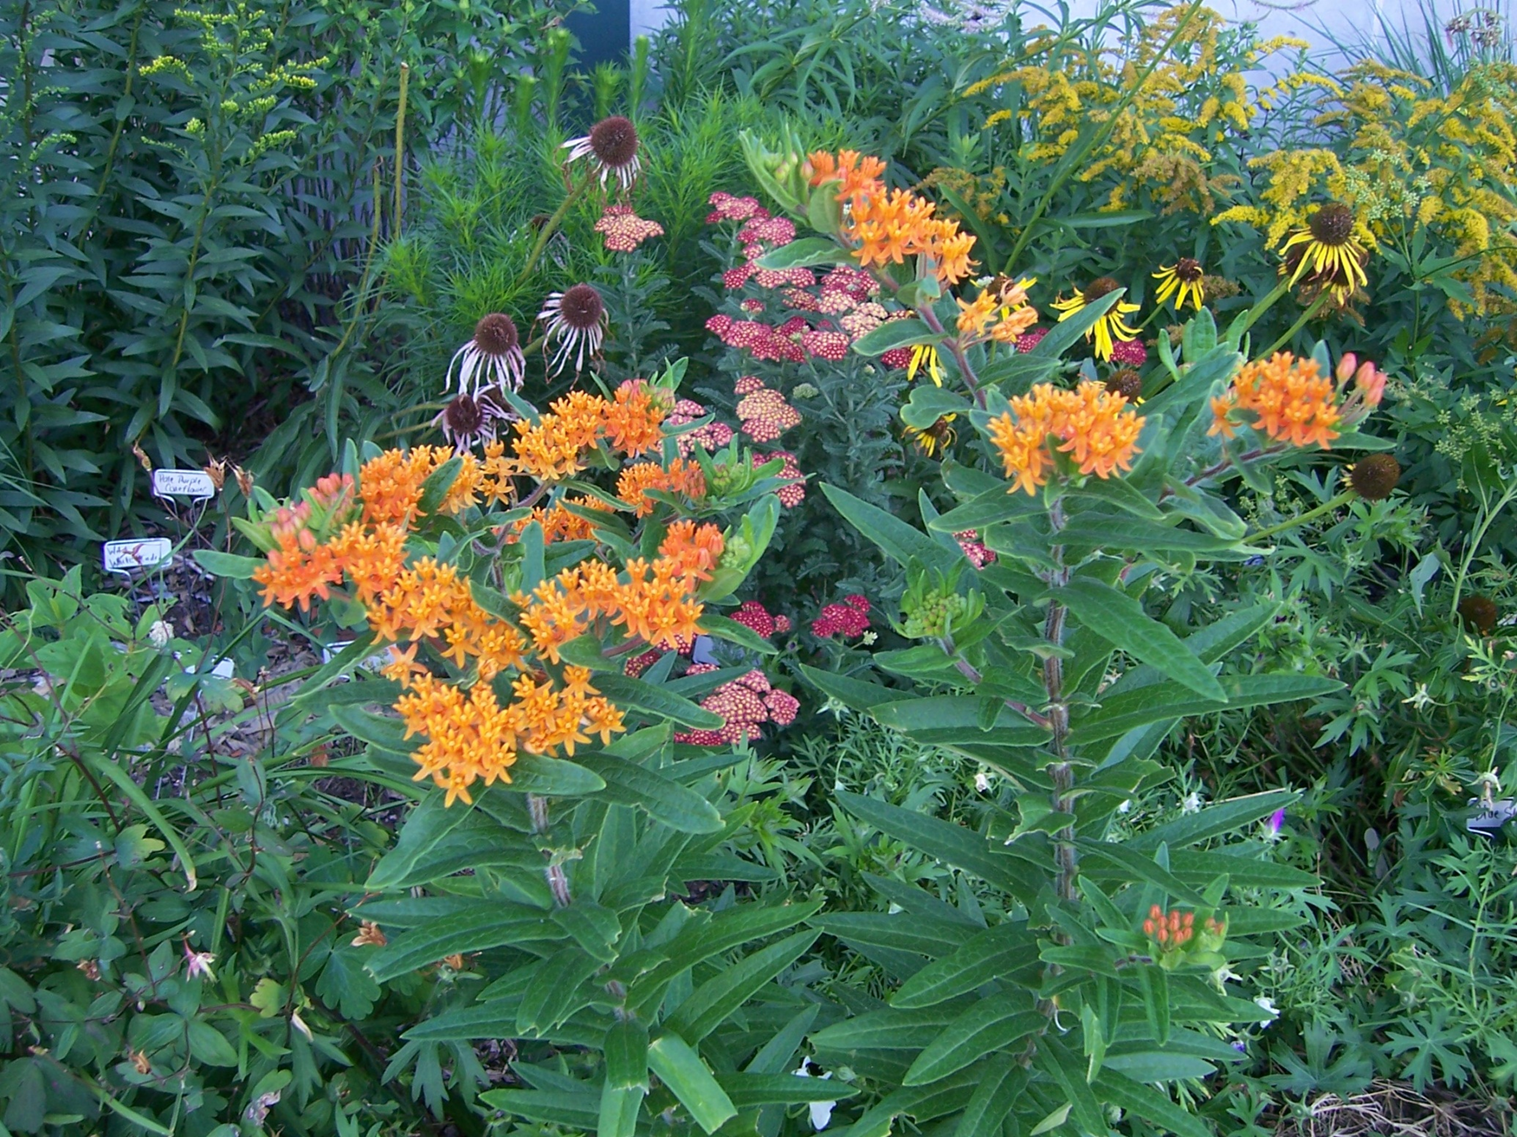
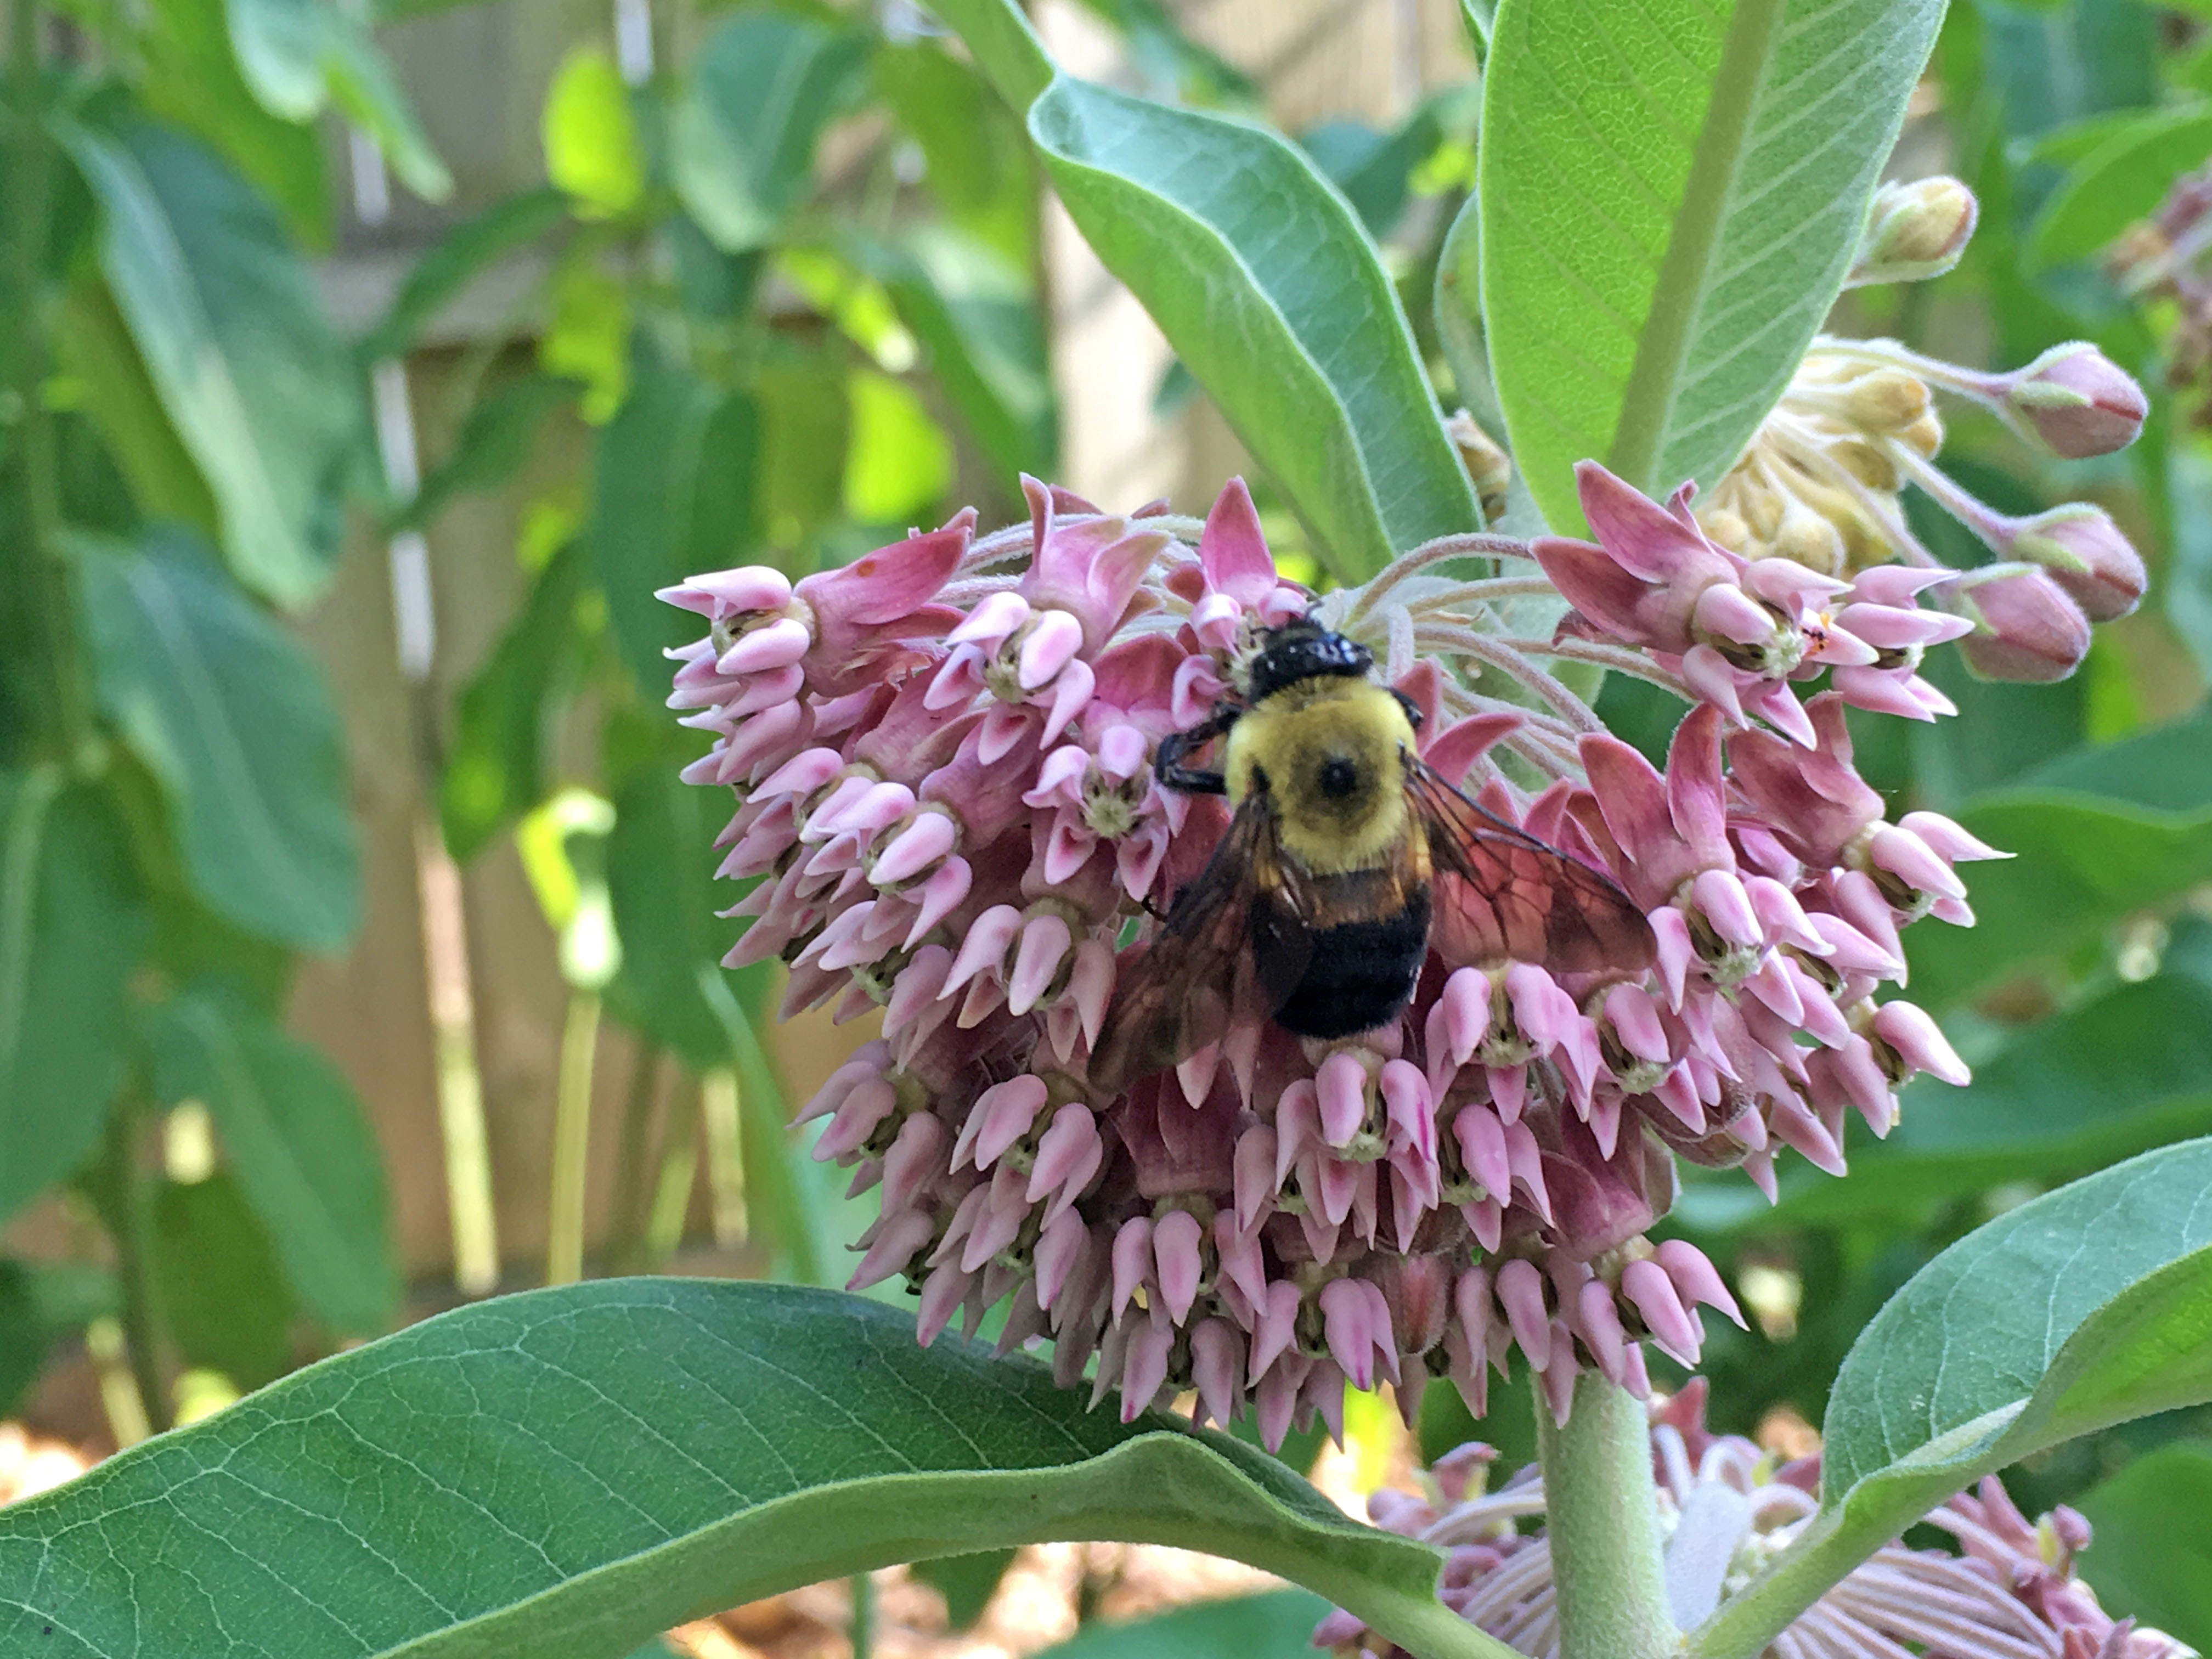
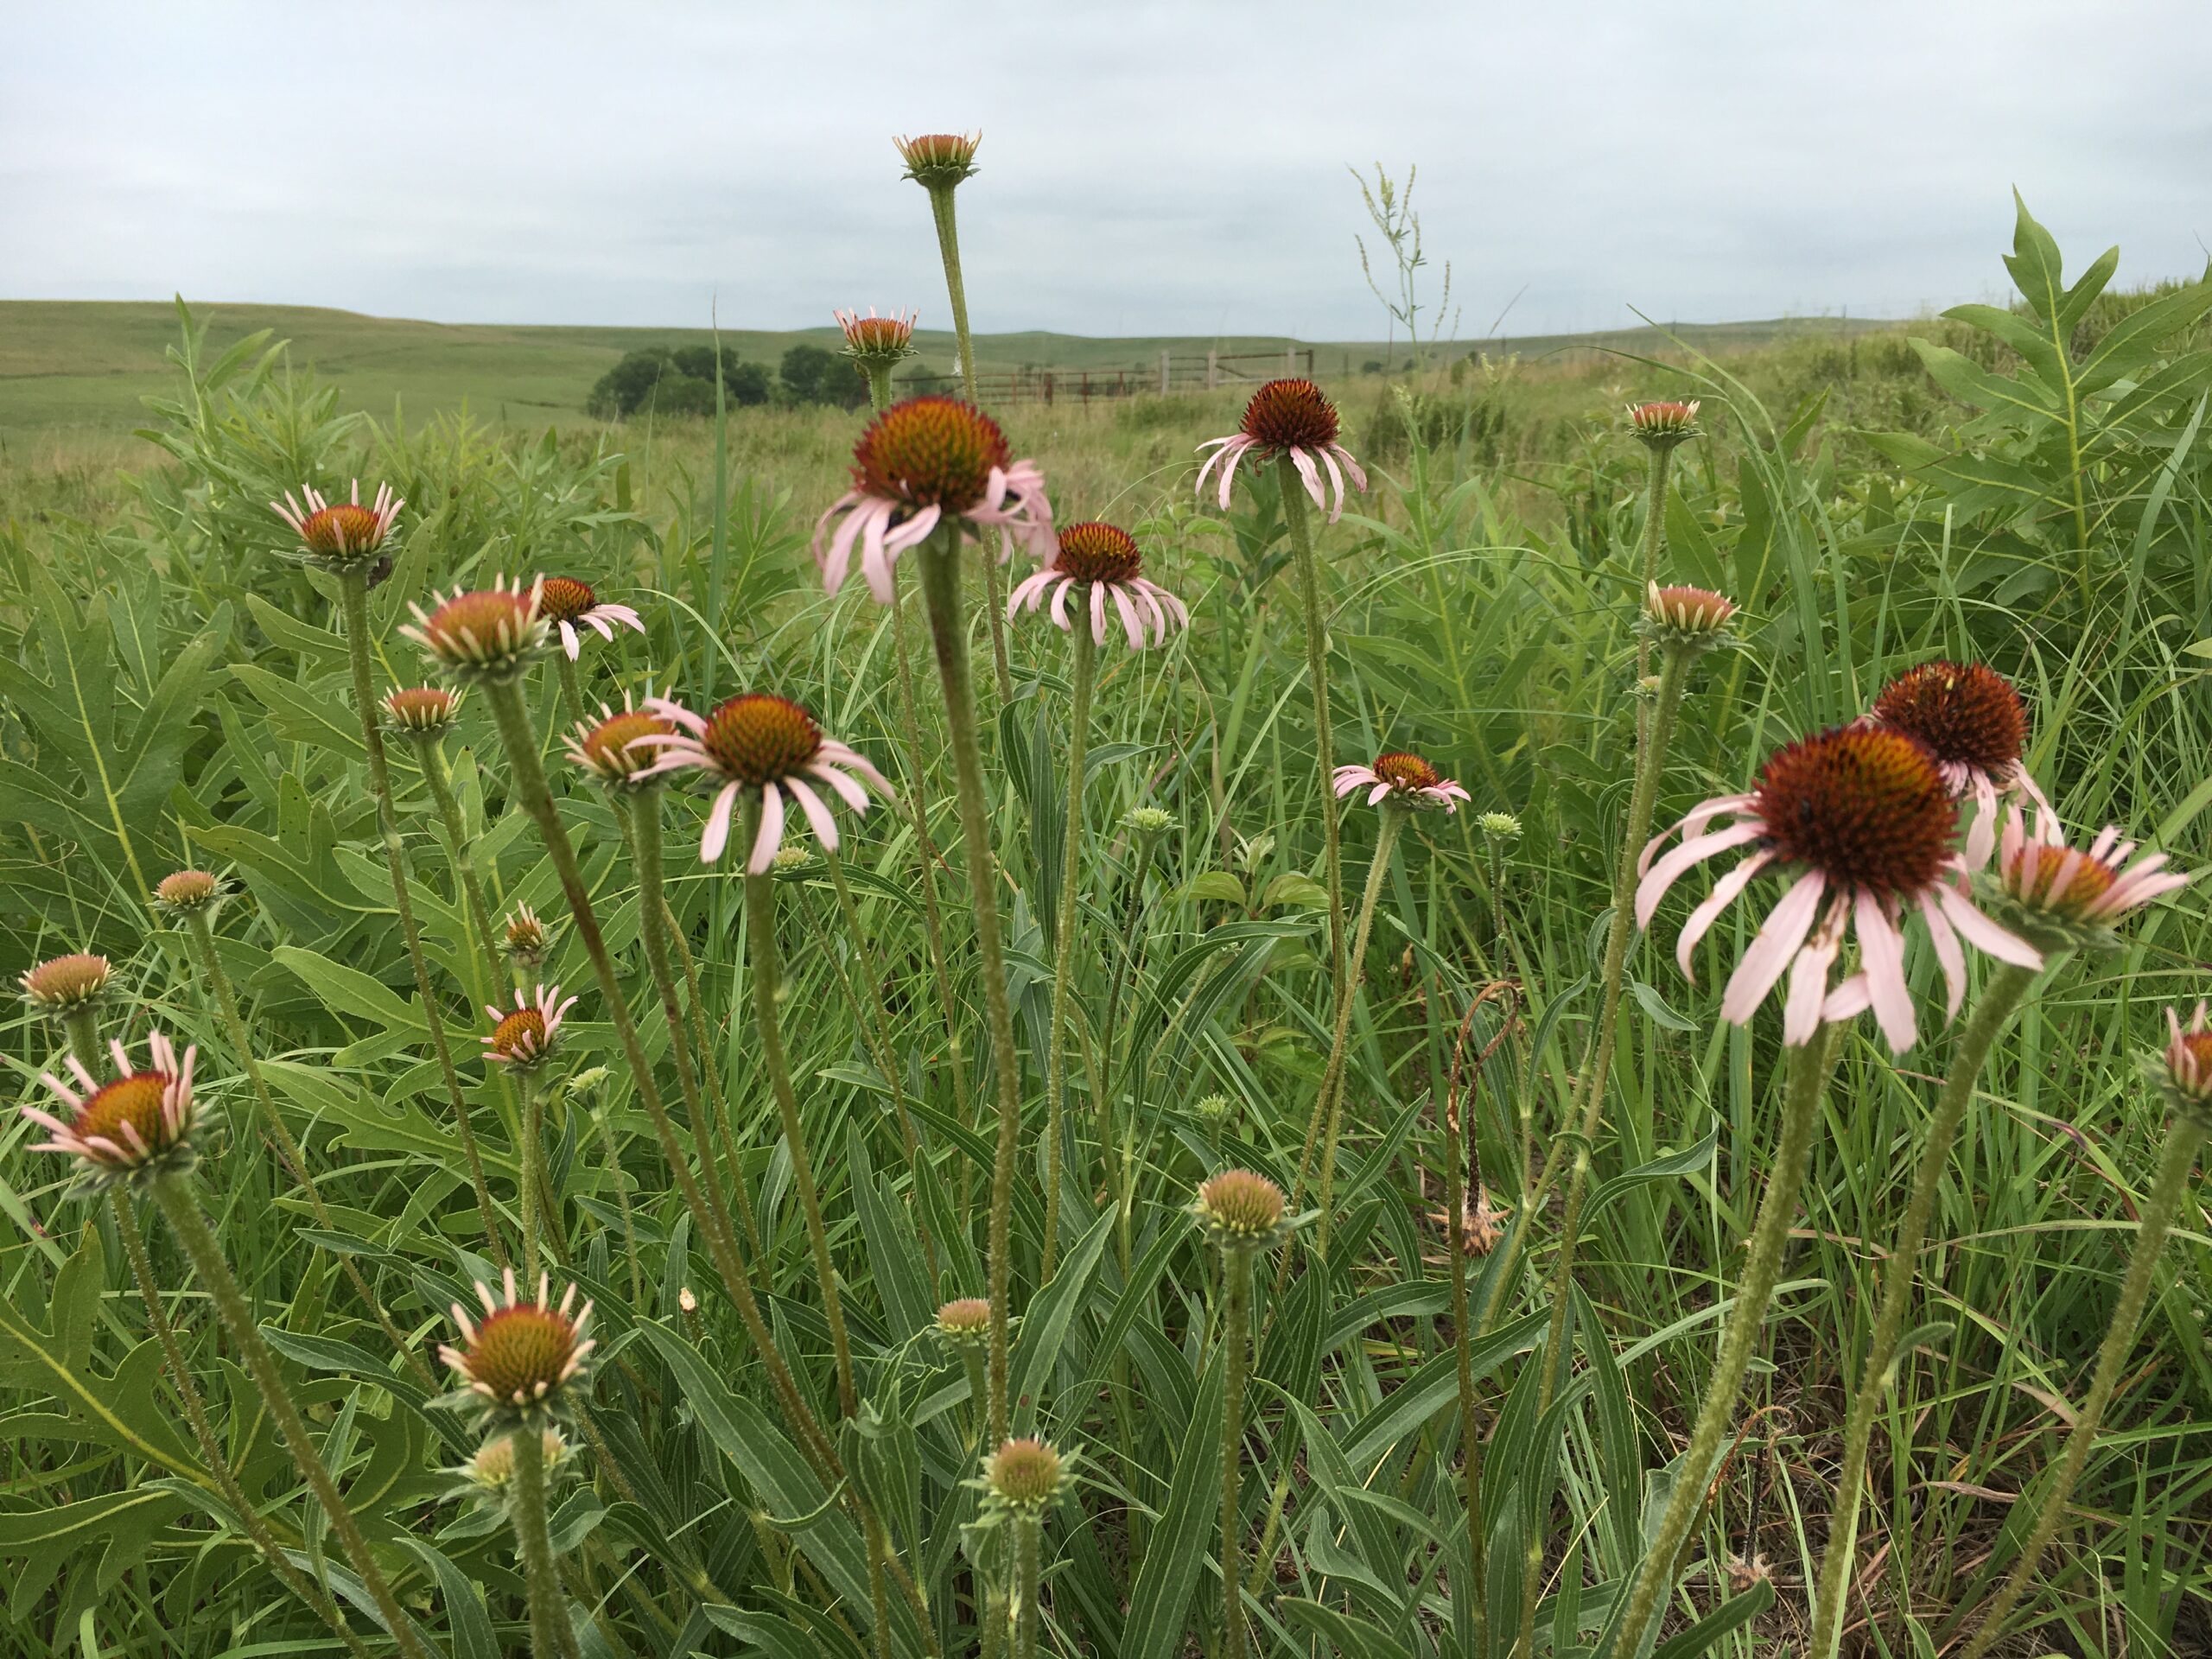
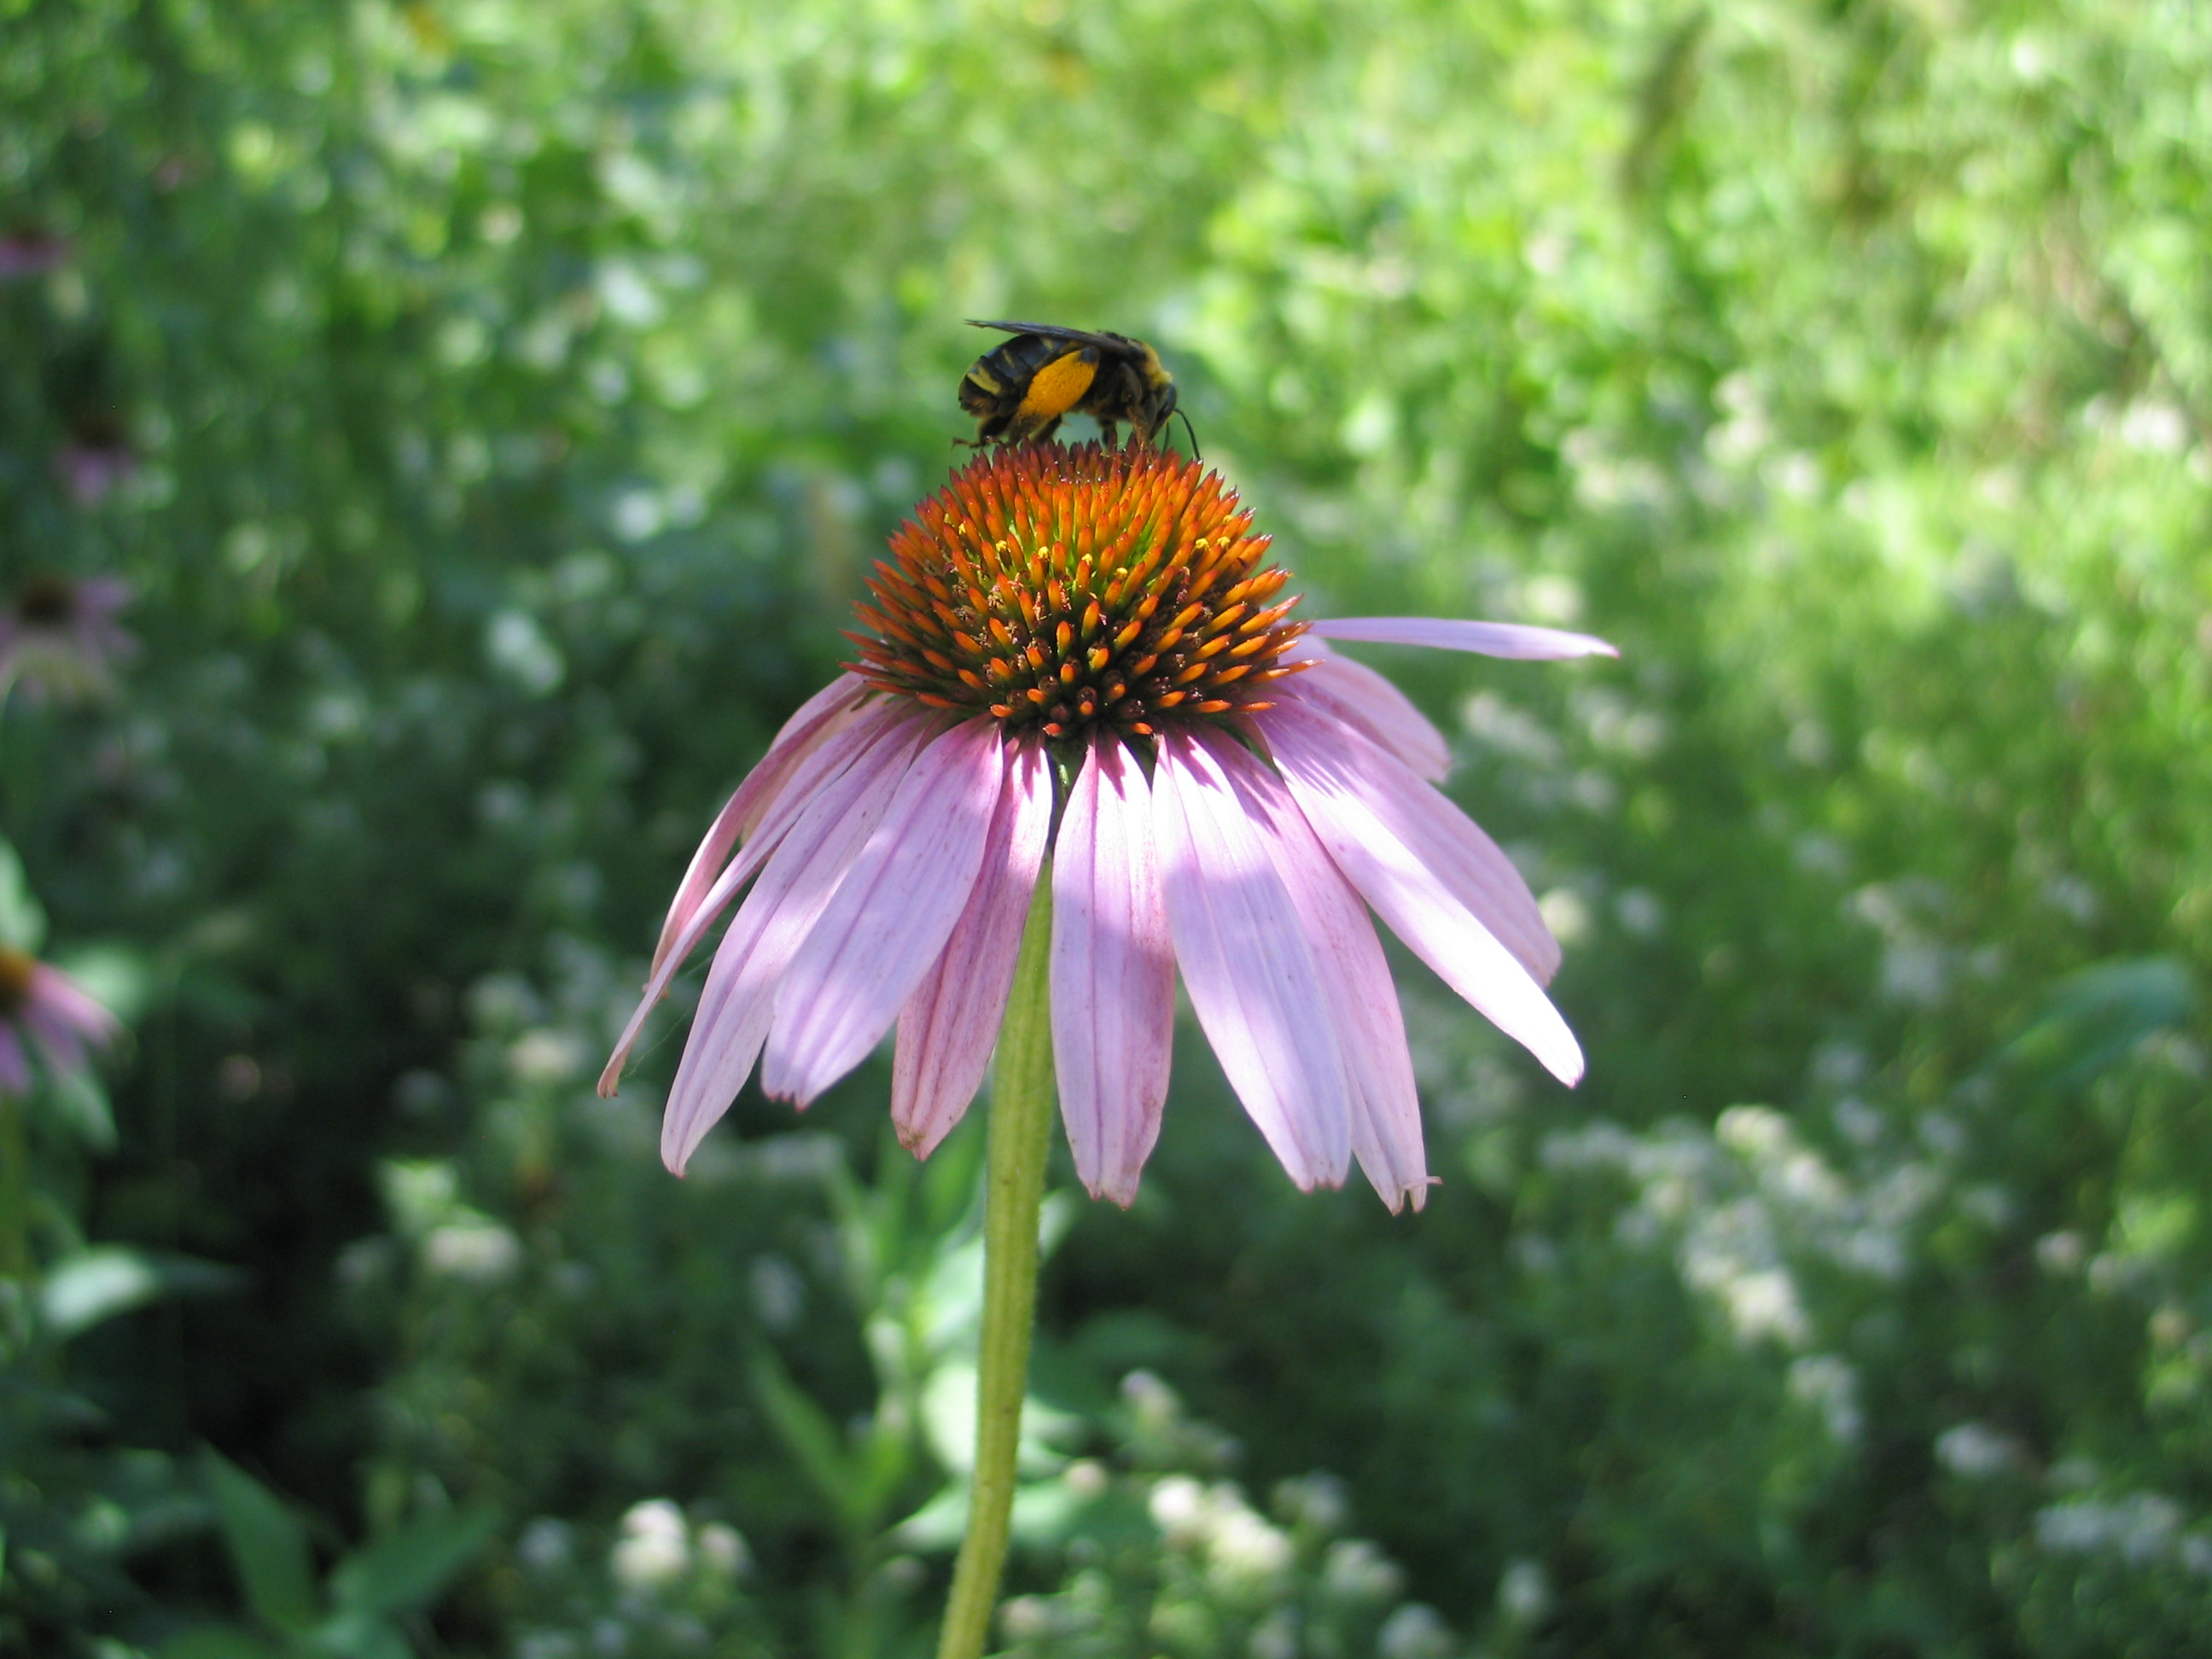
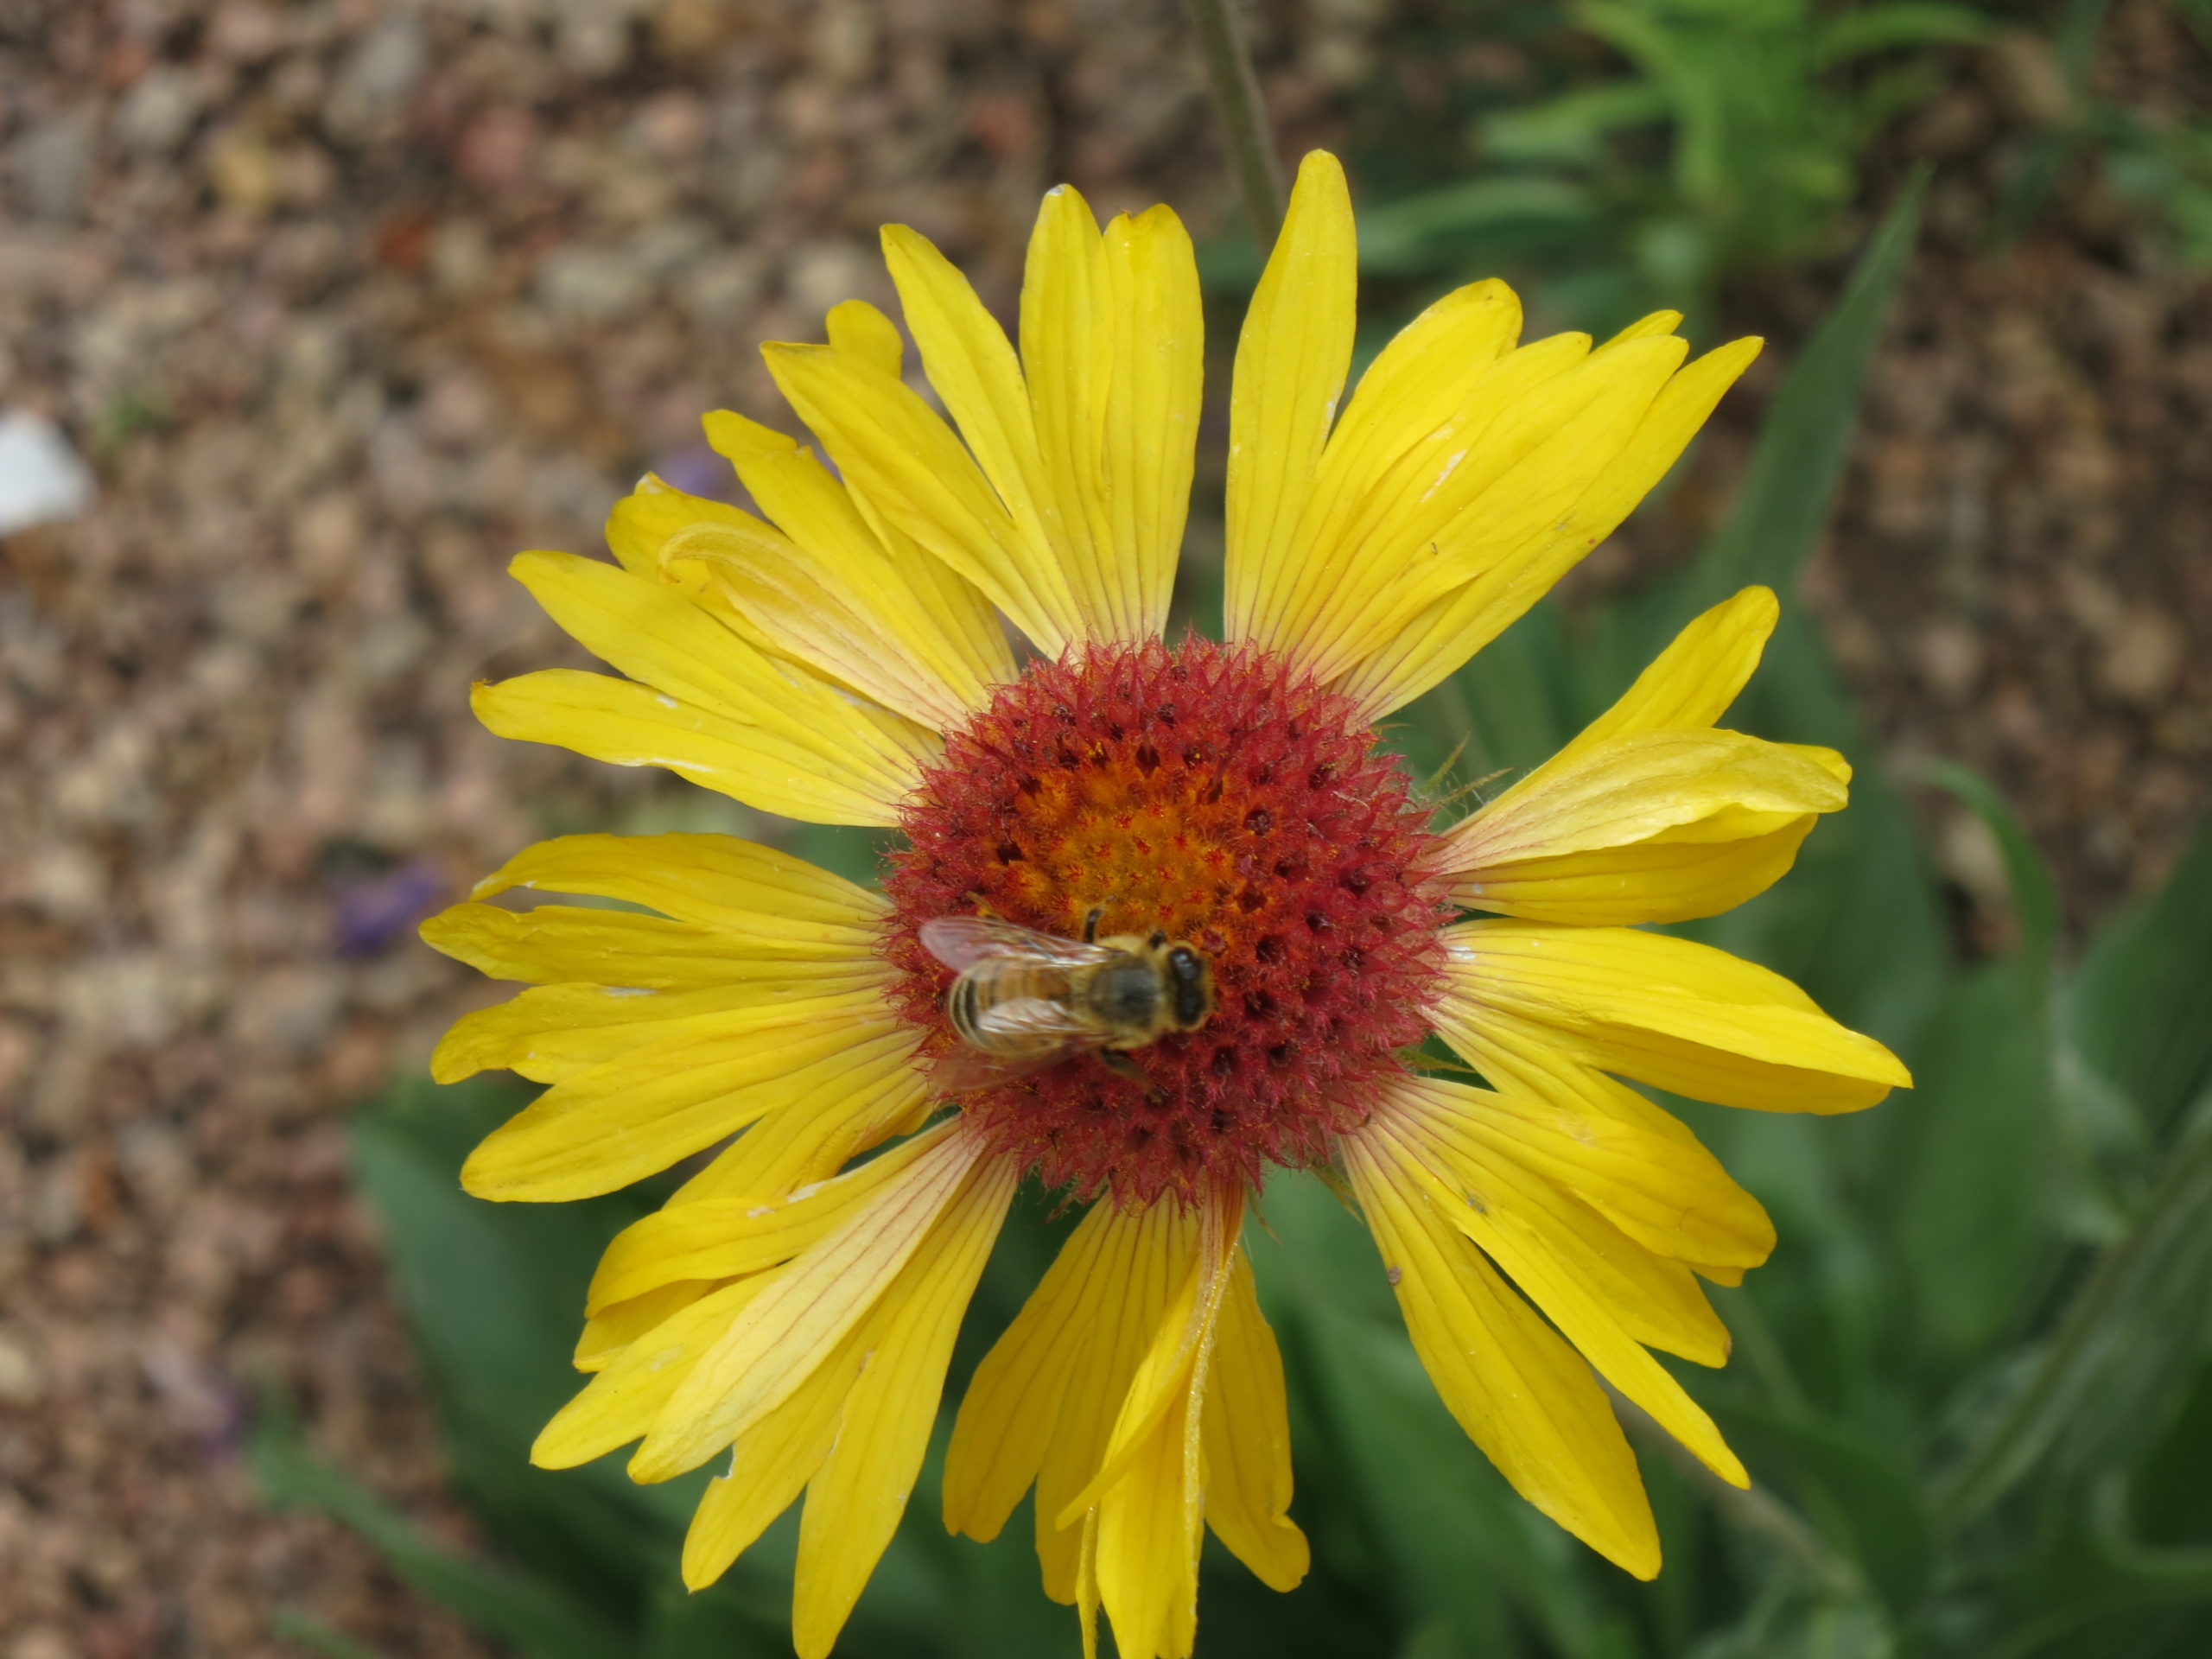
To build a successful shade layer, look to the woodland floor. Eastern Columbine (Aquilegia canadensis) is an excellent perennial for early spring color, offering delicate red and yellow spurred flowers that are magnets for migrating hummingbirds. Some nice spreading groundcovers would include woodland phlox, golden ragwort, wild ginger, and white woodland aster. For those dealing with “dry shade”—the notoriously difficult areas under large maples or oaks—Bluestem Goldenrod (Solidago caesia), Elm-leaf Goldenrod (Solidago ulmifolia) and Blue Wood Aster (Symphyotrichum cordifolium) provide a critical late-season nectar source for pollinators when most other shaded plants have finished blooming.

Texture and Structure
Structure is just as important as flowers in a shaded landscape. One of the best native ferns, such as the Lady Fern (Athyrium filix-femina), adds a soft, lace-like texture that contrasts beautifully against the bold, leathery leaves of Oakleaf Hydrangea (Hydrangea quercifolia). While many associate hydrangeas with high water needs, the Oakleaf variety is remarkably tough once established and provides multi-seasonal interest with its white summer panicles and deep burgundy fall foliage. Grasses and sedges are a great way to fill the voids and add late season interest, too.
Mimic Nature
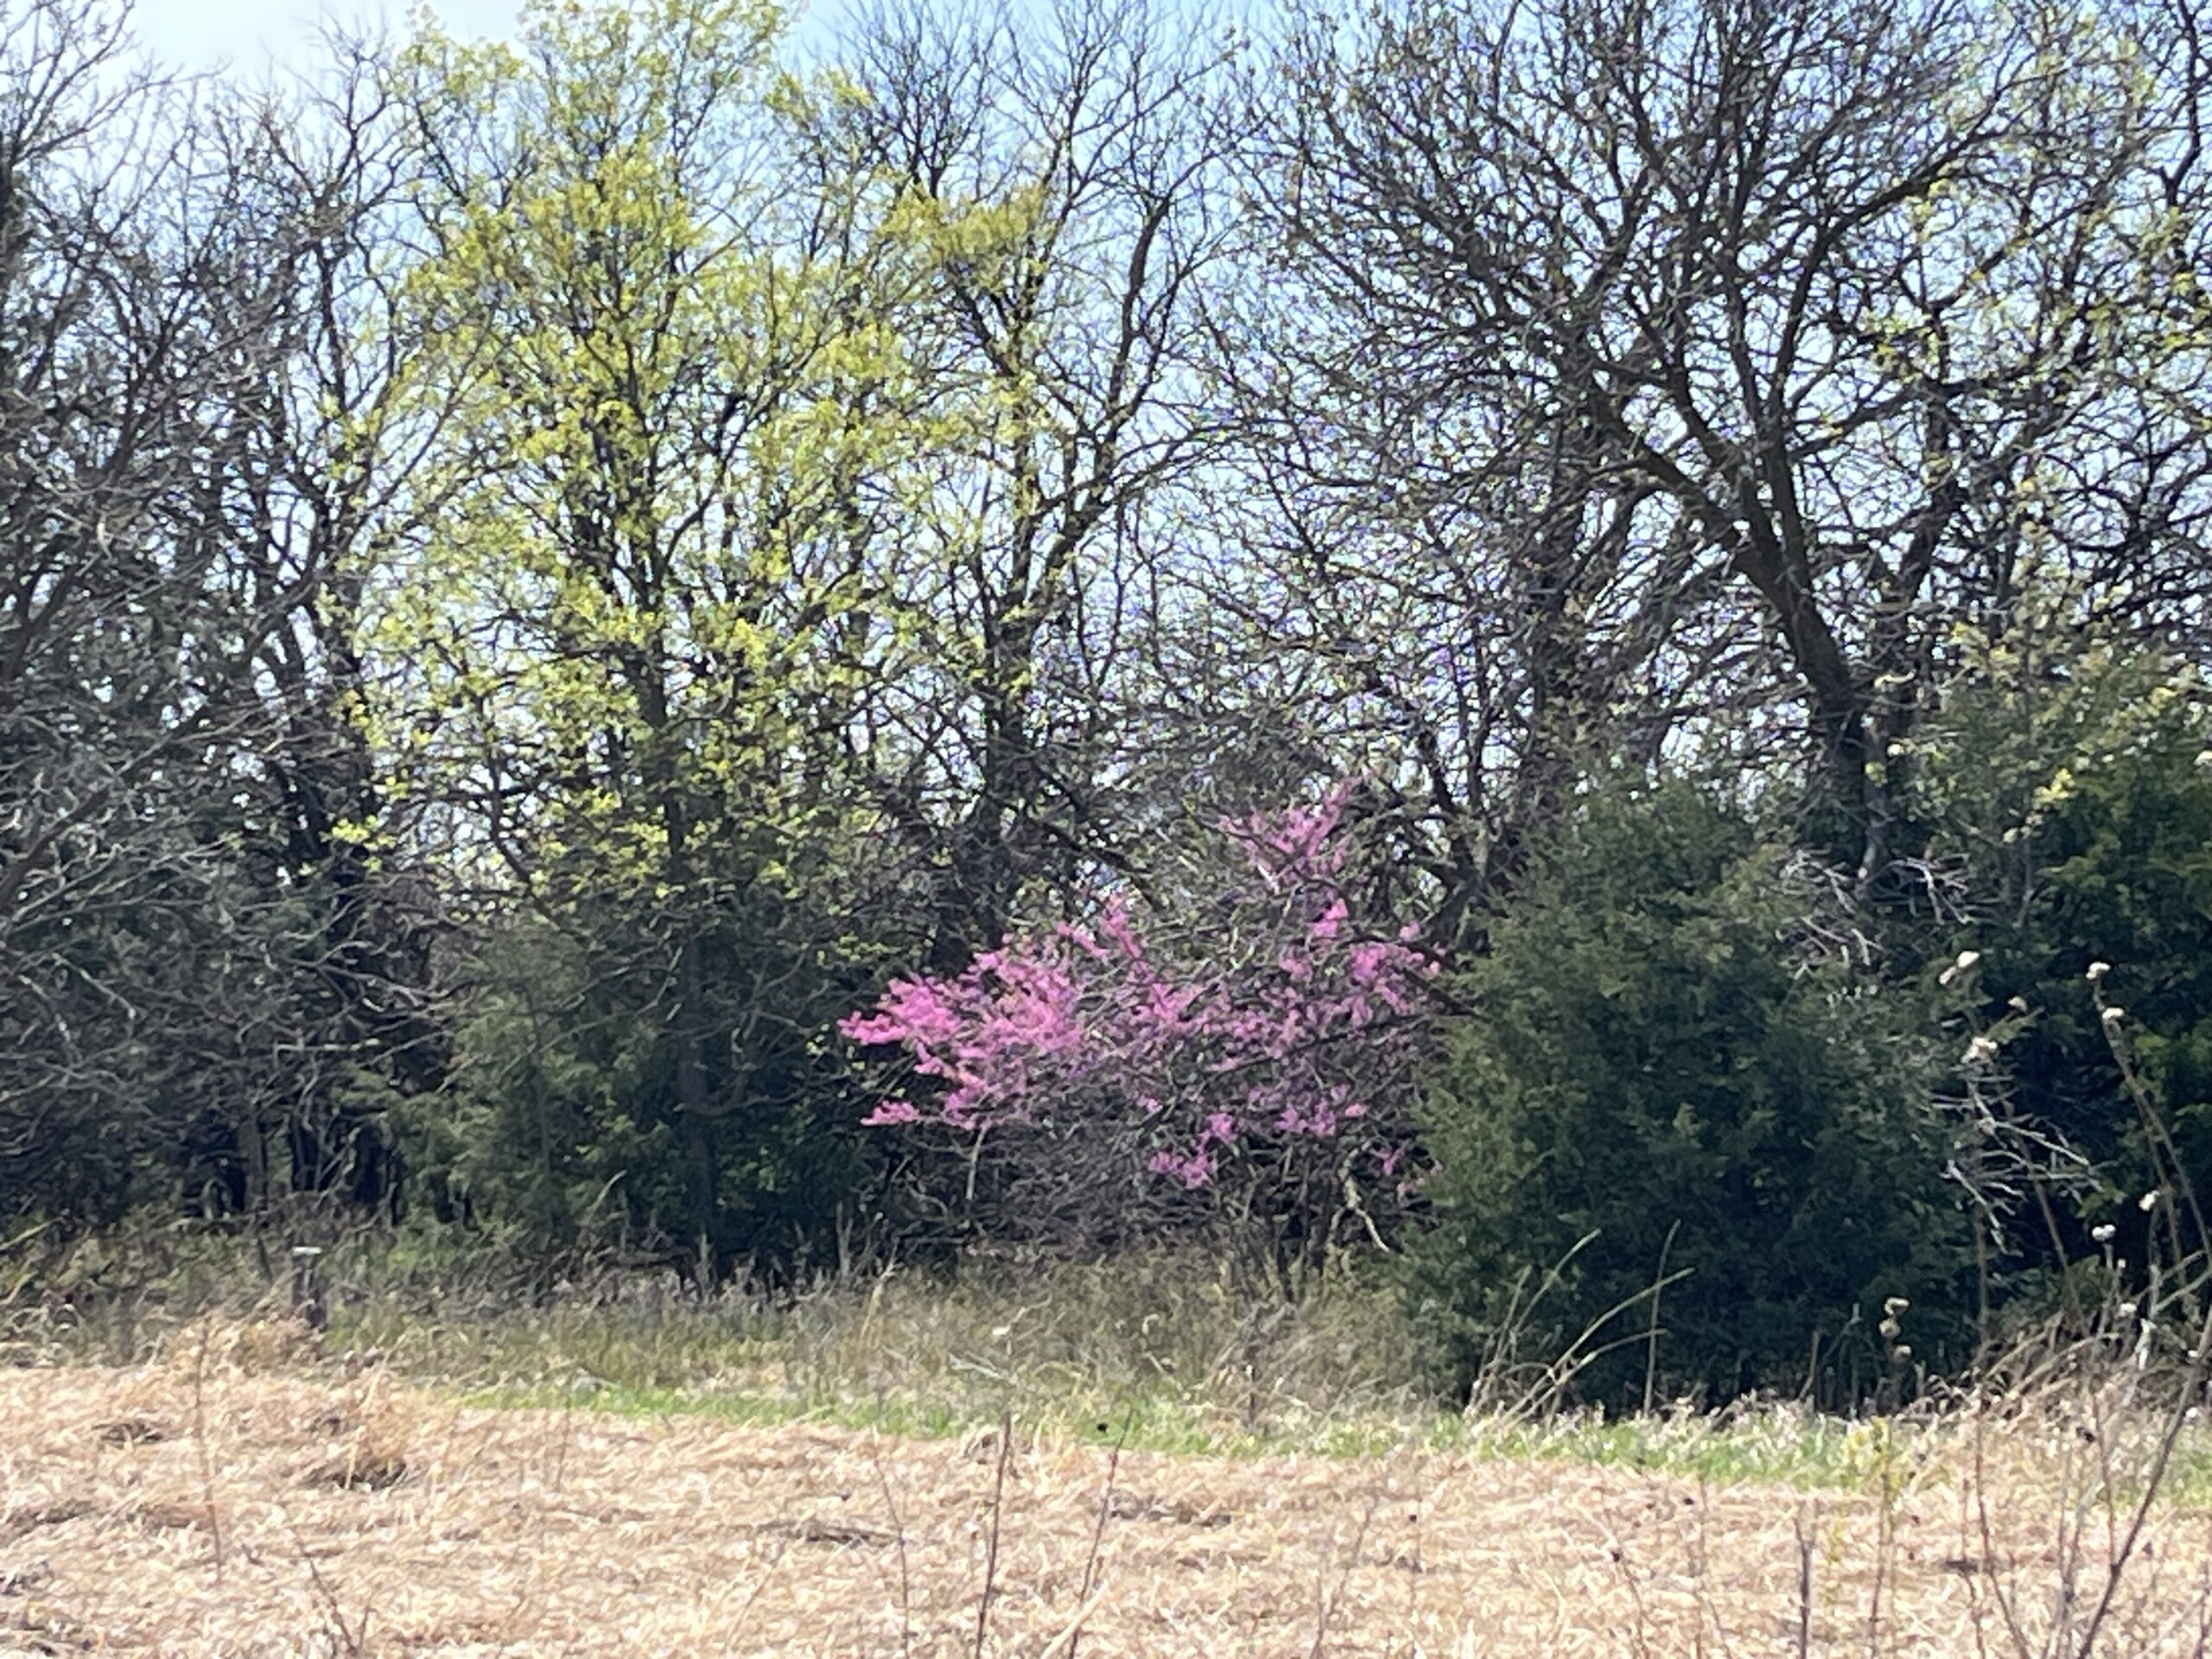
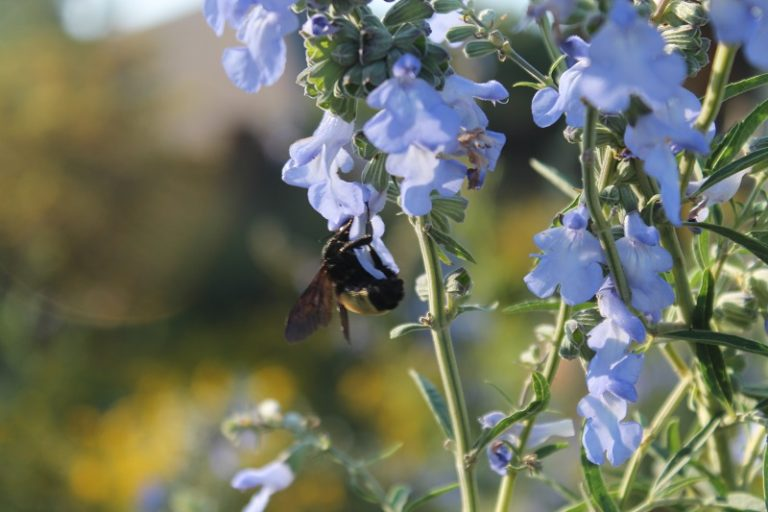
Getting started requires a “layering” mindset rather than a “row” mindset. In nature, Kansas woodlands consist of a tall canopy, a middle understory of small trees like the Eastern Redbud, and a ground layer of perennials. To replicate this, clear out invasive species like non-native Bush Honeysuckle first, then focus on improving the soil with compost and leaves rather than heavy fertilizers. Planting in “drifts” of three or five of the same species will create a more natural look and make it easier for pollinators to locate their food sources in the darker understory.
Here is a list of other shade plants for you to choose.
Shrubs
- Amelanchier Canadensis – Canadian serviceberry
- Aronia arbutifolia – Red chokeberry ‘Brilliantissima’ cultivar
- Aronia melanocarpa – Black chokeberry ‘Viking’, ‘Low Scape Mound’, and ‘Gound Hug’
- Callicarpa americana – Beautyberry
- Cephalanthus occidentalis – Buttonbush
- Cornus amomum – Silky dogwood
- Cornus racemose – Gray dogwood
- Corylus americana – Hazelnut
- Diervilla – American Bush Honeysuckle (Not invasive)
- Hamamelis vernalis – Vernal Witchhazel
- Hamamelis virginiana – Witchhazel
- Ilex decidua – Deciduous holly
- Ilex glabra – Inkberry
- Lindera benzoin – Spicebush
- Rhus aromatica – Aromatic sumac
- Staphylea trifolia – Bladdernut
- Viburnum acerifolia – Mapleleaf viburnum
- Viburnum prunifolium – Blackhaw viburnum
- Viburnum rufidulum – Rusty blackhaw viburnum
Perennials
- Actea pachypoda – Doll’s eyes
- Allium tricoccum – Wild leek
- Aquilegia canadensis – Wild columbine
- Asarum canadense – Wild ginger
- Eupatorium purpureum – Sweet joe-pye-weed
- Eupatorium rugosum – White snakeroot
- Eurybia divaricata – White woodland aster
- Geranium maculatum – Wild geranium
- Helianthus angustifolius – Narrow-leaved sunflower
- Helianthus giganteus – Swamp sunflower
- Heuchera Americana – Alum root
- Lysimachia cilliata – Fringed loosestrife
- Maianthemum canadense – Wild lily-of-the-valley
- Phlox divaricata – Woodland phlox
- Podophyllum peltatum – May apple
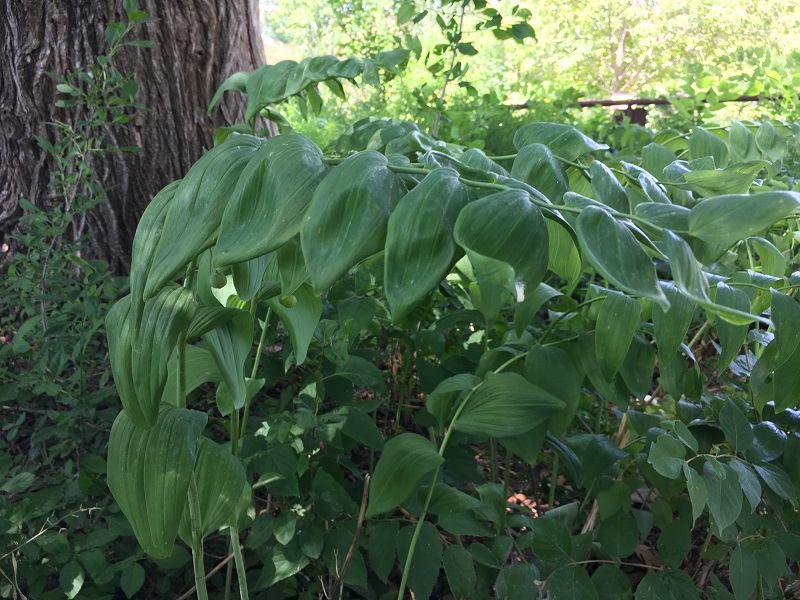
- Polygonatum biflorum – Solomon’s seal
- Smilacina racemose – False solomon’s seal
- Solidago caesia – Bluestem goldenrod
- Solidago odora – Anise-scented goldenrod
- Solidago ulmifolia – Elm-leaf Goldenrod
- Symphyotrichum cordifolium – Blue wood aster
Graminoides
- Carex appalachica – Appalachian sedge
- Carex pensylvanica – Pennsylvania sedge
- Carex rosea – Rosy sedge
- Carex texensis -Texas sedge
- Chasmanthium latifolium – Riveroats (AGGRESSIVE)
- Deschampsia flexuosa – Common hairgrass
- Elymus hystrix – Bottlebrush
Maintenance
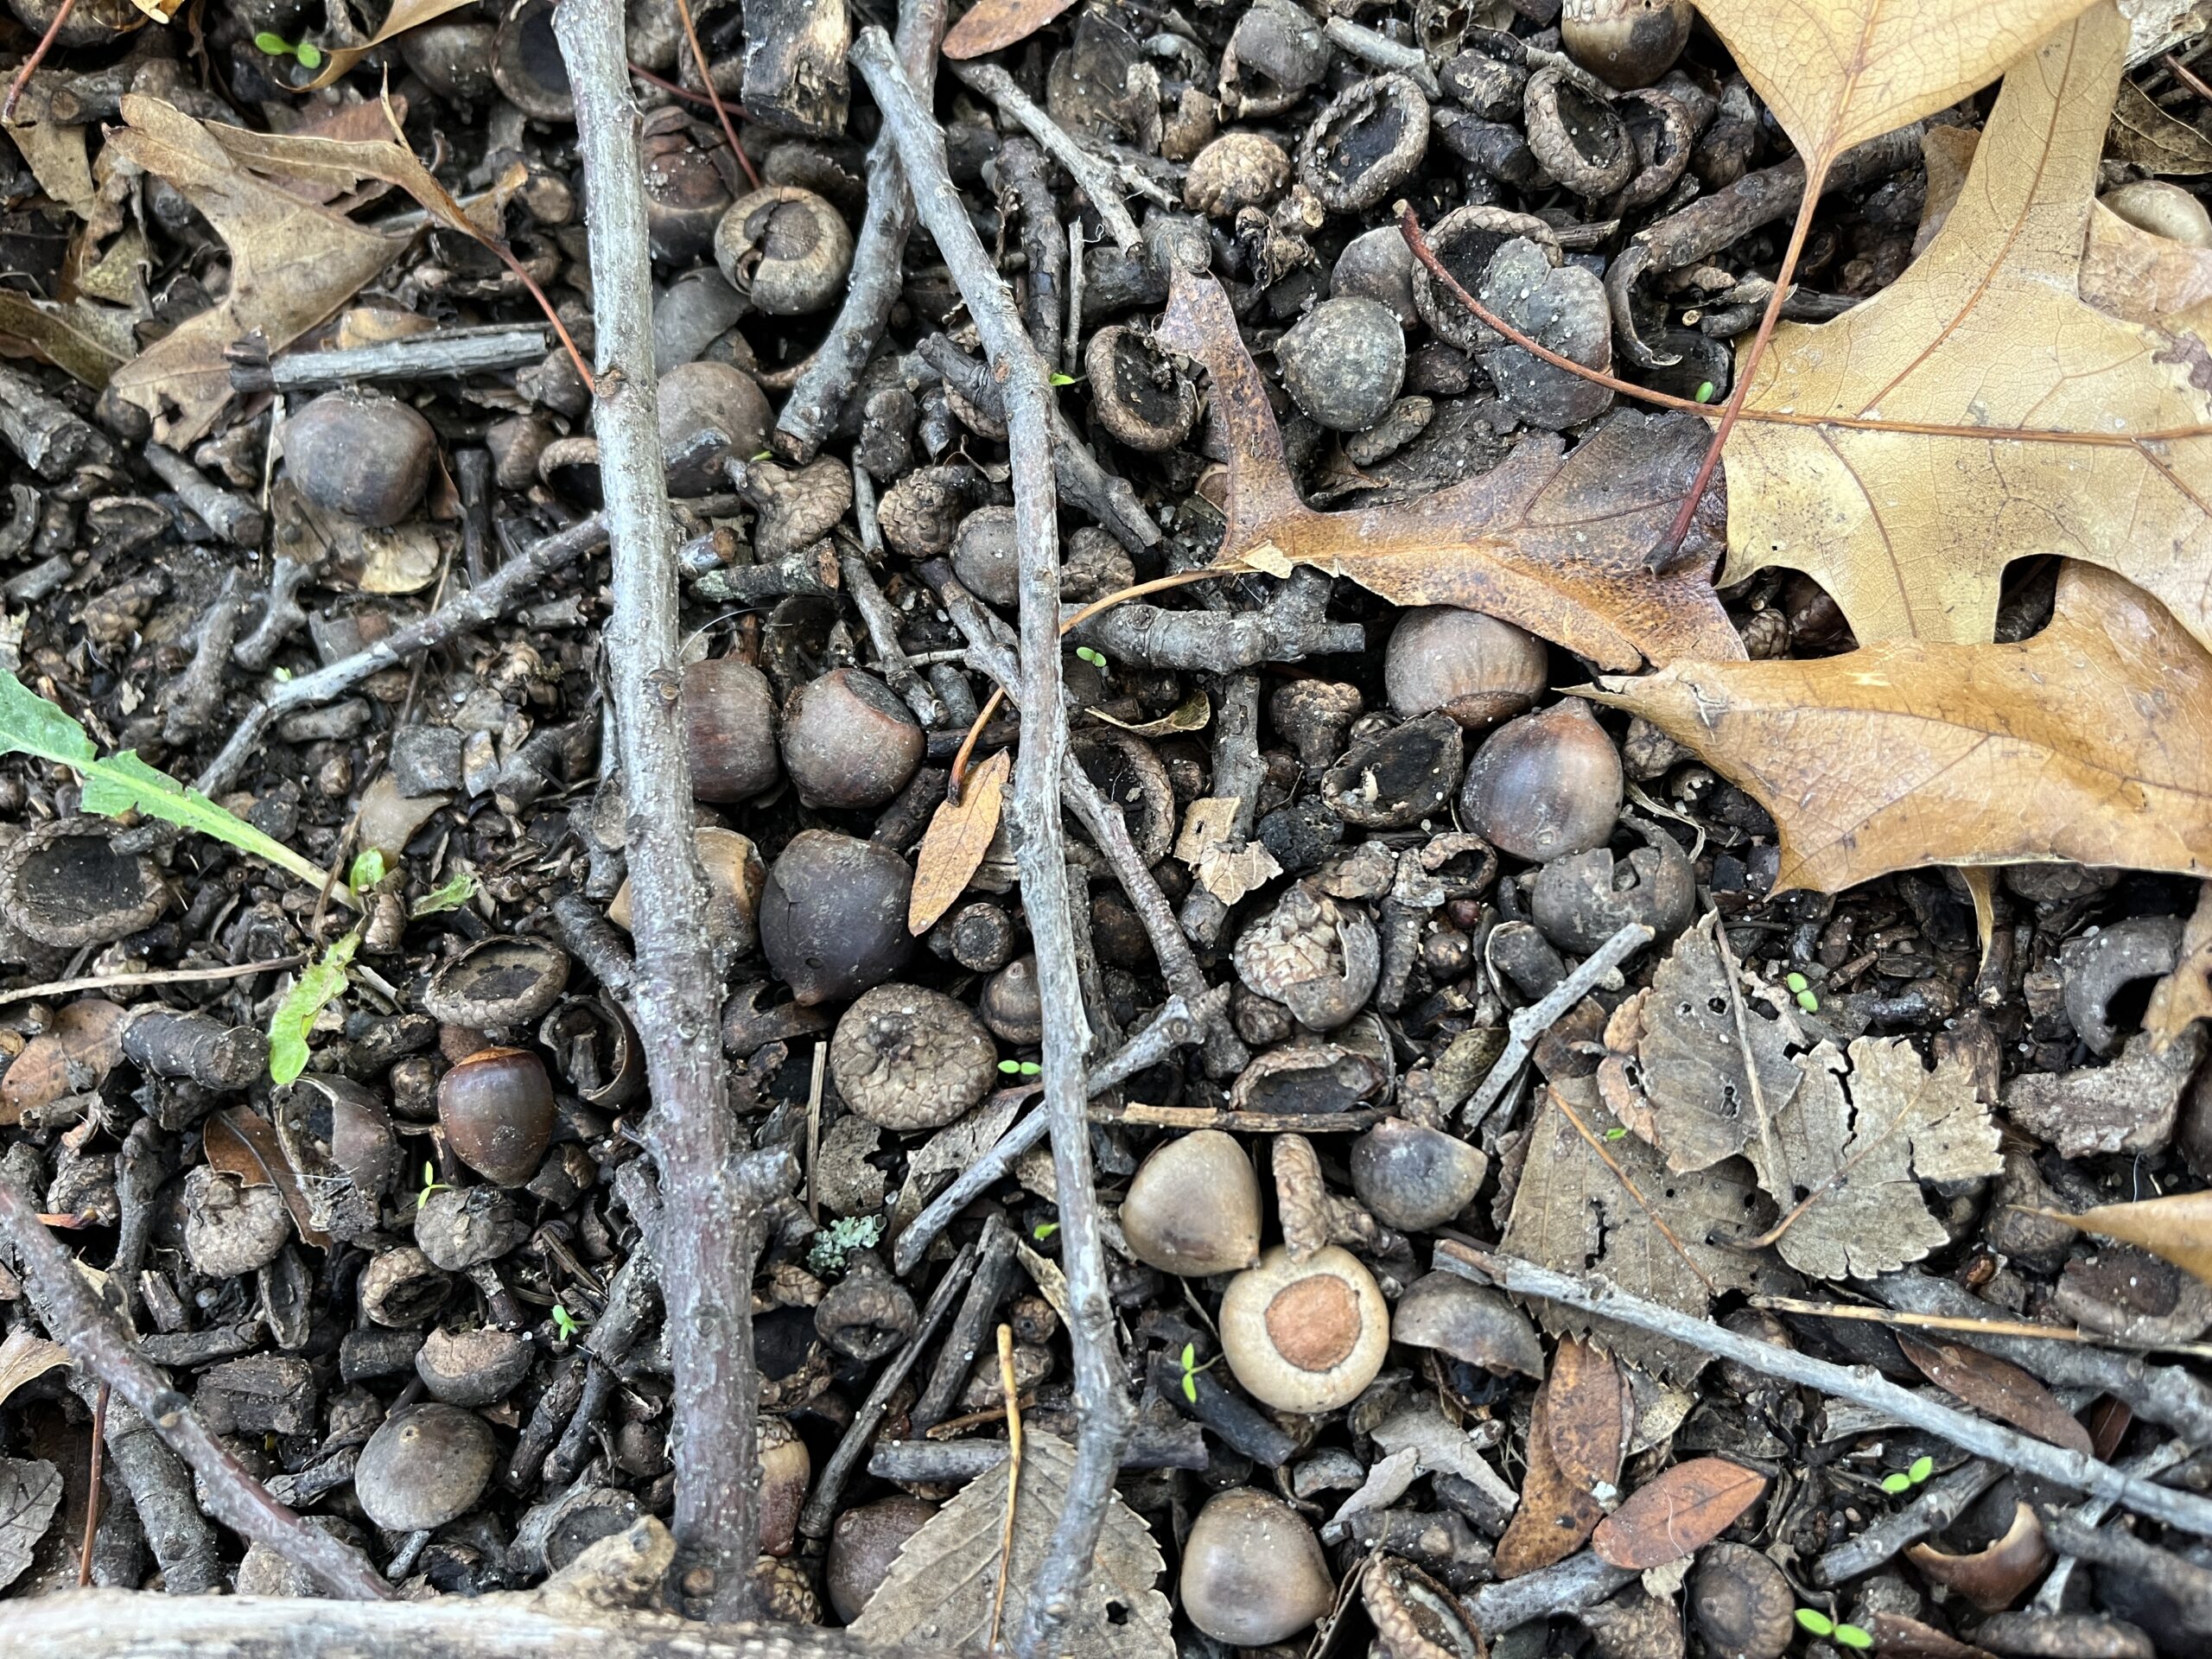
Maintaining a shade garden in South Central Kansas requires a “low-intervention” approach that prioritizes moisture retention and soil health. Our region typically has heavy clay soils that can swing from waterlogged to bone-dry in a couple of weeks. We recommend applying a two- to three-inch layer of organic mulch—such as shredded leaves, compost or, ideally, fallen leaves (leaf mold) to maintain a cooler root zone and suppress weeds.
Native species are quite adaptable to the specific clay-heavy soils and erratic moisture cycles of the Great Plains but even the hardiest shade plants will struggle without regular watering through the summer months. After all, you are trying to grow them in an area that was once a vast prairie with limited rainfall, not a forest with more consistent rainfall throughout the year.
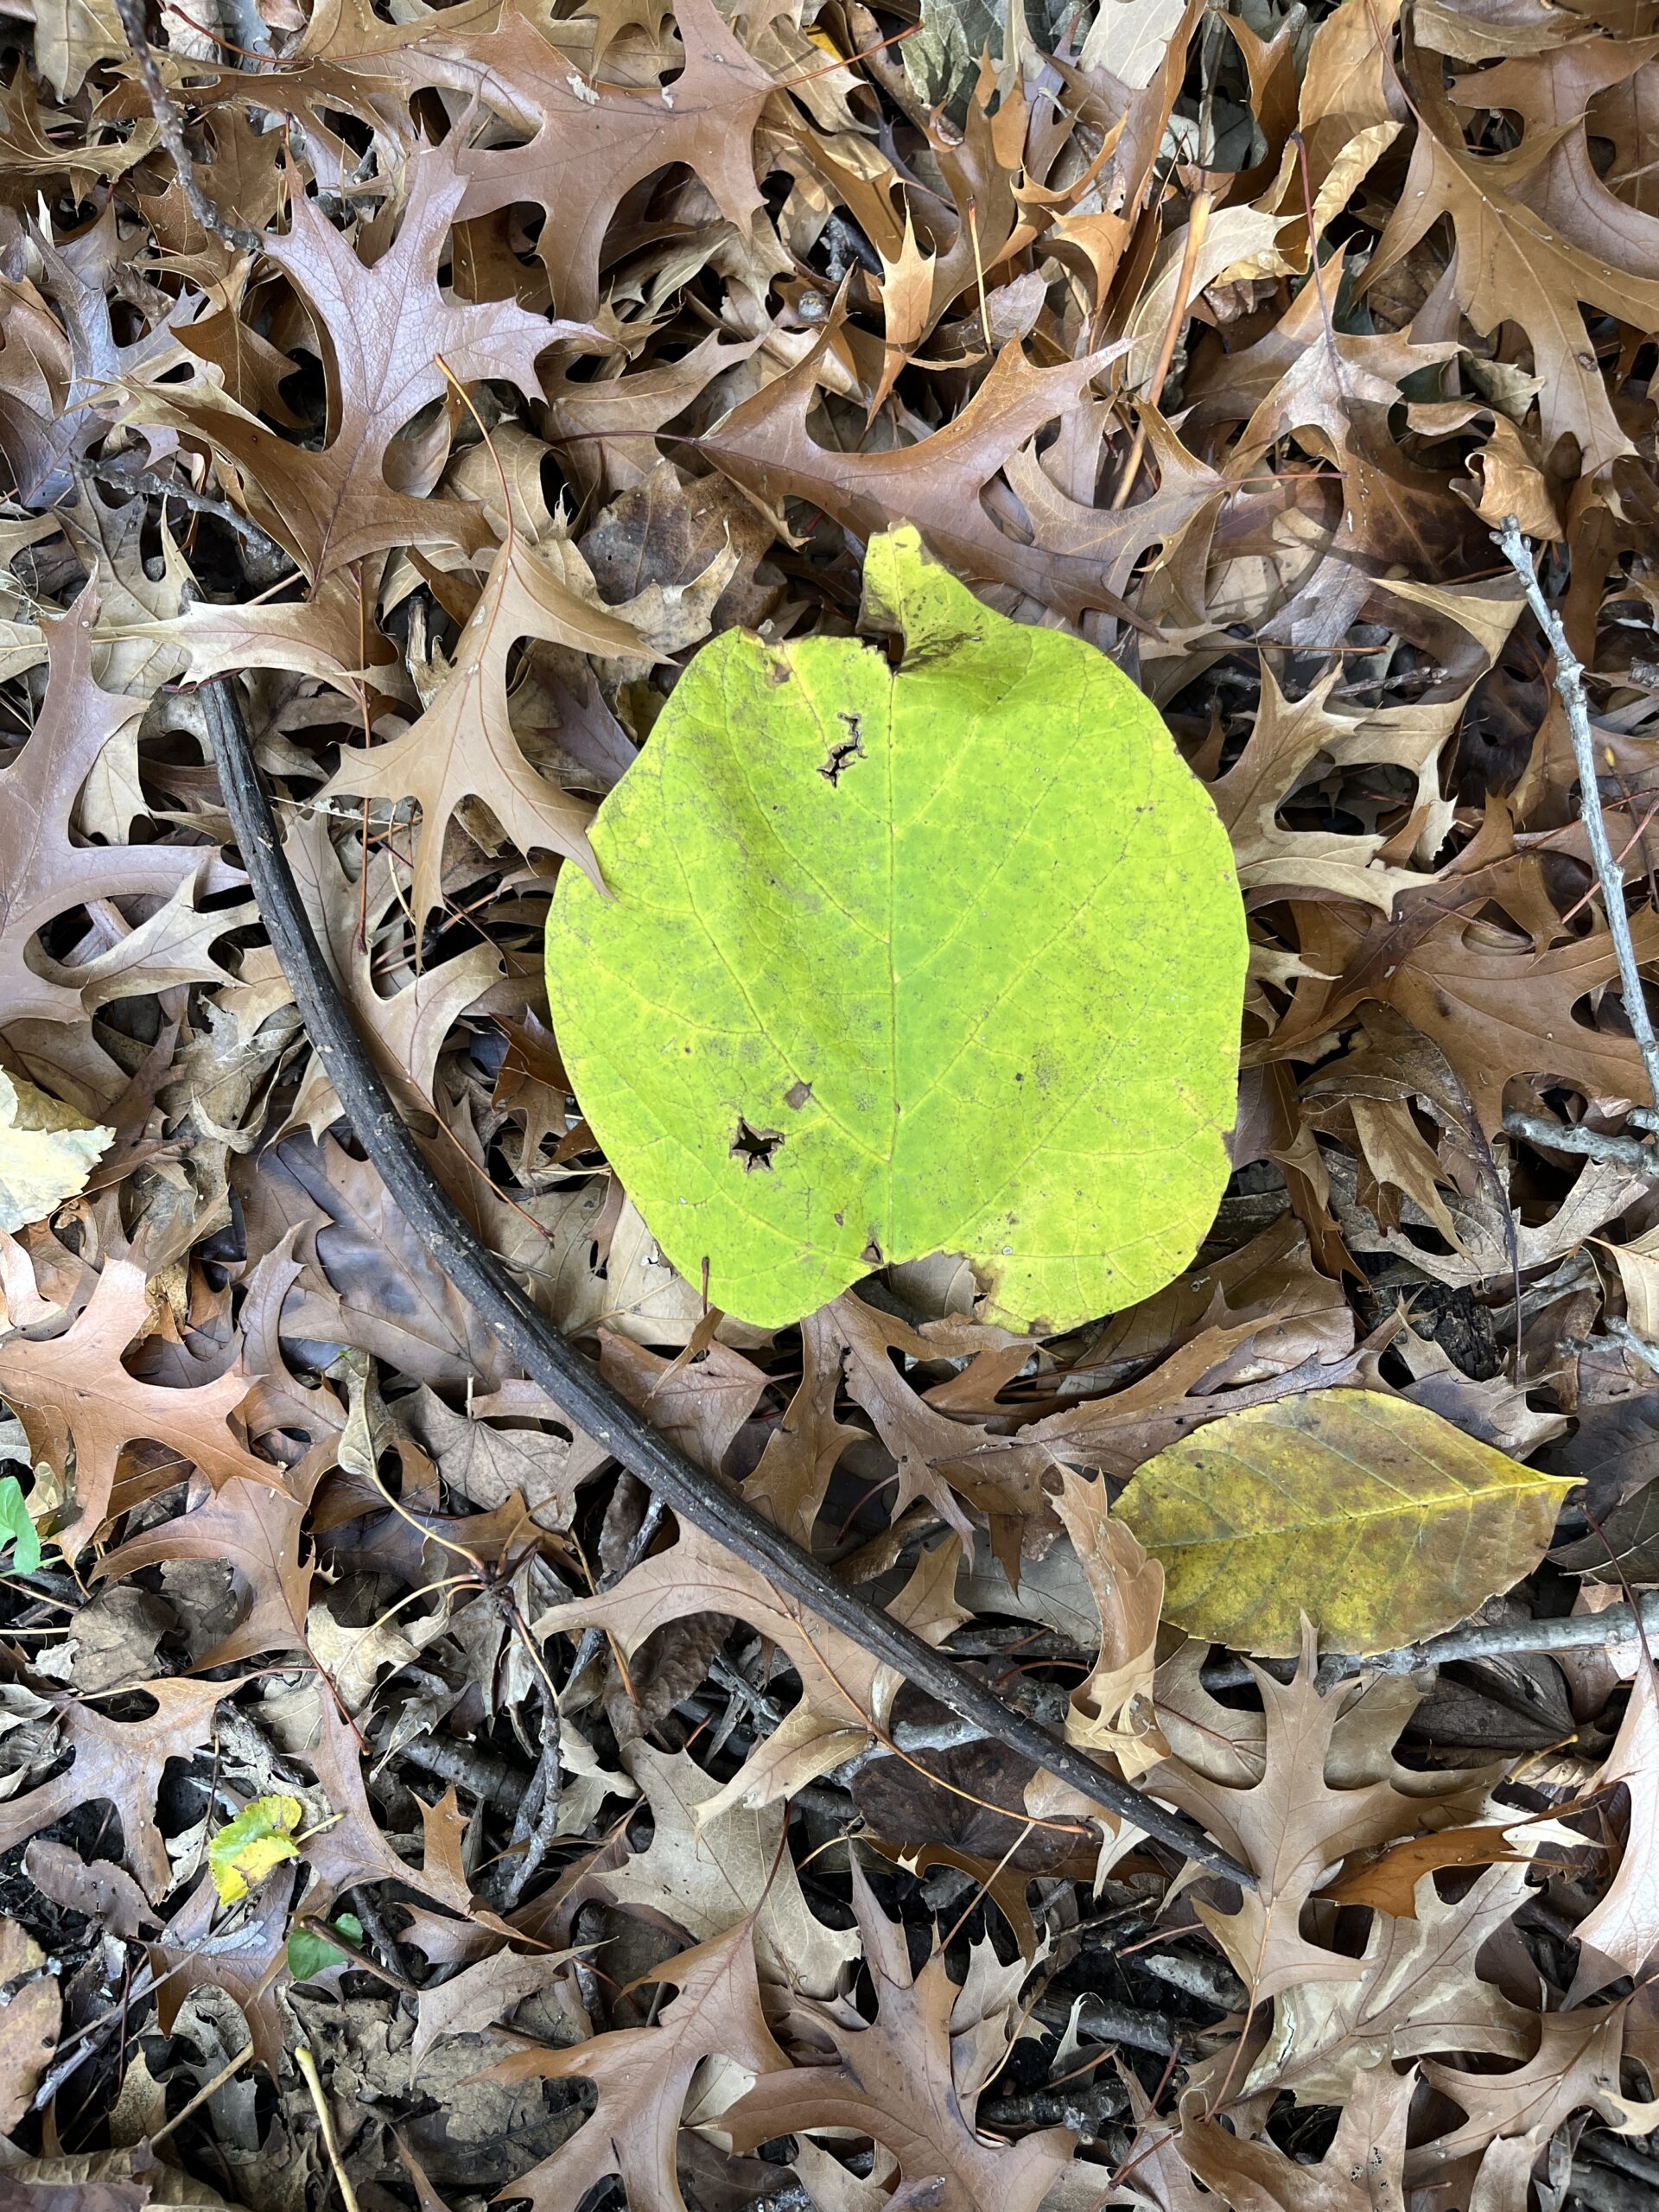
Watering should be done deeply but infrequently at the base of the plants to encourage deep root systems, specifically during the “flash droughts” common in July and August. During these prolonged periods without beneficial rainfall, weekly watering is essential to sustain your shade garden. Unlike sun-loving gardens that may require some deadheading, a native shade garden benefits from being left alone in the fall; leaving the spent stalks and leaf litter provides critical overwintering habitat for beneficial insects and naturally replenishes the soil nutrients for the following spring.


