
Stuck inside during the cold days of January and February, I spent some time working on the 2025 Native Plant Guide. It takes many hours to revise the list every year – double check the native ranges, add new species and take off those that are no longer available, and constantly correct my sloppy spelling! I noticed that this year we will have a huge variety of Eupatorium species available at FloraKansas. These beauties are not the most popular plant in the prairie garden, but they should be! So here is an introduction to Joe Pye weed in all its forms.
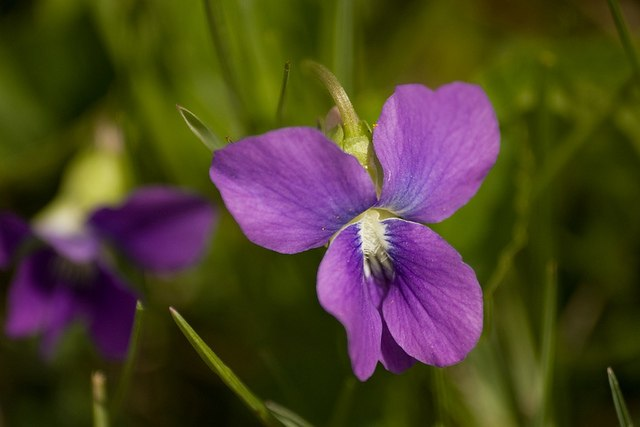
Eupatorium coelstinum
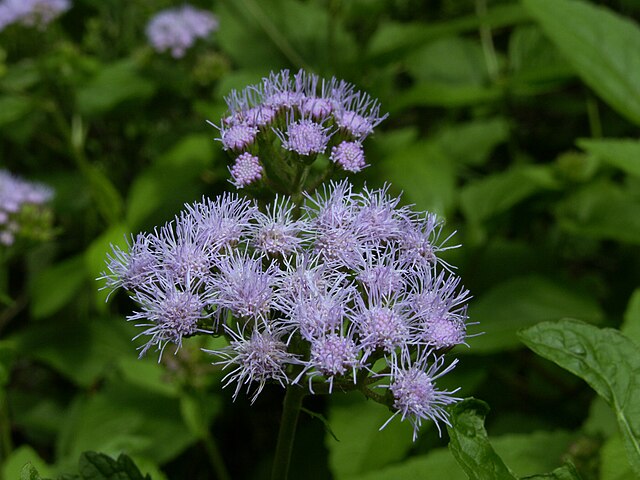
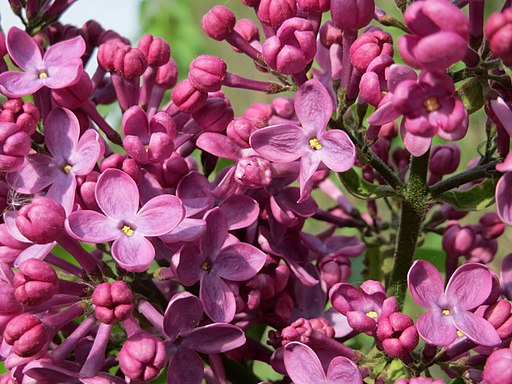
Mist flower is a lovely and rather petite member of this group of plants. It generally stays less than three feet tall, and blooms late summer through fall. It resembles the annual ageratum that I am used to seeing at traditional greenhouses. But this one is better! Why? Much more drought hardy, it is a perennial, and it is native here in Kansas, particularly in the far south east counties. In my experience, it does best in partial sun though many online sources say otherwise. I think hot afternoon sun on west or south exposures can wilt it, leading to less vigor.
Eupatorium perfoliatum ‘Blind Date’
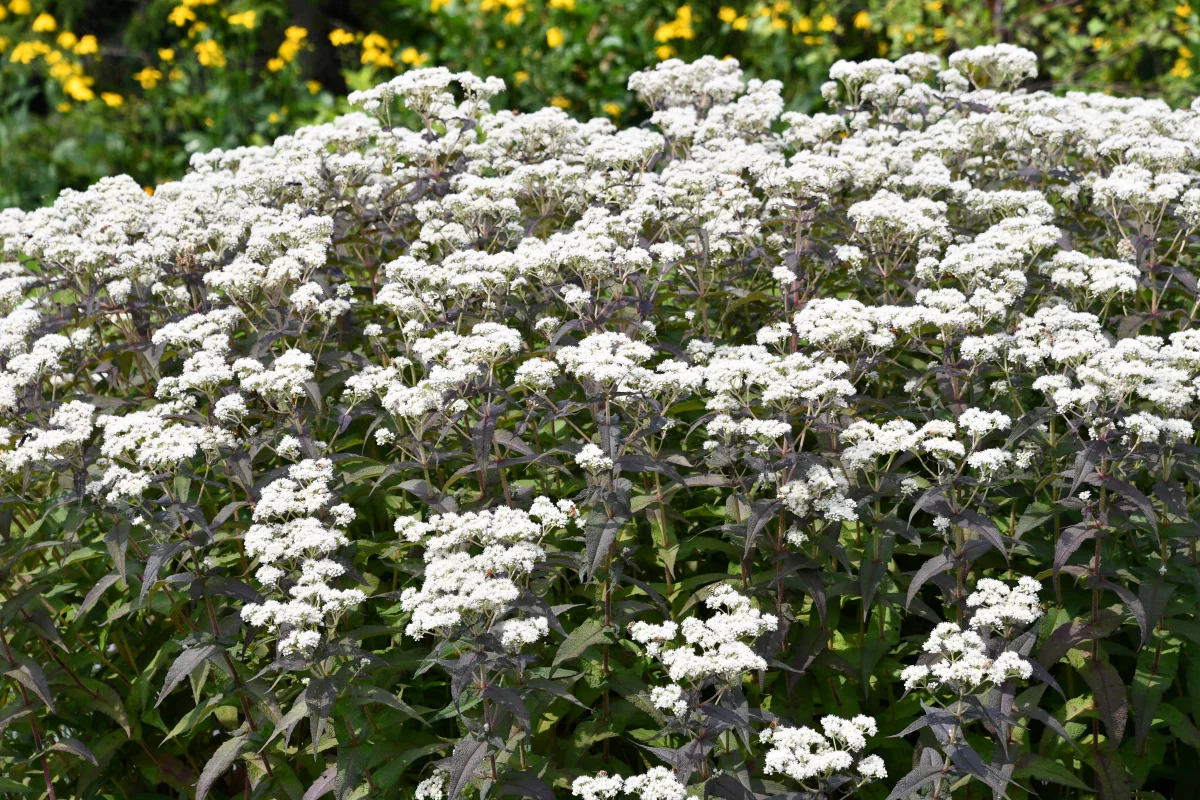
E. perfoliatum, common boneset, it native to pretty much every state east of the Rockies, and also Canada. Versatile and adaptable, it finds a home in roadside ditches, woodland margins, and along streams and wetlands. Moist soil is best for this beauty, and be prepared for rapid spread if conditions are right. The variety ‘Blind Date’ has slightly darker new growth than the straight species, giving it an ombre effect and heightening its ornamental appeal.
Eupatorium altissimum
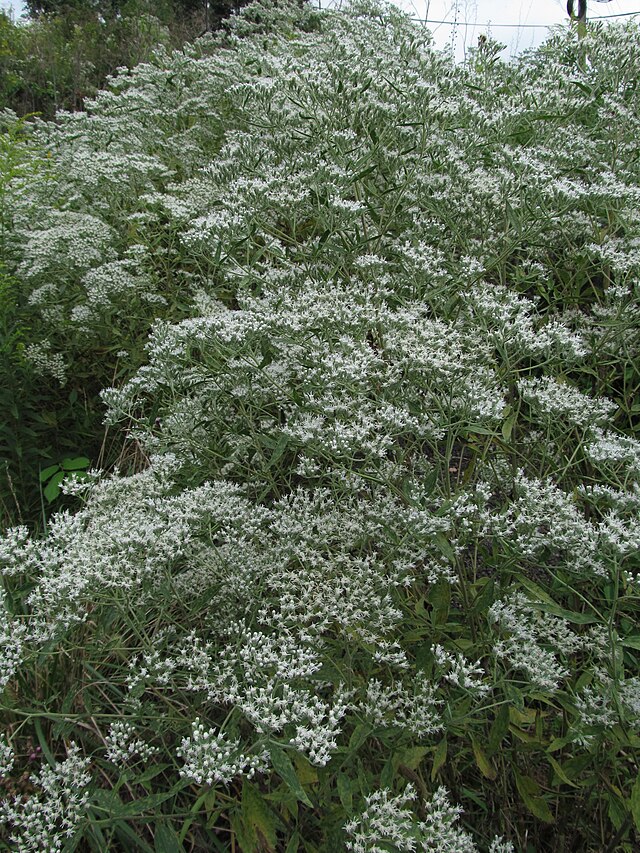
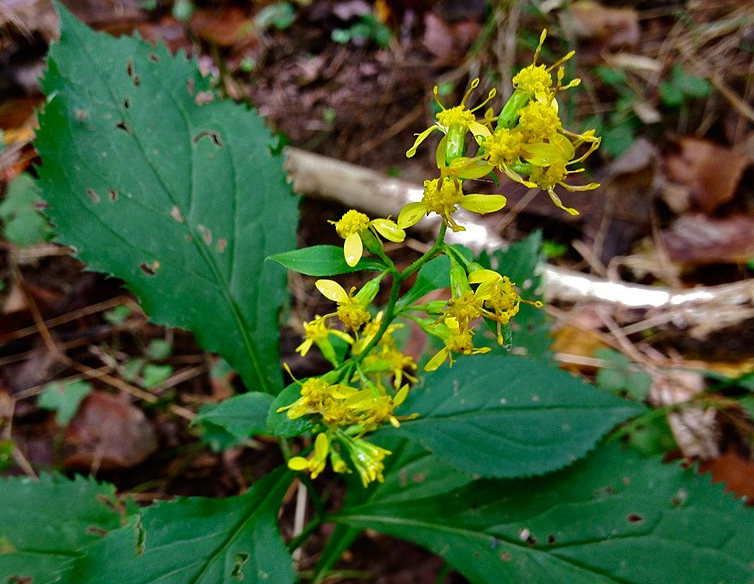
Tall Boneset is beloved by pollinators, but not so much by gardeners. It grows up to 6 feet tall in some cases, and spreads readily by seed and by rhizomes. Hundreds of white flowers appear in late summer, much to the delight of butterflies, beetles, wasps, bees, and many other crawling and flying things! Sometimes labeled as a ‘problem plant’ or undesirable, it’s actually quite lovely. If you have lots of space and don’t mind a bit of chaos, it is a worthwhile addition to wildlife gardens or pocket prairies. Not sure of your soil moisture level? No problem, this plant grows in wet or dry conditions, and can handle full sun or partial.
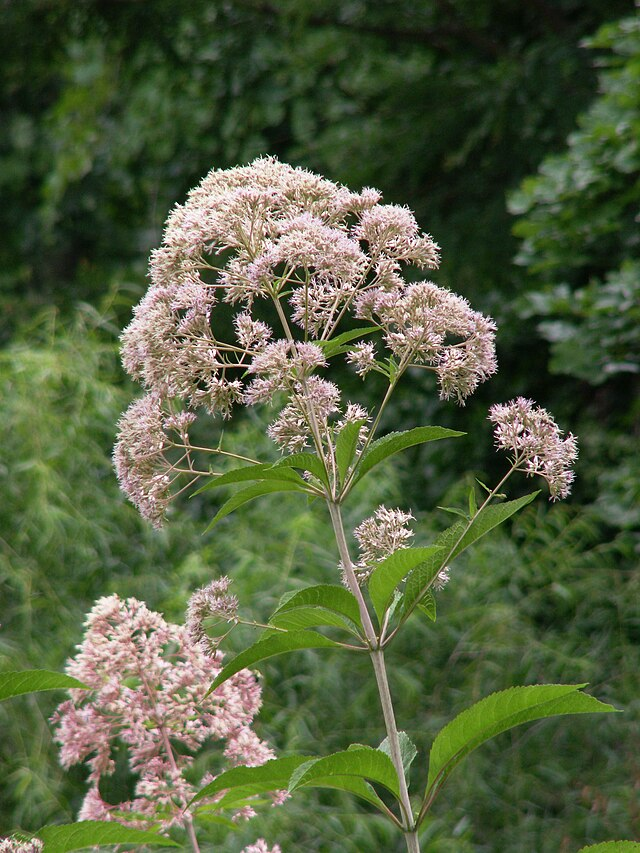
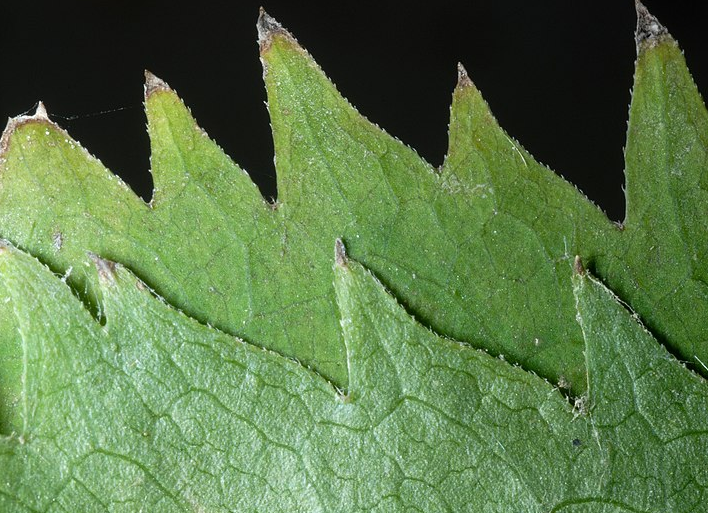
Eupatorium maculatum
Spotted Joe Pye Weed gets its name from the marks on its stem that distinguish it from other similar species. Tall plants are topped with umbels of pink flowers, and it needs full sun and consistent moisture to stay looking its best. Planted around ponds, near streams, or in reliably wet rain gardens, this plant will get up to six feet tall.
Name Game
Taxonomists, those scientists that work to classify living beings into the proper groups, have been hard at work changing some names around. Eupatorium spp. with whorled leaves were changed to the genus Eutrochium, while those that have opposite or alternate leaves stayed the same. Mist flower is now referred to as Conclinum coelstinum, once genetic analysis revealed it was more closely related to Ageratums than true Eupatoriums. The genus name Eupatorium actually comes from ancient times, in what is now Turkey. It has a fascinating history involving King Mithridates VI of Pontus, known as Eupator Dionysius, and his fear of poisoning.
Eutrochium dubium ‘Little Joe’

A lover of wet soil and sunny situations, ‘Little Joe’ is the best loved of all the plants in this group. It has been widely available for garden use for many years. The cultivar is shorter and more manageable than the straight species, but is unchanged in flower shape and color. E. dubium is not native to Kansas, found mostly in the southeastern US and Atlantic coast region. But it grows well here in garden settings with supplemental watering.
Eutrochium fistulosum
The largest of all the Joe Pye, this plant is also known as trumpetweed and Hollow Joe Pye. This is due to its mostly hollow stems. If you are looking for a statement plant, or something to obscure a fence or add some privacy, this might be the Joe Pye for you! Partial sun and medium soil moisture will suit just fine, though once established it is pretty tough and can handle a wide range of soil conditions.
What do all these Eupatoriums have in common? All are excellent for pollinators, all of them can be used ornamentally or for cutting gardens, and all of them are available at the spring FloraKansas event!


.jpg)