
Originally published on April 29, 2015, here are some helpful hints from our Executive Director Scott Vogt on getting your native plants established using “waterwise” methods.
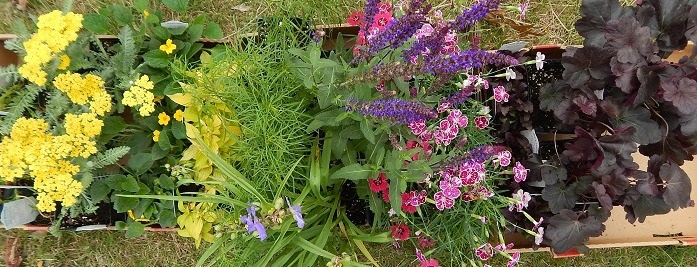
Over the past few weeks, we have been fielding quite a few questions about how to properly establish plants purchased at our fall FloraKansas Native Plant Days. Hopefully, many of you have a great start and your plants are beginning to attach to the soil. But if you have questions, keep reading for some helpful reminders and step by step instructions for our method of establishing plants.
Now that you have purchased your plants at our FloraKansas plant sale and hopefully gotten them planted in your landscape, you’ll want to be intentional about watering methods. It’s true, native plants are more drought-tolerant than you may be used to. However, in order to get your plants successfully established, they will still need some careful attention these first few weeks and through the summer.
Follow these steps to be “water smart” as you establish your native plants:
The First Year
When planting: Water plants as soon as you get them in the ground. Allow the water to soak in, then water again until the soil is thoroughly moistened.
First Two Weeks: Water plants daily depending on the weather. If it rains, skip a watering. Just-planted roots are only able to absorb soil moisture from the potting soil. They have not attached to their surrounding soil. When you see new growth, the plants have begun to get established.
First Month: Unless the weather is extremely hot and dry, you may be able to decrease watering frequency to two or three times per week. Generally, you want the soil to be dry an inch or two below the surface before you water. Too much water leads to foliar and root problems. It is optimal to allow the soil to dry between watering because this encourages roots to grow deep.
Following Months: Water only when top inch or two of soil dries or when plants display signs of being dry. Water deeply and infrequently. How much water will depend on your soil and environmental conditions. Don’t forget to check your plants during the winter months.

The Second Year
Water deeply as needed. During prolonged periods of dry weather water once or twice per week. Generally, it takes plants at least two years to fully develop a sustaining root system.
The Following Years
Properly planted and watered plants should be fairly well established, and can thrive with less watering than you may expect. Drought-tolerant plants may need no supplemental water, whereas shallow-rooted plants or plants with greater water needs may need water weekly. Many plants, when selected for the conditions in your yard, may need watering only once or twice a month in dry weather.
Best Management Practices for Native Plants (BMPs)
Drought-tolerant plants: Even drought-tolerant plants need regular water until they are established!
Young Trees and Shrubs: Young trees and shrubs need deep regular watering. During times of little or no rain, water deeply once a week until trees become established.
Fertilization: Don’t fertilize new plants. Fertilizing during establishment encourages rapid top growth that is not sustainable by the root system.
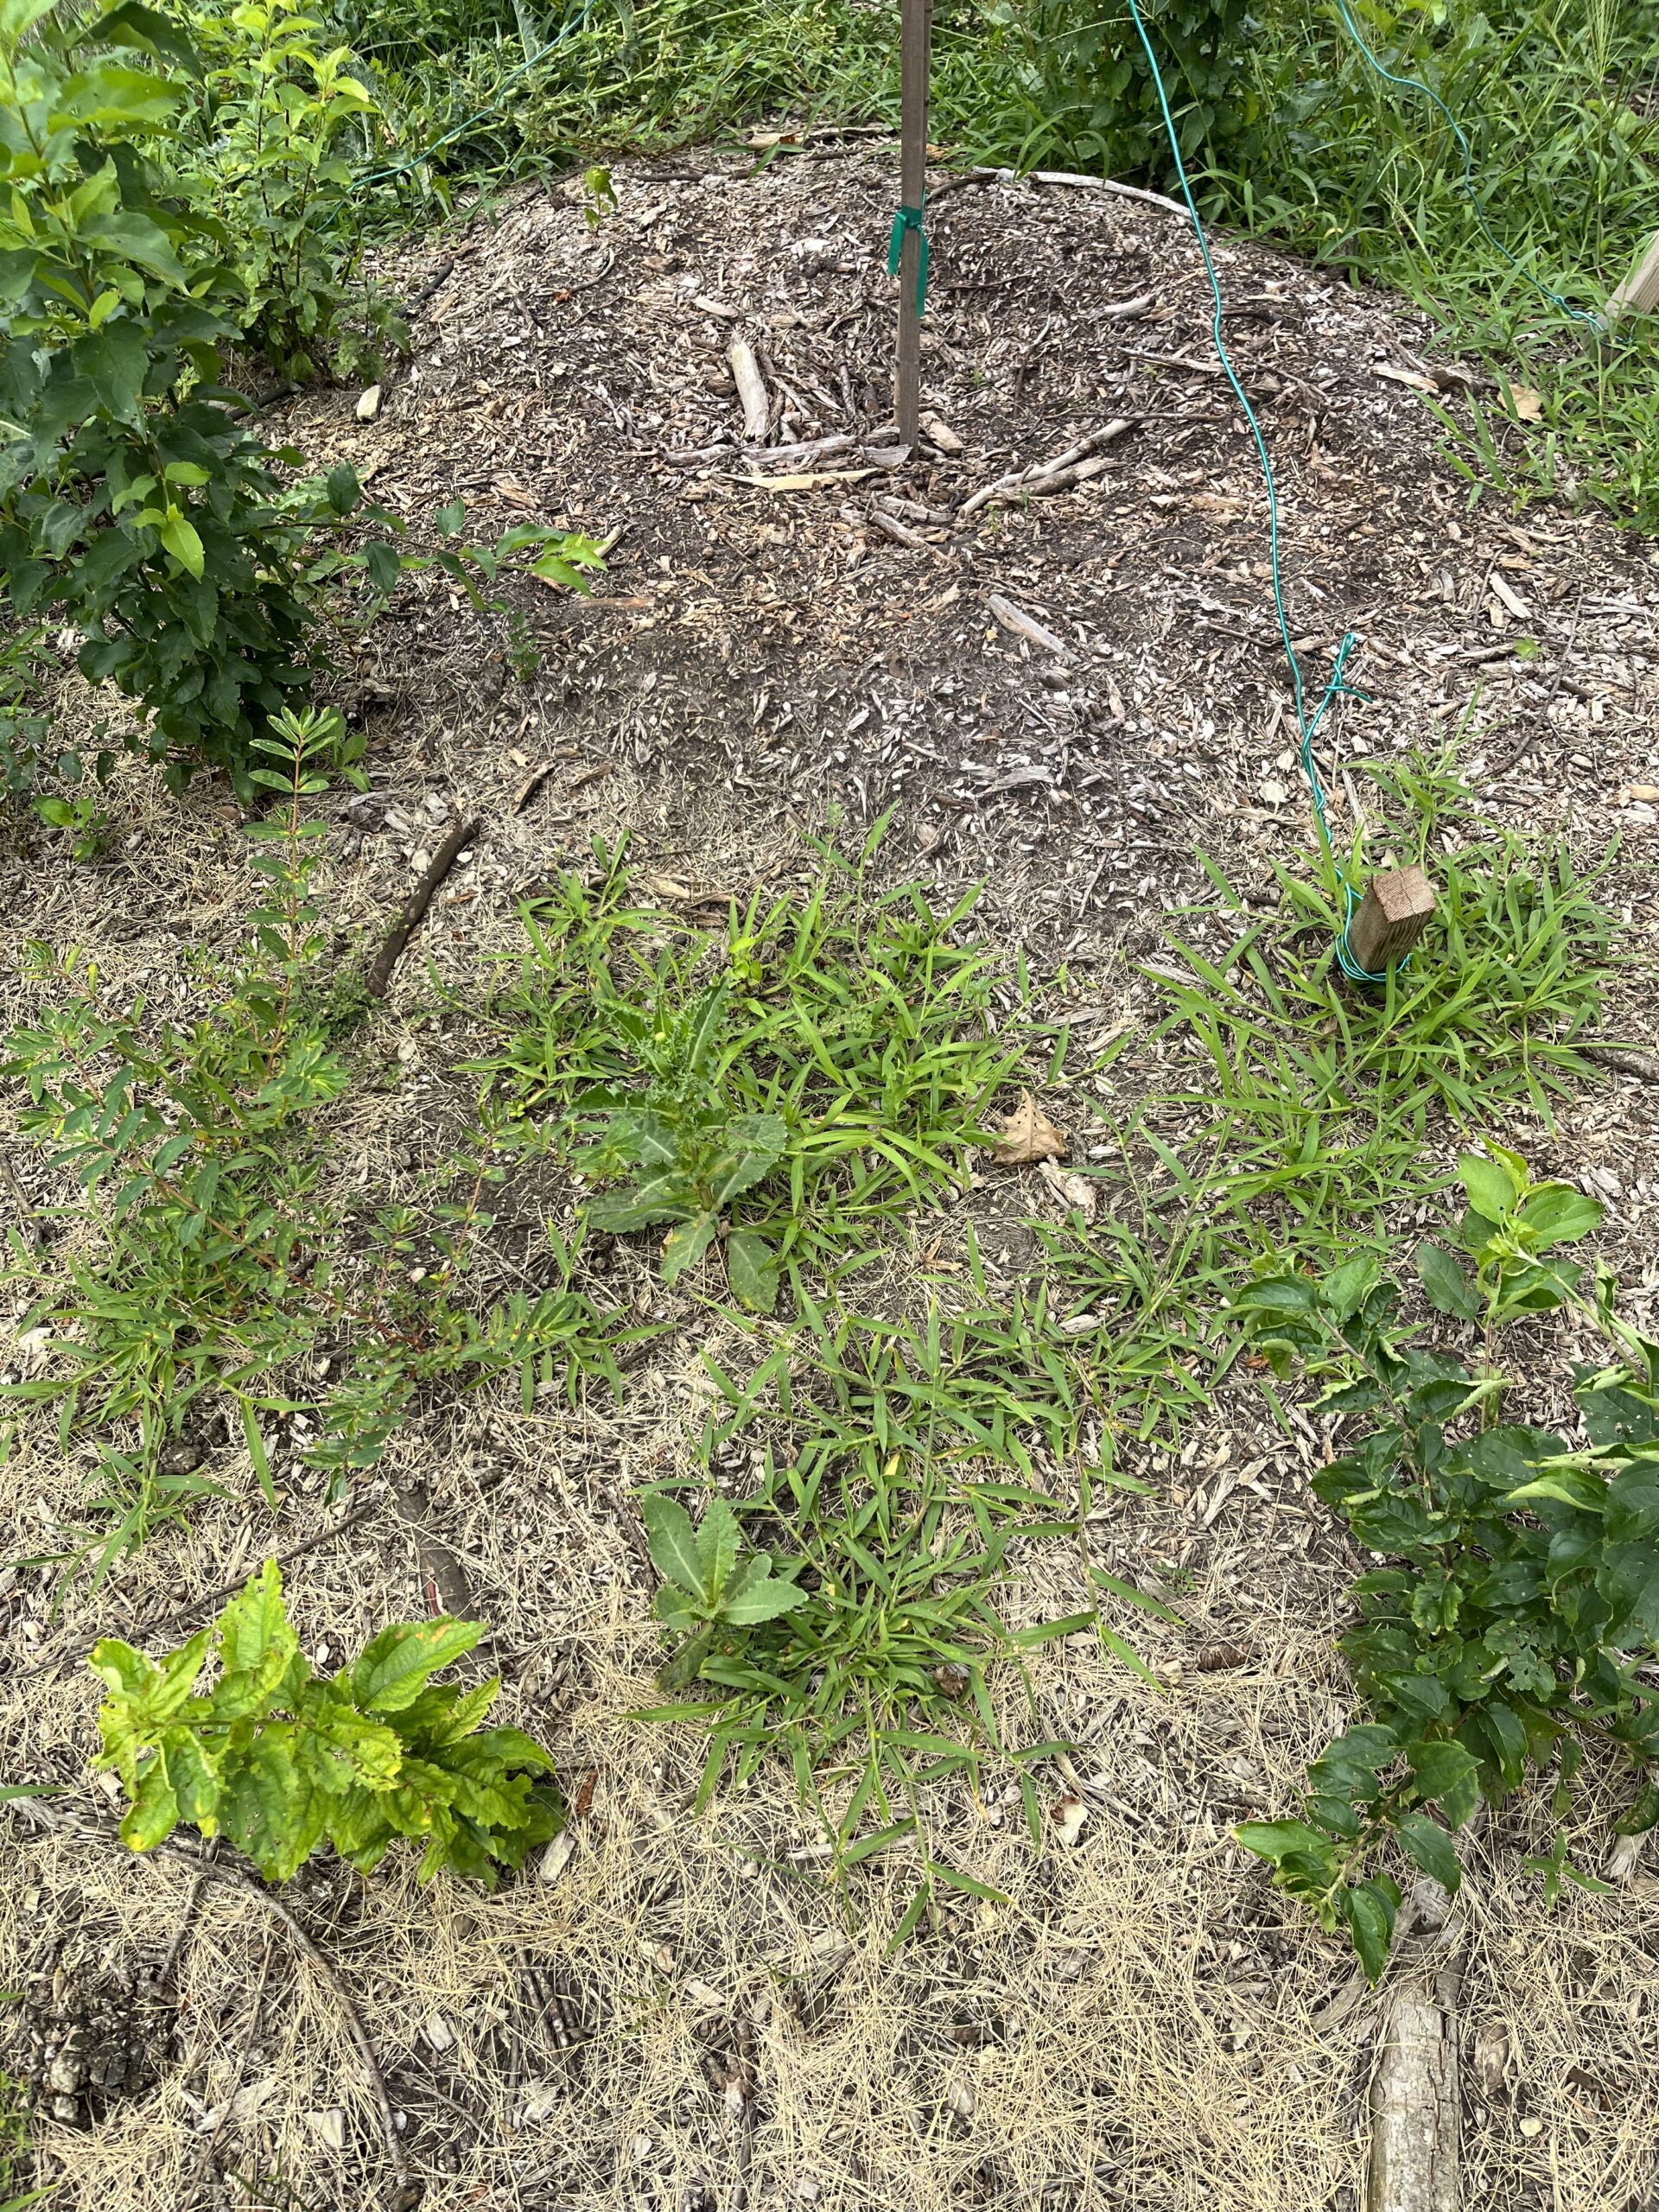
Mulch: Mulch new plantings with 1-3 inches of mulch and keep mulch away from plant stems.
Water in the morning: Less water is lost to evaporation.
Choose the right watering method: A soaker hose applies water directly to the soil and reduces evaporation. If you are planting a few plants in an existing planting bed, hand watering can get the new plants the water they need while not overwatering the rest of the bed.
Get to know your soil: Is your soil sand or clay? It greatly affects watering frequency and duration. Our clay soils can only take in about an inch of rain per hour.
Check soil moisture before watering: Check soil moisture with finger or spade. Soil should be dry an inch or two below the surface before you water.
Recheck soil after watering: At least an hour after you water (or two hours with clay soil), probe soil to see how deeply the water penetrated. If it didn’t reach the root zone, you may need to increase your watering. If the area is soggy, try cutting back on watering next time.
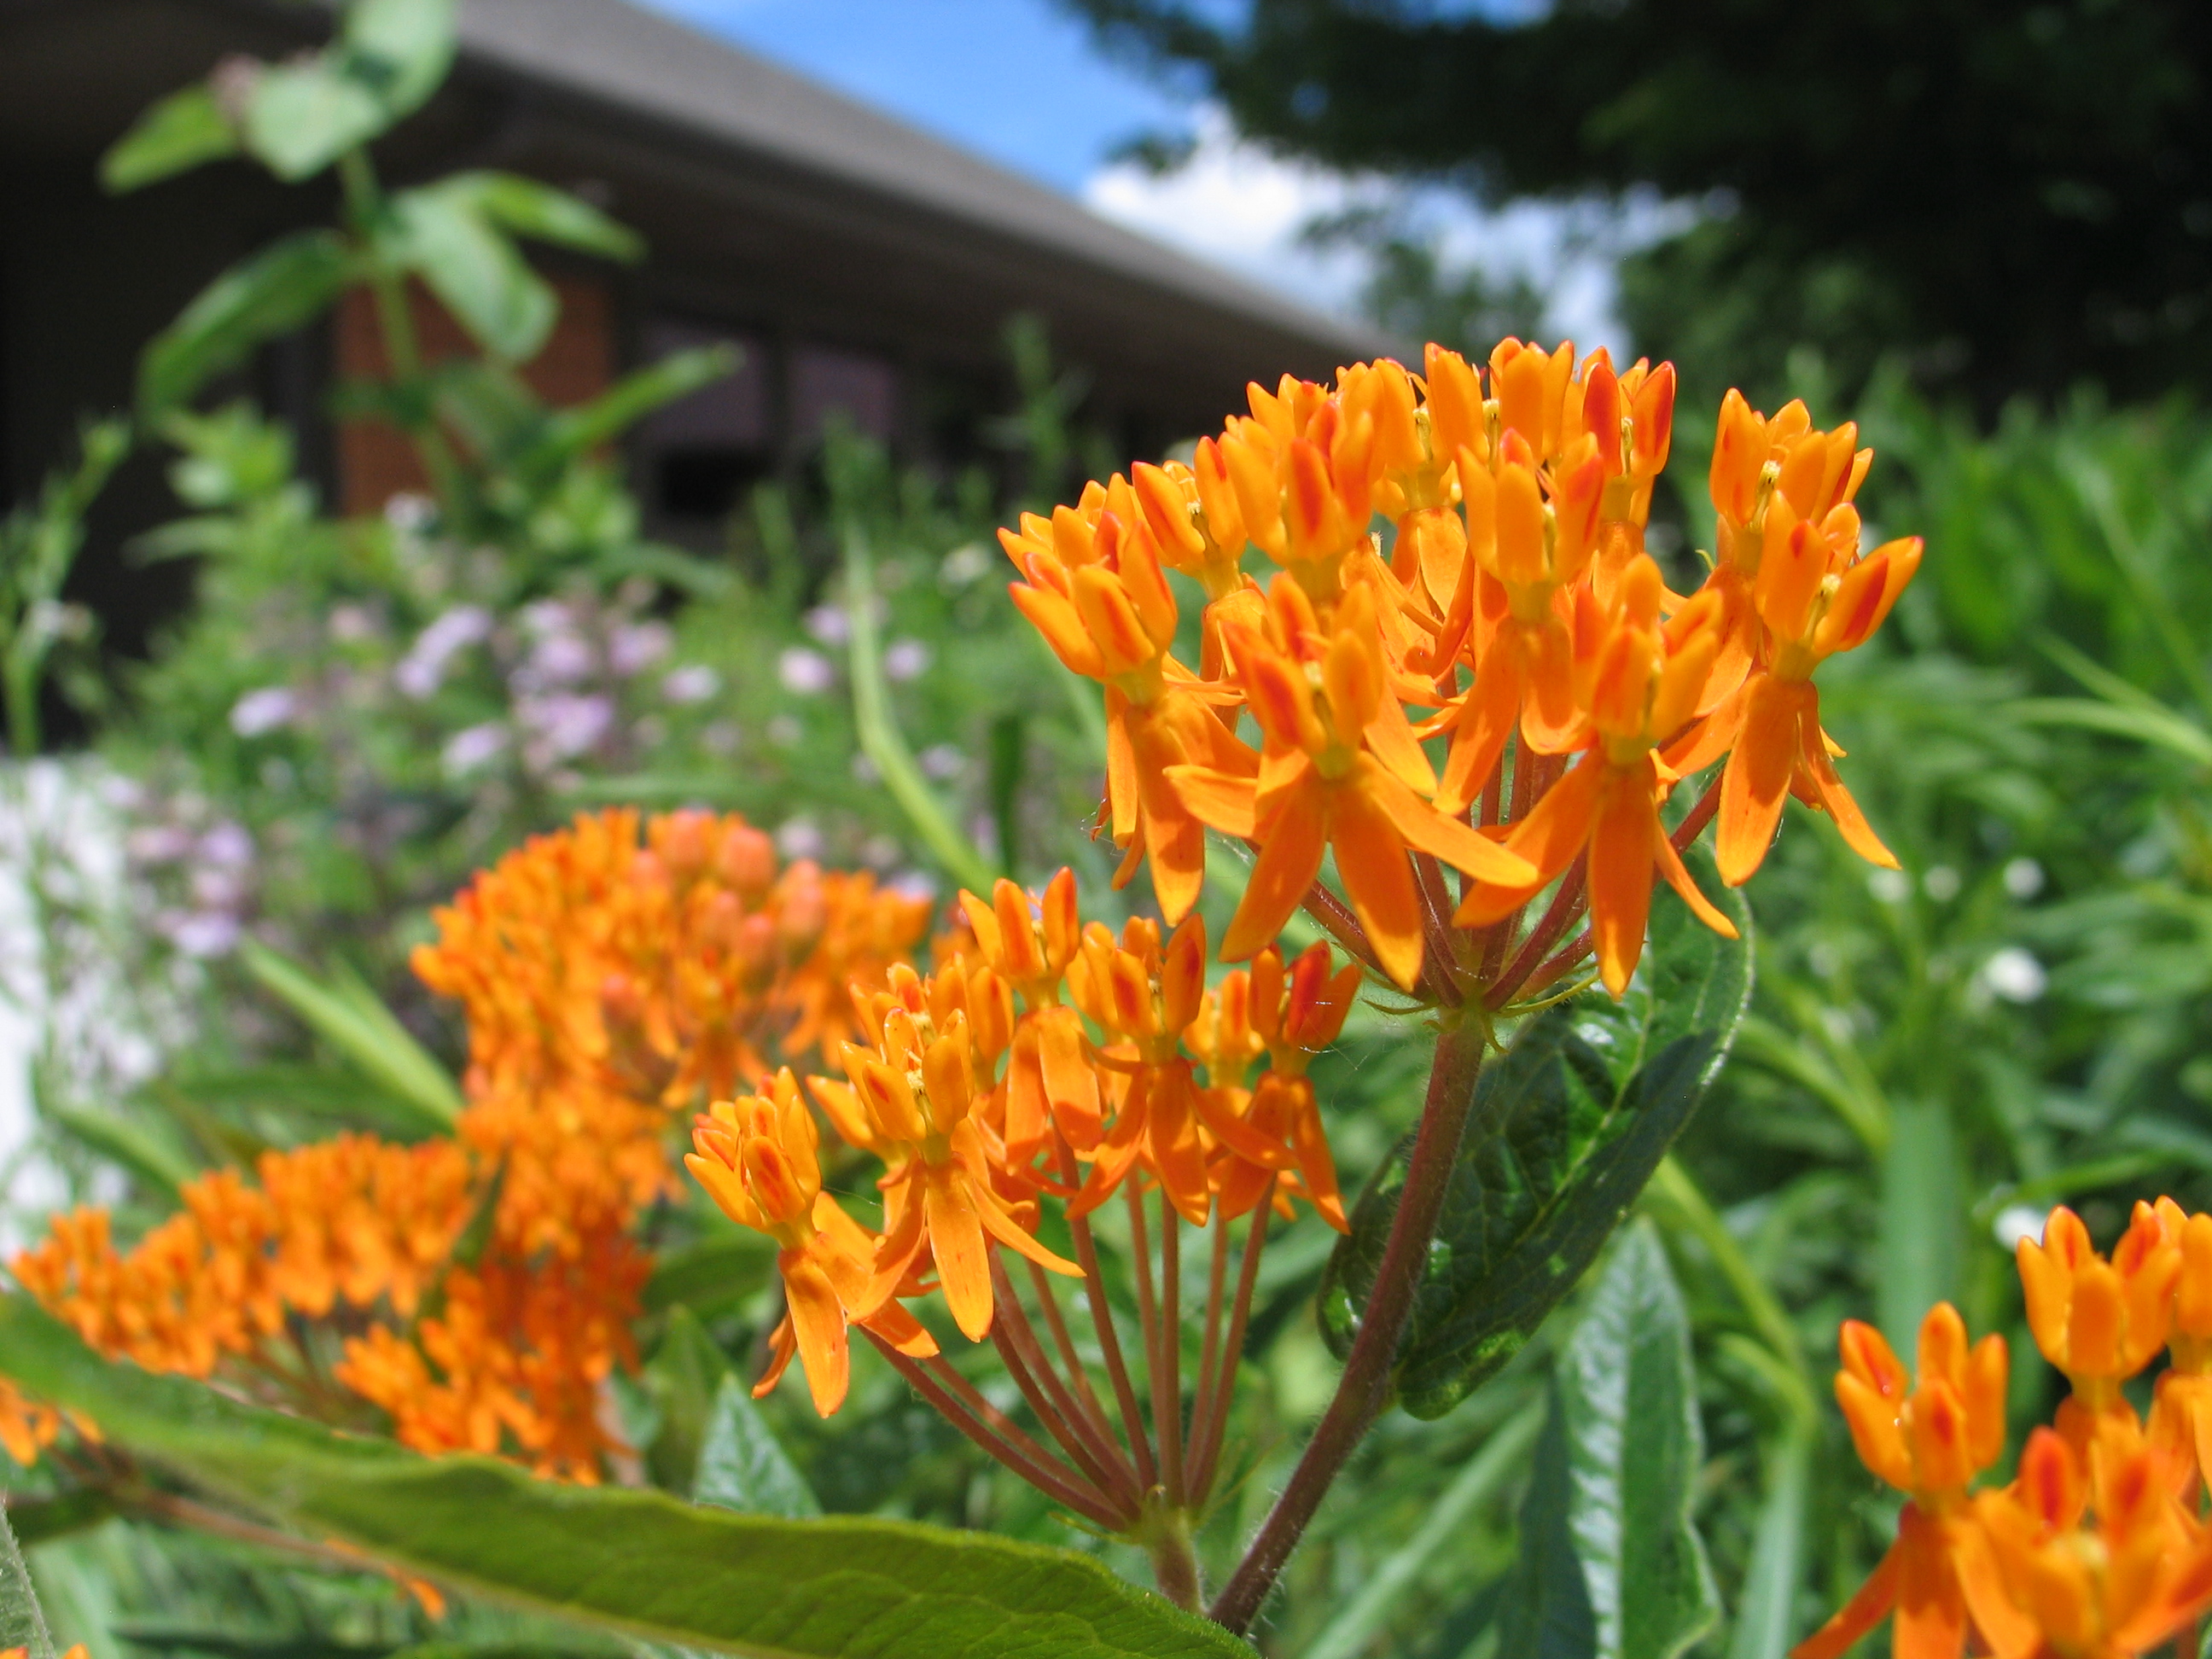
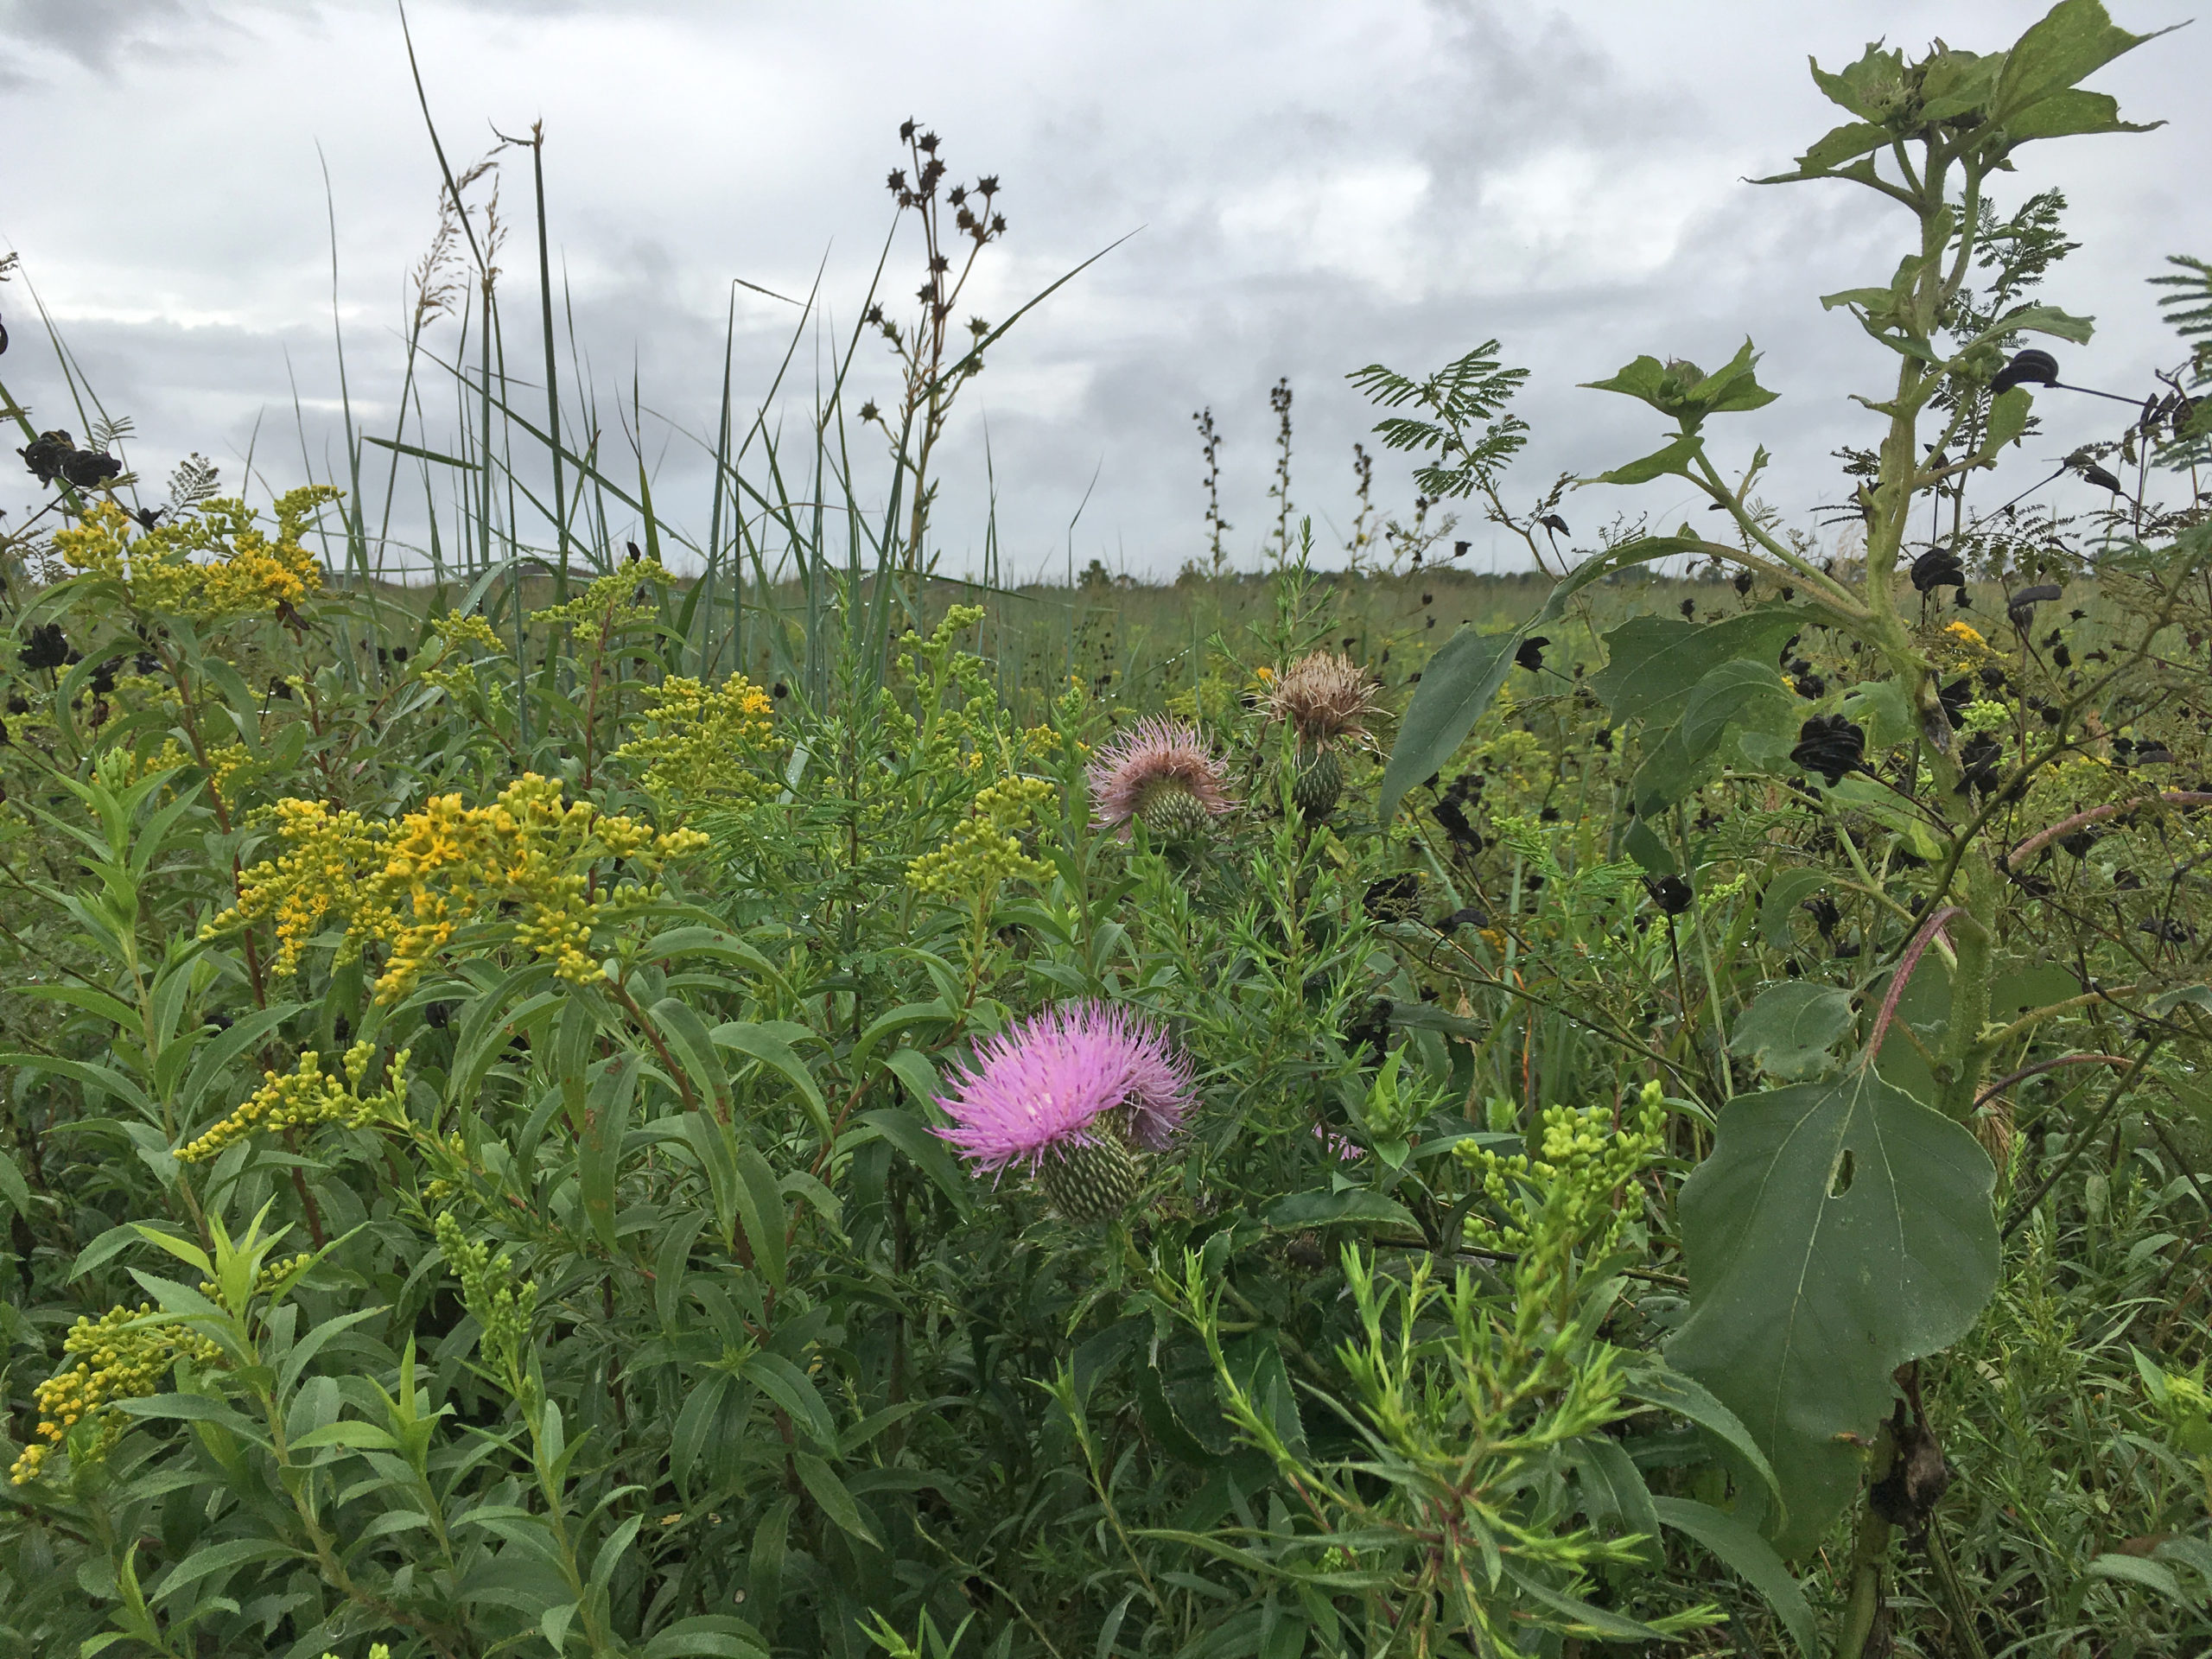
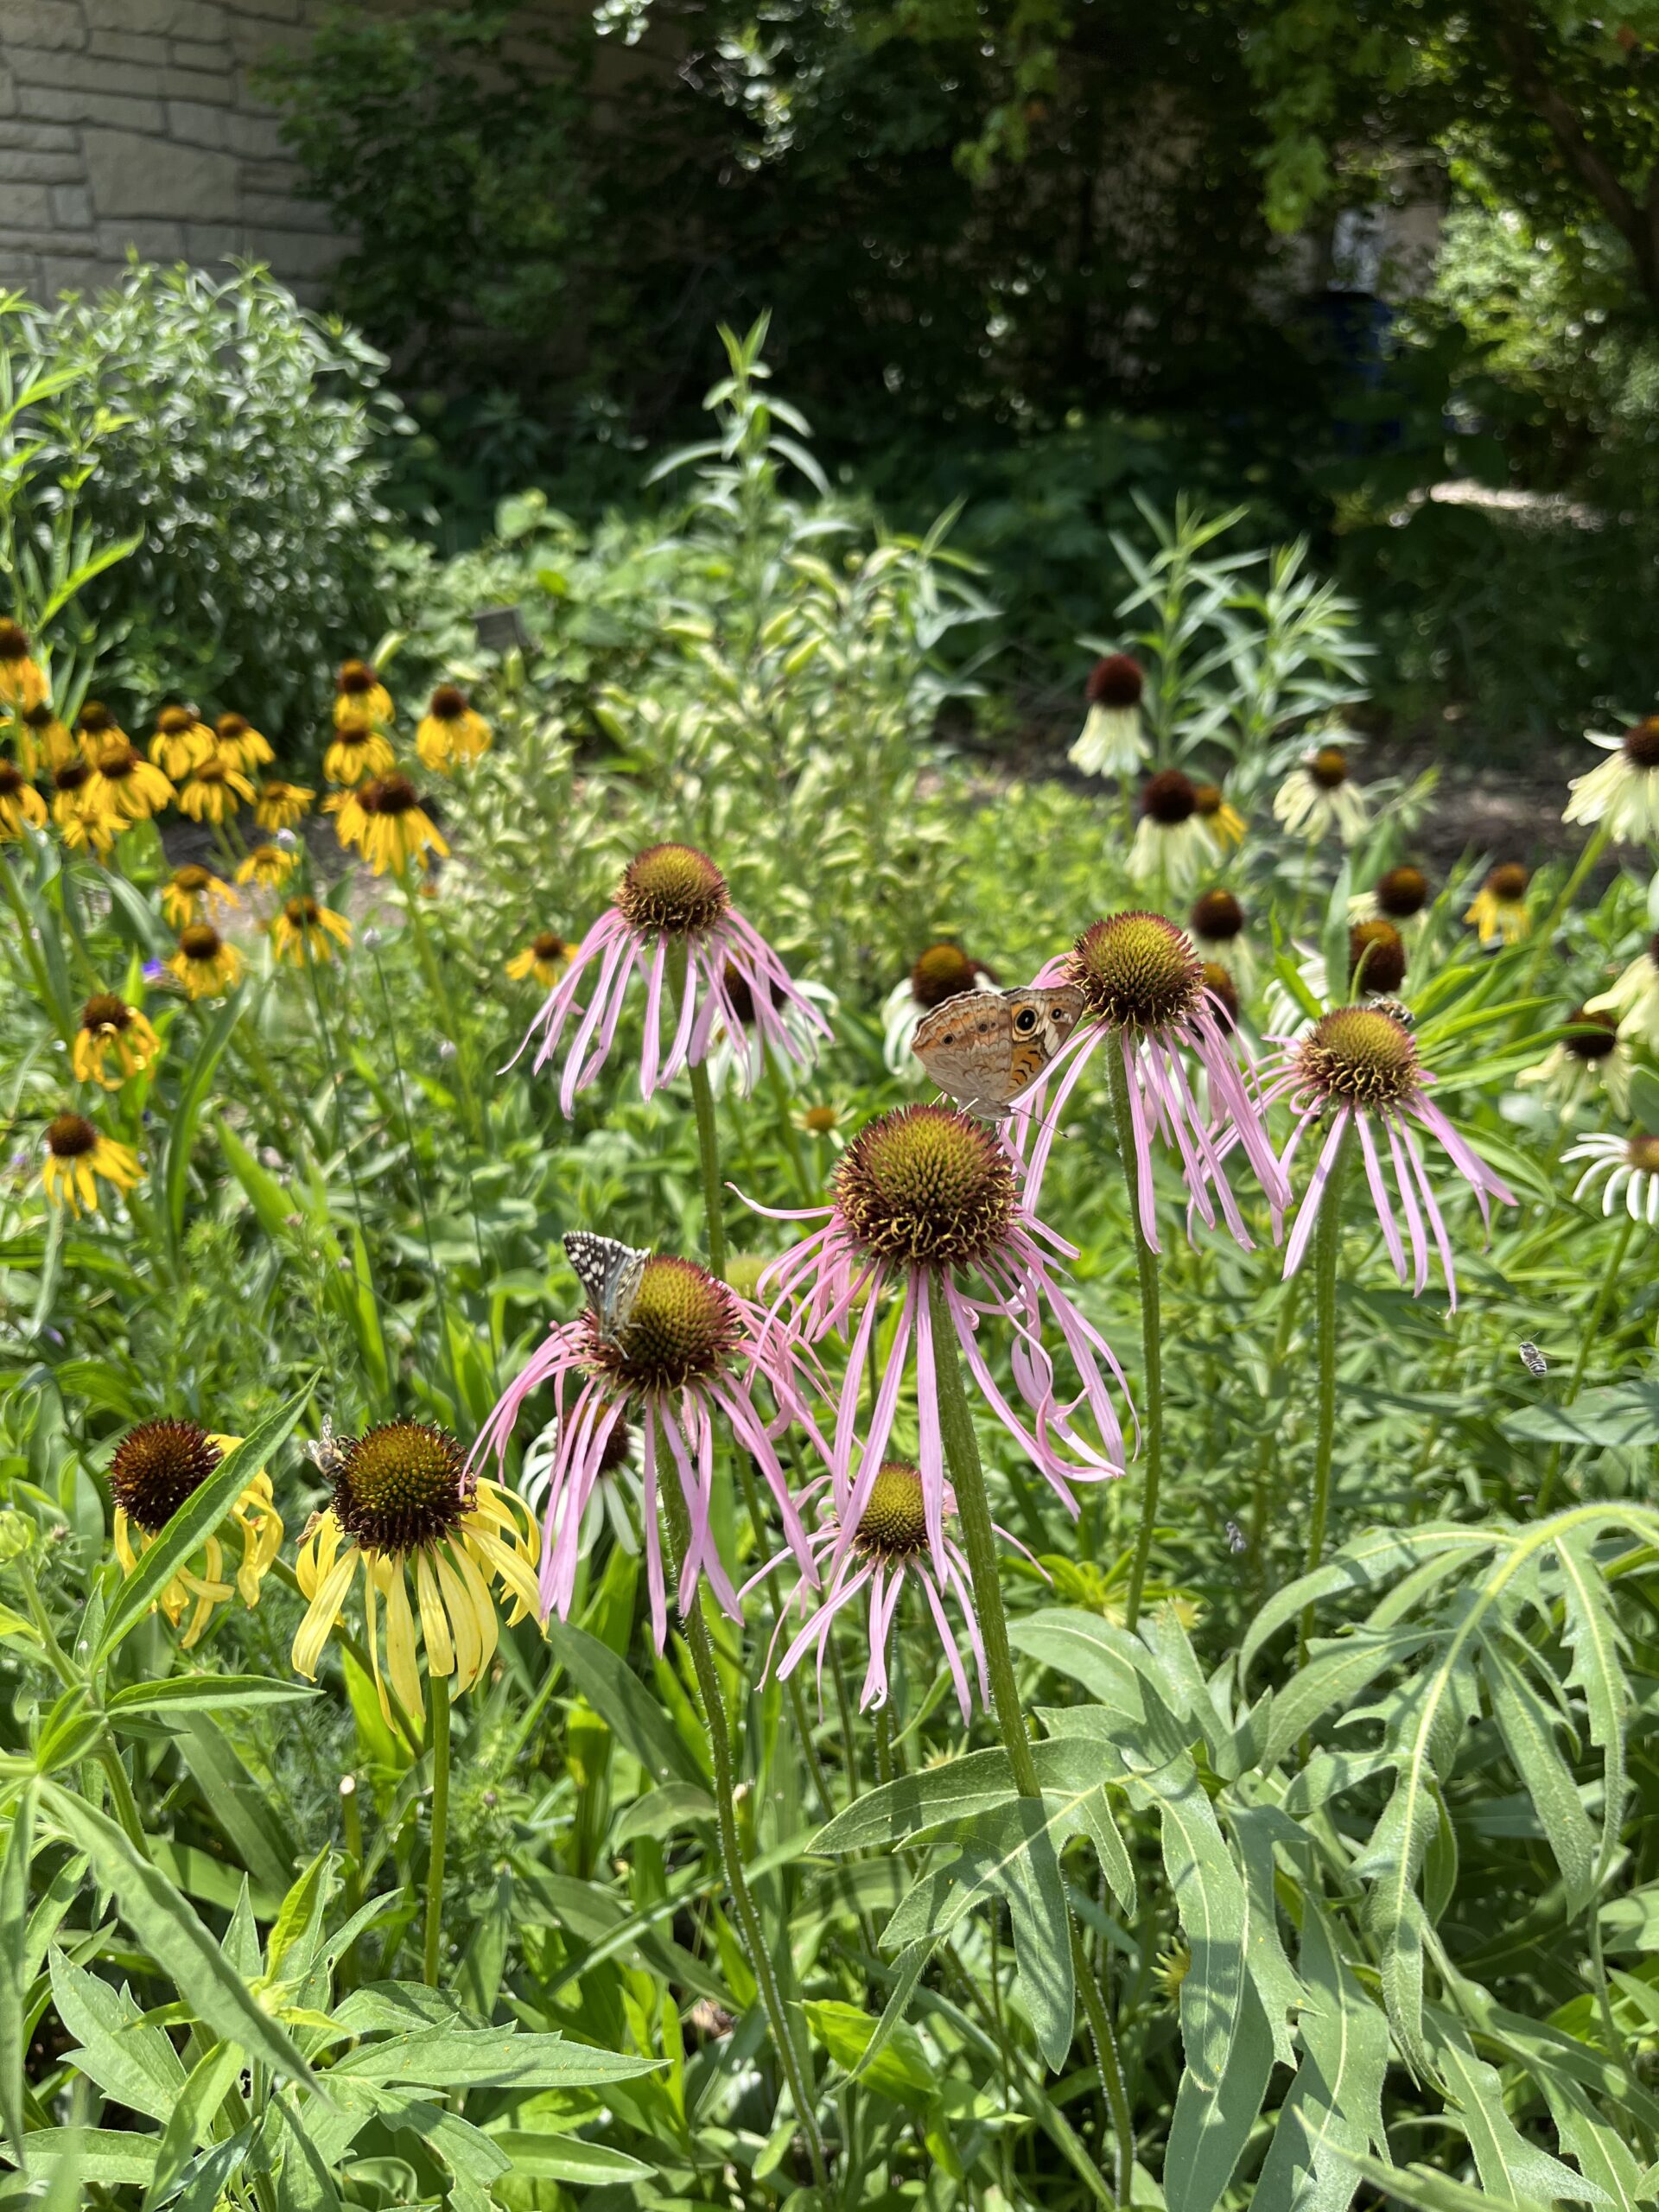
Pick the right plant for the right place: Choose plants that are pest-resistant, require less water, and match the sun, shade, and soil in your yard.
Avoid planting in hot, dry weather: Plants will easily stress and not develop healthy roots under hot, dry conditions. If you must plant in summer, plant in the cool of the morning when less water is lost to evaporation.


_outside_of_Knoxville,_Tennessee_-_Flickr_-_Jay_Sturner.jpg)