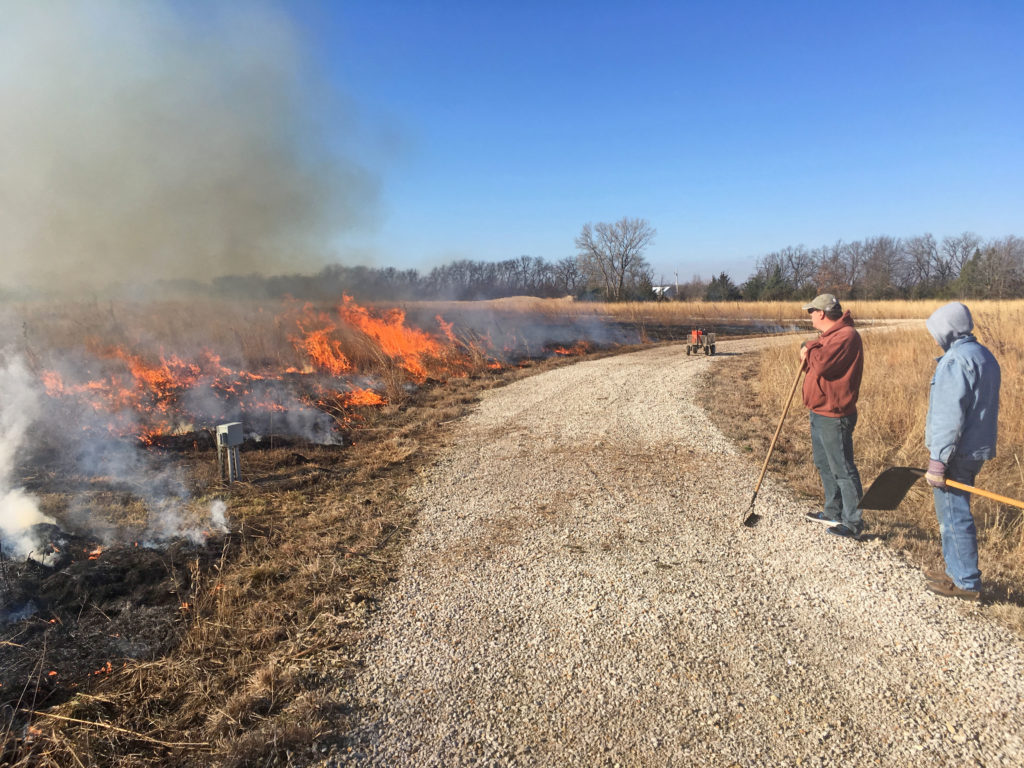
Over the last week, I have been helping conduct prescribed burns on the prairies at Dyck Arboretum as well as for some area landowners. This annual spring ritual for me is one of the most engaging examples of our mission – cultivating transformative relationships between people and the land.
A prescribed burn in process at Dyck Arboretum of the Plains
For thousands of years since the last ice age, prairie has evolved with fire, an essential element of disturbance that maintains prairie as prairie. Without fire, readily available seeds of trees and shrubs will invade and turn prairie into forest within decades. Gone are the days when lightning or Native American-set fires regularly kept this element of maintenance in place every few years. Today, landowners, ranchers, and land managers must regularly be the starters of fire. A few years ago, I blogged more in depth about why we should Embrace Prairie Burning.
Conducting A Safe Burn
I cannot sufficiently instruct one to conduct a prescribed burn in a short blog post, but I will summarize the important elements to be considered when making fire go where you want it go. Conducting a safe prescribed burn is in actuality a simple process, but one MUST adhere to strict guidelines regarding 1) relative humidity, and 2) wind speed. When relative humidity (RH) is at 80%, fire is very difficult to start and when it is at 20%, fire is very difficult to put out. Making sure that the start and end time of the burn stay within those parameters is paramount, and sunlight and temperature have a profound effect on RH. With every 20-degree F increase, RH drops in half.
Wind speeds between 5-15 miles per hour (mph) are important too. Below 5 mph, winds can be shifty, unpredictable and dangerous when trying to control fire. And it probably goes without saying, but winds over 15 mph can easily carry flames where you don’t want them to go. A 911 dispatcher will not allow a burn to start if wind gusts are above 15 mph, anyway.
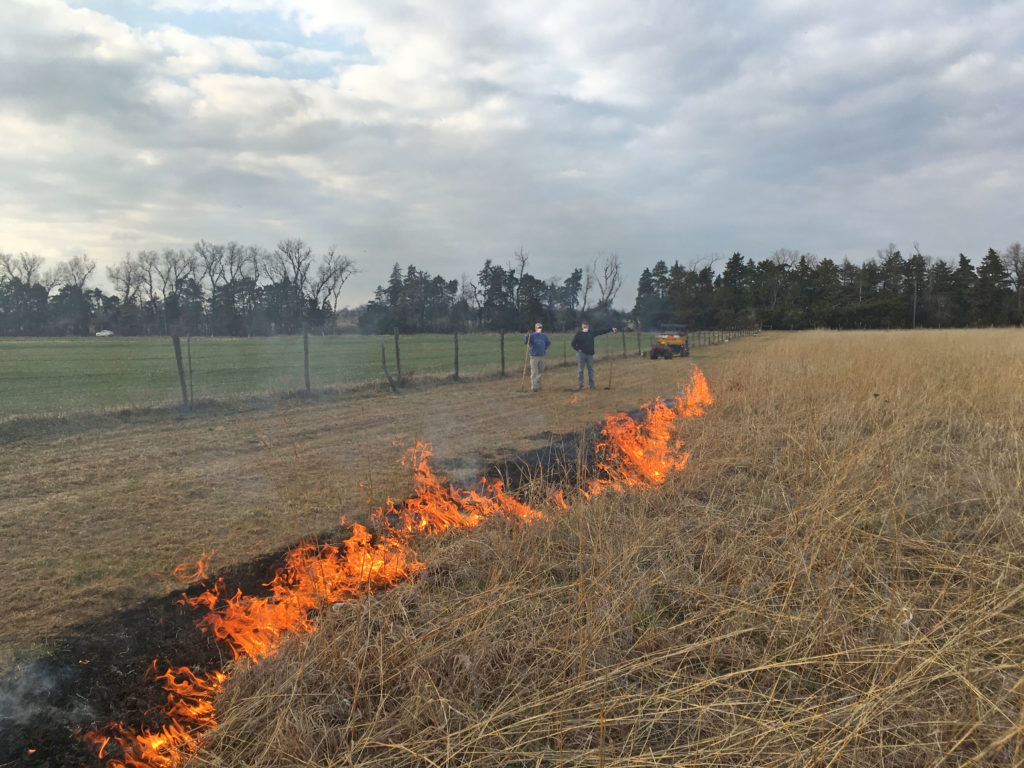
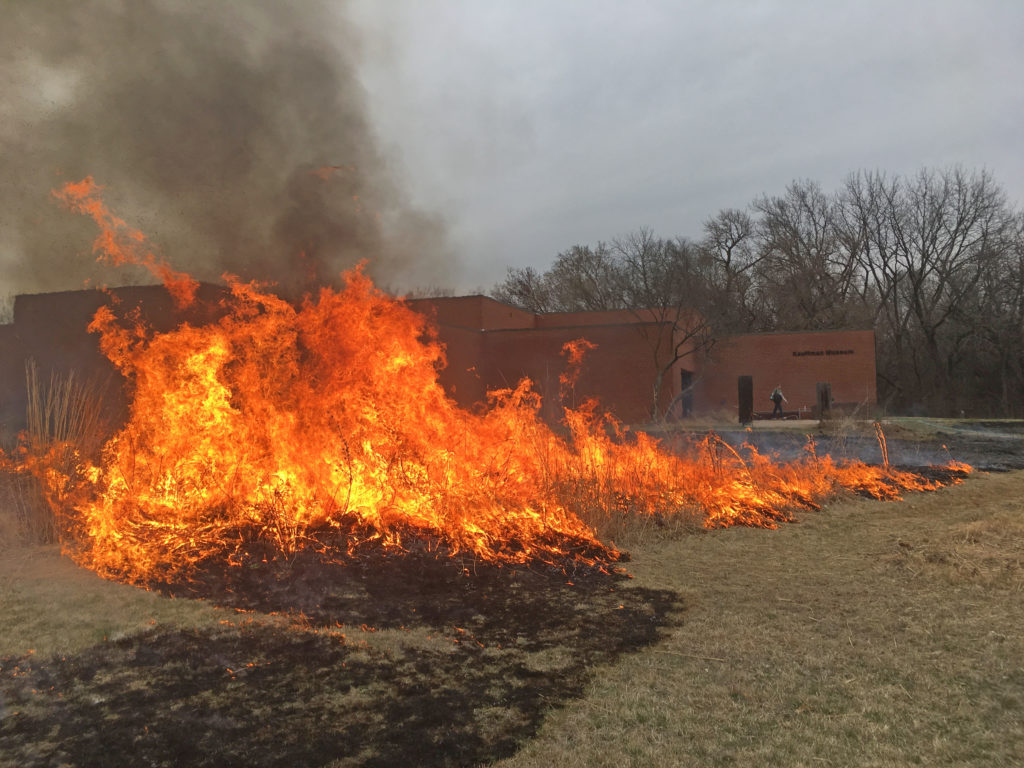
There are three types of fire we regularly refer to in prescribed burning. A back fire works directly against the wind, a flank fire works perpendicular to the wind, and a head fire is pushed with the wind.
A back fire working against the wind is the most easily controlled fire type.A flank fire, is the second most controllable fire and it is only lit once a back fire has safely established the downwind portion of the burn unit.A head fire that roars with the wind is only lit after the back and flank fires have safely secured all areas of the burn unit.
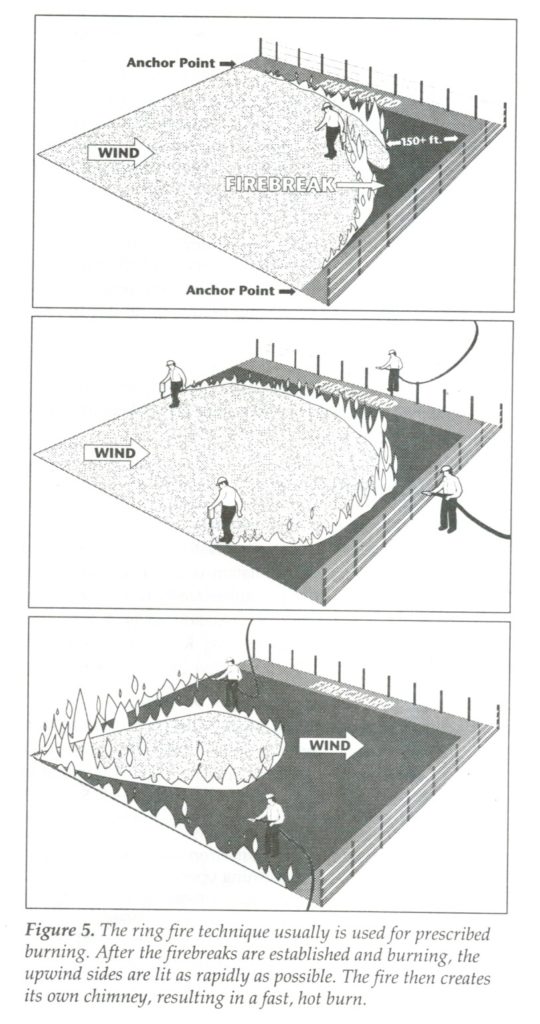
The intensity of these three fire types is from low to high, respectively, as is their ease of control. To most easily contain a fire within a particular burn unit, we start with downwind back fires until a sufficient black line is established, work around to flank fires until those flanks are made safe, and then finish with a head fire to most quickly finish the burn once all the boundaries have been sufficiently secured. The following diagram, shows the general progression of a prescribed burn, otherwise known as the ring fire technique.
Graphic from fact sheet on Planning and Conducting a Prescribed Burn, provided by Kansas State University Natural Resource Conservation Service.
Important tools in managing fire include those that help you quickly move fire and those that help you quickly put it out. In the past, I used a drip torch full of a diesel/gas mixture, but have more recently relied on the much simpler (and lighter) tool of a garden rake for dragging fire. My favorite water carrying device is a water backpack and hand pump with support of extra water in a larger water tank carried by our new Hustler MDV. The backpack with a 5-gallon capacity can get heavy and cumbersome, but it sprays a reliable 10-15′ stream of water and is easily the most mobile and useful tool I know for carrying water and putting out fire.
Prescribed burning water backpack with hand pump.
Strengthening A Human Connection to the Land
The act of burning a prairie brings together the four classical elements (earth, air, fire and water). The earth produces prairie vegetation, and in spring time, the prairie is renewed after it combusts when brought together with air and fire. We use water to bring this process to a conclusion. As I stated above, people are essential to keeping this positive feedback loop going today.
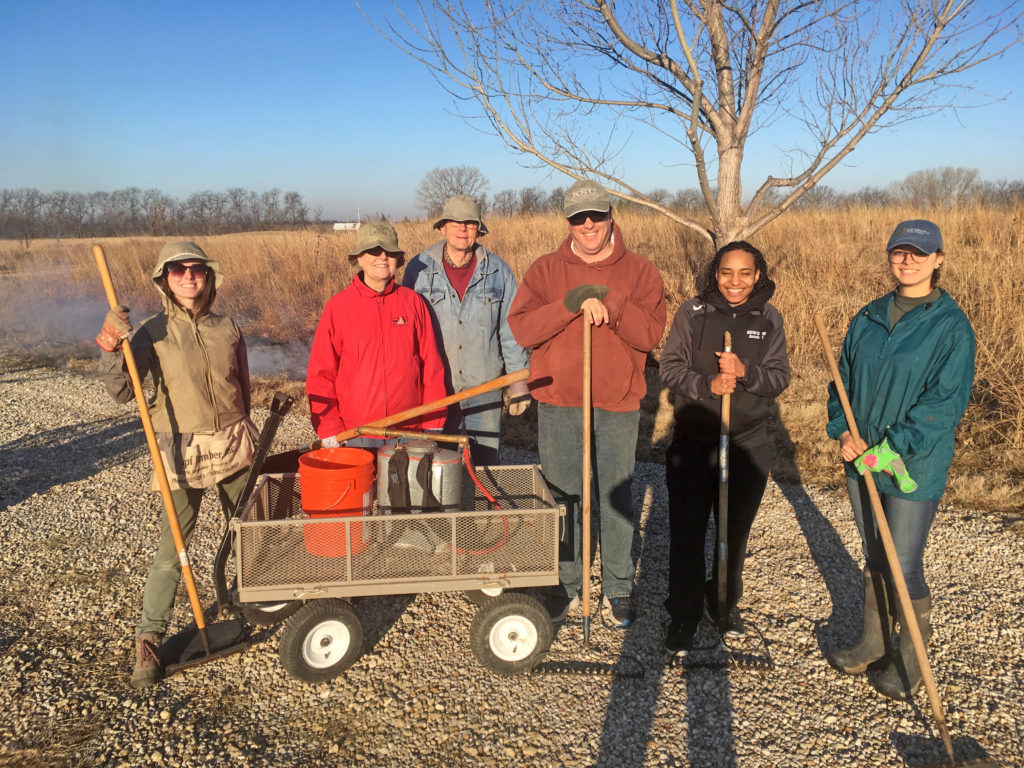
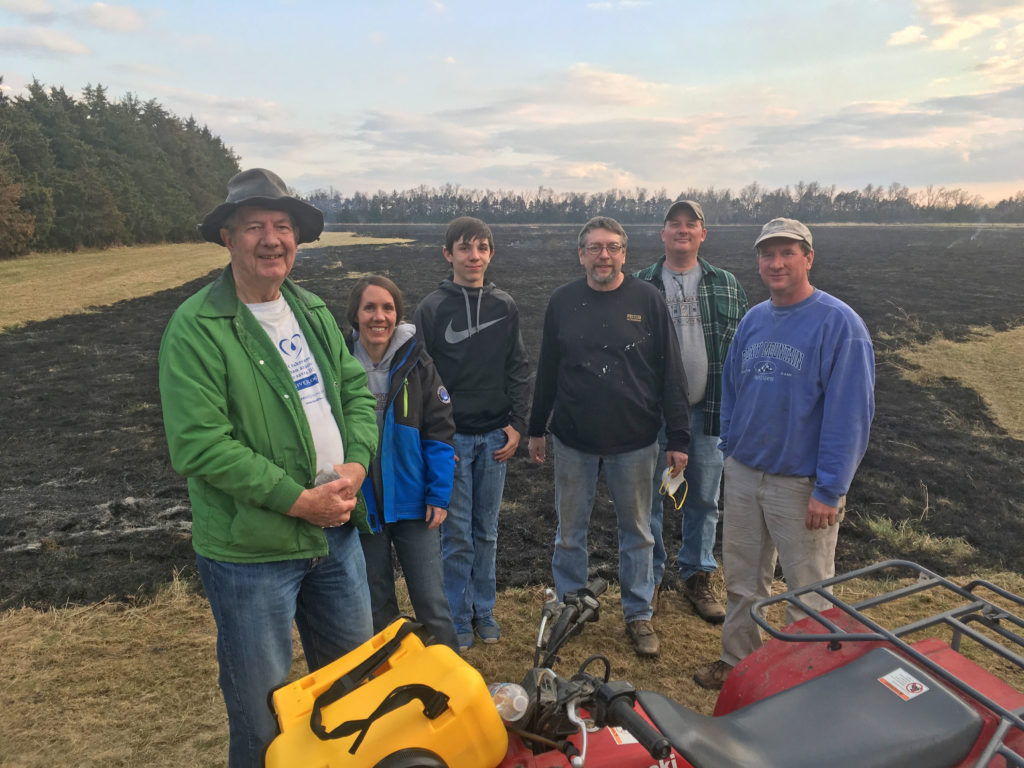
The people who are essential to this stewardship process of prescribed burning include my colleagues, volunteers willing to lend a hand, and the landowners themselves who initiate the process. All of these individuals make up an important community of people strengthening a connection to the land.
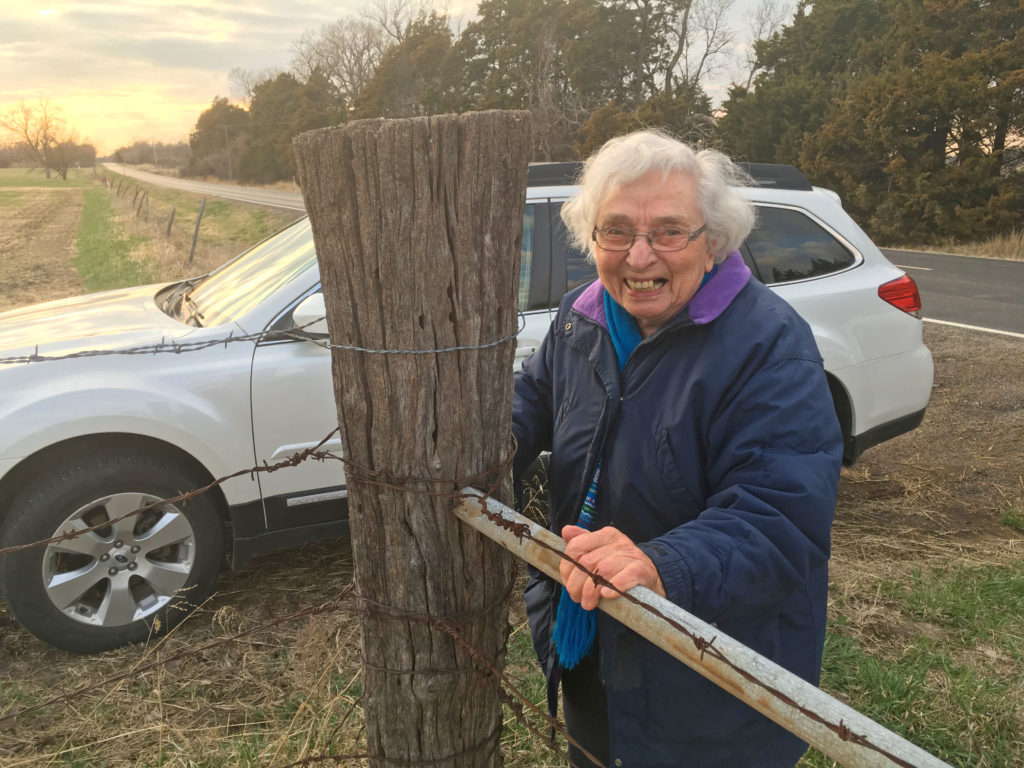
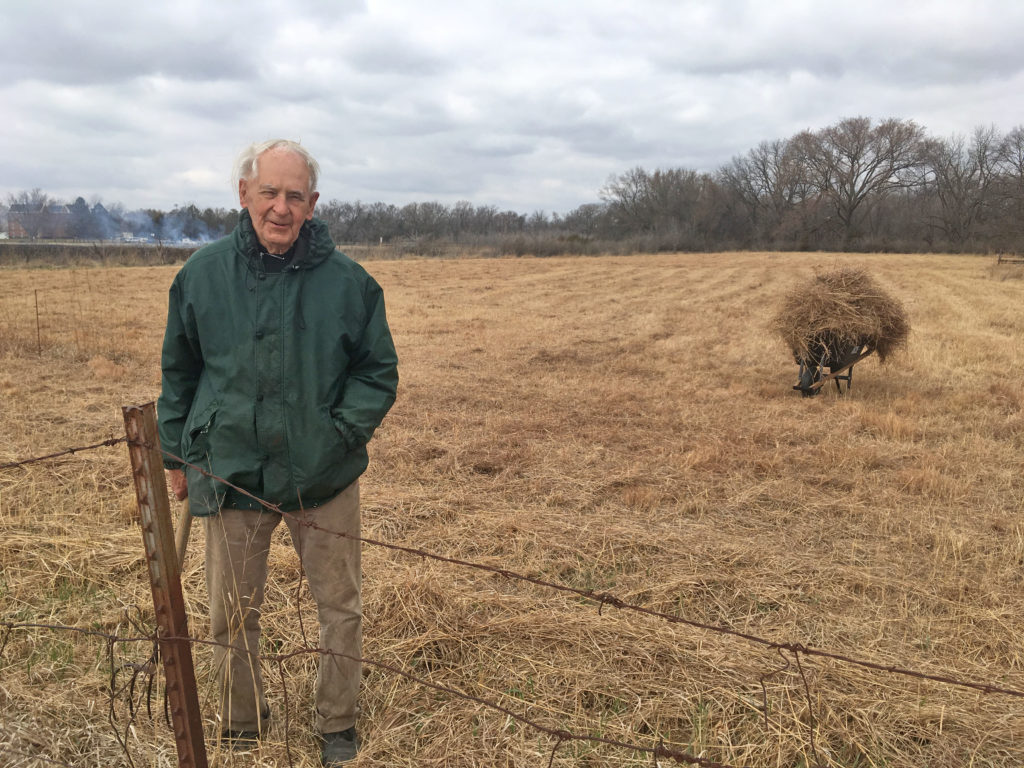
Dyck Arboretum staff, student interns, and faithful volunteers are prepared to conduct a prescribed burn on a parcel of our Prairie Window Project prairie reconstruction.Landowners Ryan (far right) and Audrey Magill (second from left) are the current stewards of a 17-acre parcel of prairie near Hesston and engaged their family, friends, and neighbors to conduct a burn last week.Naomi Rutschman, the former land steward of the Magill property, came out to observe the prescribed burn. I was able to burn this same parcel with Naomi and her husband Orville 13 years earlier.During a burn at Bethel College earlier this week, I was able to greet a friend and mentor who inspired me over 30 years ago to pursue a career in prairie management and education. Emeritus professor, Dwight Platt, in his late 80s still mows and hand rakes acres of prairie hay for mulch on his vegetable garden.
The identity of Kansas is built around the native landscape of the prairie and fire will always be a part of that identity. While the implementation of prescribed burns may be a laborious task that can make my body feel old, it is an important ritual that keeps my spirit young.
One of my favorite experiences of conducting a prescribed burn is often found in the final moments of such an event. Once the final head fire has been lit and the hard work is complete, there are a few moments to enjoy the sounds of crackling flames of moisture-laden grasses and the happy sounds of mating boreal chorus frogs in the background.
In the video below, I leave you with the magical sights and sounds of this experience.
Plant placement, proportions and scale – these three elements of a successful design are really straight forward, but often overlooked. They hinge on a certain level of understanding regarding plant height and spread at maturity. These design principles also require you to incorporate clusters, sweeps and groupings of plants that look natural together with a succession of bloom all through the year.
Plant Placement
When I start a design, I think about where the bed is going to be viewed. Is it from the street? Is it from the living room? Will I want to view it from different vantage points? This helps me frame the landscape. For instance, if you have a foundation planting, you would obviously put the taller plants in the back working down in layers to the smaller plants along the border/edge of the bed. If you were designing an island planting that would be viewed from both sides, I would plant the taller plants in the center with shorter plants spaced around the central focal point. It seems obvious, but we don’t always think about sight lines.
Another element of effective plant placement is bloom time. With native plants, you need to think about succession of bloom. You want to have plants coming into bloom and going out of bloom throughout the year. Don’t plant two spring blooming plants next to each other, but rather plant a spring blooming wildflower next to a grass or later season blooming wildflower. By incorporating plants that have color at varying times, you have something interesting happening year-round.
Proportion and Scale
I don’t always observe or think about proportion and scale until it is too late. The beds you design and the plants you include should look appropriate with the size of your home or the size of the flower bed. As a general rule, I include plants that are no larger than half the bed width. For instance, if your area is eight feet wide, try to find plants that are no taller than four feet. Sometimes, smaller beds are all we have to work with, such as the small area between a sidewalk and your home. Maybe it is only three feet wide. Don’t try to put plants that are four to five feet all in that space. It will flop onto the sidewalk and look out of place.
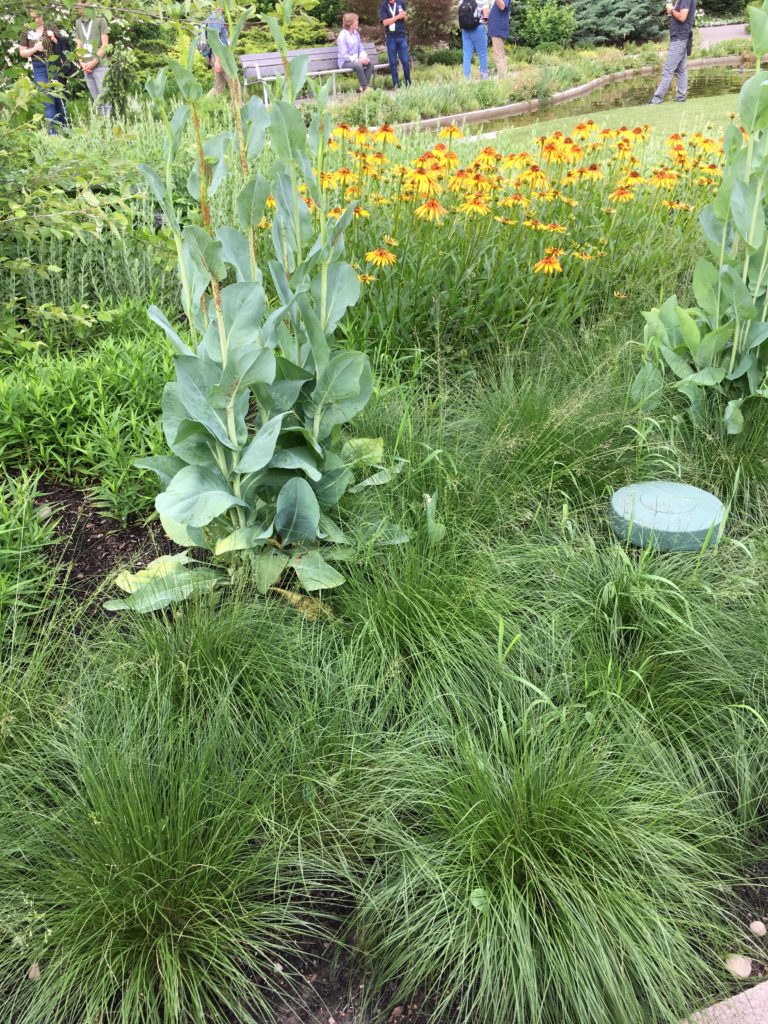
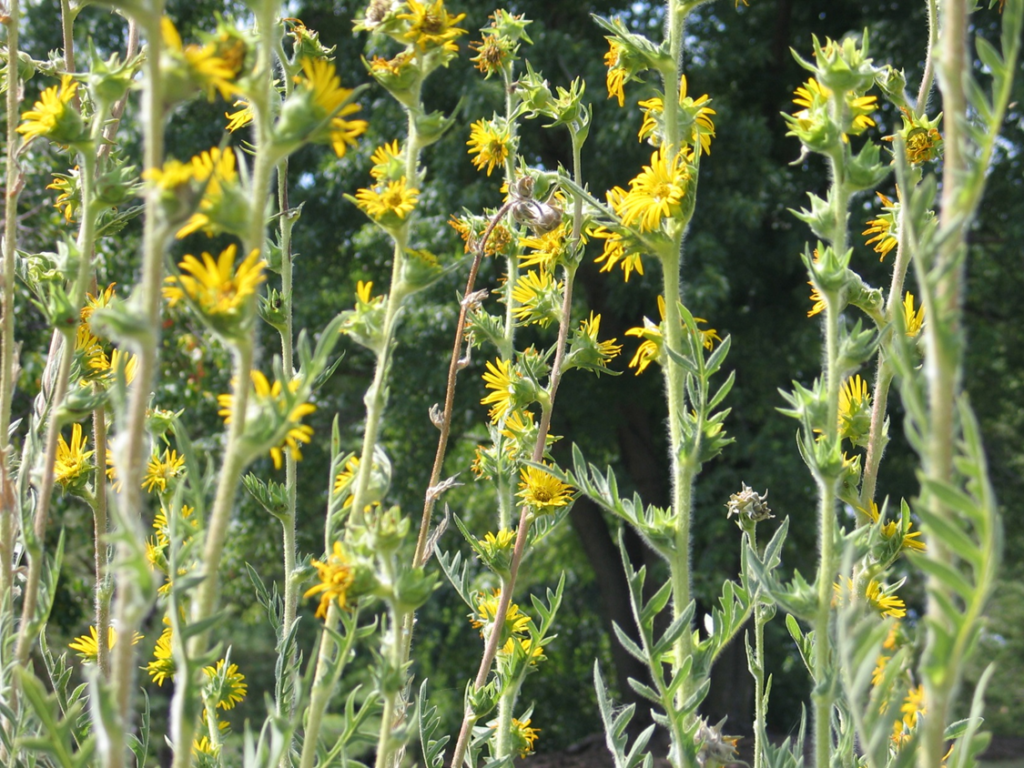
Compass Plant is a beautiful wildflower that gets eight feet tall. It is out of scale in a smaller space. Give it room to grow.
If you are starting from scratch, lay out a garden hose away from your foundation. Take note of the gentle curve around your home. I like to have at least four to six feet of width to work with. That gives you so many more plants to choose and include in your design. On the corners, I like to give myself a little more room of maybe up to 10-12 feet. This allows larger plants to be combined to soften the corner. You probably have a picture in your mind of what you want to frame the views and keep it simple. A garden that is too busy and out of proportion detracts from your home rather than complementing it.
Again, it is important to know how tall and wide each of the plants will grow. I like to include plants that will fill in the spaces available to them. Really think about the plants you want to have near sidewalks, windows, patios, and porches. You don’t want to be continually cutting them back when they have outgrown the space.
It sounds so simple, but these are the design principles I struggle with the most. There is so much to consider with each design, from site analysis, plant habit and bloom times, textural elements, and so much more. We can’t have it all, but a basic understanding of scale, proportions and plant placement will help you create a successful design. Now is the time to get started. If you need help, we will be happy to work with you during our remaining Native Plant School classes or at the FloraKansas Native Plant Festival.
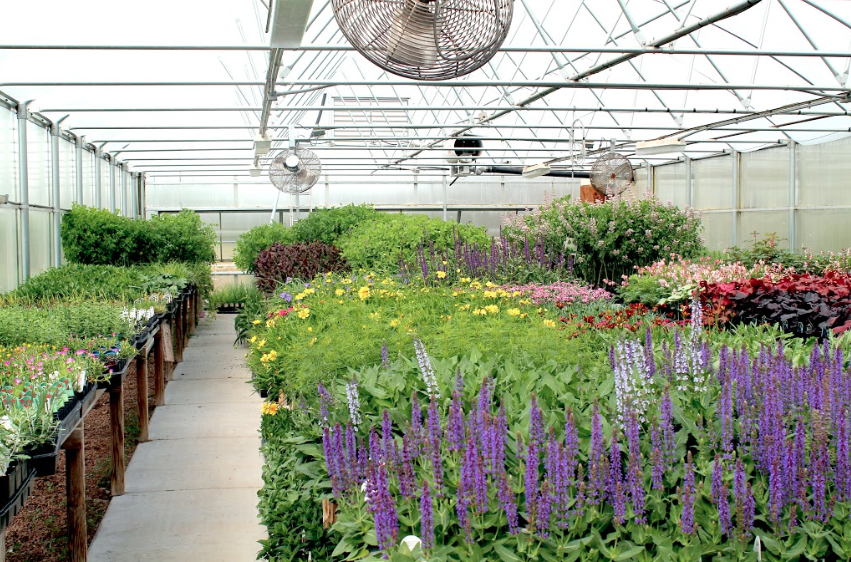
The Arboretum greenhouse is warm and alive this time of year, beginning to fill up with stock for FloraKansas Native Plant Festival. FloraKansas is our largest fundraiser, and takes a lot of prep work. Luckily, I relish my time spent time in the greenhouse, so it is a welcome change of pace from the snow-shoveling and office work of winter. Here is a behind the scenes look at how it all comes together in just a few short months.
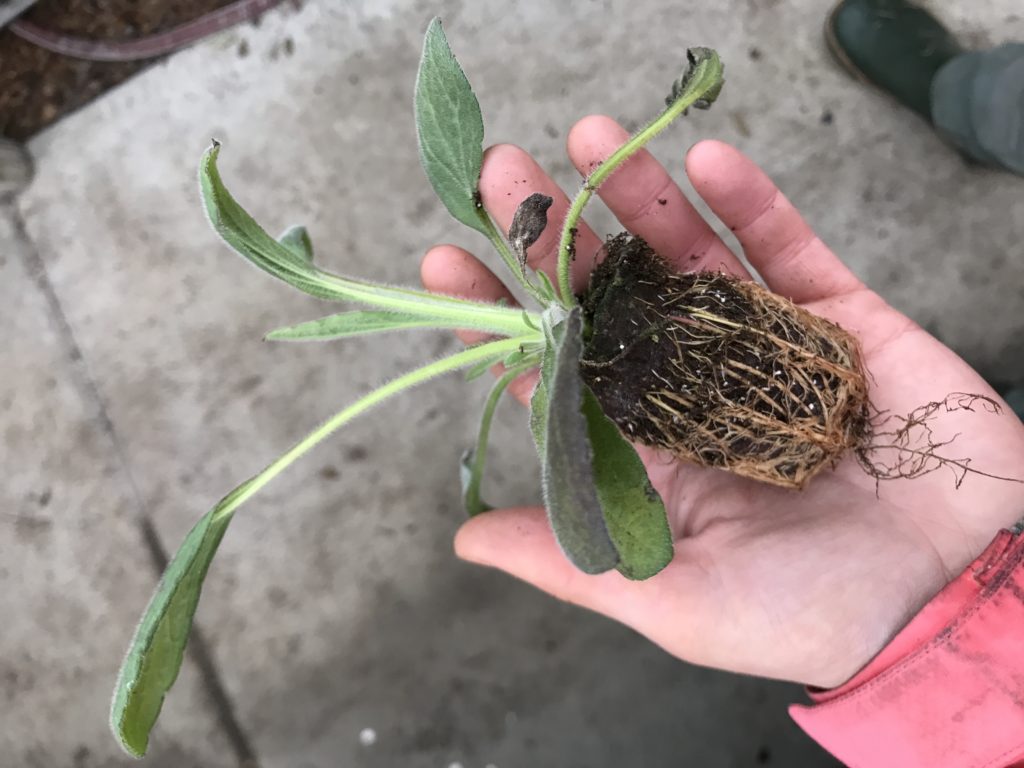
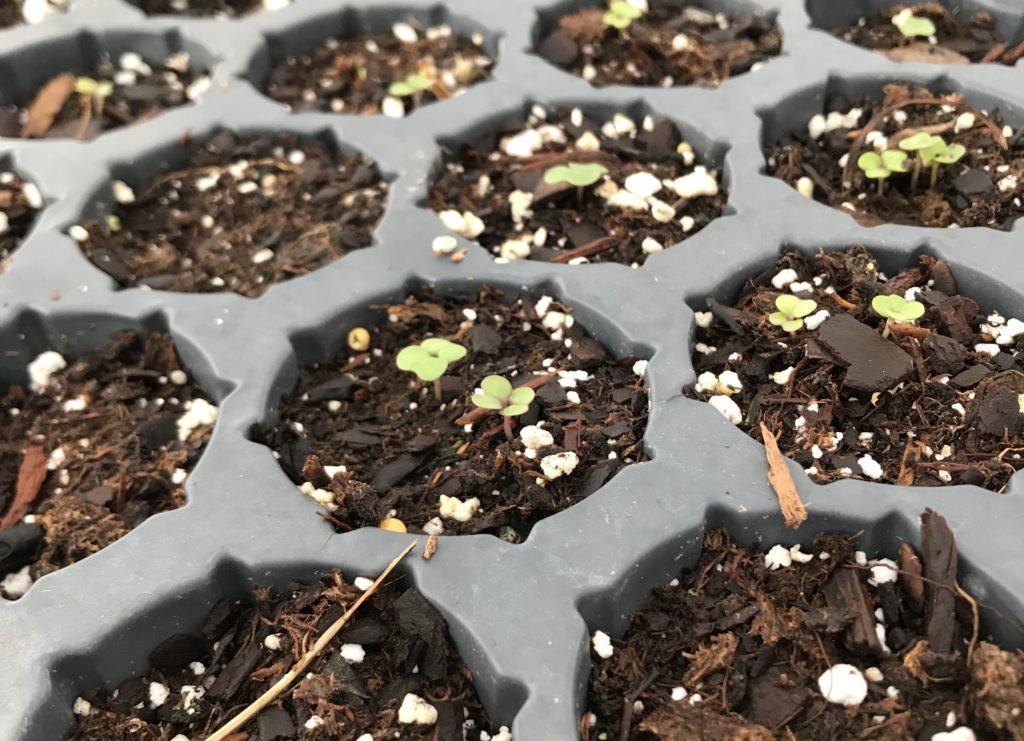
Each spring we receive about 15,000 plants. Many plants come to us as plugs — pre-grown plants that are transplanted into sale-size pots. This is an economical and user-friendly way for us to plant thousands of plants without the risk associated with caring for tiny seedlings. We order plugs from lots of native plant nurseries around the country and around the state to ensure a nice variety for our customers.
Plugs are small and have fragile foliage, but also have well formed root systems.Plug plants arrive with very few leaves on. With a few days of sun and moisture, they begin to leaf out and grow quickly.
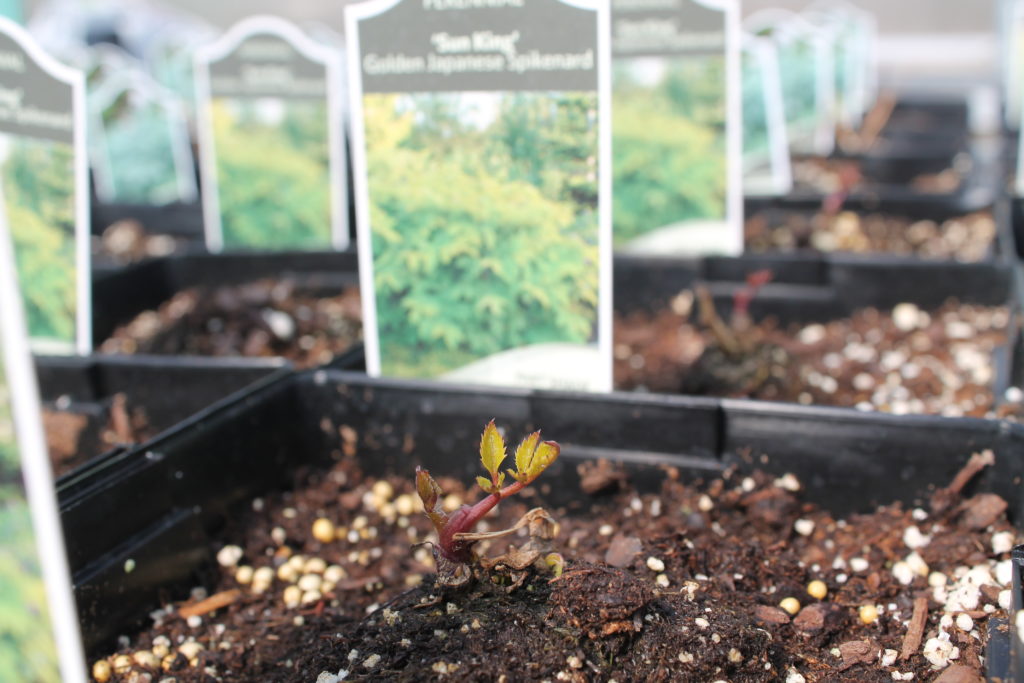
Sometimes we seed our own plants with seed we have collected or purchased from a trusted source. Though this is very tedious and time consuming, it is so rewarding to see those little sprouts poking through the soil! We then use a fork to tease apart the tiny roots and plant them into individual pots.
Tiny seedlings are so sensitive to changes in temperature and moisture, so I try not to seed more than I can take care of! In previous years, Scott and Brad seeded much more of the nursery stock than we do today.
We heat the greenhouse with industrial heaters during the cold nights of February and March and vent with large fans during the day. Keeping plants at optimal growing temperature helps them green up in time for the sale. Surprisingly, during a sunny day in spring, temperatures in the greenhouse can reach 90 and 100 degrees Fahrenheit quickly, even though it is cold outside!
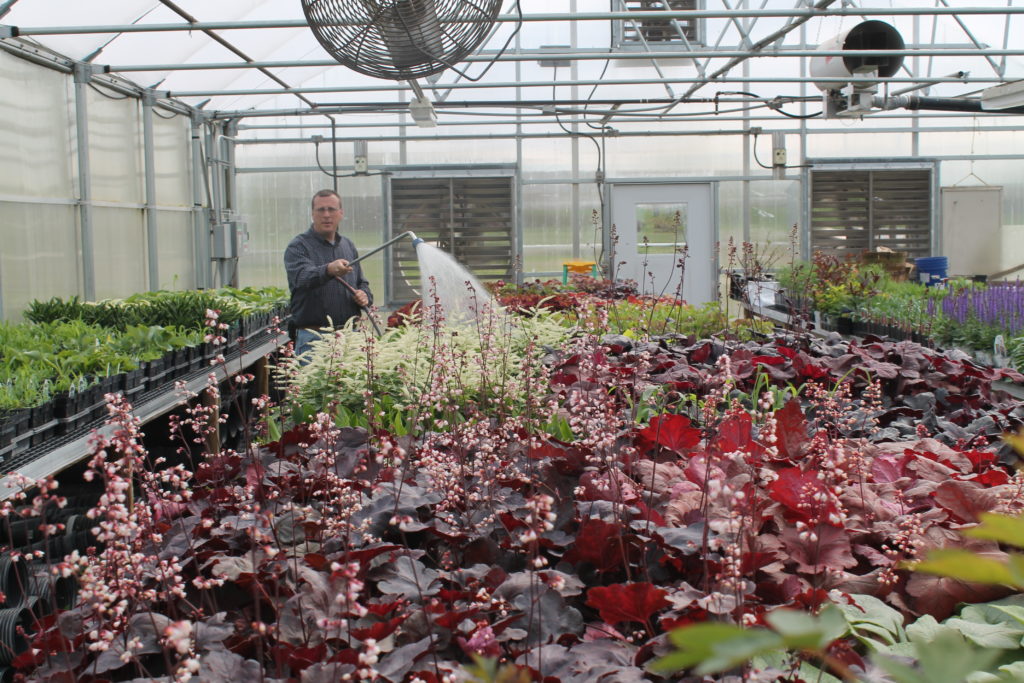
Our director, Scott, waters mature shade plants in our greenhouse. Too much water can mean mold and rot for our plants, but too little can also be deadly!After many weeks of care and worry, my little plant babies are all grown up!
FloraKansas would not be possible without volunteers. They transplant, water, sweep greenhouse isles, load and unload trucks, and so much more. I couldn’t possibly do all of those tasks by myself! And that doesn’t even include the many volunteers who help us on the days of the event, cashiering and helping customers to their cars. FloraKansas is a great time to be an Arboretum employee — surrounded by enthusiastic volunteers who support our mission, it makes the job easy. If you would like to volunteer at FloraKansas or otherwise, click here for more information.
I hope to see lots of our blog readers at the spring sale! It is a wonderful time to talk face to face with our members and supporters. Come see us soon, and pick up a few native plants while you are at it.
A native plant design is a highly subjective project. The plants you like may not be the ones I would choose and vice versa. Your garden area is unique to you. Sun, soil, moisture conditions can vary as well. The canvas you are painting on will look distinctly different than my artistic design. As we strive to create a sense of place in our landscapes, our medium is the land. Even though each garden is one-of-a-kind, there are a few design principles that we all should follow. Over the coming weeks, we will discuss some of these design principles.
Today, we will be tackle lines within the garden.
Lines should be used to draw people in and through the
garden. They appeal to the senses. They lead you through the garden and help
frame views we see or don’t want seen.
Straight lines
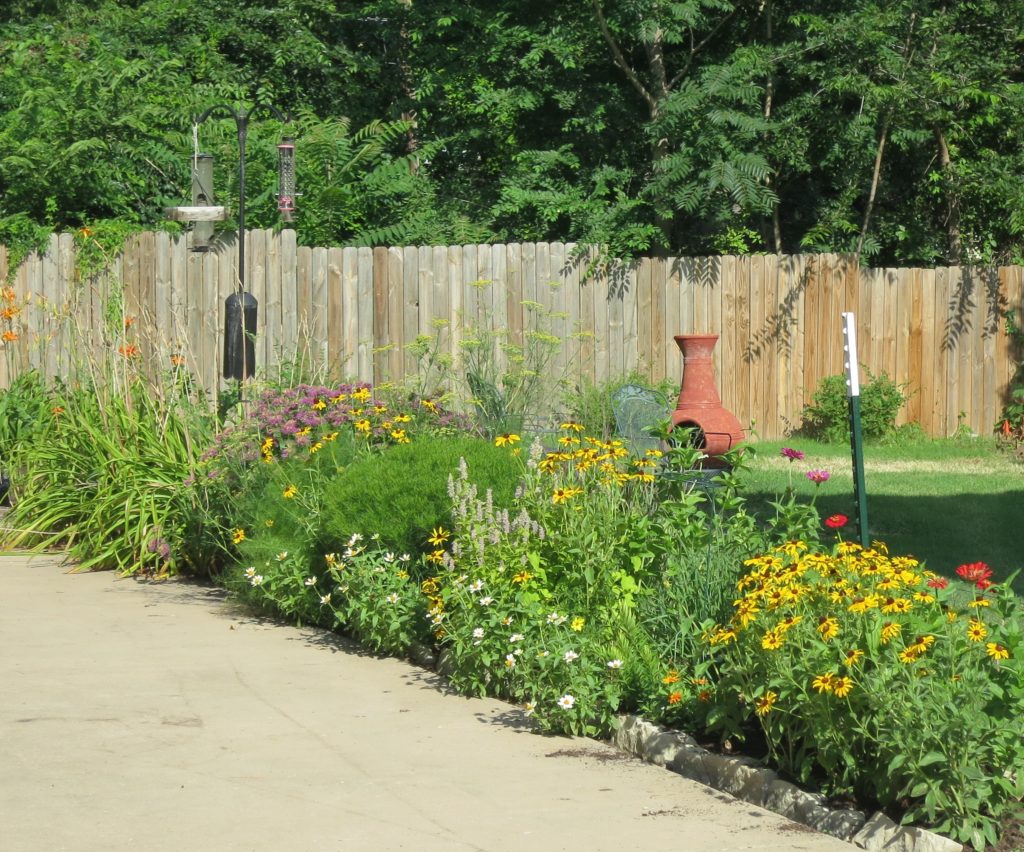
Long, straight rows of plants can be rather formal. They are structural, often symmetrical and lead the eye directly to the focal point like the front door. Straight lines can be boring if you don’t cluster plants and repeat patterns. The strong straight line of a fence can be softened with a sweeping curved edge or accentuated with parallel plantings that run the length of the fence.
Vertical lines
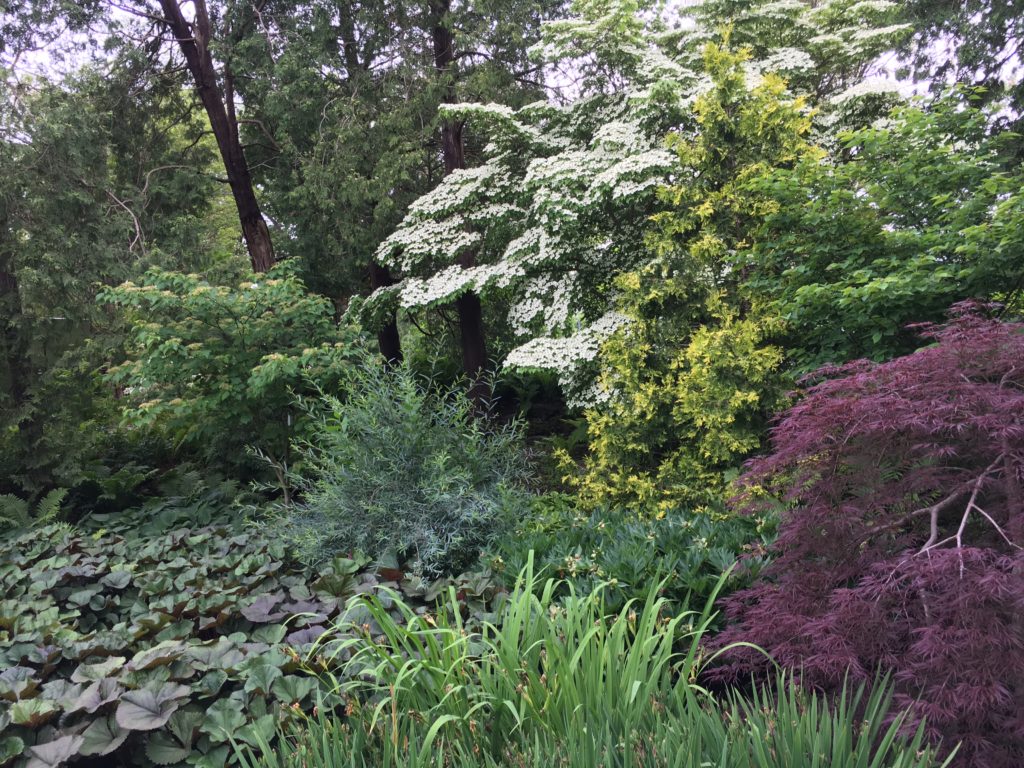
These lines move you up and down in the landscape. Taller trees, larger structural features such as an arbor should make your eyes go upward. They make the space feel larger and help enclose the space.
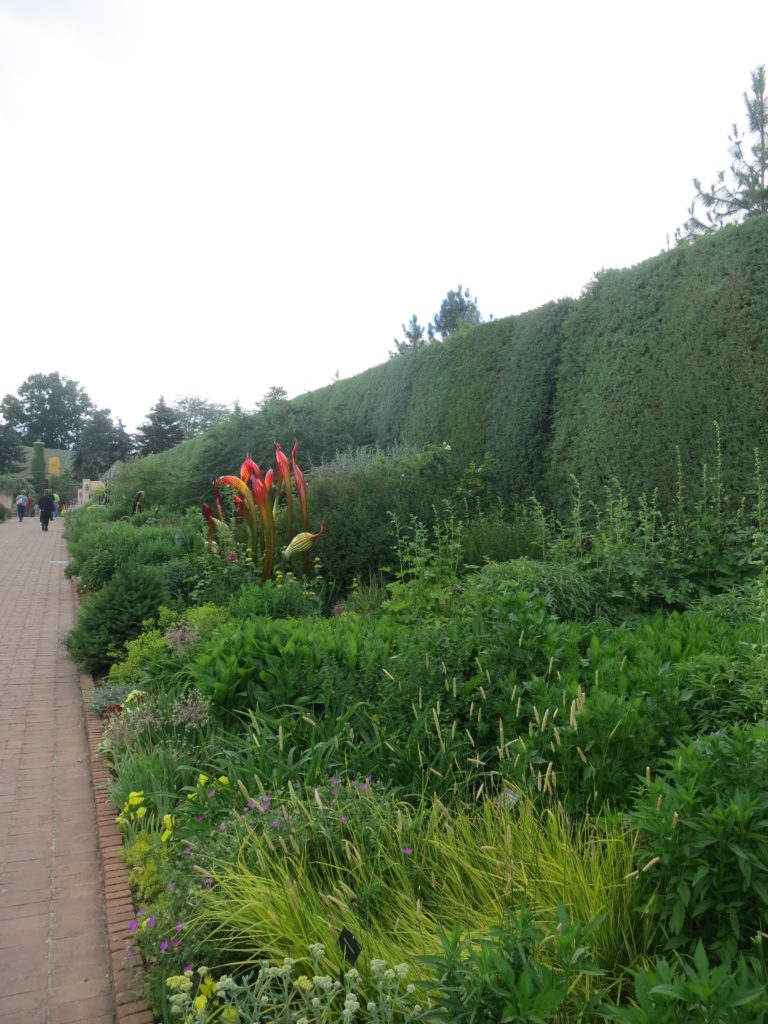
Horizontal lines
Just like vertical lines lead your eye skyward, horizontal lines lead your eye along the ground plane. These low lines help define the space and work to tie everything together. Rock walls, edging with plants or stone, hedges, or a clean line between turf and plants are examples that create these intentional low lines.
Curved lines
Curved lines look intentional and informal. Gently bending lines can be used to lead people slowly around a corner to an architectural feature or element such as a bench, garden shed, arbor or vegetable garden, which adds mystery and intrigue to your garden space. Curved lines can help dissolve rigid straight lines of a walkway, fence, house or other structural feature. Curved lines fit better in a natural asymmetrical design using native plants. I like to place a garden hose on the ground to help me visualize these meandering lines. As you step back to look, you are able to move the hose to create the effect that is most appealing before you break ground on your new garden.
Be intentional in grouping plants.
No matter the lines you use in your landscape, plants
obviously play a key role. Formal and
informal looks can be achieved with the use of certain plants grouped together
or spread apart. Cluster plants together
for more visual appeal. Repeat
structural plants like native grasses and incorporate filler plants throughout
the design that bloom at different times during the year to draw you into the
garden and through the garden. Plants
that spill over onto the straight lines of a walkway soften the edge. The
possibilities are endless because there are so many plants to choose. How you use lines will distinguish your design
from others. Really think about this
important design principle and what lines you want to use.
Next time, we will talk about plant placement, proportions
and scale.