
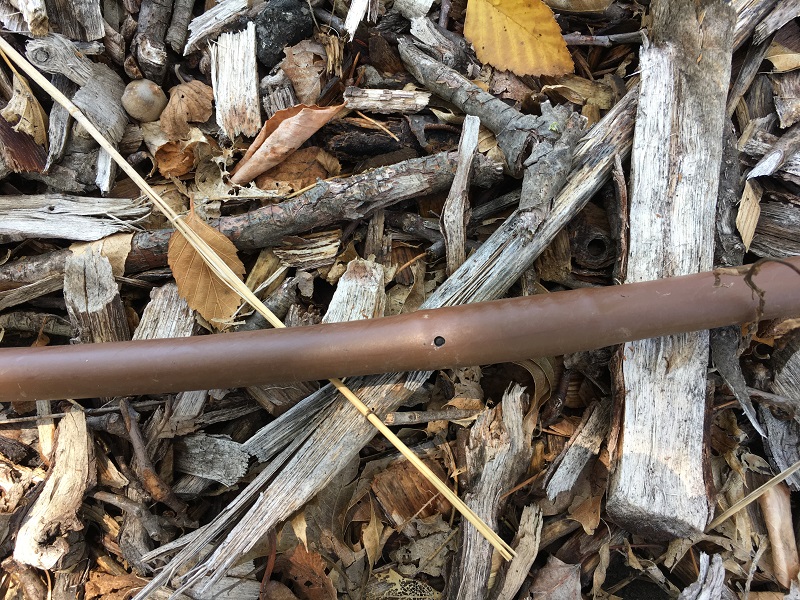
It is no secret that mulch is great for the landscape. There are so many benefits when you add mulch around your plants. Mulch is a great insulator, because it modifies the soil temperature. It reduces erosion, prevent weeds from germinating, retains soil moisture, provides a buffer between equipment and the trunks and stems, and increases the aesthetics of the overall landscape. As you add mulch to your garden, here are some things to know:
How much mulch is enough?
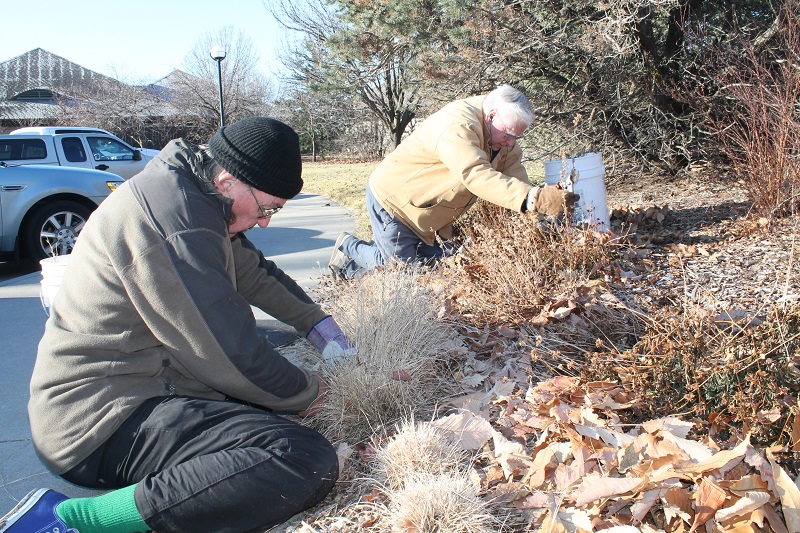
Mulching is not an exact science, but as a general rule, we try to apply 2-3 inches of mulch consistently throughout the landscape. This depth of mulch will control weeds by decreasing sunlight exposure, which prohibits seeds in the soil from to germinating. More than three inches of mulch seals off the soil and suffocates your plants. It is extremely important that the plants are able to get the oxygen they need. Spread the mulch evenly and don’t build a mulch volcano around the base of the tree. Since mulch decomposes slowly, it is good to periodically check the depth and add some as needed.
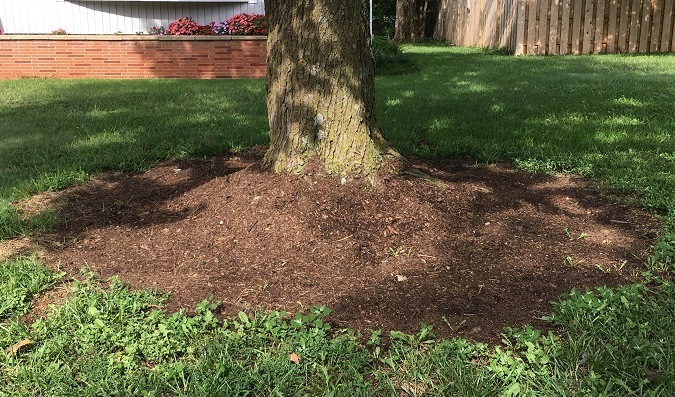
Mulch volcano at base of tree. A big no no!
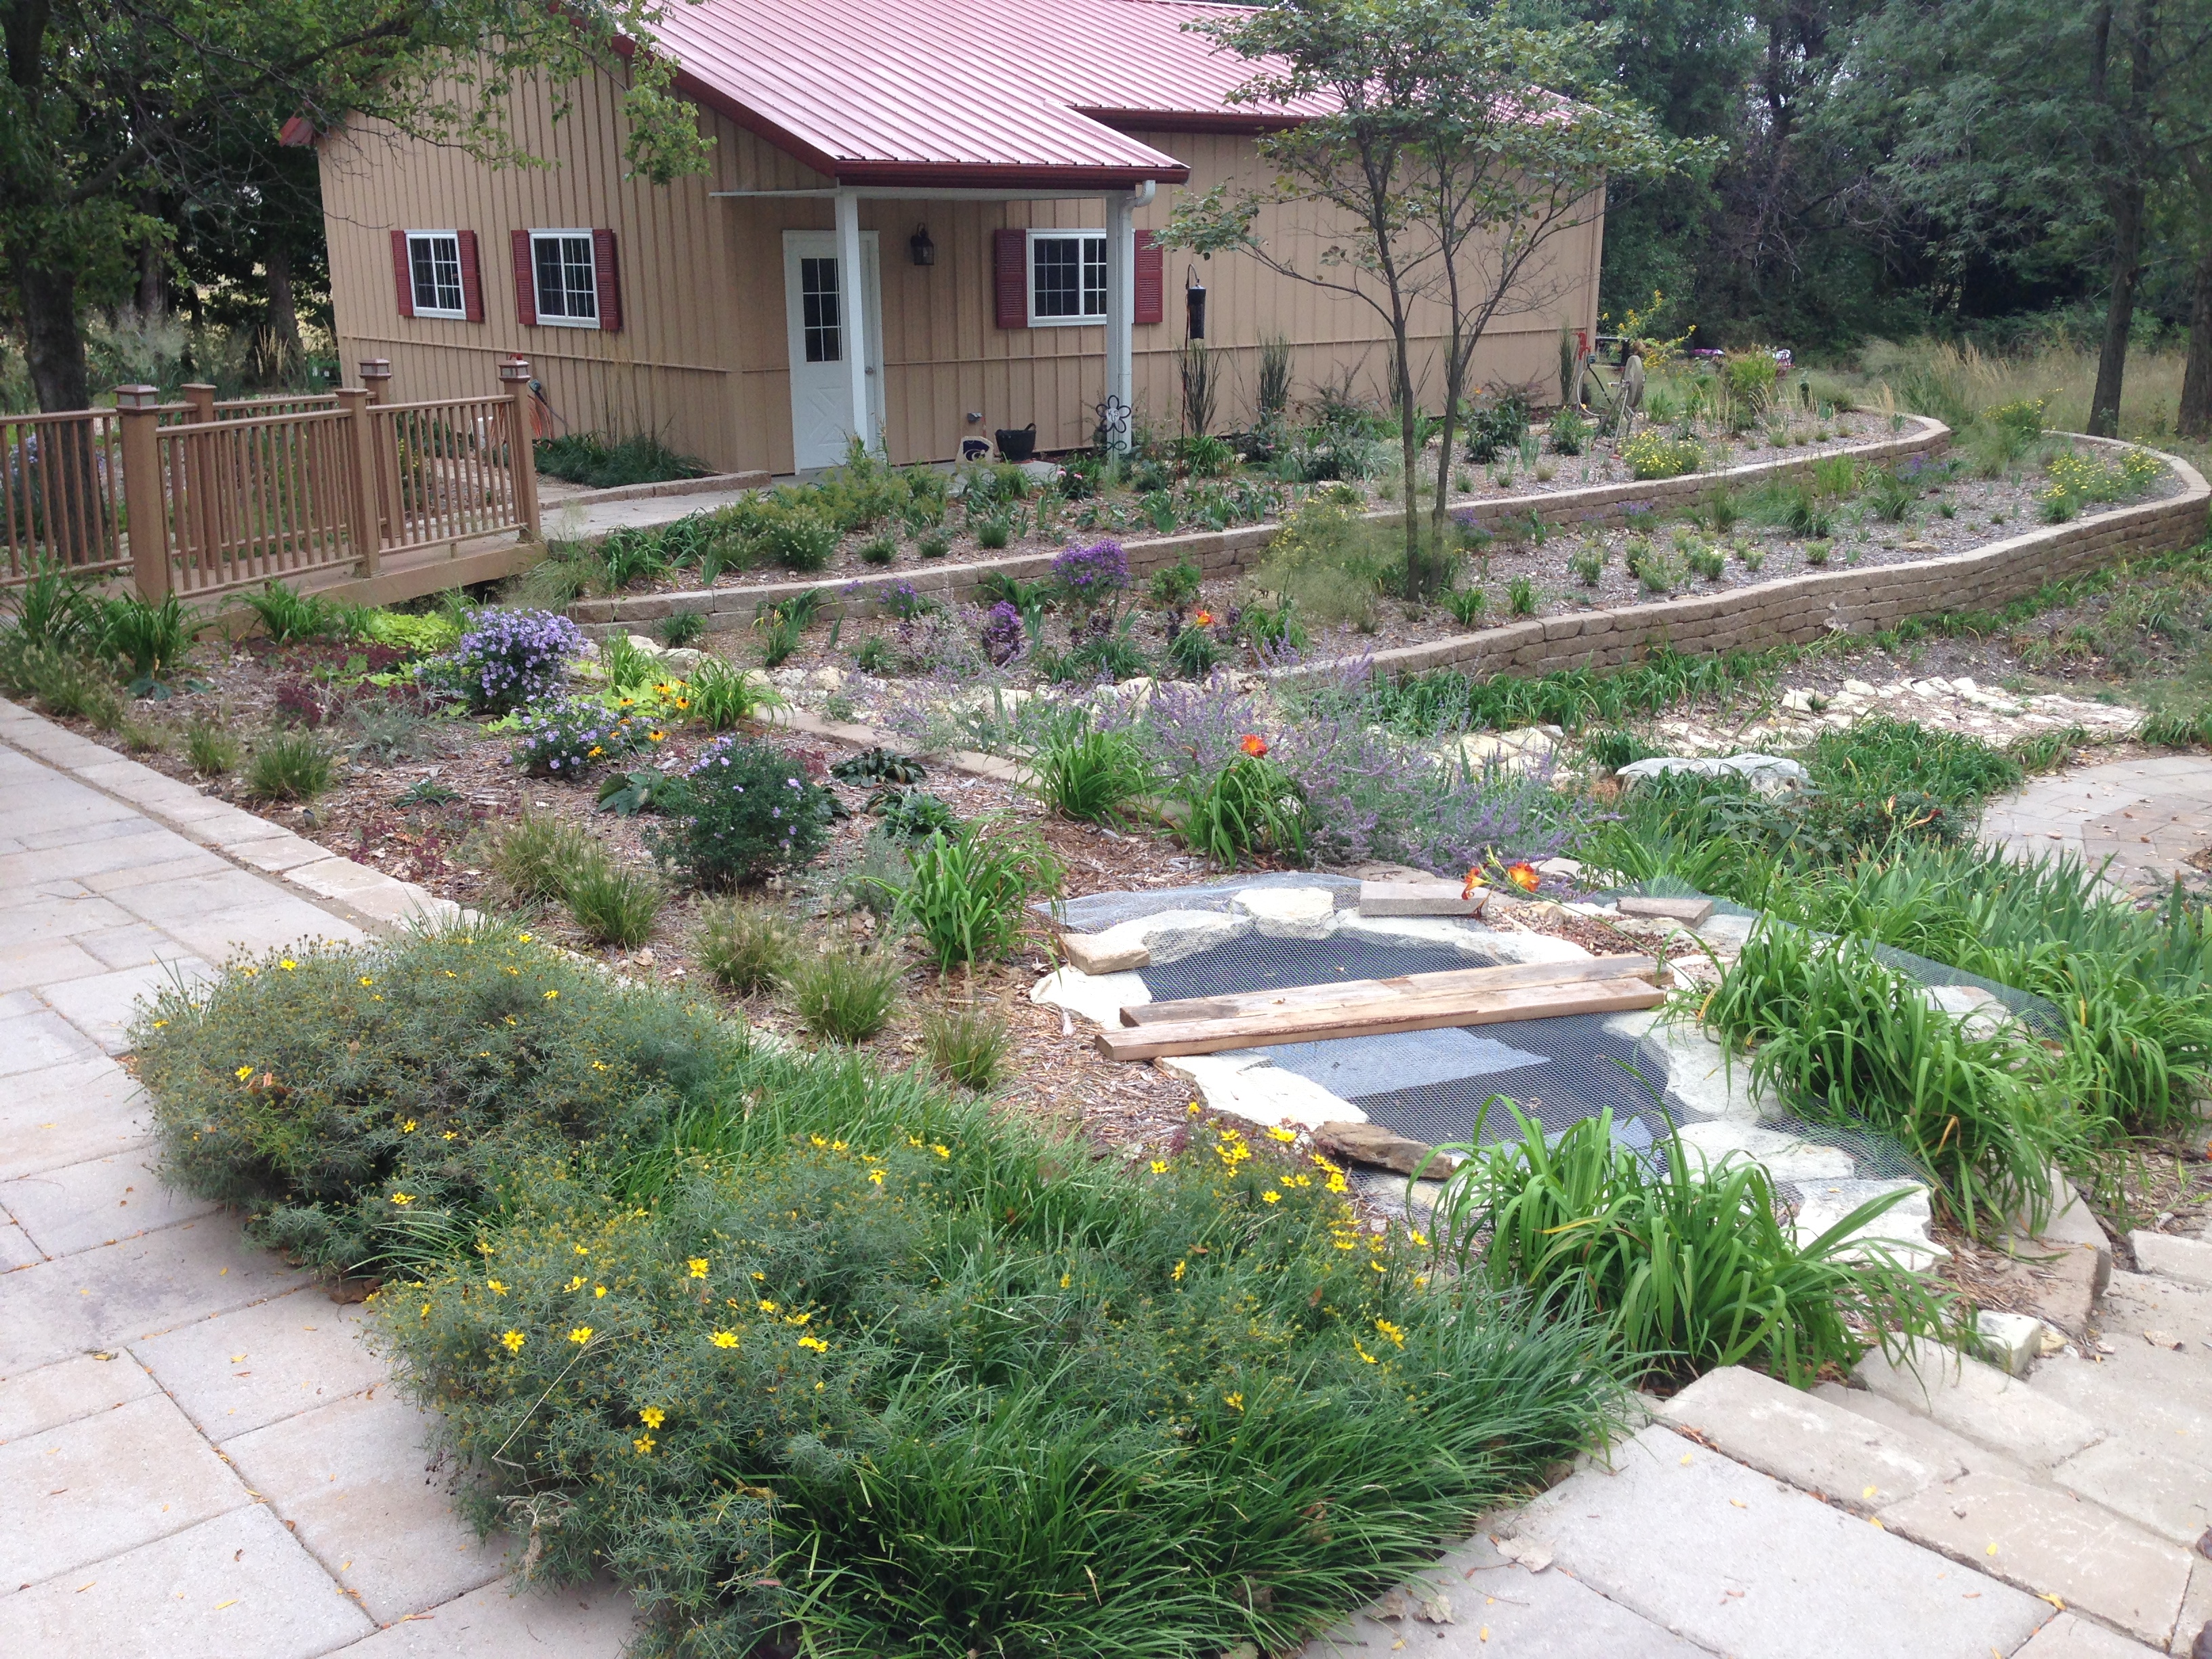
Nicely mulched new planting
What is the best way to mulch?
We start by laying out a garden hose, which allows you to visualize the curves and width of a bed. You can either spray the area inside the hose or dig up the vegetation and let it slowly die. When the area is cleaned up, we begin applying the mulch and leveling it to the desired depth. Keep in mind that too much mulch will encourage growth of the roots into the mulch, where it will be susceptible to freeze damage. The ideal 2 to 3 inch depth of mulch will keep the roots in the soil.
When is the best time to mulch?
We are mulching throughout the year, but direct most of our efforts in the spring or fall. As we clean up our display beds in the spring, it is always a good time to freshen up the mulch, too. At this time of year, soil temperatures are beginning to warm and a new layer of mulch will slow down the warming process. A new layer of mulch will also cover seeds that may have landed in the mulch and covering them now will prevent germination. We mulch anytime a new tree or shrub is planted. This practice will keep the soil cooler, help retain moisture longer and insulate new roots from the cold weather. Some thicker mulch areas may benefit from being fluffed from time to time. Simply take a rake and loosen up the top few inches of the mulch.
What type of mulch is best?
We use whatever is available to us. Mulch is not cheap, so we use chippings from the tree trimming service. We have used semi loads of hardwood mulch, which is expensive. It is not as important what you use, but how much you use. Even free mulch can look attractive and function just like the most expensive mulch. For sloped areas, the larger and heavier mulch works the best. It is not as susceptible to runoff or wind displacement. Smaller or finer mulch decomposes quicker too. The bottom line is use what is available to you.

Our mulch pile of chipped up trees
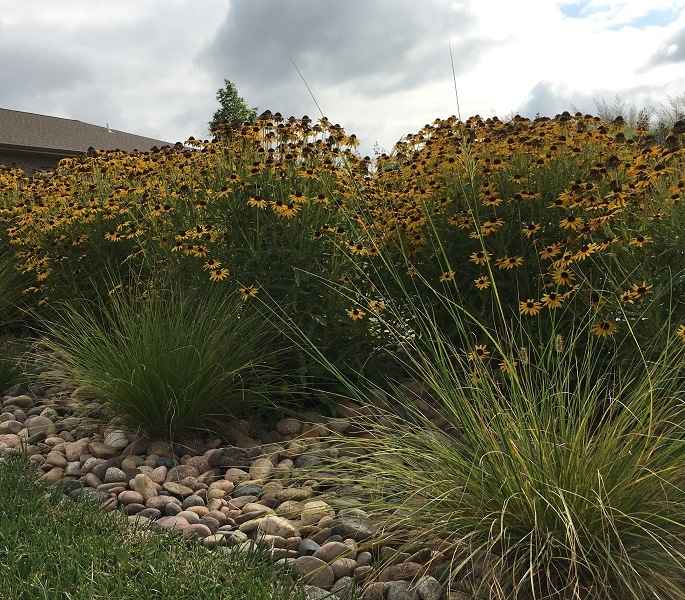
River rock as mulch with blackeyed susan and prairie dropseed
Can I use plants as mulch?
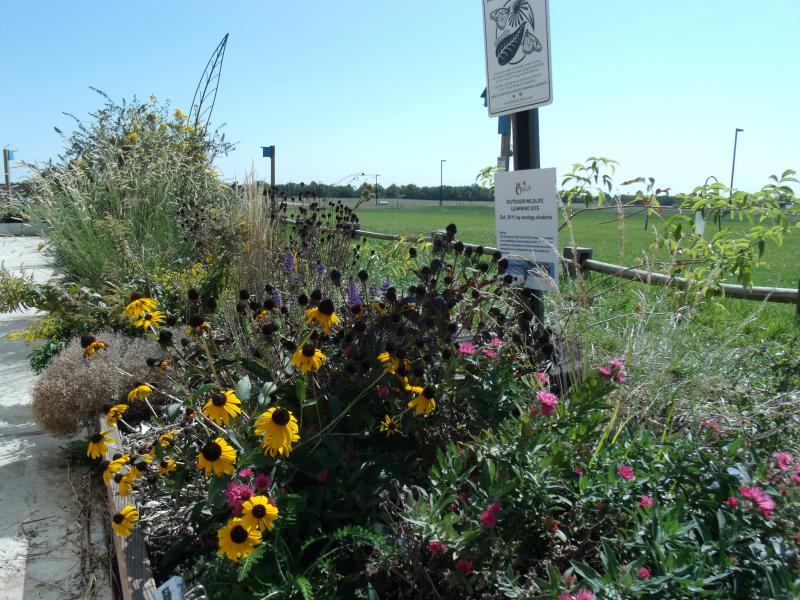
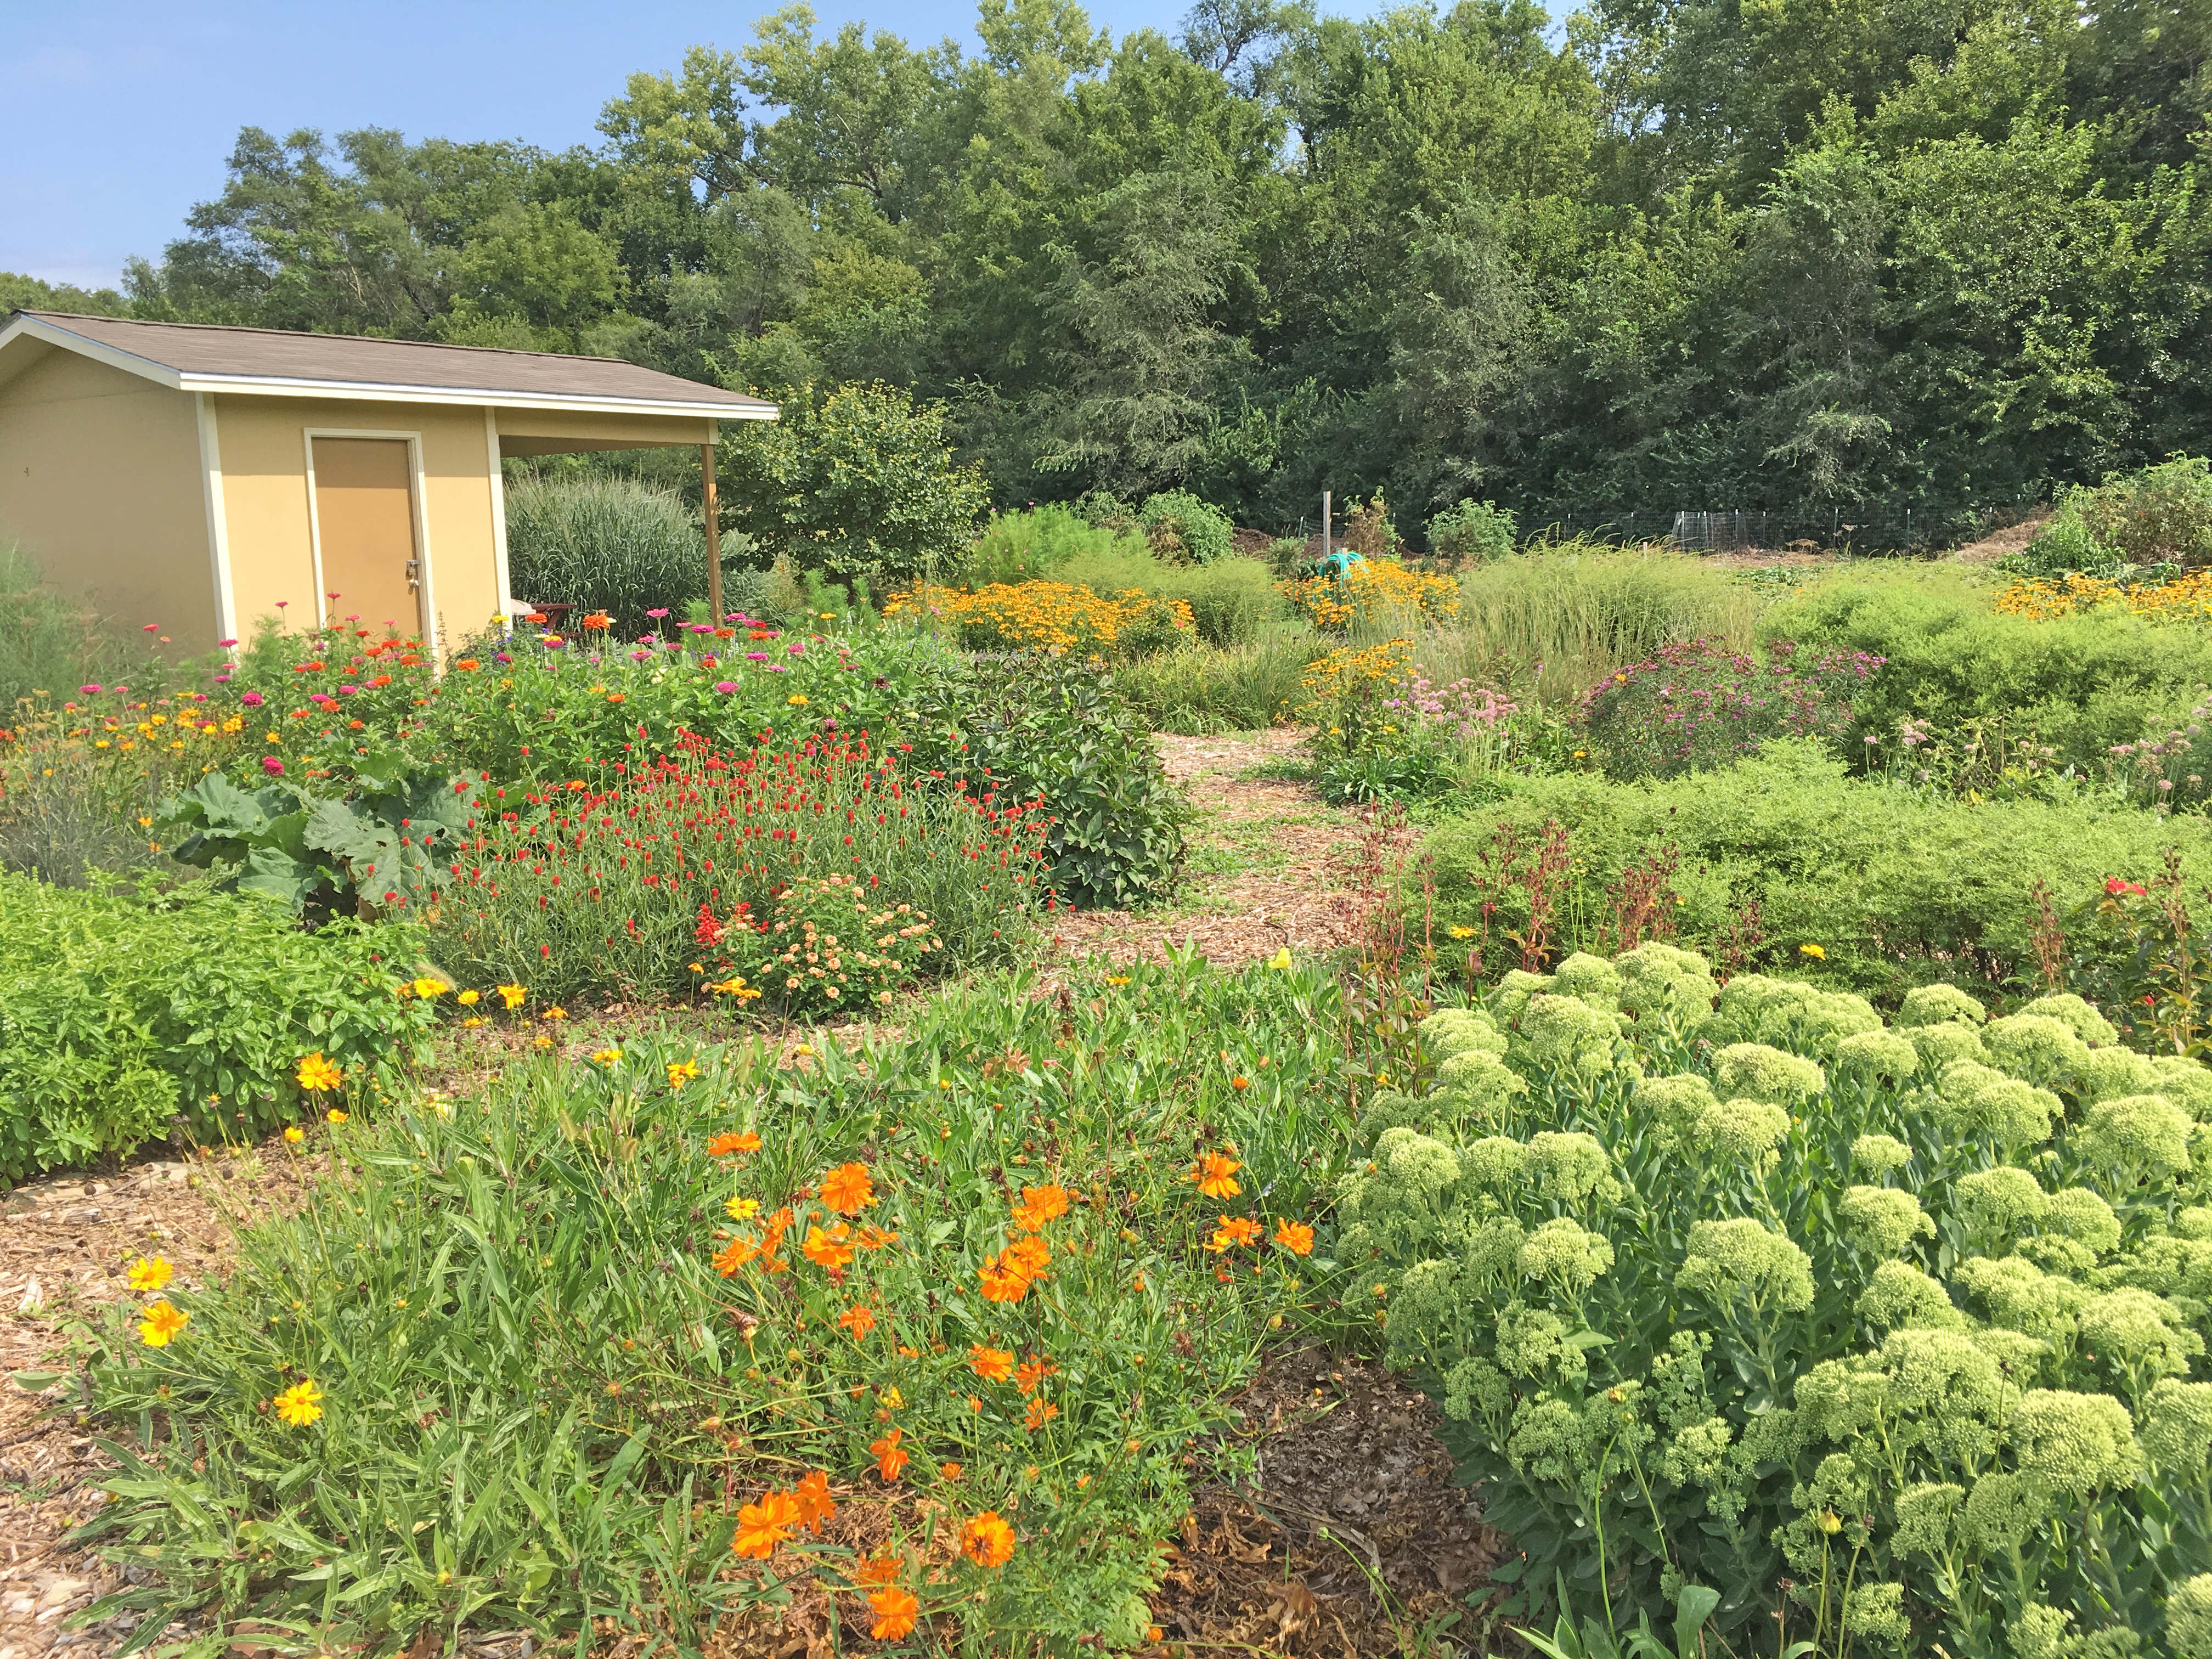
In the book Planting in a Post-Wild World: Designing Plant Communities for Resilient Landscapes, Thomas Rainer and Claudia West develop the ideas of layering plants. There are usually at least three distinct layers of plants: the upper layer filled with taller structural plants used to frame and punctuate the landscape, the middle layer filled with ornamental flowering plants and the ground level that weaves the other layers together and shades the soil, which controls weeds. These layers mimic natural plant communities and each layer is important for the health of the plants. A collection of plants living in community can be extremely drought tolerant and water-thrifty.
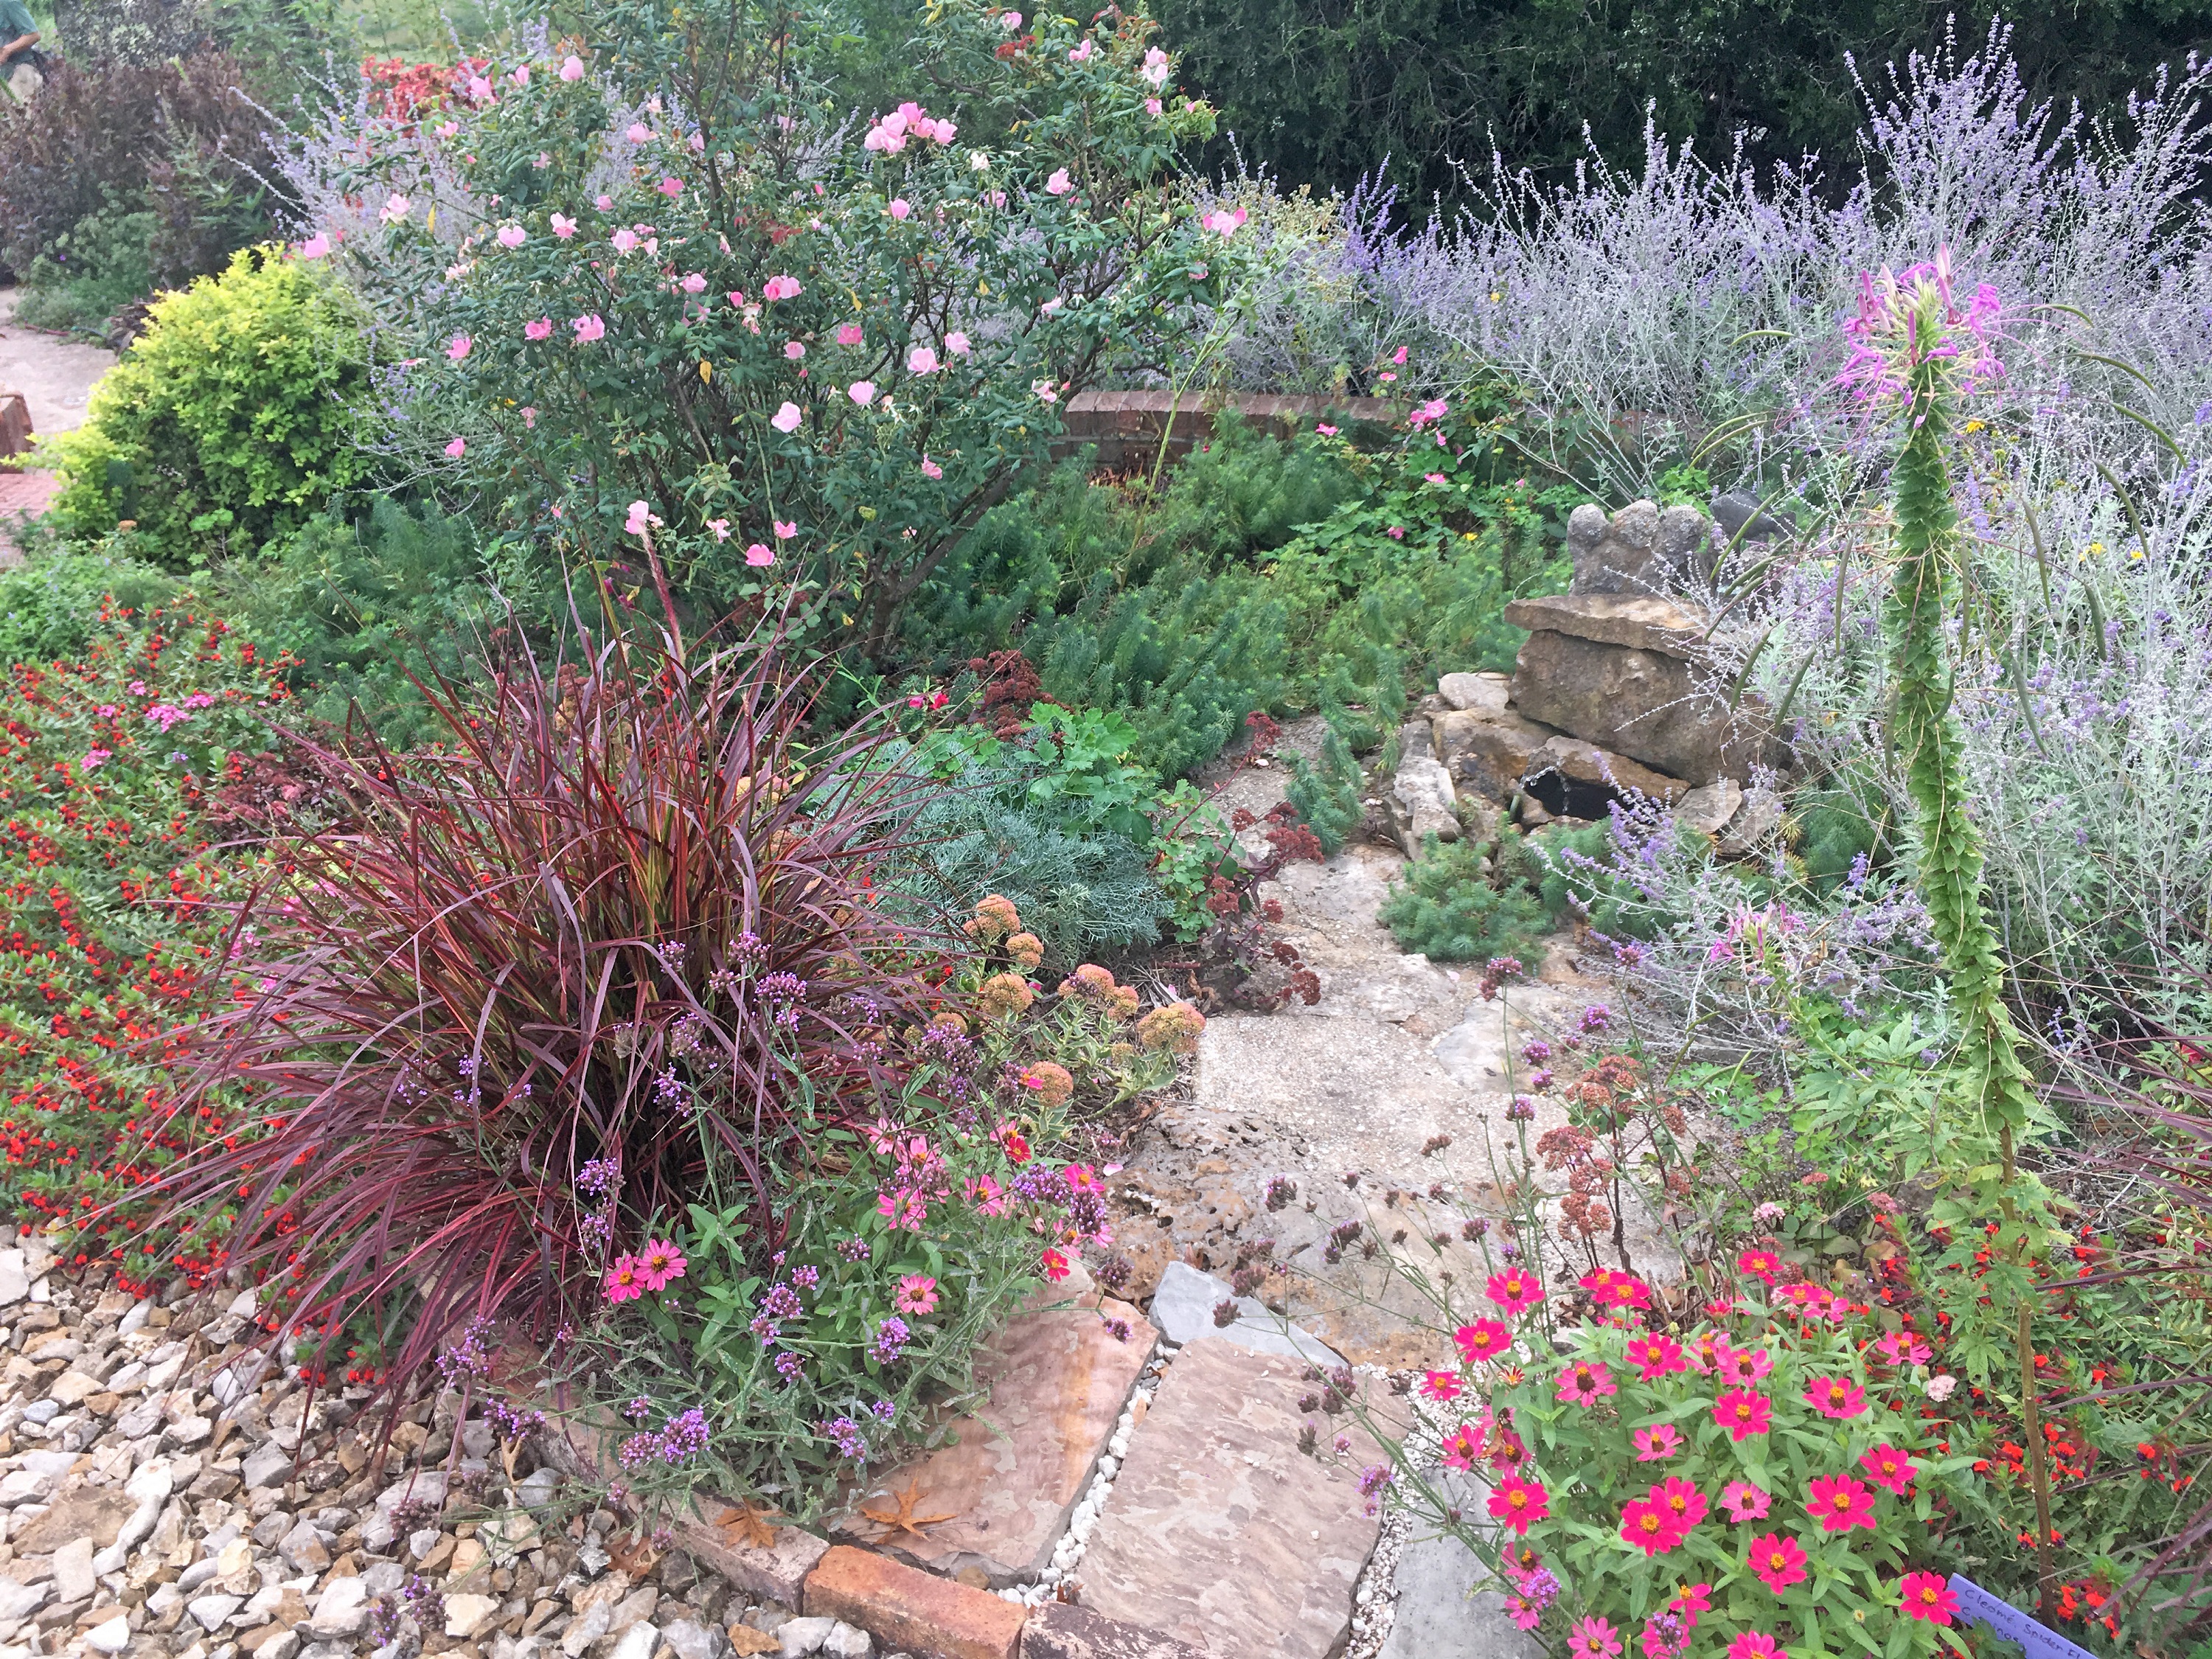
Lenora Larson’s Garden with dense plants that smother weeds
A few final thoughts:
Purchase a heavy duty mulching fork and stiff garden rake for leveling.
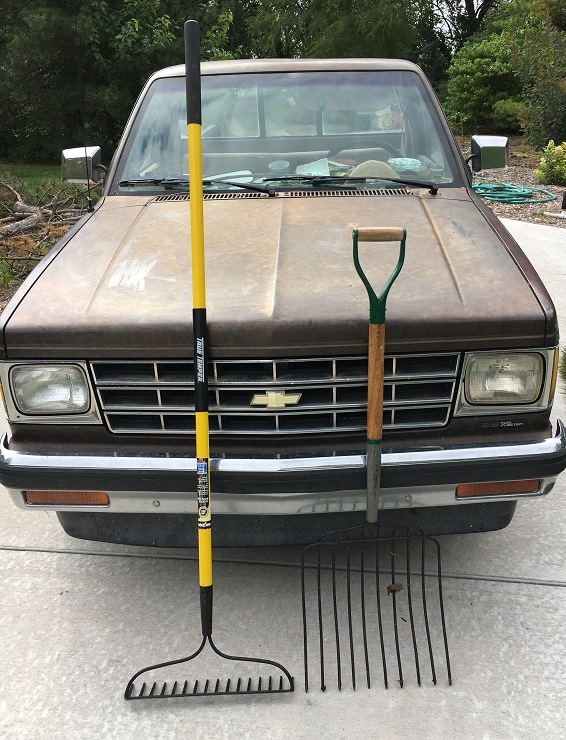
Essential mulching tools: Silage fork and stiff leaf rake
Insects can be a problem in mulch, so keep it away from the foundation of your house and base of the plants. Termites generally like larger pieces of wood but can even live in the finer mulch, especially if it is too thick.
Landscape fabric under mulch is something we avoid. It only keeps weeds out for the first few years and then the decomposing mulch turns into compost, which is ideal seed bed for weeds. It is also hard to transplant into it and often suffocates the soil. We have purged the Arboretum of just about all landscape fabric. Save your money and buy more plants.
You can use rock as a mulch, but don’t buy the recycled rubber mulch. The rubber mulch may last forever but it does nothing great for the soil or the plants around it. In fact, the compounds and residues that leach over time may do more harm than good.
Happy Mulching!


