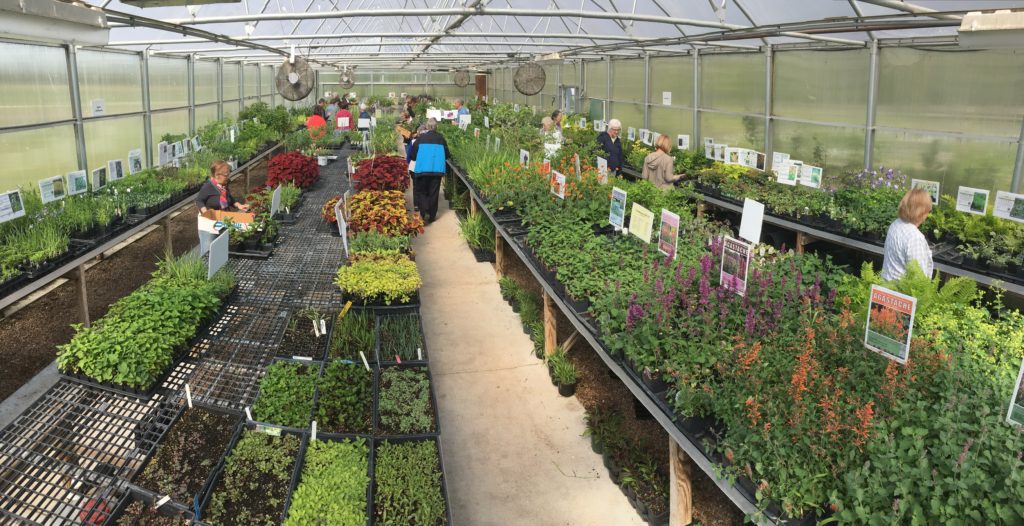
Over the past five years, we have seen some interesting things happen regarding native plants. People are learning about native plants and matching plants up with their local conditions. More and more people are seeking them out to include in their landscapes. Here are a few of the emerging garden trends regarding native plants:
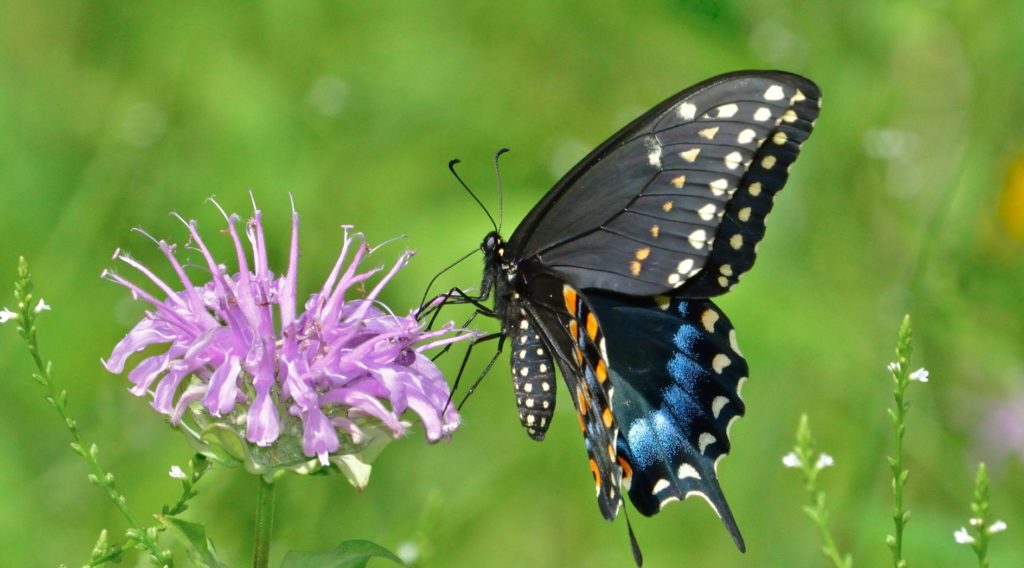
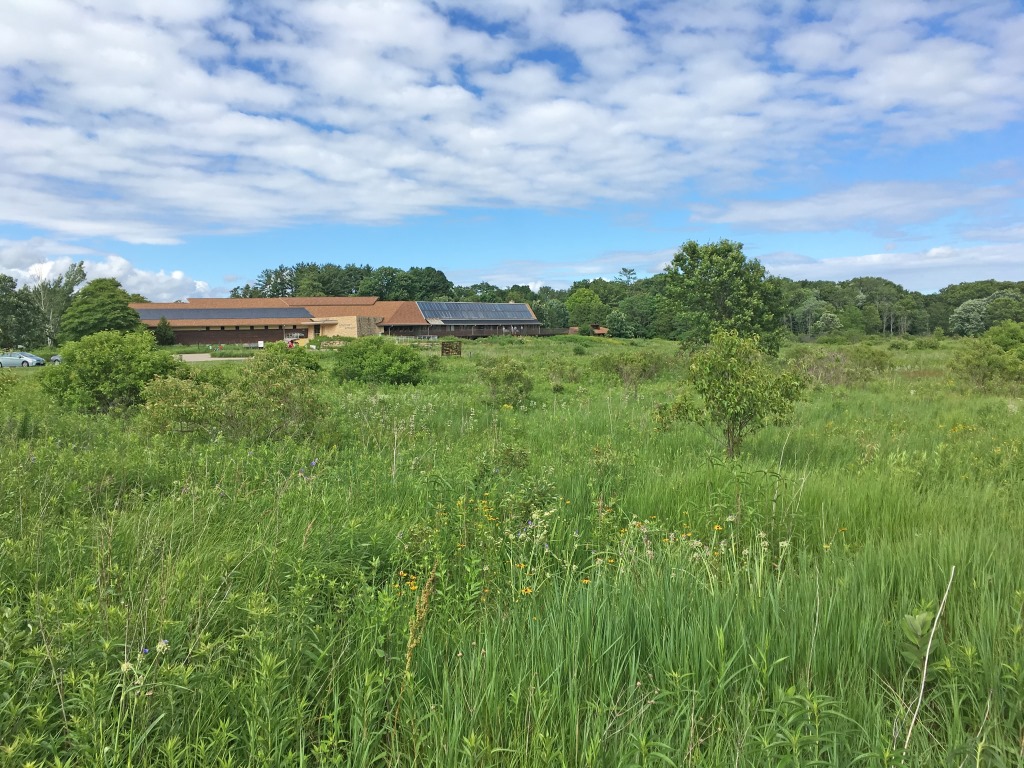
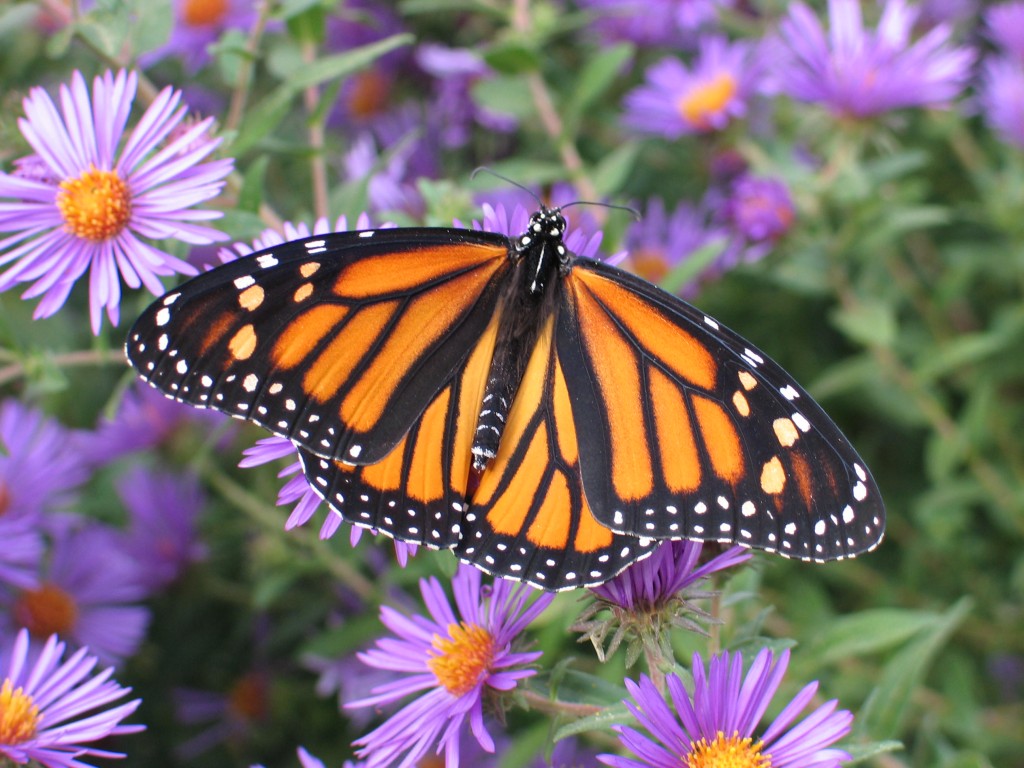
Wildlife-friendly plants
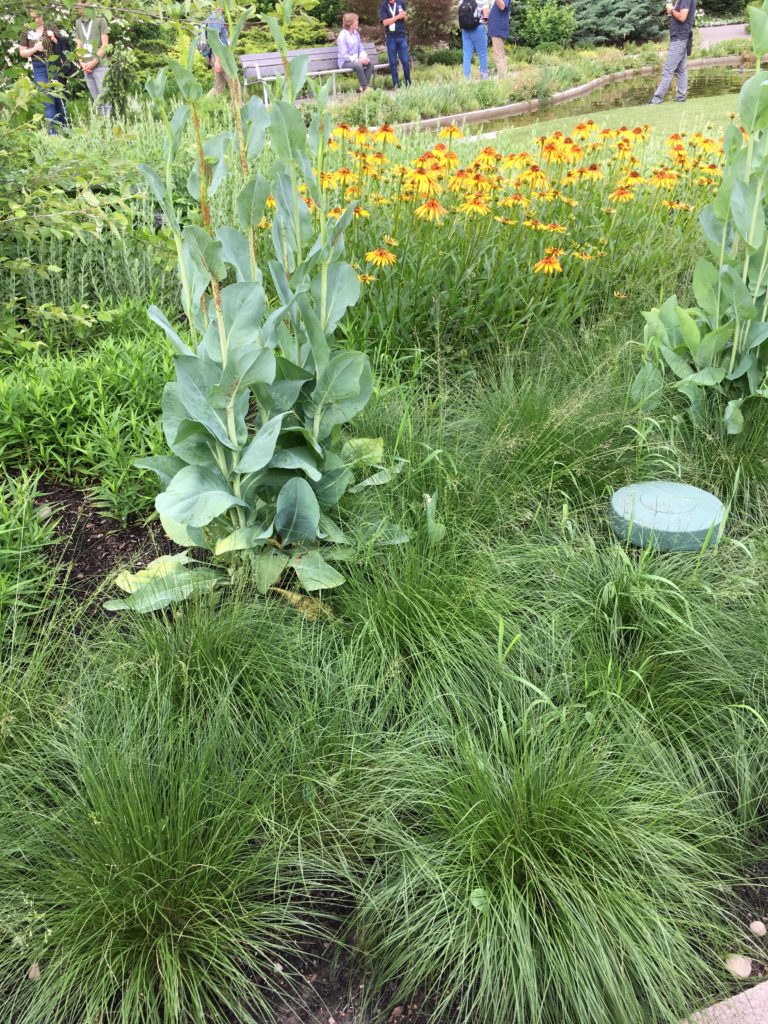
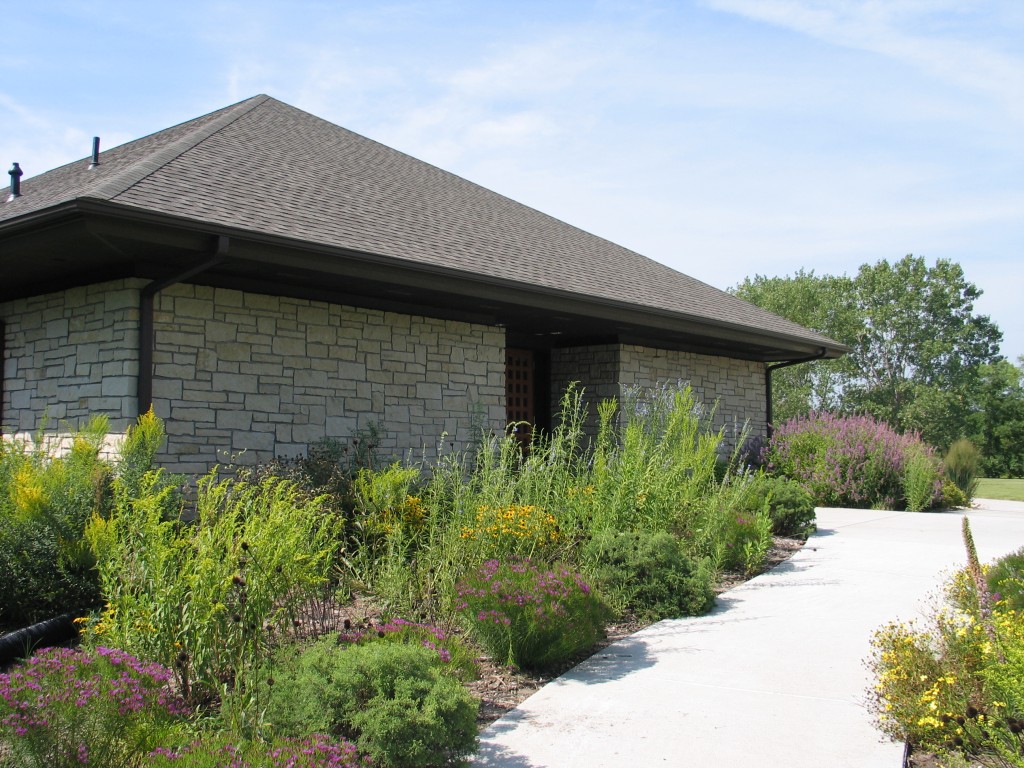
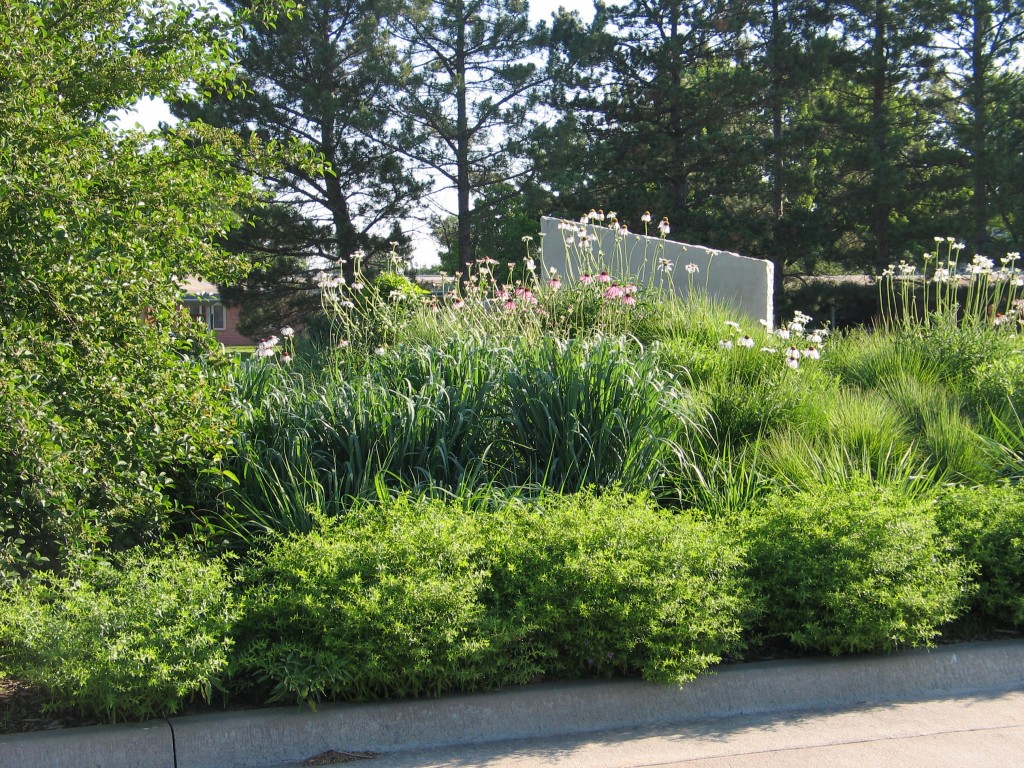
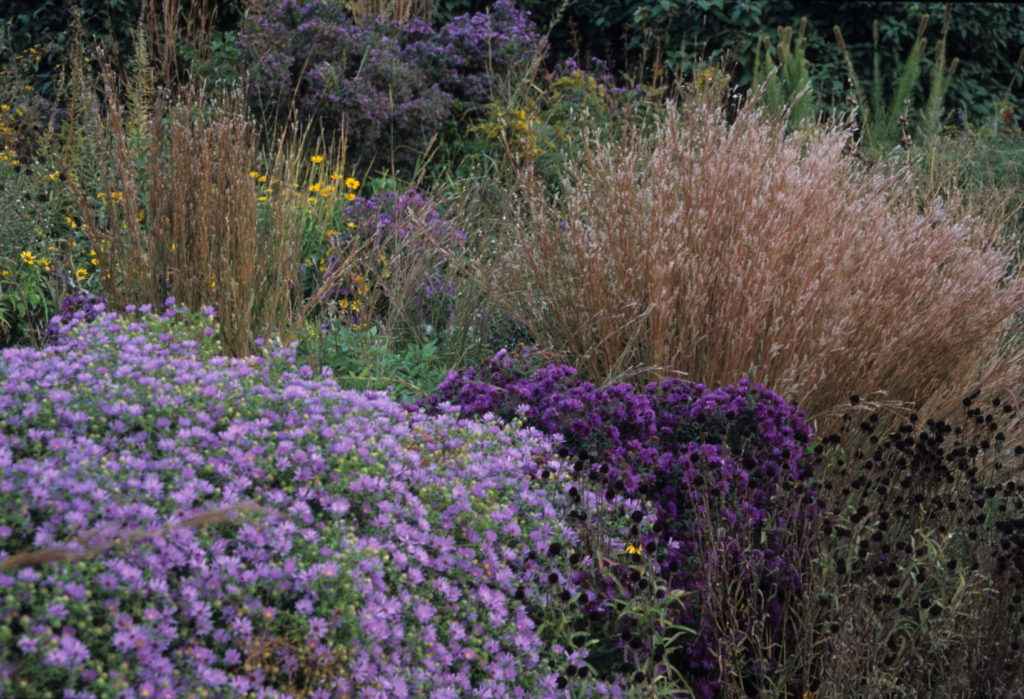
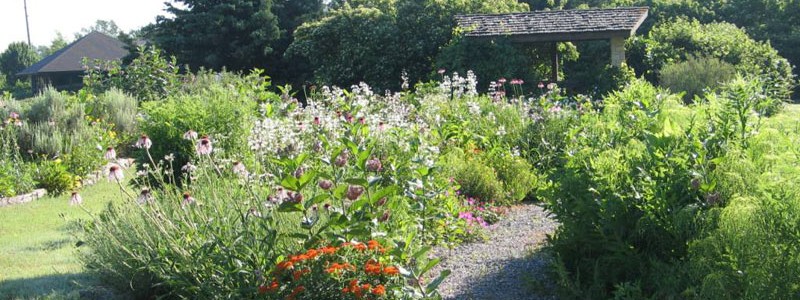
I keep coming back to this idea of beautiful AND good. Aesthetics are important and we all want attractive landscapes, but of equal importance is this feeling that what we are doing is good for everyone and everything. It can be intimidating to change the way you garden or landscape. Choosing plants just because they are visually appealing simply isn’t a good enough reason anymore. Creating a habitat using plants that are adapted to your site is a far better approach to landscaping. Designs that have attractive combinations of wildflowers, grasses, shrubs and trees may initially capture our imaginations, but more and more people are wanting these plants and landscapes to provide additional benefits. Our gardens must now not only look good, but also do double duty to provide for pollinators, attract birds and other wildlife, develop habitat and positively impact the environment.
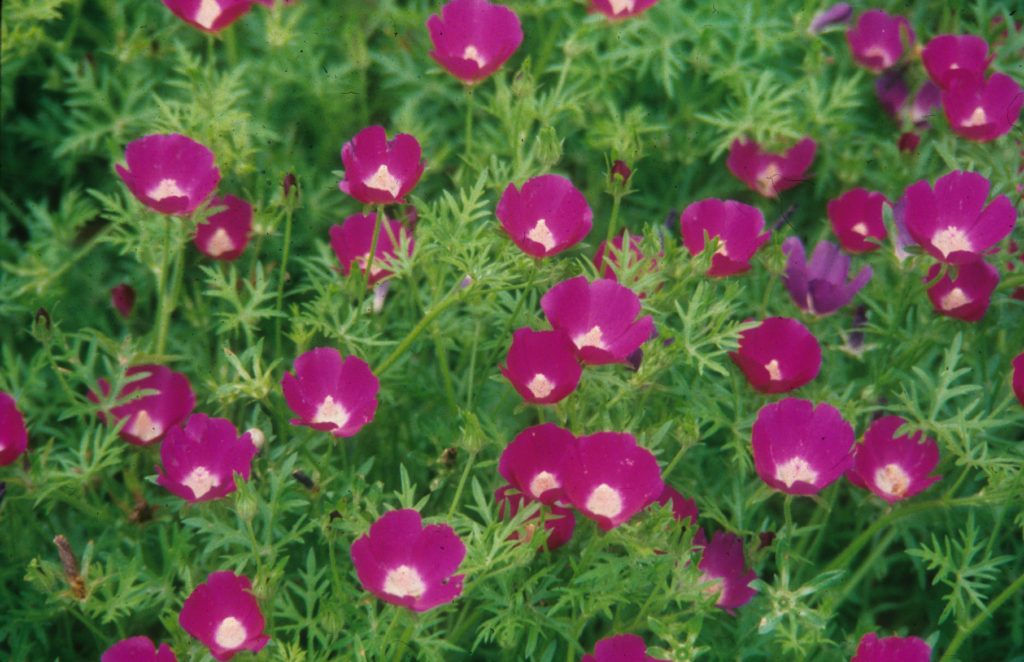
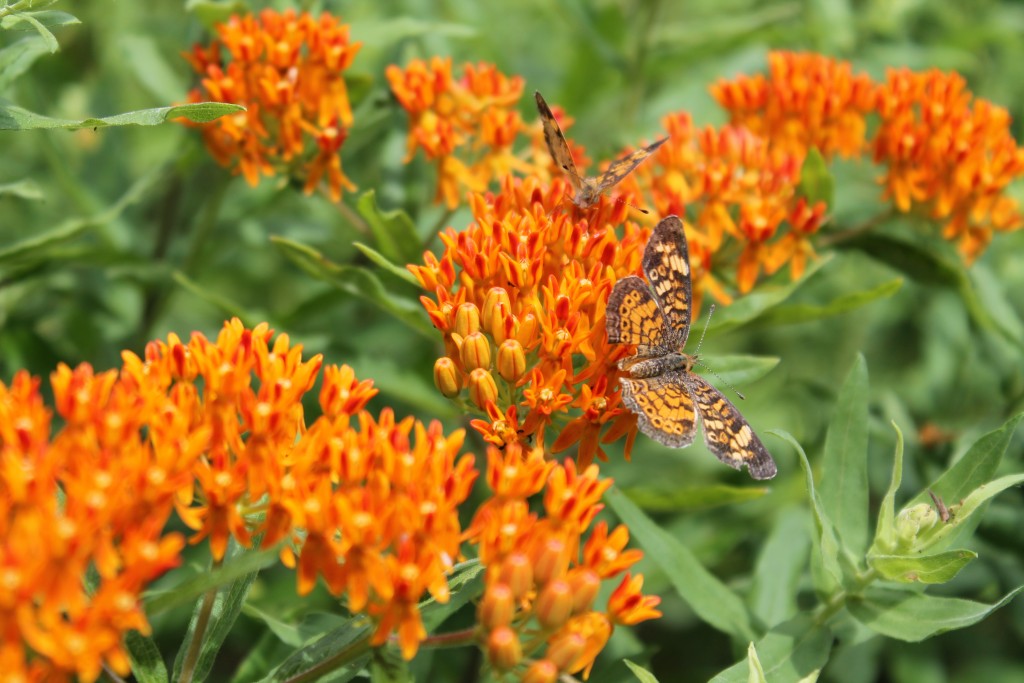
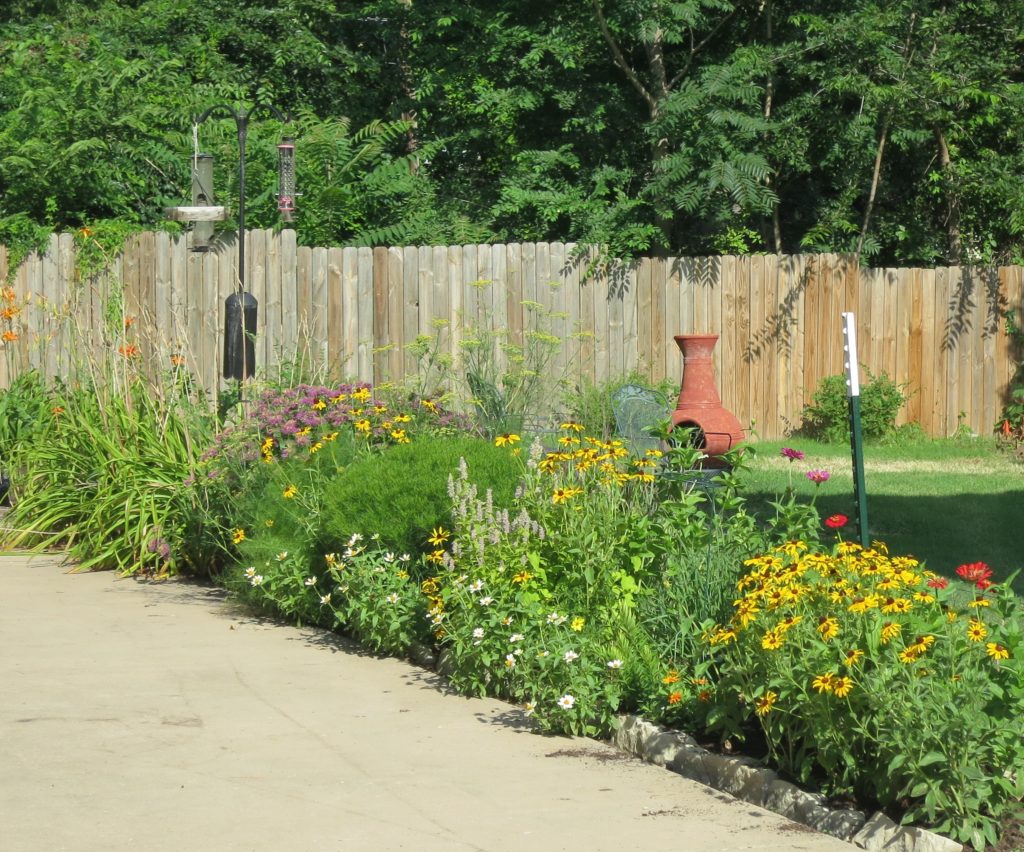
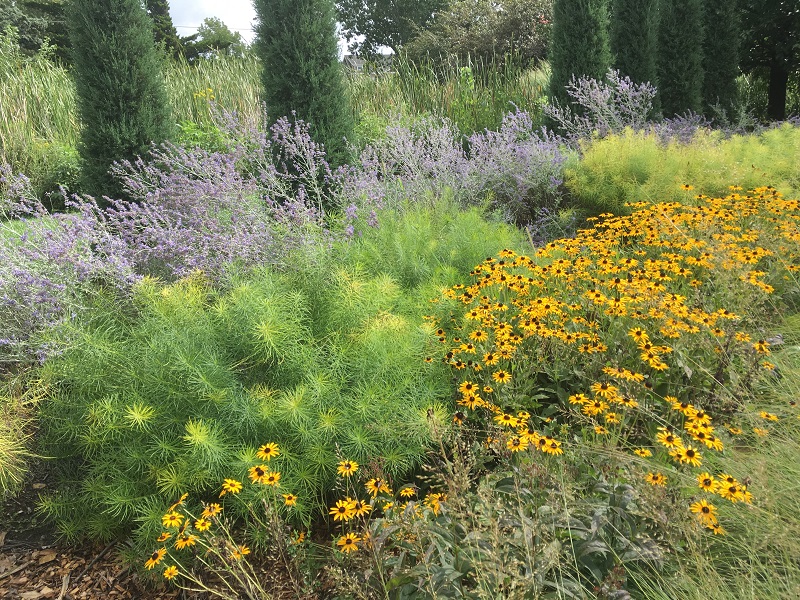
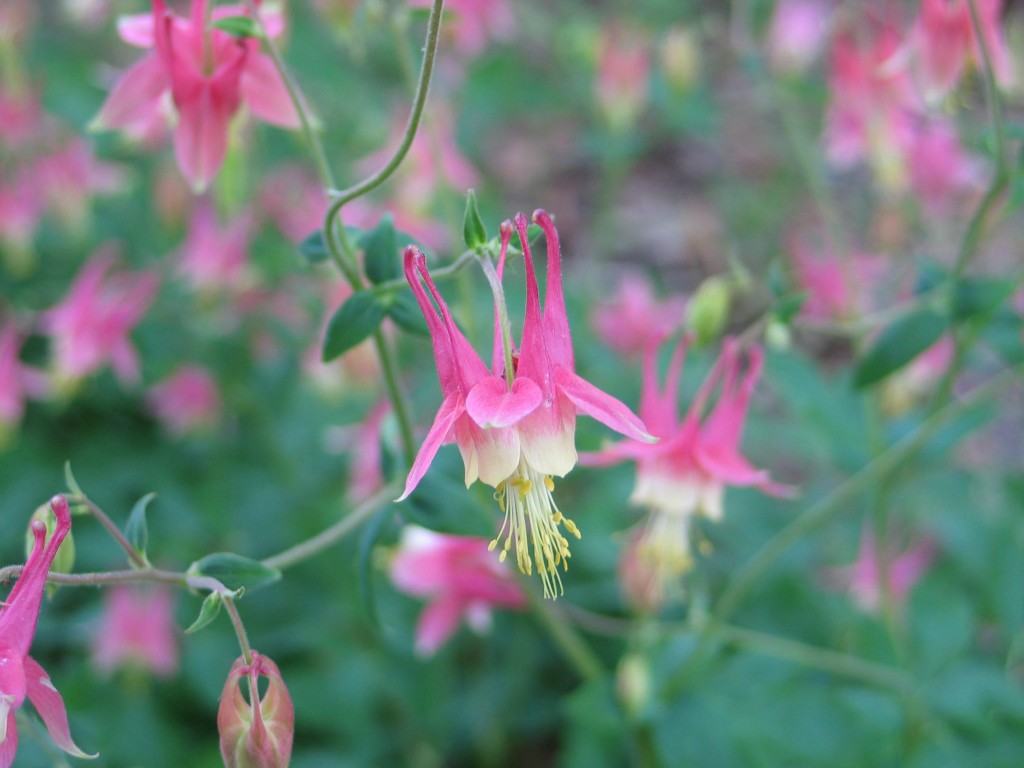
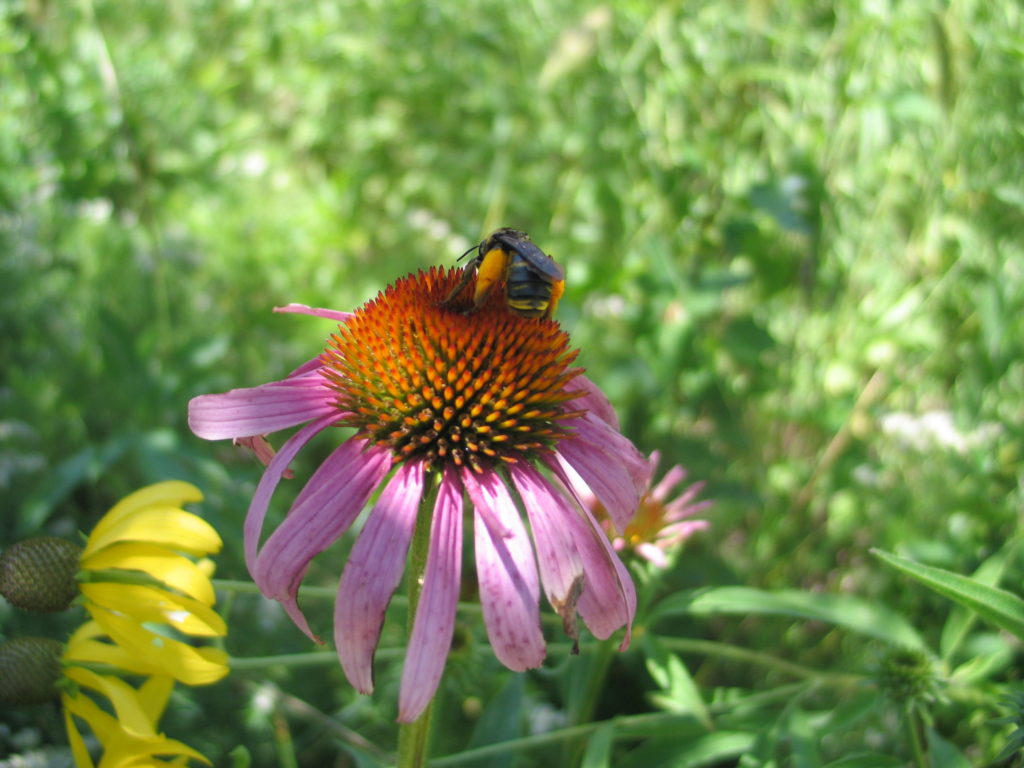
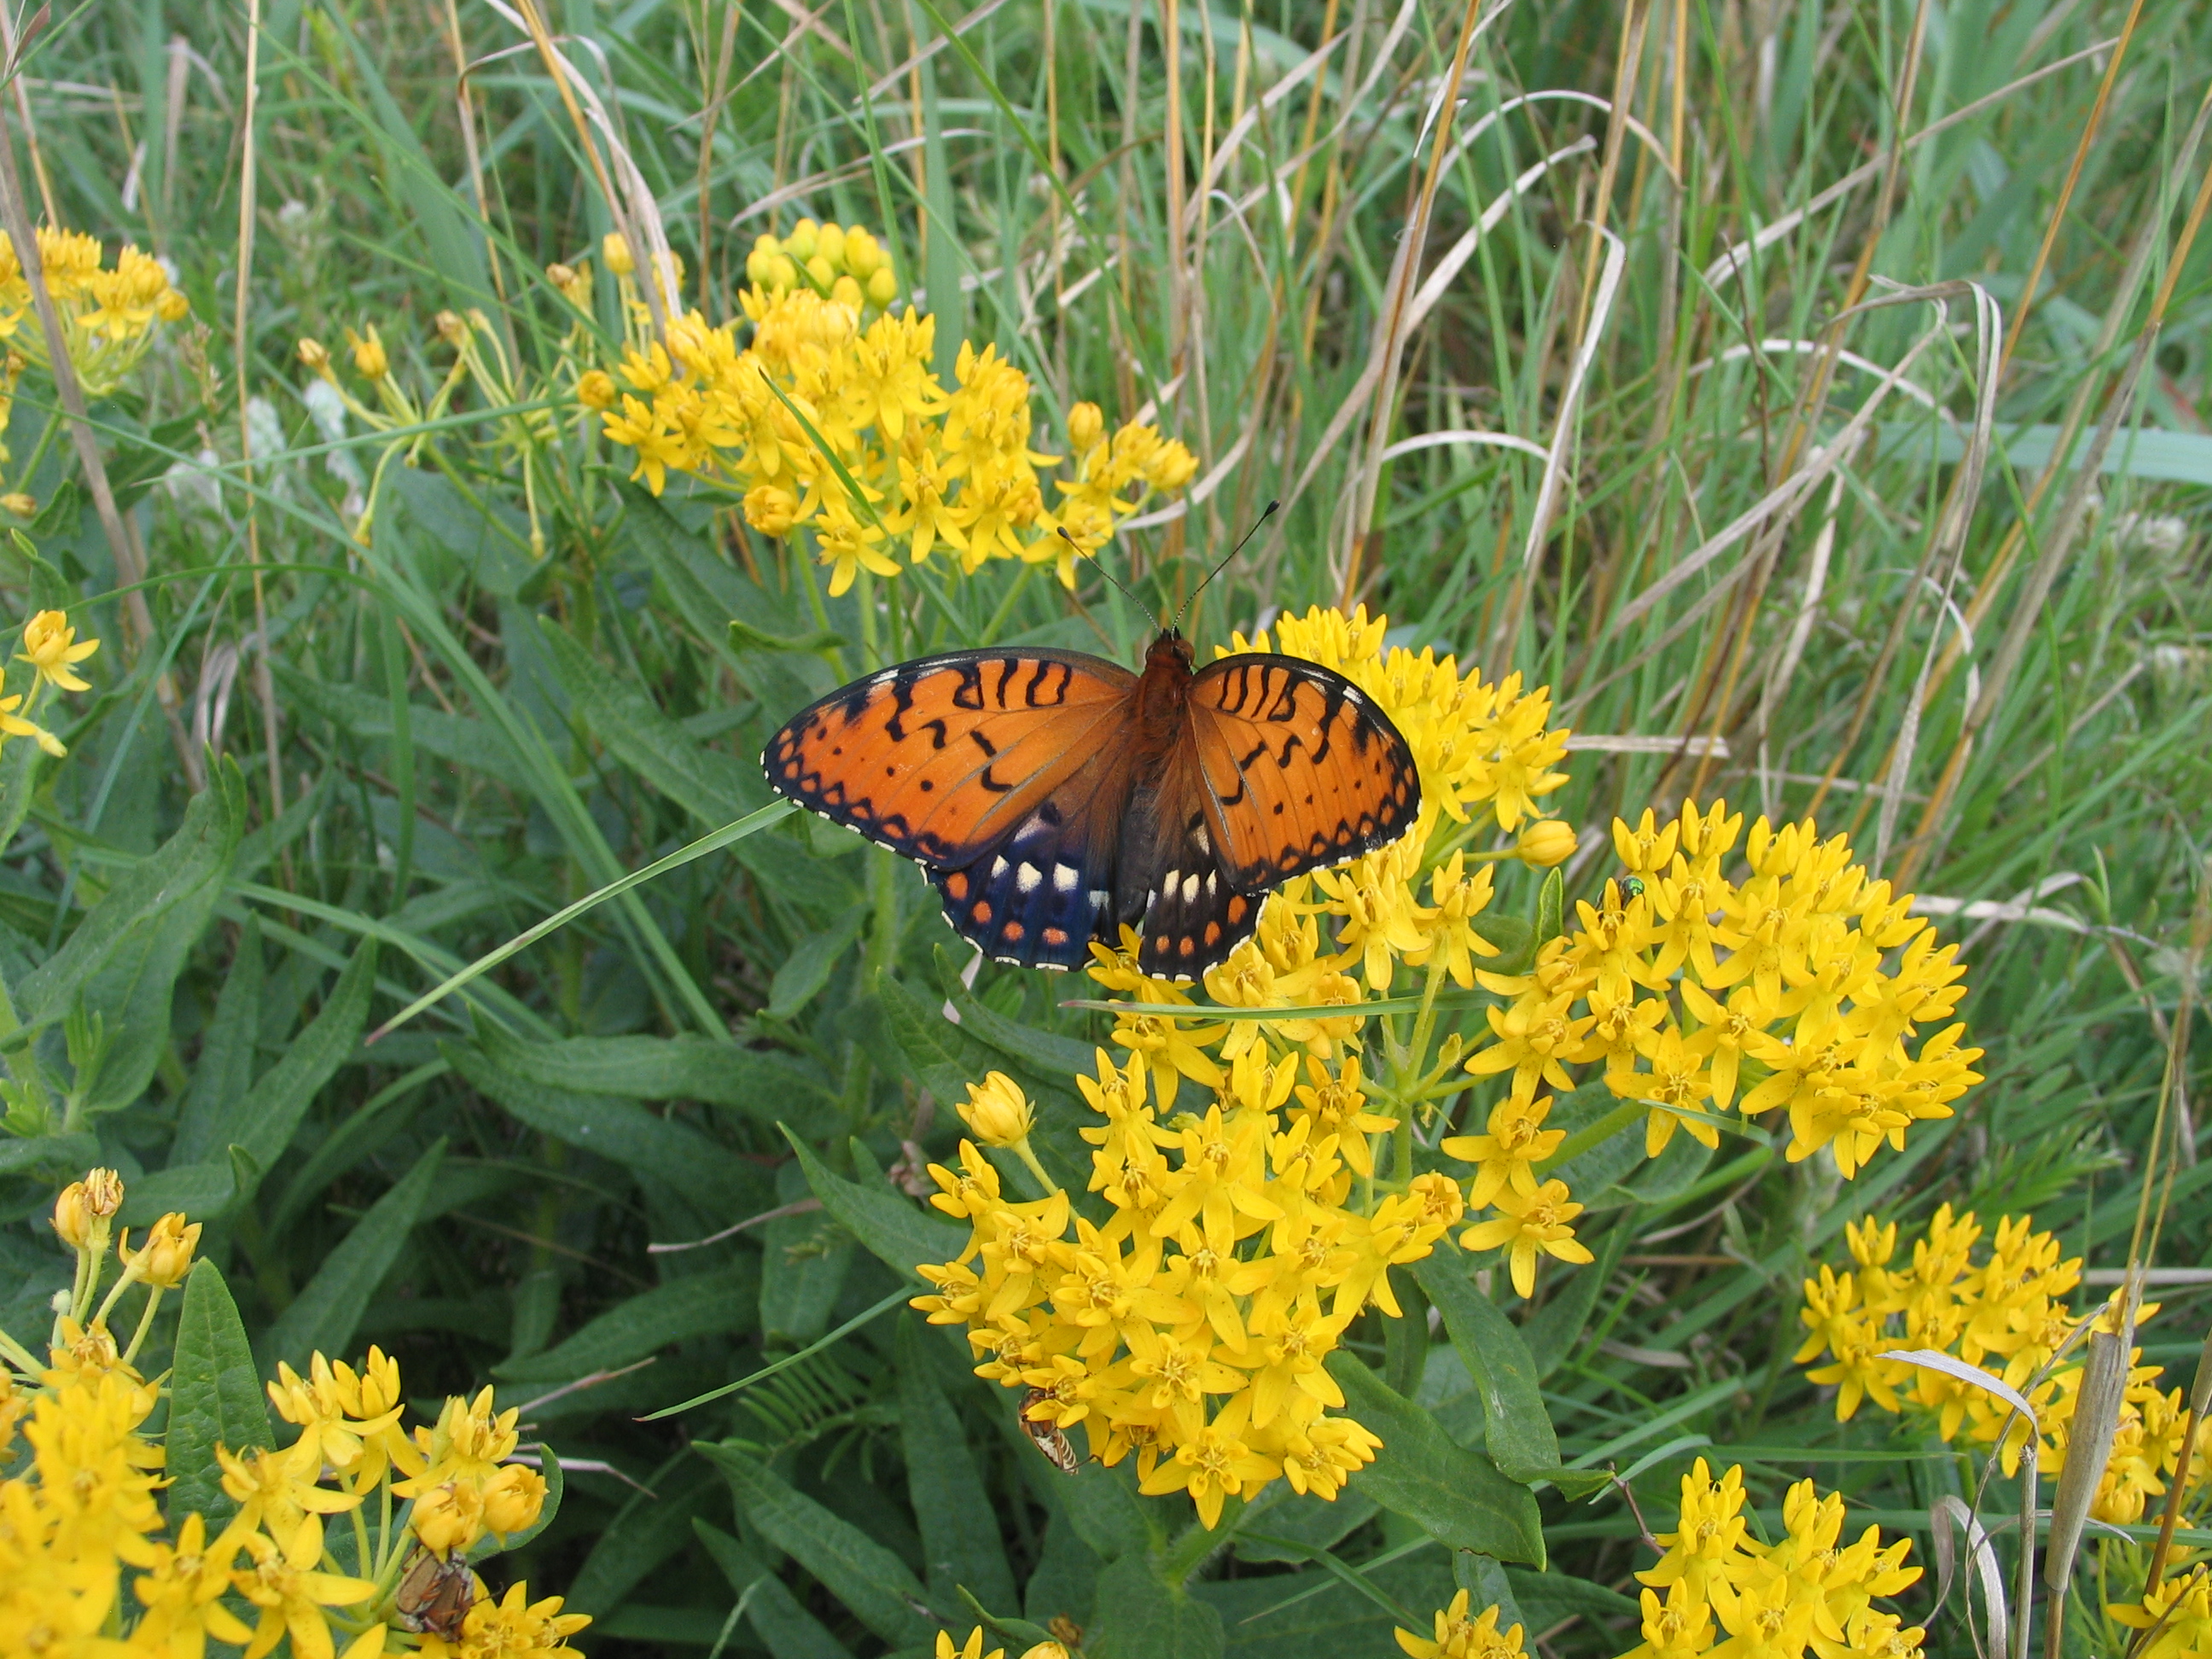
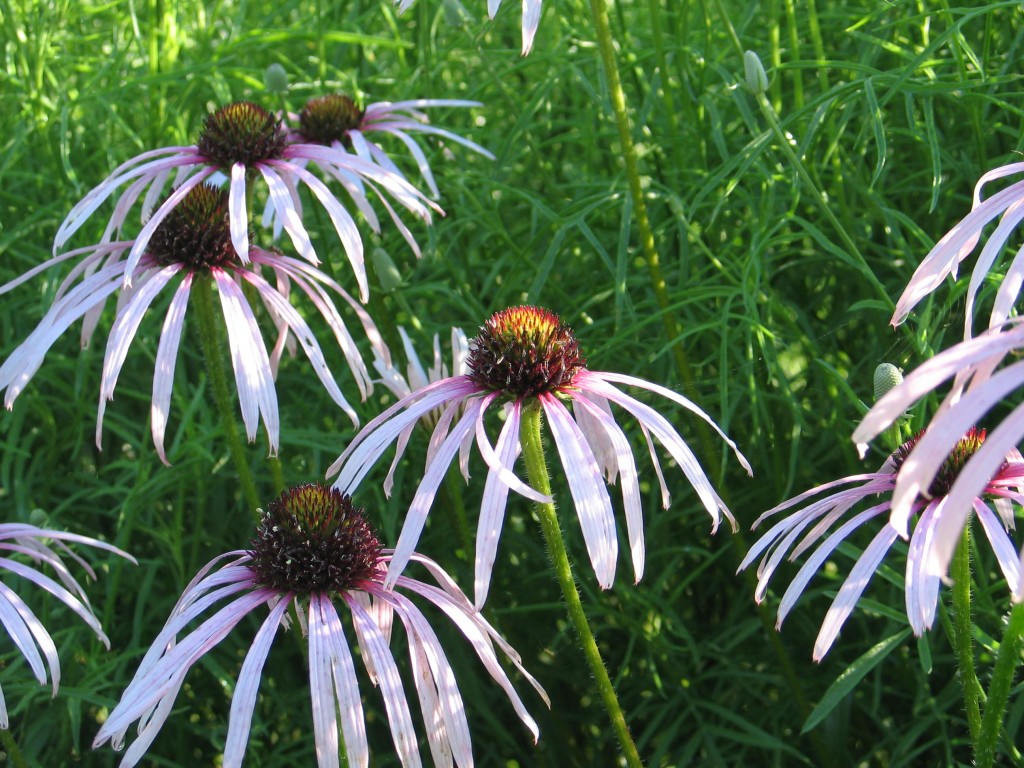
Pollinator gardens
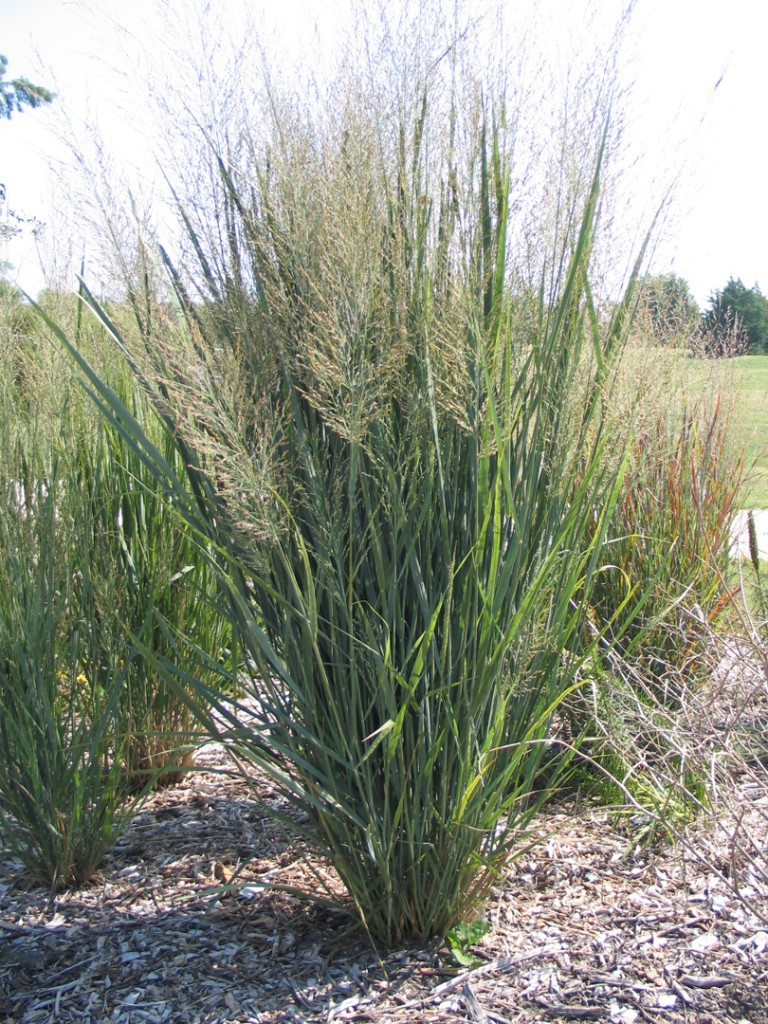
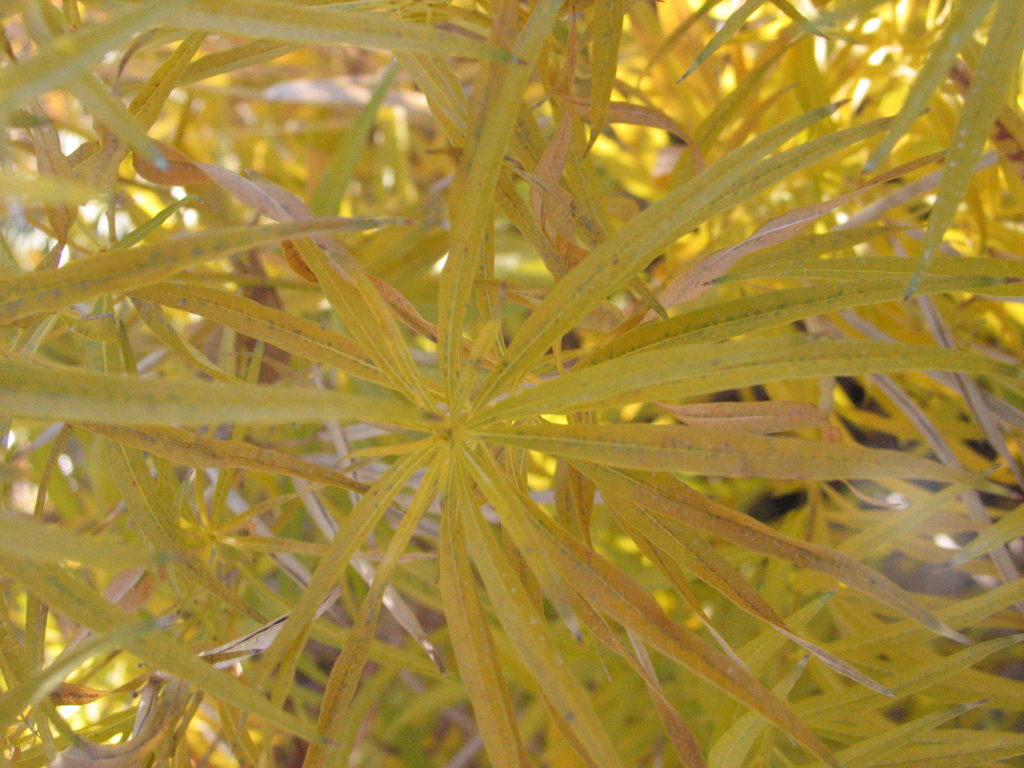
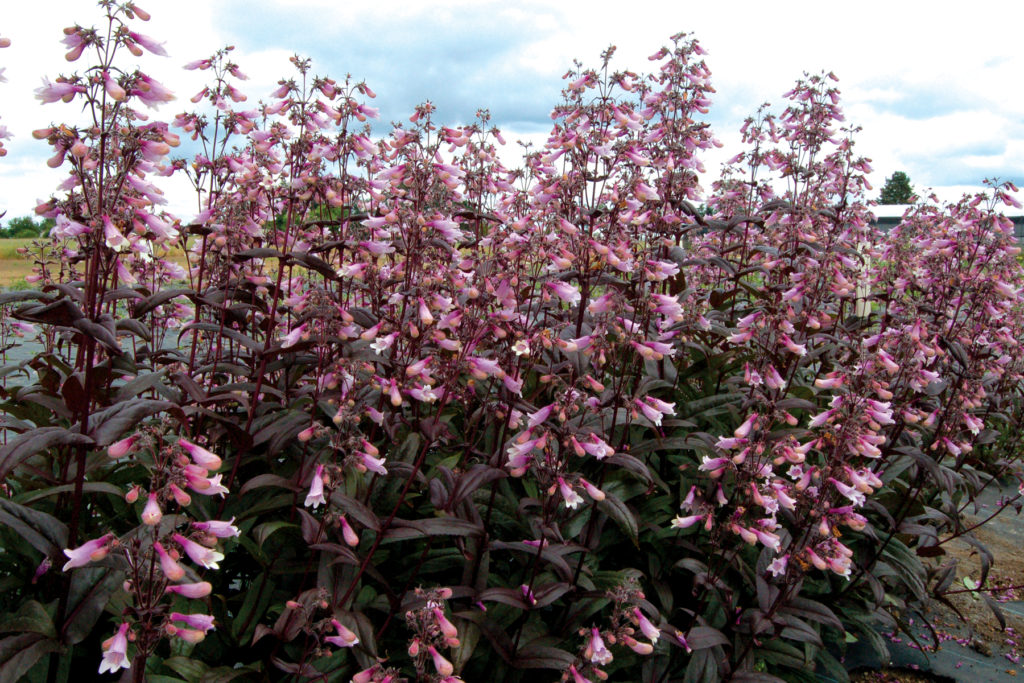
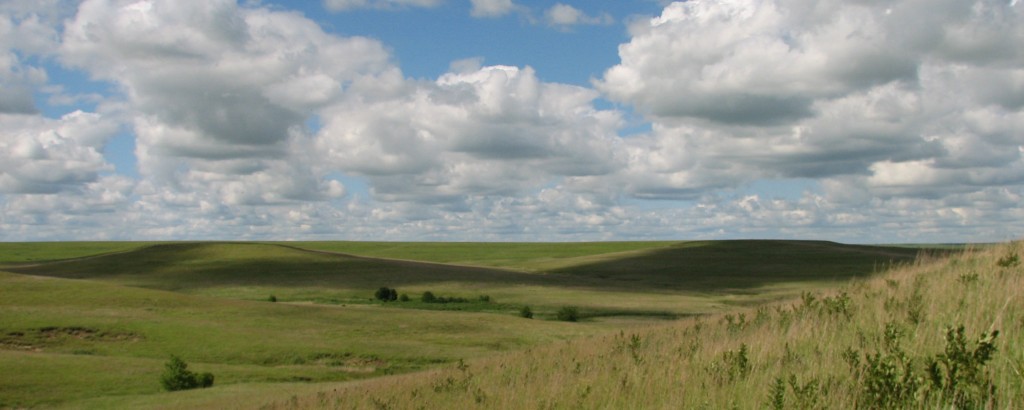
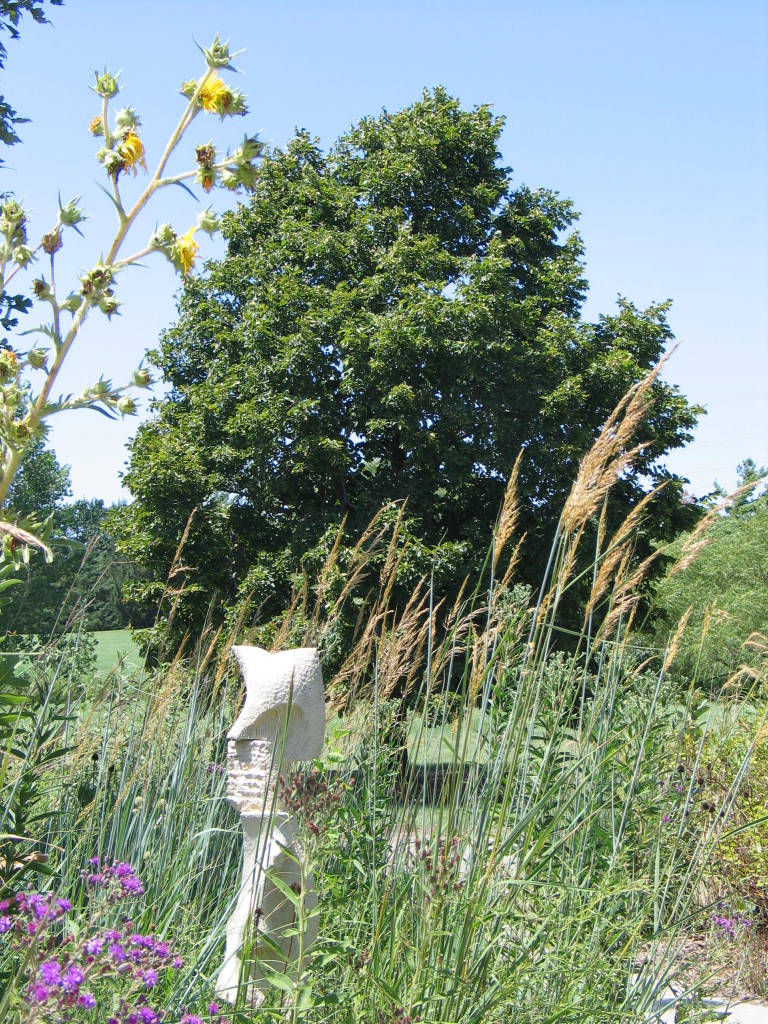
It has taken a while, but native plants are finally getting the attention they deserve. They are viable alternatives to many of the overused plants you see in so many landscapes. There are literally hundreds of plants that will fit into your landscape design. Whether it is a true native species or “nativar” (a hybrid or new selection of a native plant), these plants offer qualities that will beautify the landscape and attract pollinators, too. For people who live in prairie country, it may be easy to take our native plants for granted. Yet these plants, with their simple form and subtle beauty, can make attractive additions to the home landscape.
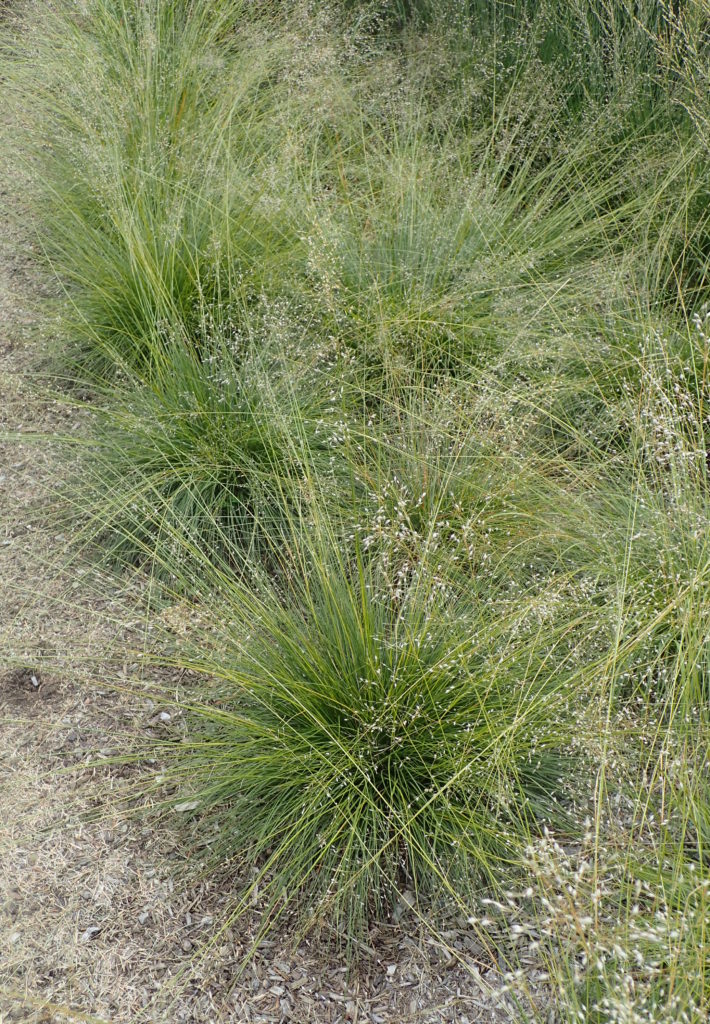
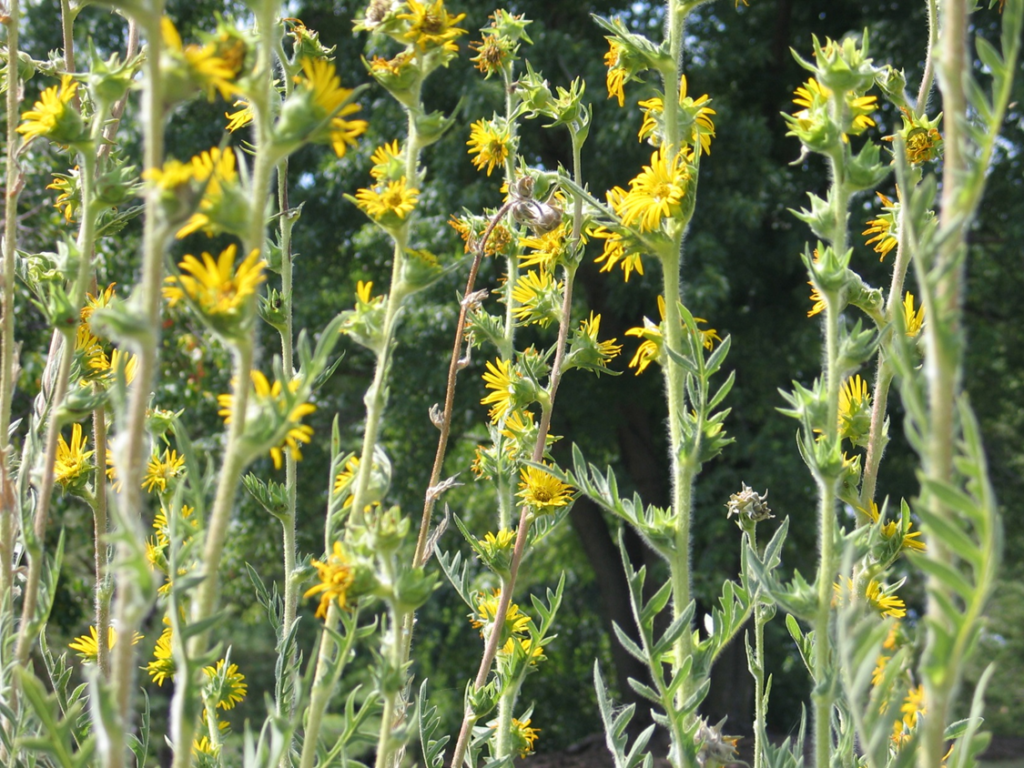
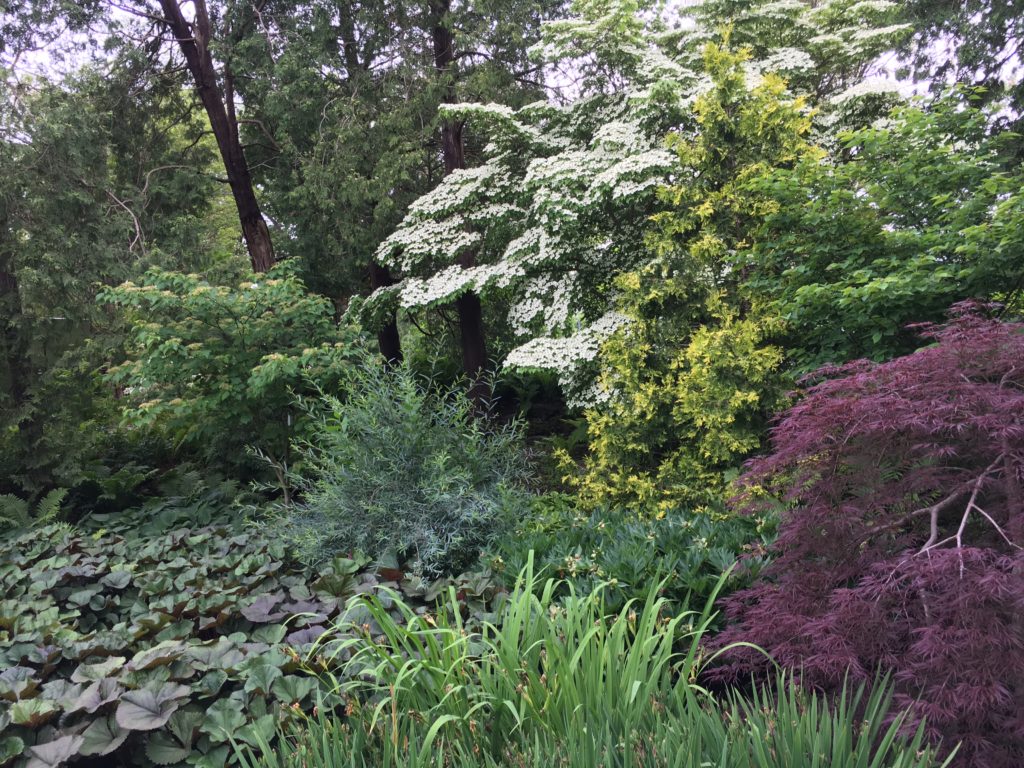
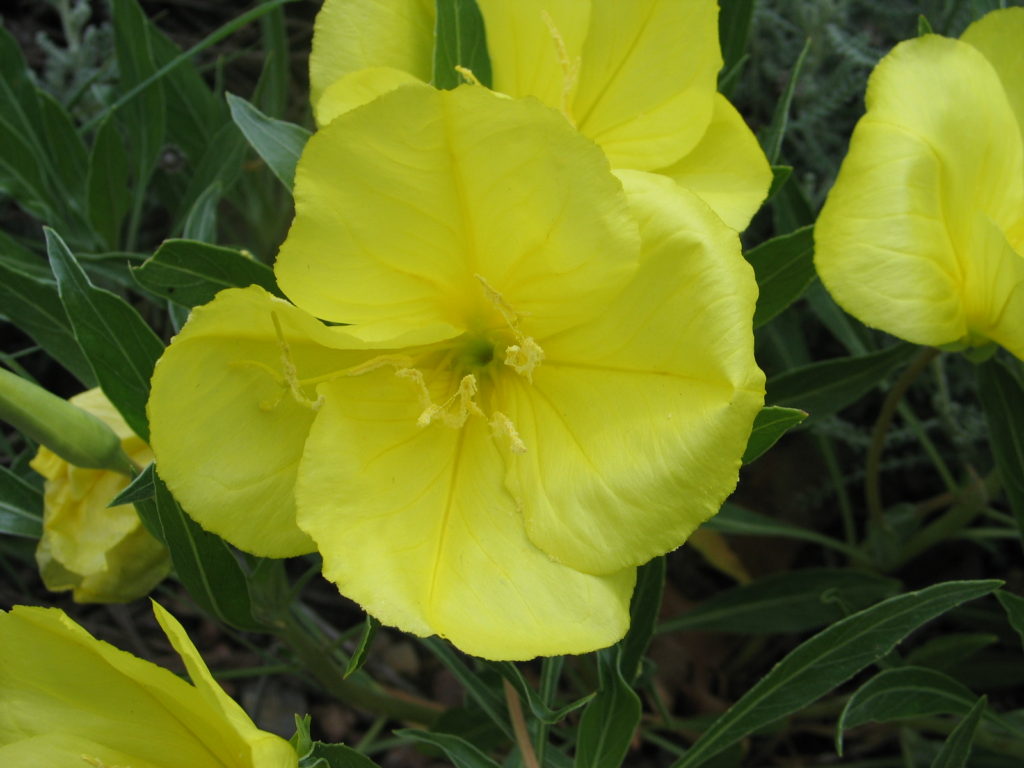
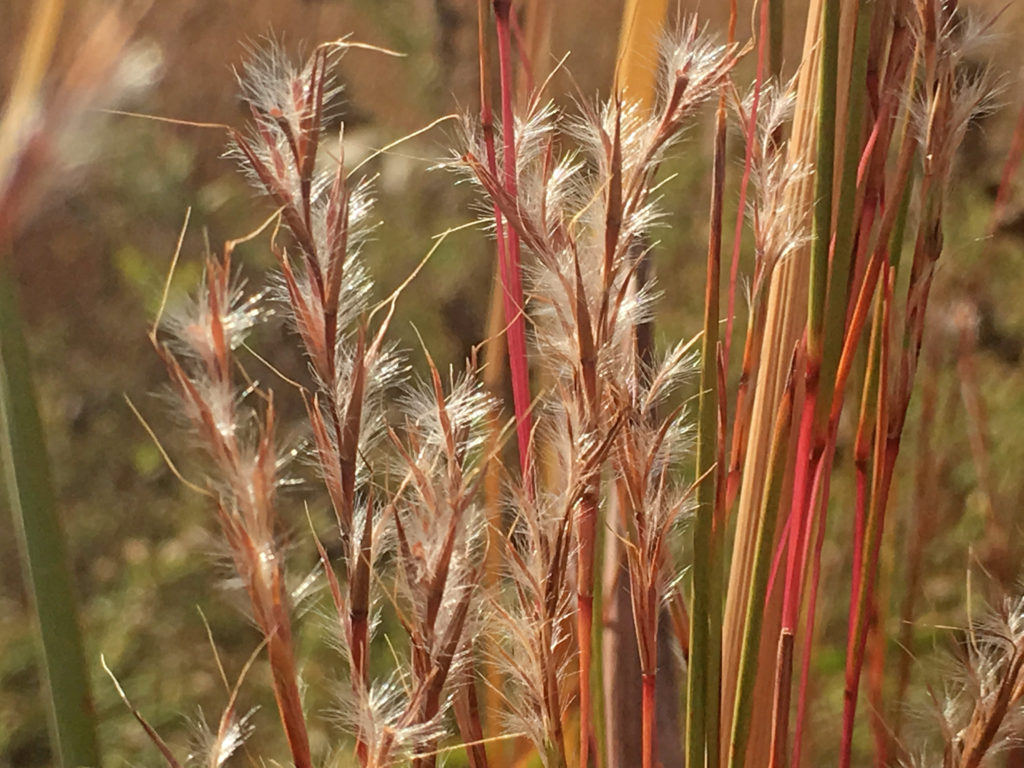
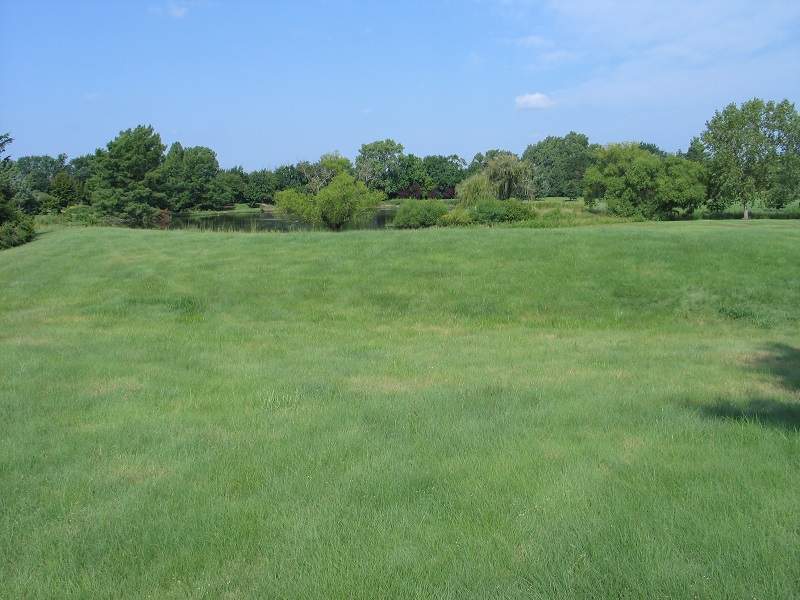
Water-wise plants
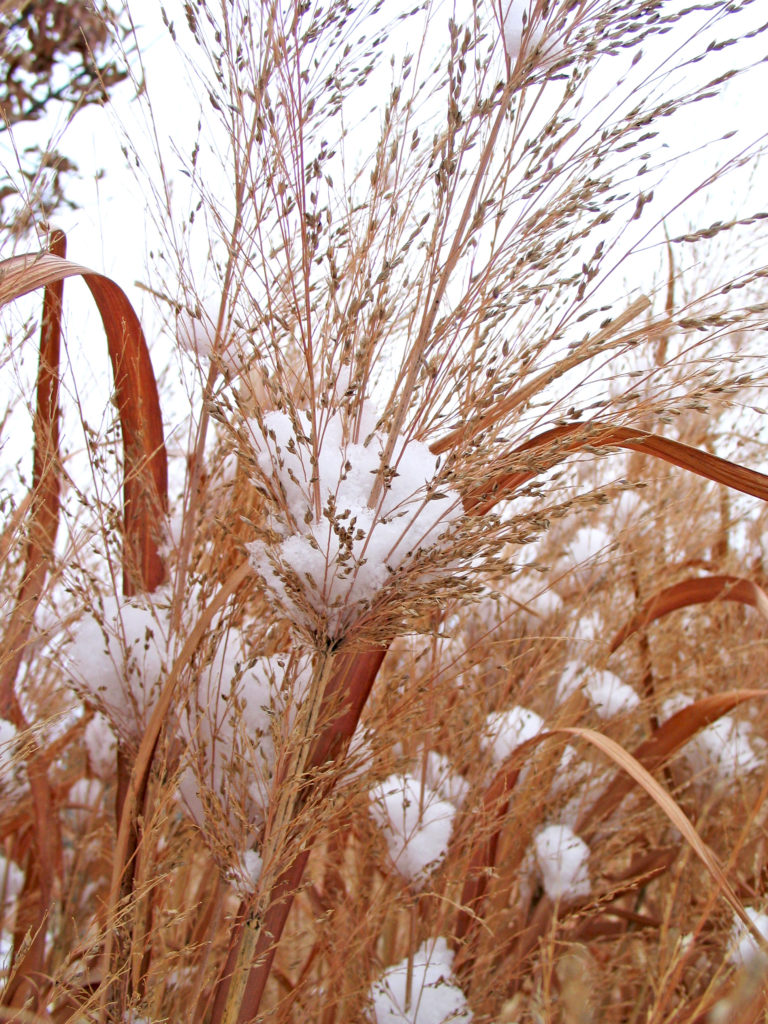
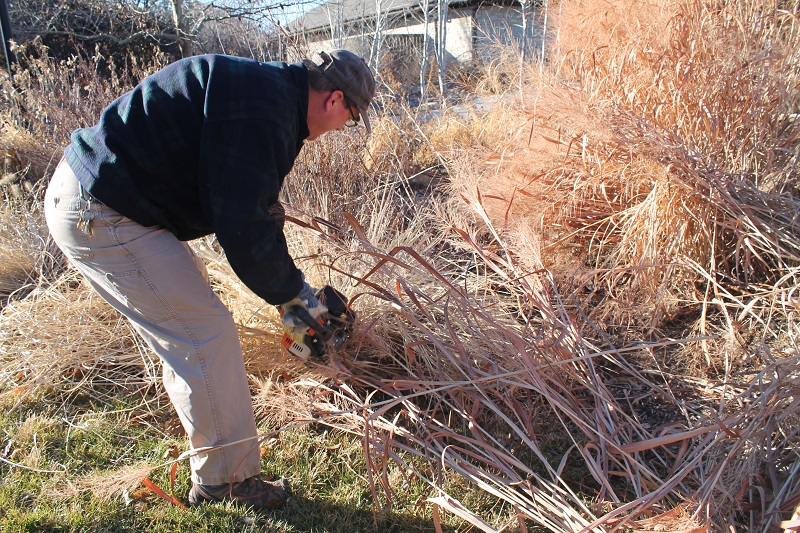
We don’t think often enough about the water we use. It is a precious commodity. Remember the 2011 and 2012 drought in Kansas? We were using tremendous quantities of water to keep our landscapes alive. It made us evaluate each plant according to its response to these extreme conditions. Obviously, some plants did better than others and we lost some plants those years. It made us think critically about our plant choices and irrigation practices. A beautiful and resilient landscape that uses little, if any, supplemental water is an achievable result. A few changes like adding some native plants can make a big difference.
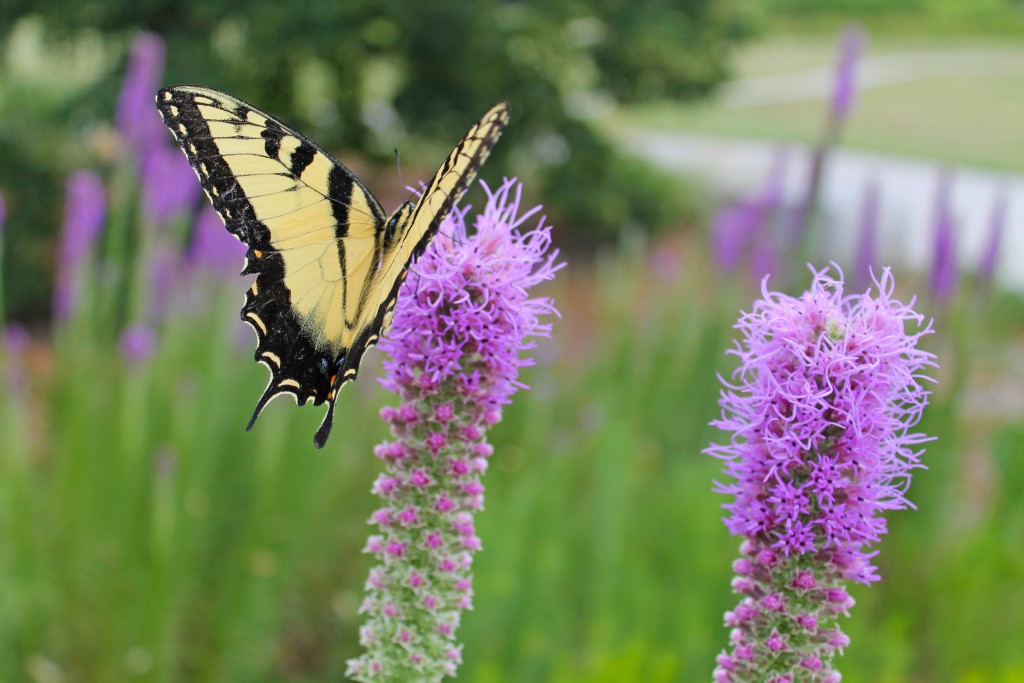
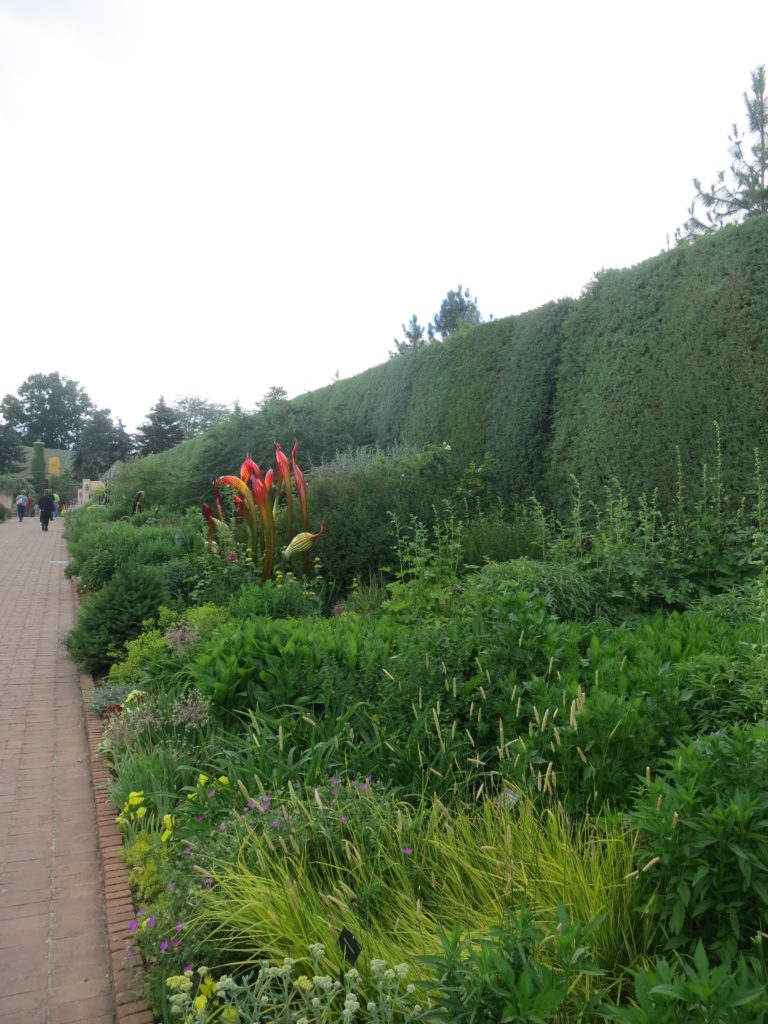
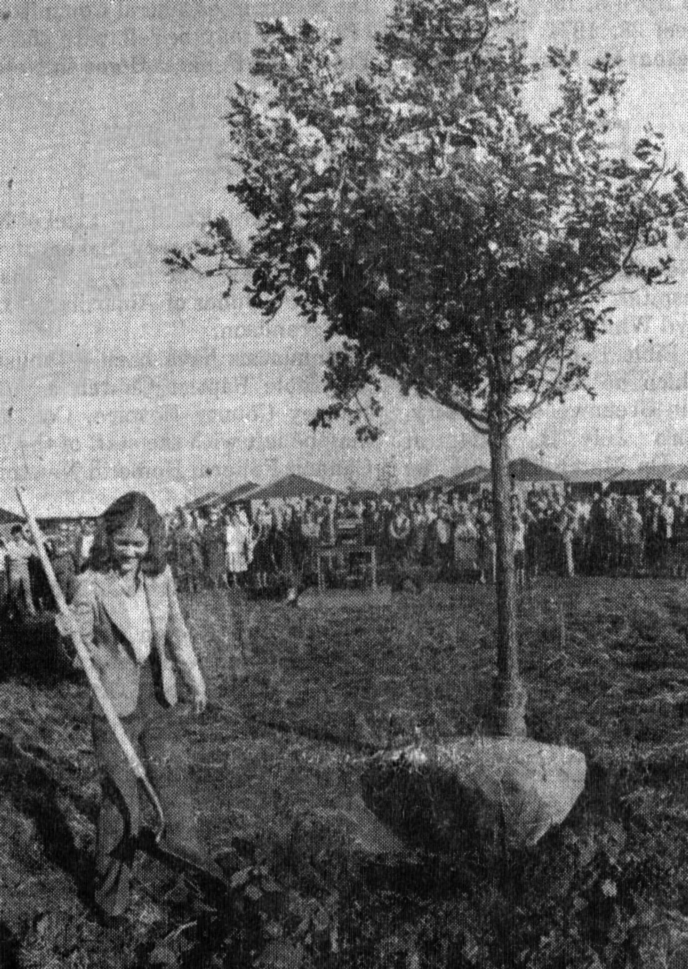
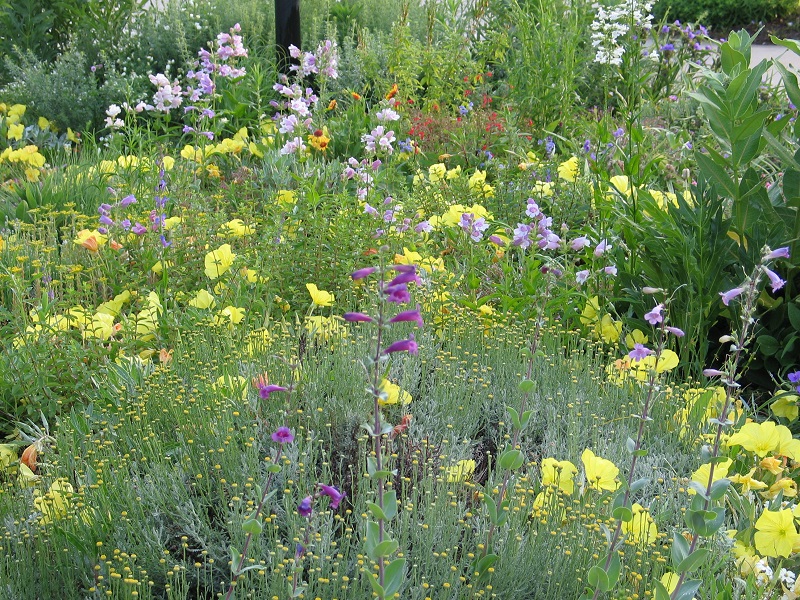
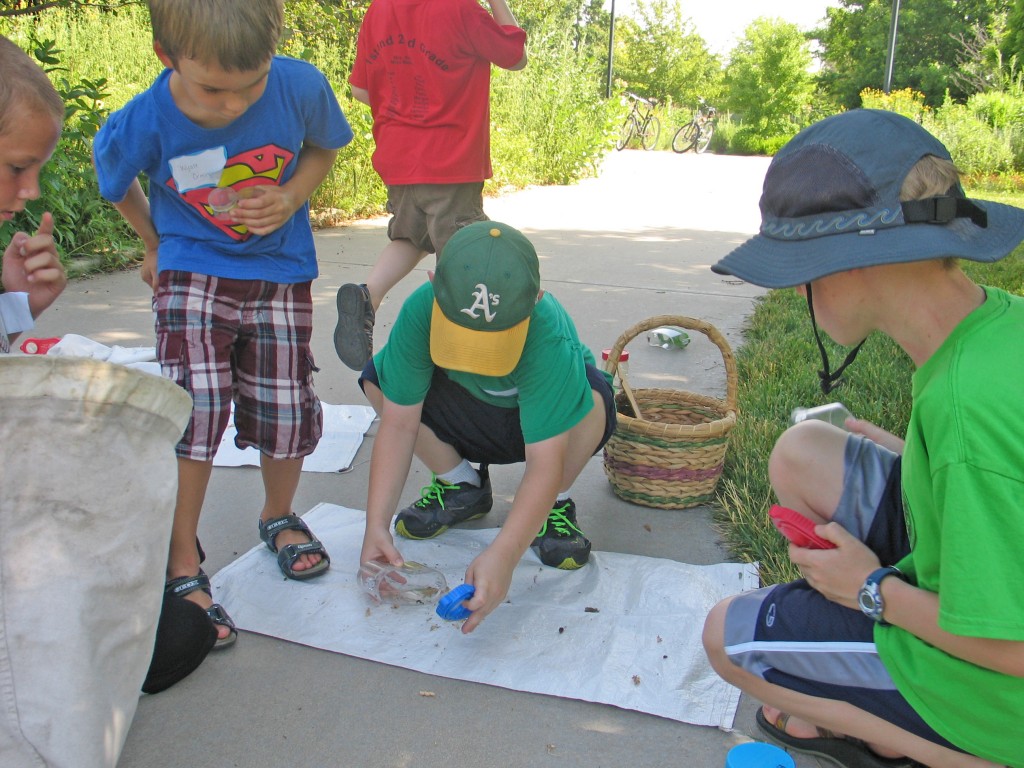
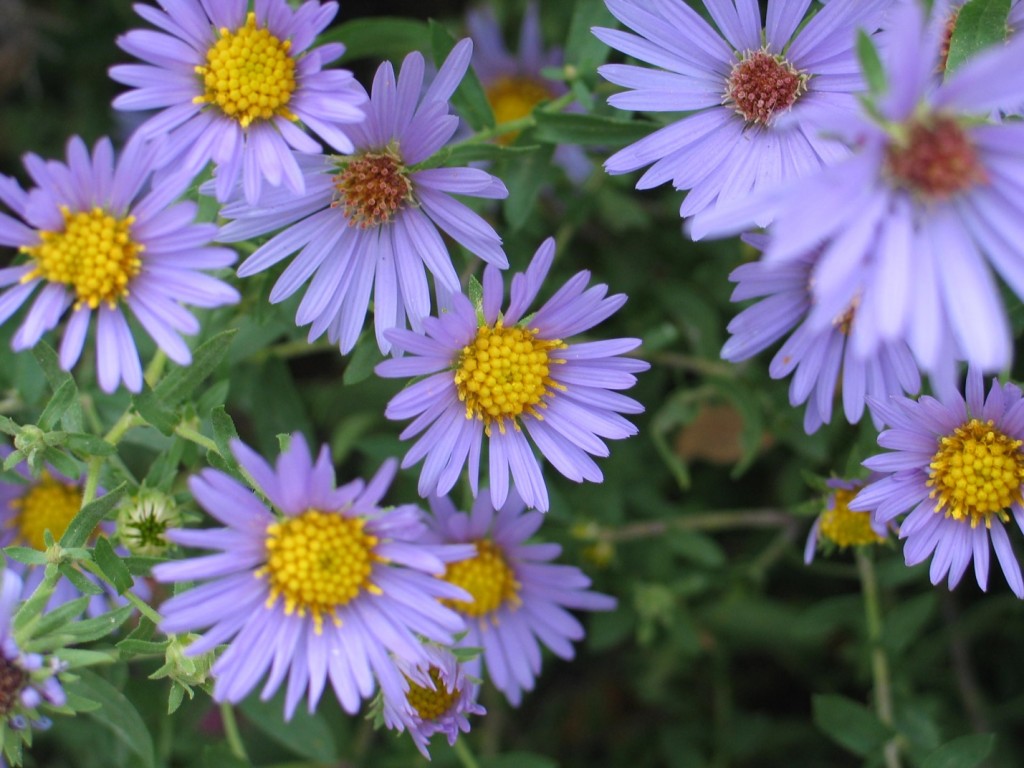
Photo by Janelle Flory Schrock
It seems to me that these trends for 2019 have something obviously in common – native plants. Native plants are not the “be all” and “end all” solution, but they provide a good starting point to solving some problems you encounter in the landscape. With so much to consider when designing or redesigning your landscapes, don’t overlook native plants. You will be rewarded time and again by their unique beauty and deep roots.