
When Ron and Kathy Smith moved to Newton from California, they had a bit of garden trouble. “If I just looked at stuff wrong, it died,” said Ron of his first attempts at landscaping. The growing conditions were totally different than what they were accustomed to. The Kansas climate was much more extreme, and the plants they where previously familiar with were not hardy here. Eventually they decided to work with Dyck Arboretum staff to create a landscape plan with native perennials from our area. Ron thought that if they used plants that were already found here naturally, “then maybe I won’t kill it!”.
Designing and Prep
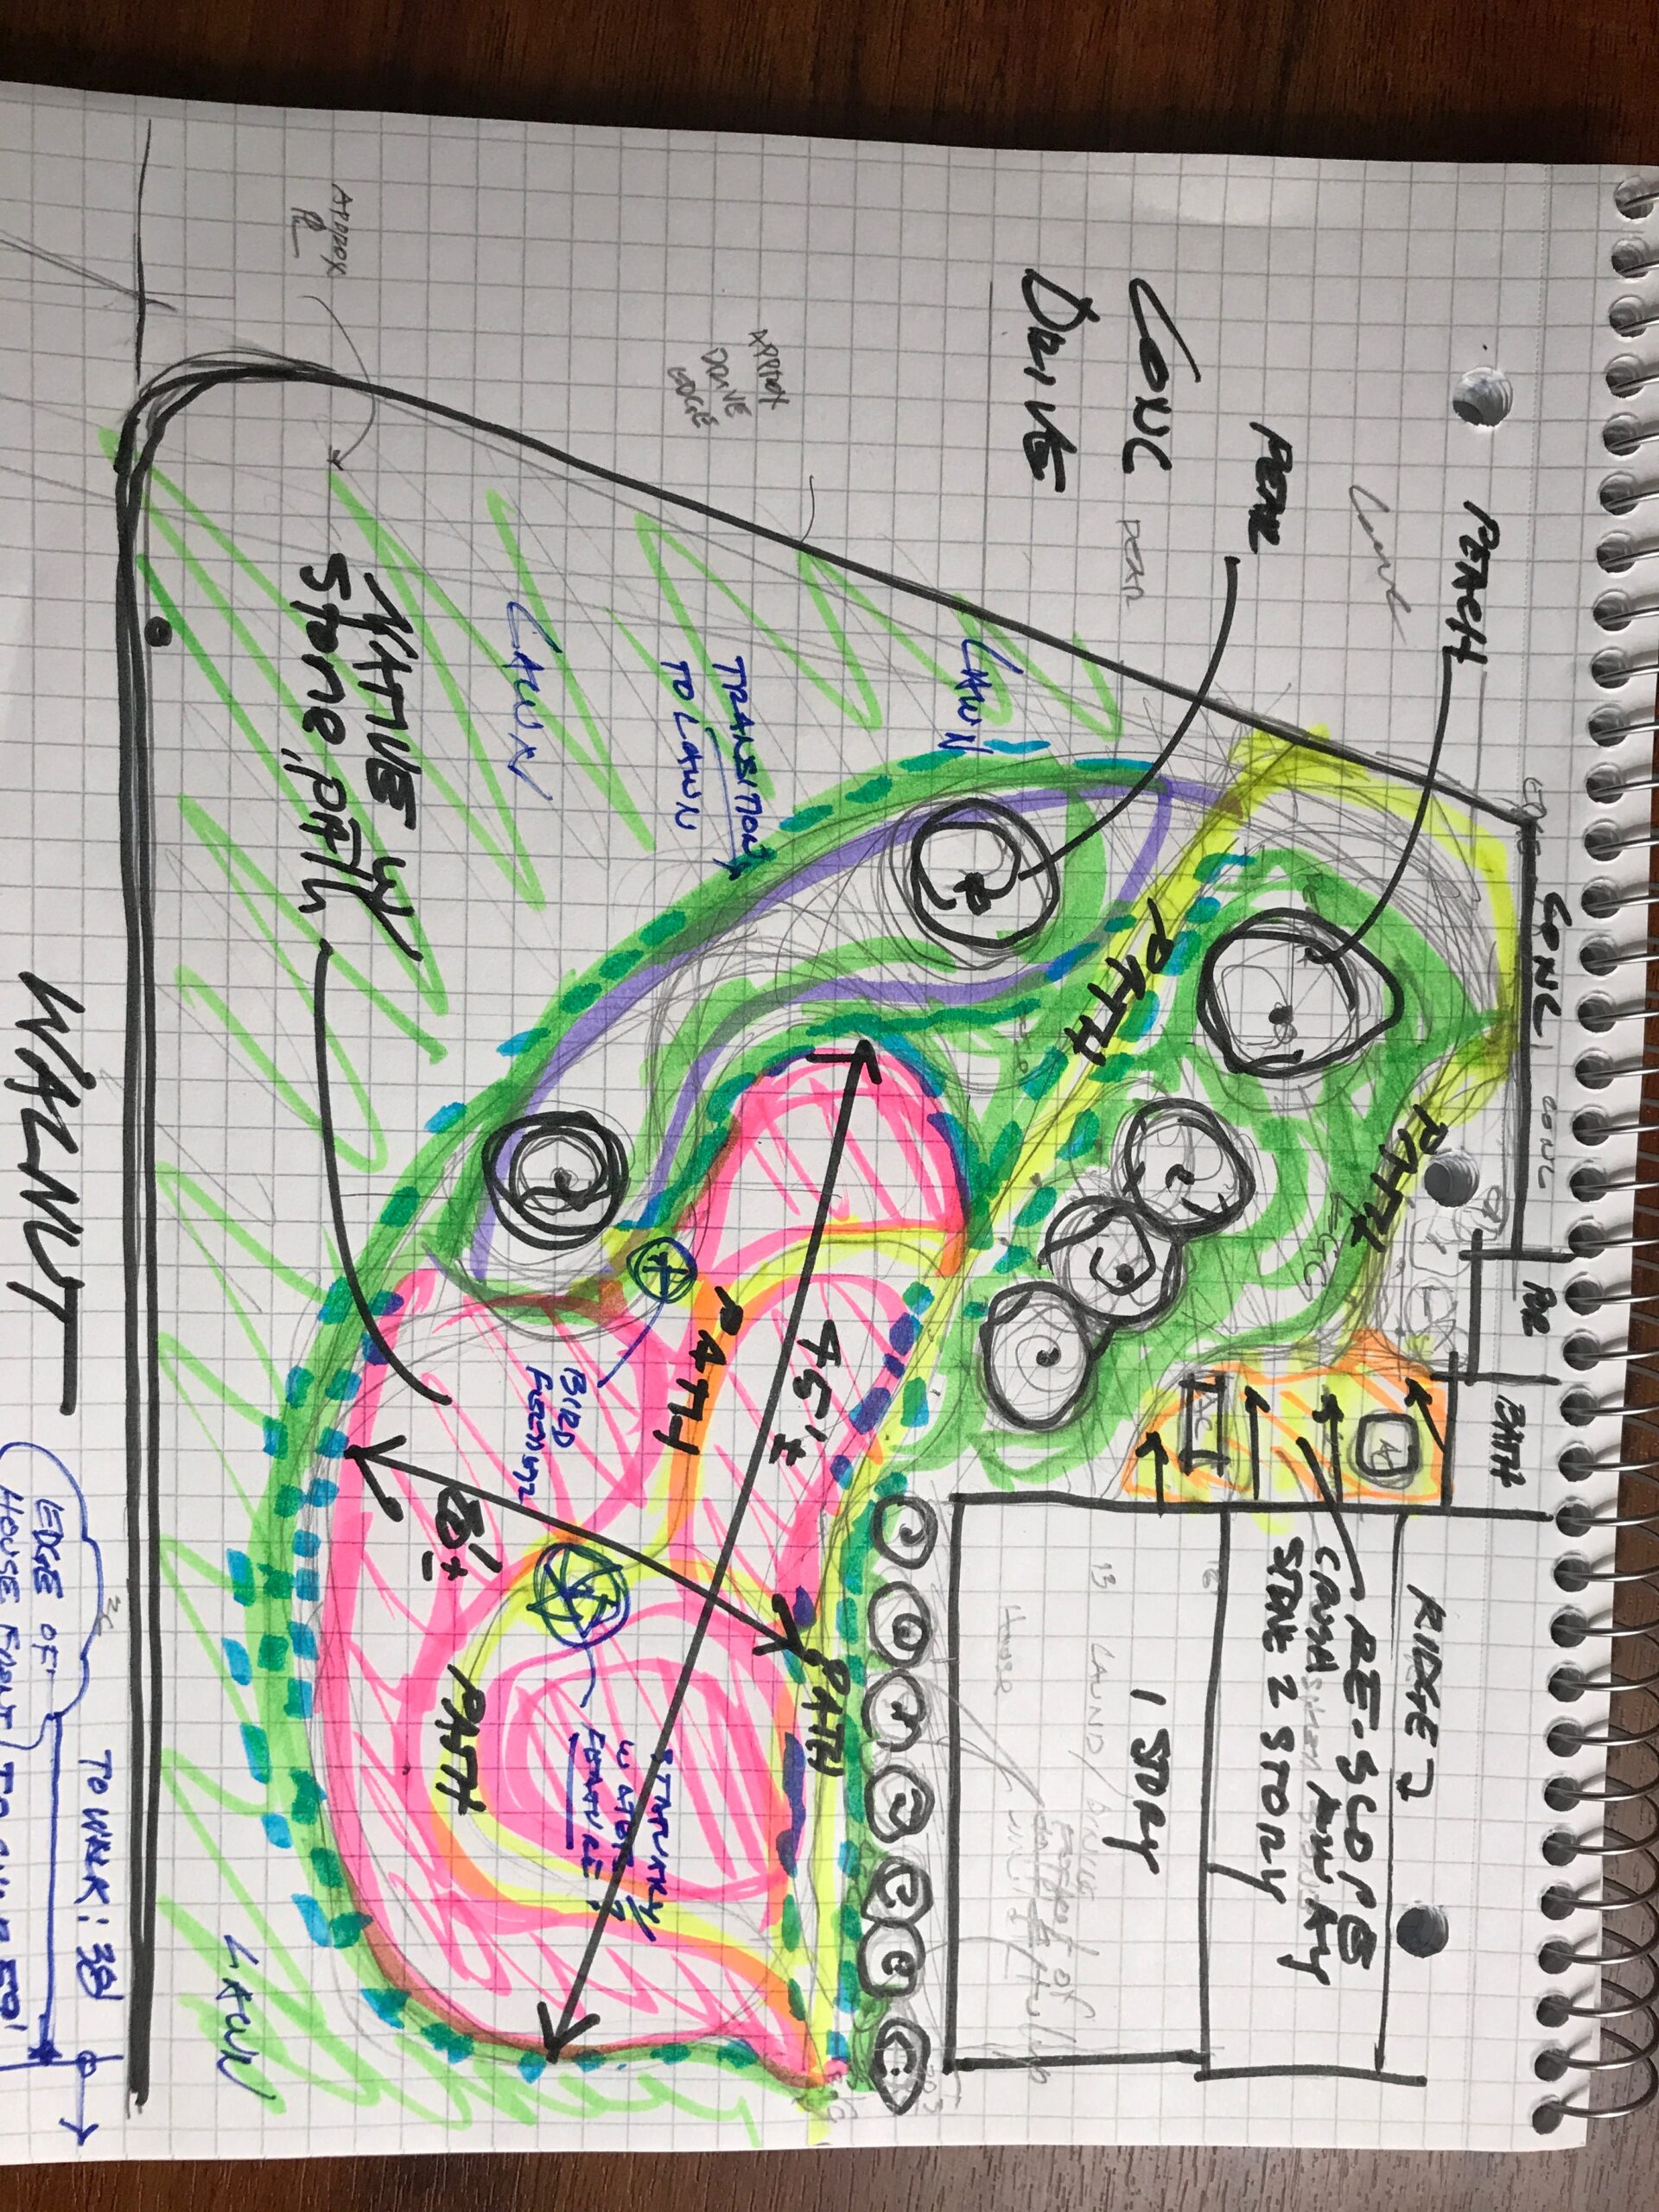
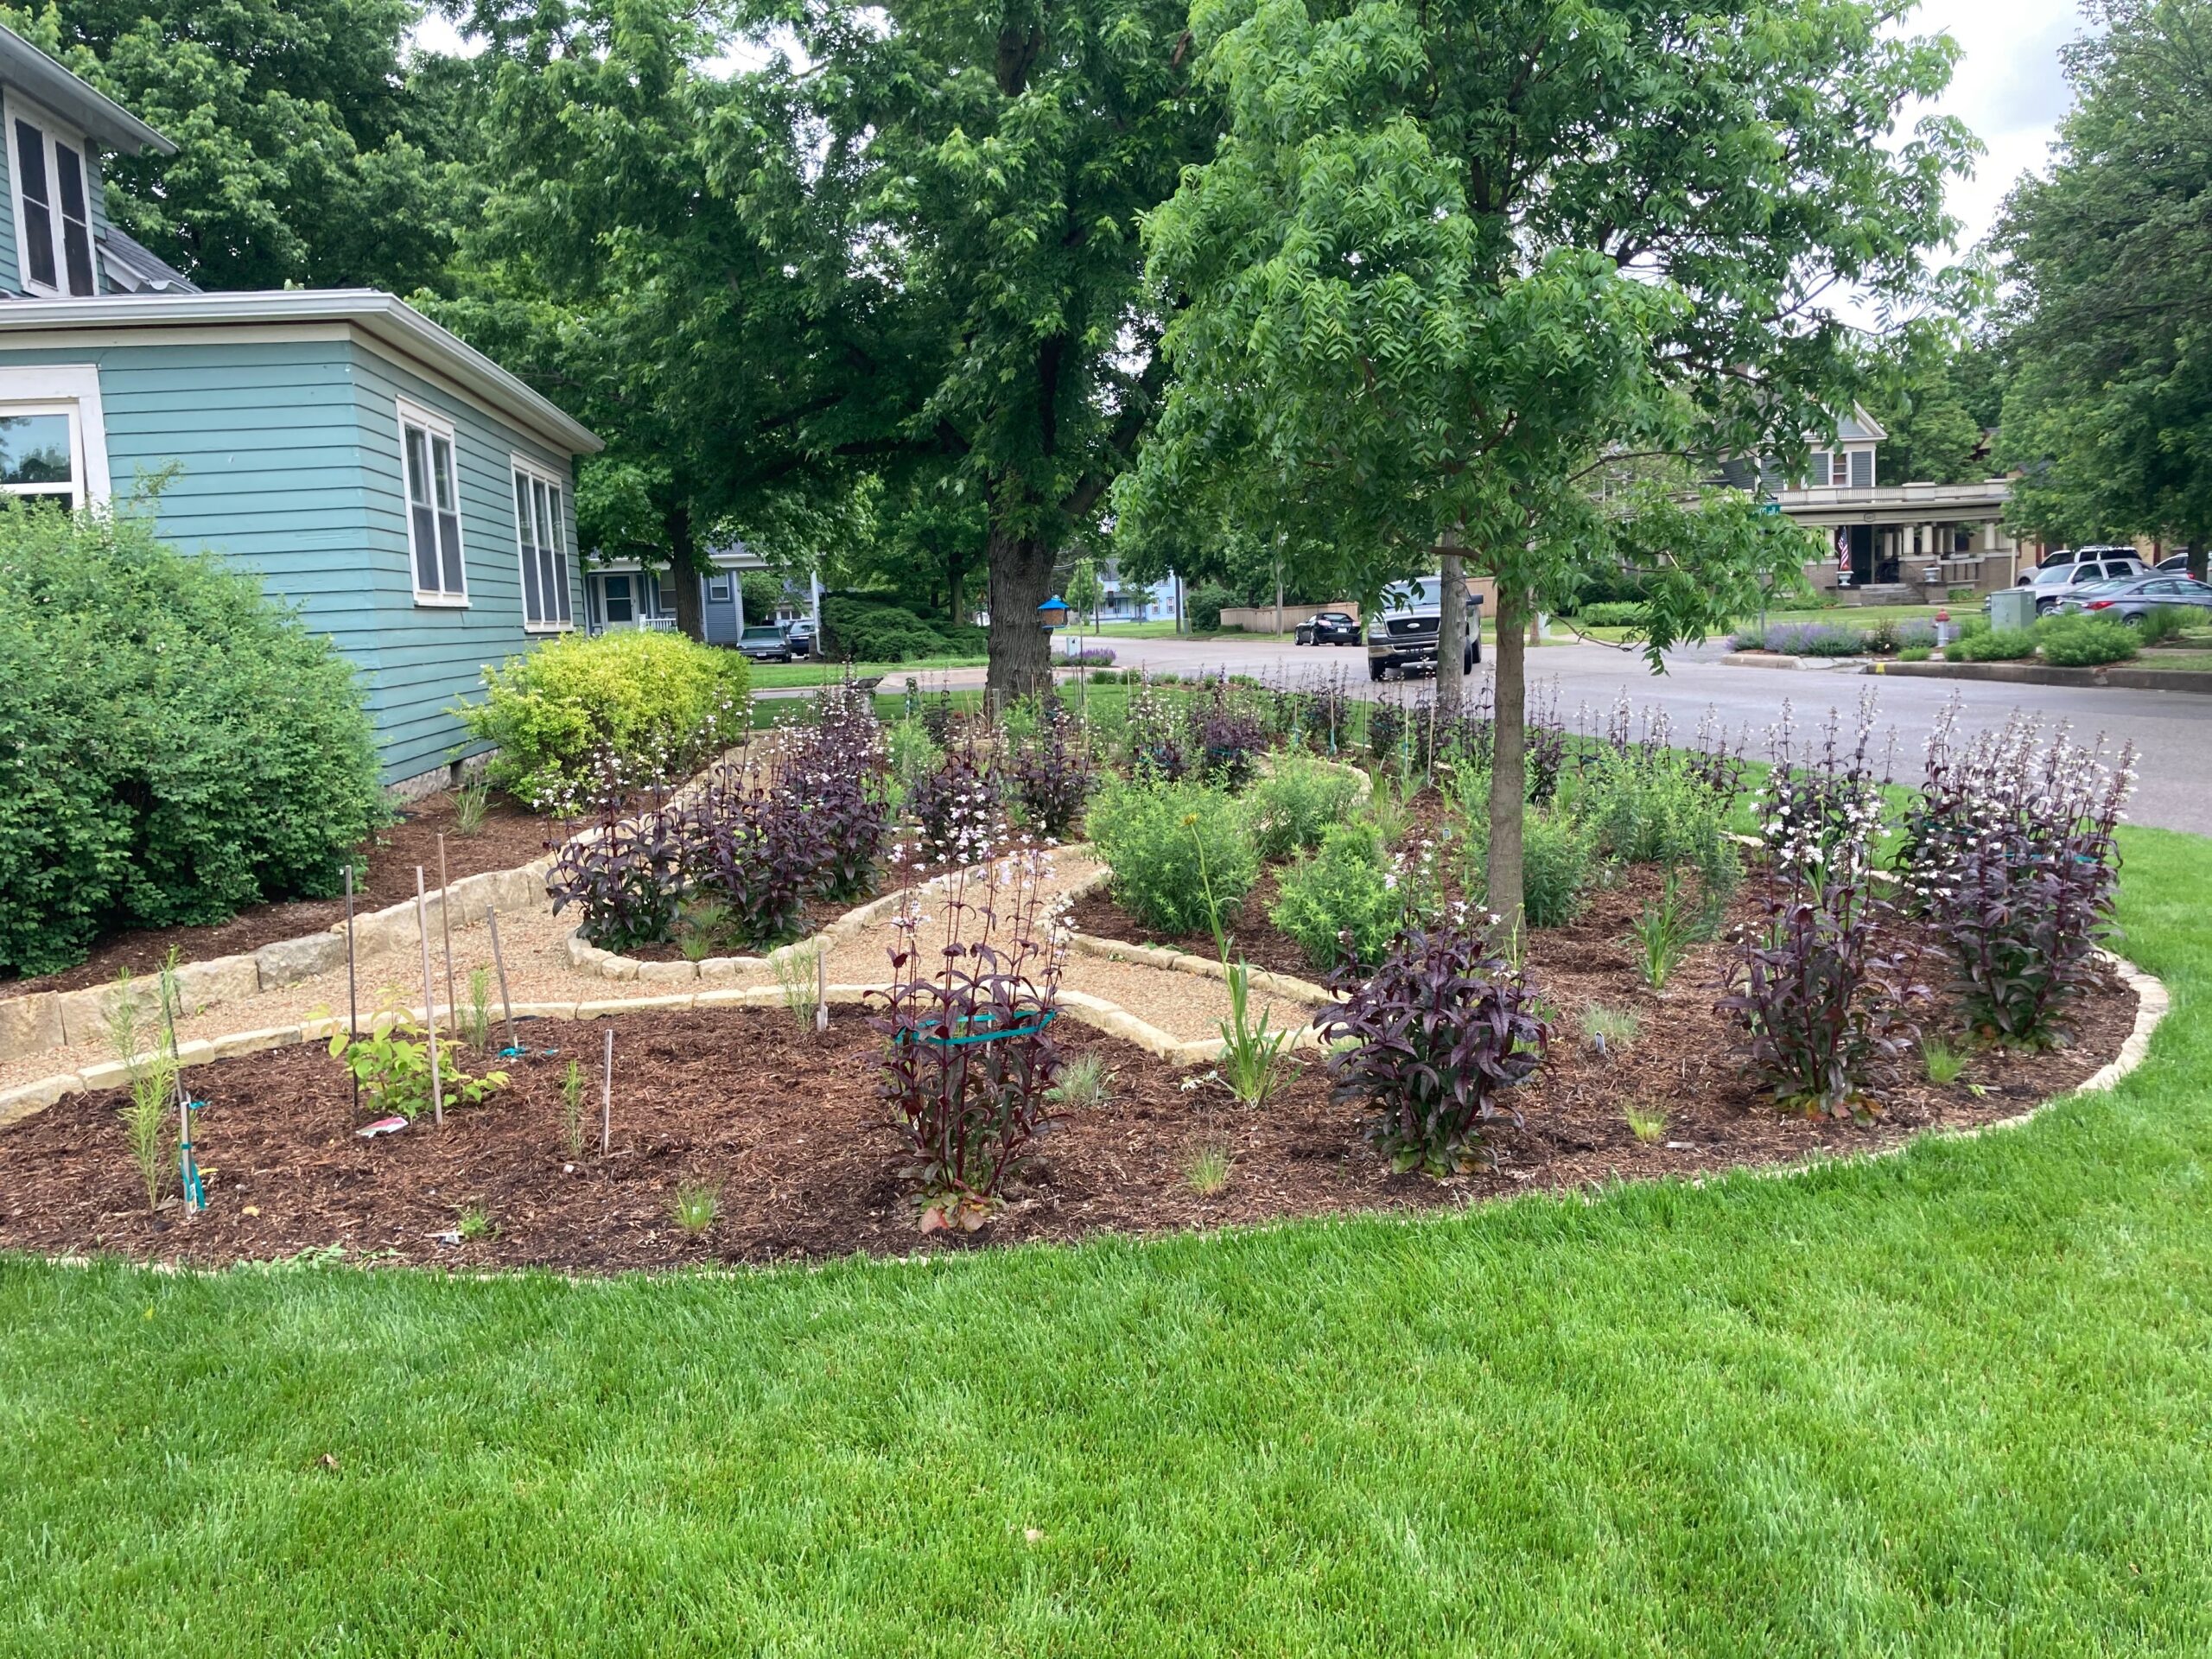
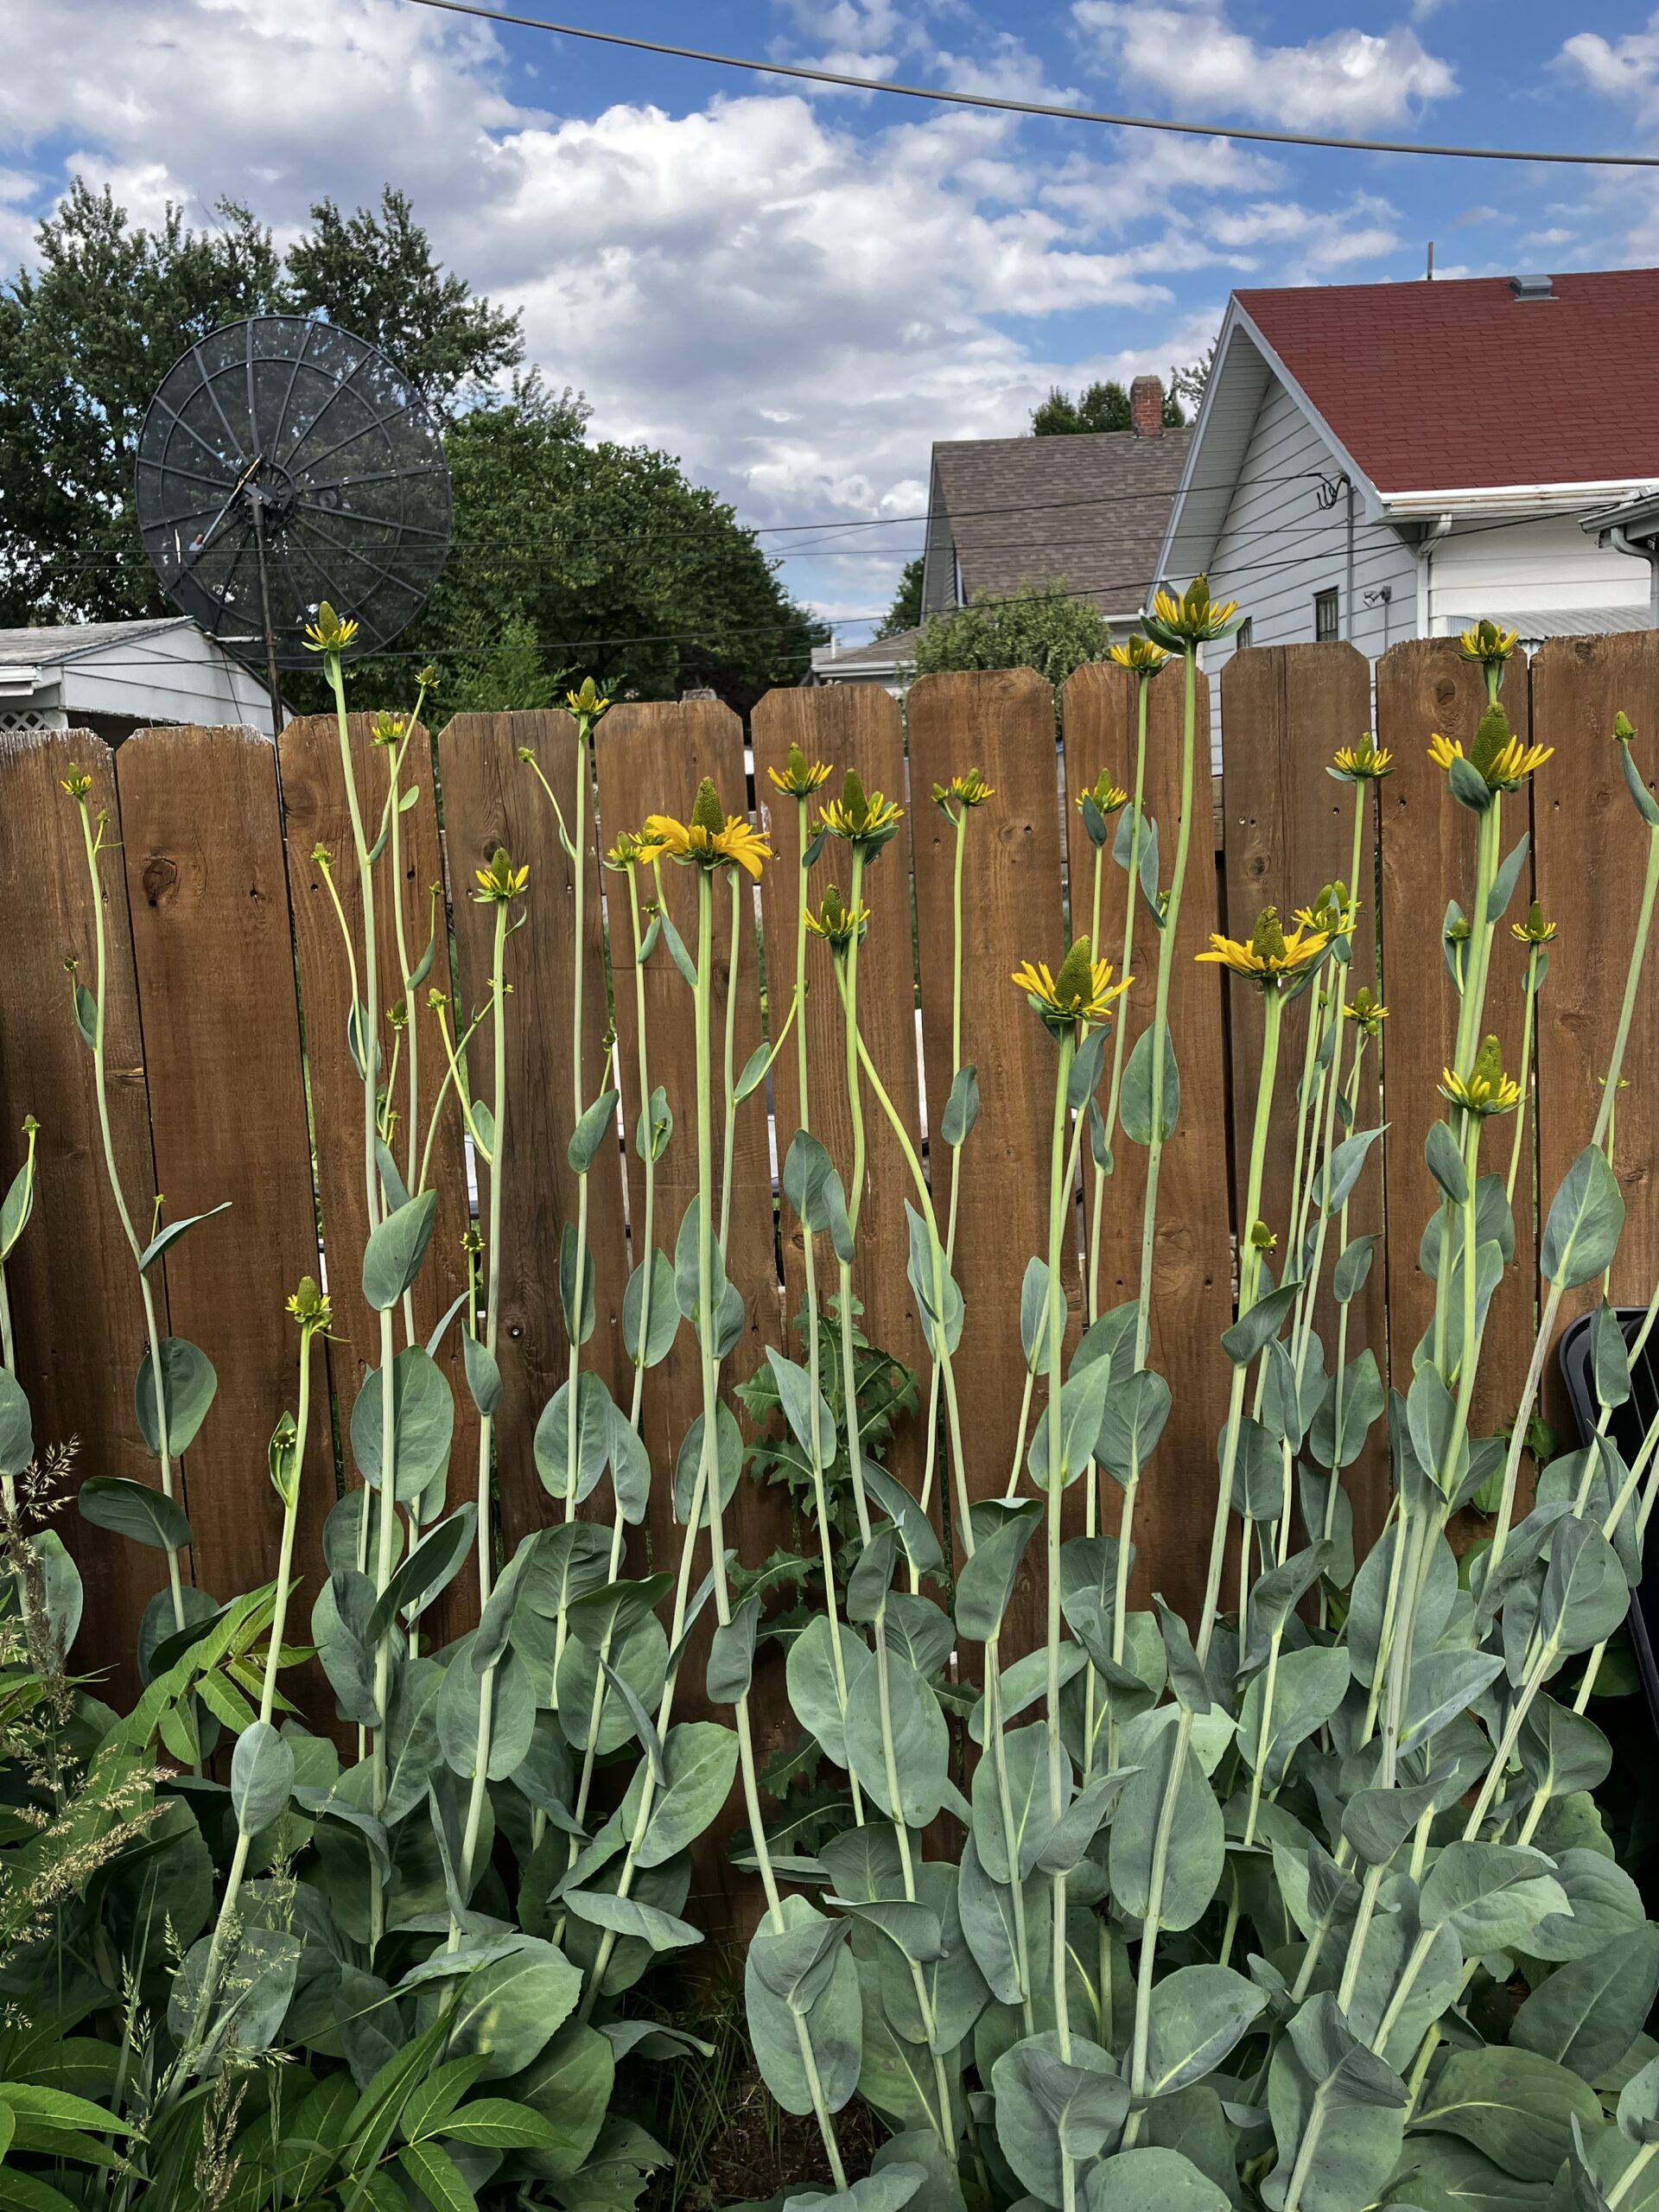
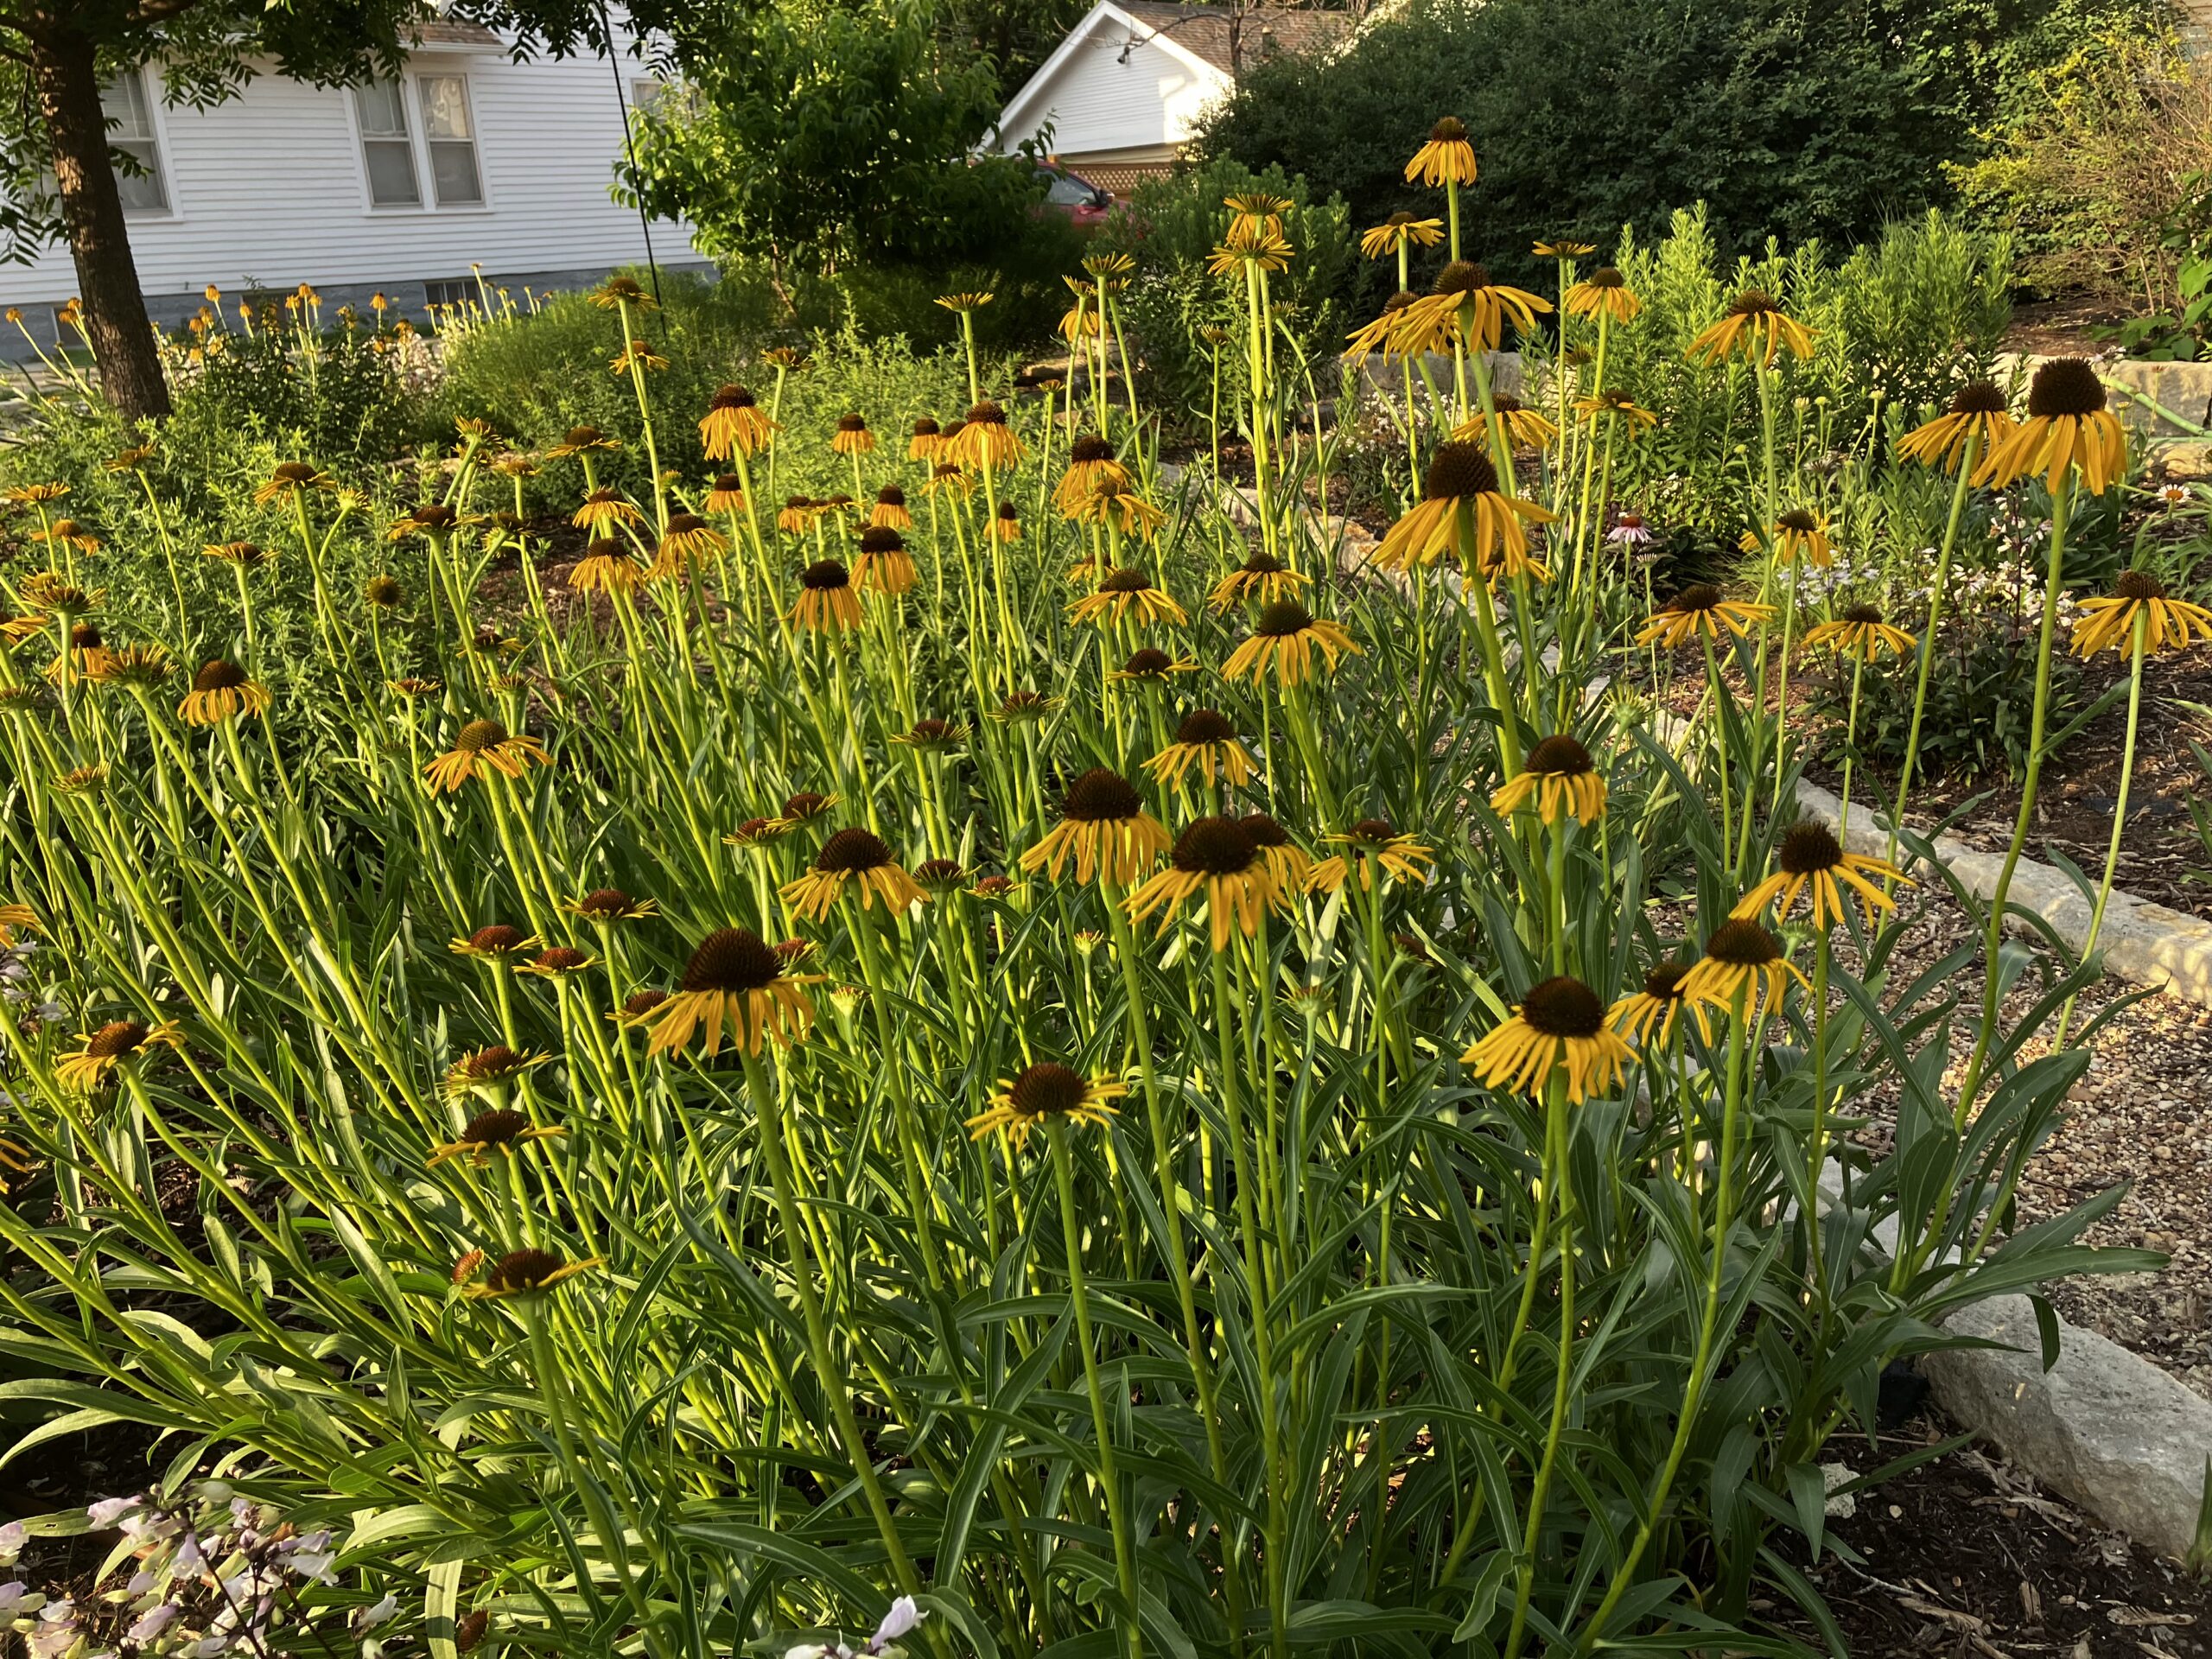
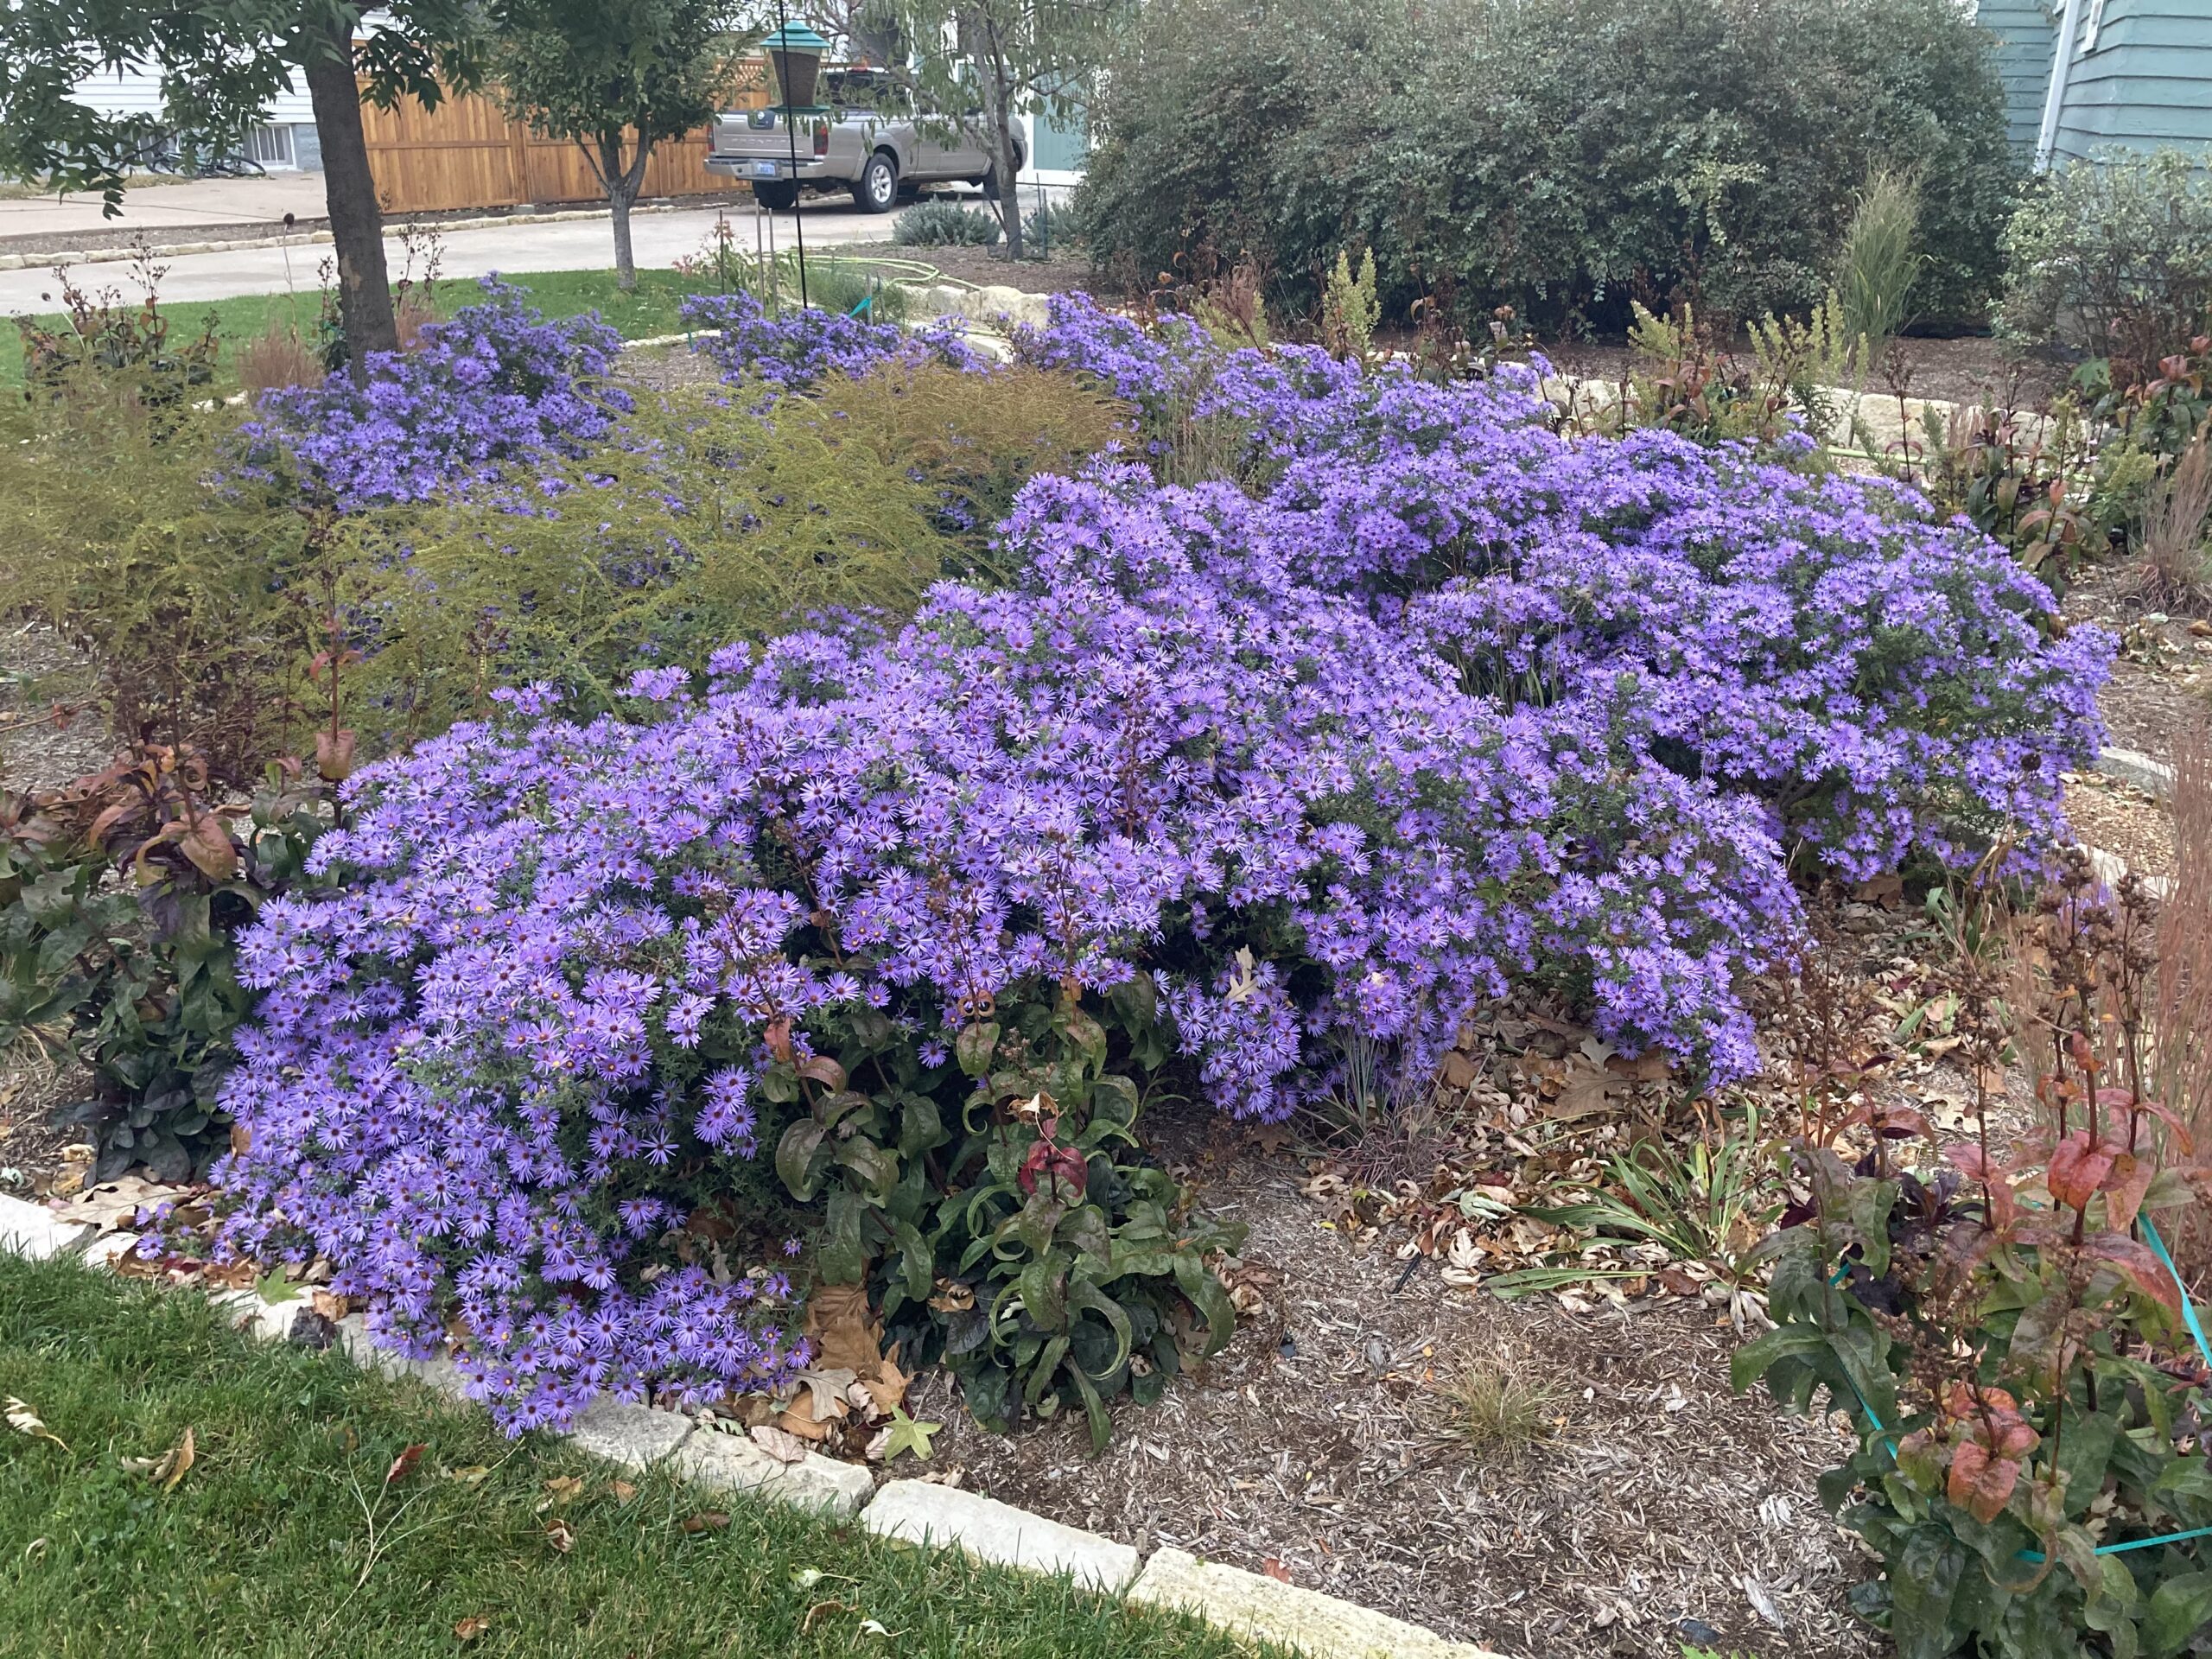
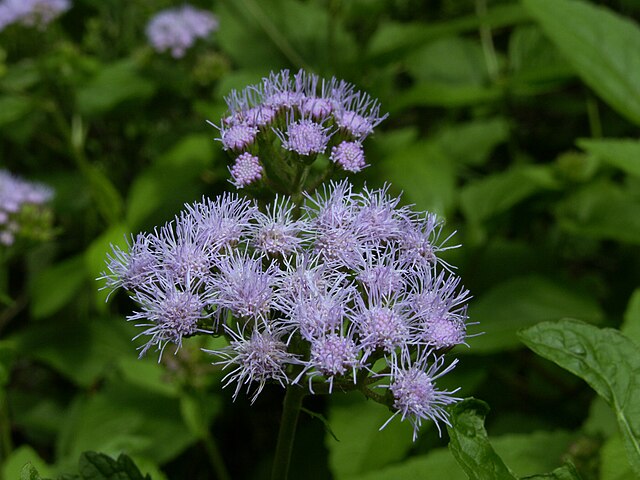
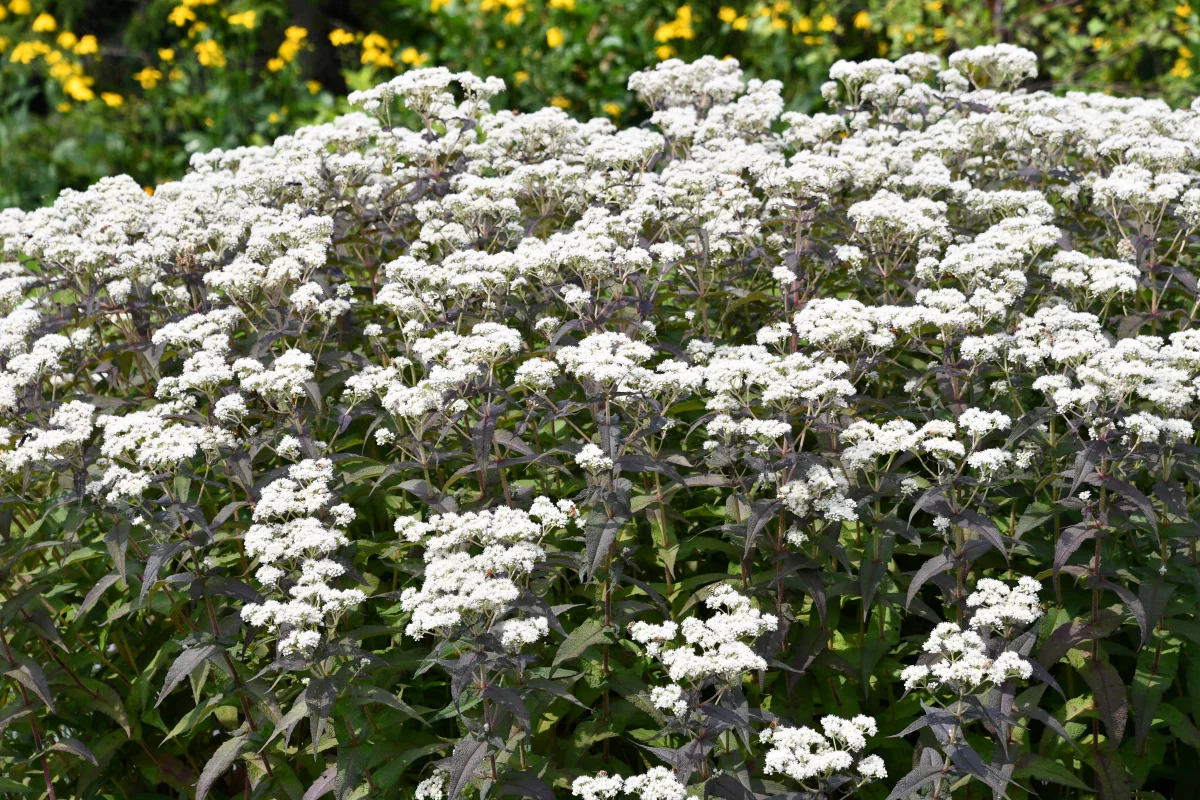
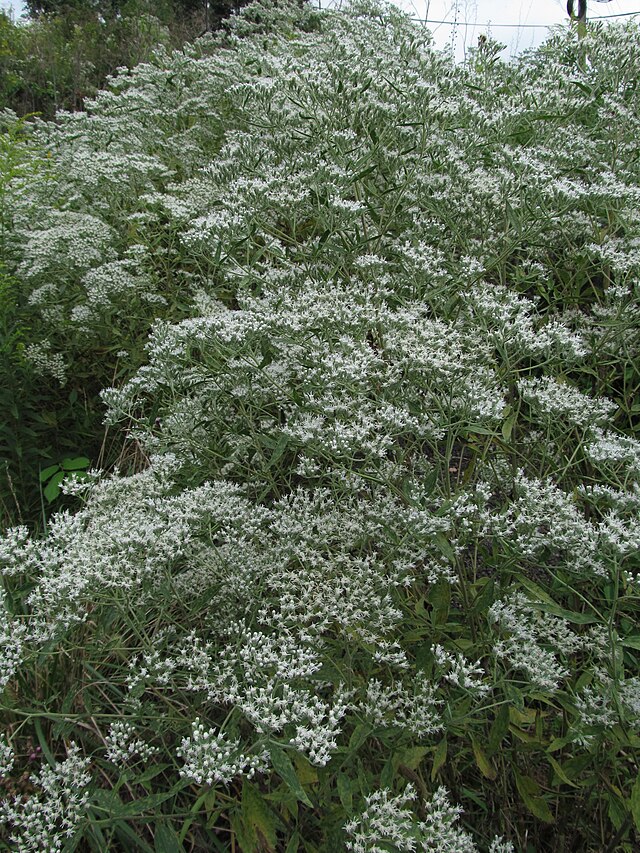
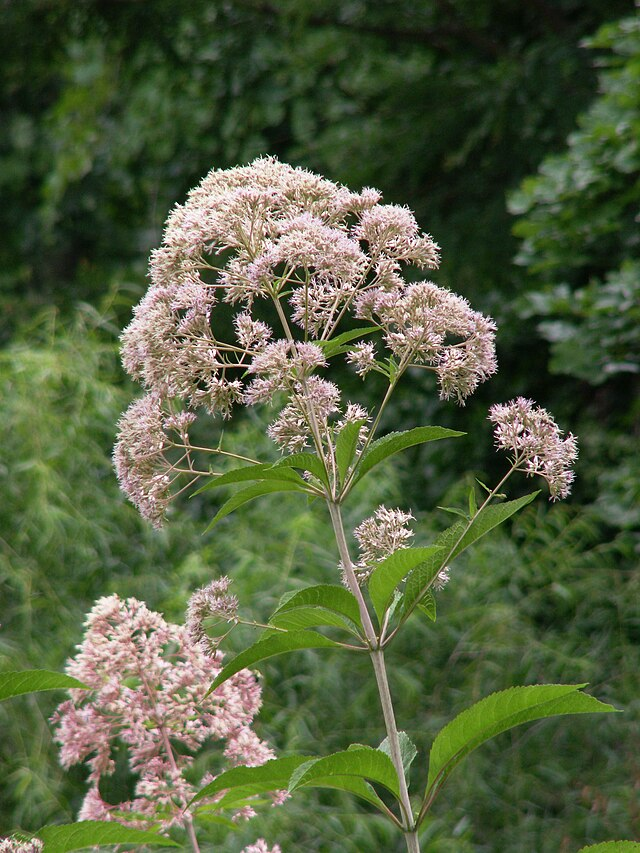
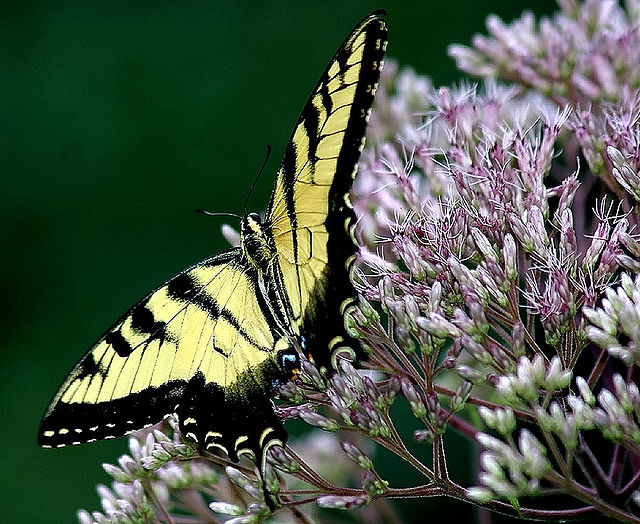
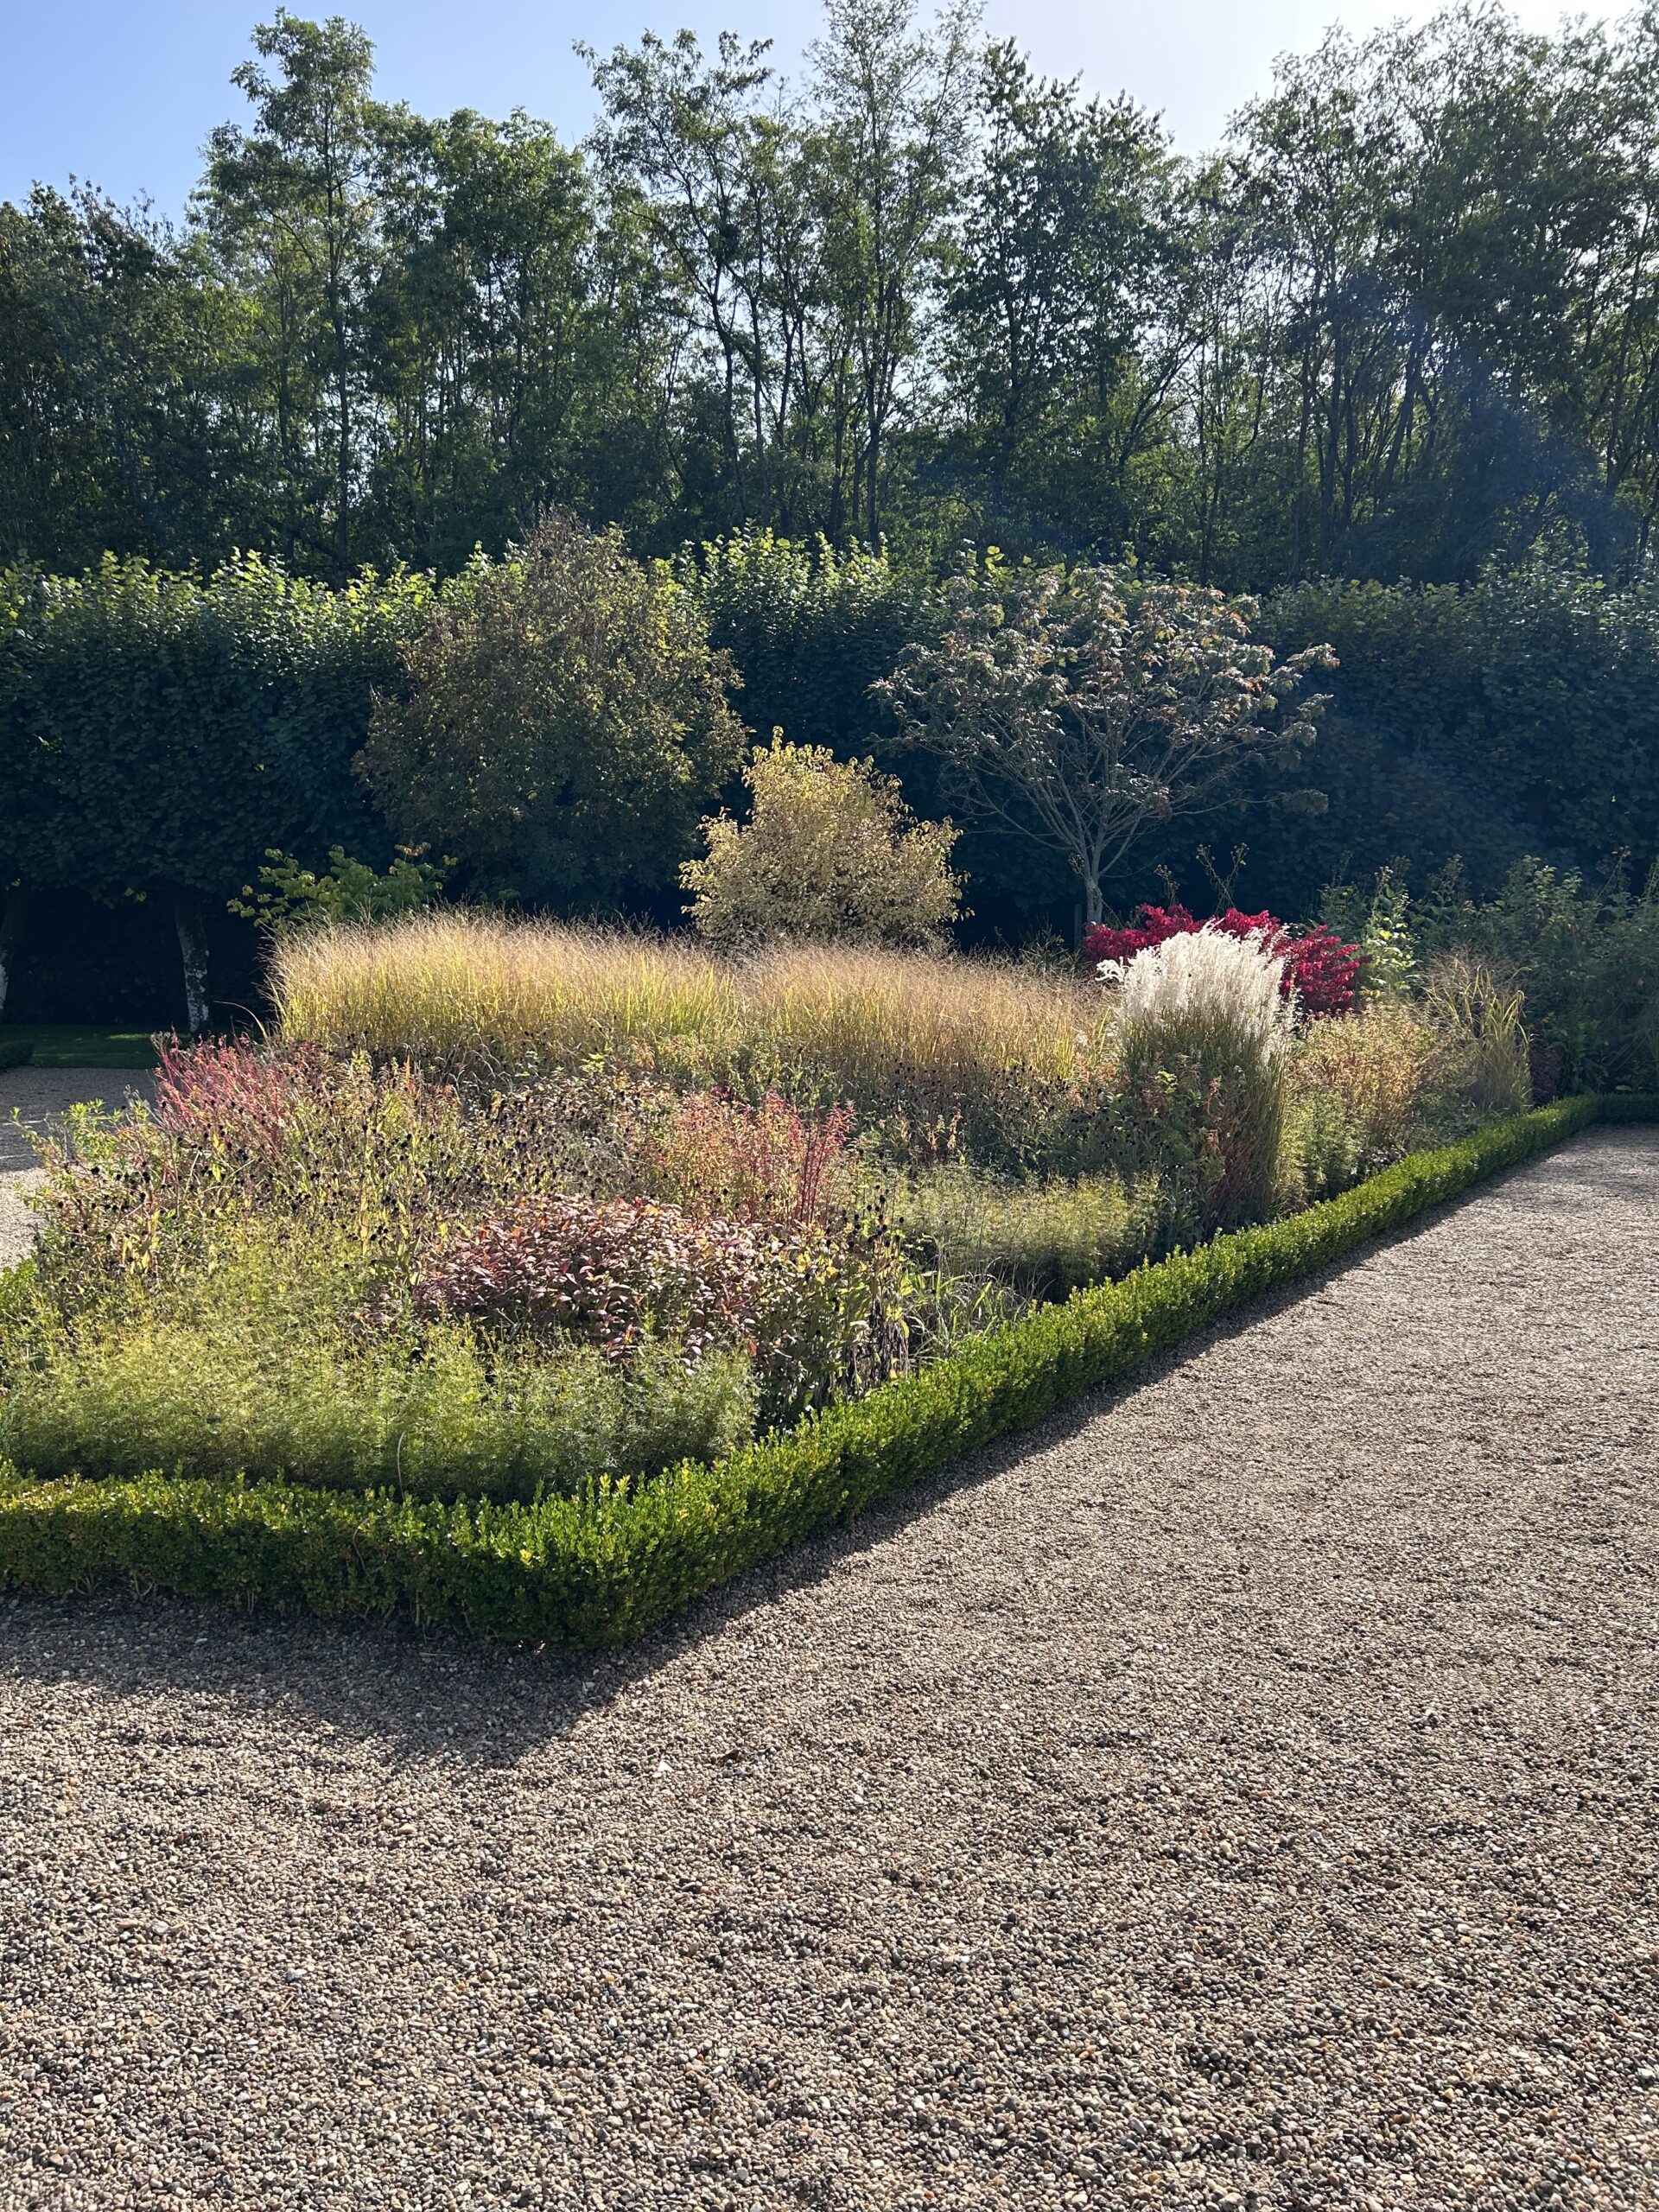
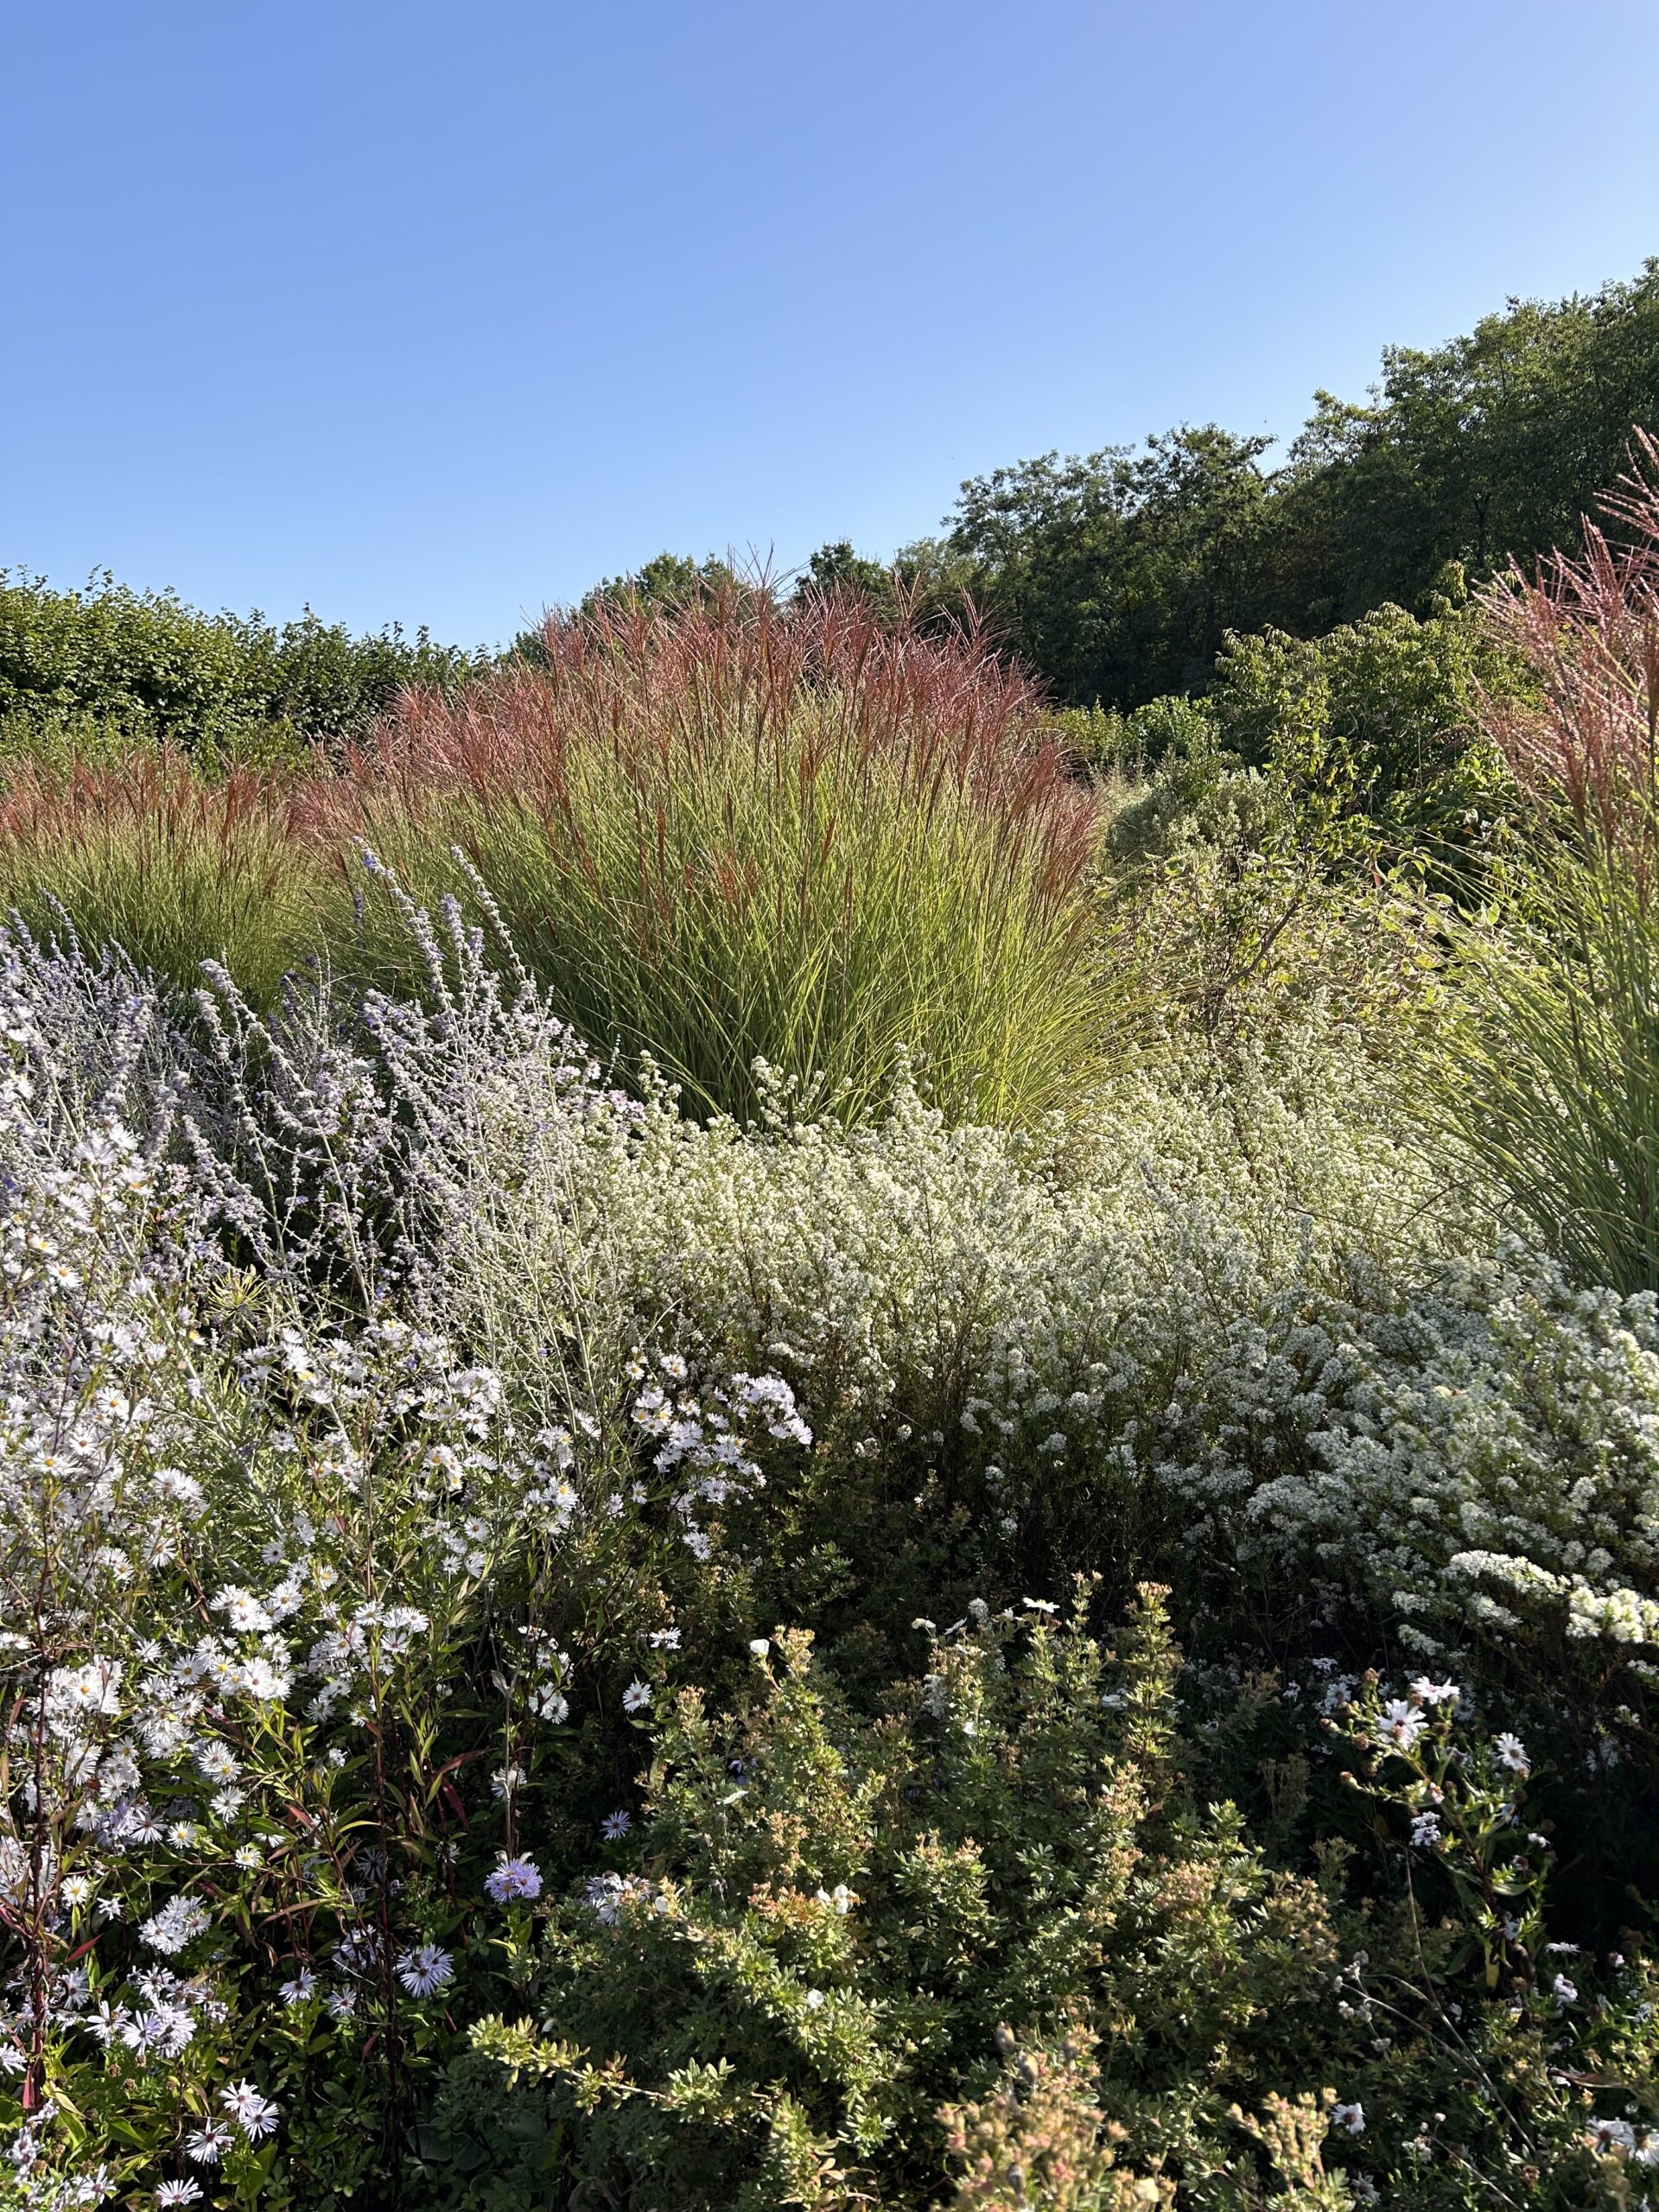
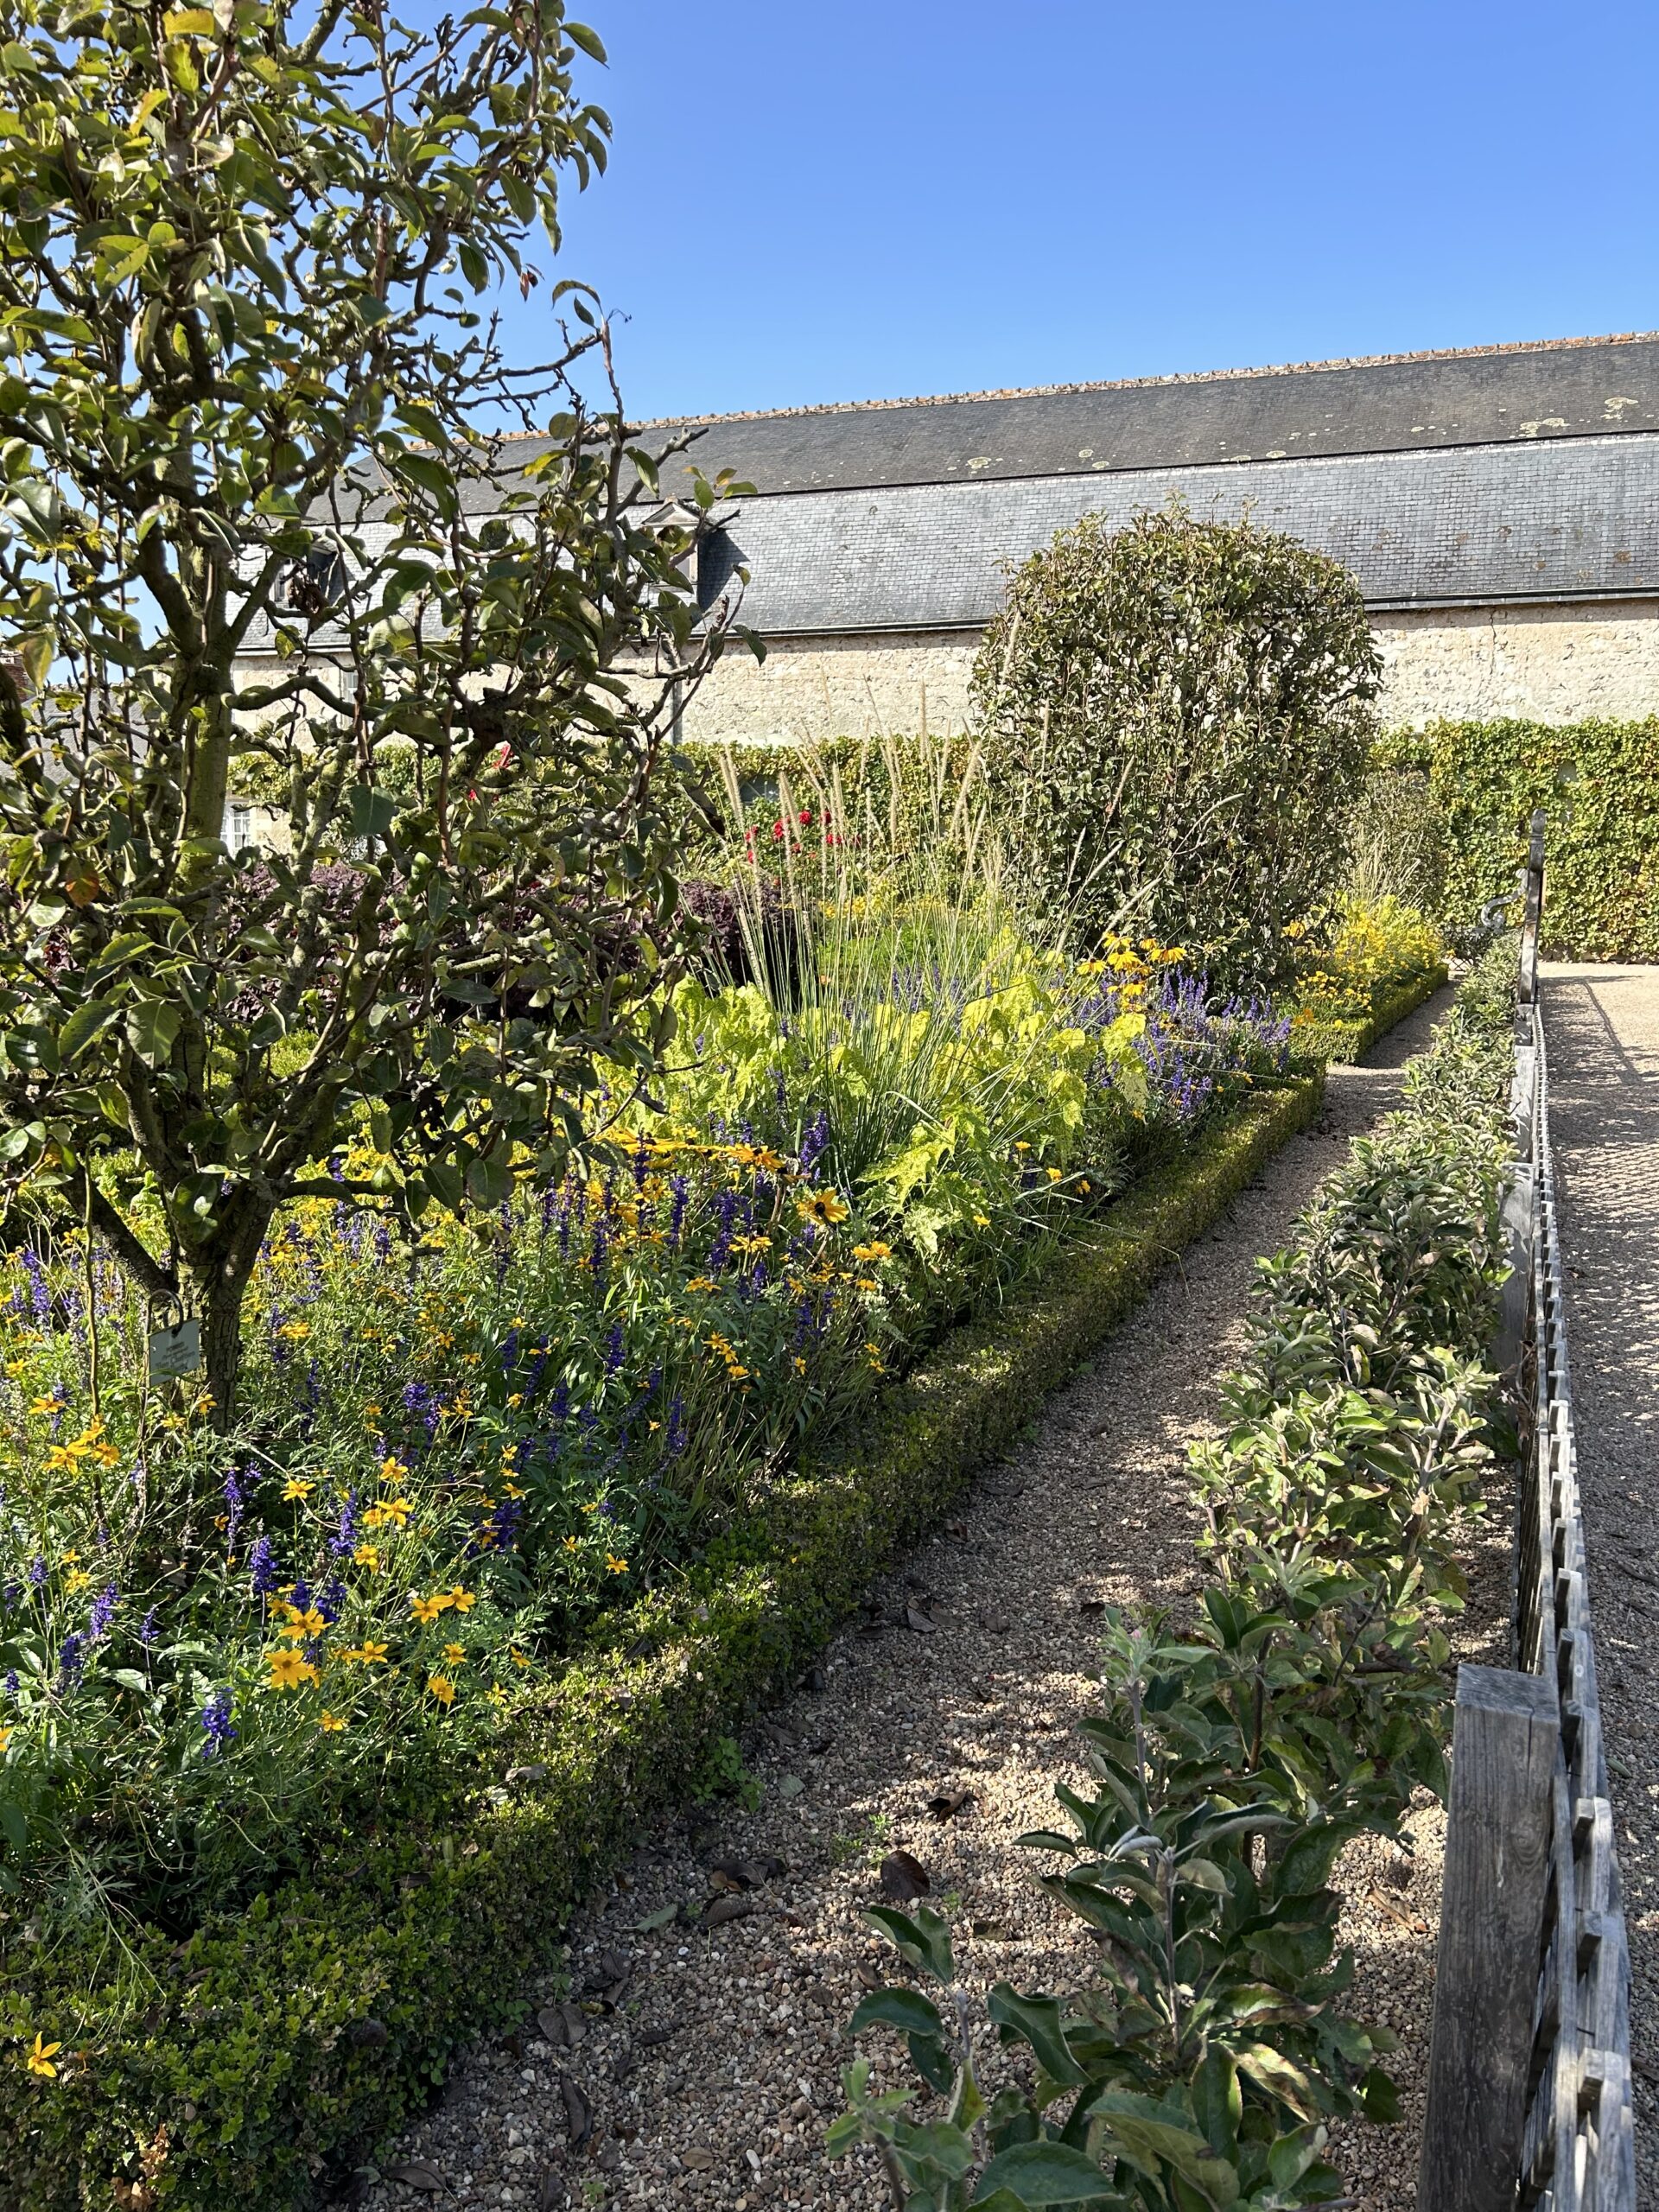
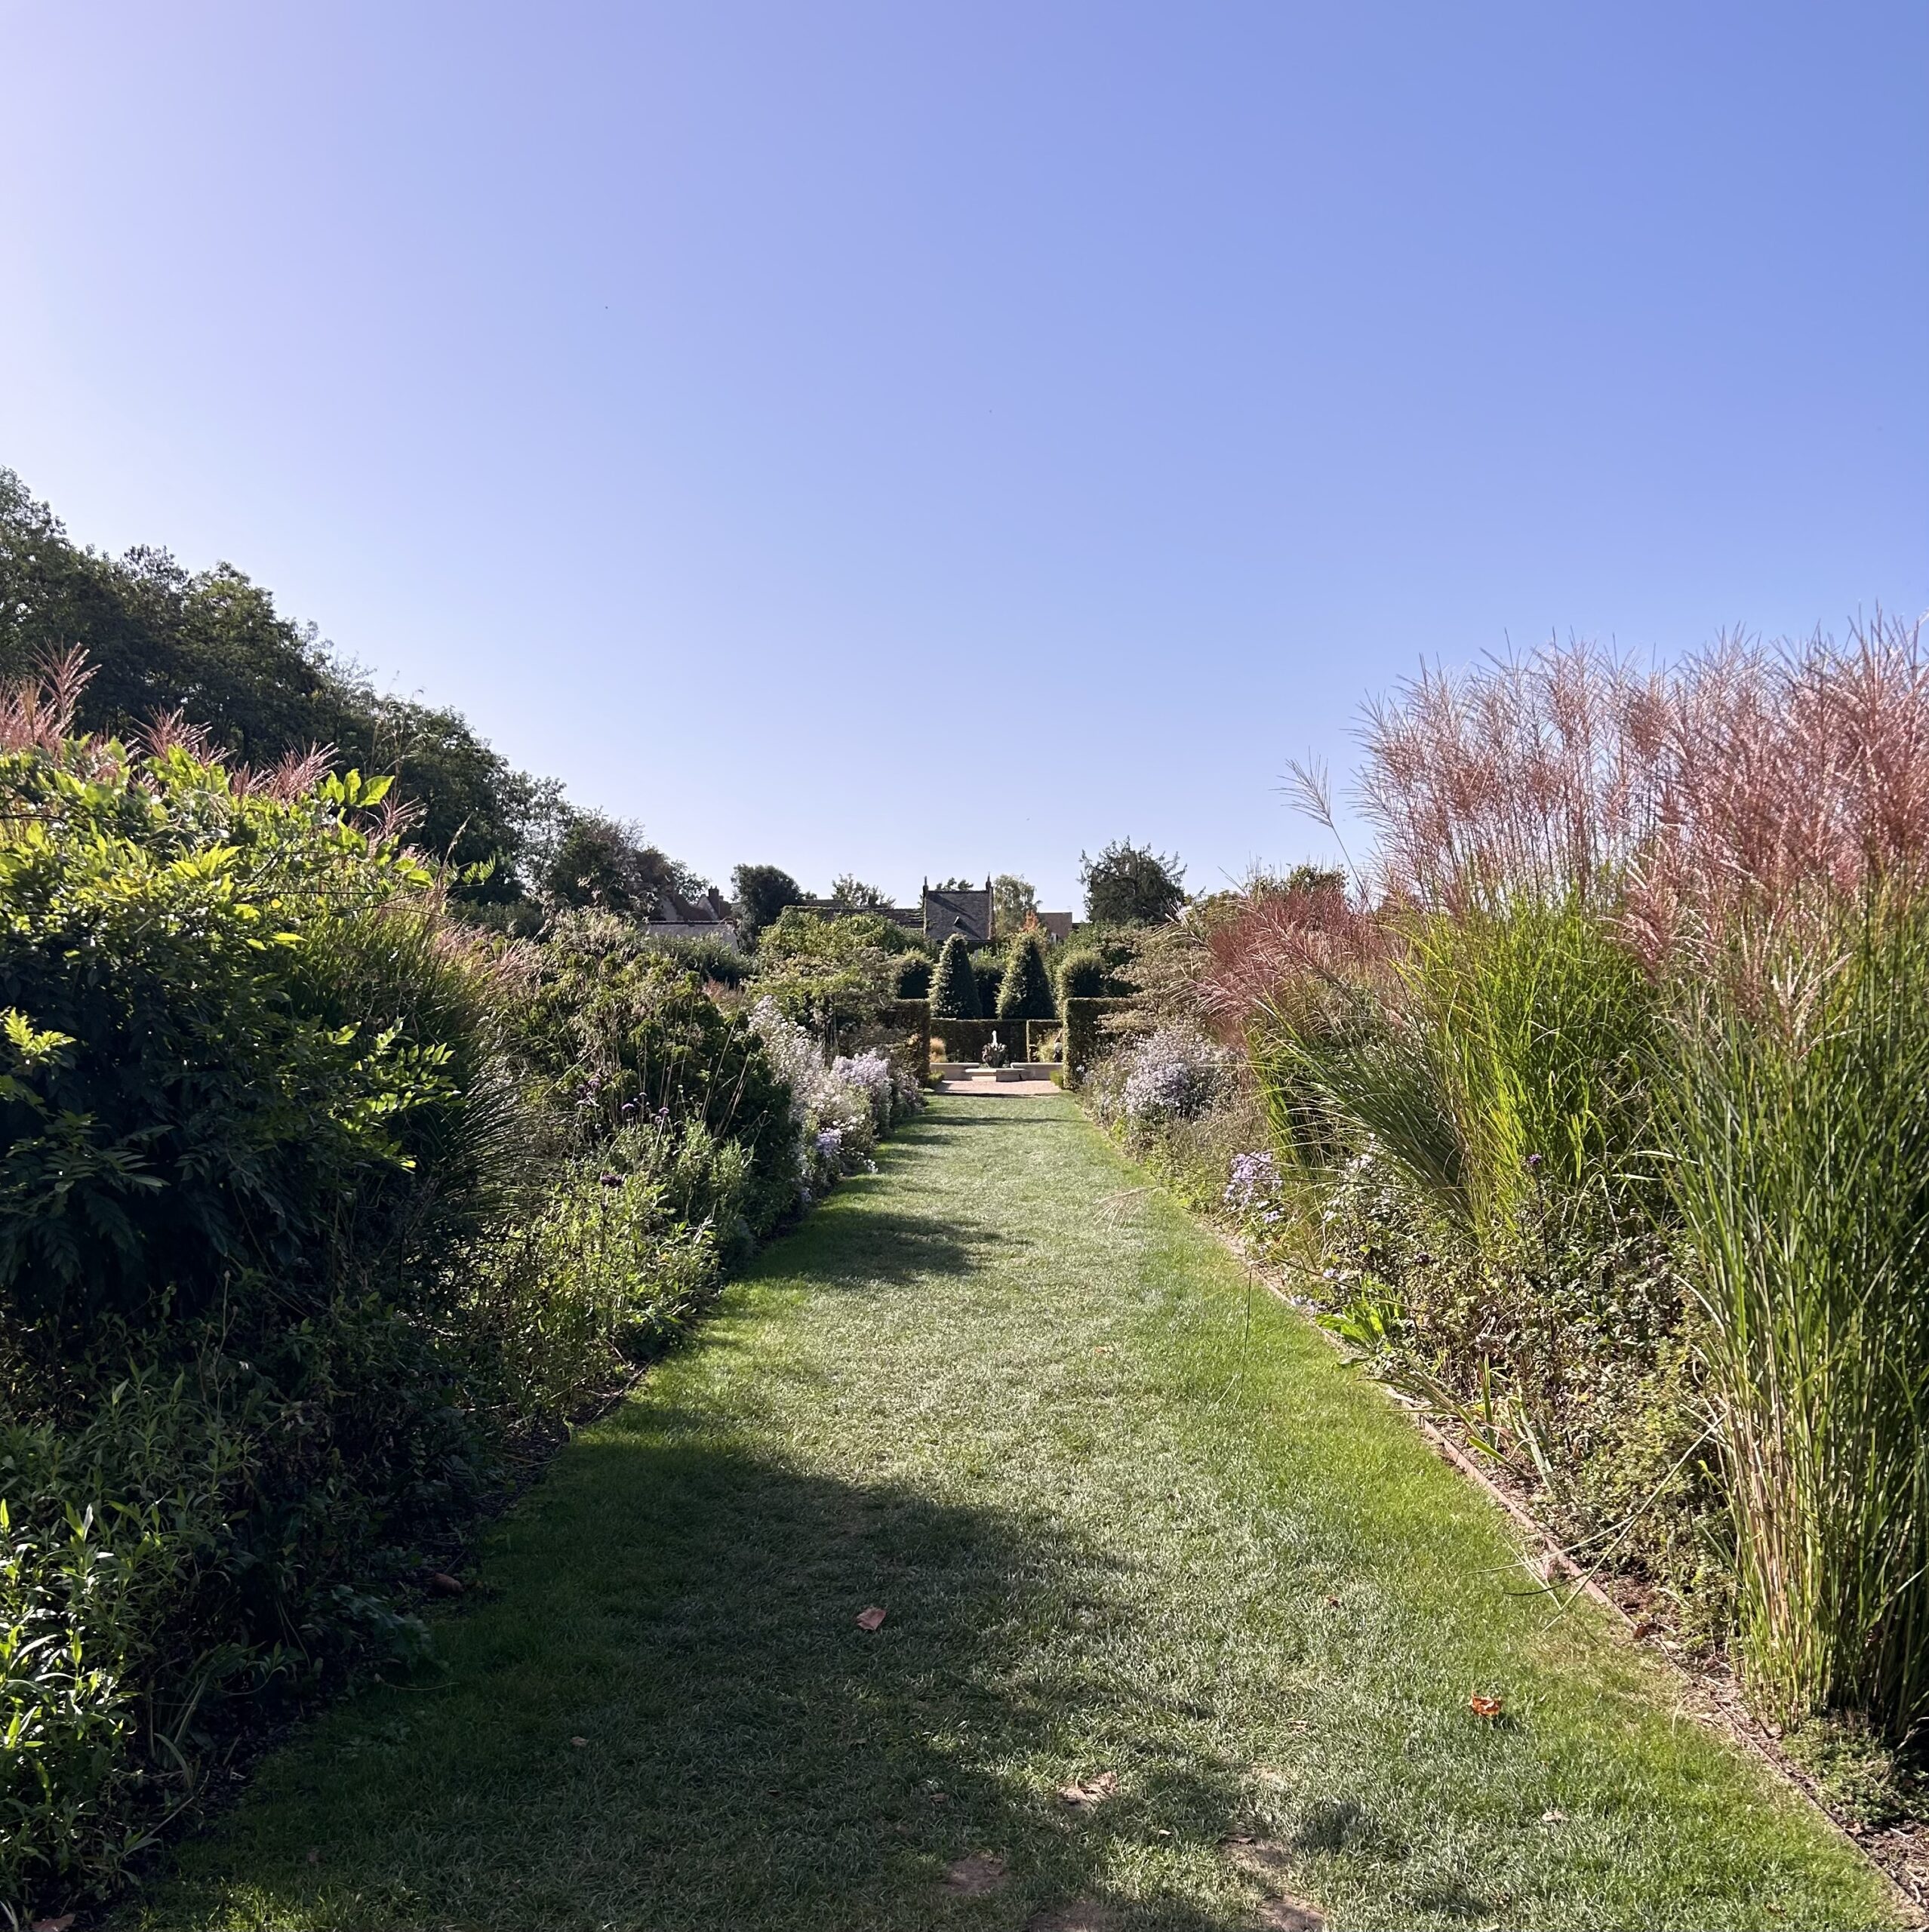
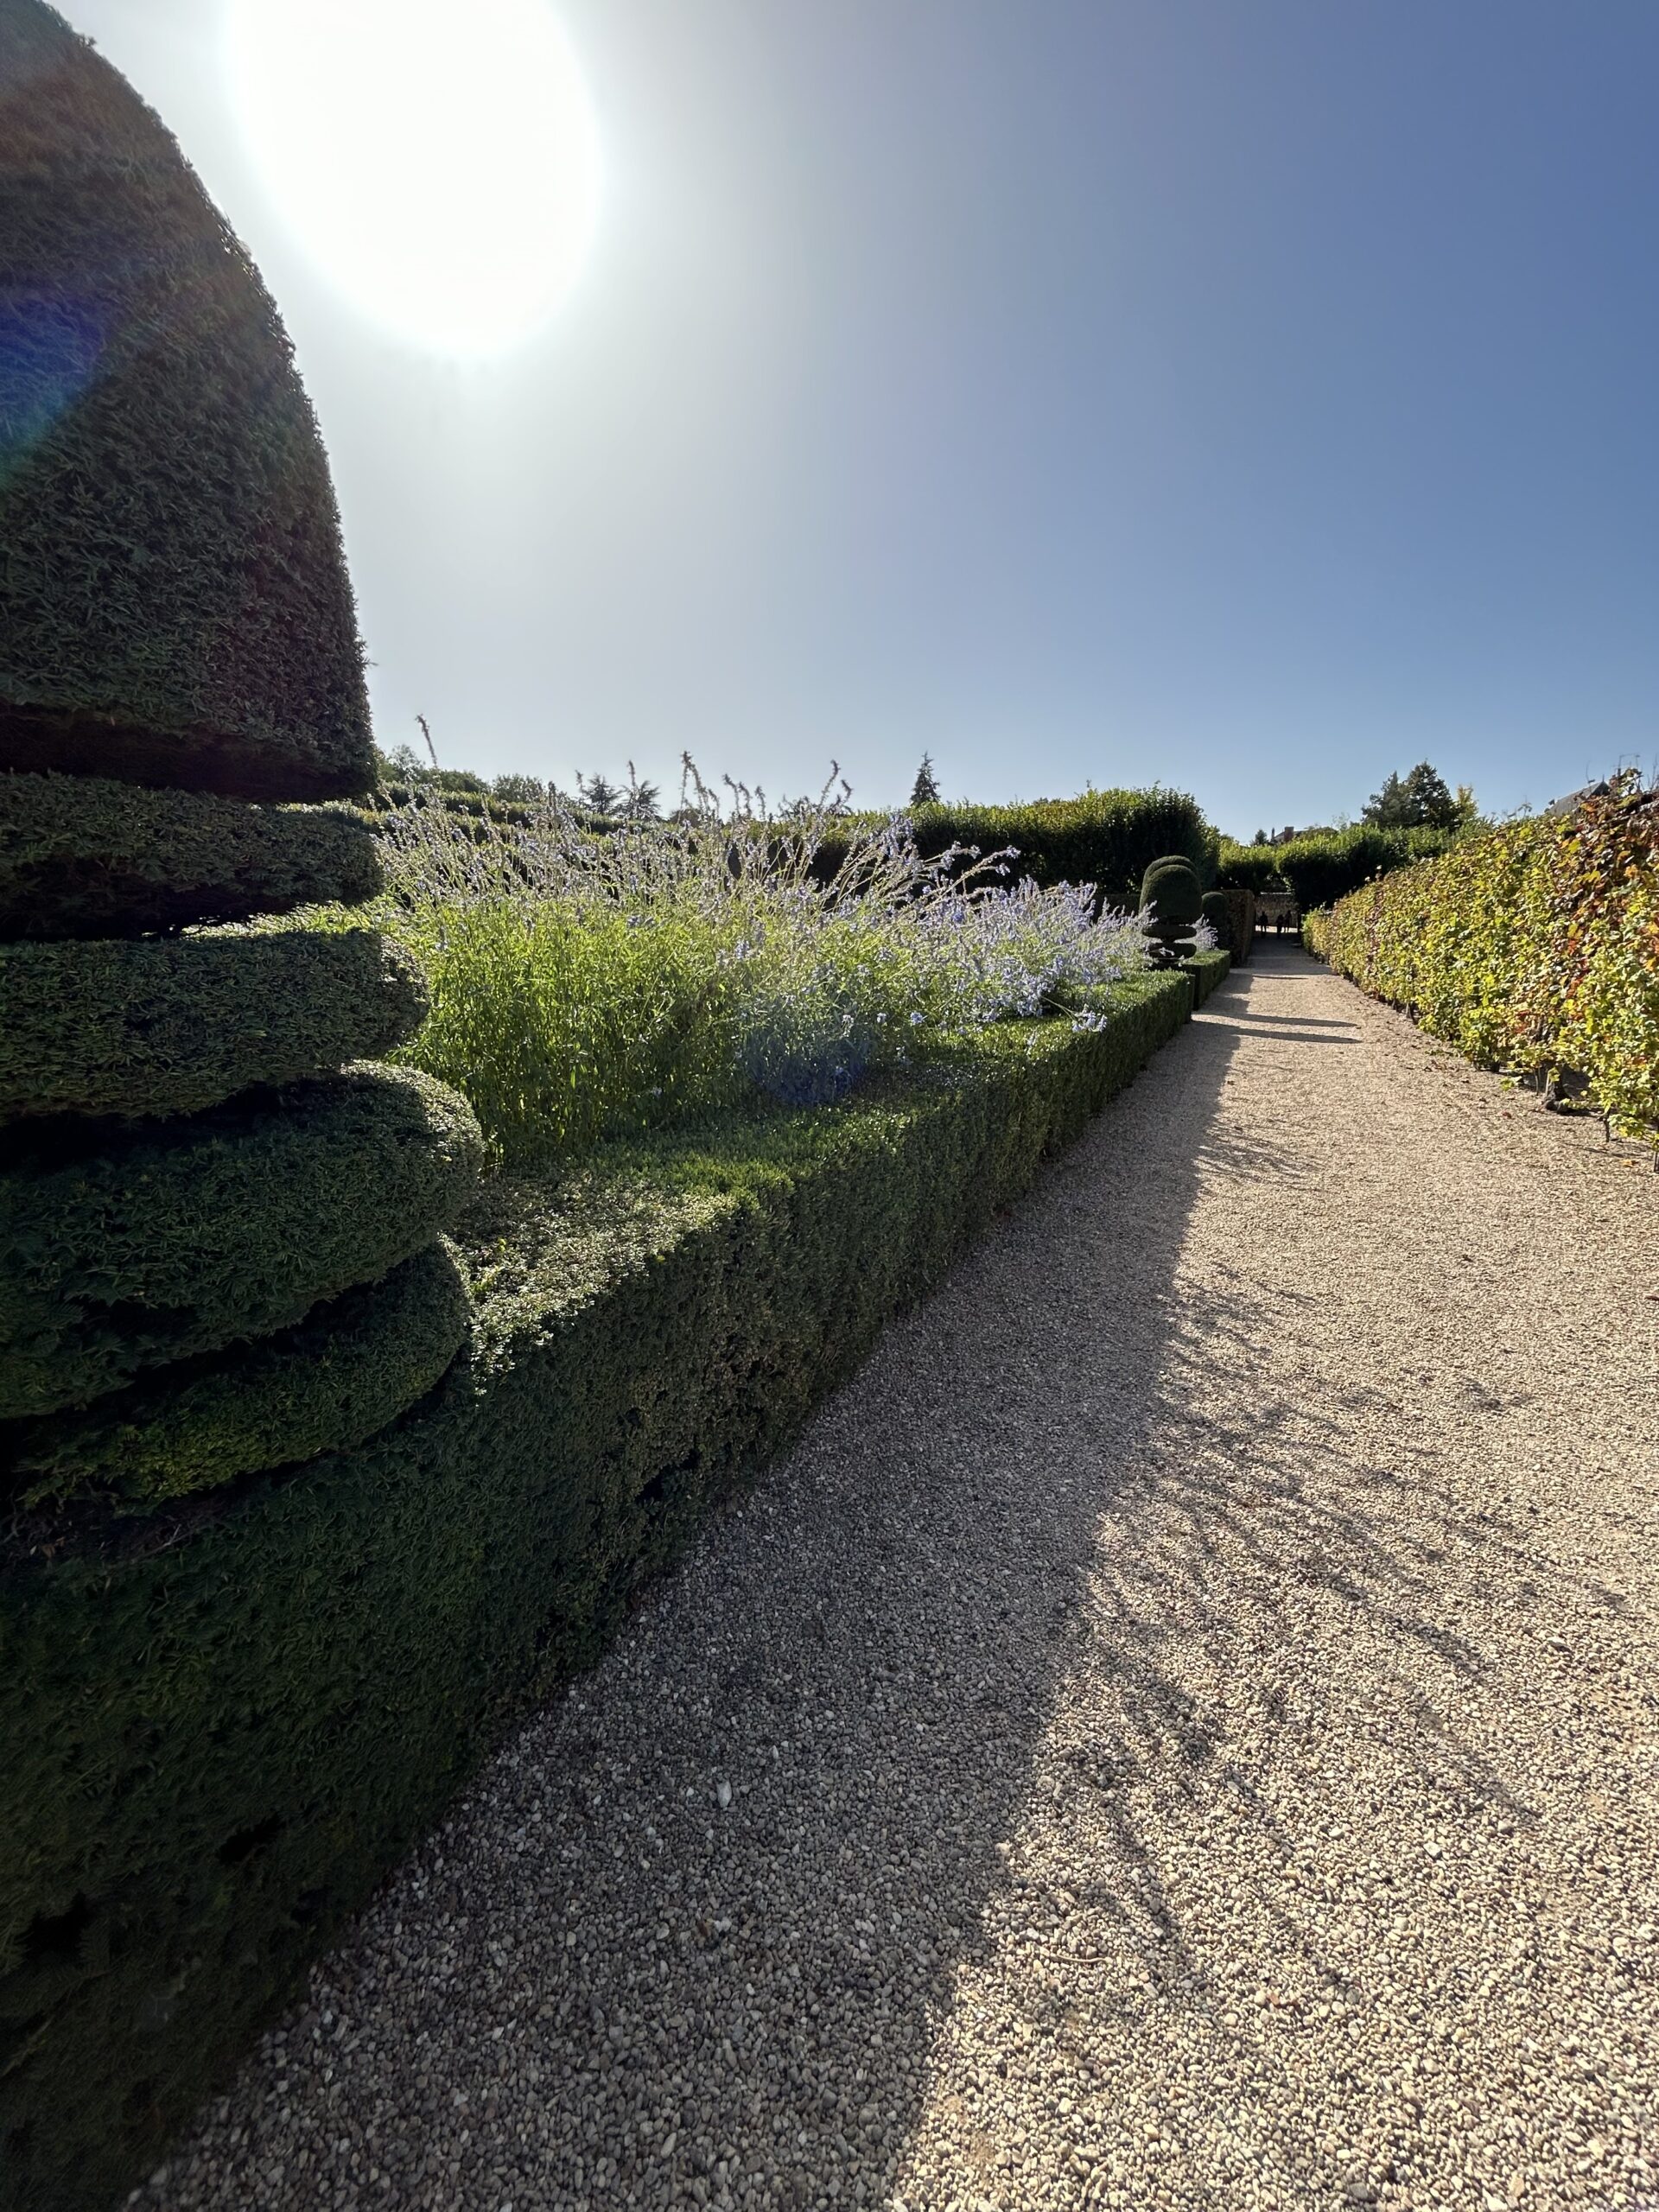
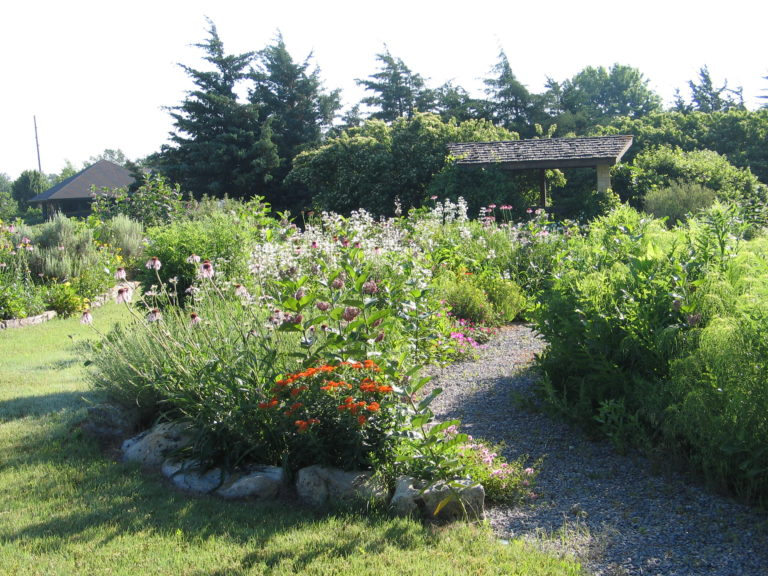
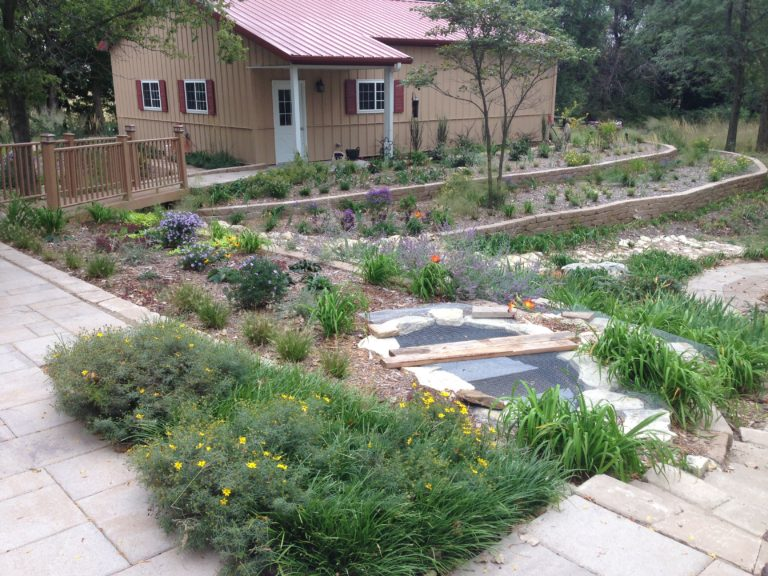
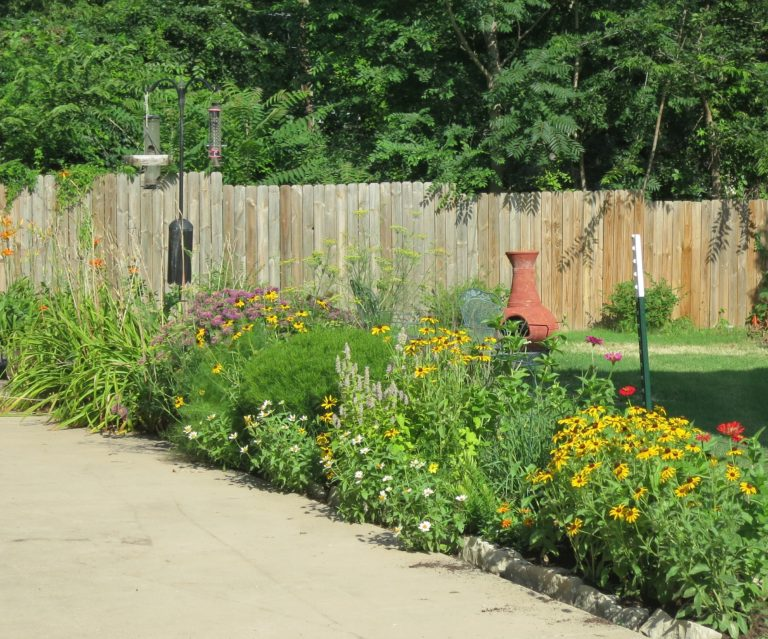
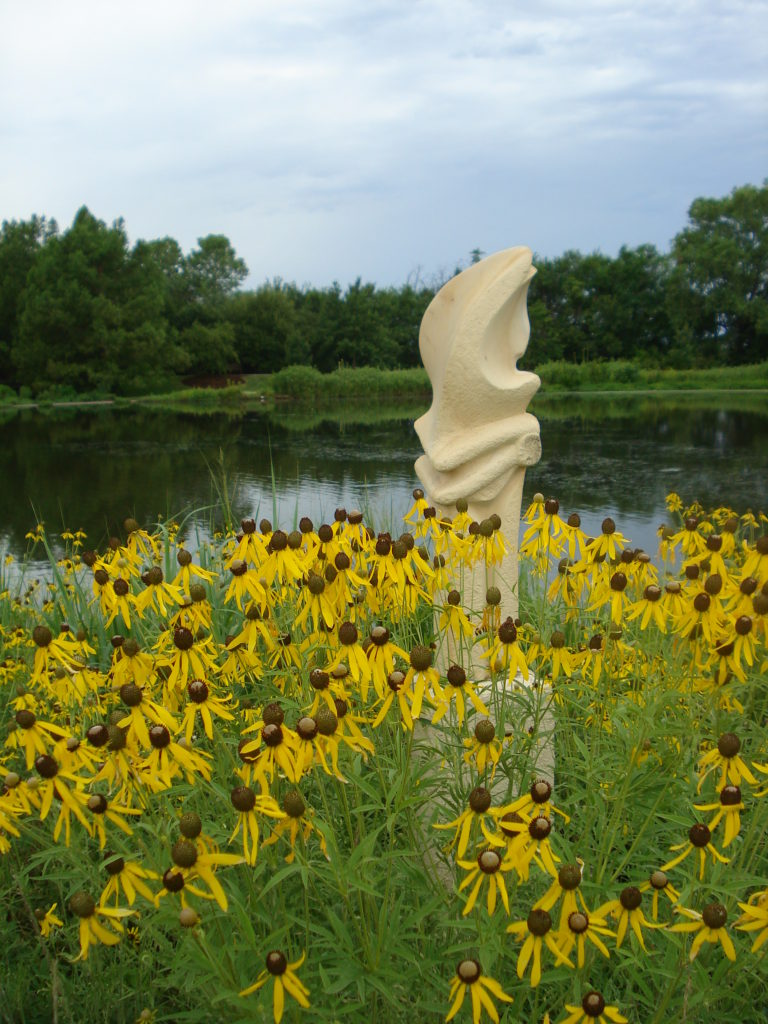
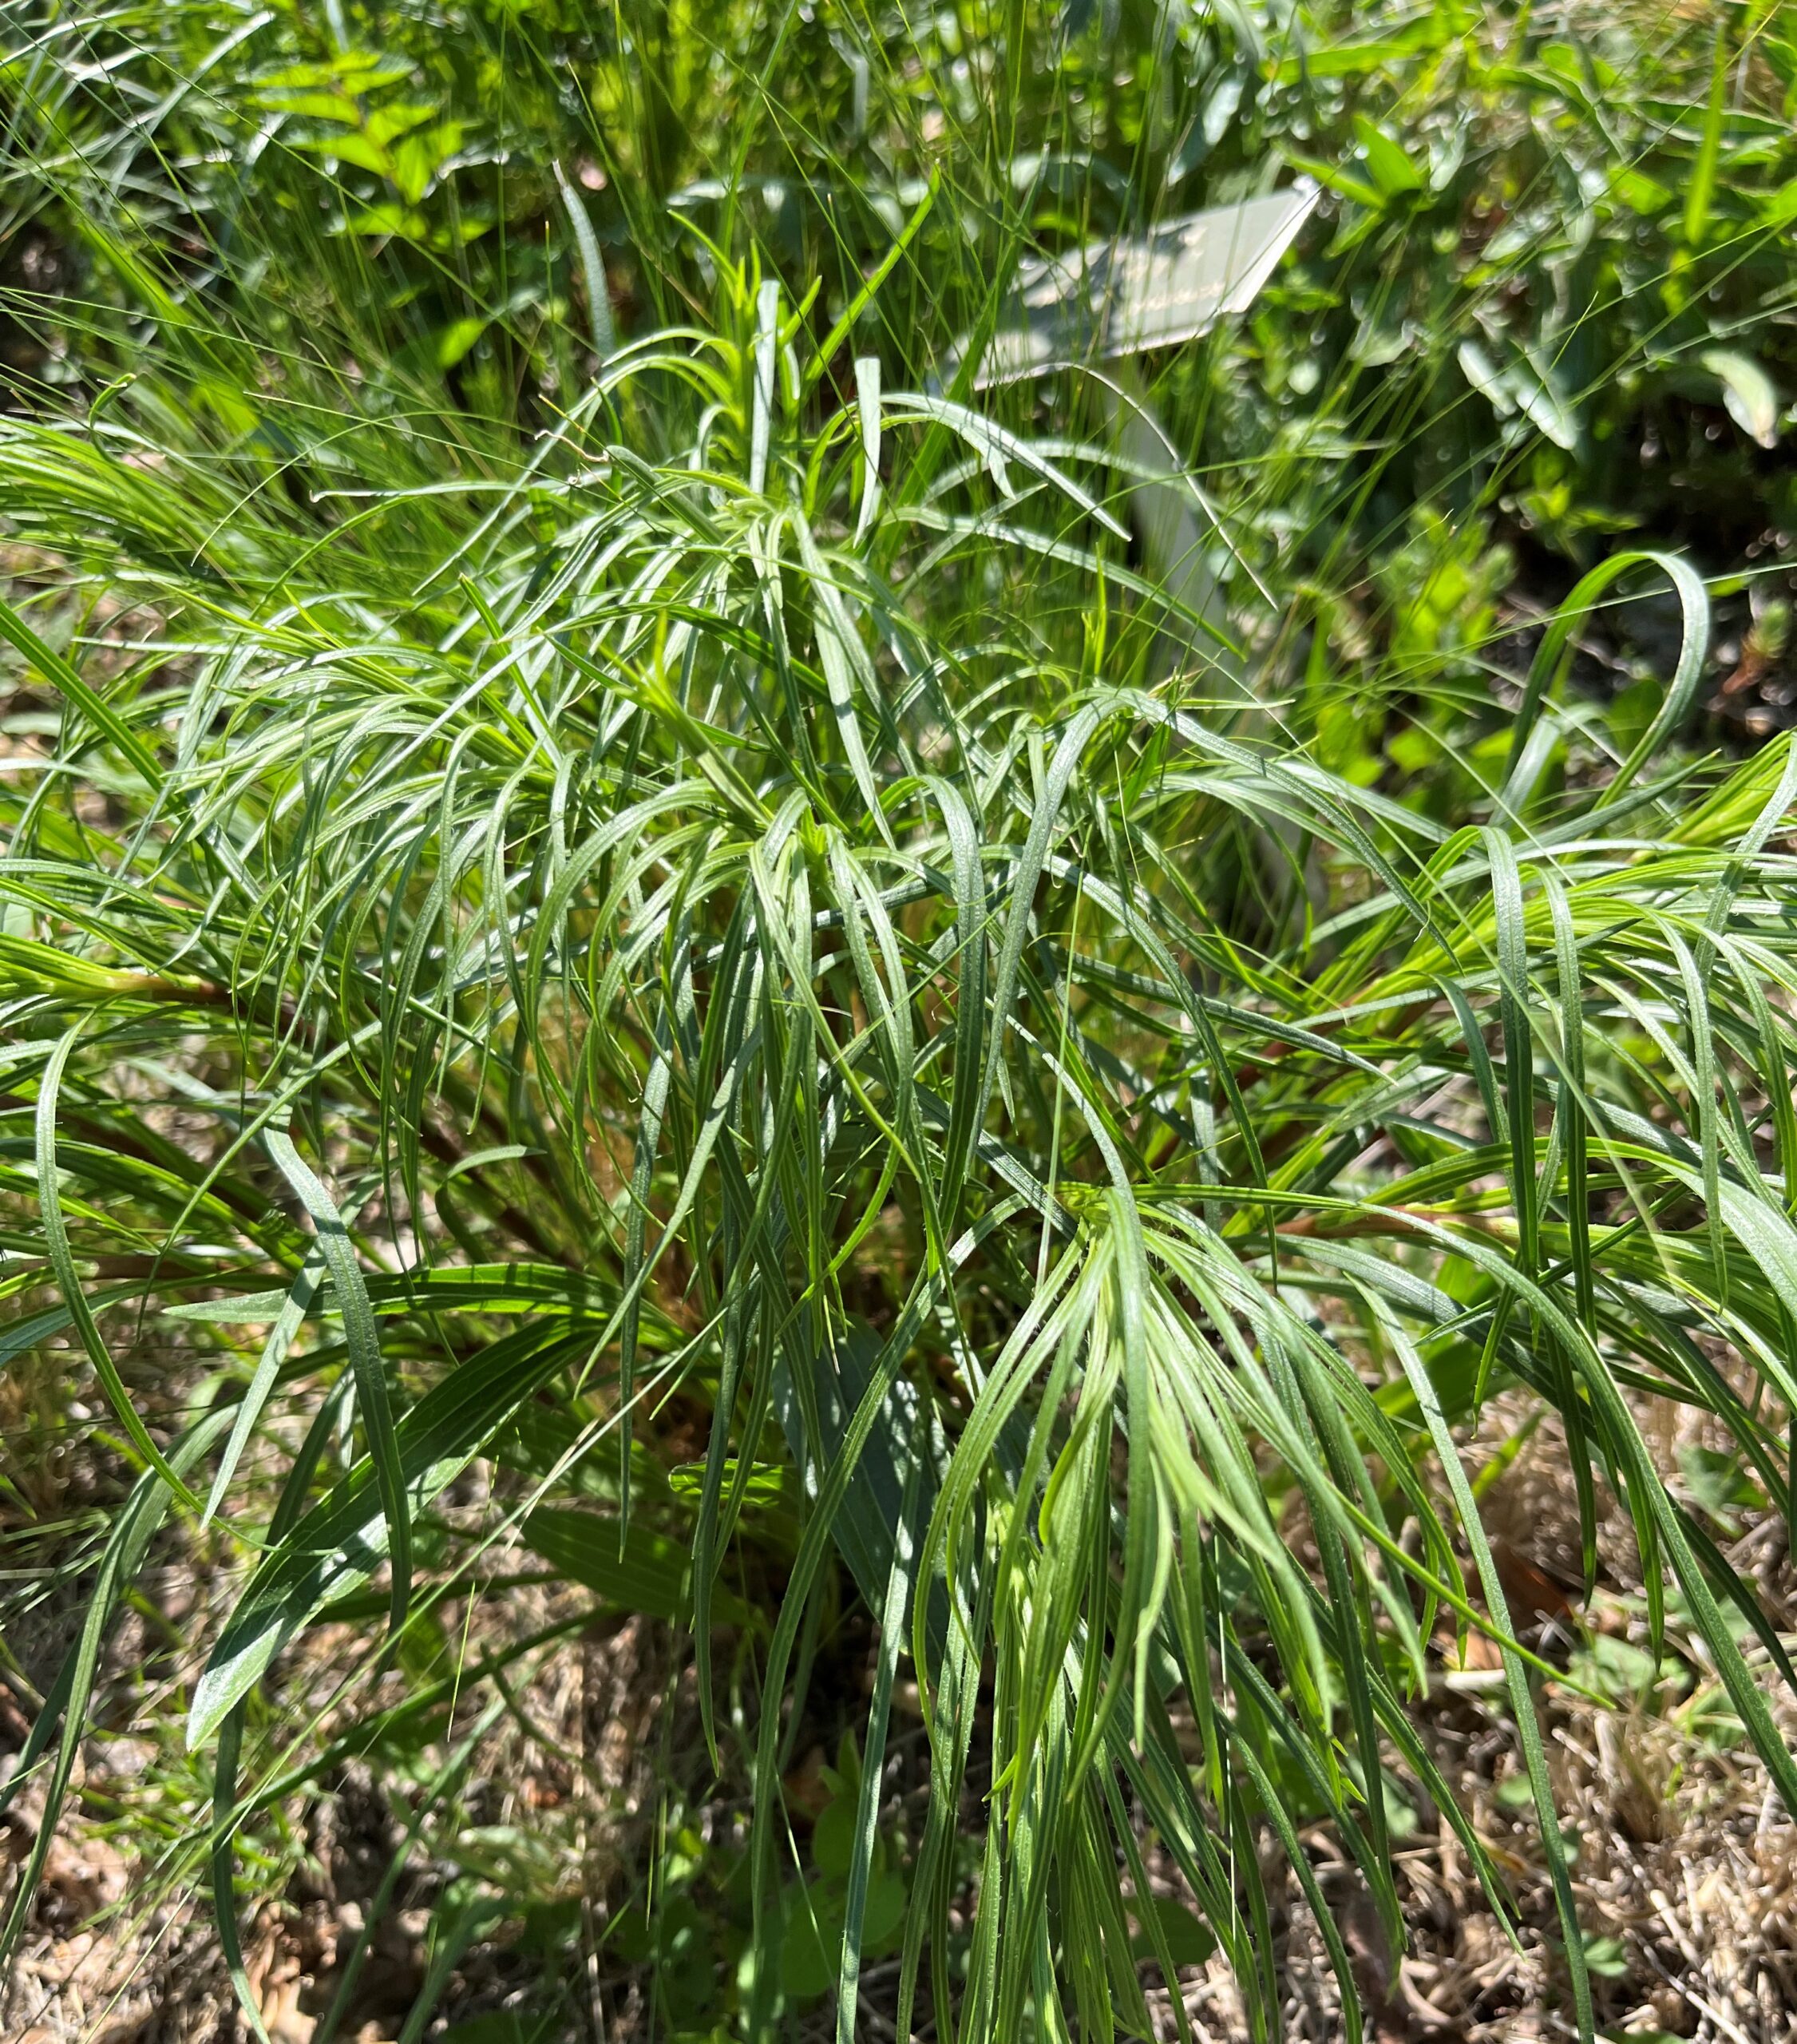
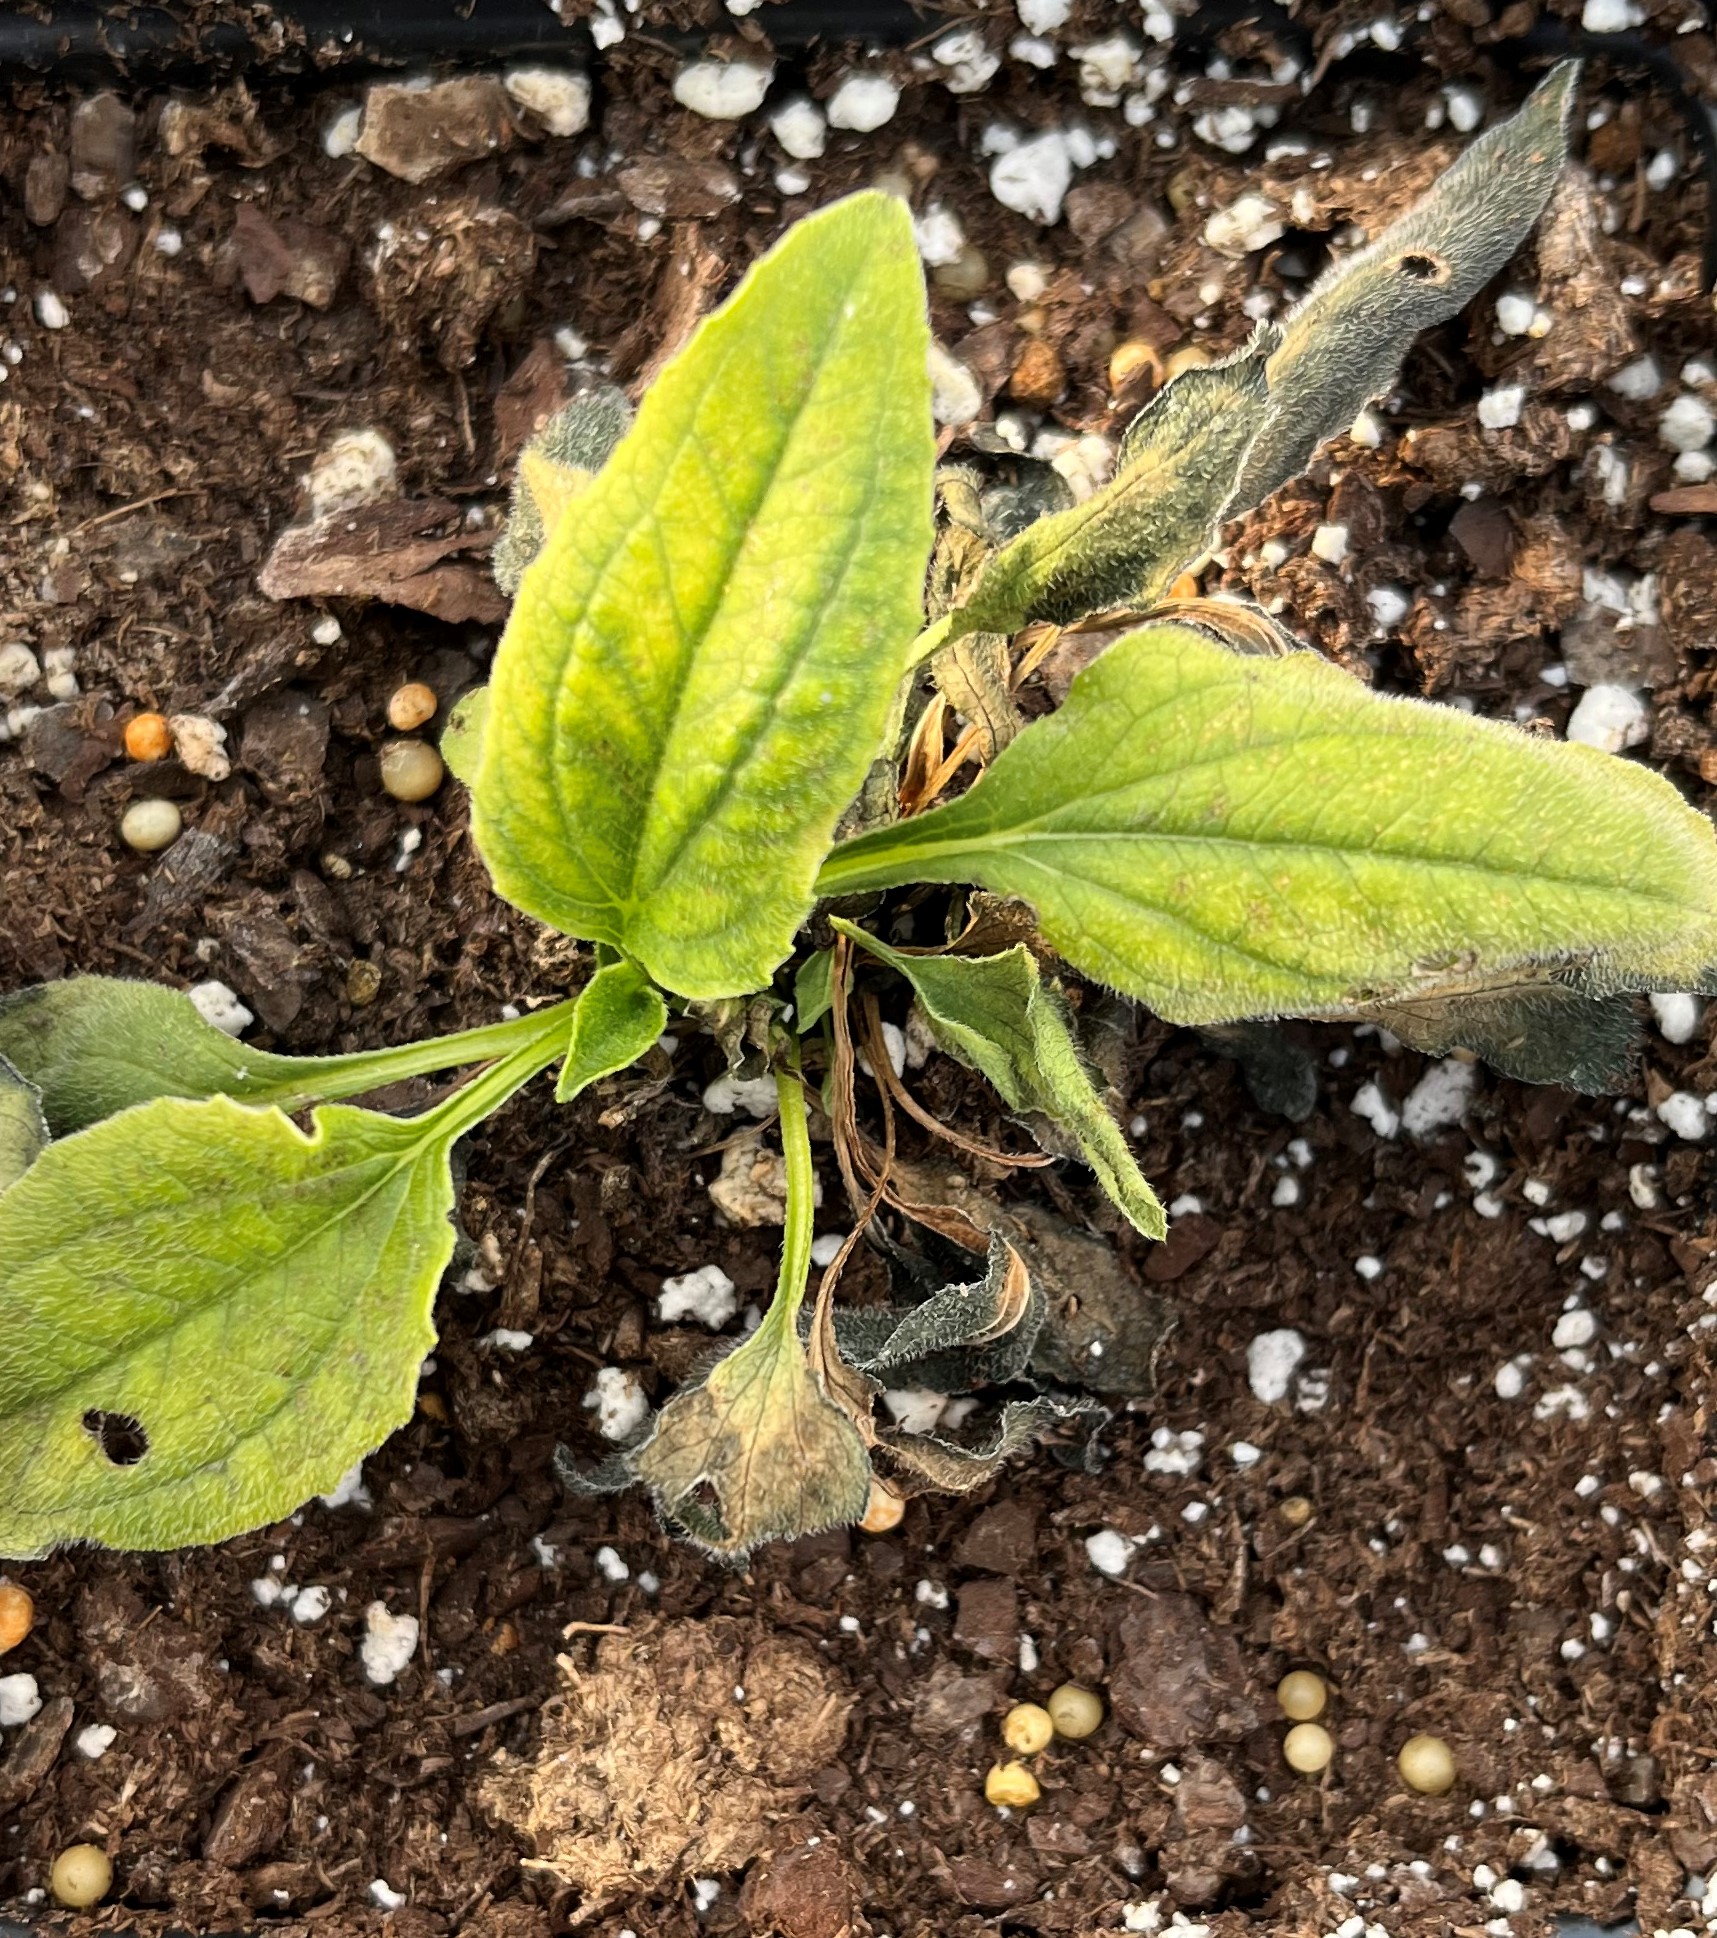
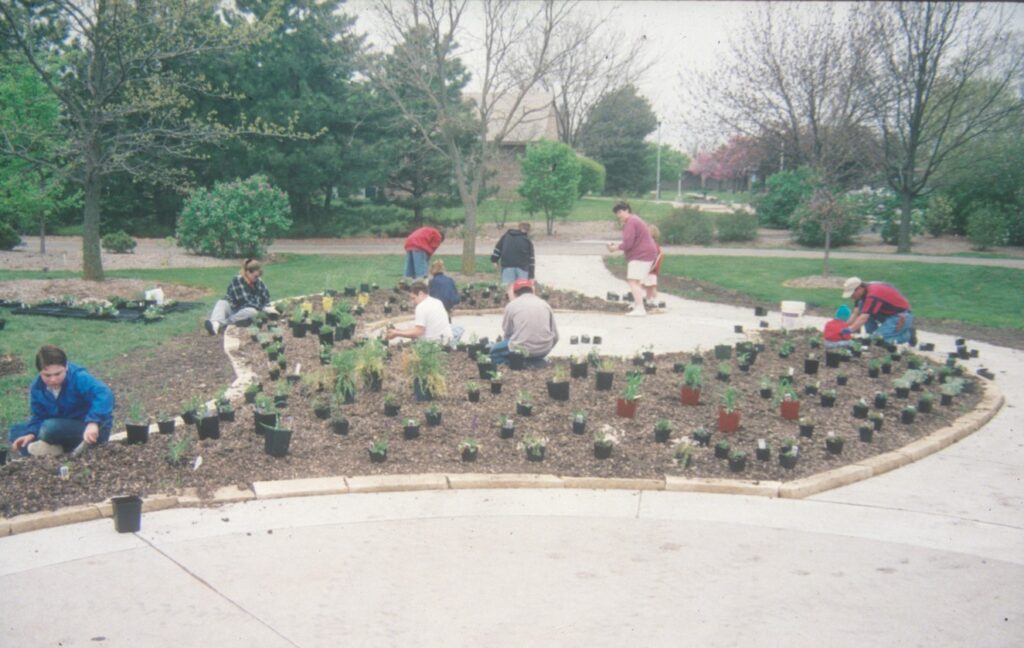
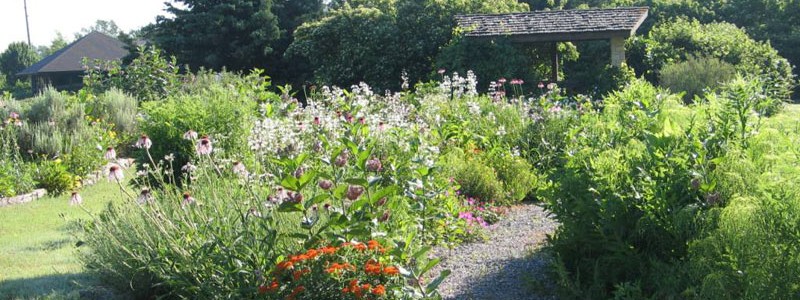
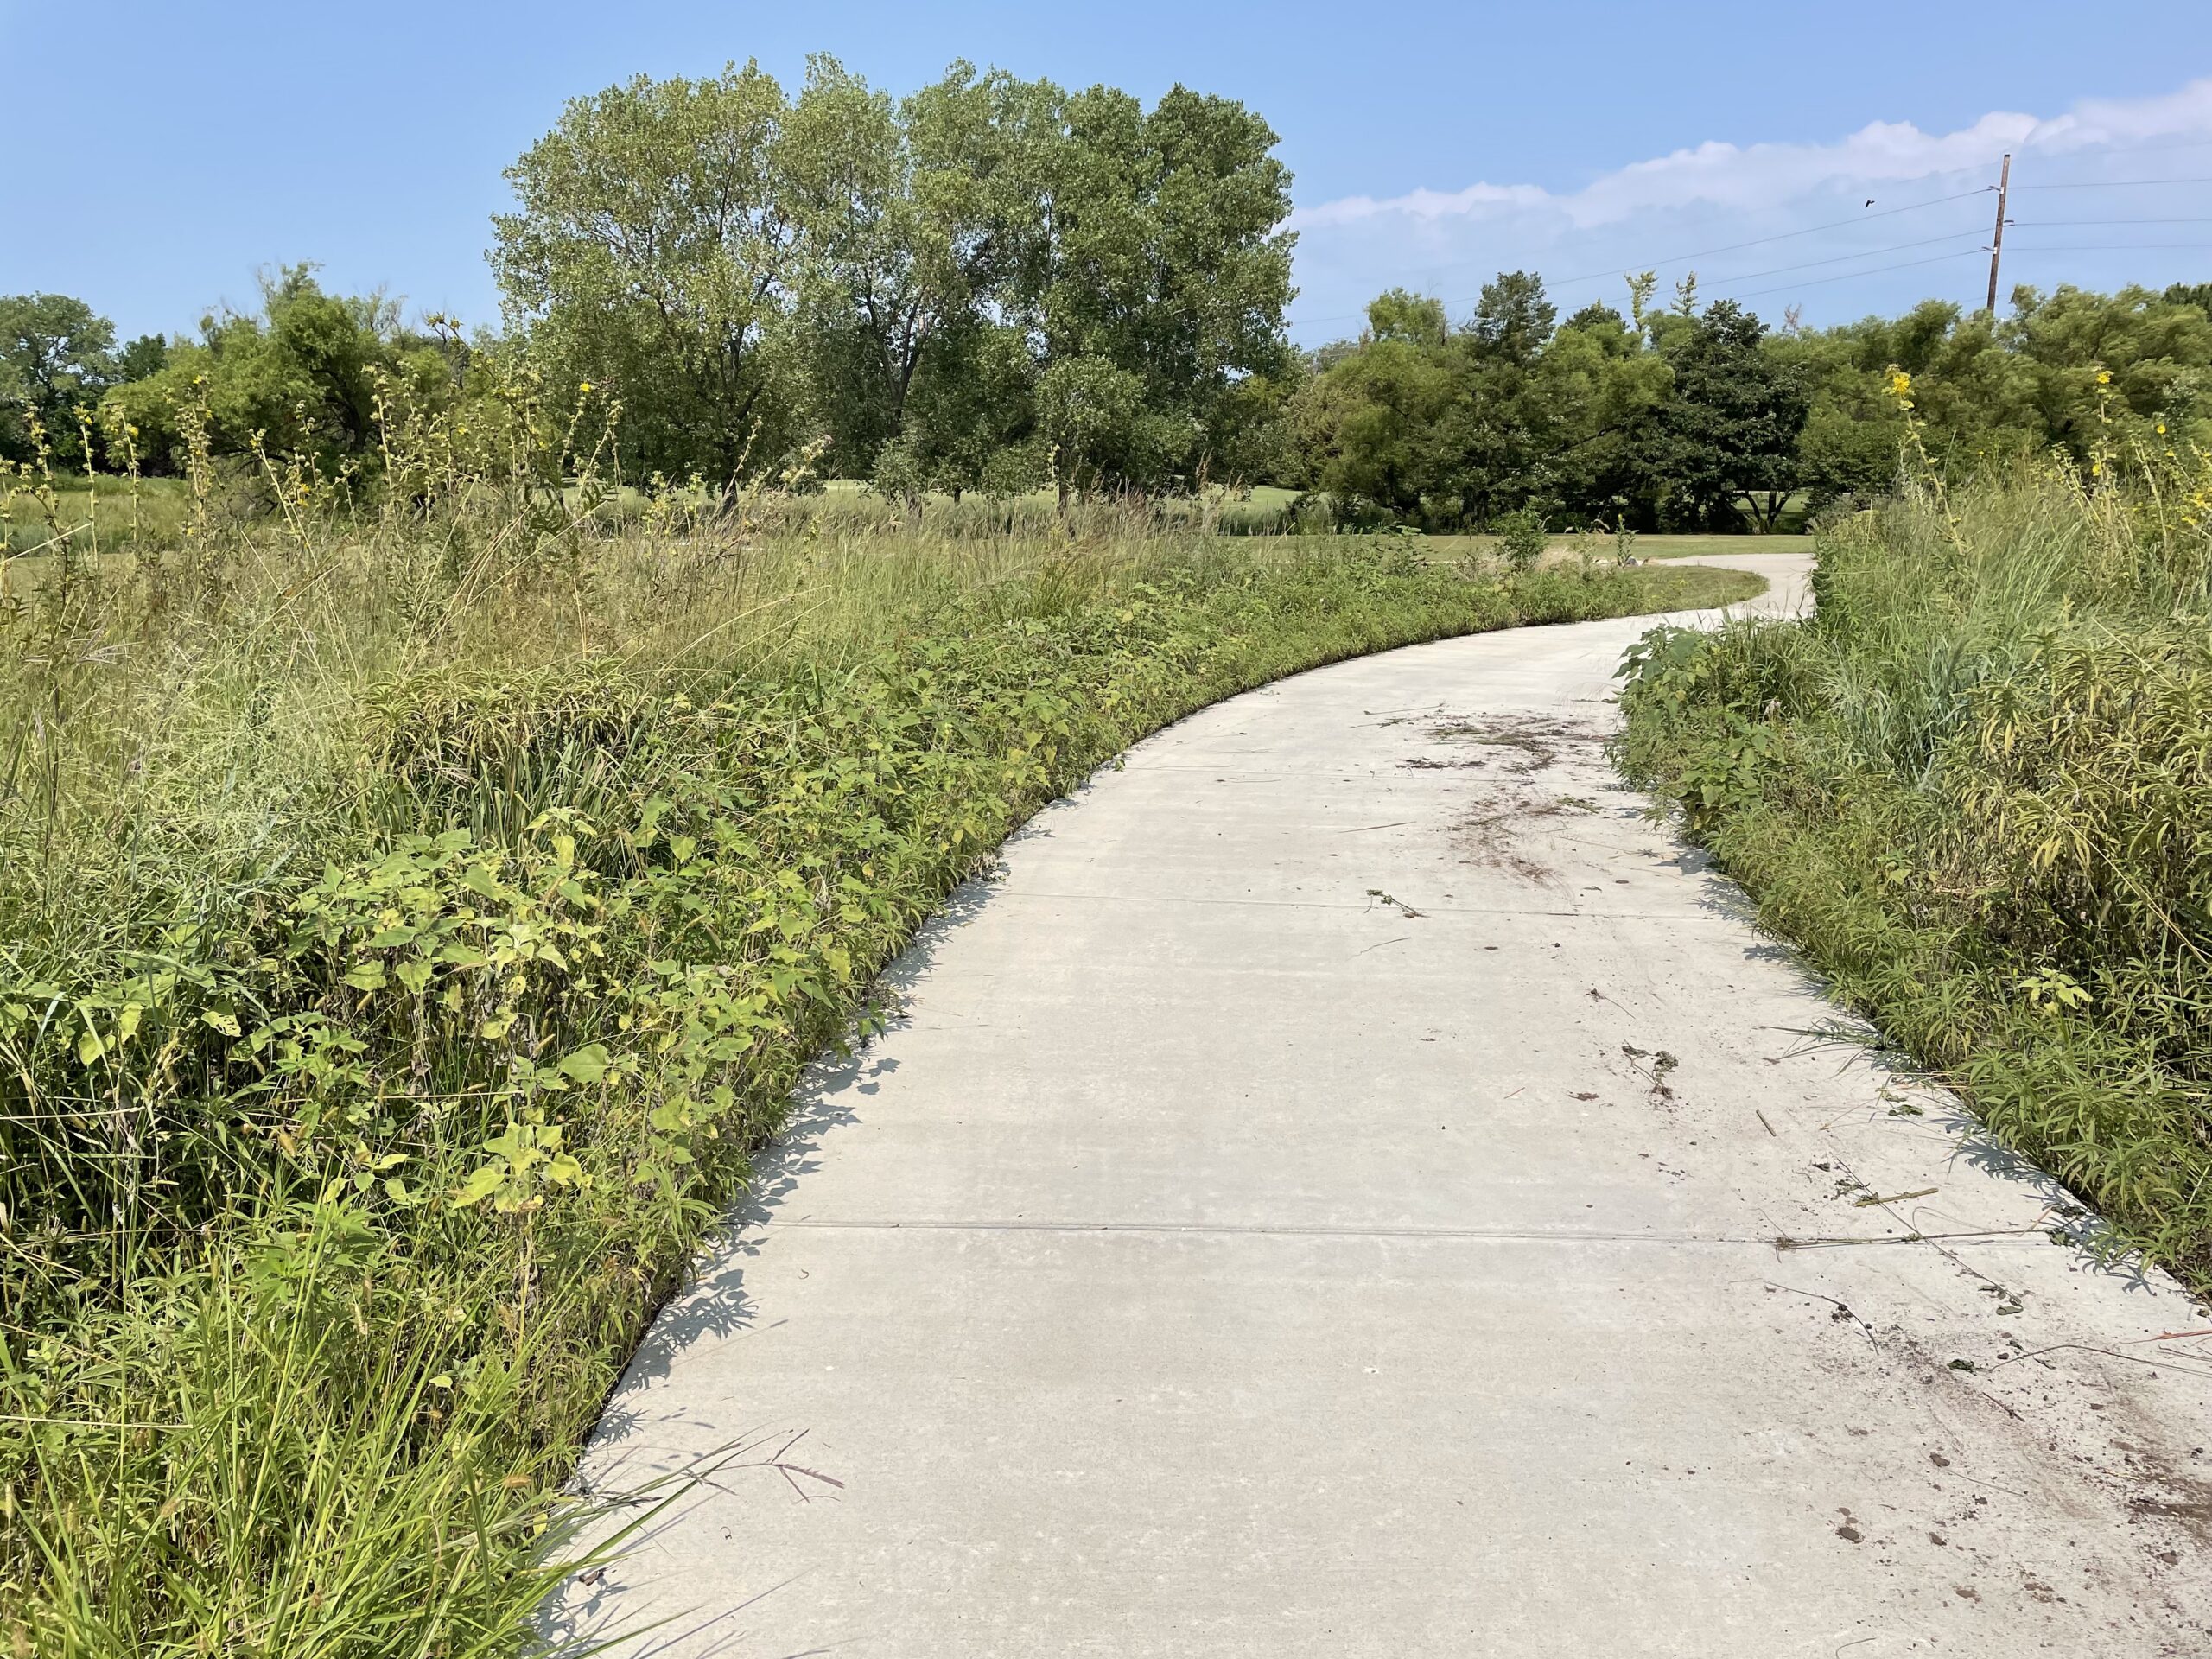
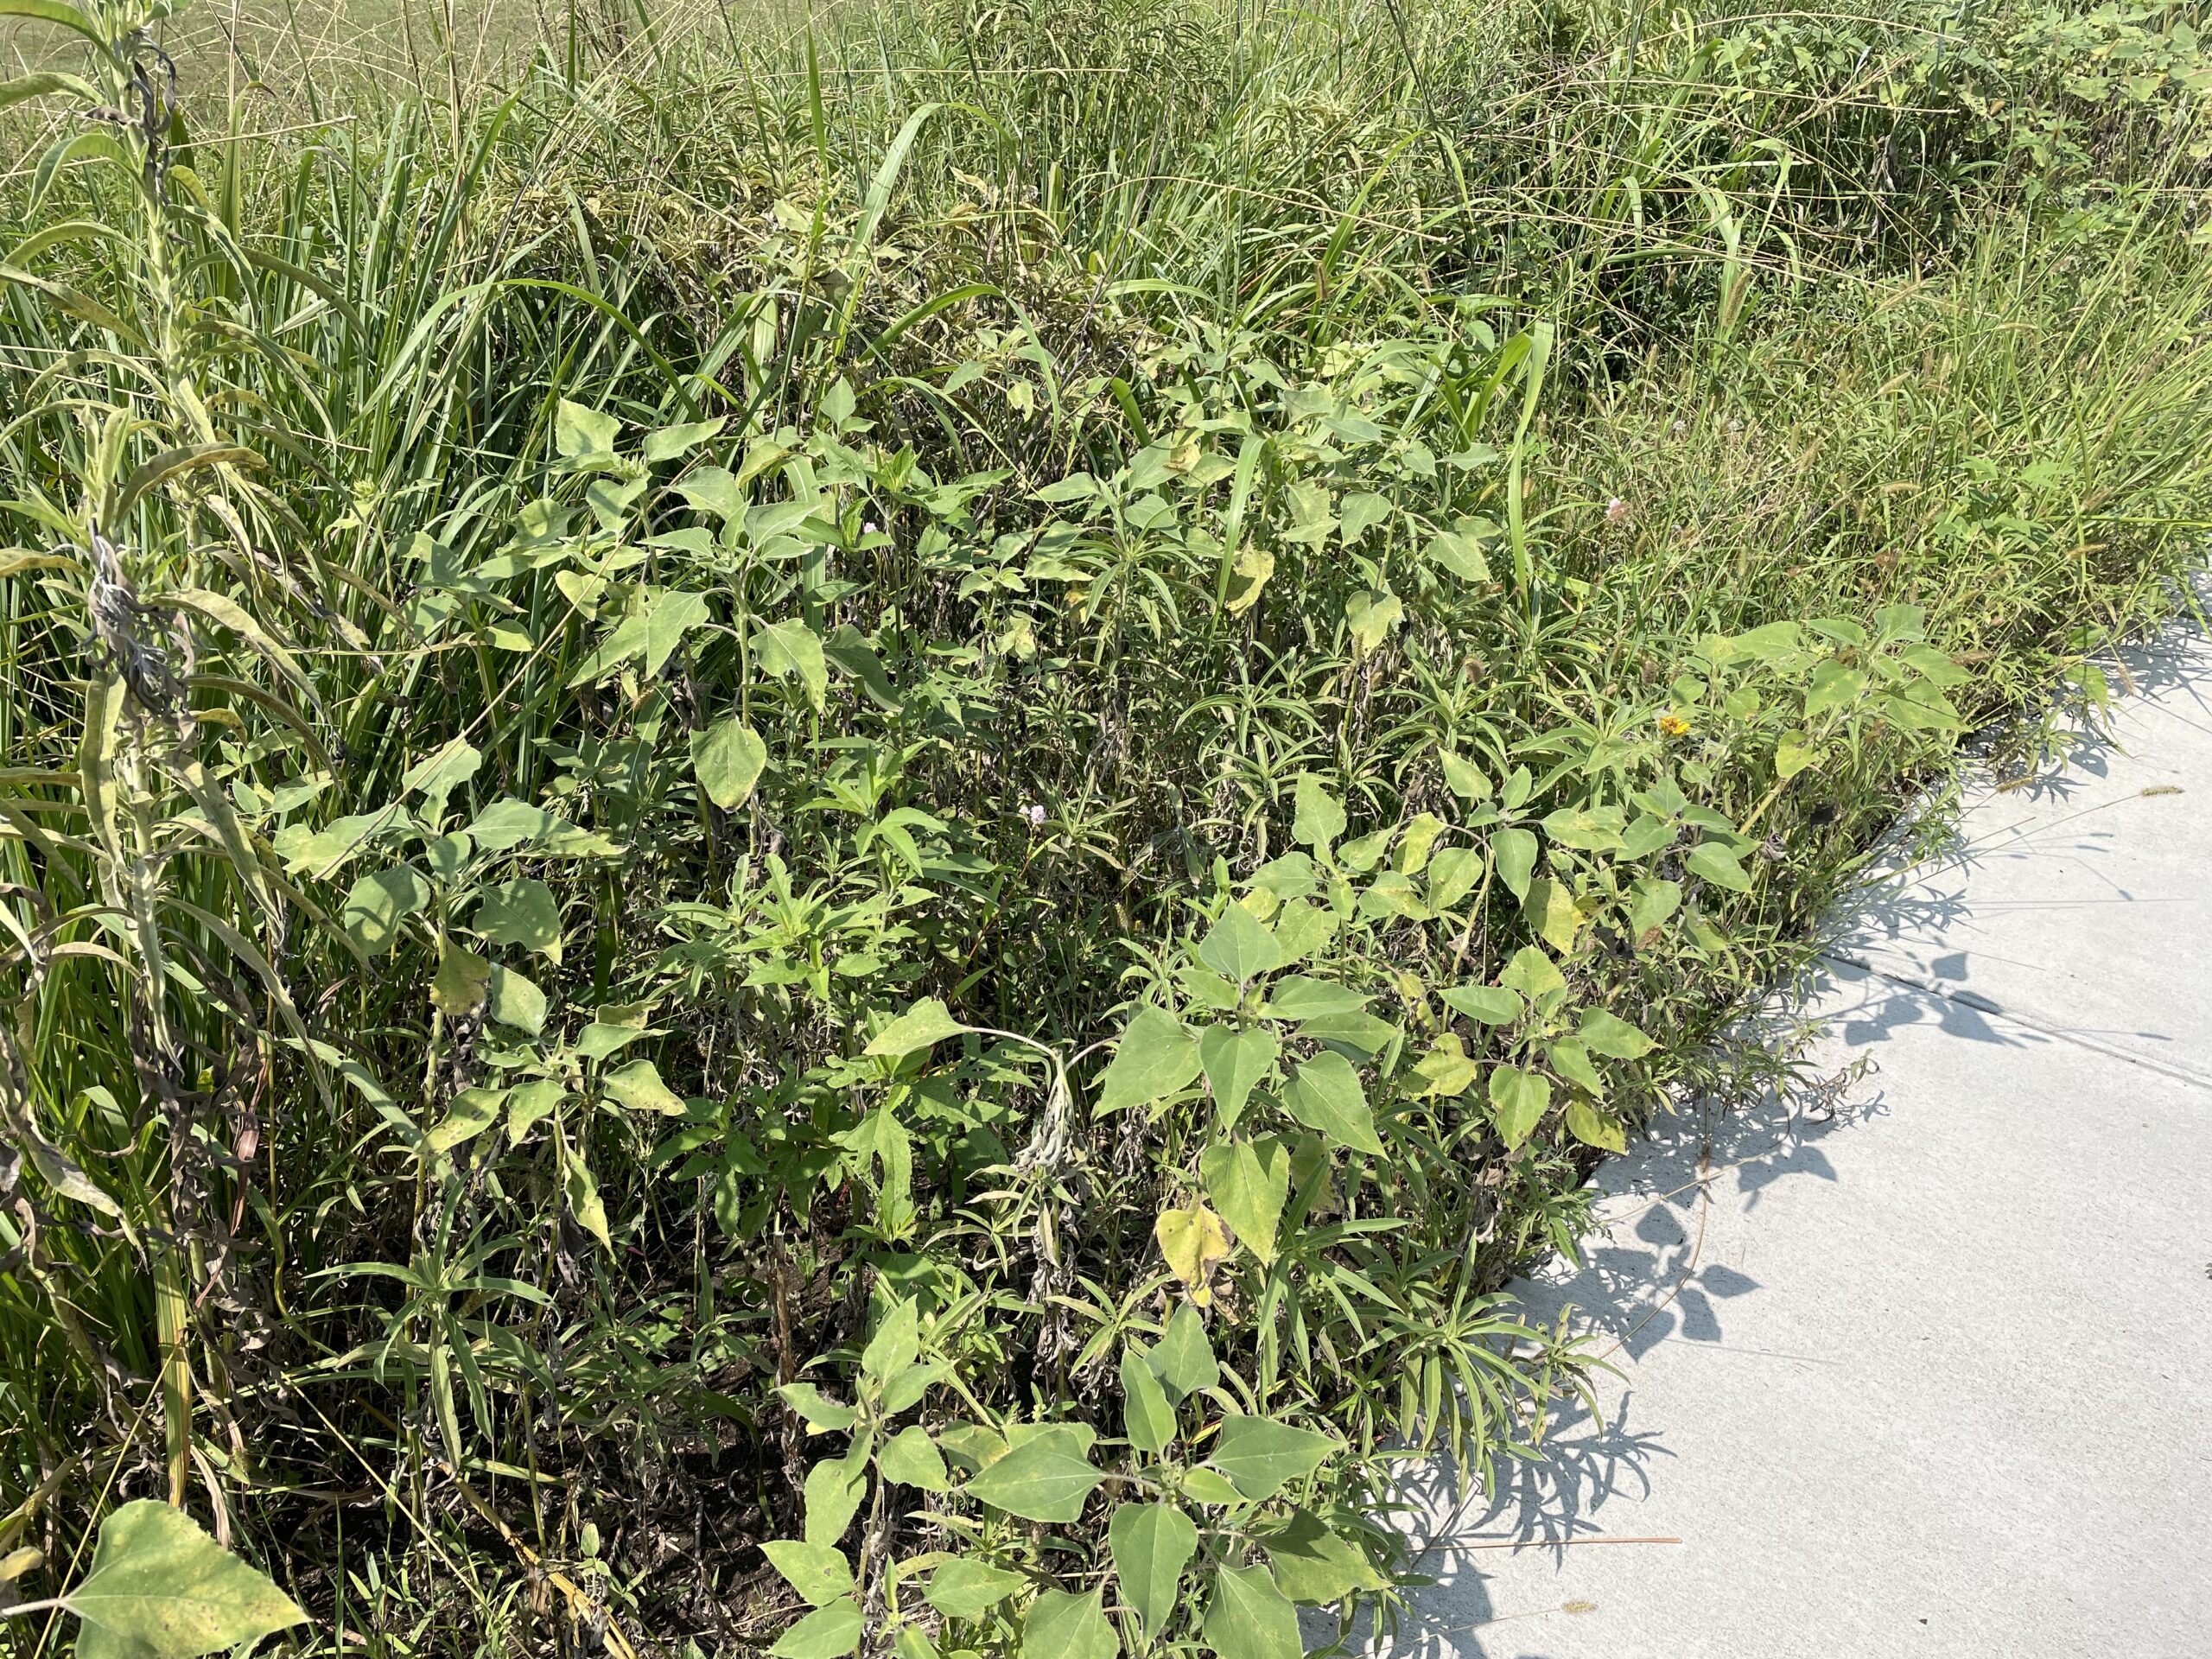
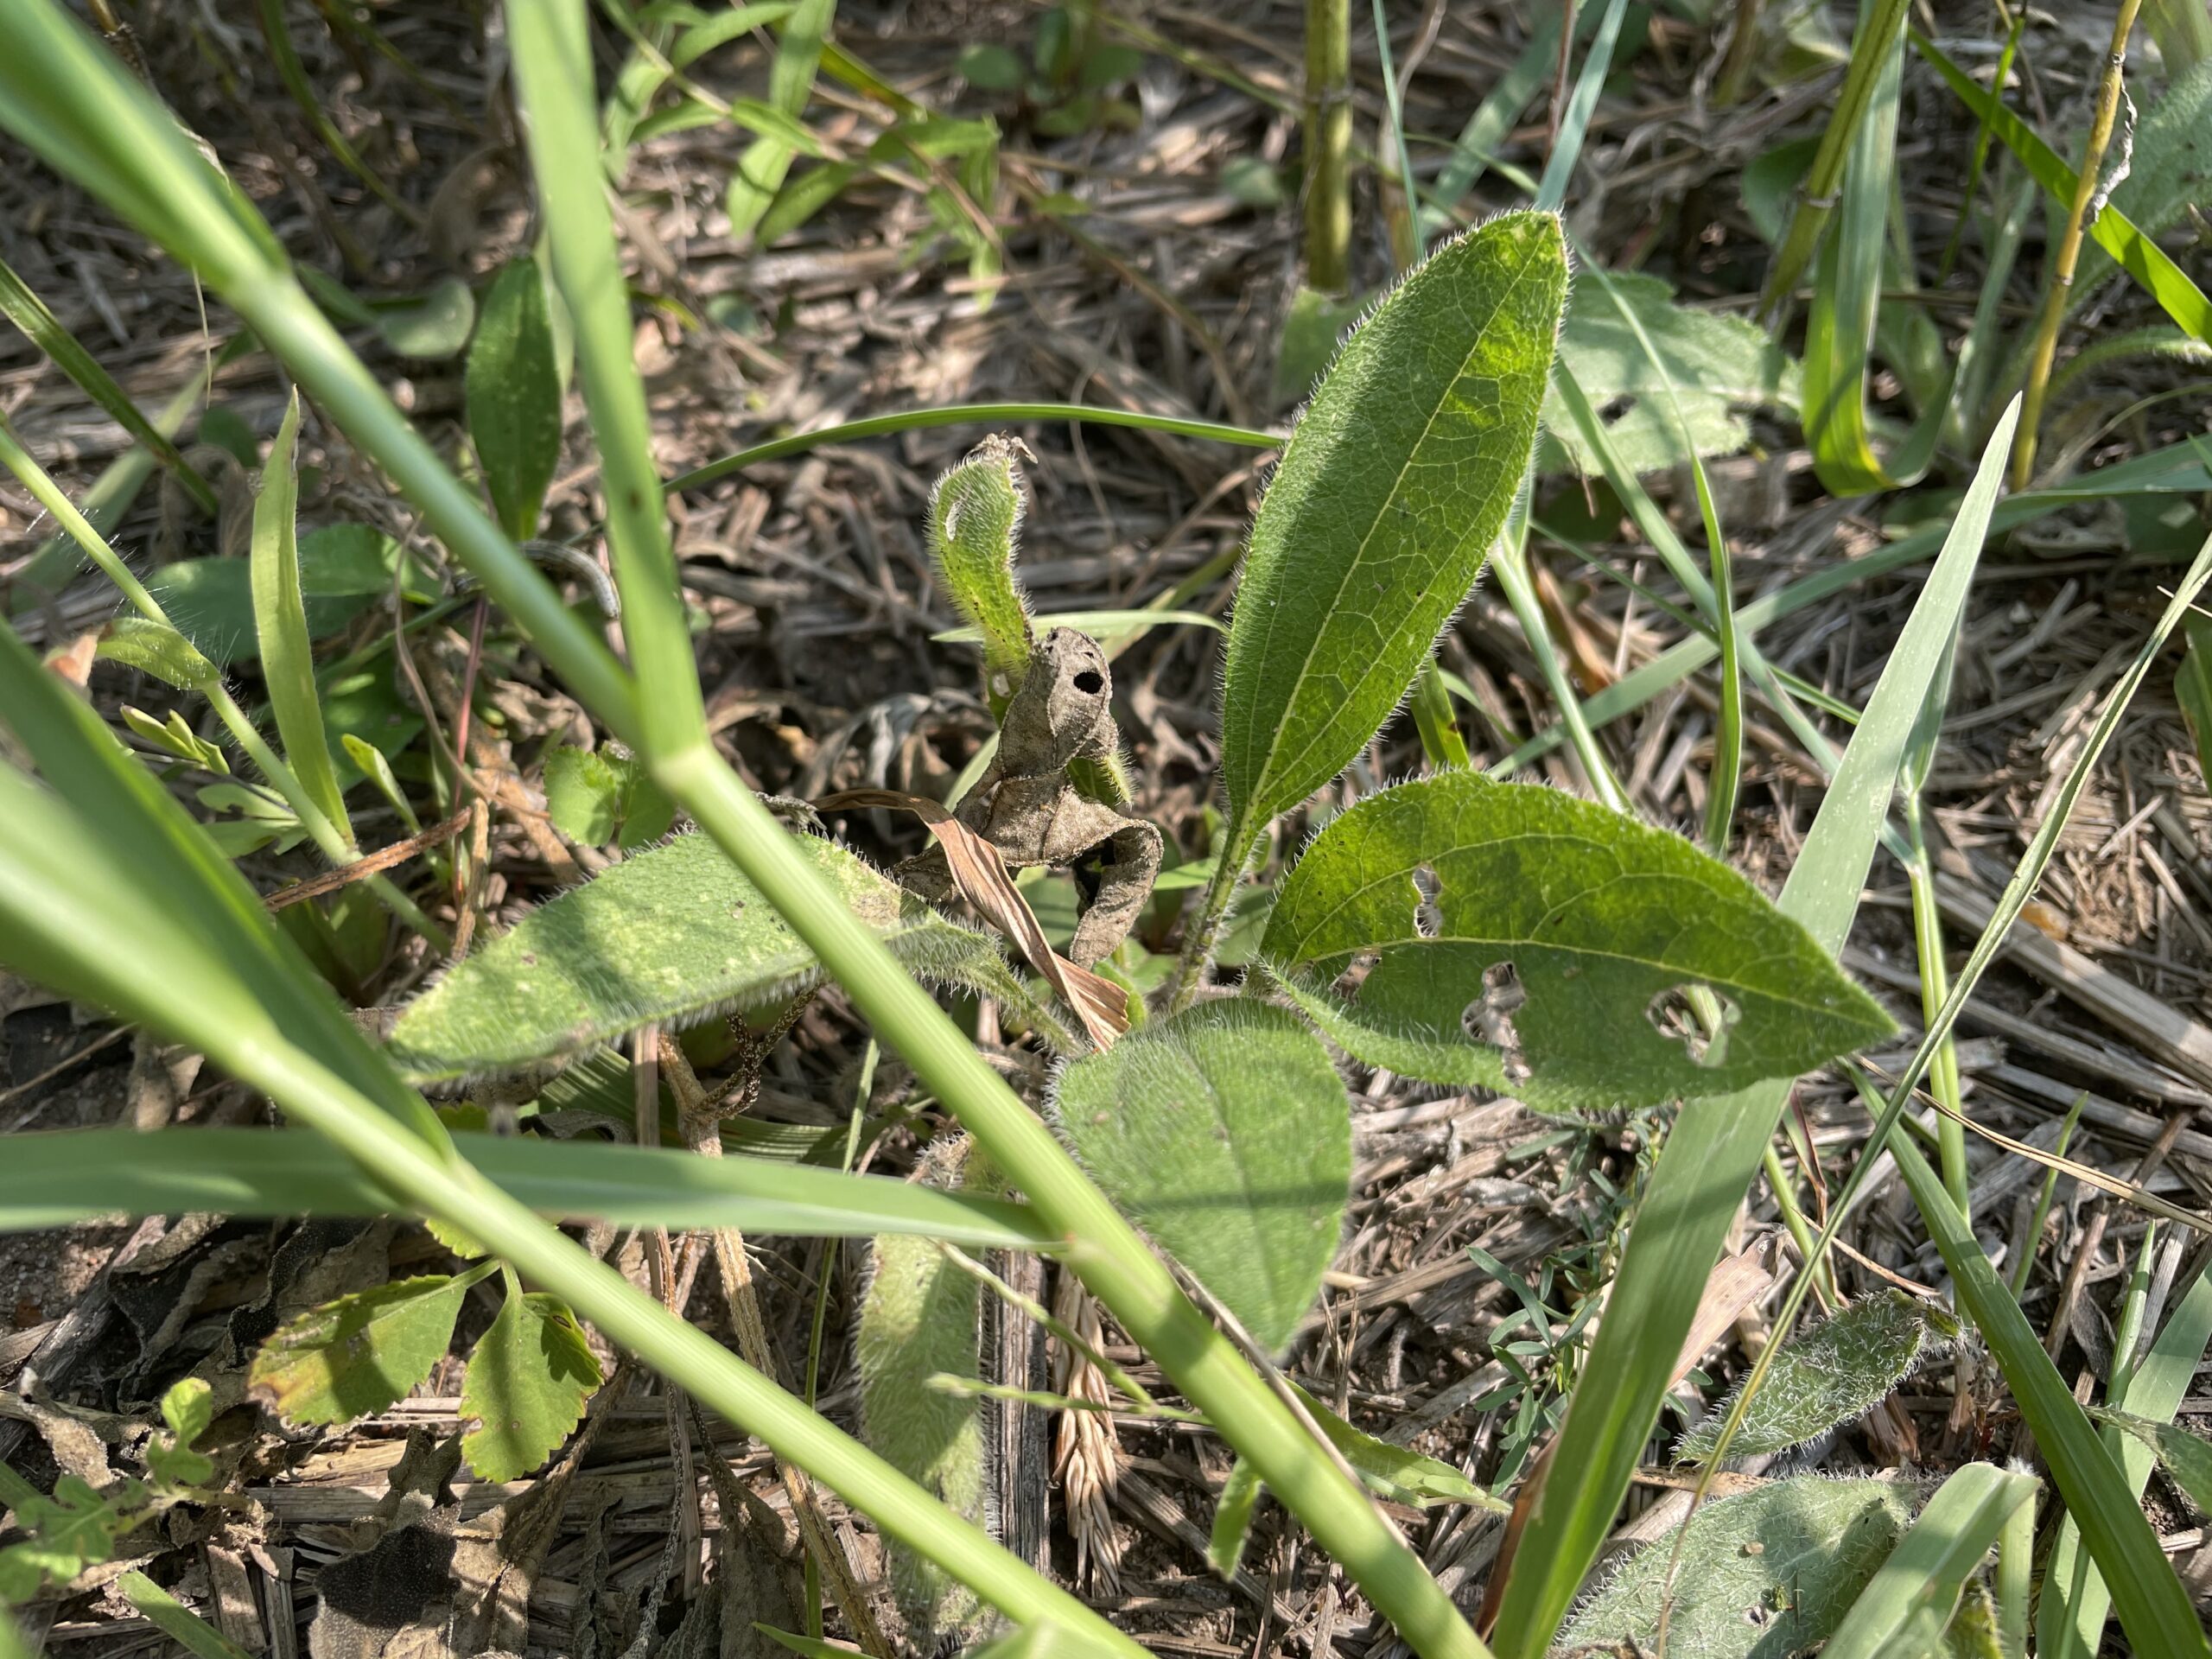
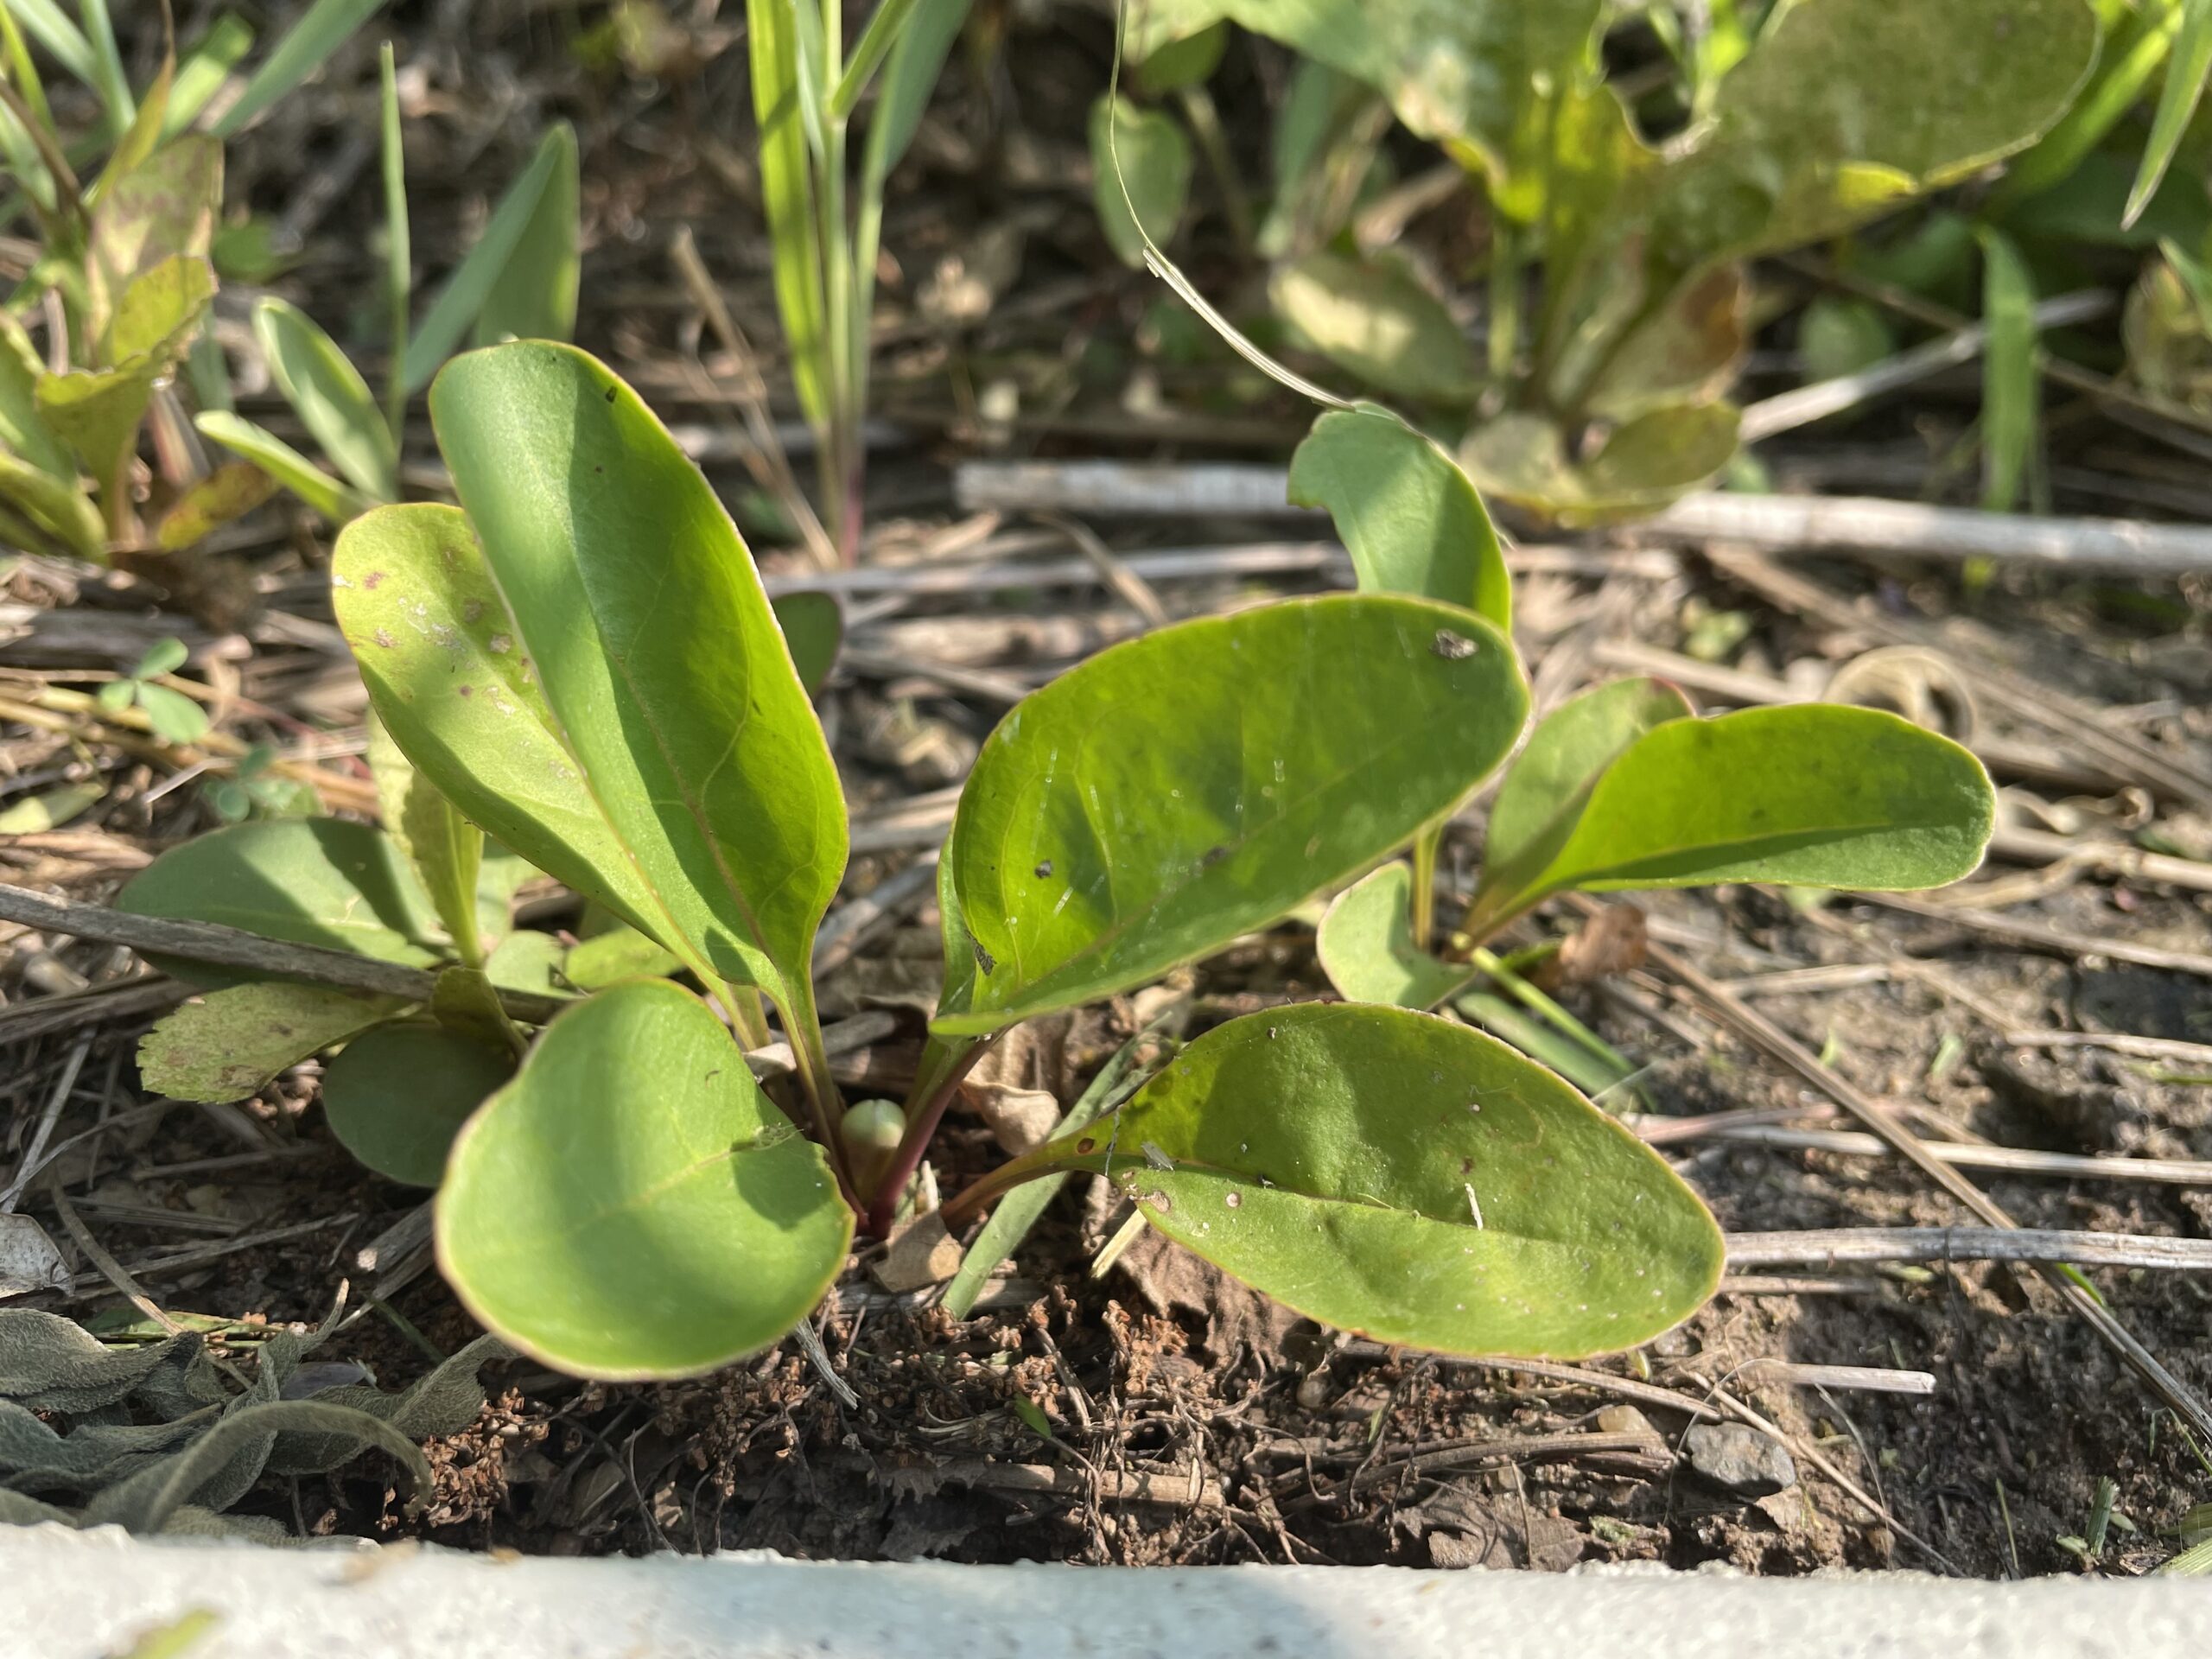
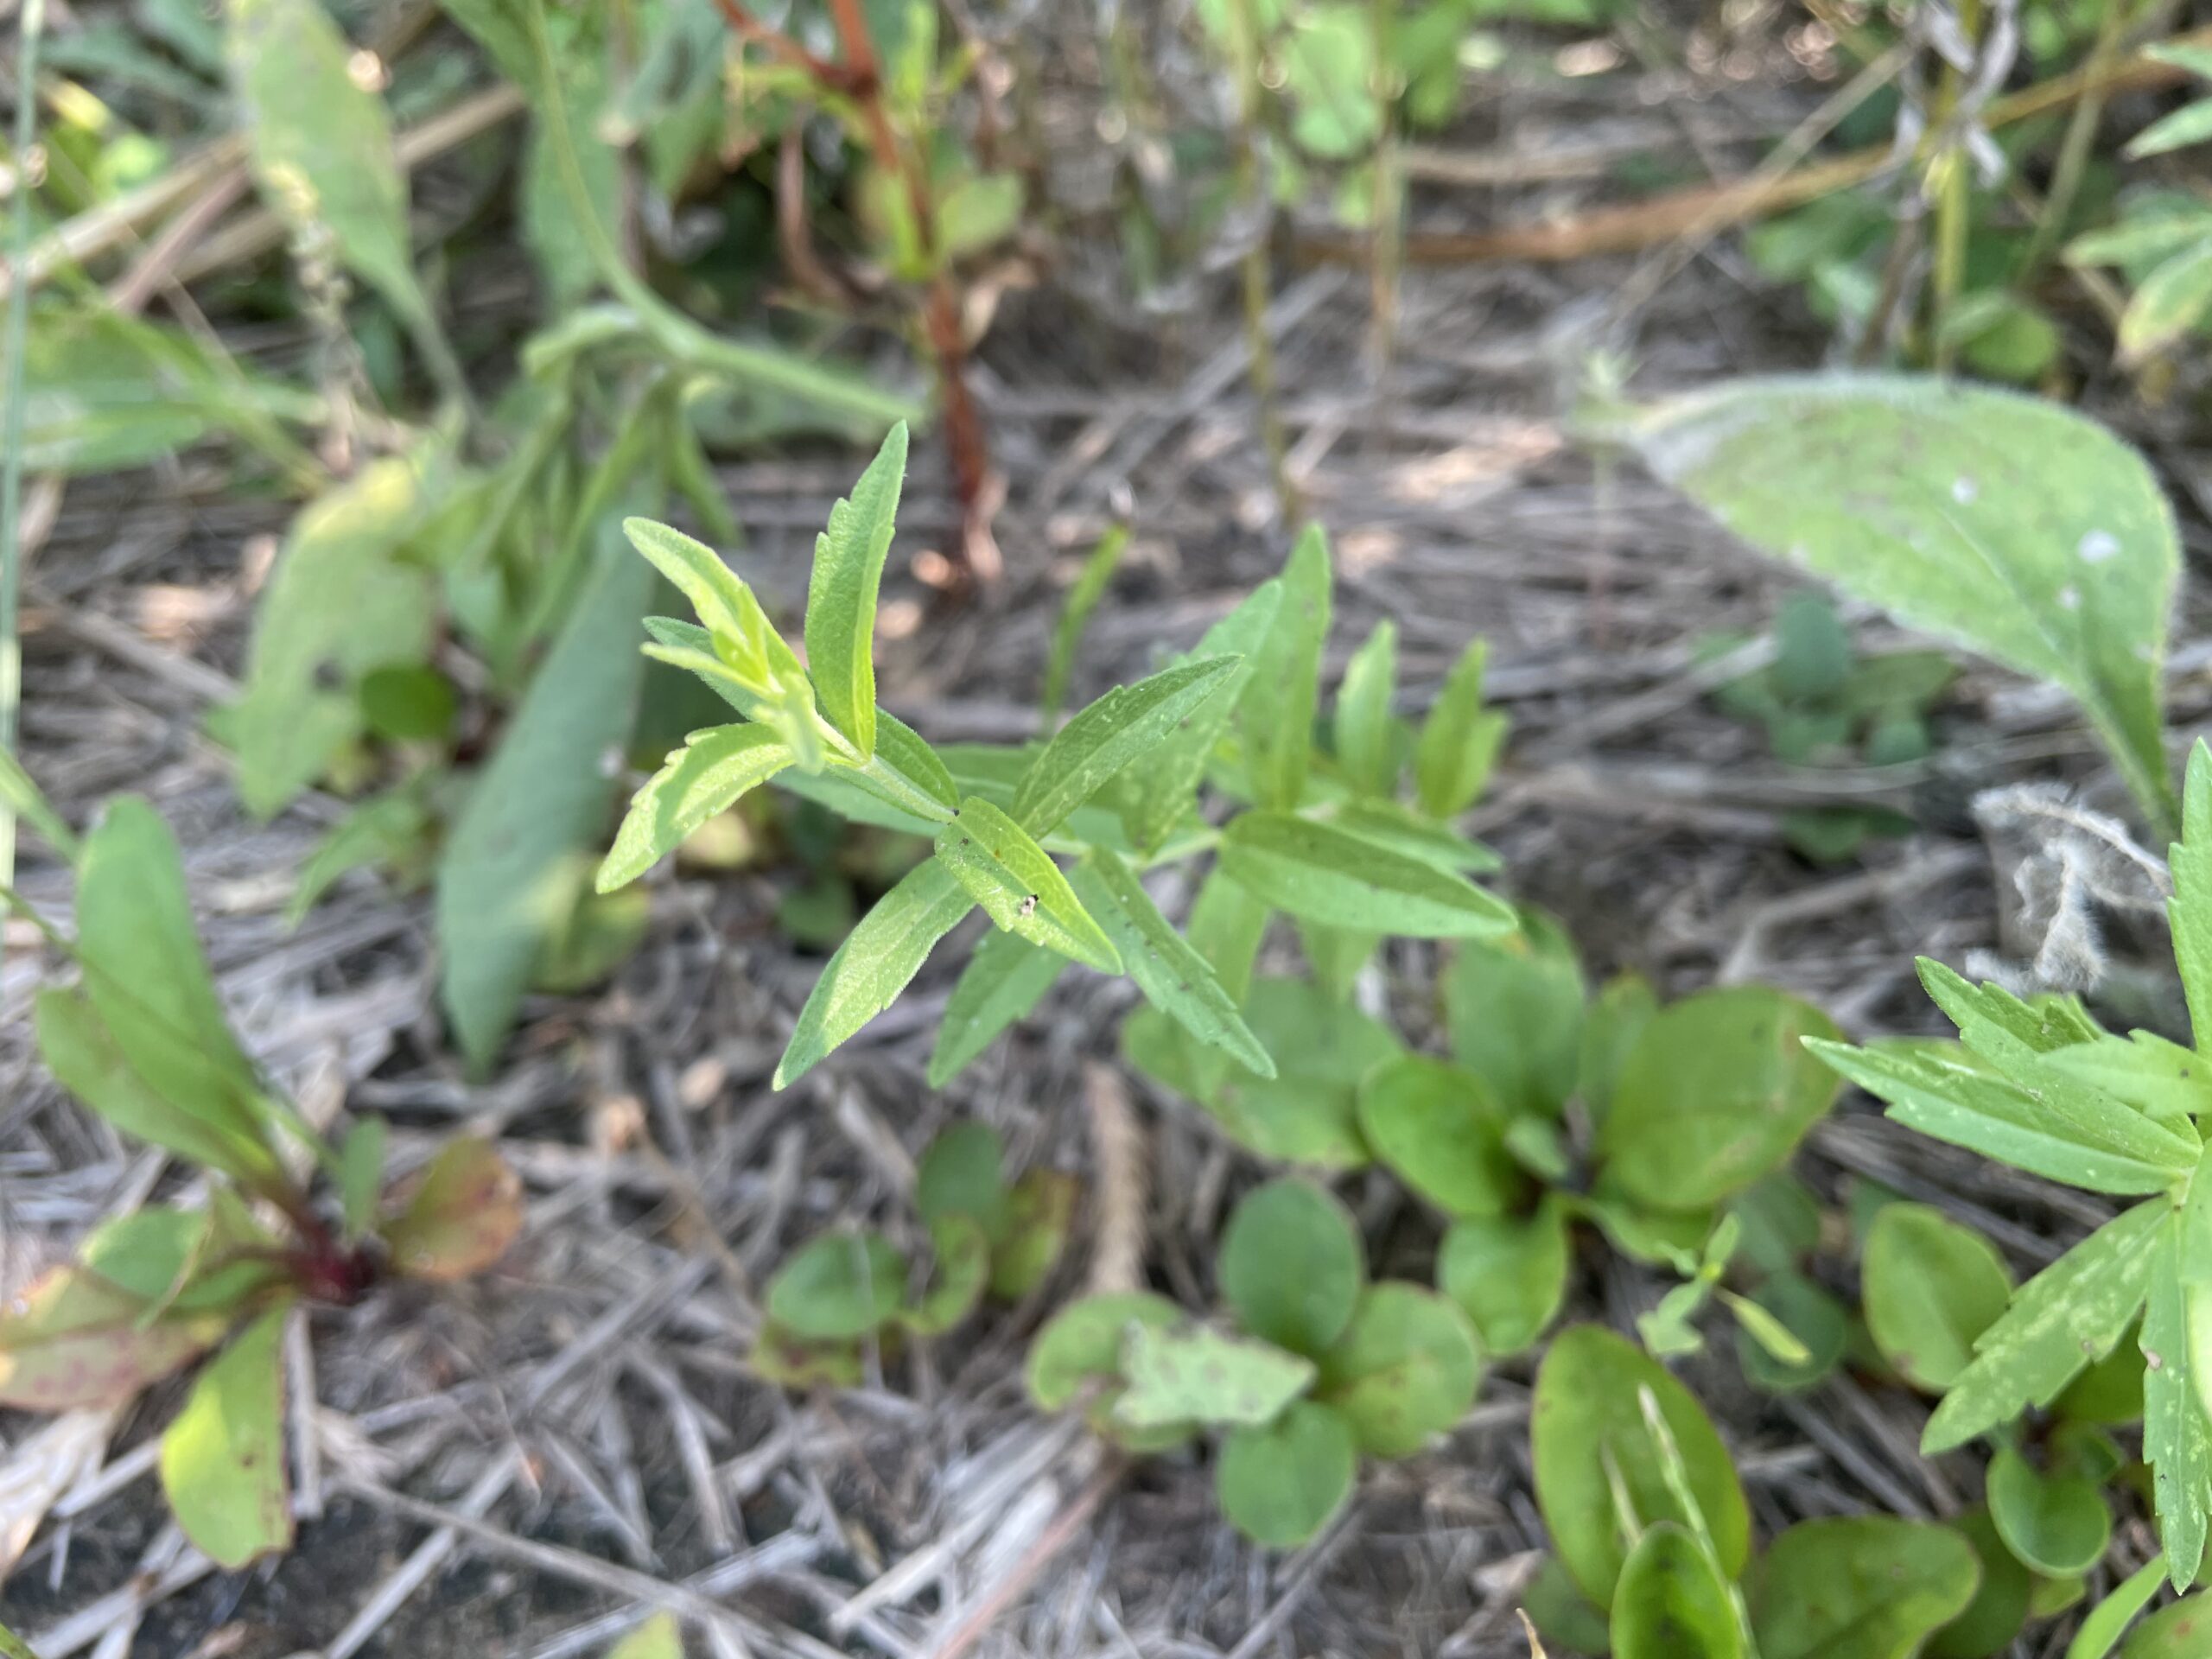
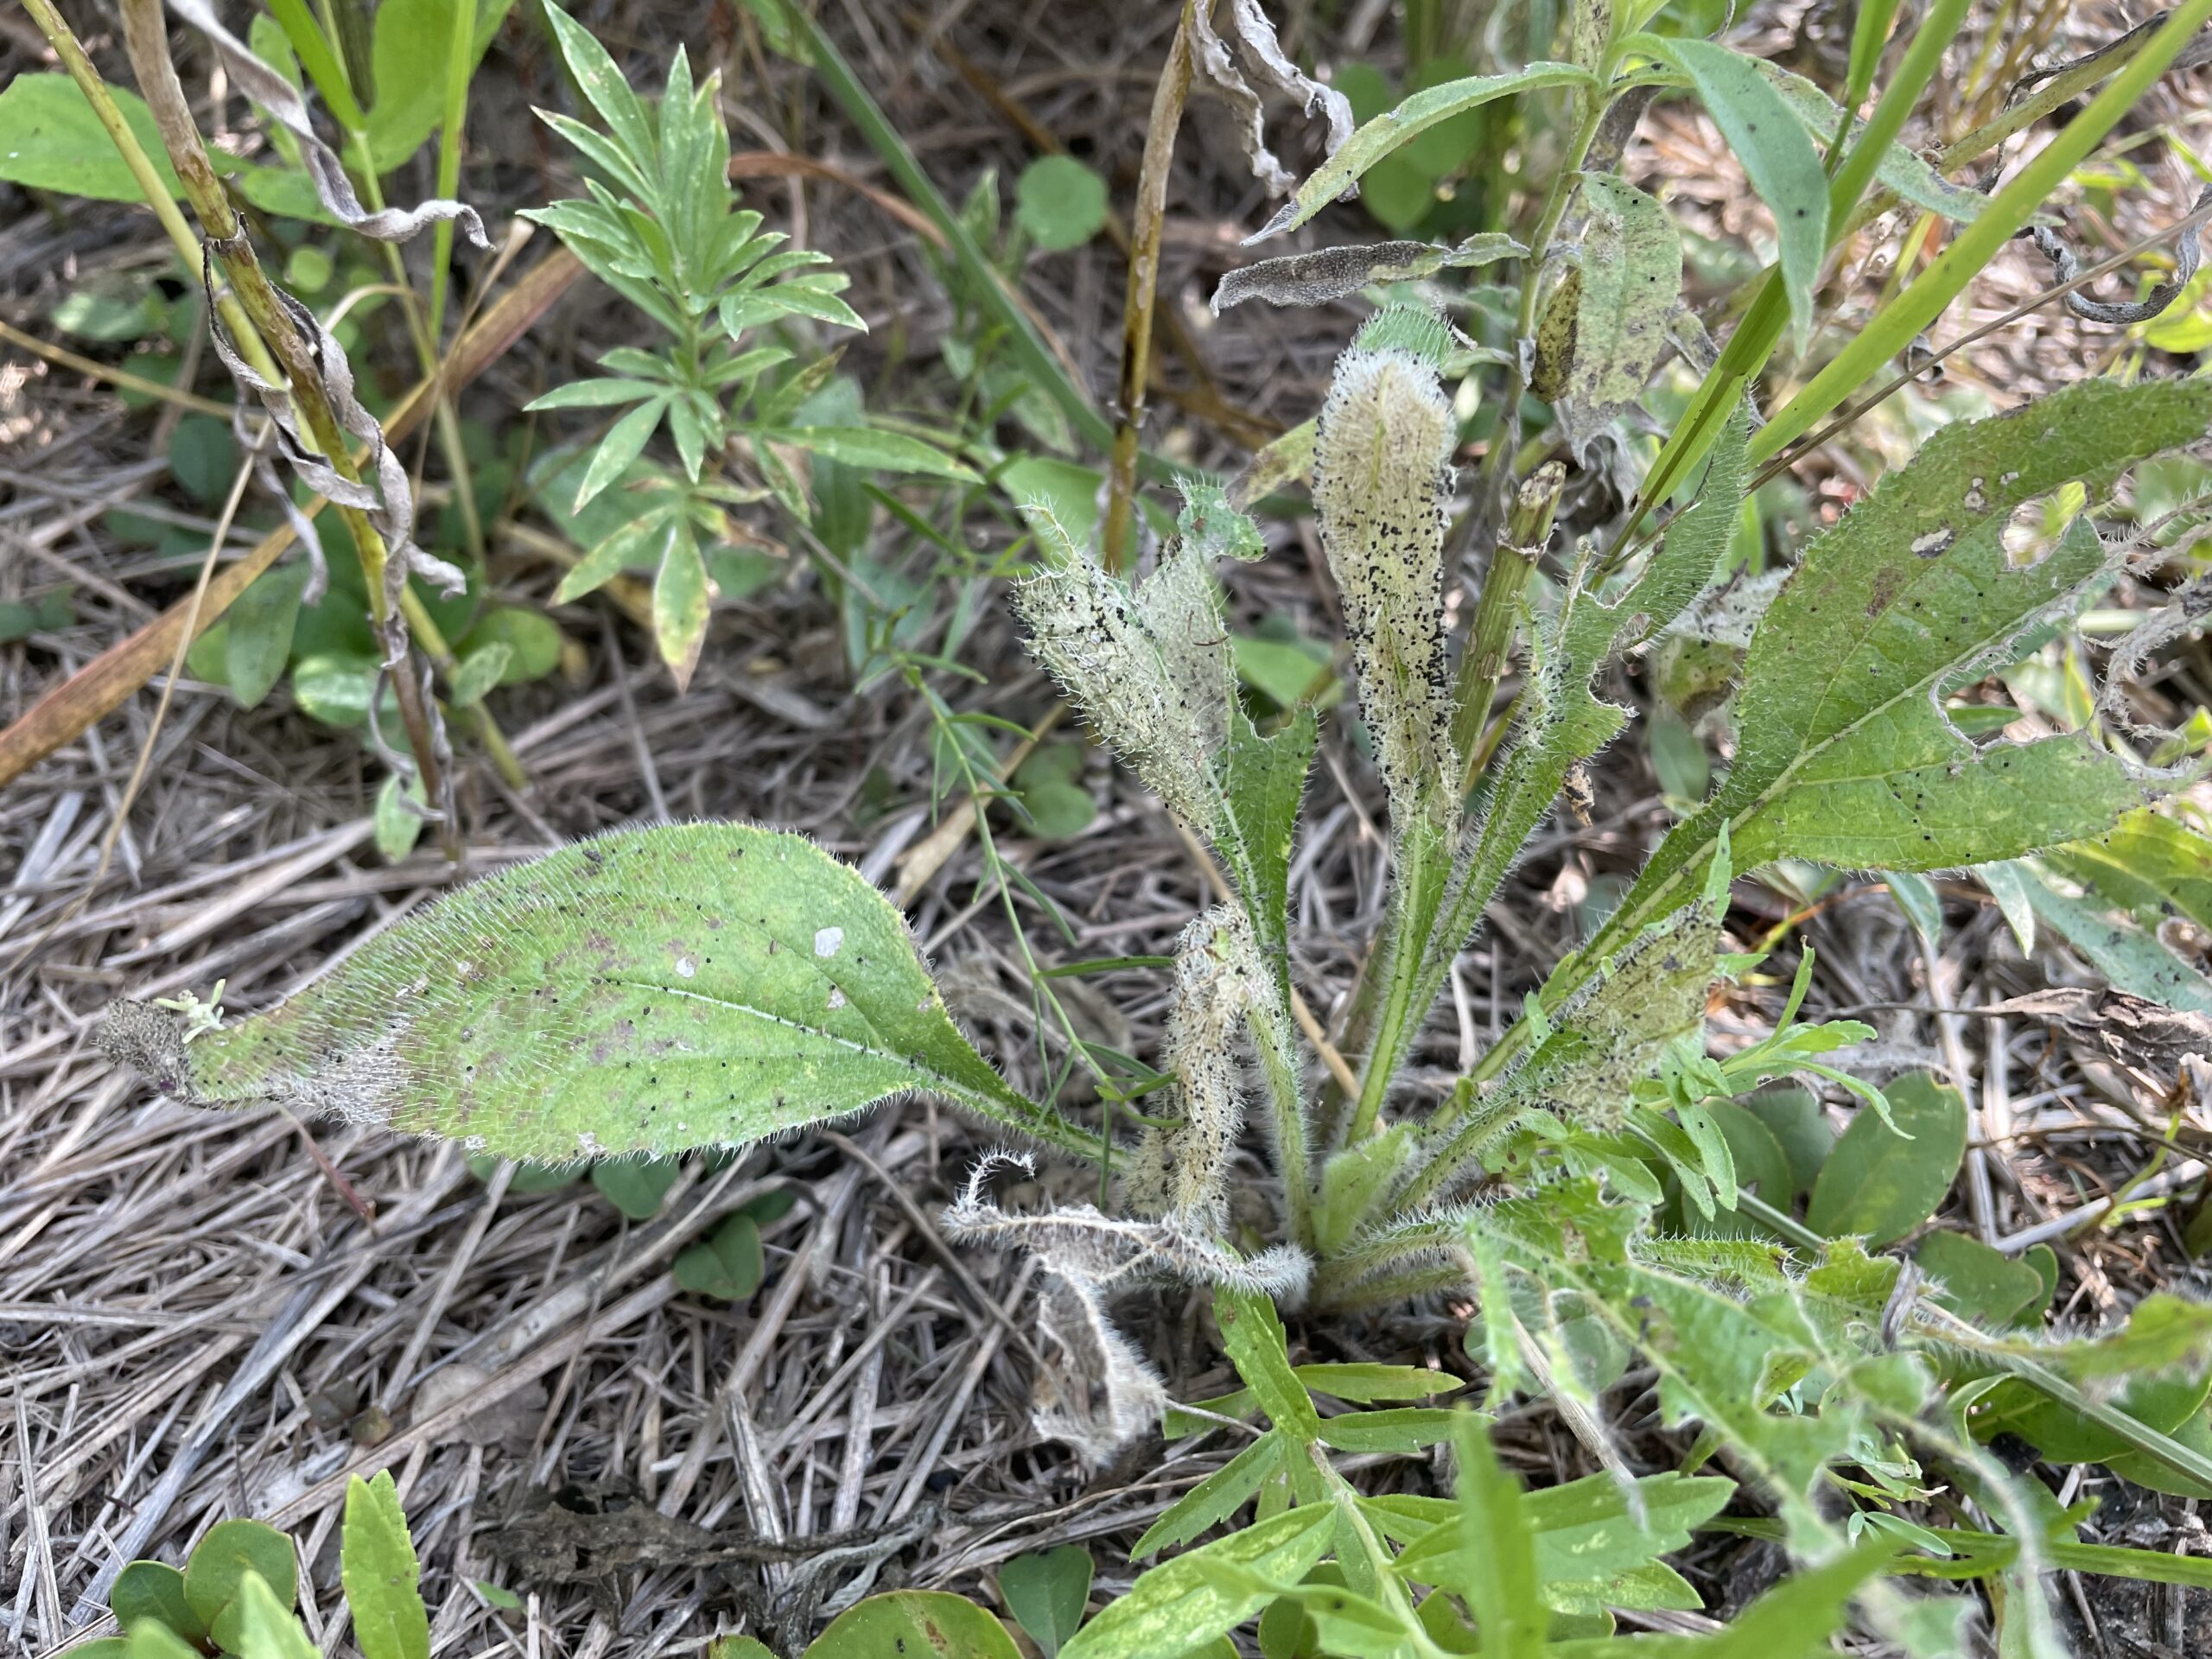
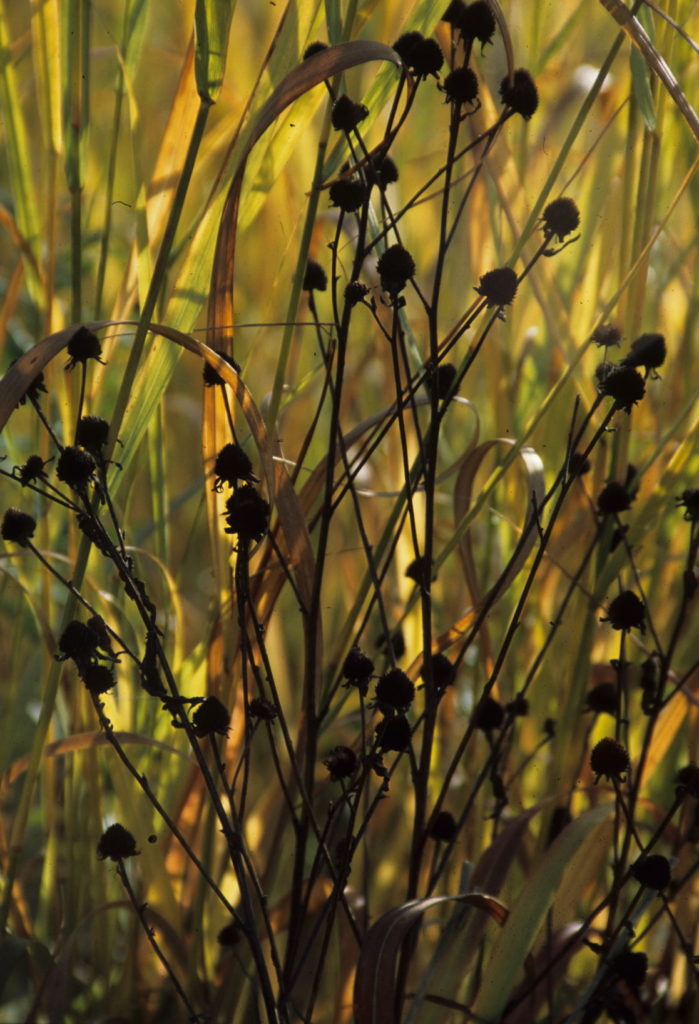
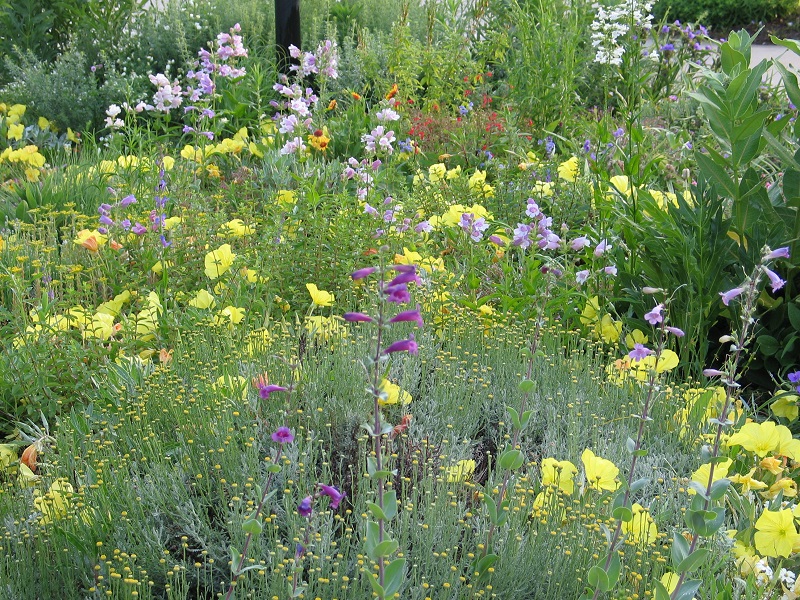
The project began in 2019. Ron and Kathy had a sketch of their idea: large curving beds around the front and side yard, with stone lined paths through the gardens. The couple communicated their goals and vision for the space, and Scott Vogt drew a design for the front yard and foundation plantings. He helped the couple with plant selection, number of plants and proper spacing, and timing the bloom for all year interest. The beds include favorites like Penstemon, Echinacea, and ornamental native grasses, as well as some unique showstoppers like Rudbeckia maxima. When it’s in bloom, “people stop and ask about it,” said Ron of the tall statement plant. He remarked how often he sees birds perching on it. He has been known to give out the seed heads of this plant, and many others, to passersby who are interested in trying them in their own garden.
Installation and Maintenance
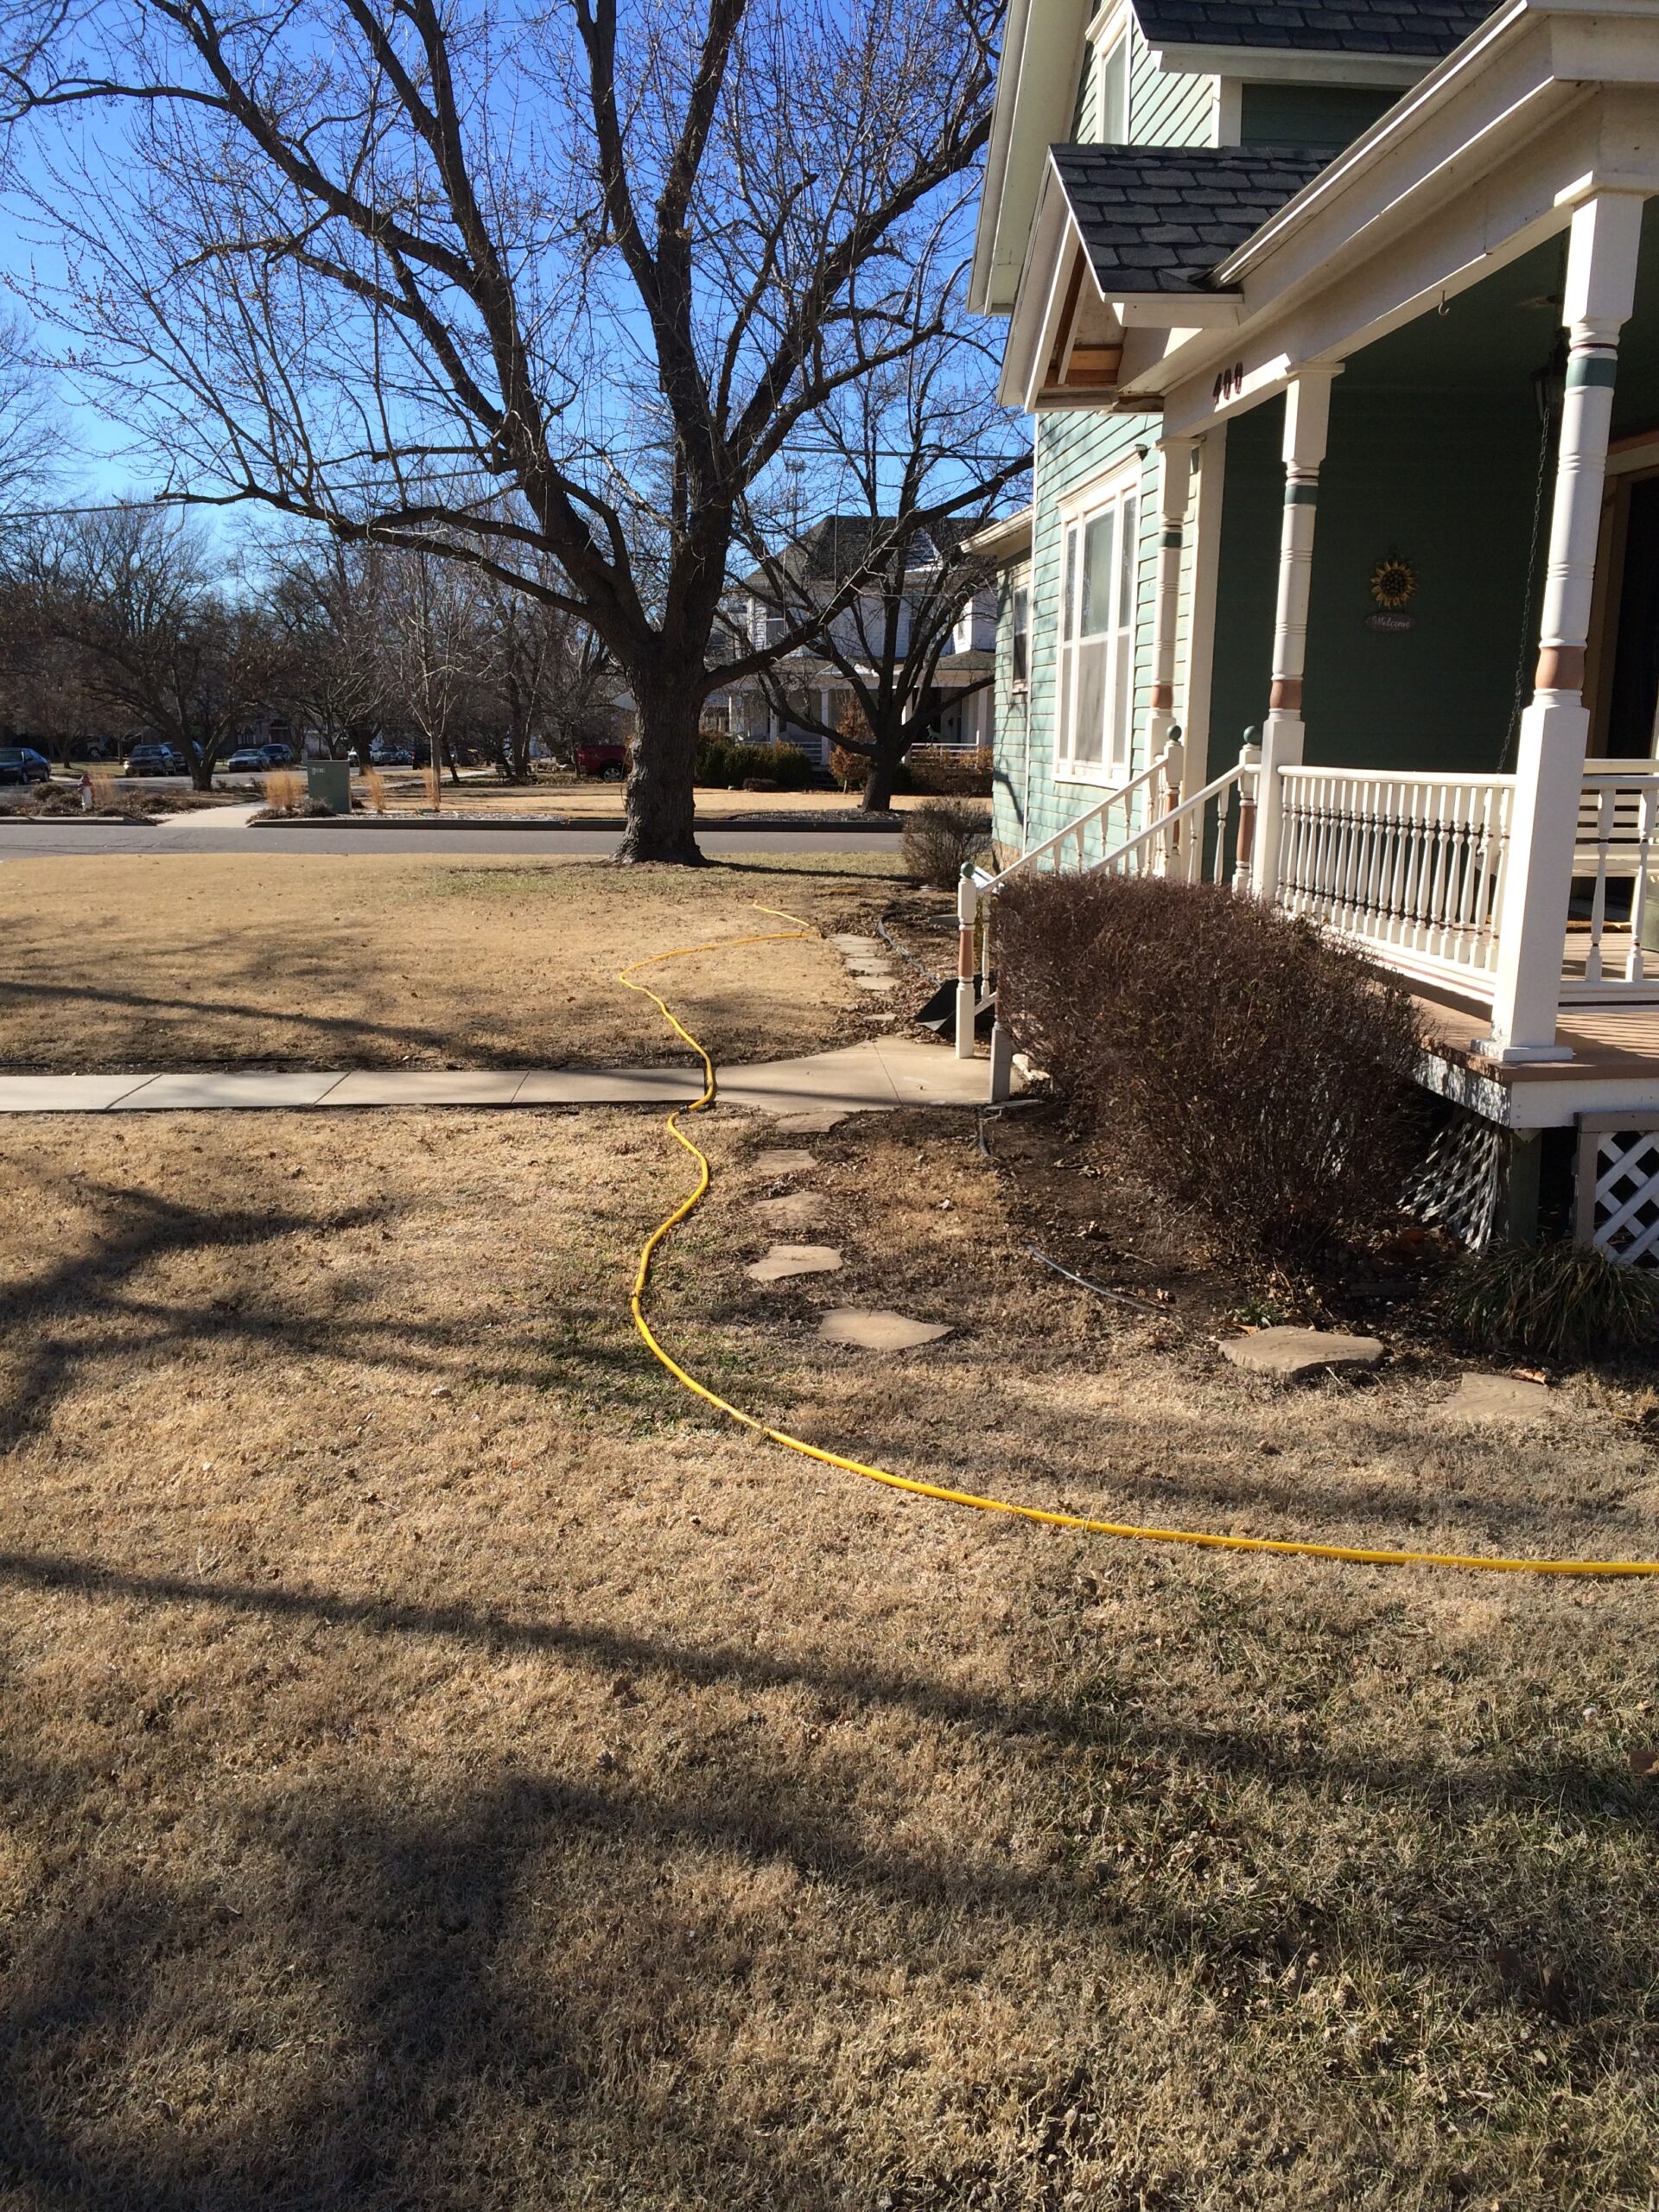
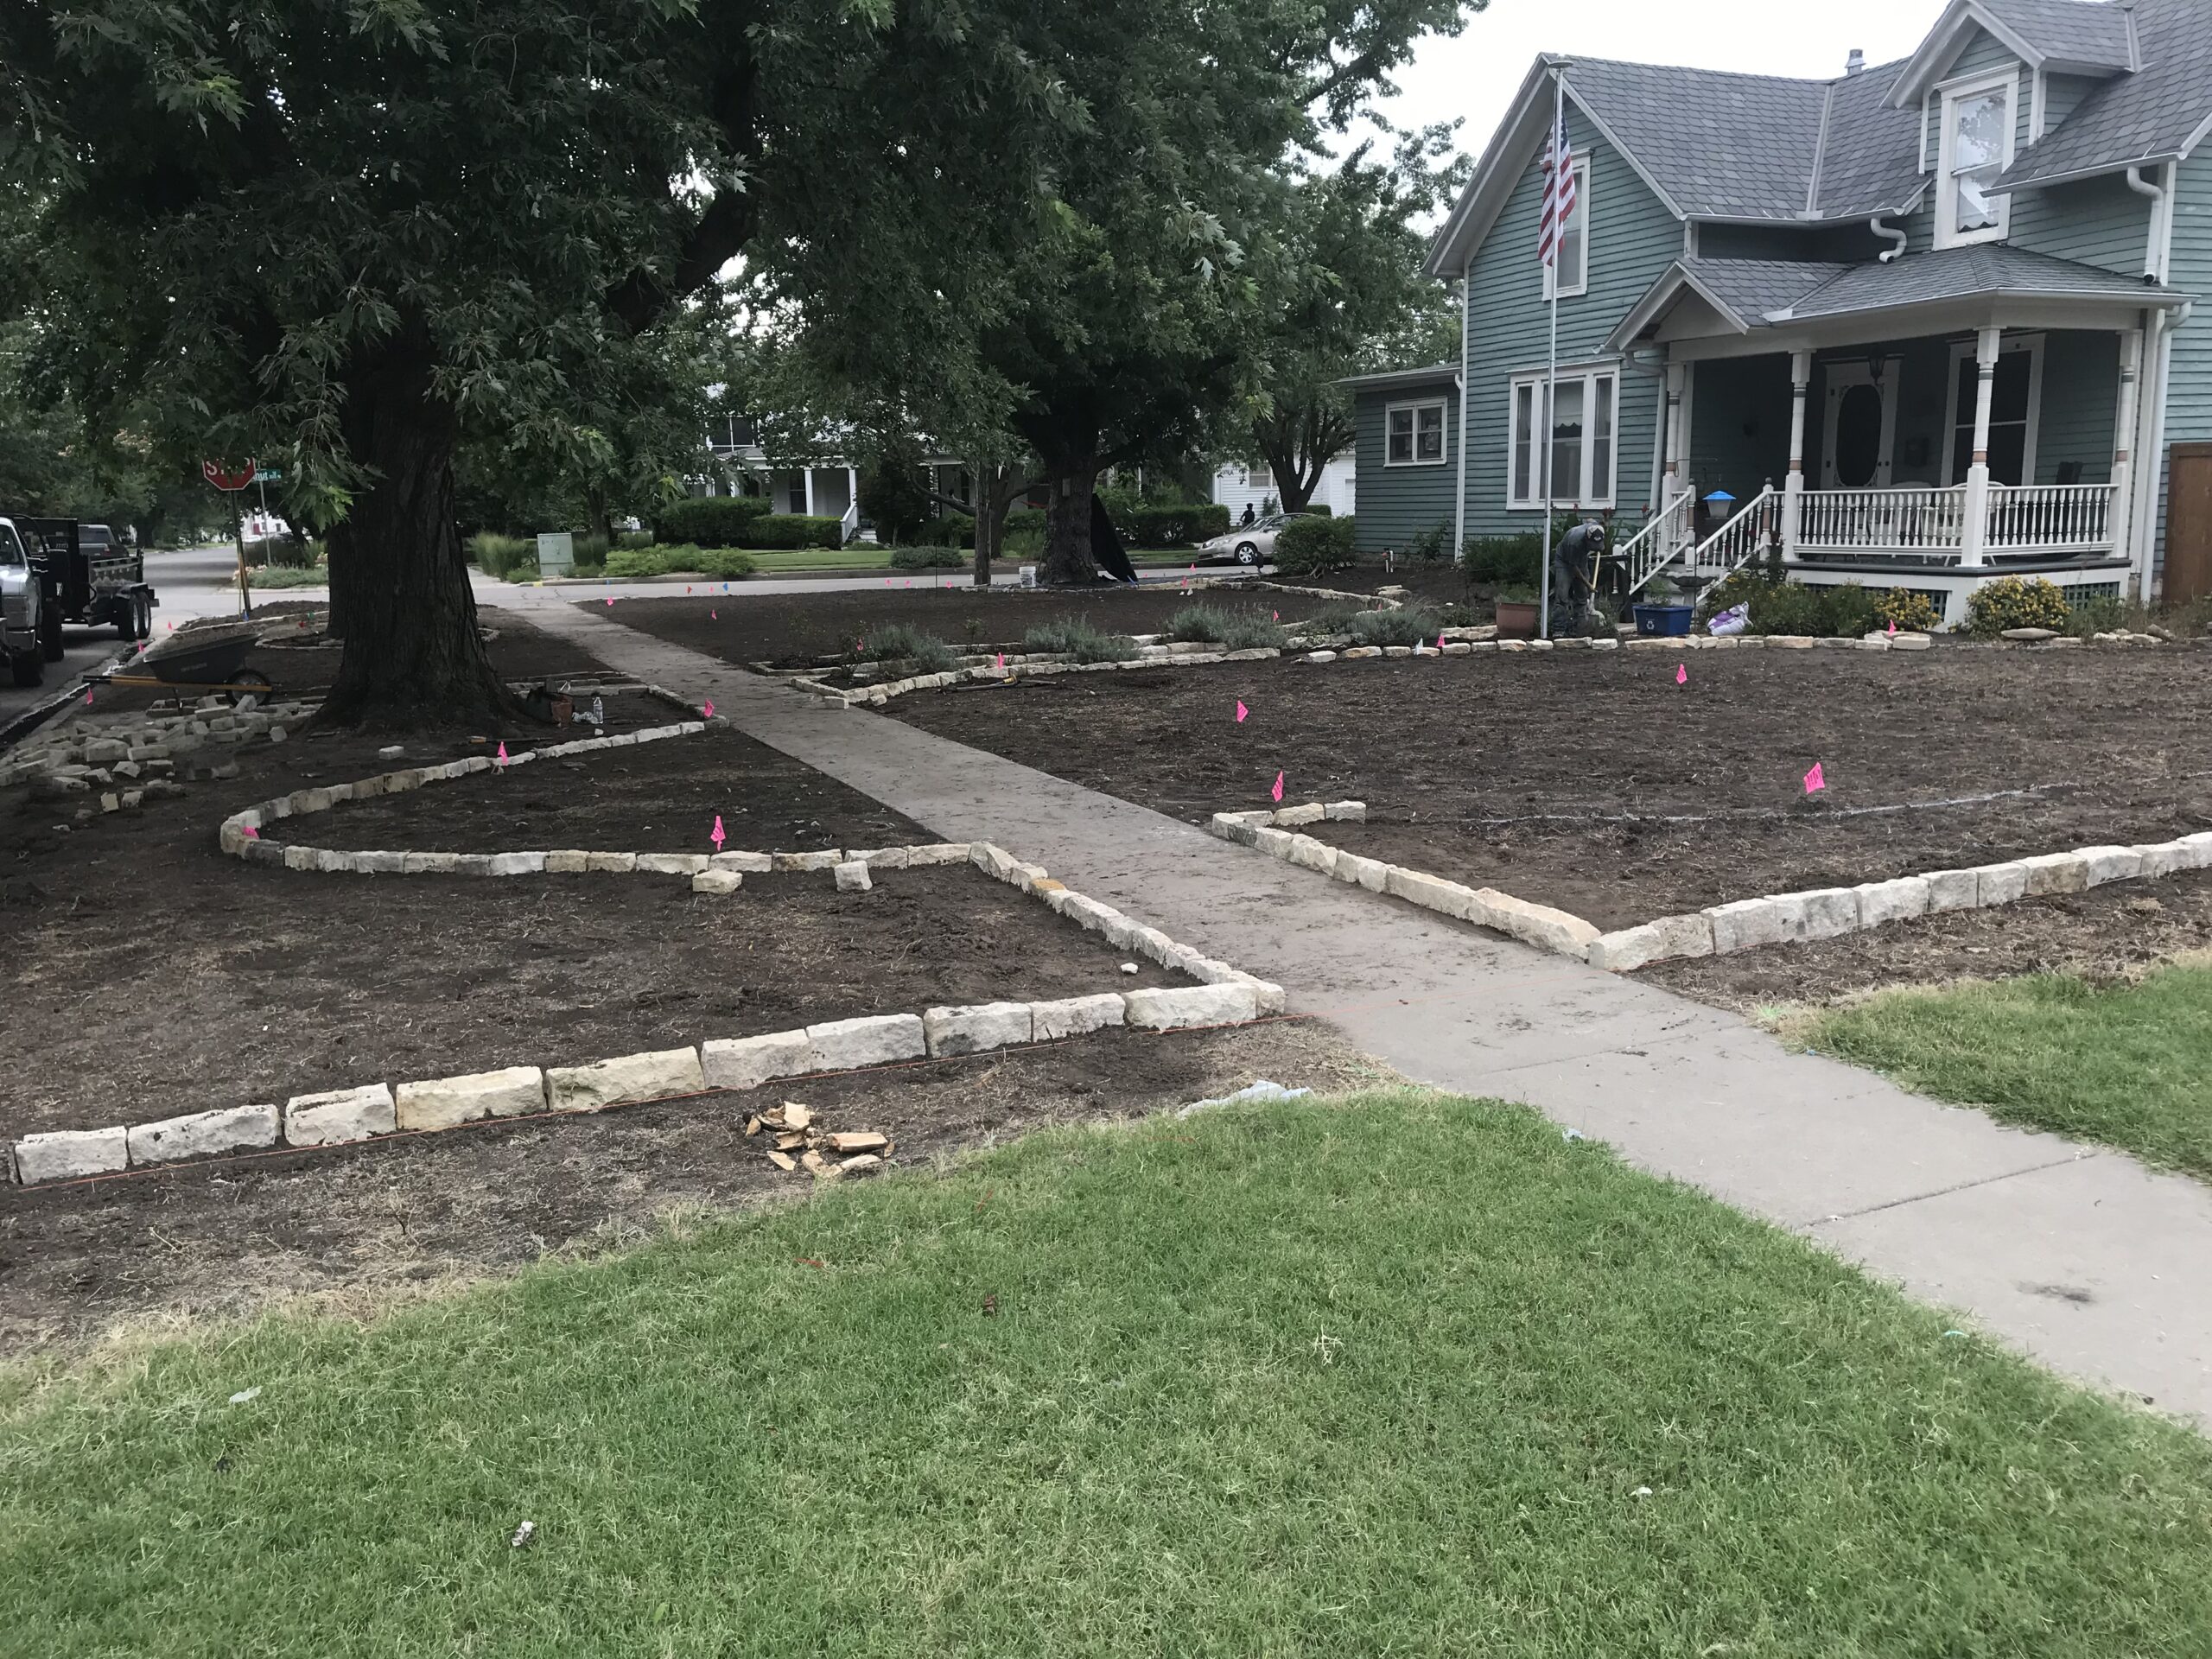


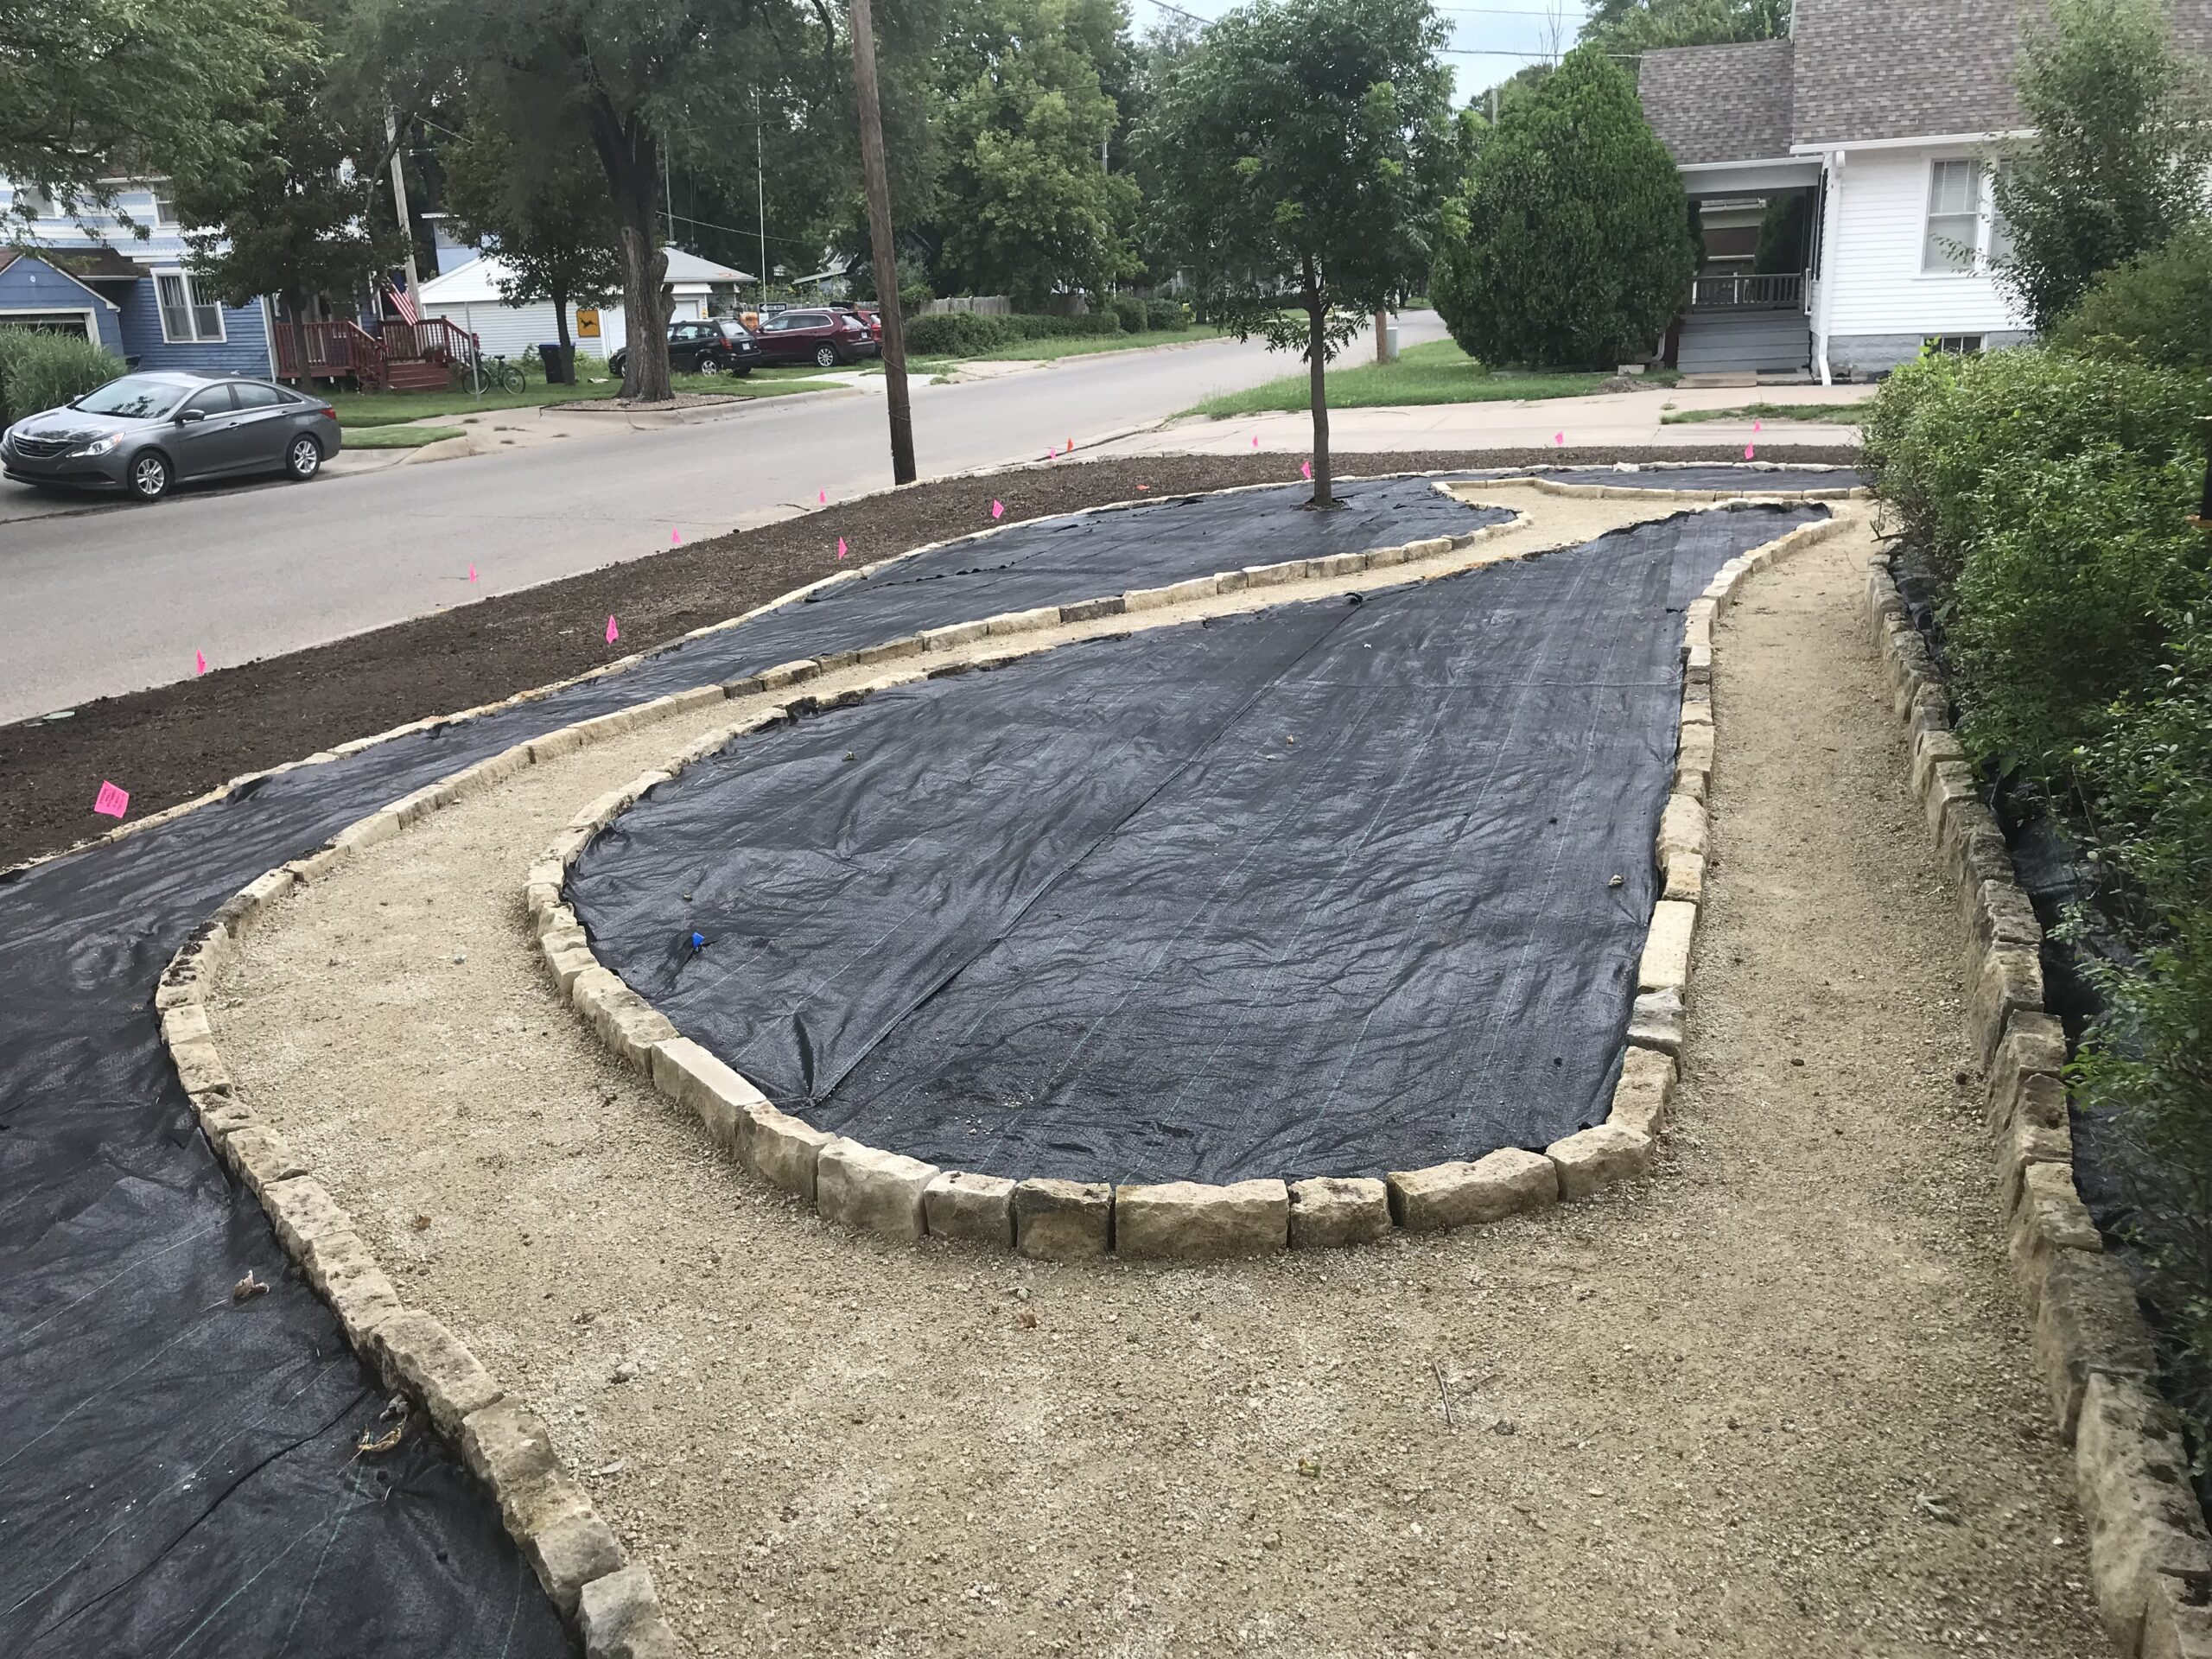
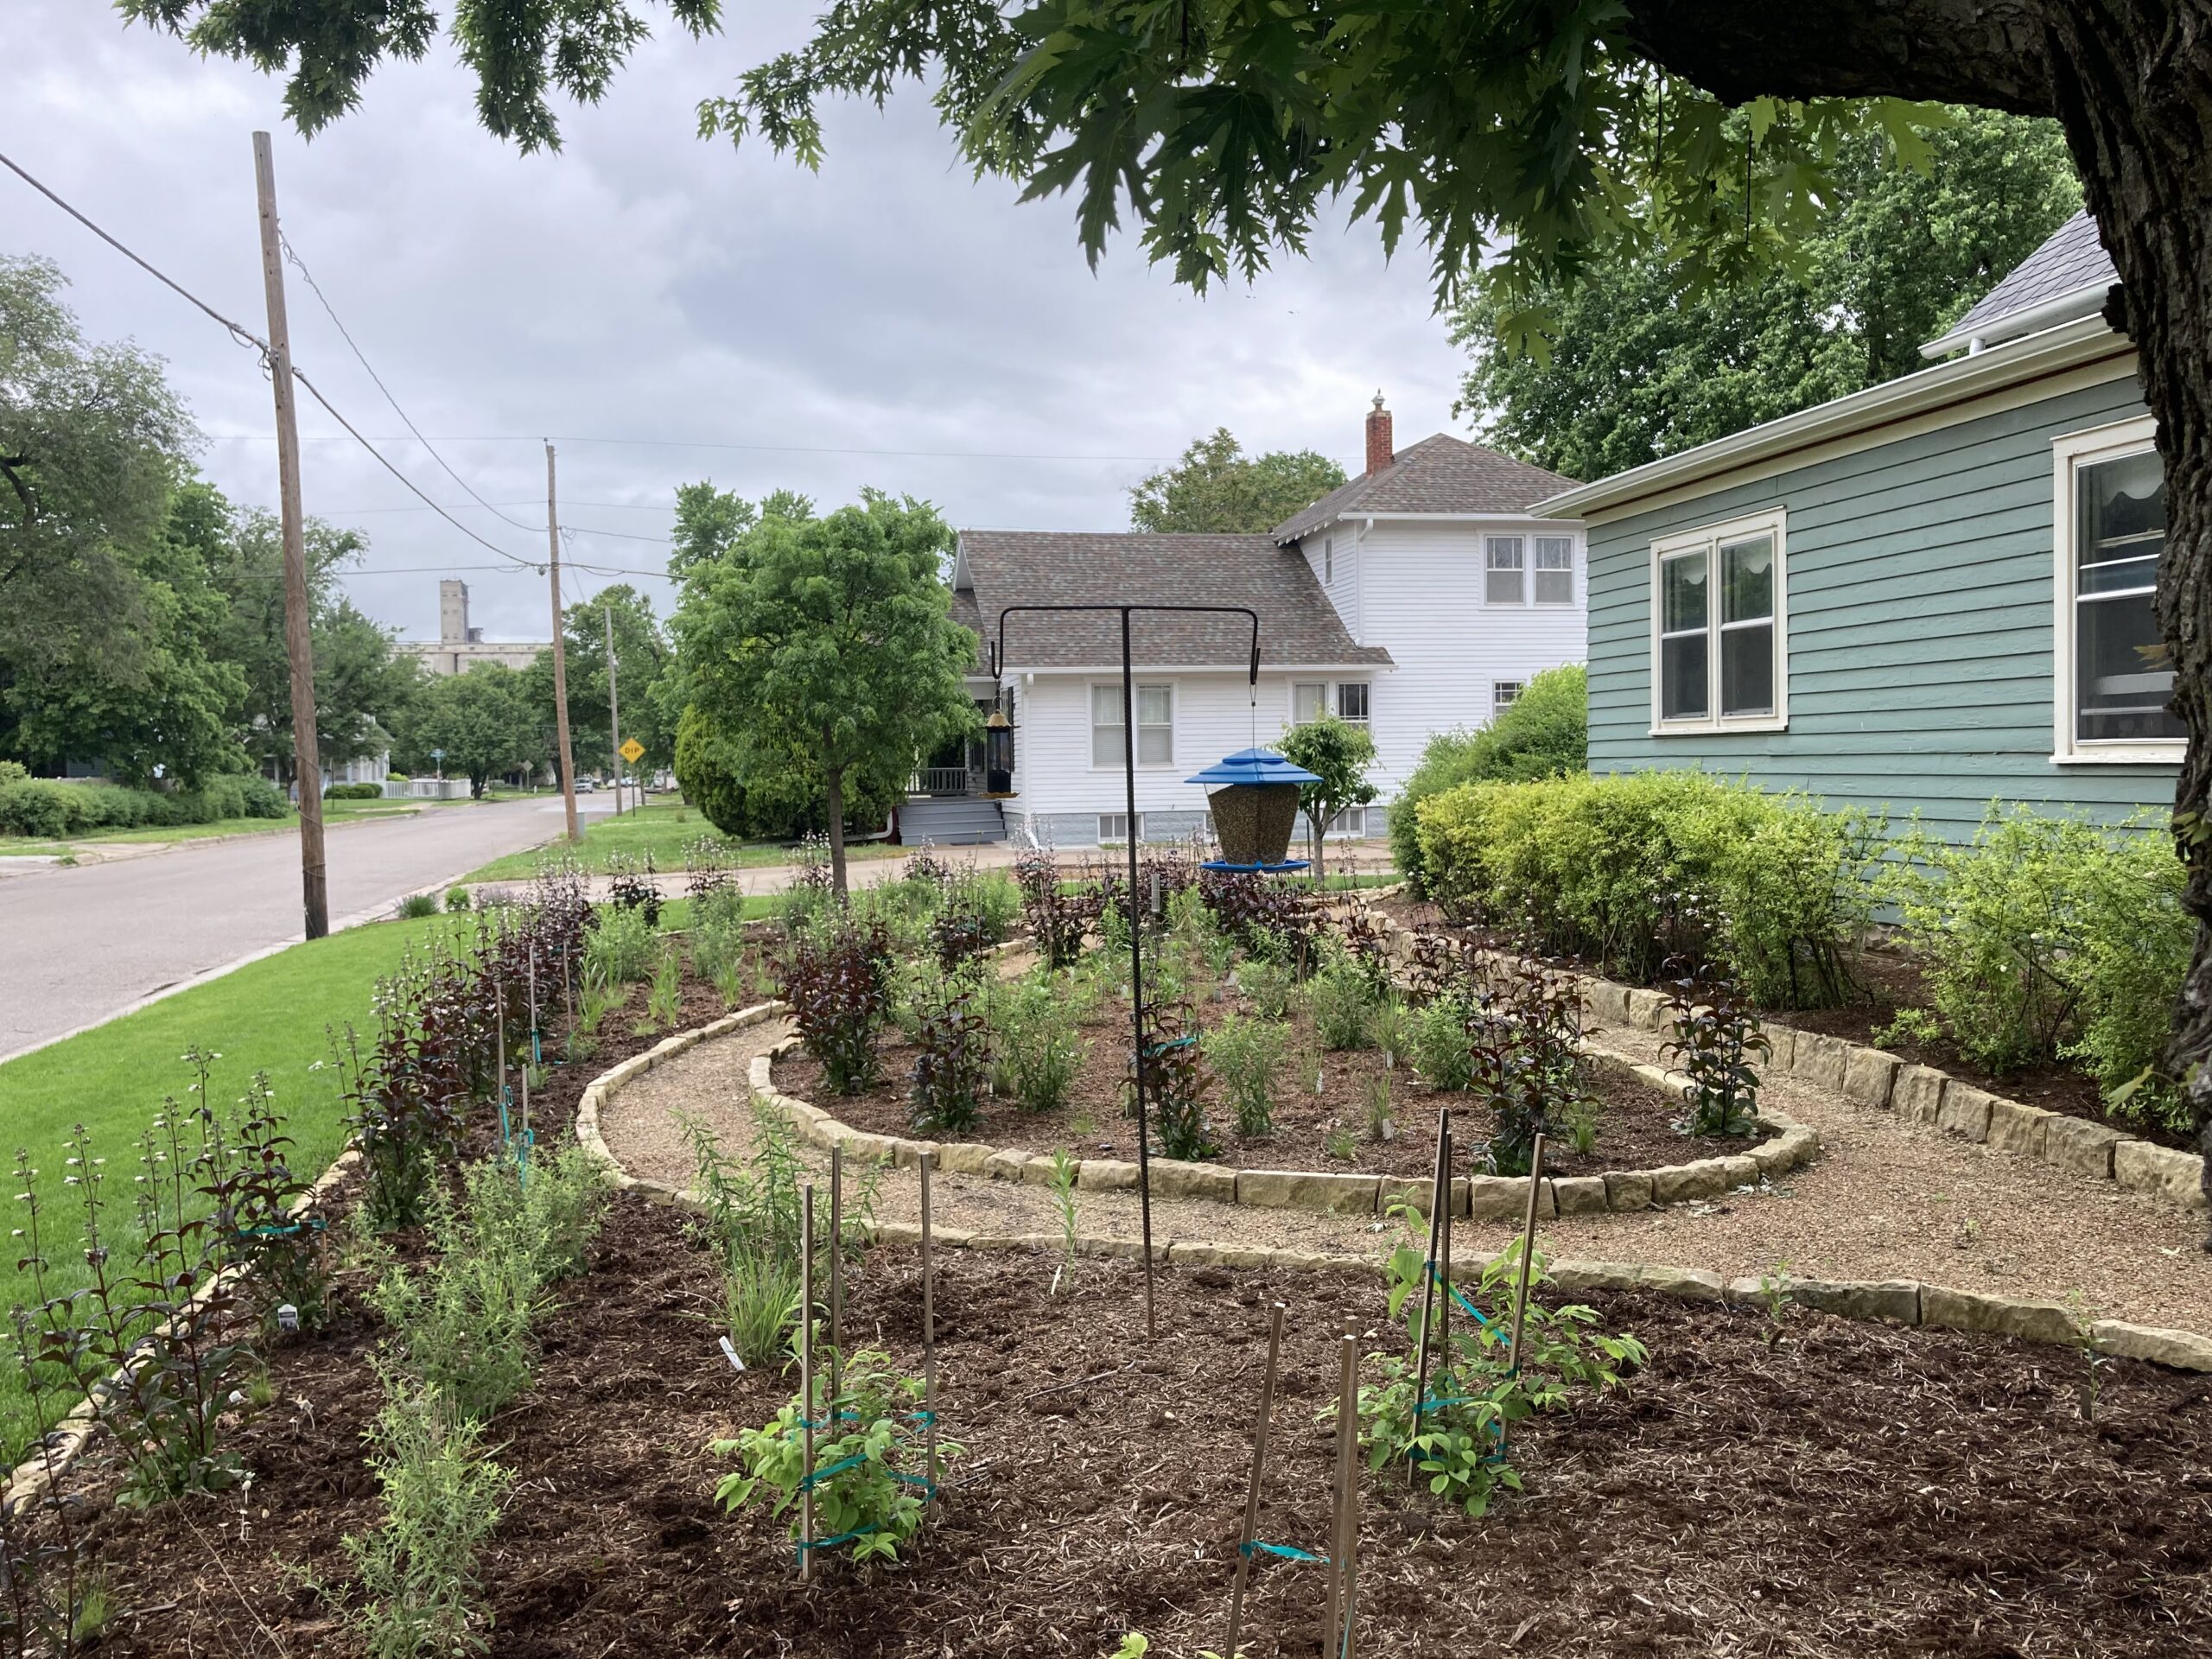
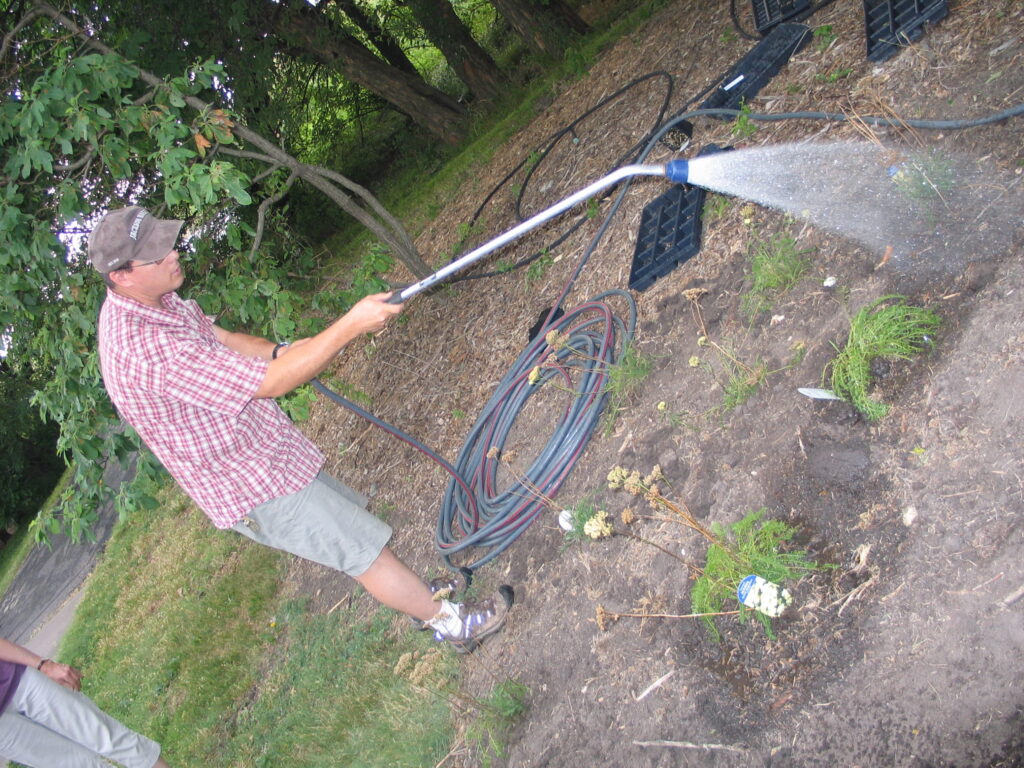
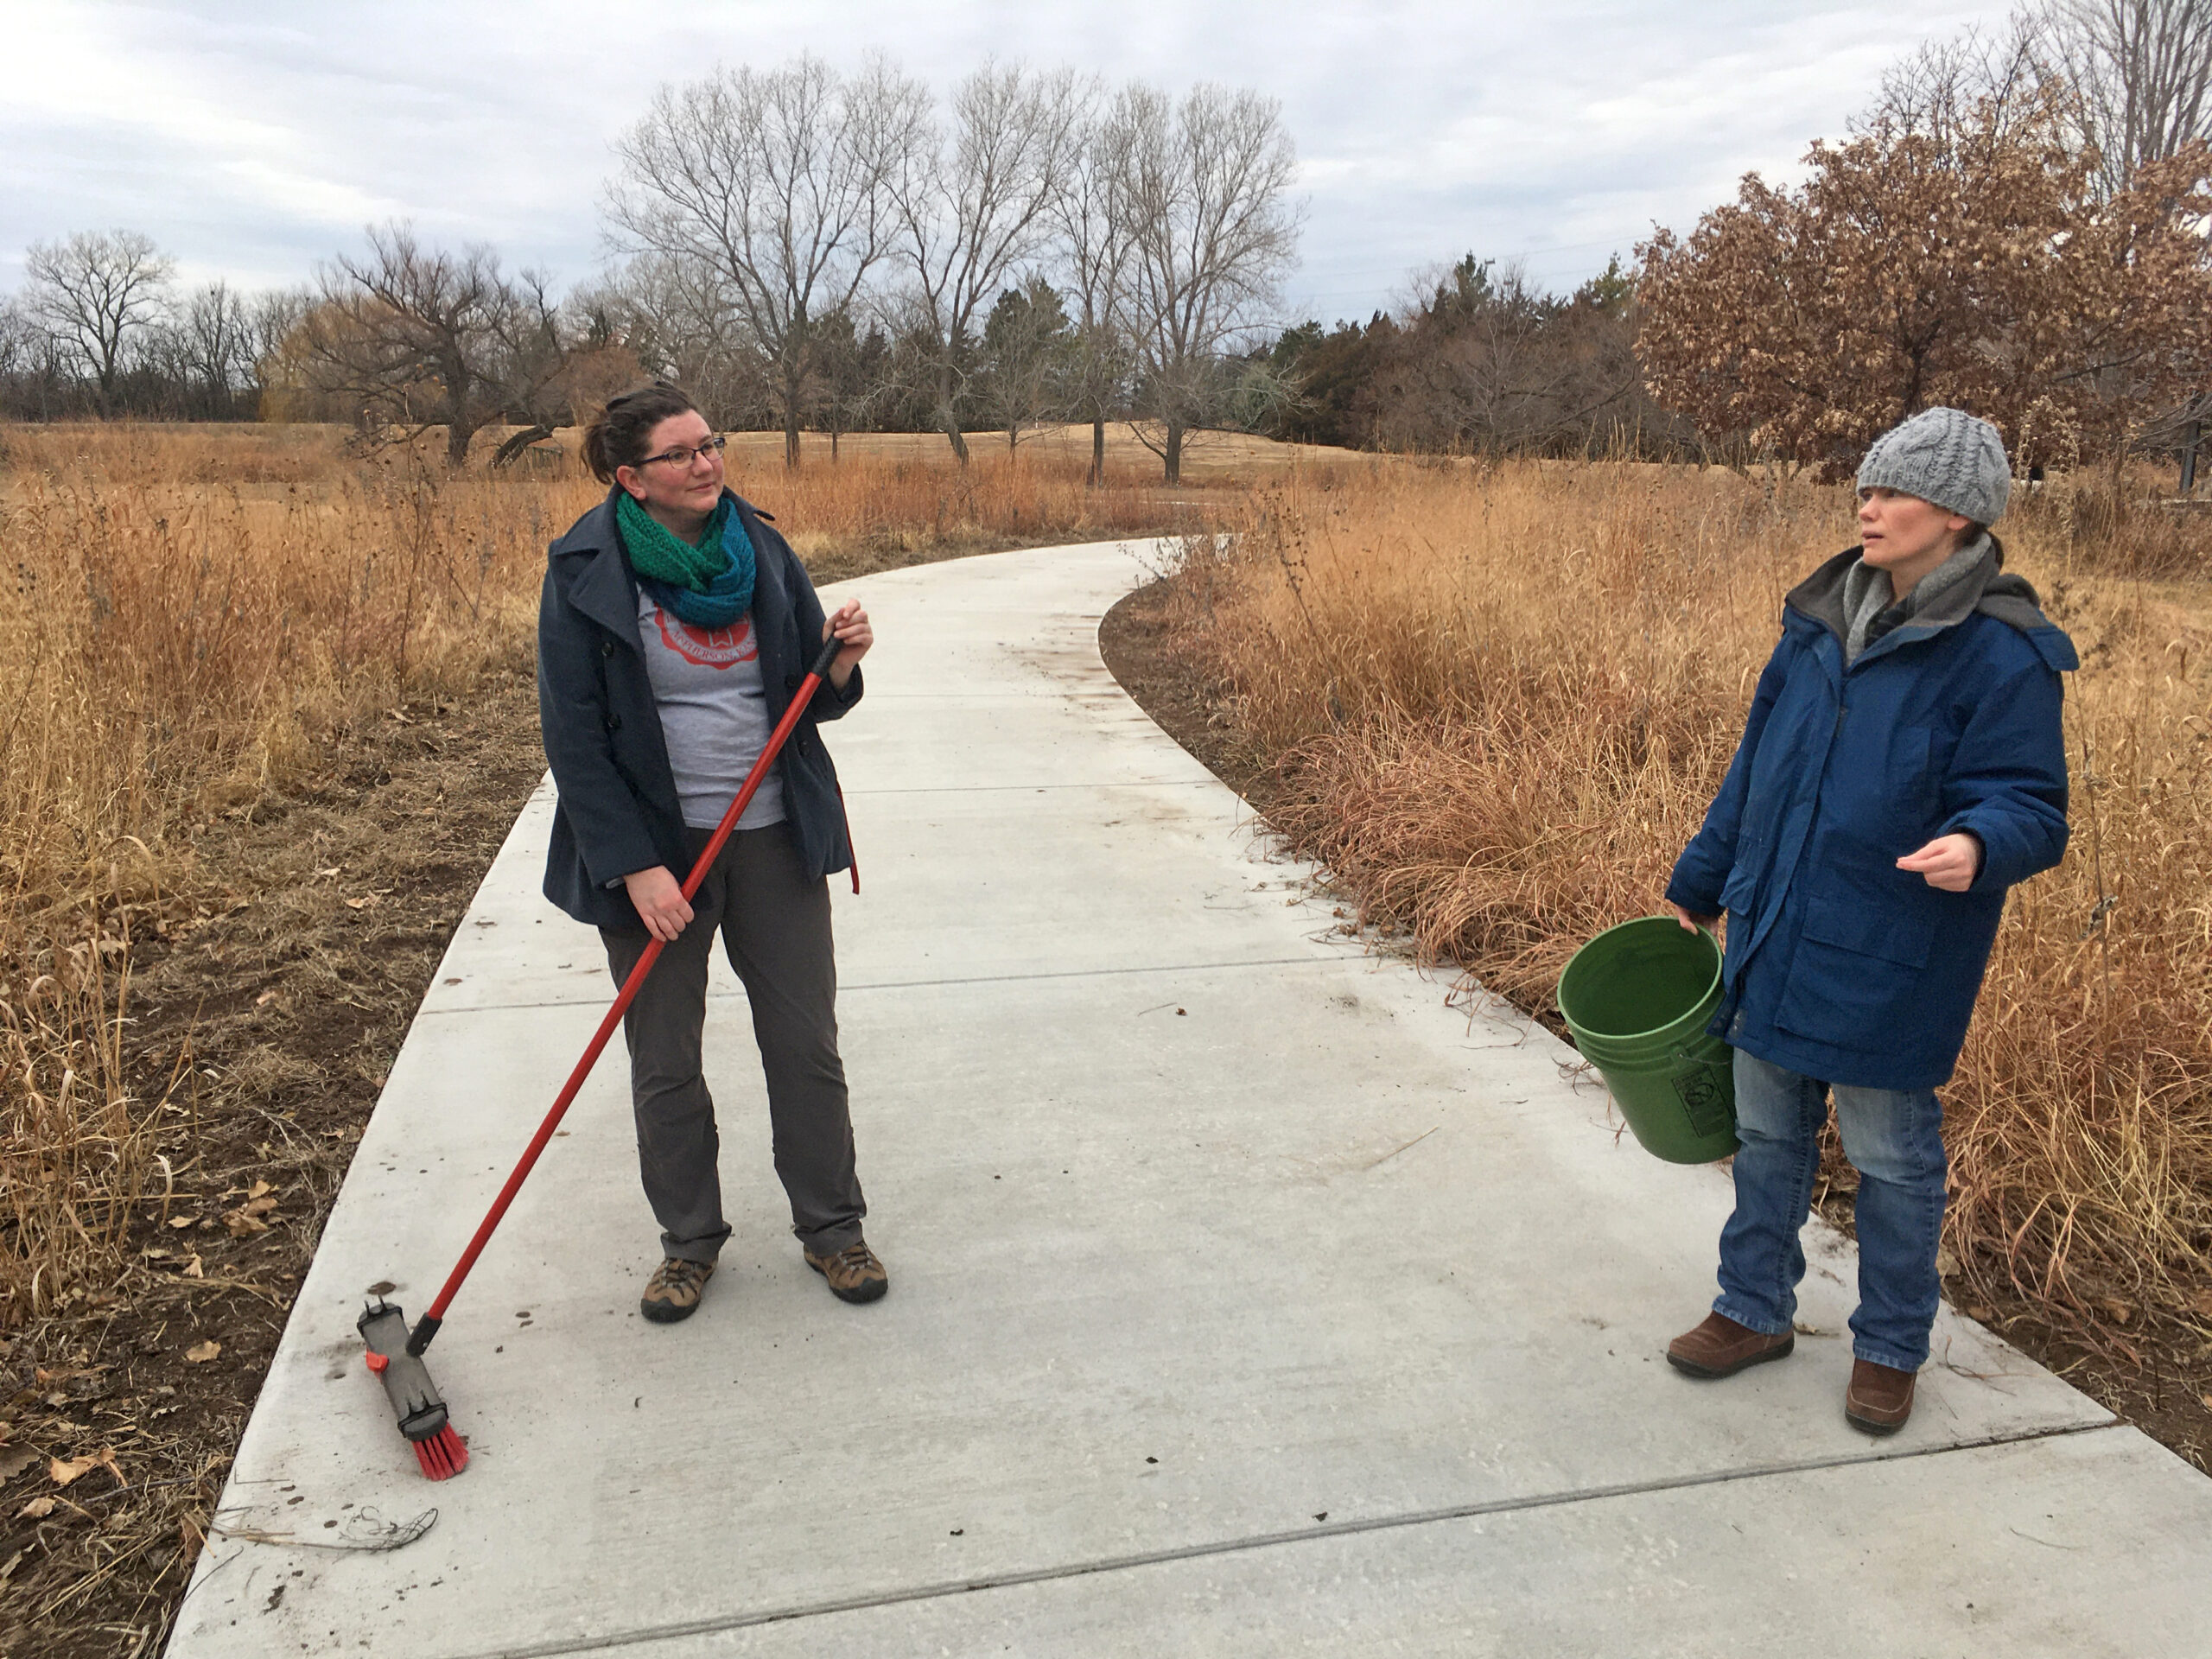
When they first planted the garden, they used drip irrigation, though they haven’t used it much once the garden matured. They used landscape fabric as a weed barrier on the initial install, though their experience with it has been mixed. “We didn’t know what we didn’t know,” says Ron. Weeds still come up through it, and the fabric can make them difficult to pull. It also slows or stops the natural spread of the plants which is part of the beauty of a prairie garden. Ron mentioned that he has cut out quite a bit of fabric to allow the plants room to spread. Here at the arboretum we don’t use fabric in our beds because it can be such a hassle, and instead we opt for temporary and biodegradable solutions like cardboard with mulch over the top.
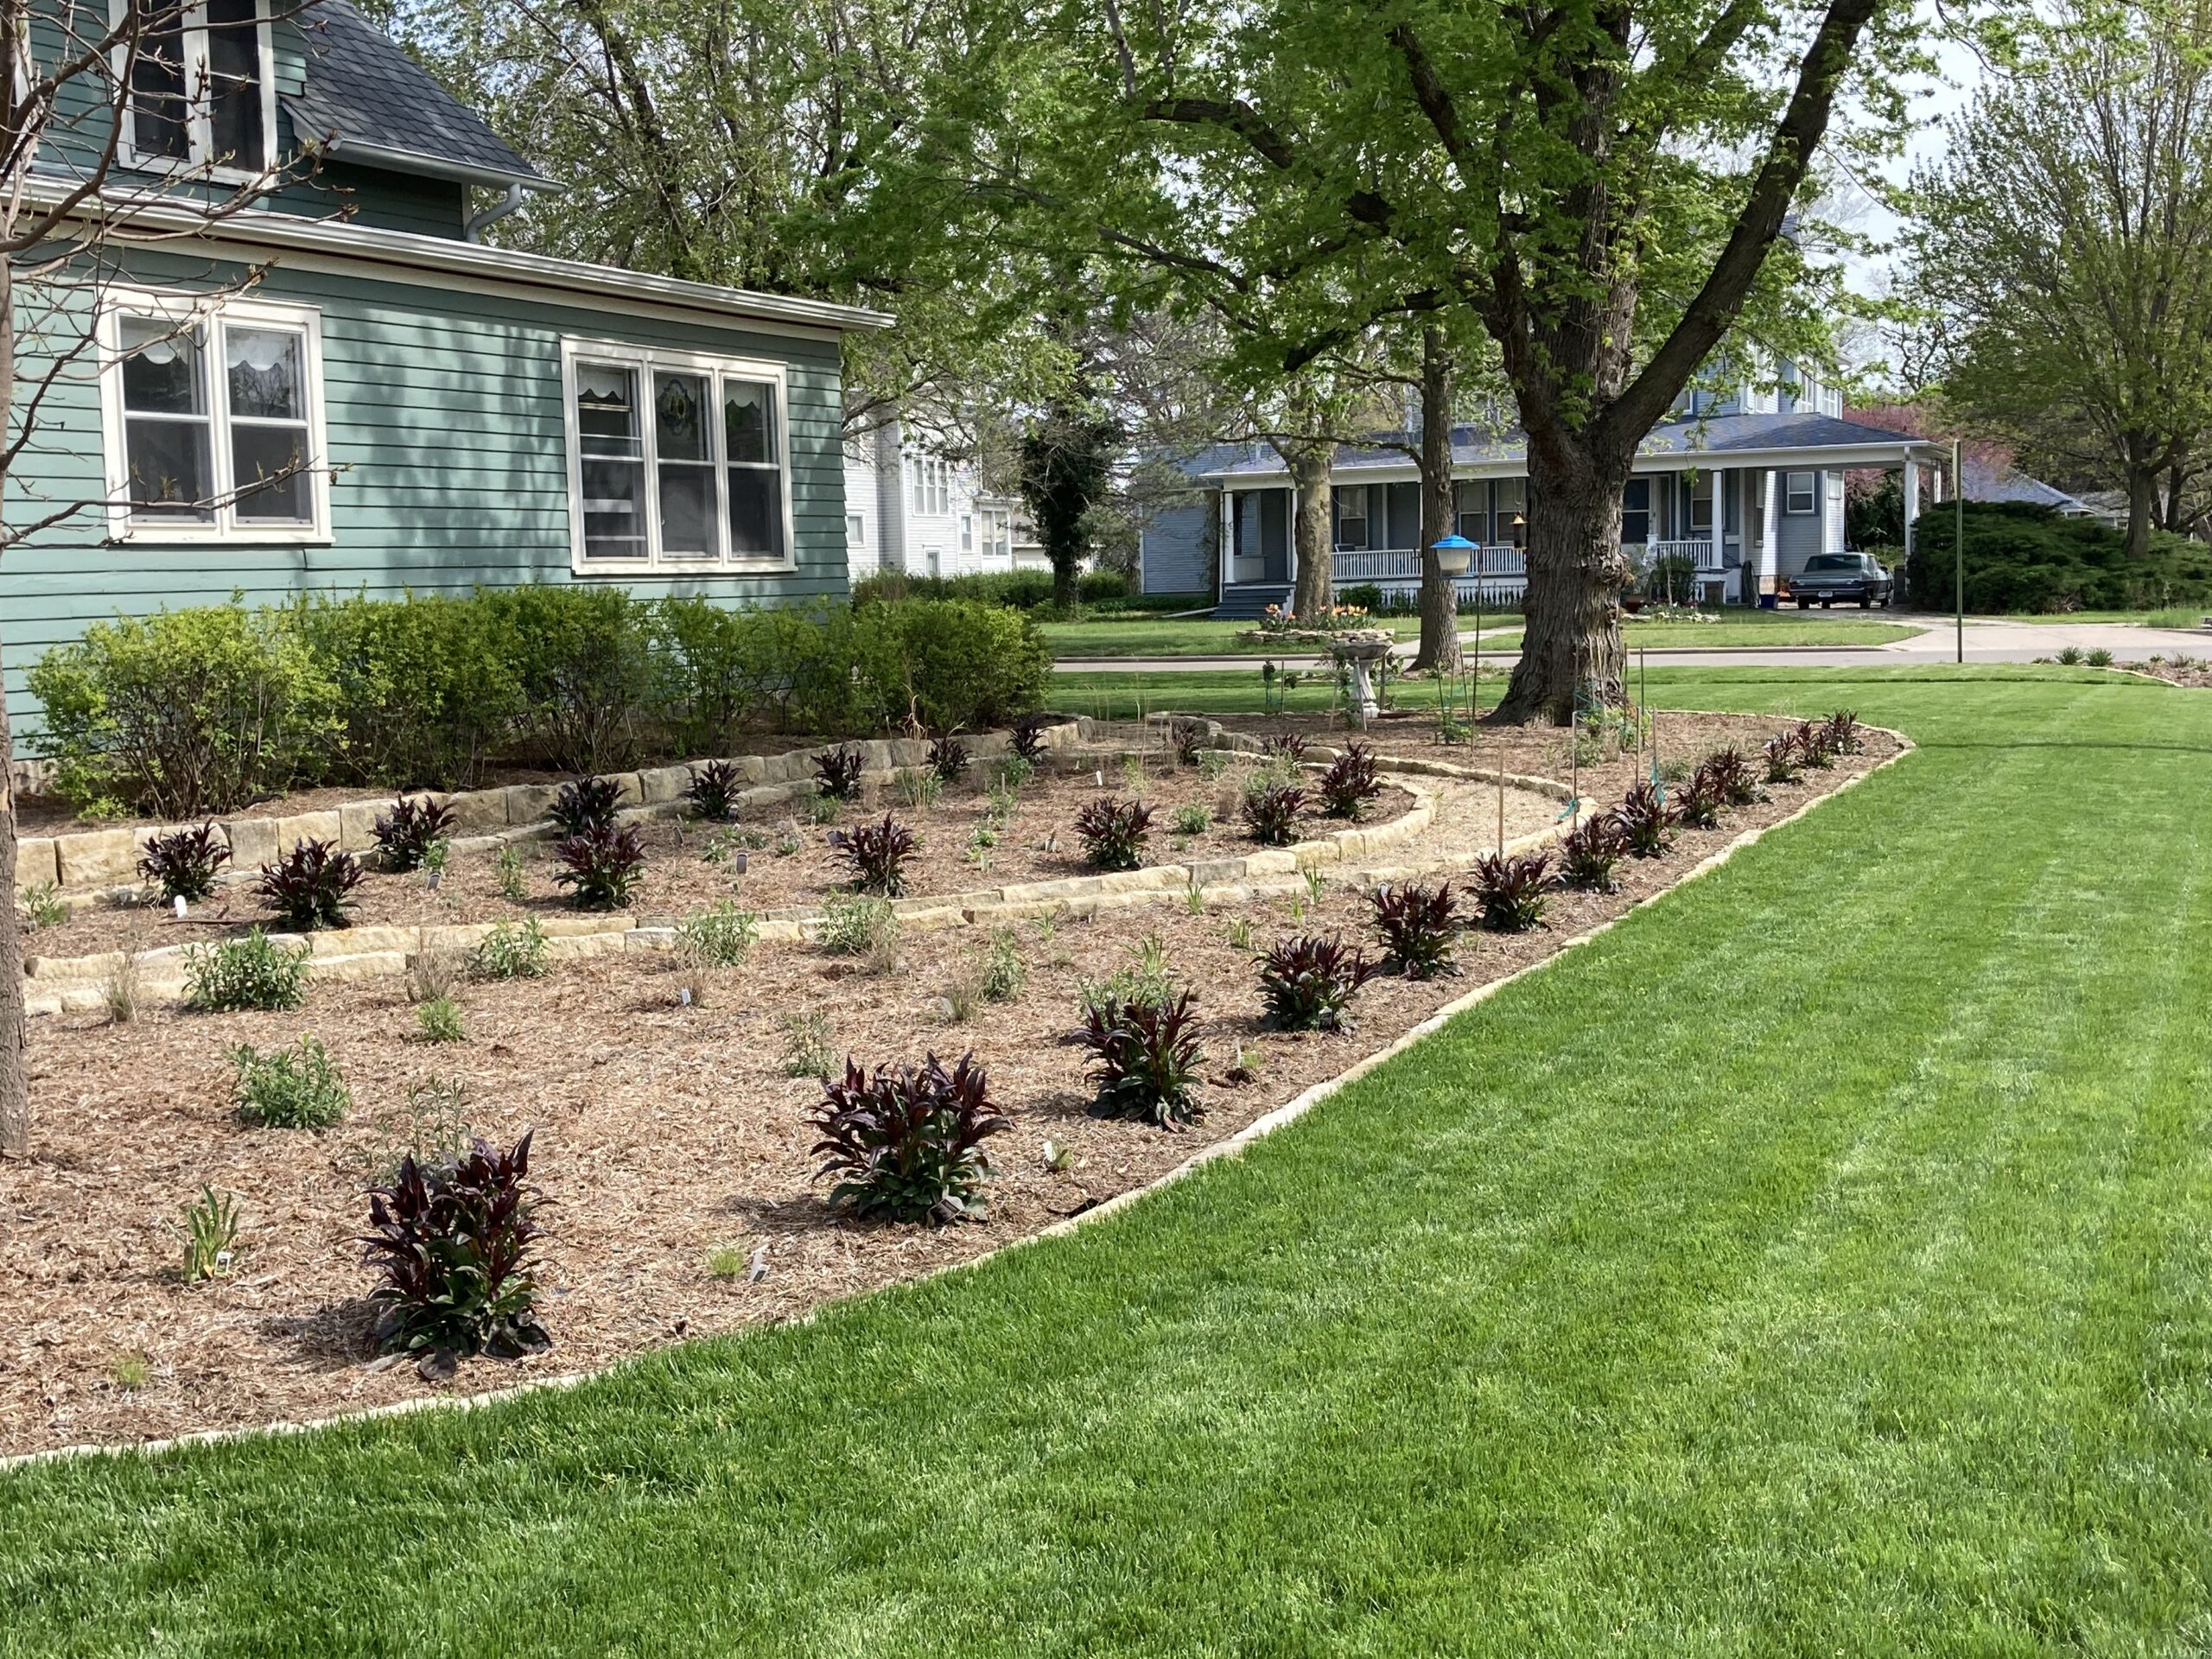
Change as Part of the Process
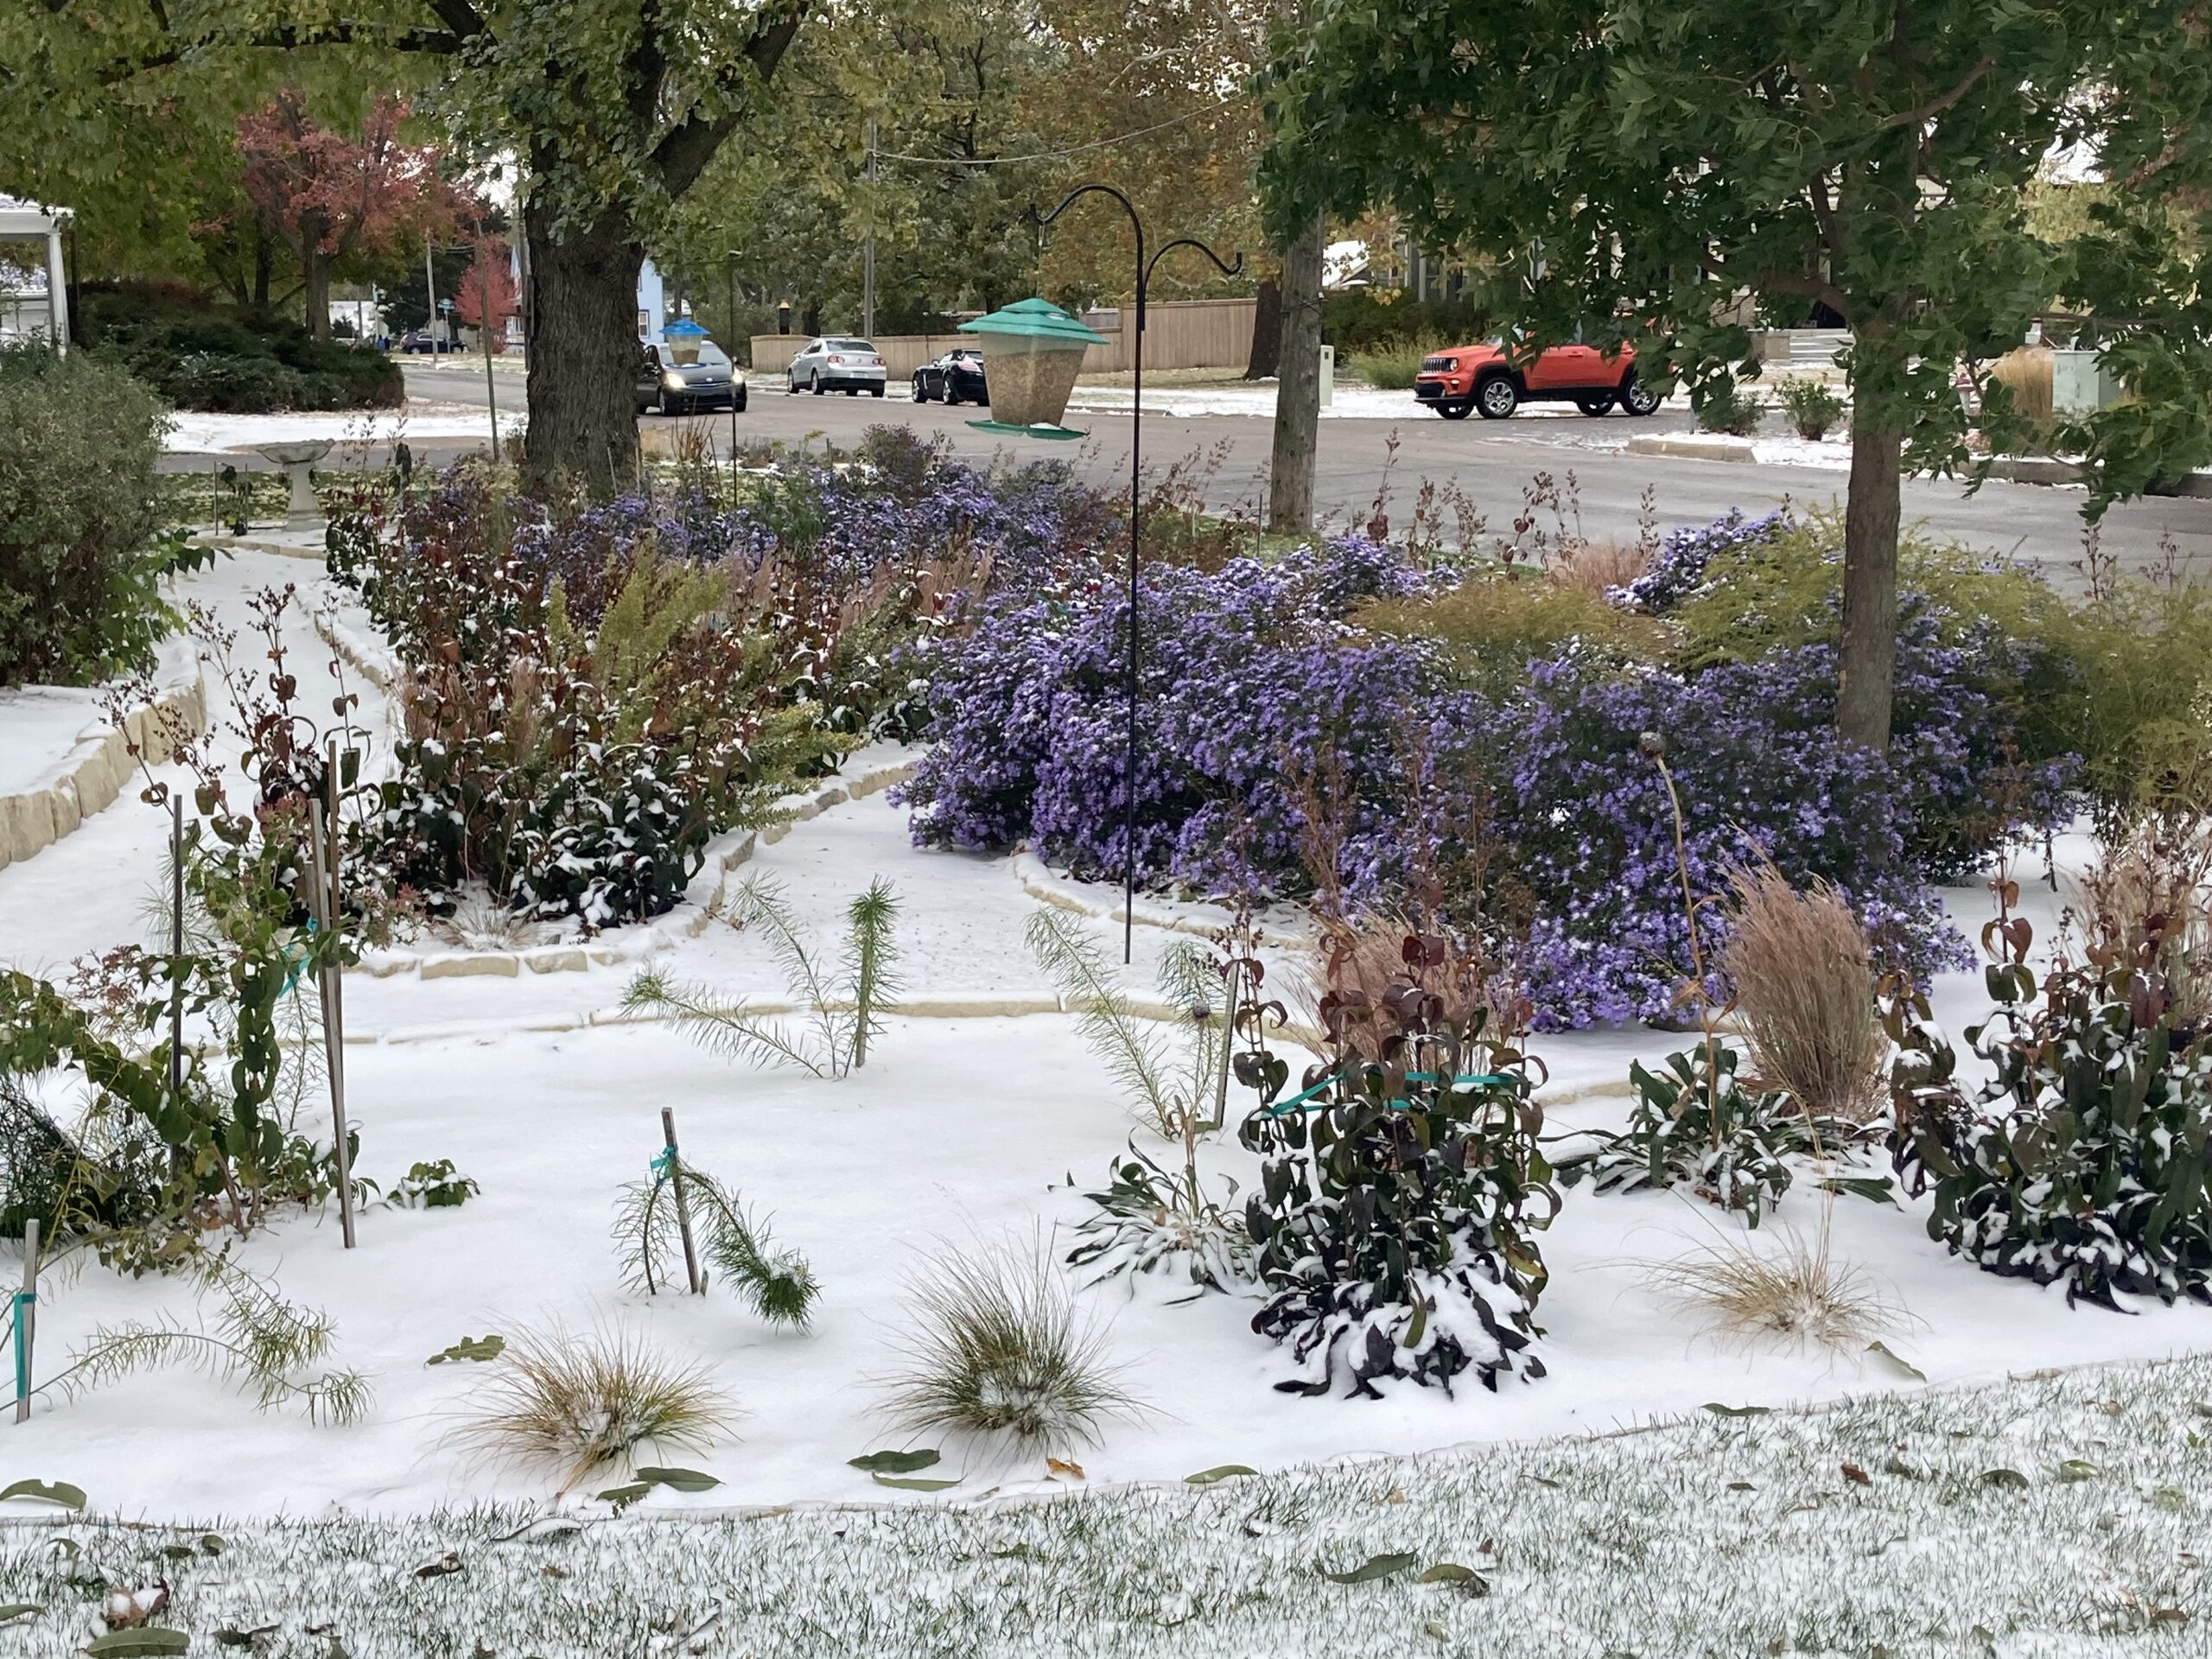
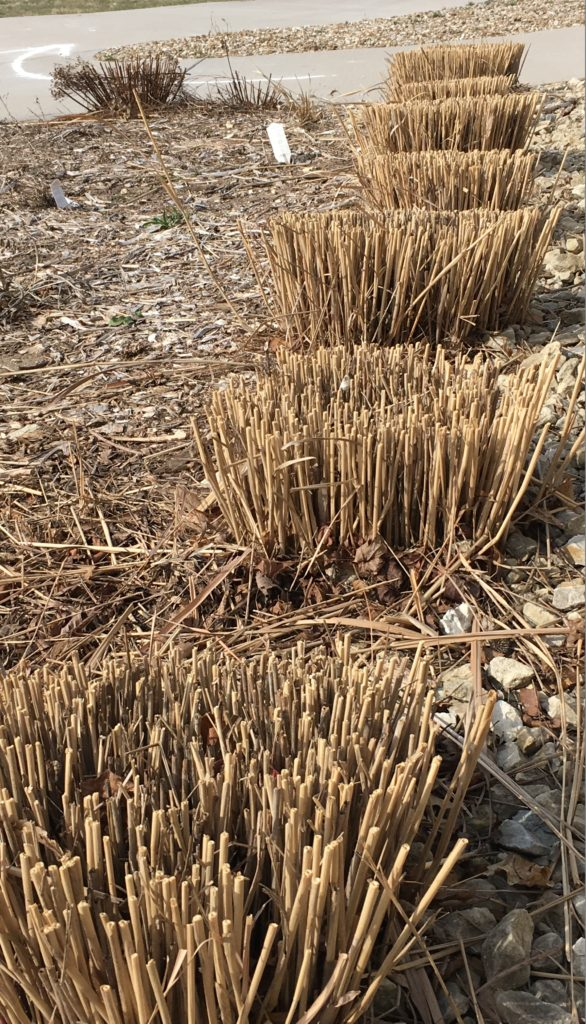
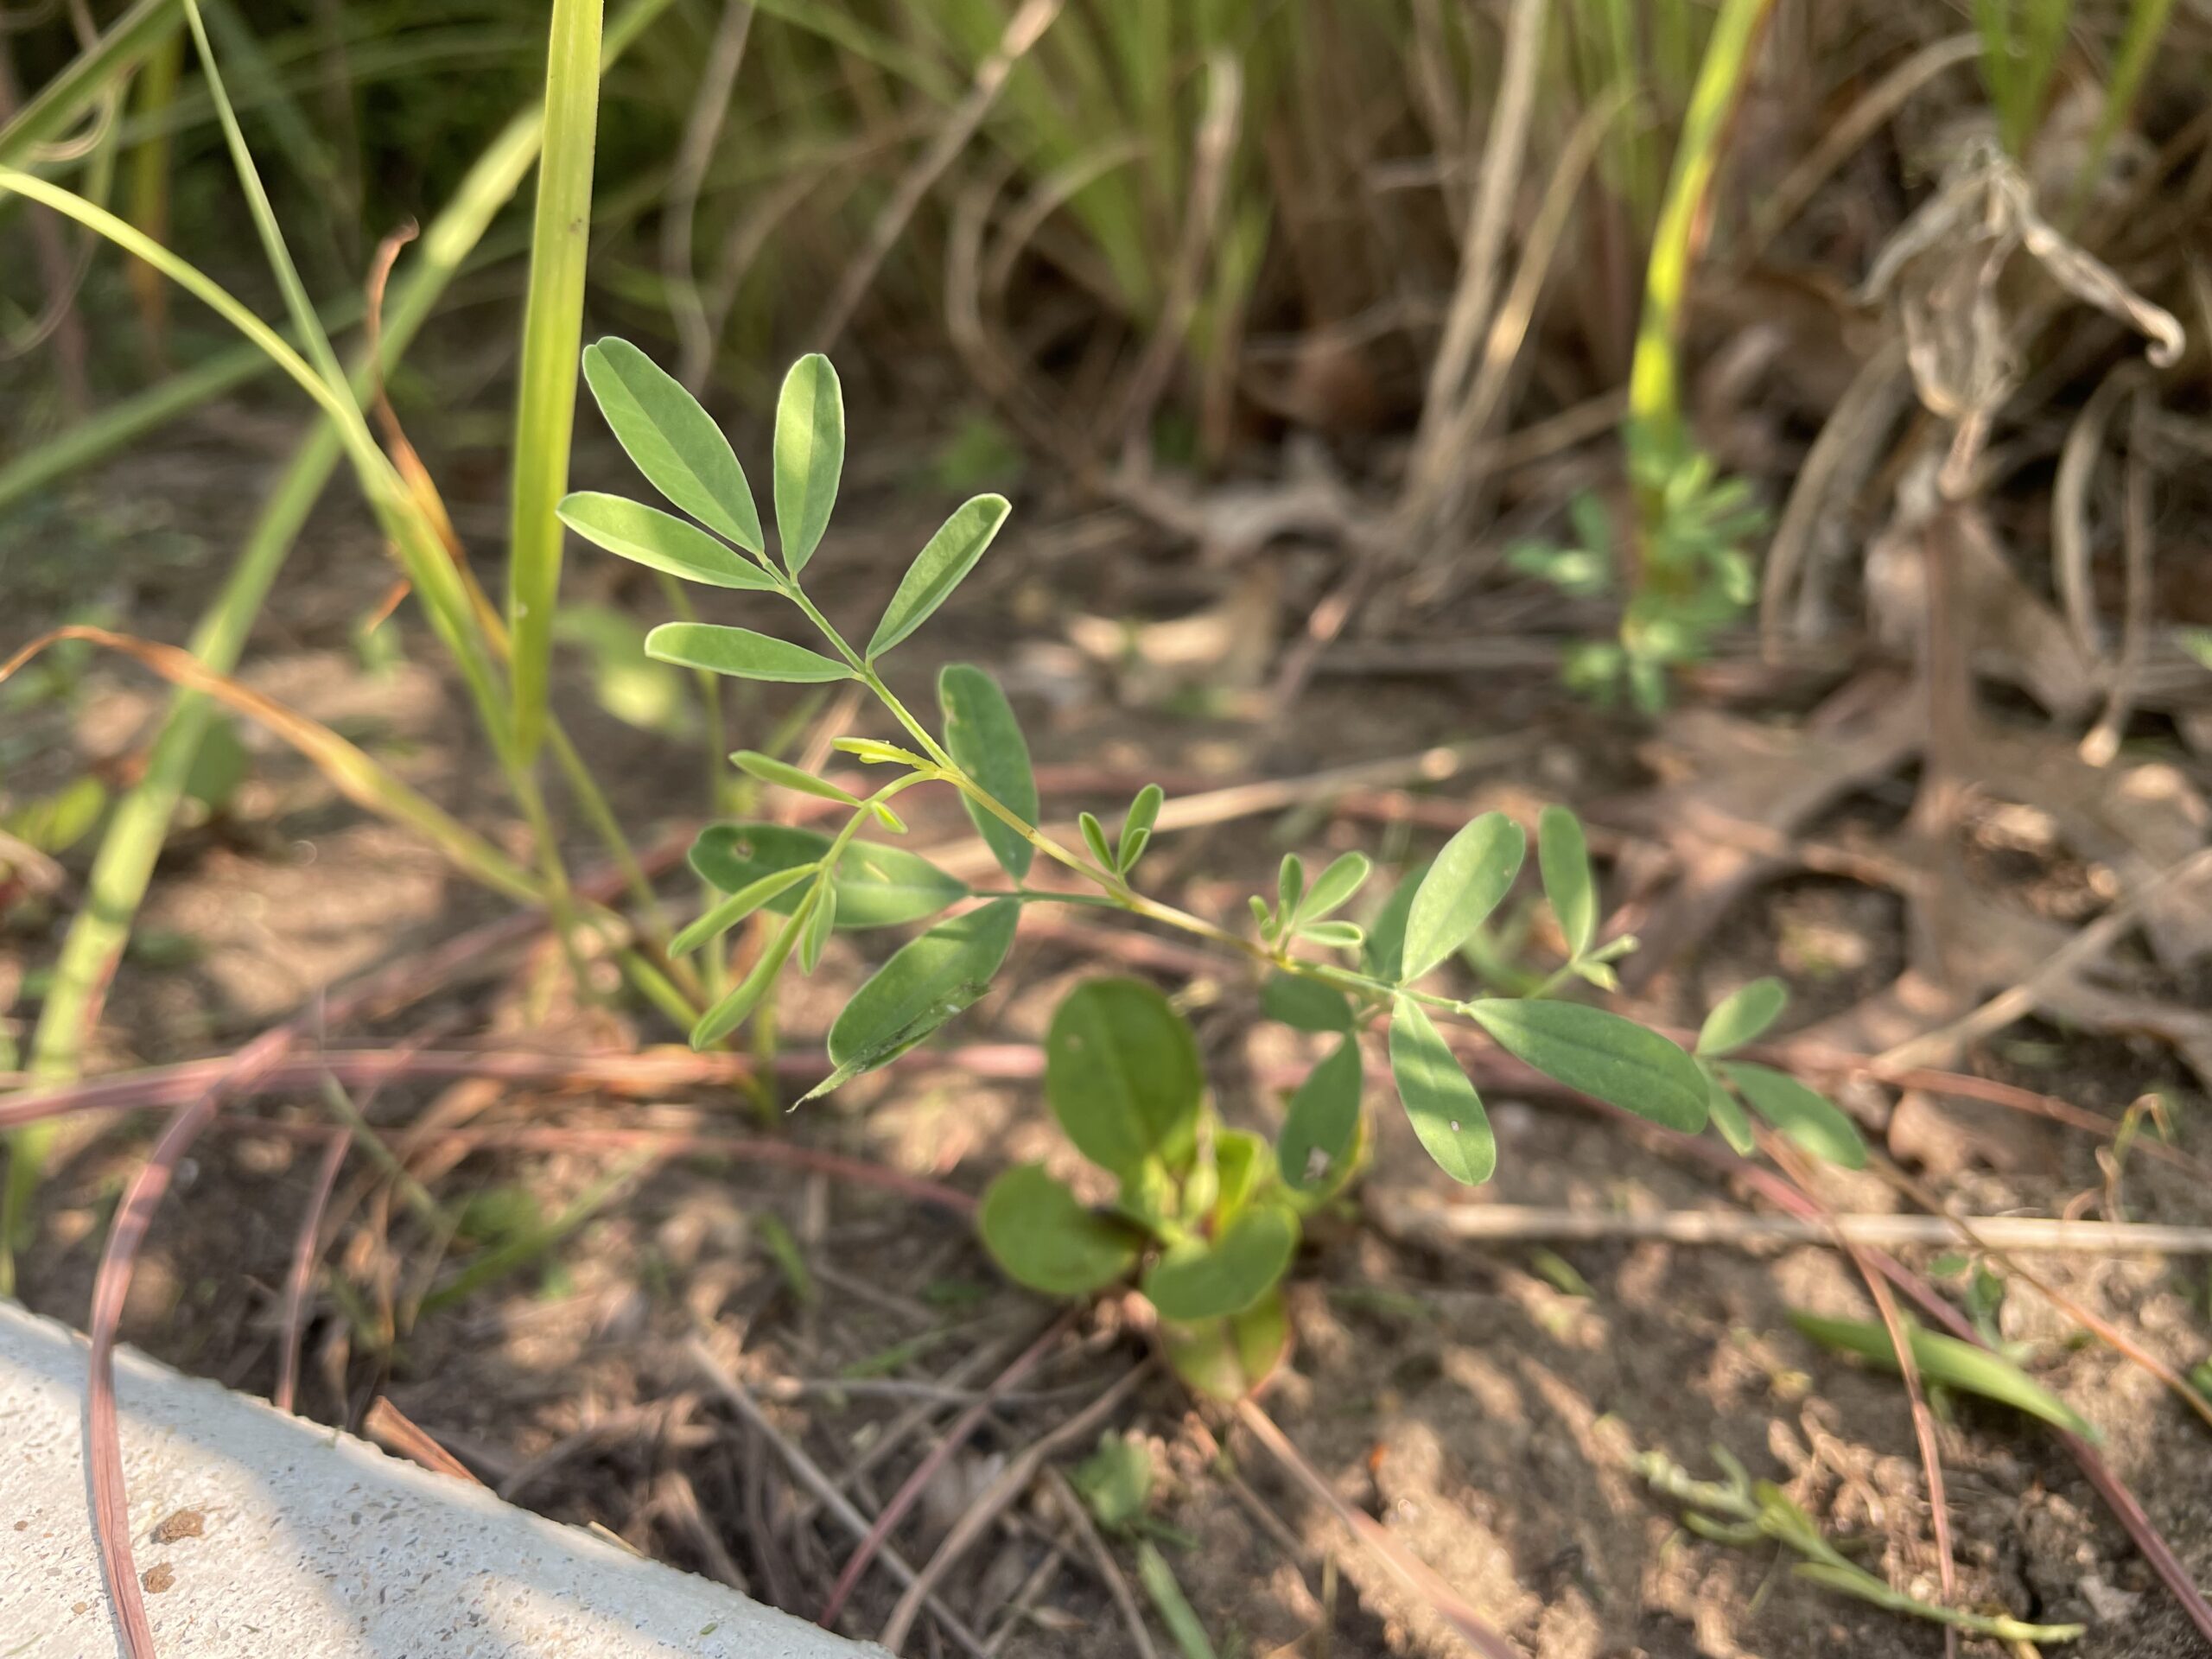
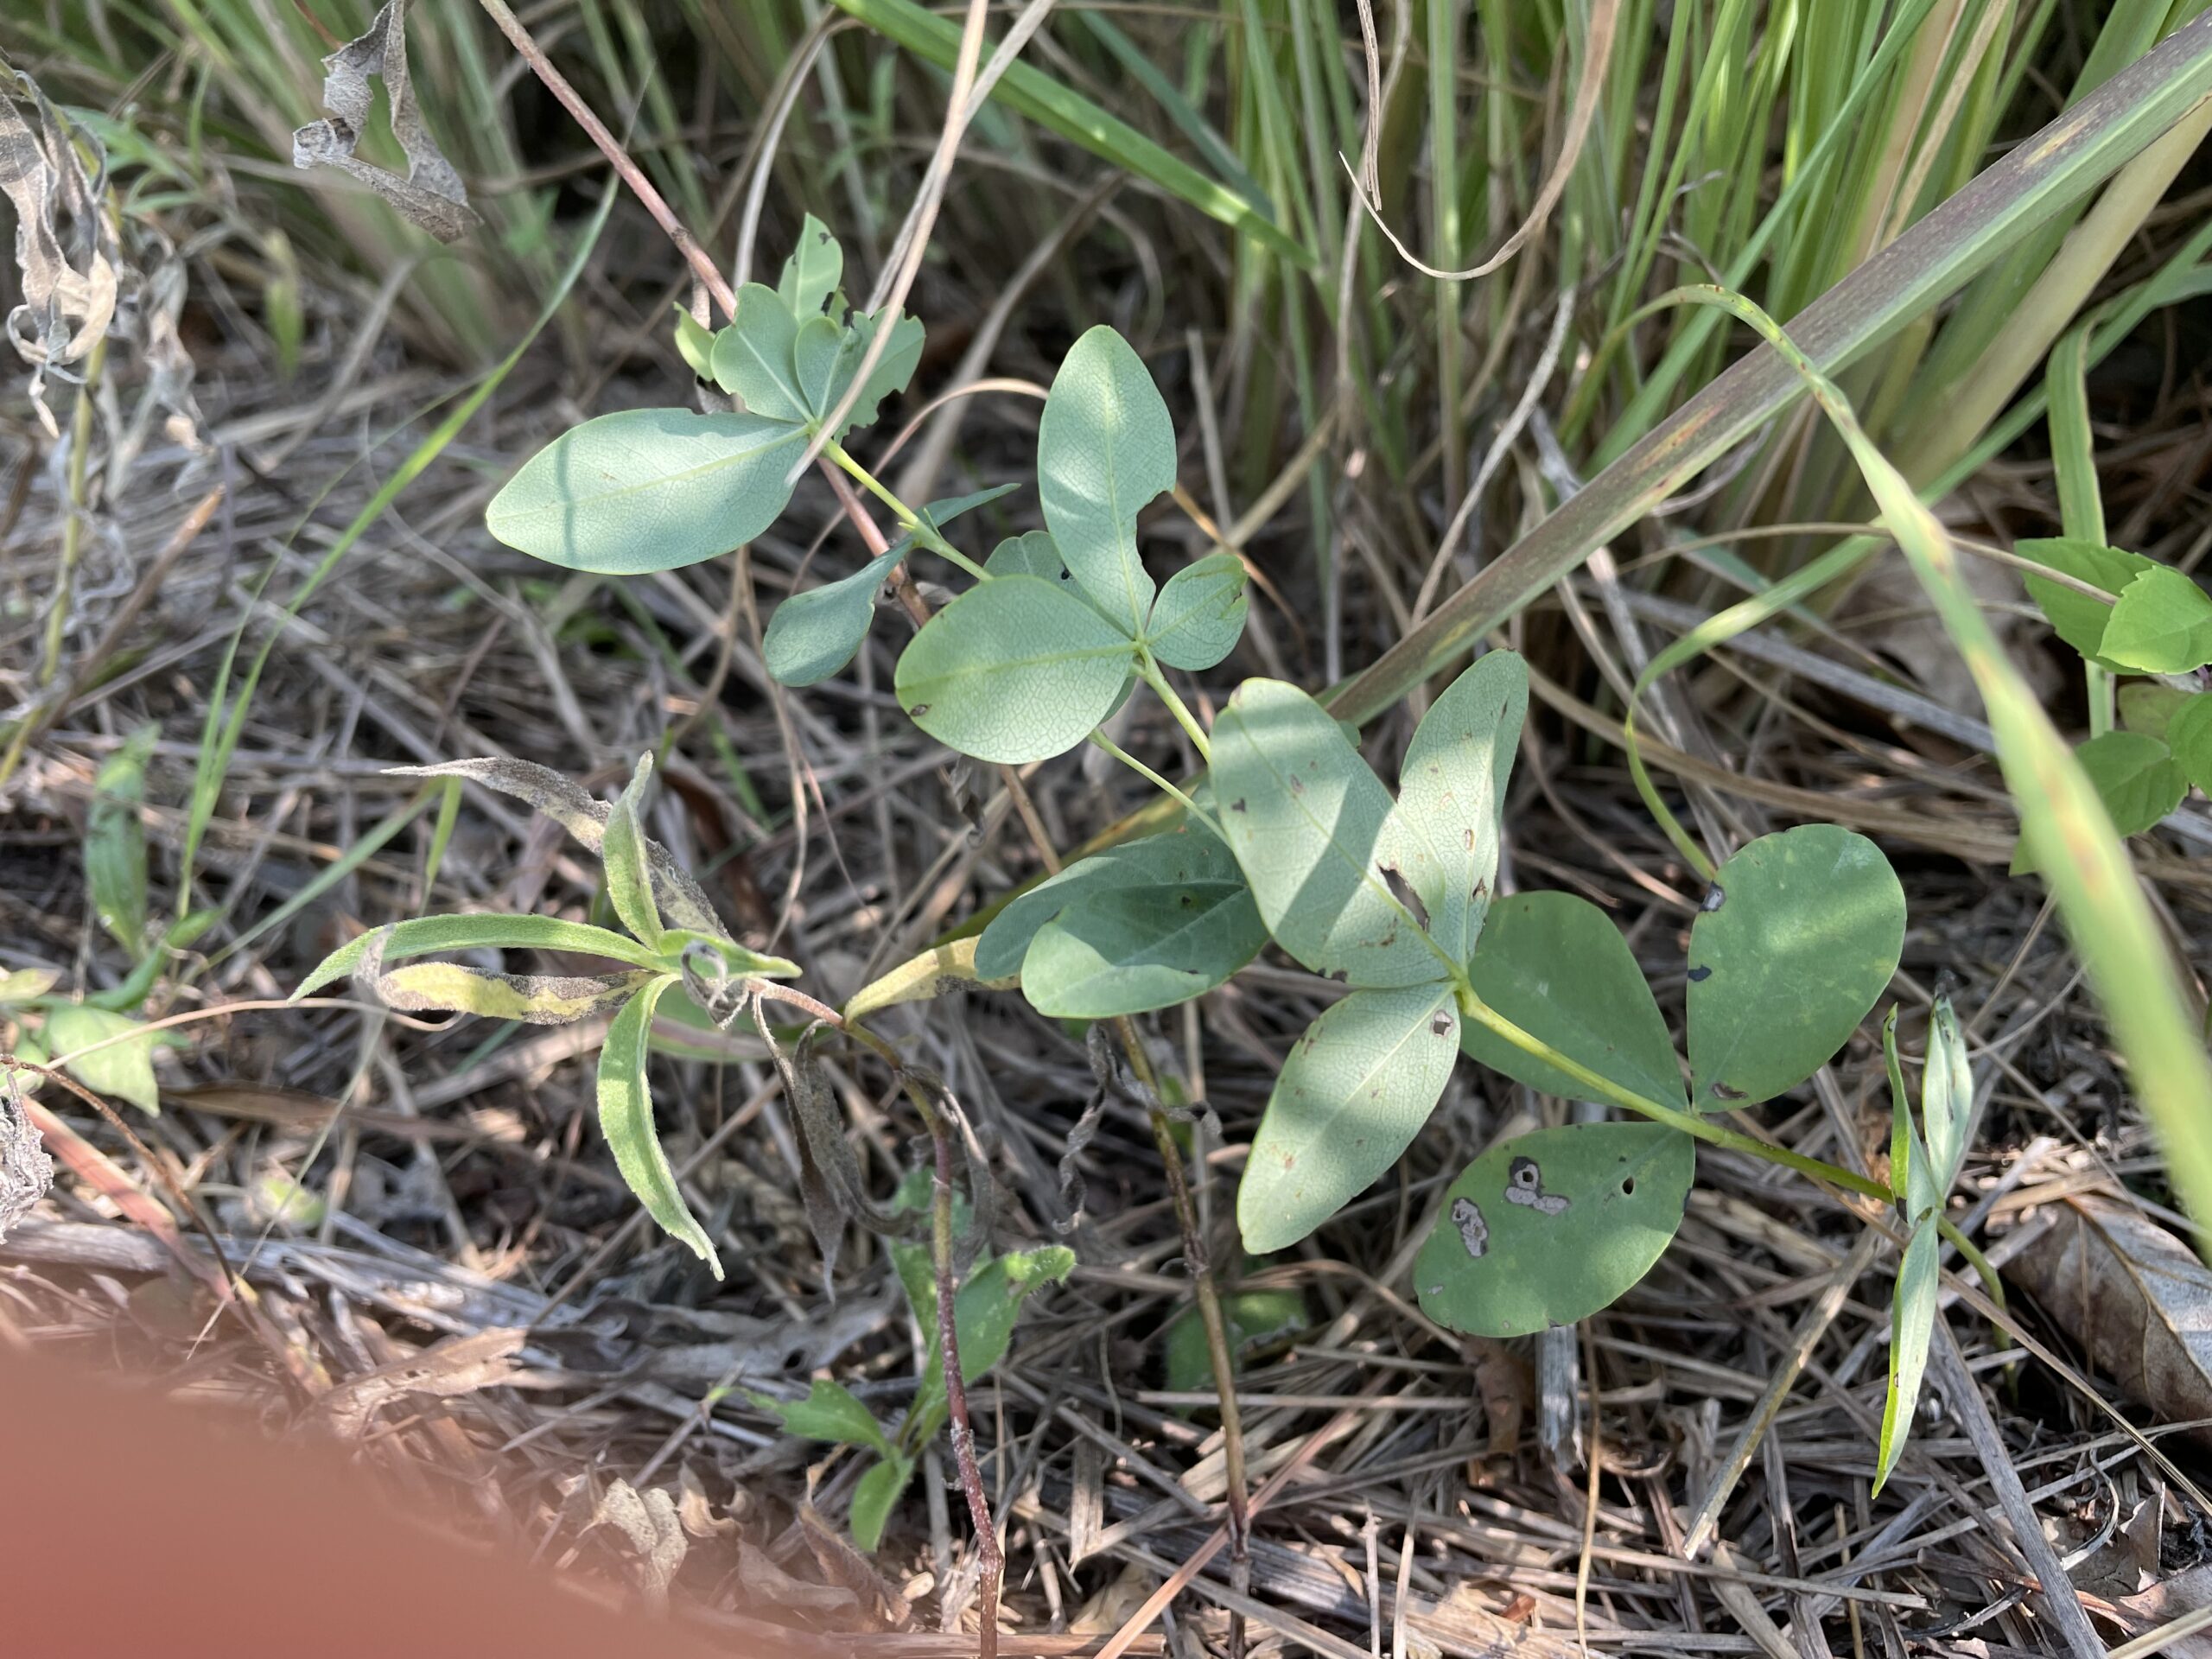
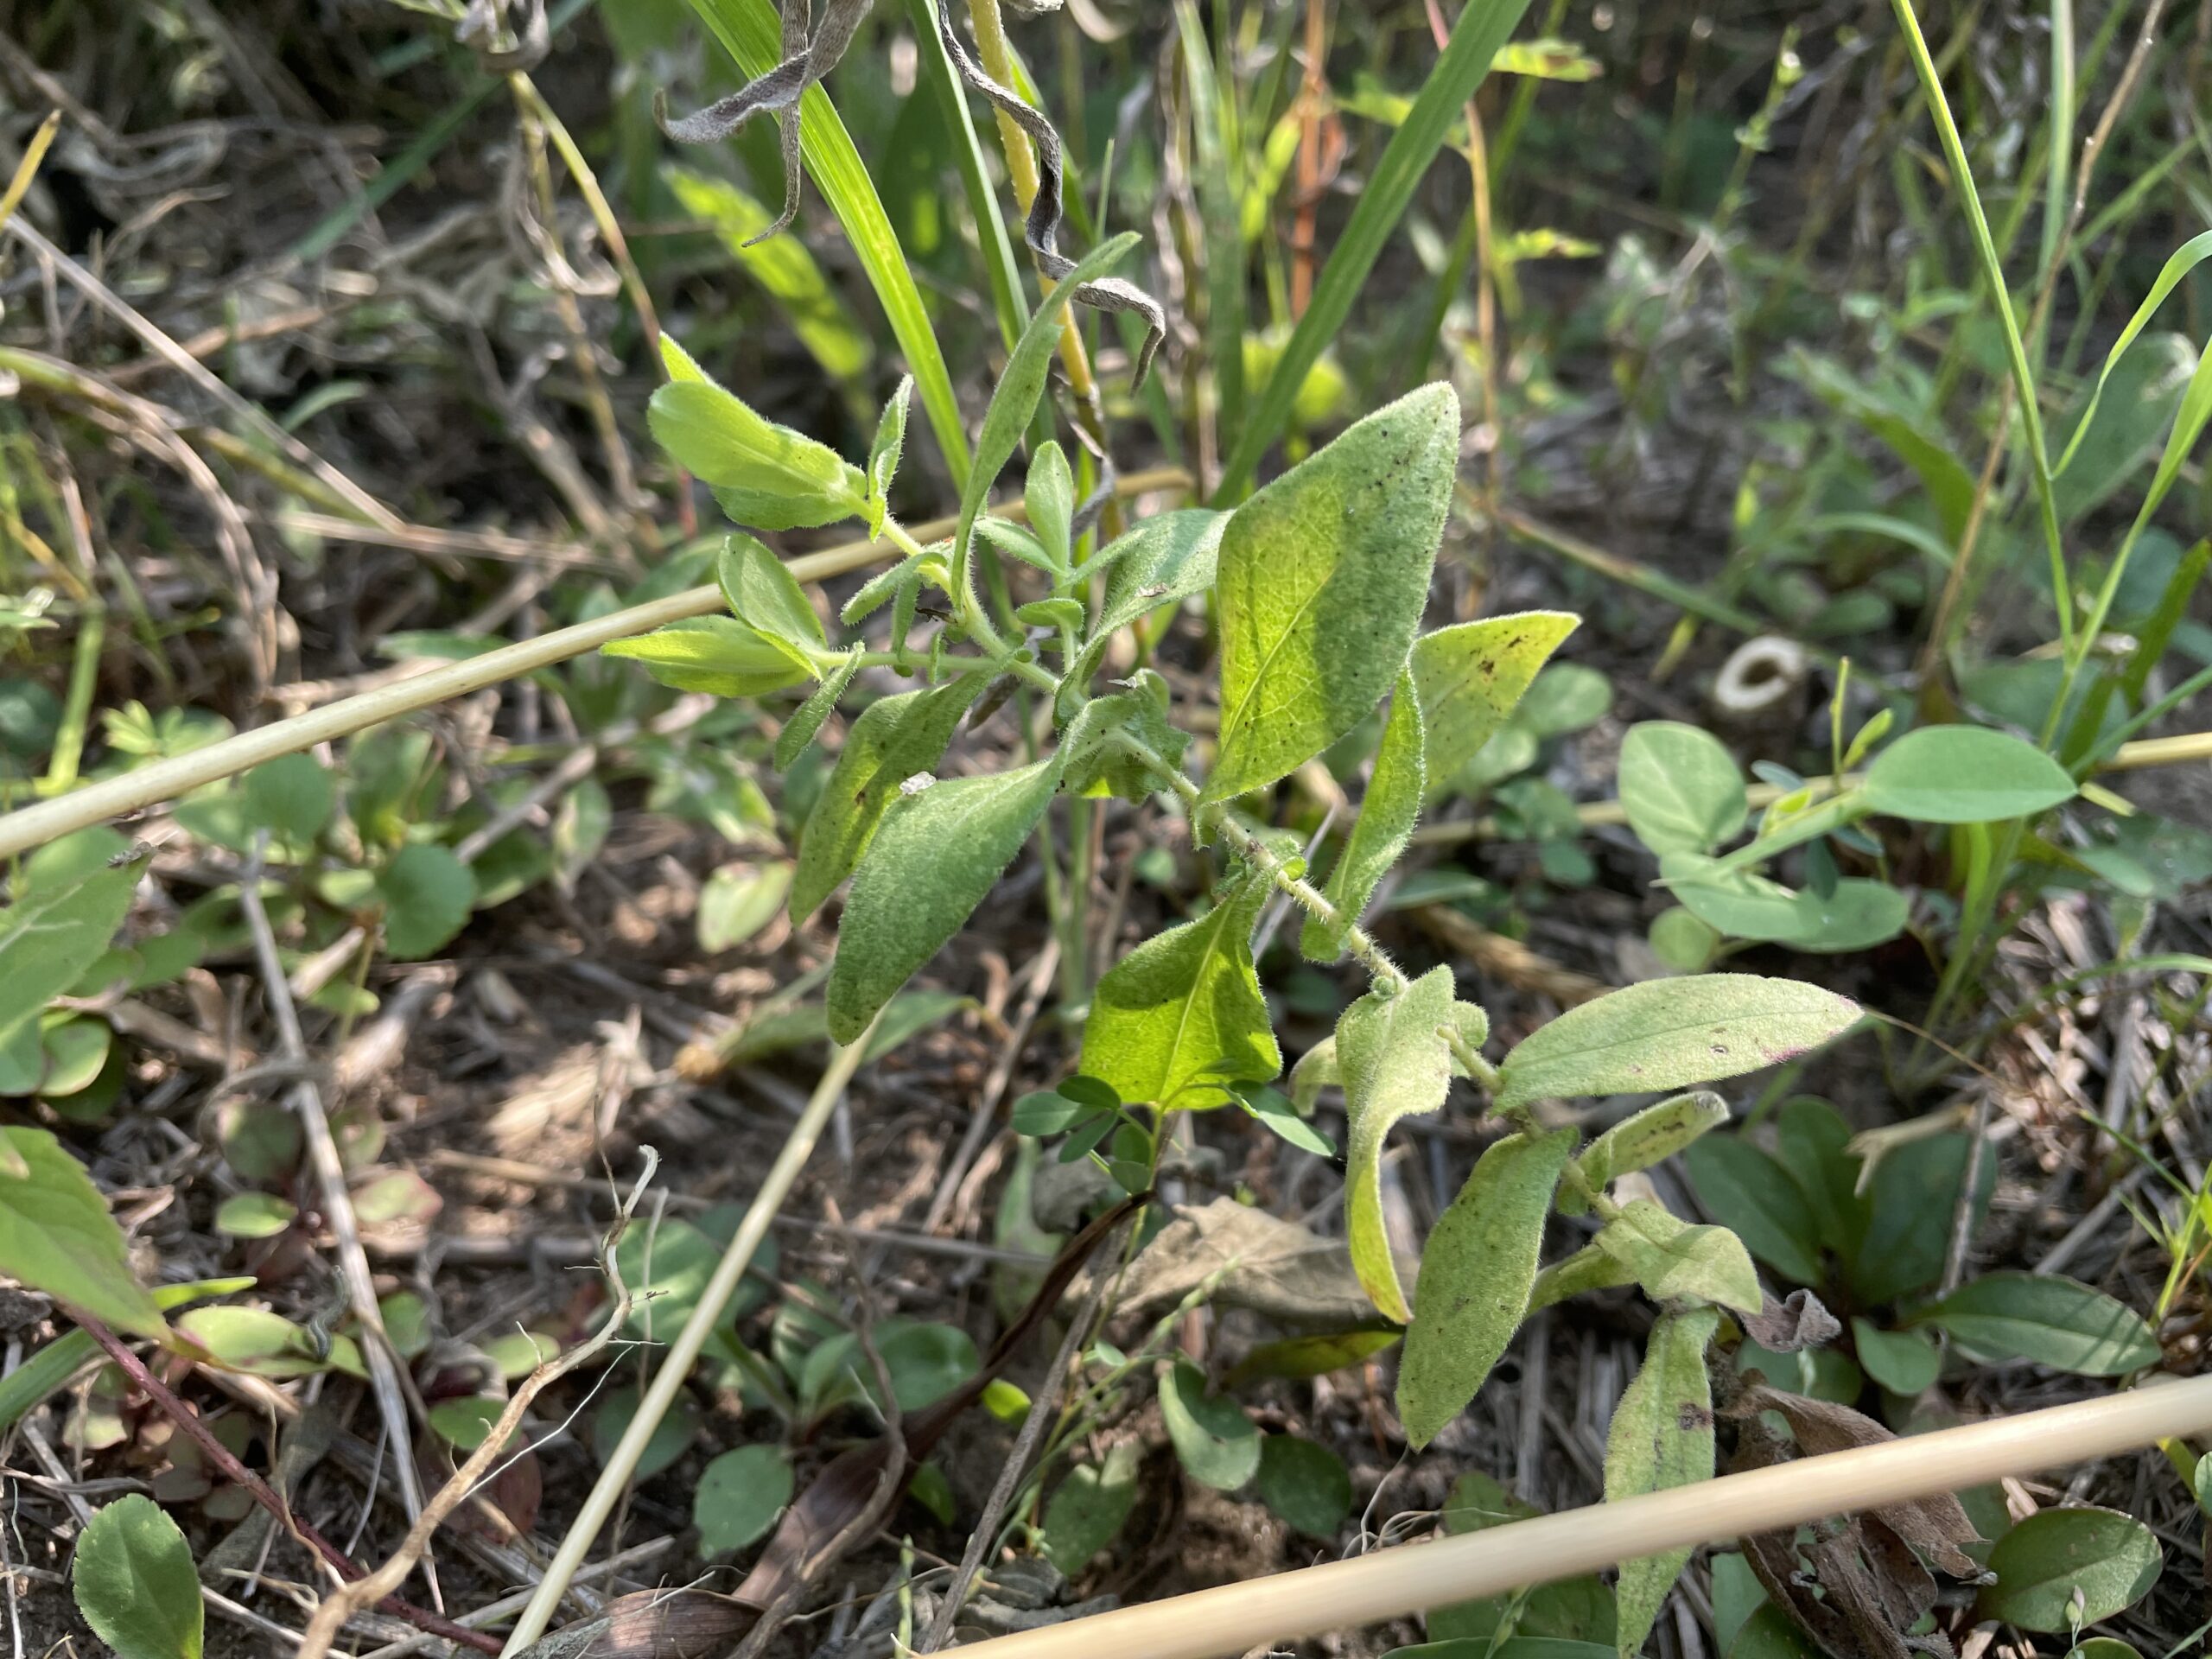
Some plants did well right away, and others had to be replaced or shifted to find the right fit. Even with the fabric in place, some perennials have seeded in, moved around, and or cropped up in different places than expected. Ron’s philosophy? “Don’t be too stuck on the design”. Plants move and change, and every year the garden will be a bit different. This is part of the beauty and interest, and something he looks forward to. “I have no problem letting the plants have their own ways.”

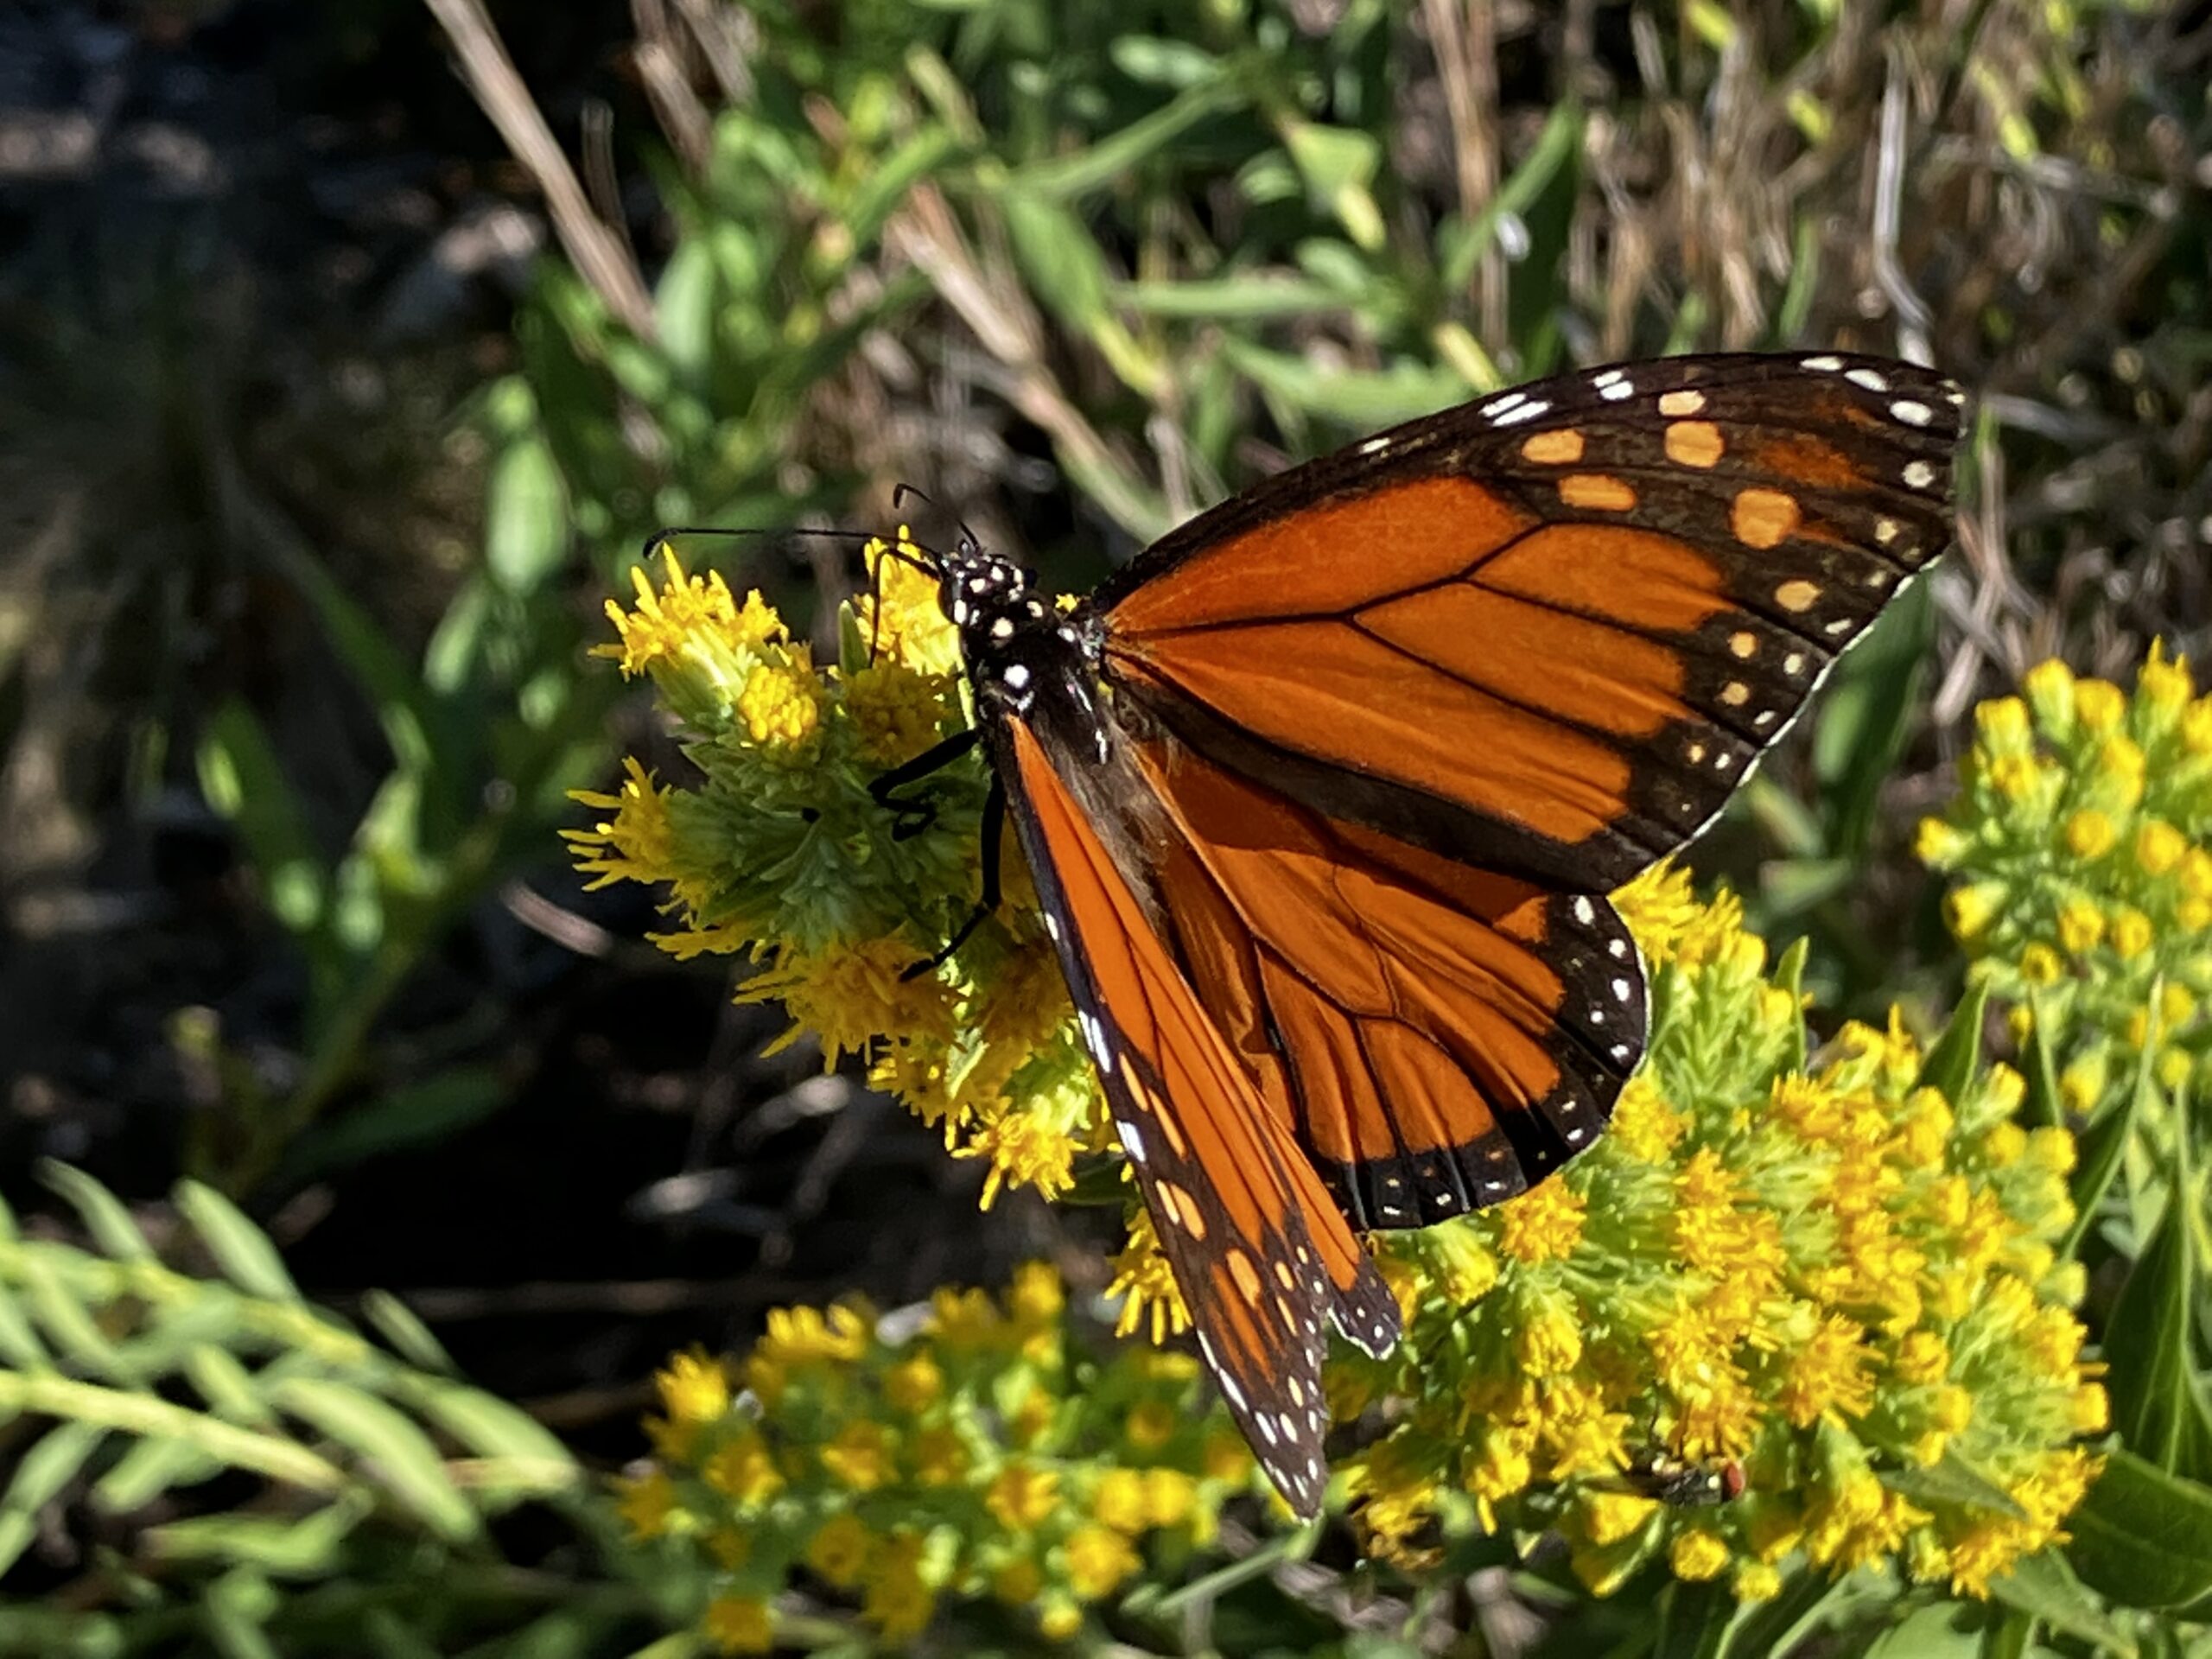
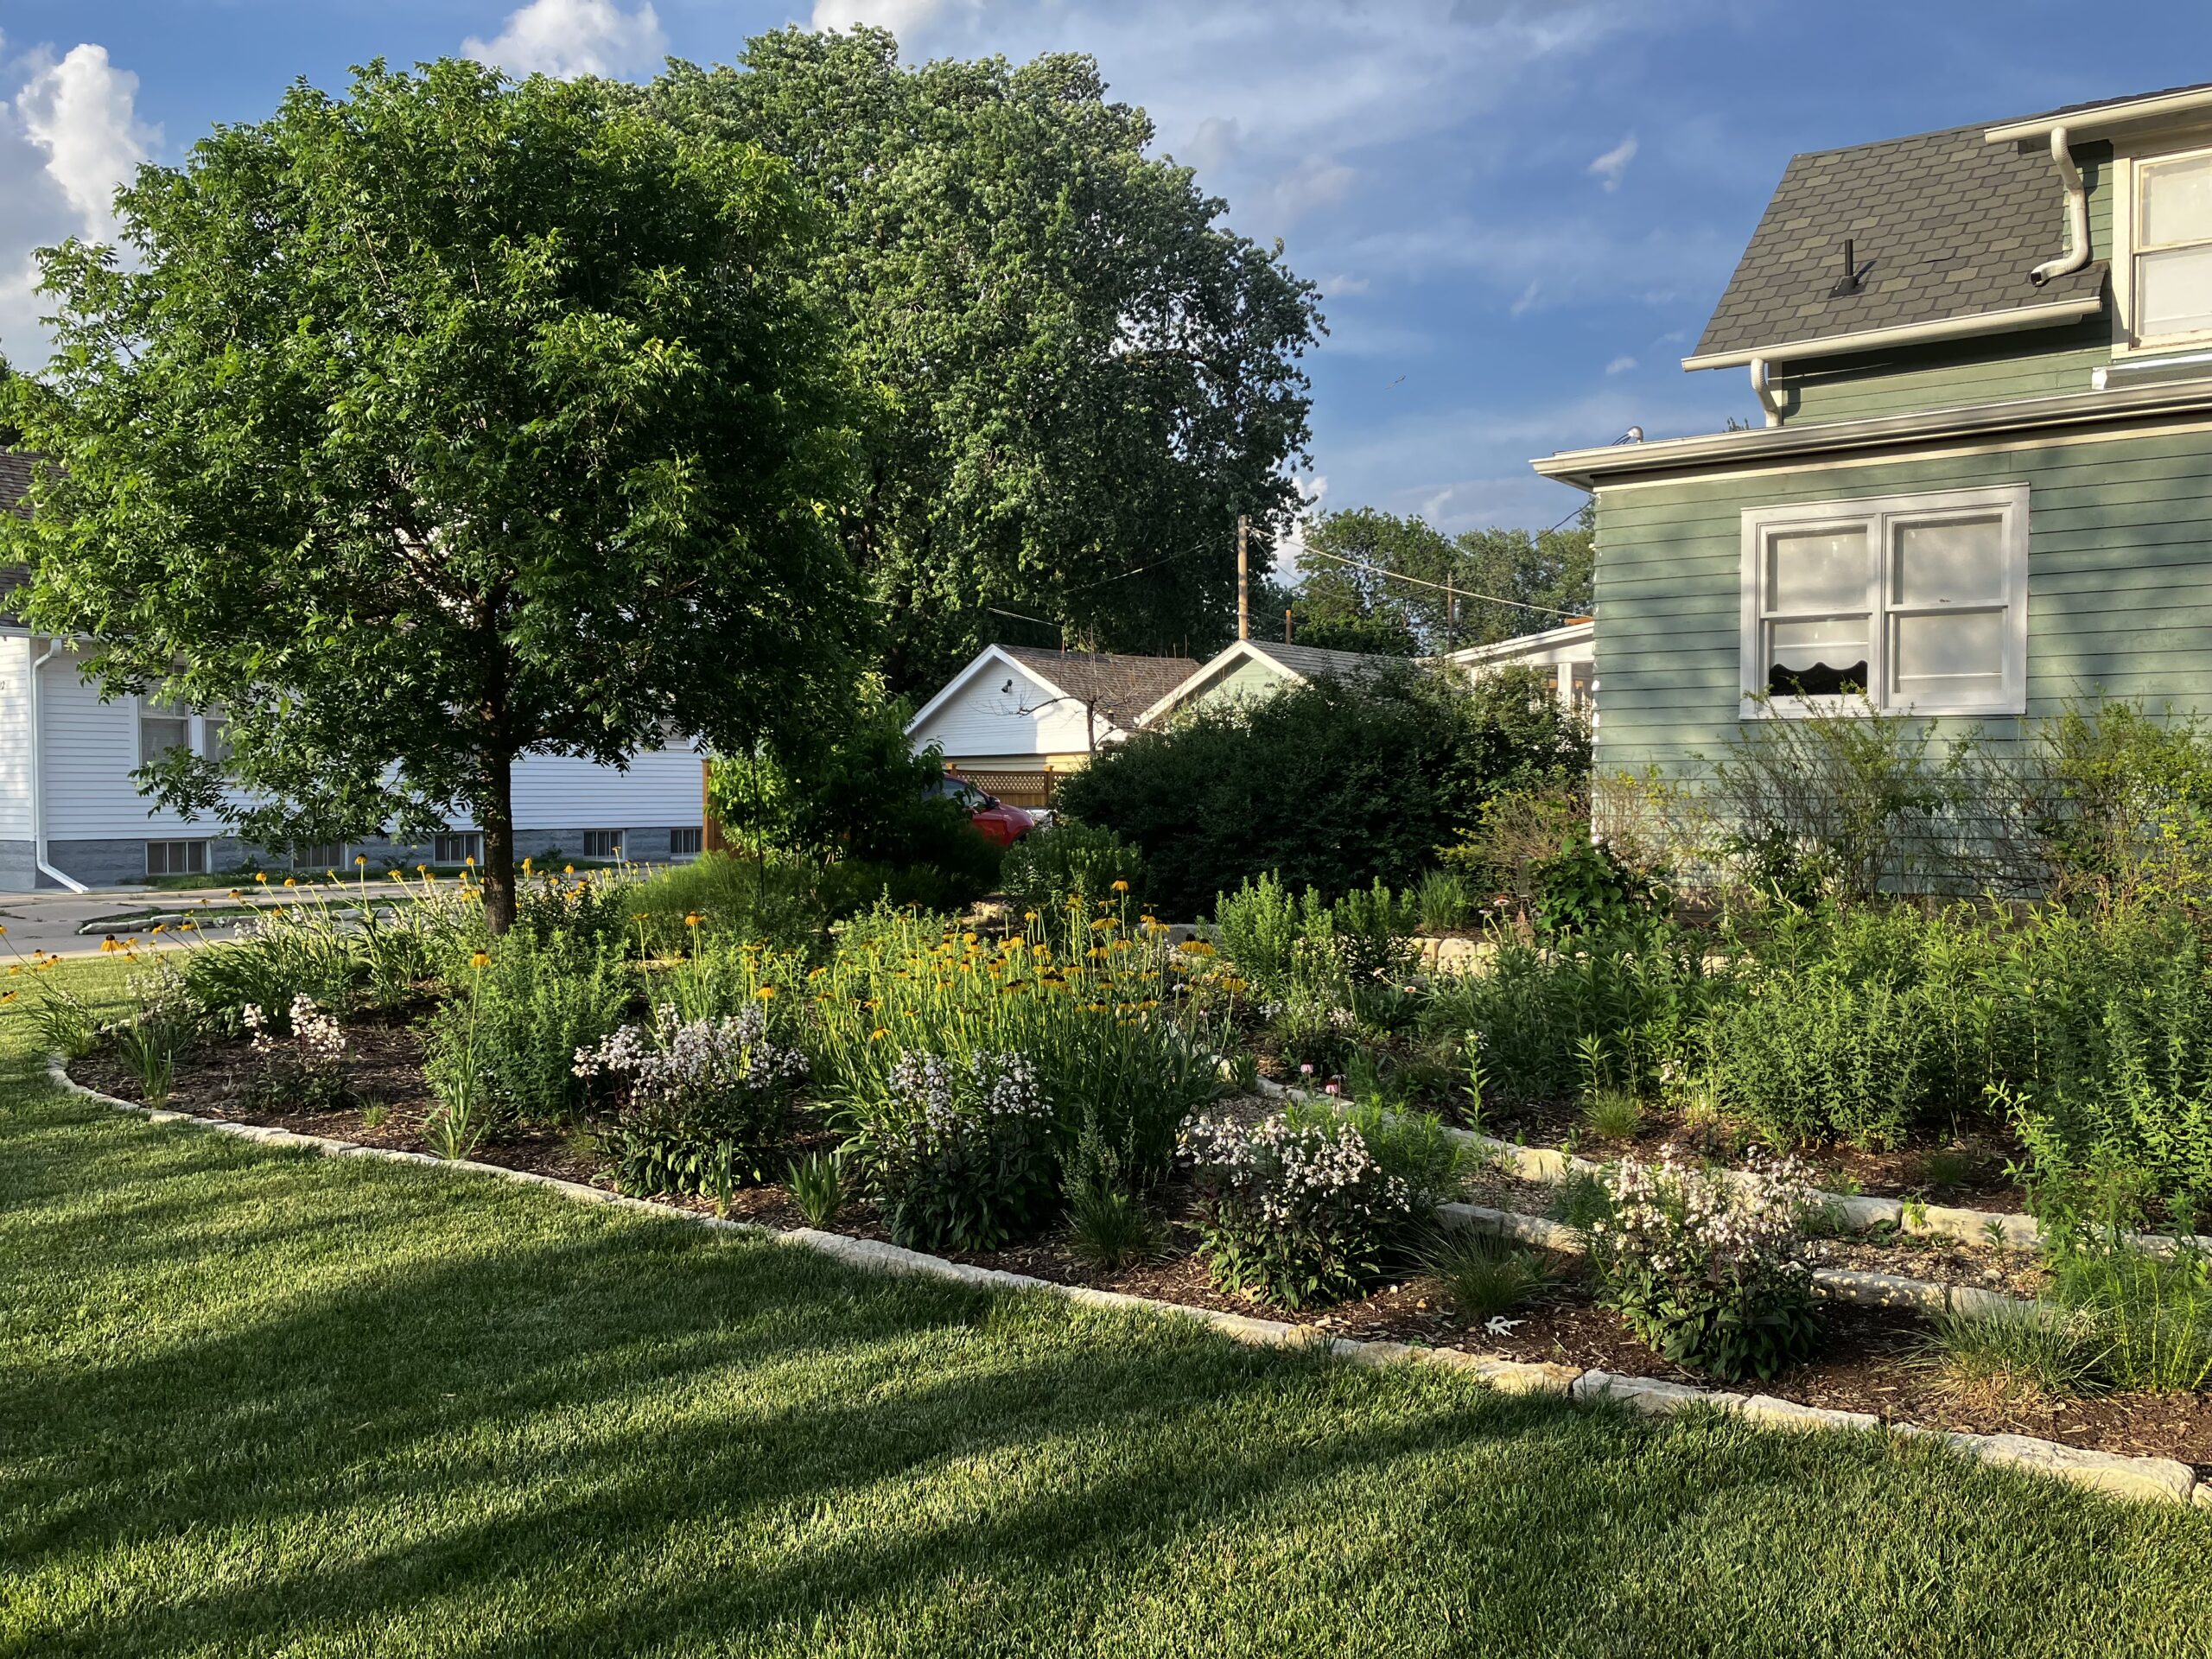
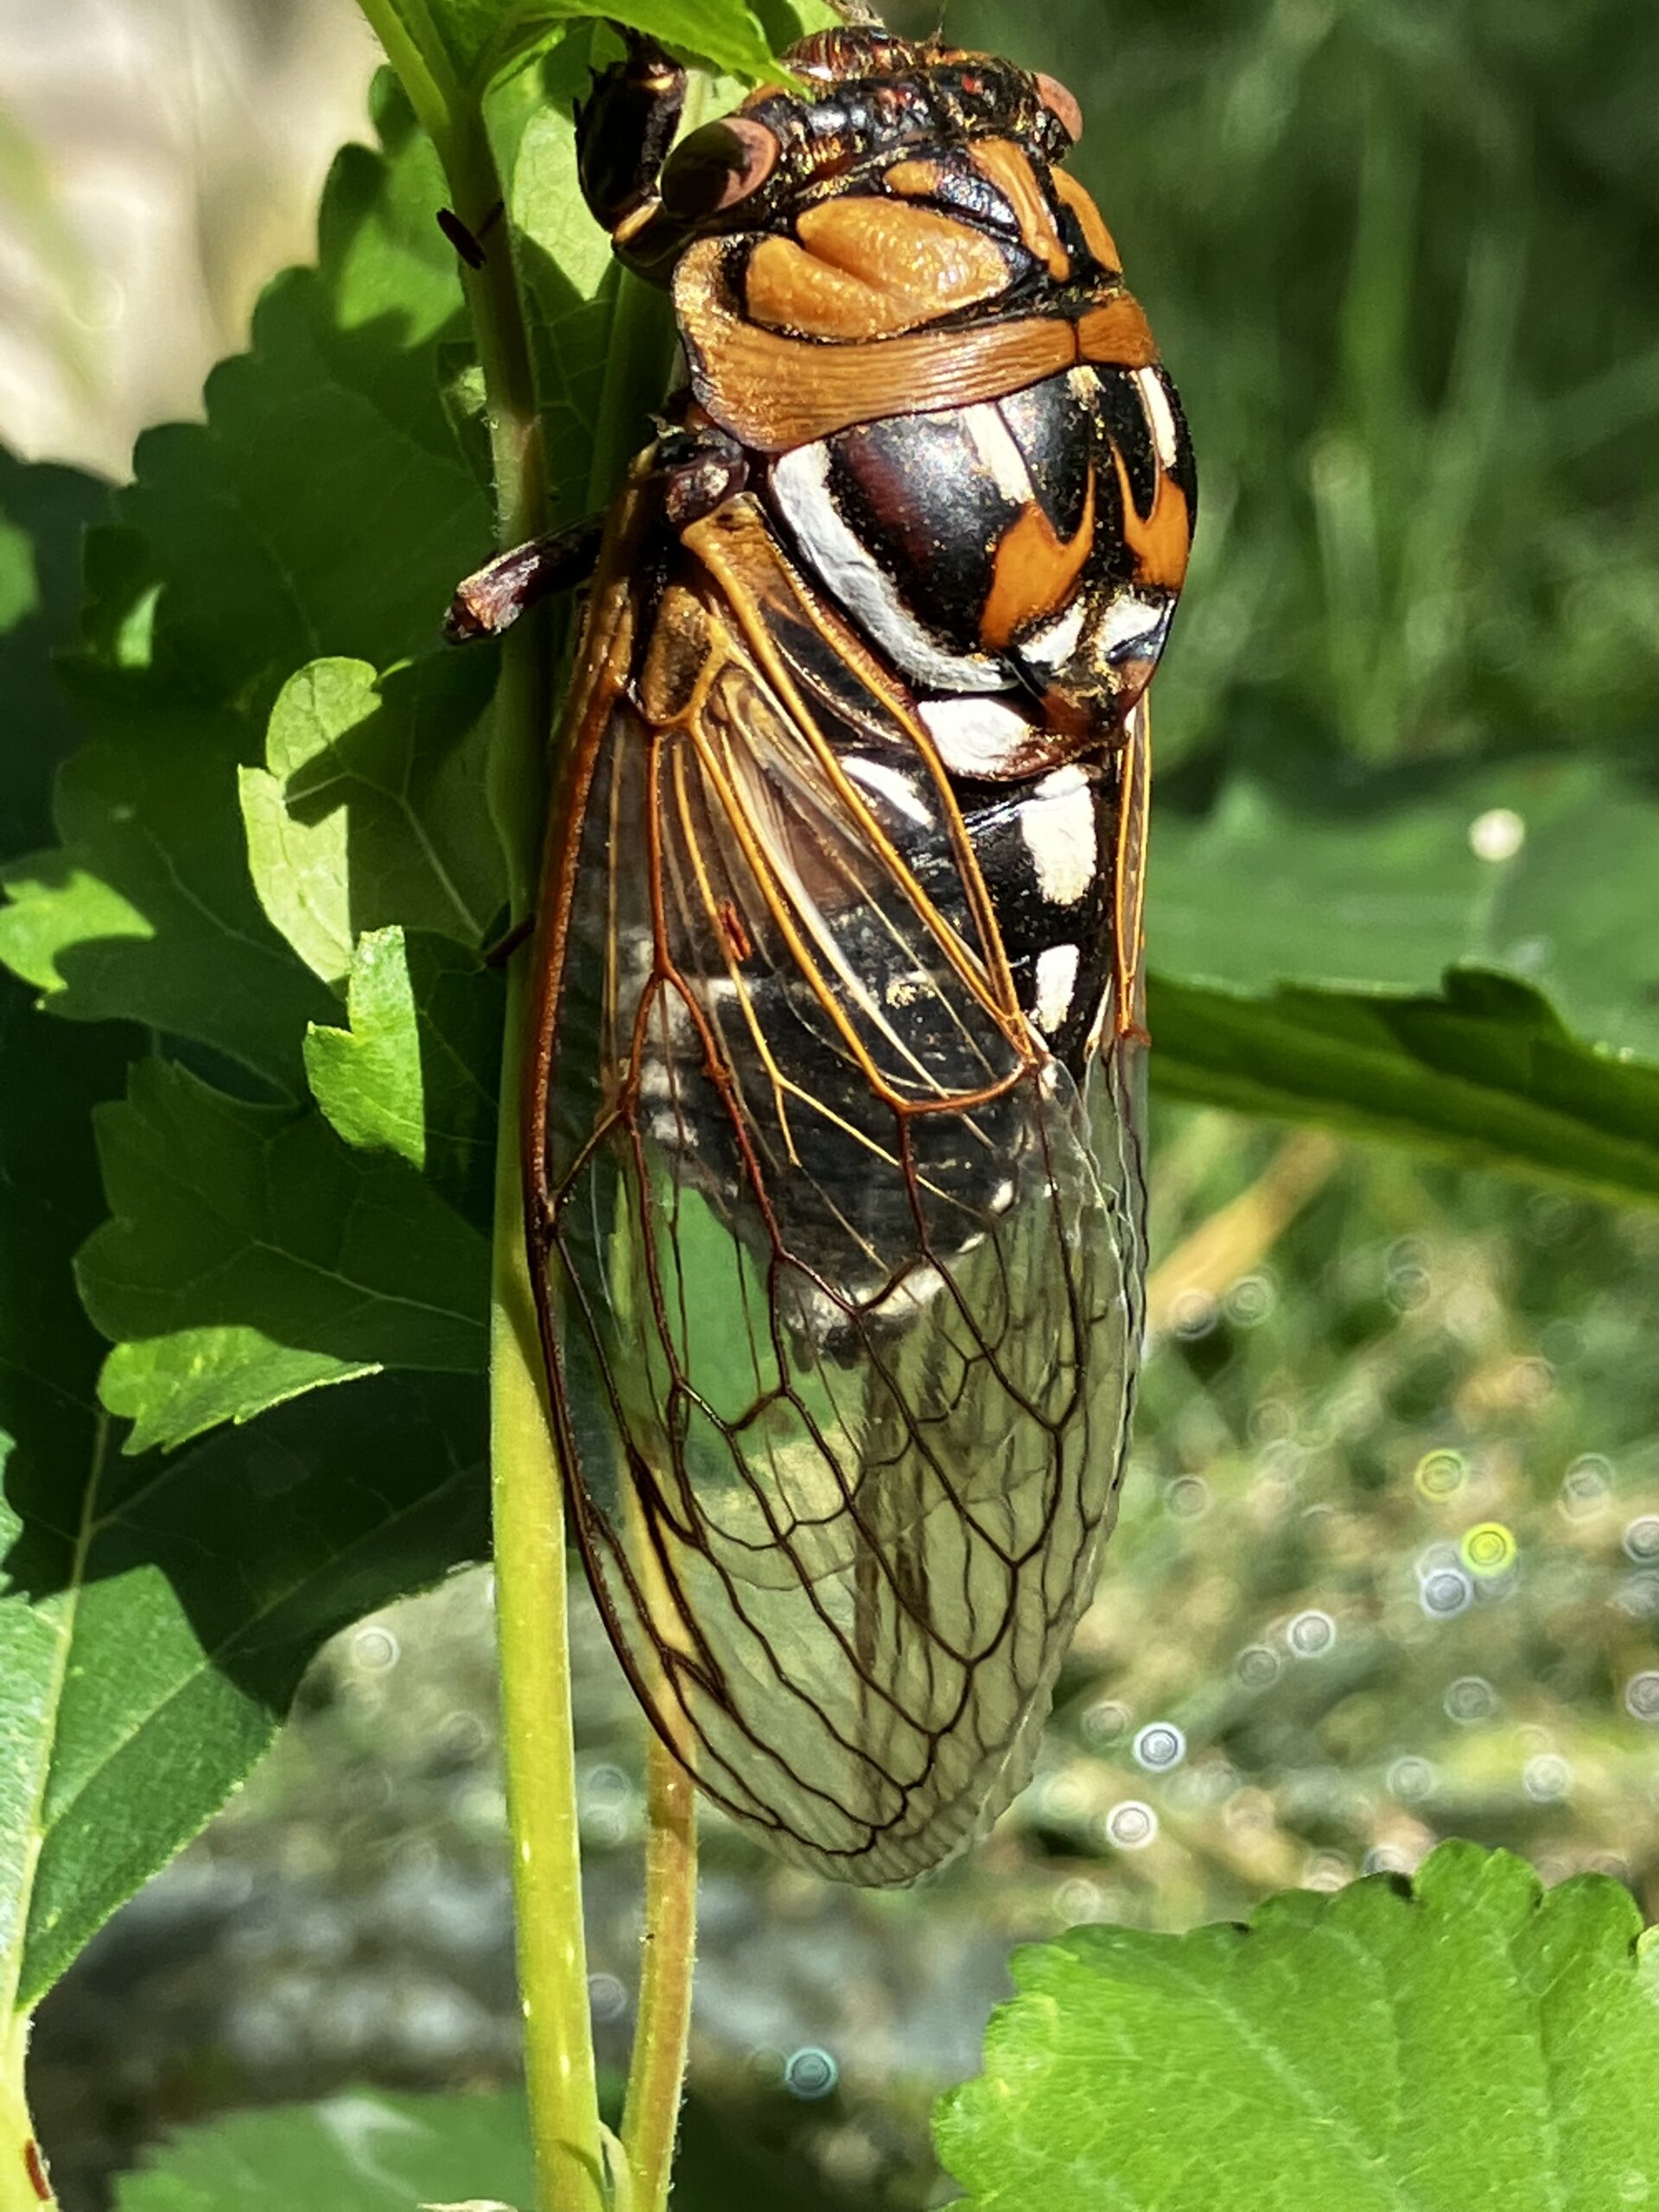
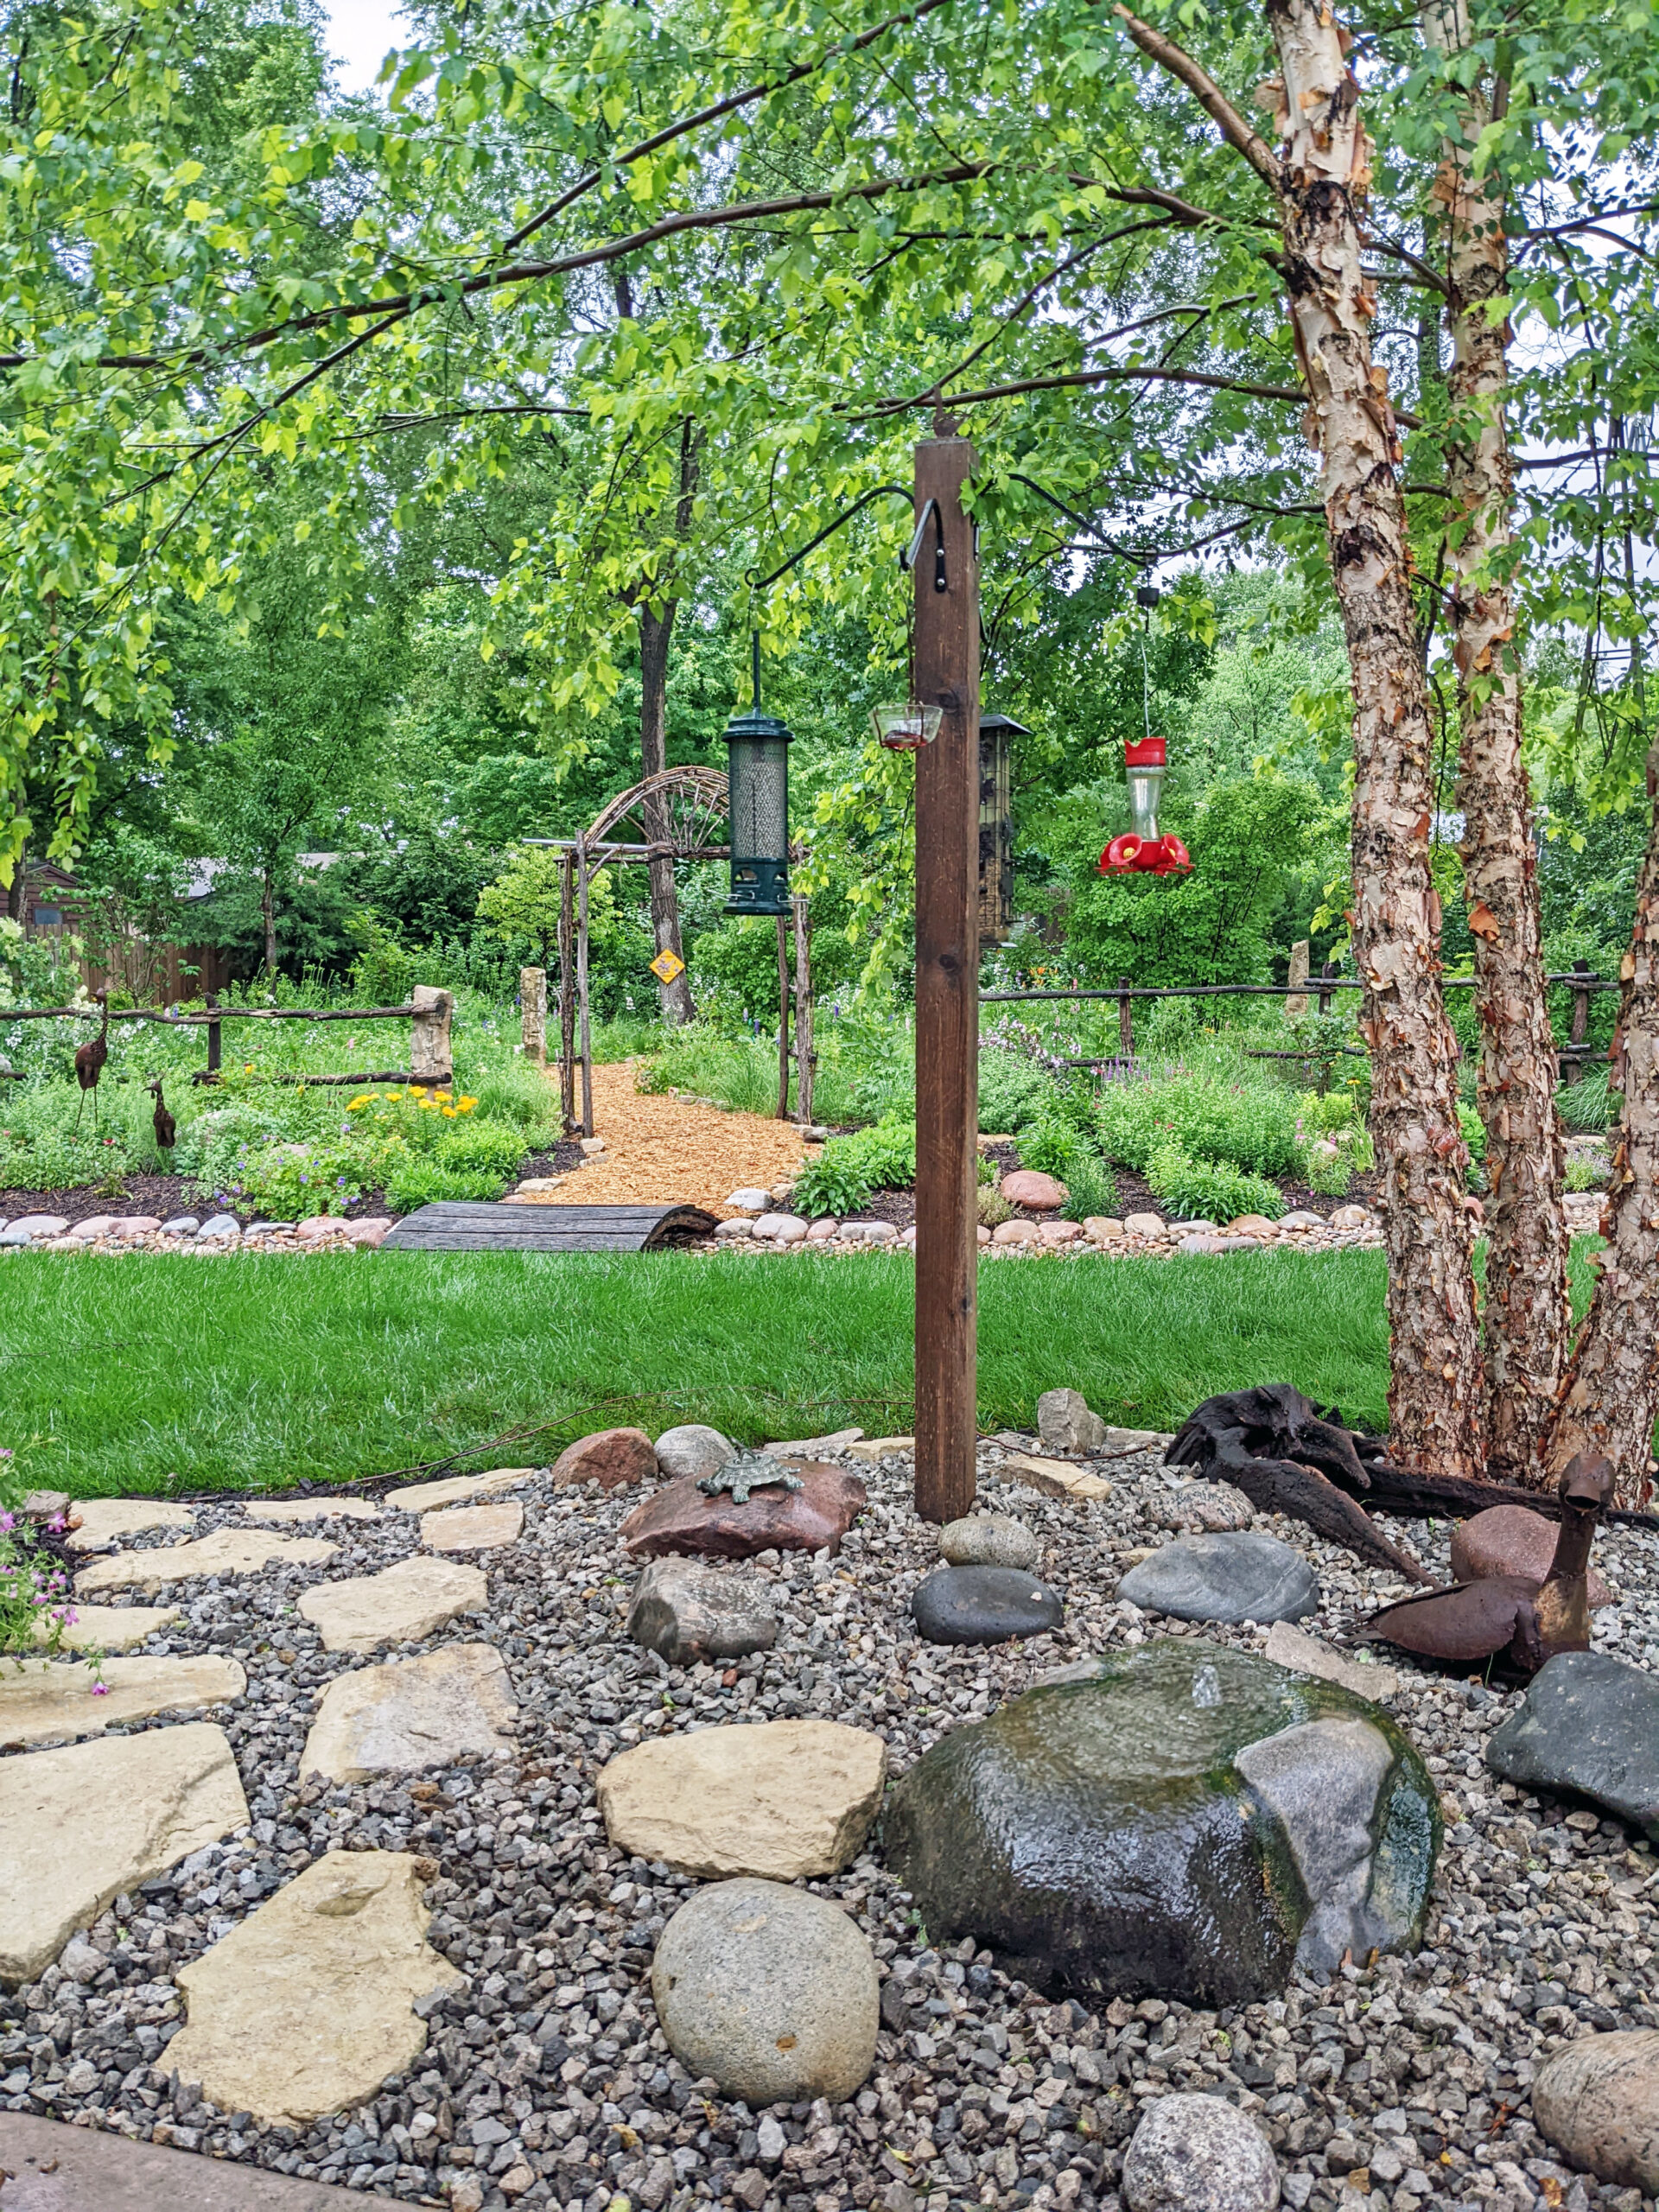
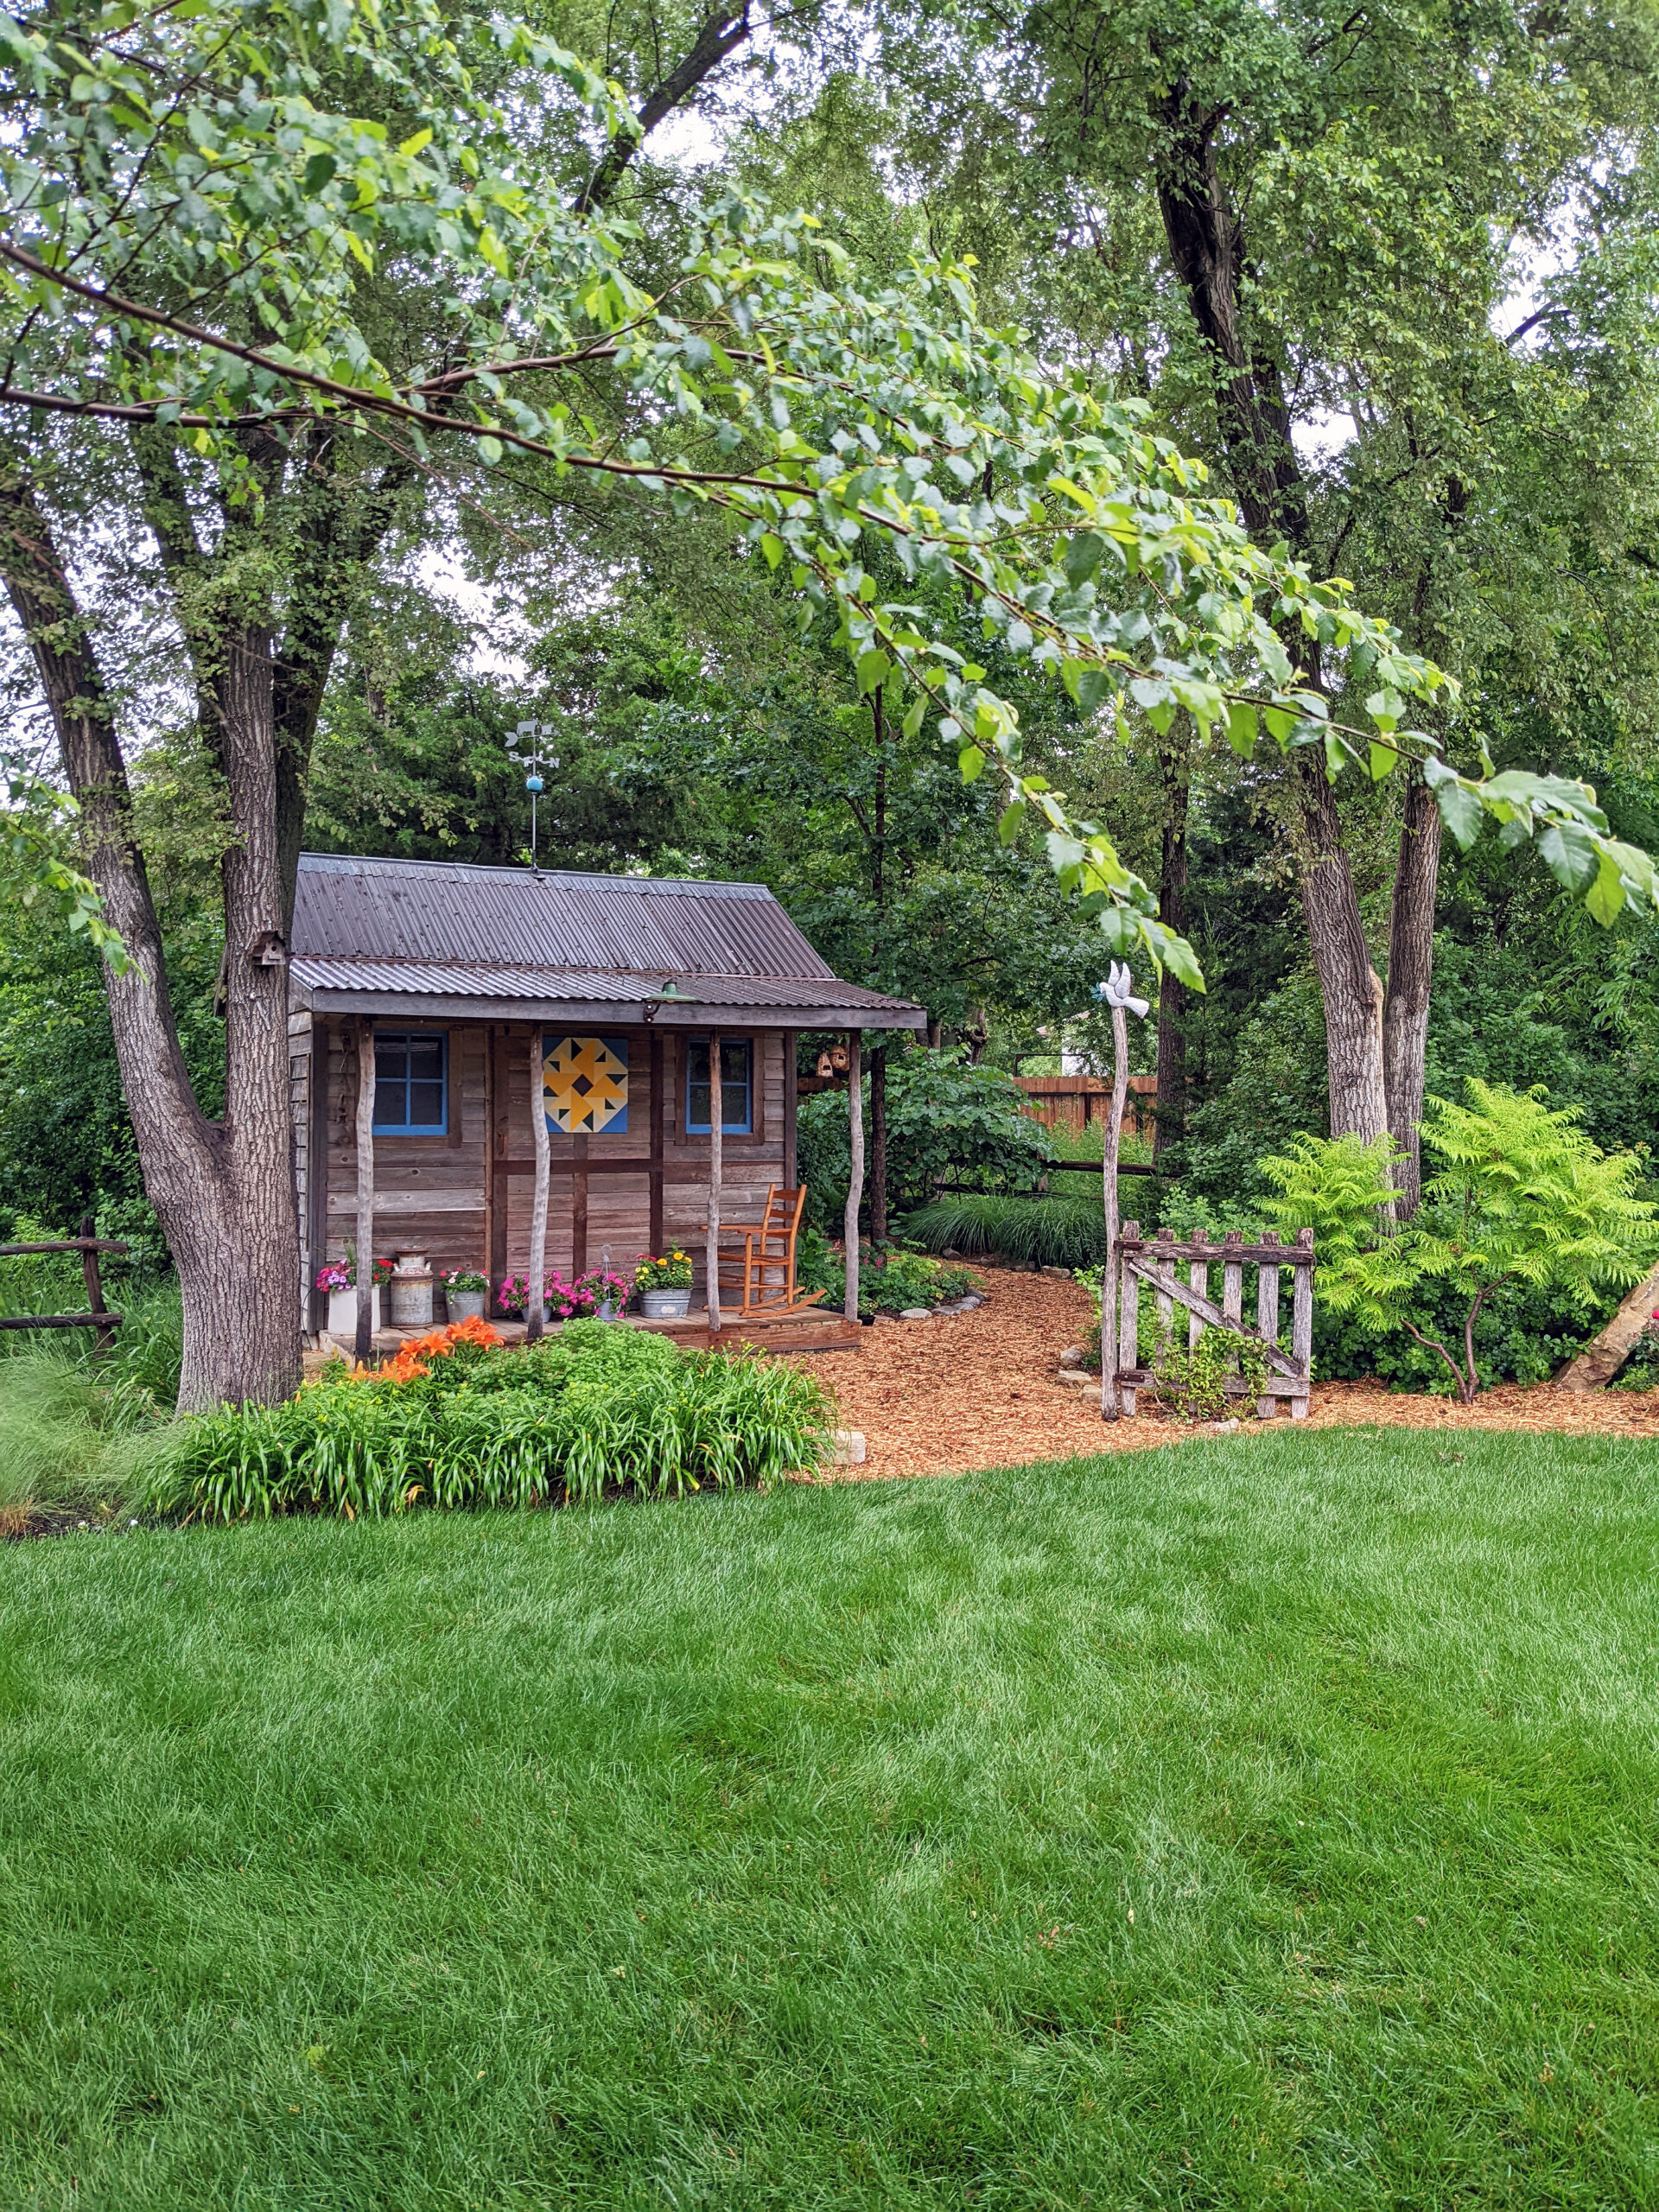
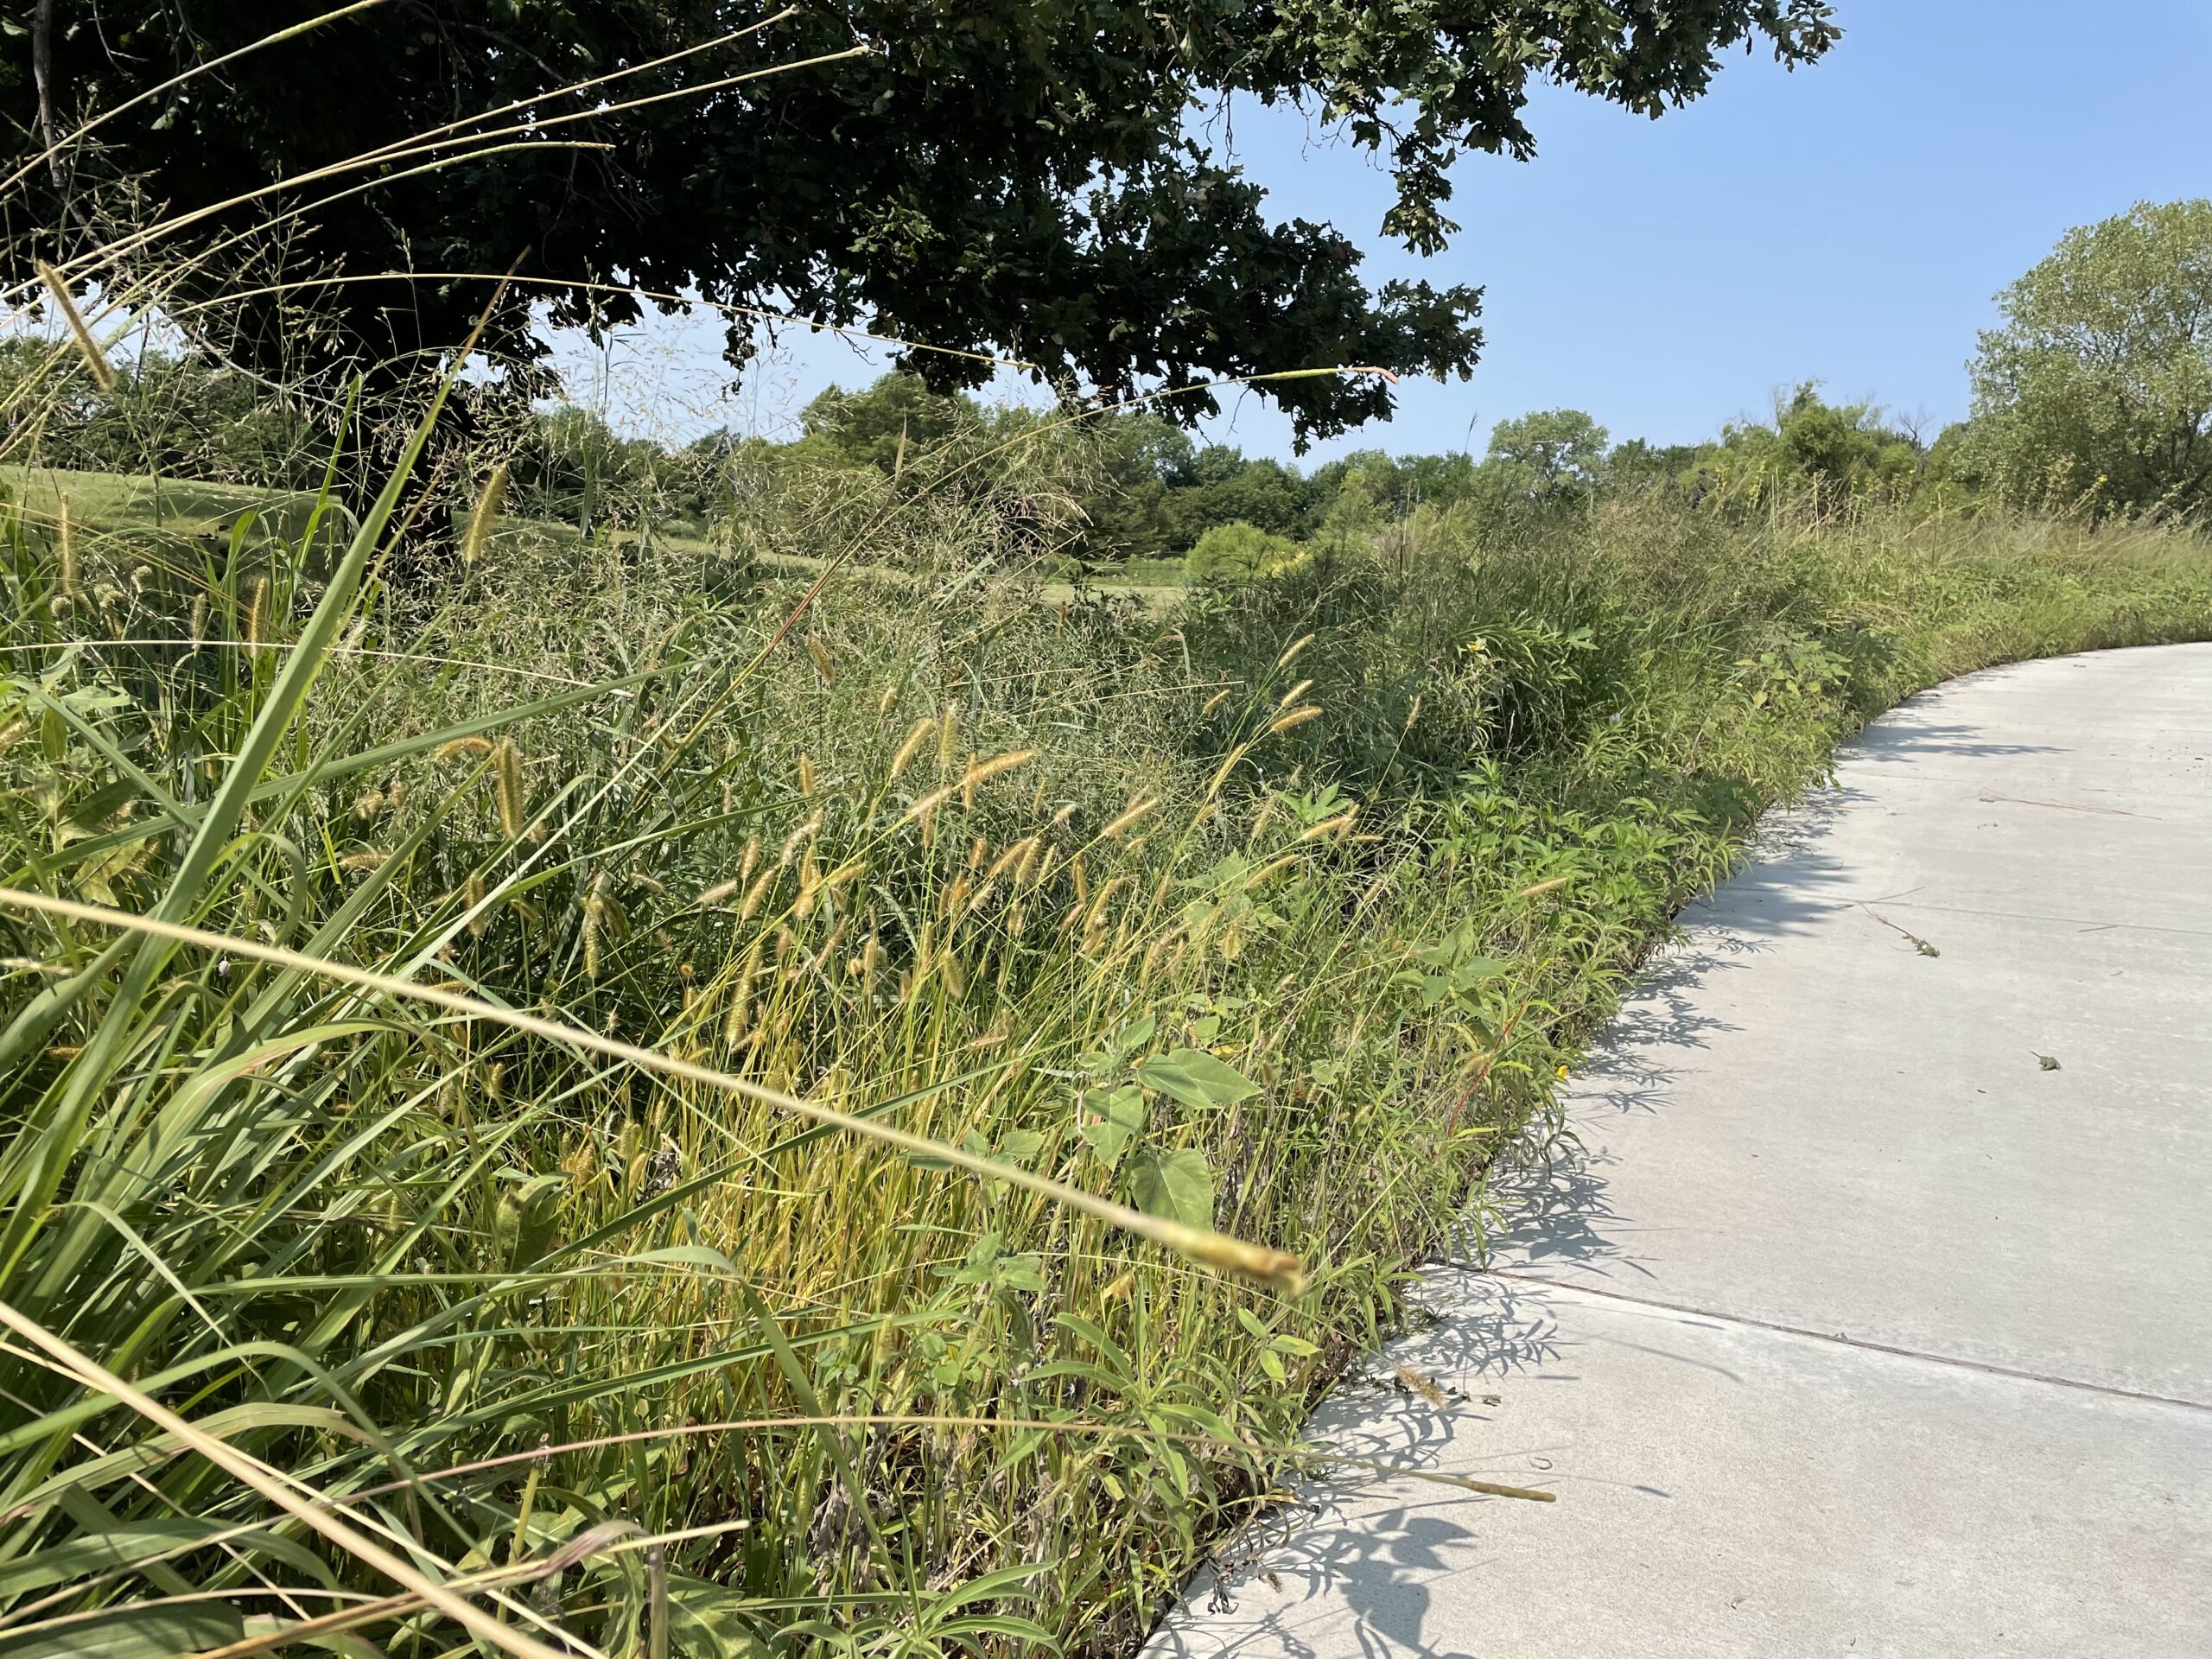
Despite a few hiccups, the garden has thrived. It attracts birds, butterflies, insects of all kinds, along with the occasional raccoon and armadillo! It is a season long treat for anyone who walks or drives by, and a great example of how converting a bit of lawn to garden can create beauty and habitat in our neighborhoods.
We love to help people dream up beautiful and ecologically friendly landscapes. If you are interested in a landscape consultation from one of our staff members, please fill out this form. Note that best planting times are April and September, and proper site prep can take many months, so be sure to plan ahead!
*All photos for this blog were taken by Ron Smith.


