
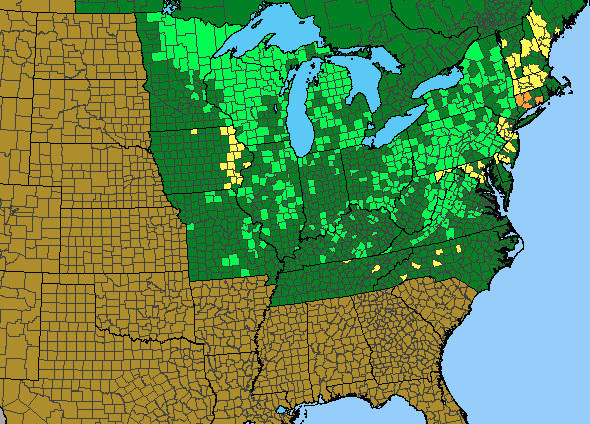
It’s a plant all gardeners know well: the infamous bindweed. Thought to have been accidentally introduced from Europe by crop seed contamination in the 1700s, it has established itself all over the North American continent. But I recently found a native relative to this terrible pest, and upon further research, learned some fascinating facts about this plant family! The more we know, the more effective we can be at eradicating the invasive ones and properly identifying our look-a-like native species.

Common Bindweed, Uncommon Problem
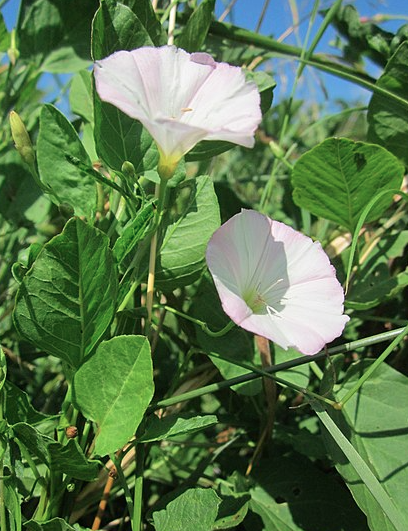
Convolvulus arvensis is the bindweed we all know and hate. It is a member of the morning glory family (Convolvulaceae). Its funnel shaped flowers hint at its lineage, and they are often visited by sweat bees and other small pollinators. Blooms may be white, pink, or even striped. Even farther up it’s family tree we find it is related to nightshades (think: tomatoes, peppers, potatoes, horsenettle) all a part of the order Solanales. Bindweed has spread all around the world and is listed as one of the United States most problematic agricultural weeds. It causes millions of dollars in crop losses every year.
Good Bindweed and Bad Bindweed
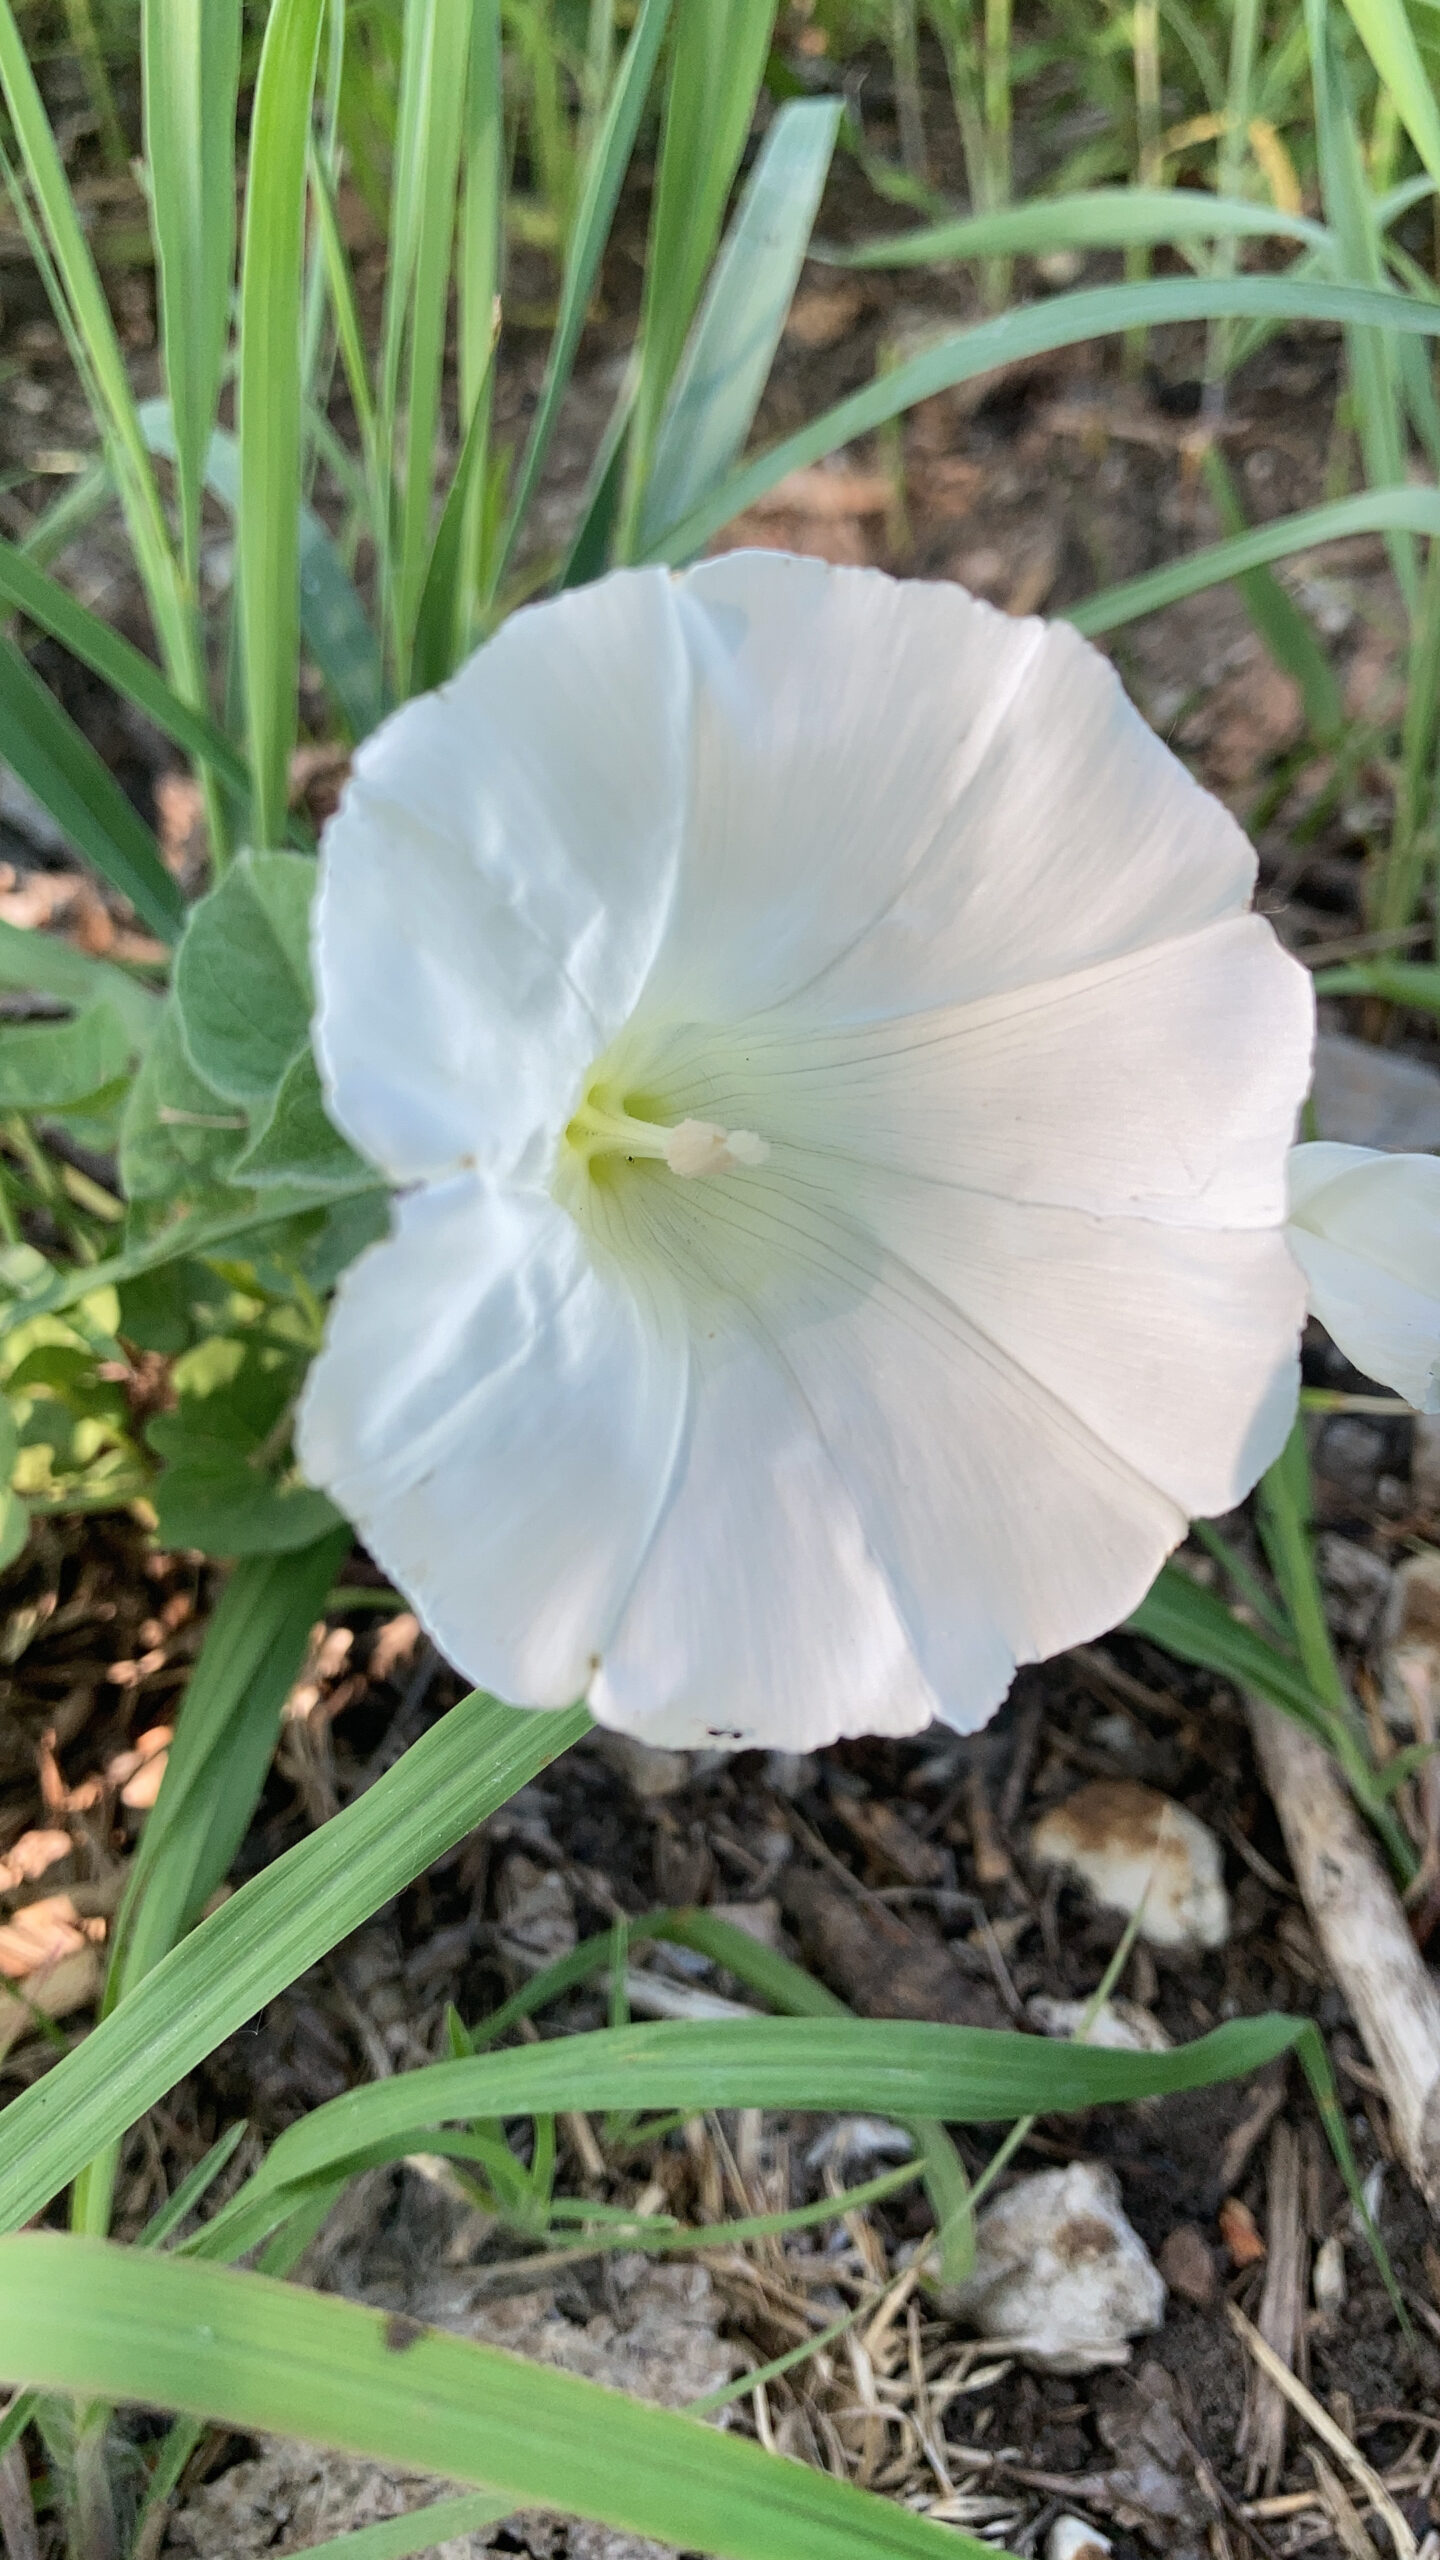
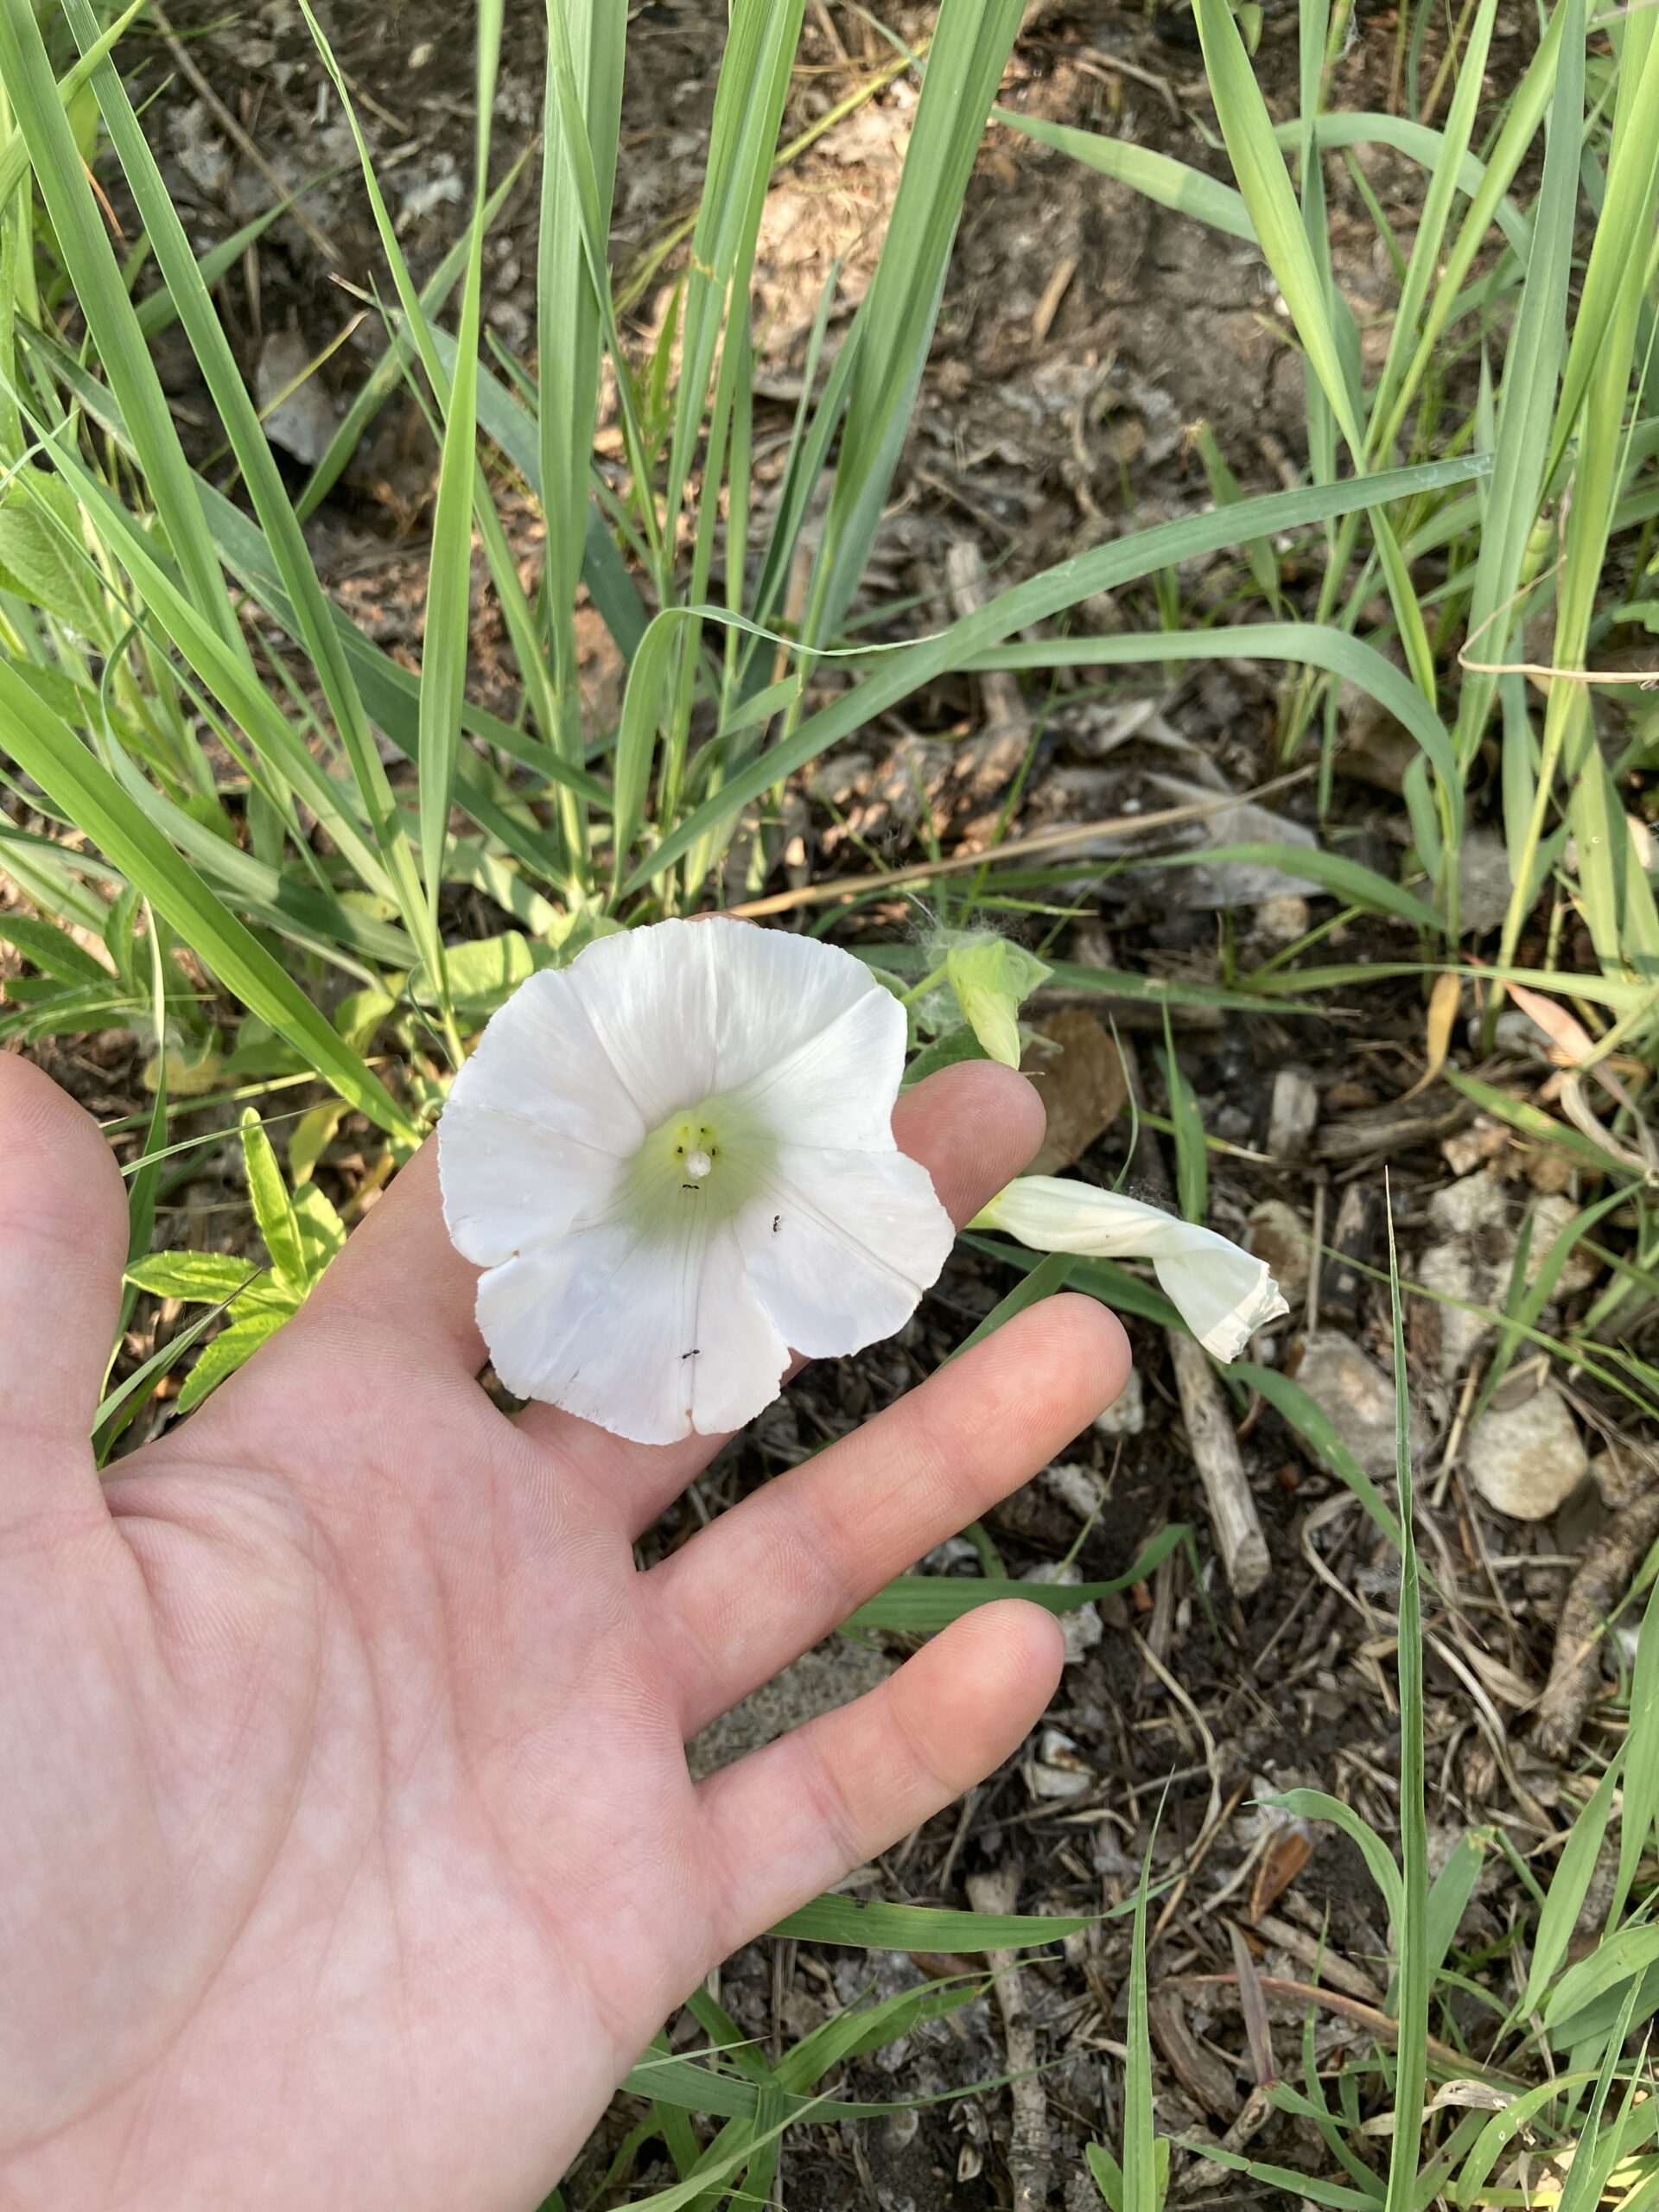
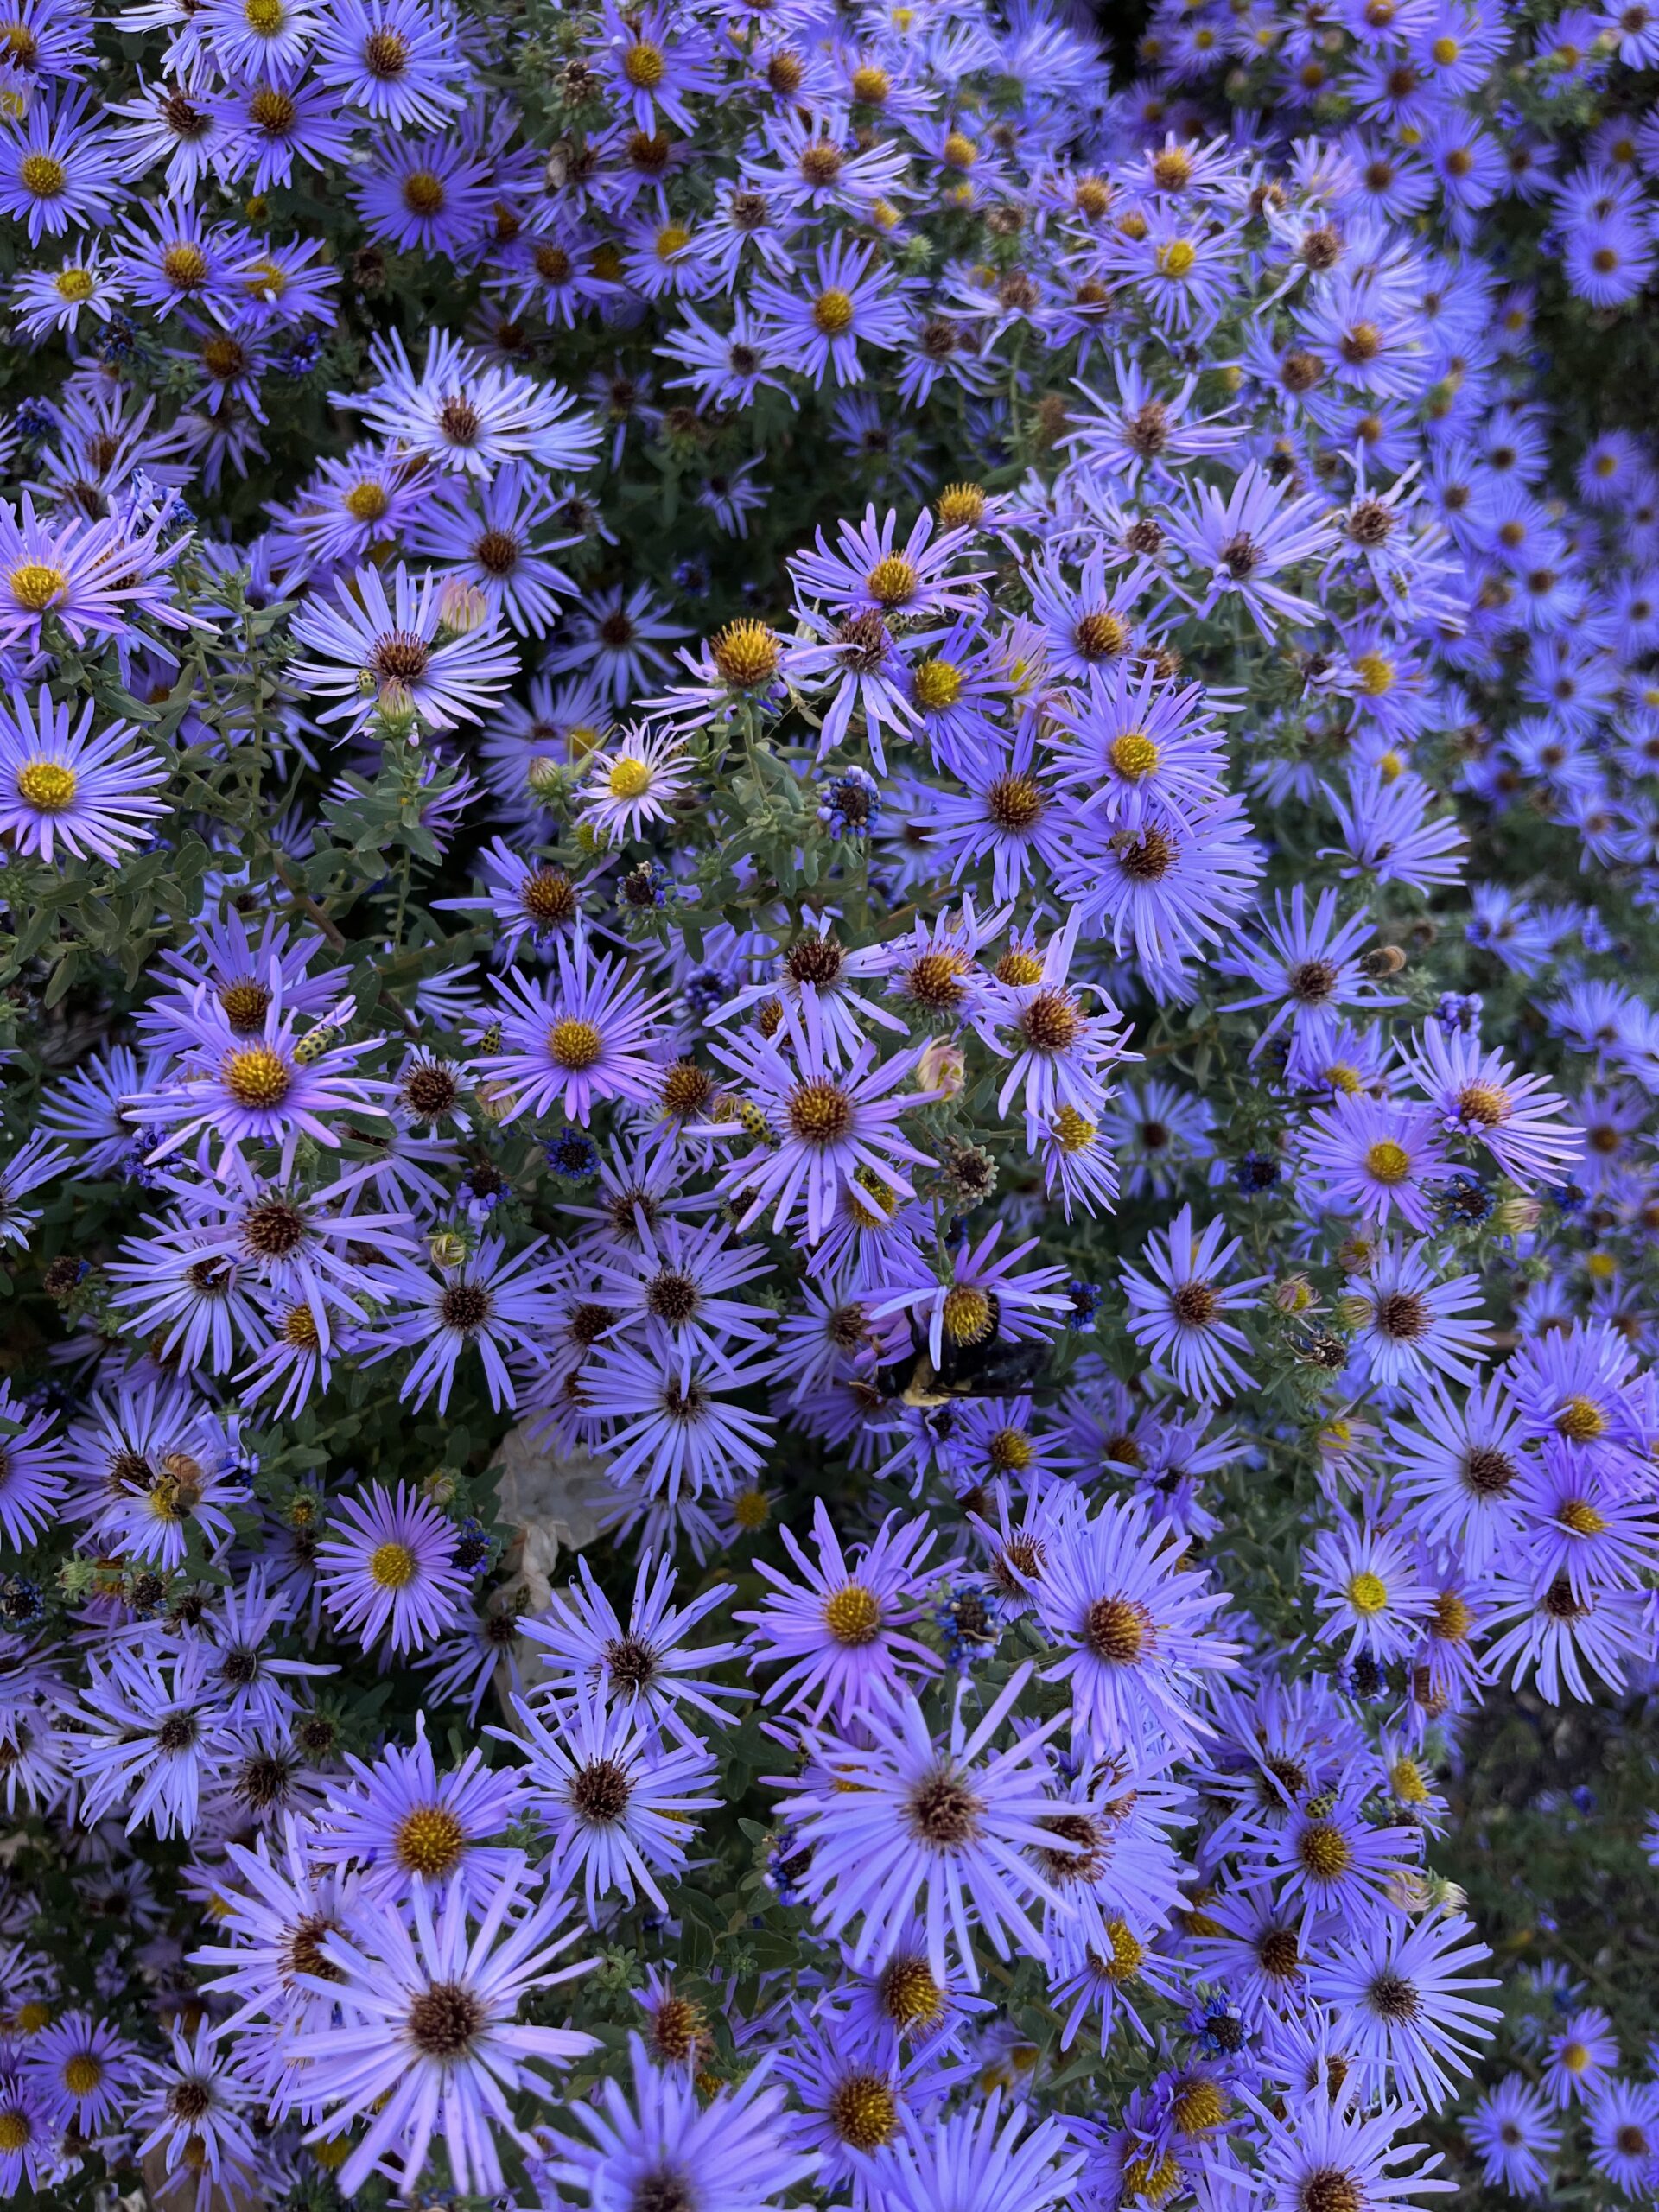
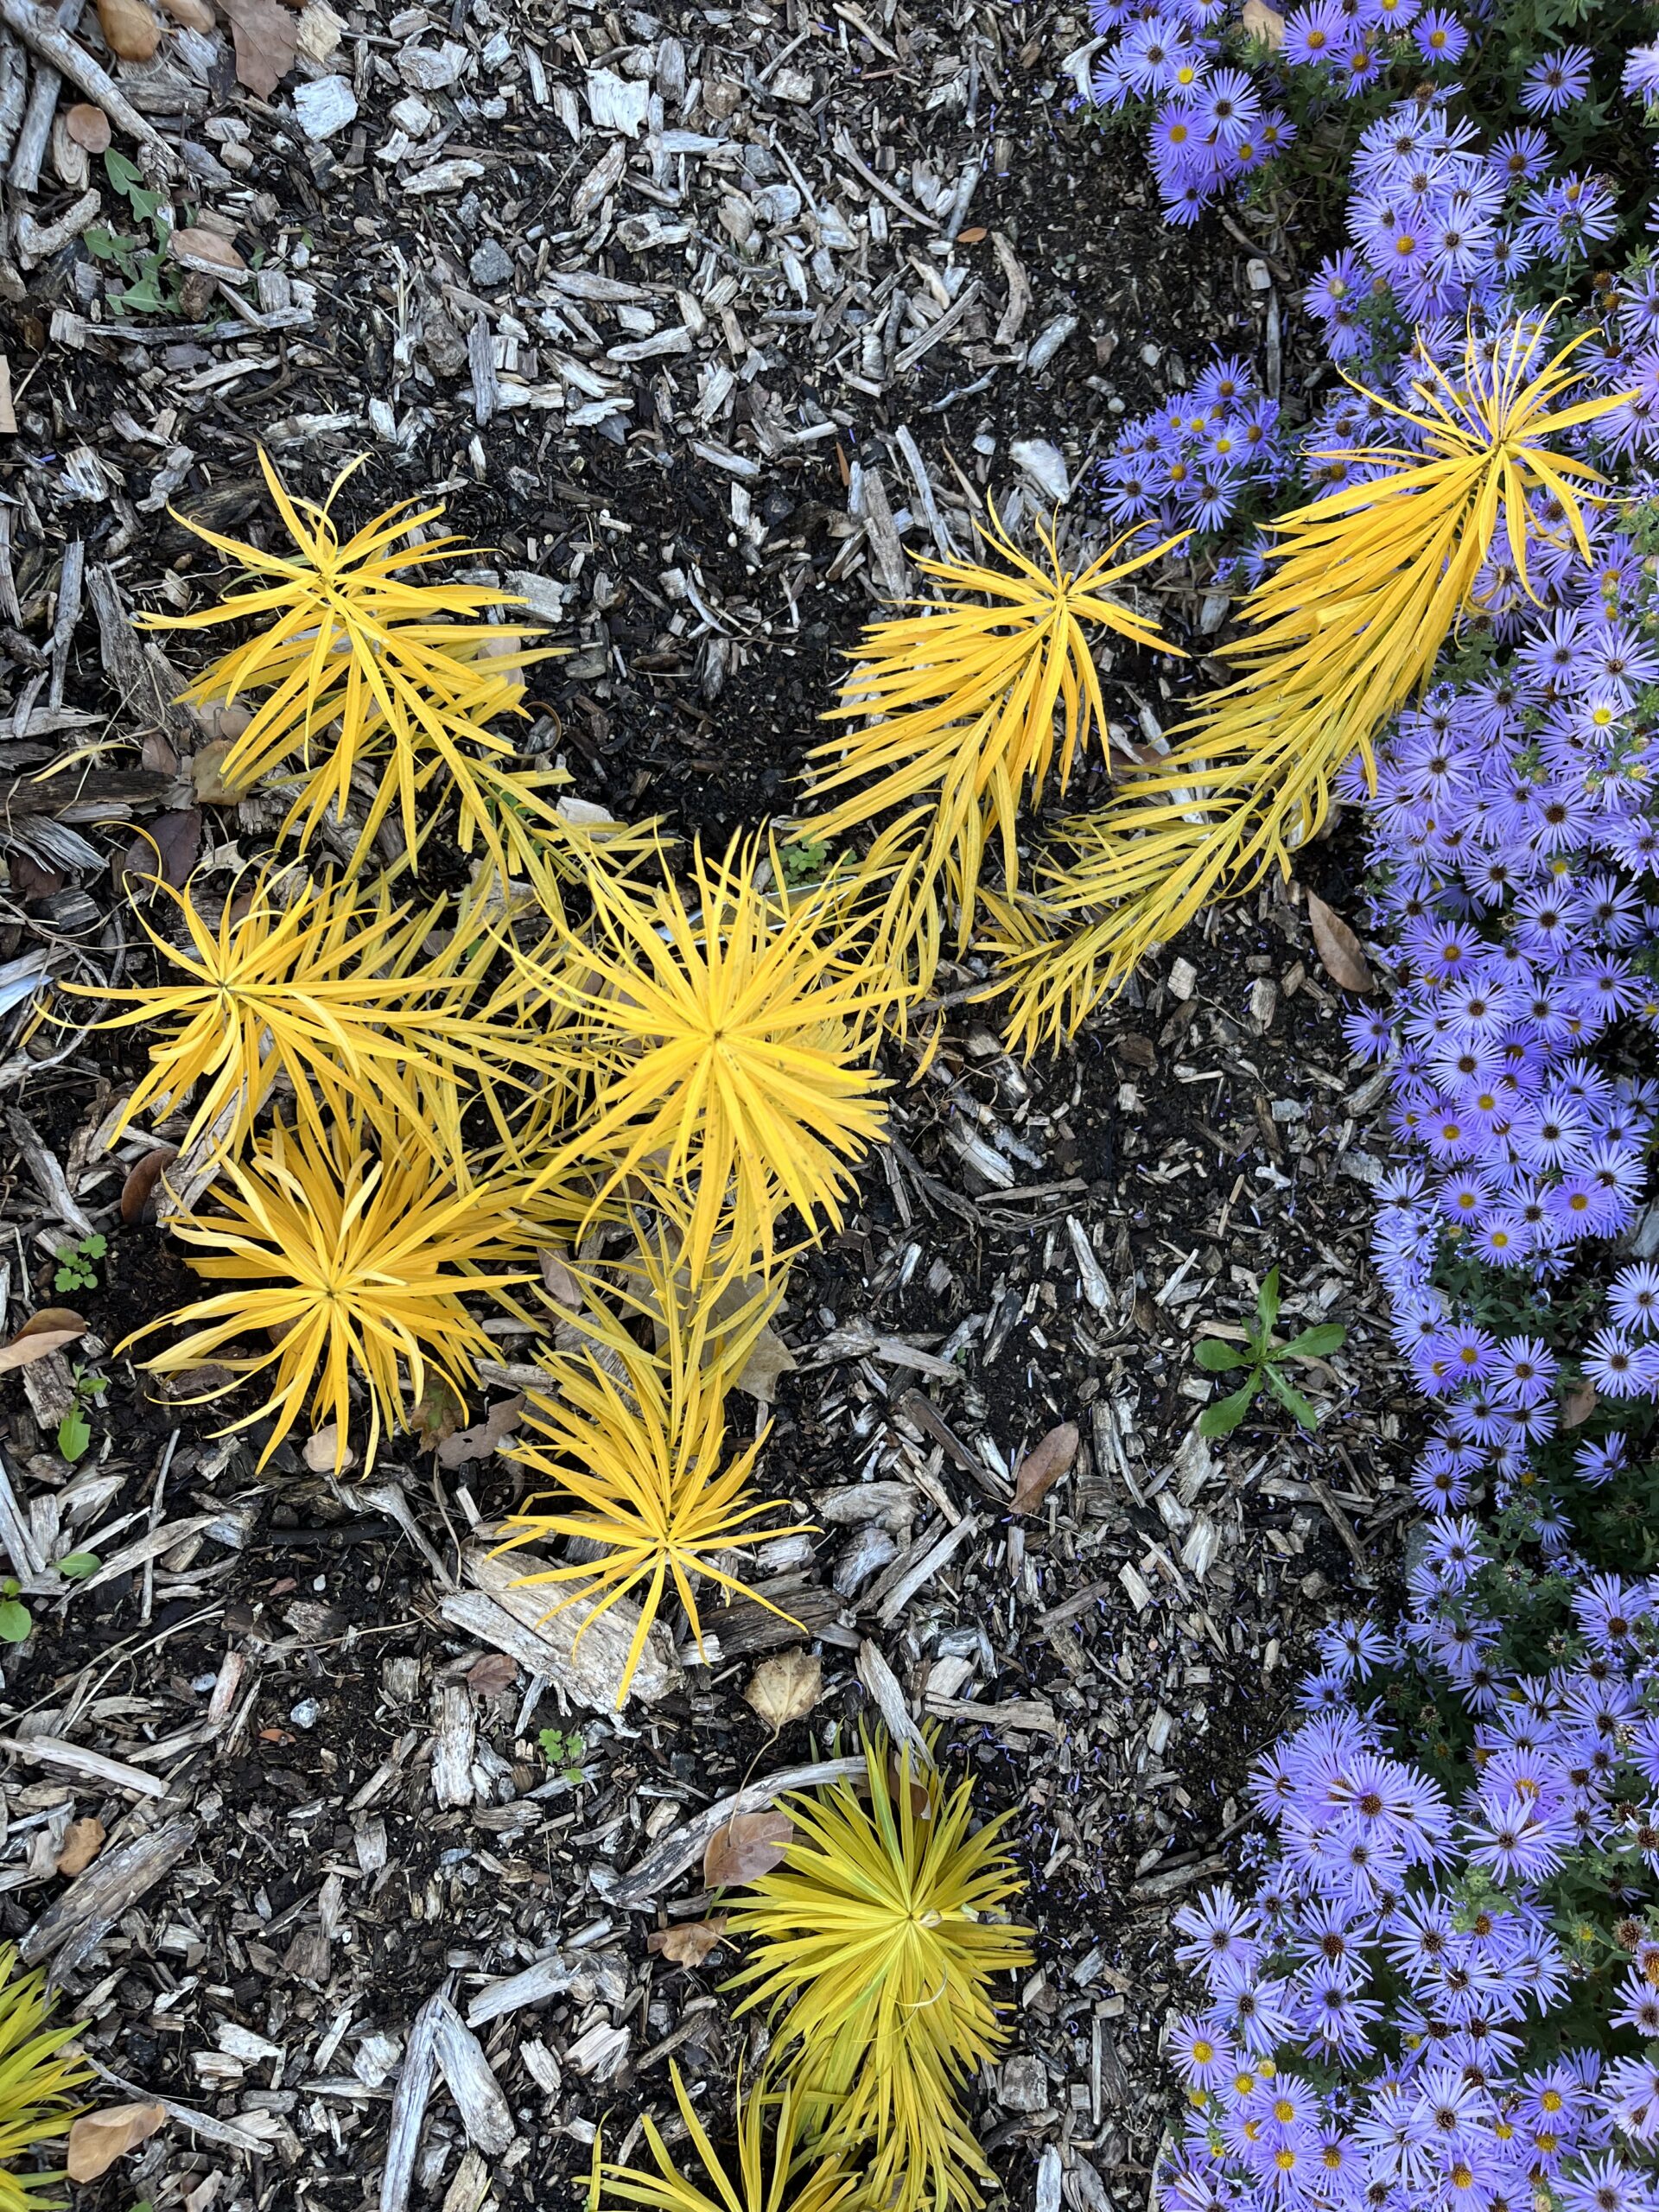
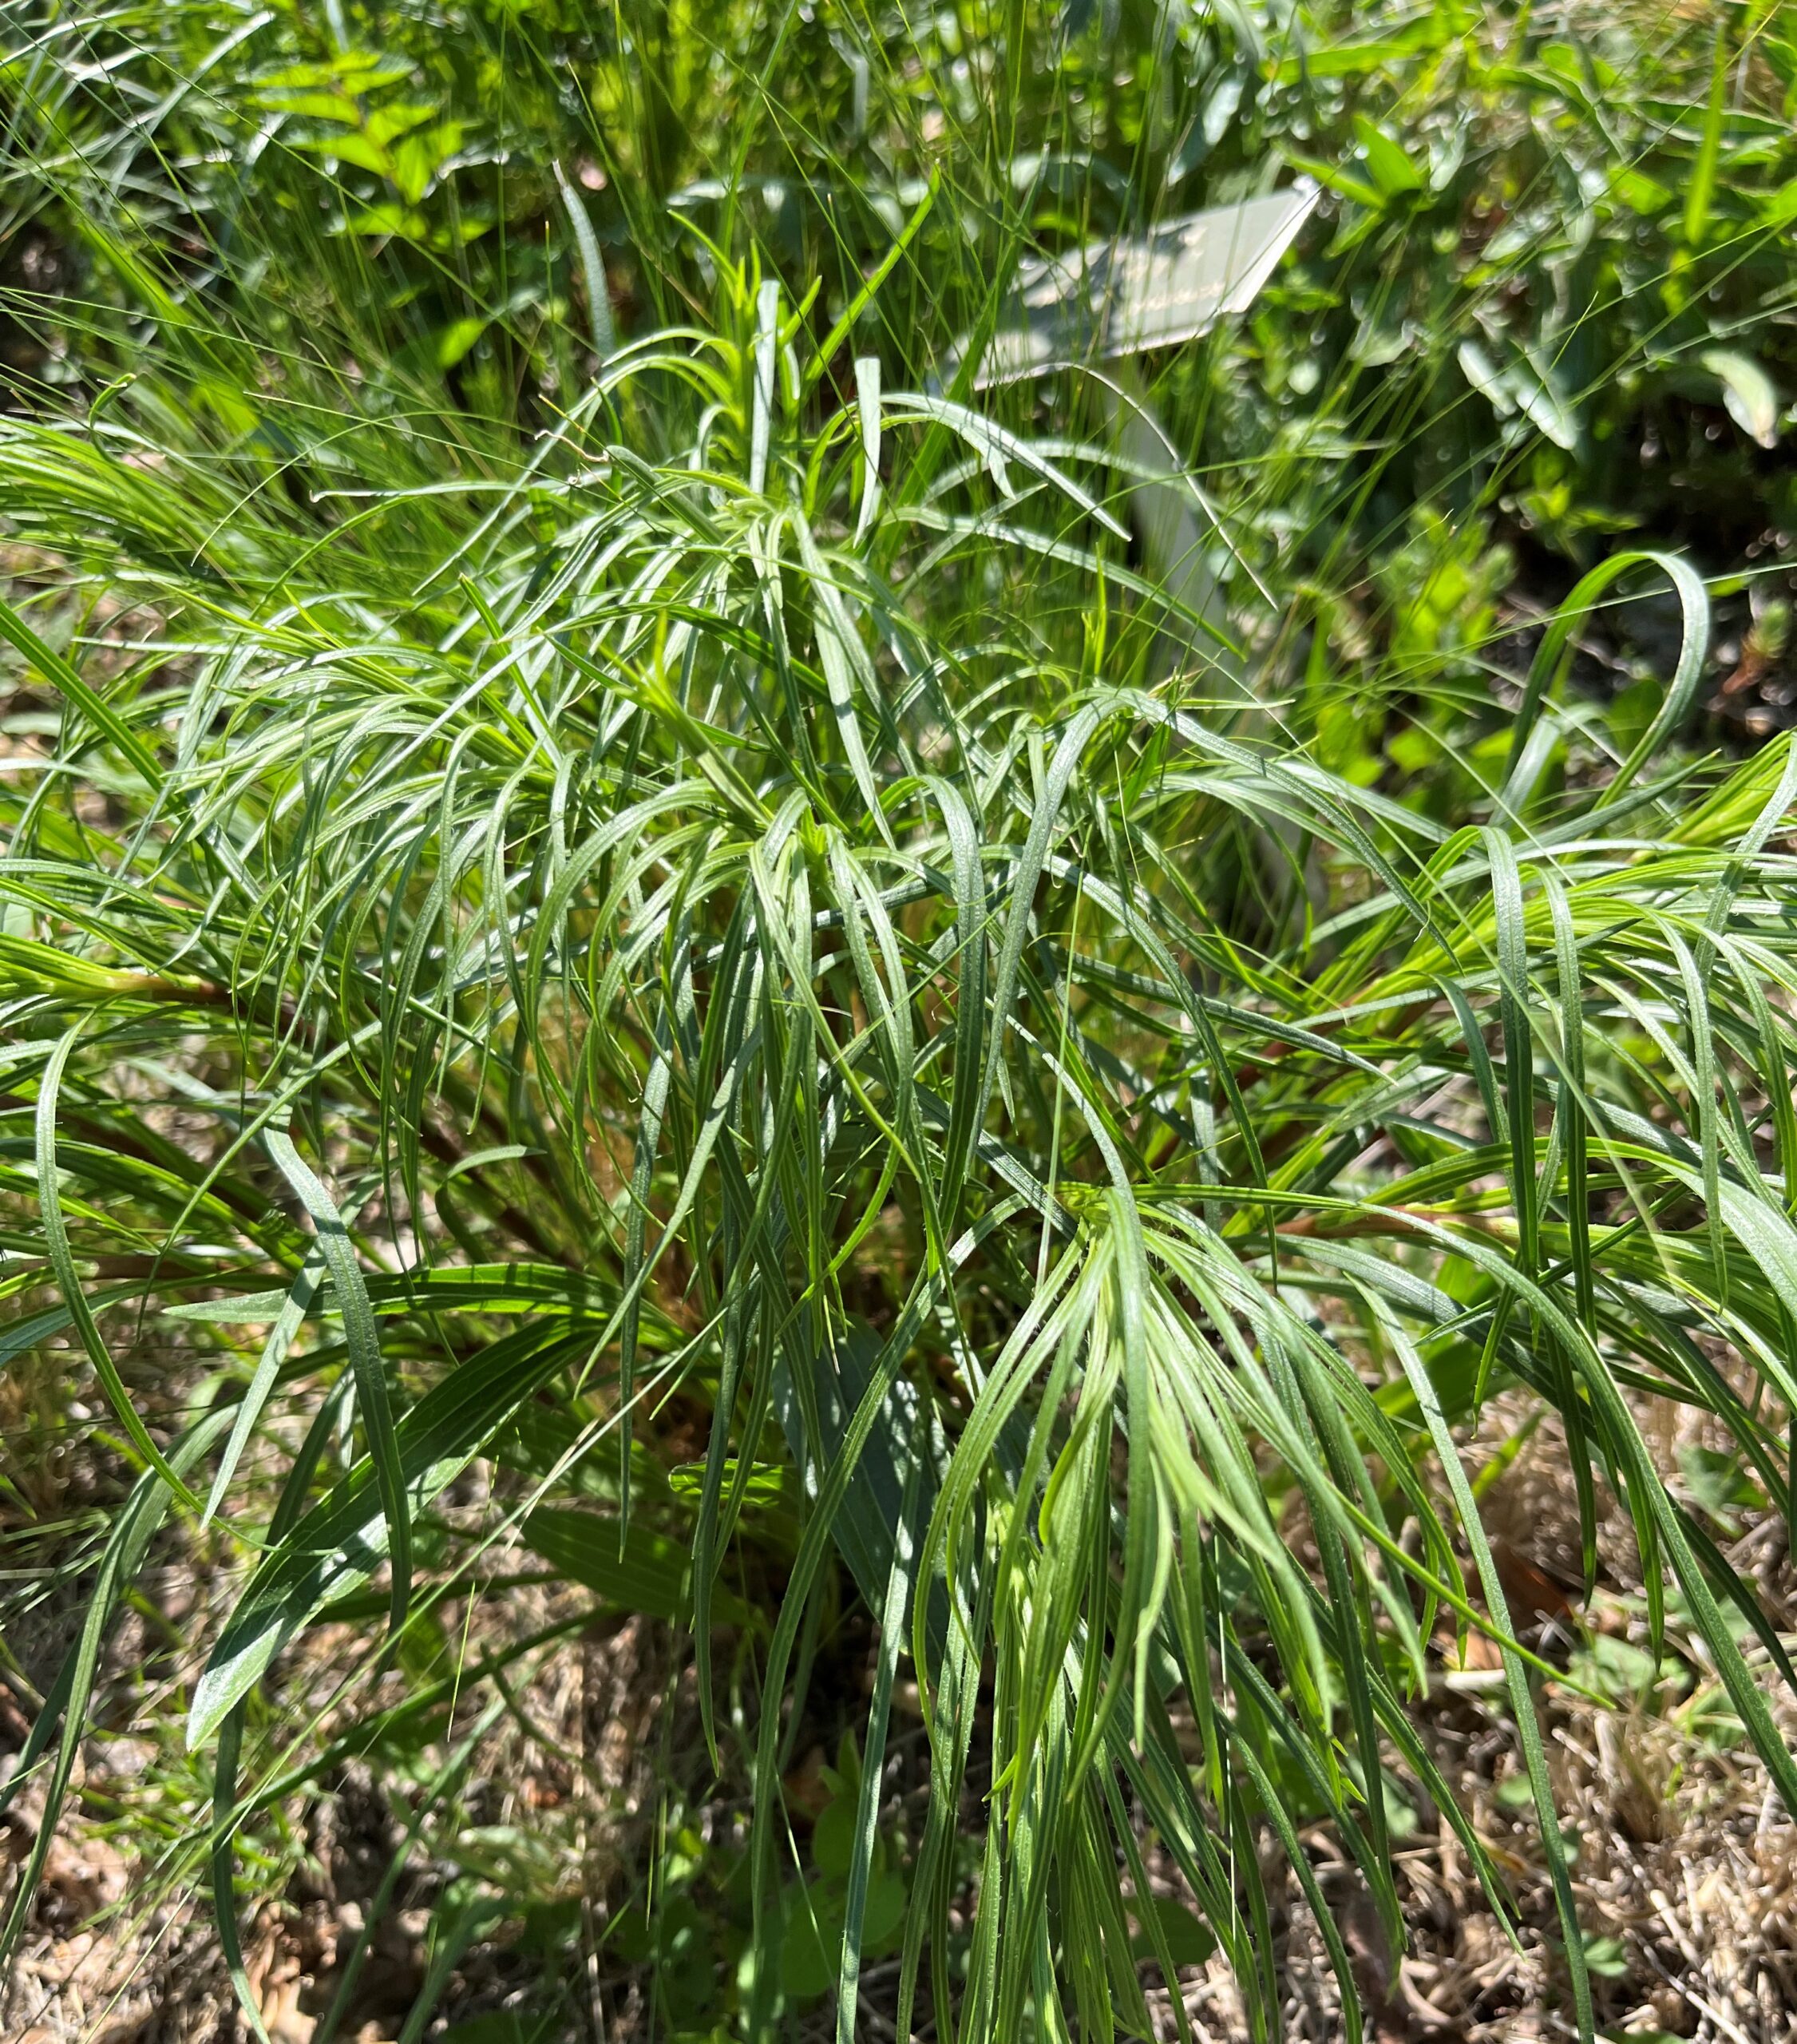
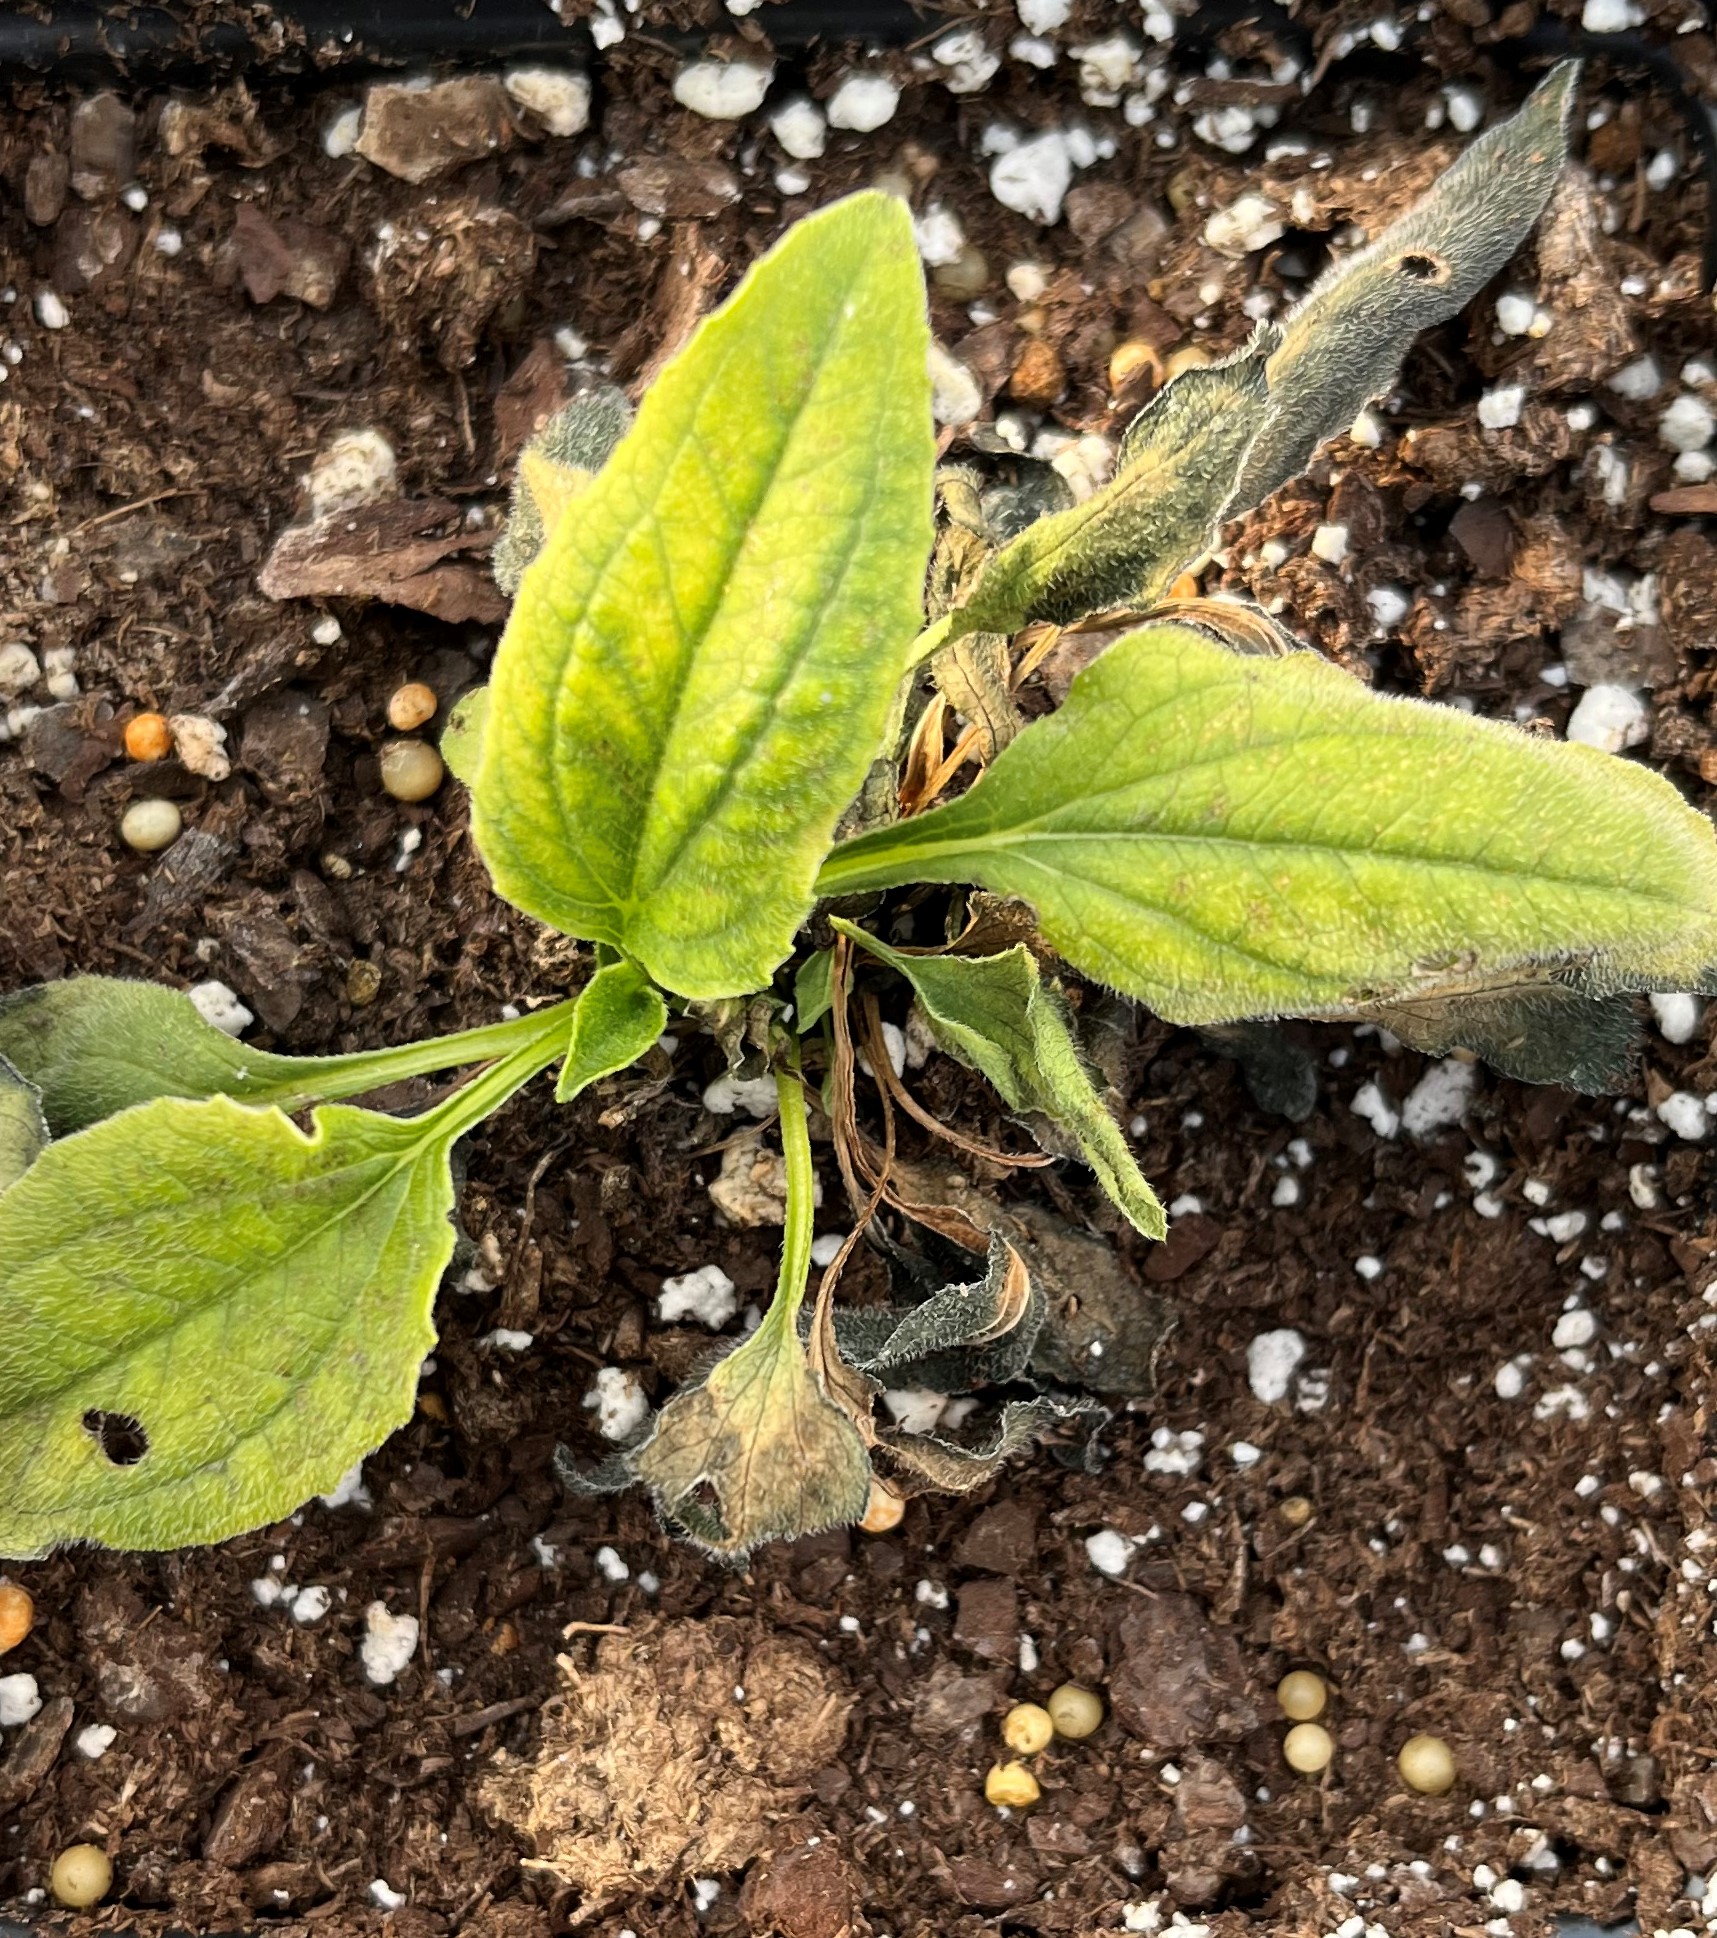
I didn’t know there was such a thing, but good bindweed exists. There are native species, often called false bindweeds, that look very similar but do not grow as aggressively. I was walking along the pond edge here at the Arboretum when I spotted what I thought was a bindweed. Odd, since bindweed rarely colonizes densely planted areas, especially in the shade. When I came closer I saw just how big the flower was. It was easily double the size of a regular bindweed flower, and a much brighter white.
This plant was actually a Calystegia species, likely low false bindweed (C. spithamaea). To my knowledge, this is the first occurrence of this species on our grounds. It could have come in with some flood waters, or sprouted after the disturbance of our island renovation efforts. We may never know, but we can surely enjoy its blooms and try to preserve it.
Best Management Practices
If you have the non-native kind of bindweed, you are probably in a daily struggle to keep it under control. Common bindweed is a perennial, meaning its roots survive the winter. Simply mowing it or cutting off the flowers will not successfully eradicate it from your lawn and garden. Also, those roots are incredibly tough and can be 20 feet deep! Pulling it is an exercise in patience, as it seems to regrow before your eyes. Most bindweed can easily resprout from small pieces of root left behind in the soil. If you have a small patch and you weed often, you may be able to get ahead of it and eventually weaken the root system. For folks who have A LOT of bindweed, here are some of the most effective controls:
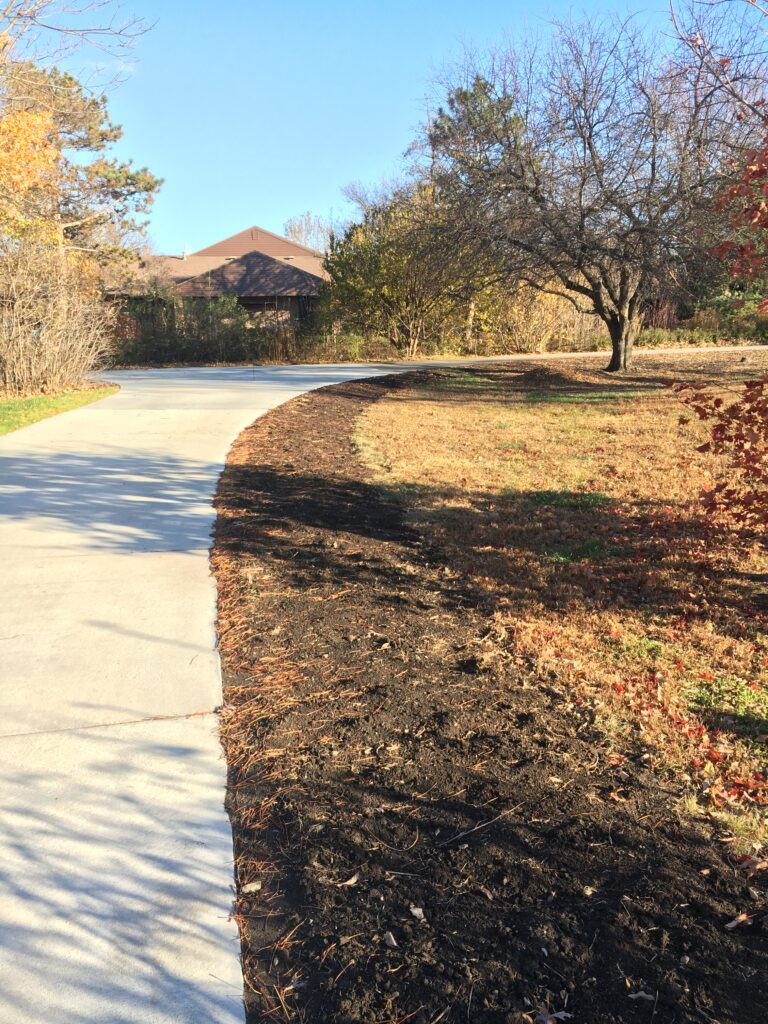
- Solarization (clear plastic placed over the area for a full growing season)
- Smothering (cardboard with a thick layer of mulch on top for at least a full year but more likely 2 to 3)
- Chemical control (glyphosate, 2-4D, paraquat, etc.)
And remember, avoid tilling the soil! Freshly disturbed soil is easily colonized by bindweed, and often there are seeds in the soil that get churned up to the surface, ready to germinate. Leave the soil undisturbed and only dig/loosen it in the specific holes where you will be planting.


