Defining Common Horticultural Terms

There are many horticultural terms that get tossed around in casual conversation. We hear these words or phrases in presentations, and read them in books and seed catalogs. Presenters often assume that everyone knows what they mean without much explanation. Here are a just a few words I use from time to time that I would like to define for you.

Xeriscape

Denver Water coined the term xeriscape in 1981 by combining landscape with the Greek prefix xero-, from (xēros), meaning ‘dry’. Xeriscaping = water-conserving landscapes. This landscaping concept focuses on several water conserving measures such as:

  • Planning and design that matches plants to the site
  • Water-efficient plant materials, especially native plants
  • Efficient irrigation systems including drip irrigation
  • Use of water-conserving mulch or densely planted gardens
  • Soil preparation only if necessary
  • Appropriate turf since it can be very water consuming

Something to remember: a xeric garden can still be a beautiful garden. It will just require less water over time so it’s a win, win situation.

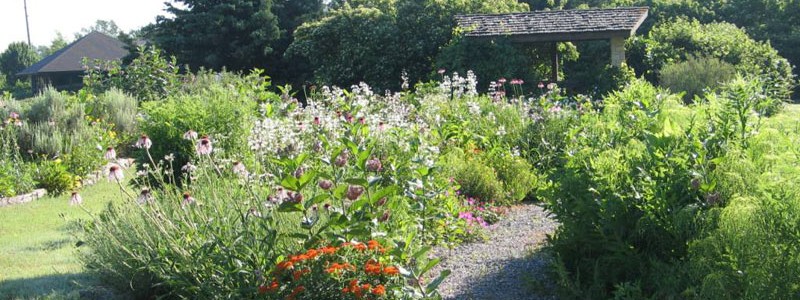
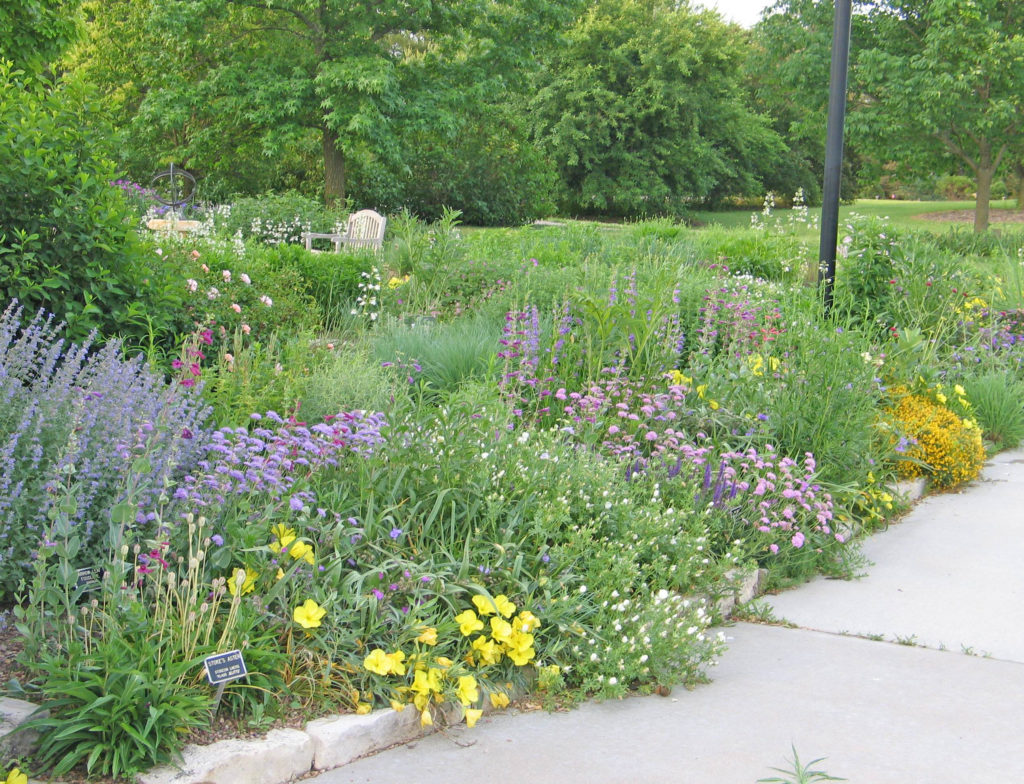
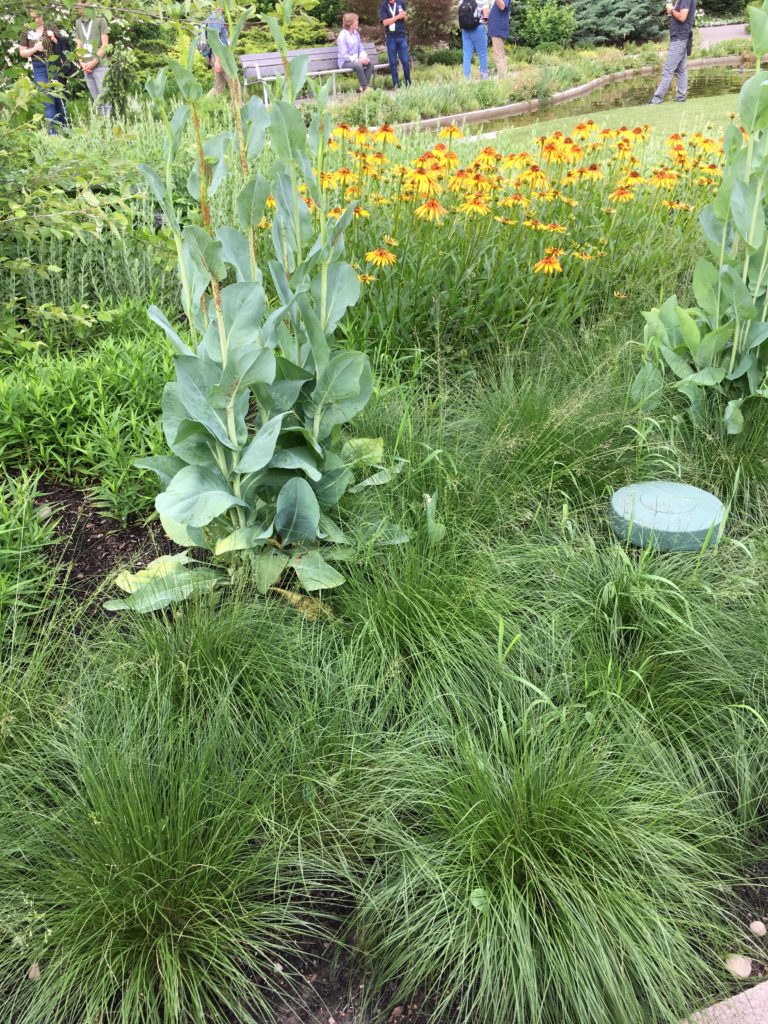
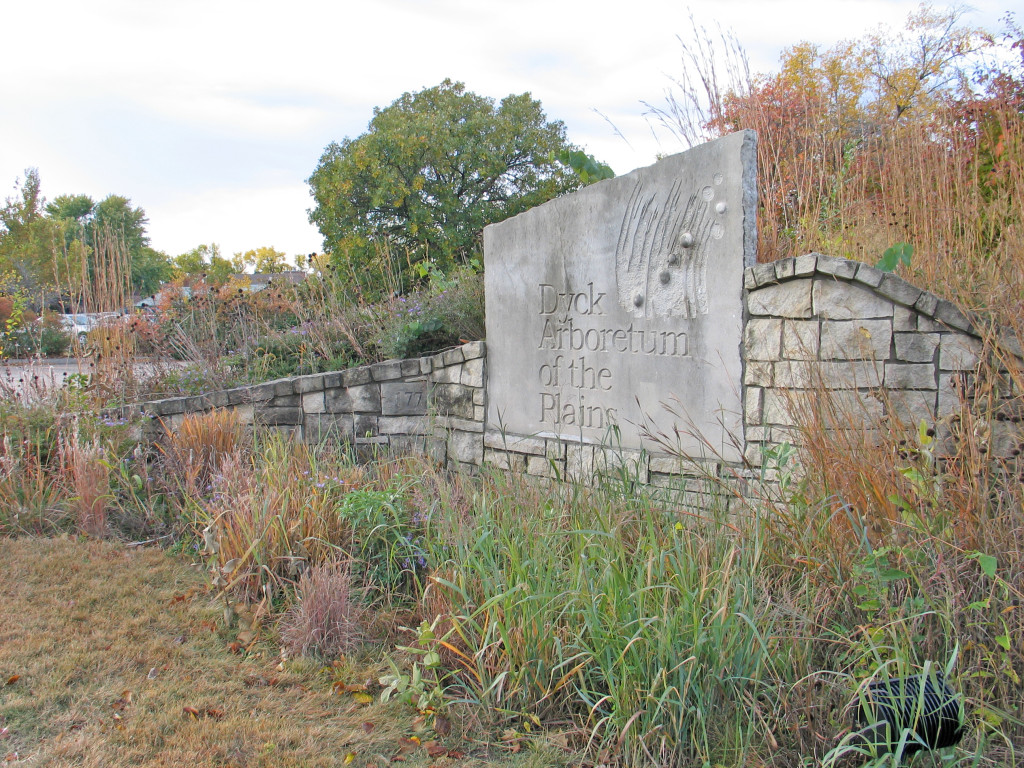
Xeric garden at the Arboretum

Habitat

A habitat garden is a garden that mimics the natural landscape while also providing food, shelter and potentially water for wildlife, including pollinators. A habitat garden has layers of plants and a succession of blooms. It is a very intentional way of landscaping focused more on giving back rather than taking something from your landscape. Don’t get me wrong, a habitat garden can still be beautiful, but it will certainly give you much more enjoyment as you attract a host of pollinator, birds and other wildlife to your yard.

Stratification

One of the most interesting processes I learned when I first started working at the Arboretum was the process of stratification. It intrigued me that I could collect seed from the wild and get it to germinate in the greenhouse simply by simulating the chilling and warming that seeds would endure if left outdoors for the winter in their native climate. This chilling and warming that seeds are exposed to breaks down natural germination inhibitors until they are ready and able to germinate the next year.

This process is so important for plants and their survival because it keeps seeds from germinating the same year of development. They must go through a cold period such as winter before they are able to germinate. This does two important things: keeps seeds from germinating in the fall and allows the seeds to be worked into the soil over the winter with the natural freeze/thaw of the soil so they can germinate in spring.

If a seed would germinate in the fall, that tiny plant would not have enough time to develop a sustaining root system. The tiny seeding would not survive the winter. The natural process allows a seed to lay dormant all winter and germinated in the spring when conditions are more favorable for survival, it would have the entire growing season to develop a healthy root system.

This process of stratification is why we encourage people to scatter prairie wildflowers and grass seed in November and December. It allows time for this process to occur so the seeds will germinate the following year.

Hopefully, this is helpful. I will discuss some other terms in upcoming blogs.

2005 seed mix of wildflowers and grasses scattered on the Prairie Window Project at the Arboretum

Beyond Milkweed: More Plants for Monarchs

I recently read an interesting article about monarch butterflies and their migration needs. The foundation of any successful monarch migration rests on a sufficient supply of native milkweeds, as these are the only plants monarch caterpillars can eat. However, there is ongoing research that suggests nectar plants besides milkweeds should receive more attention, since many milkweeds are done blooming when monarchs return to Mexico in the fall.        

Adult monarchs are generalist feeders, and they need varied nectar sources. This is why succession of bloom within your garden is so important.  A variety of beautiful wildflowers provide food for monarchs throughout the year, but also support many other butterflies, bees, birds and other wildlife. Yes, milkweeds are still critical to include in your design since they are both a host plant and a nectar source. But here are some other plants that will assist monarchs as they migrate:

Trees and Shrubs

  • Ceanothus americanus/herbaceous (New Jersey Tea) – Attractive clusters of white flowers in spring and early summer. 
  • Cephalanthus occidentalis (buttonbush) – Interesting white flowers May-September and beautiful fall color. Likes moisture and is great for heavy clay soils.
  • Prunus serotina  (Black Cherry) – Long clusters of fragrant white flowers in spring.  Large tree with fruit for birds later in the season.
  • Rhus spp. (sumac) – Shrubs or small trees with useful flowers for pollinators, fruit for other wildlife and good fall color. 
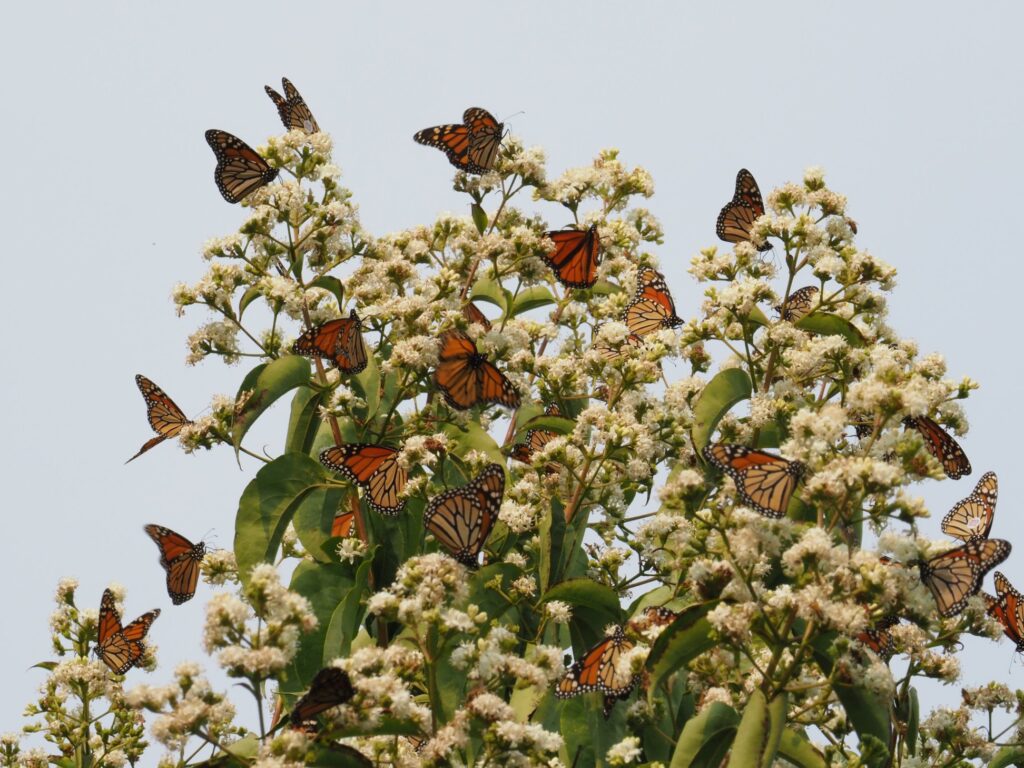
  • Heptacodium miconioides (Seven-son Flower) – Small ornamental tree with flowers in September.  Monarchs have flocked to our trees while in bloom. 
  • Sambucus canadensis (Elderberry) – Creamy white flowers in the summer atop this large wetland shrub.
  • Lindera benzoin (Spicebush) – Yellow-green flowers in the early spring.  Shrub with fragrant foliage and nice yellow fall color.    
  • Ribes odoratum (Clove Currant) – Bright yellow spicy scented flowers in April-May, followed by delicious black berries. It makes a nice understory shrub.
Monarchs on Seven Son Flower by Gerry Epp

Perennials other than Milkweeds

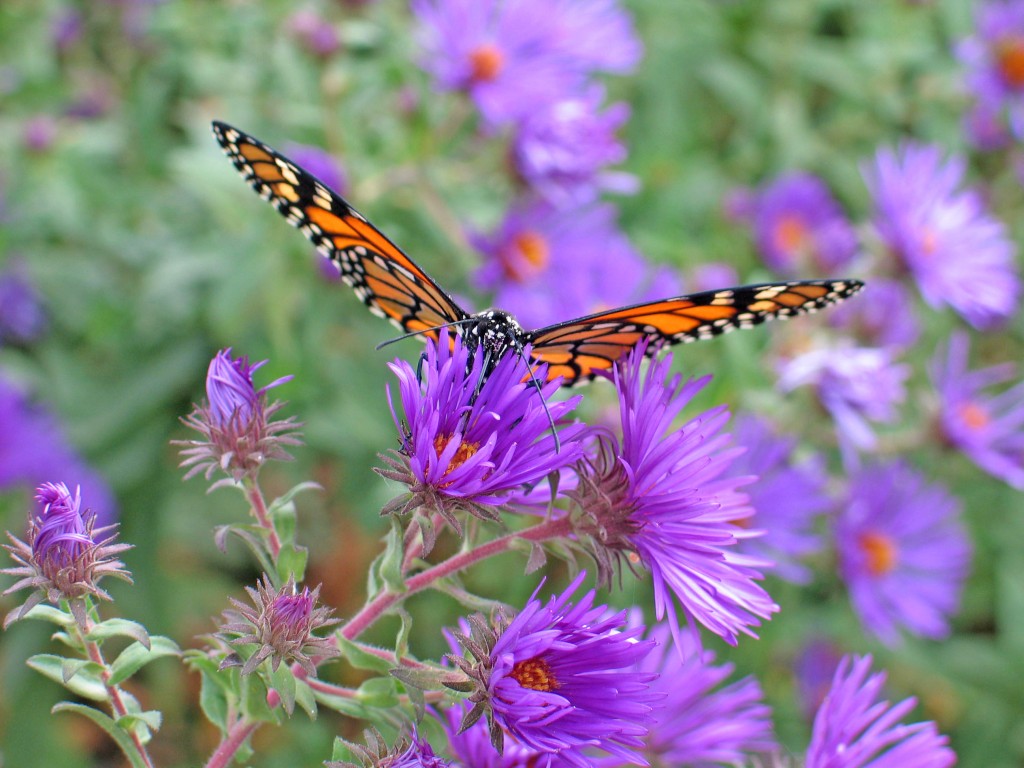
  • Symphyotrichum novae-angliae (New England Aster) – Purple, pink and lavender blooms September and October are extremely important nectar sources for adult monarchs.
  • Other Aster species: Aromatic Aster, Sky blue Aster, and Heath Aster
  • Solidago sp. (Goldenrod sp.) – Bright yellow blooms in the late summer through early fall. 
  • Vernonia lettermanii ‘Iron Butterfly’ (Ironweed) – Deep purple blooms in August and September.
  • Liatris sp. (Blazing Star) – Purple blooms on these diverse native perennials are a favorite of pollinators.
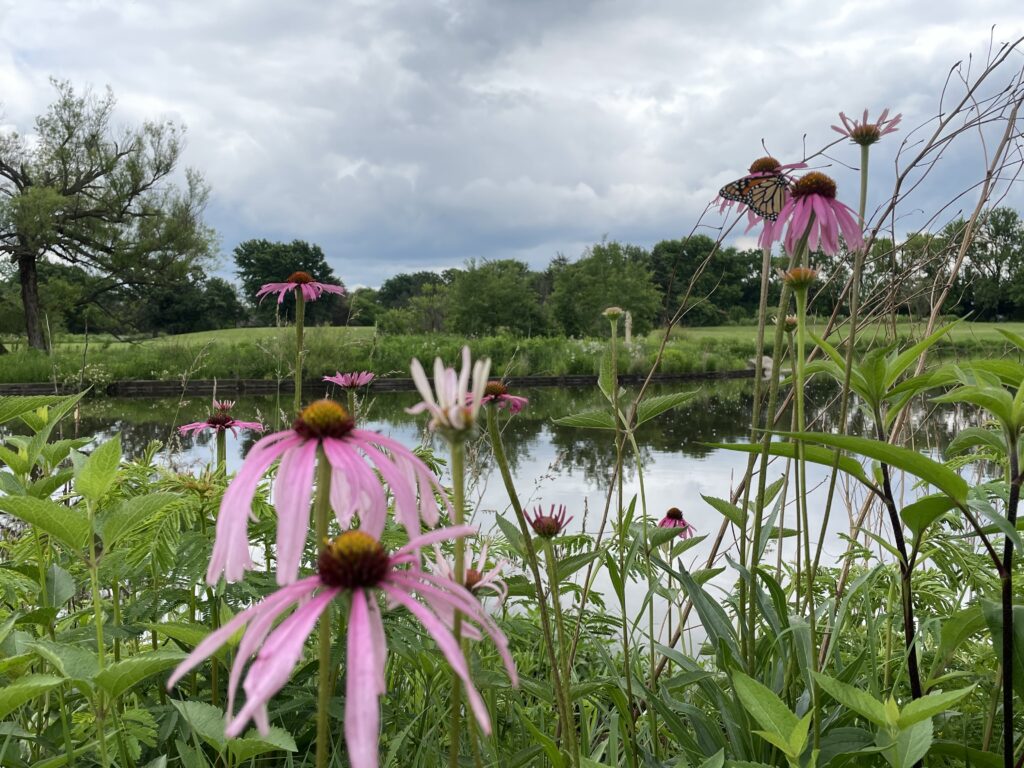
  • Echinacea sp. (Coneflowers) – These summer blooming wildflowers provide a perfect landing pad for monarchs and pollinators of all sorts. The seeds are eaten by birds through the winter. 
  • Pycnanthemum sp. Mountain Mint – These spreading wildflowers are usually covered with pollinators of all kinds when they bloom in the summer. Give them room in the garden because they do roam. 
  • Monarda sp. (Beebalm) – Fragrant foliage and bright pinkish blooms attract a host of pollinators. 
Monarch on New England Aster
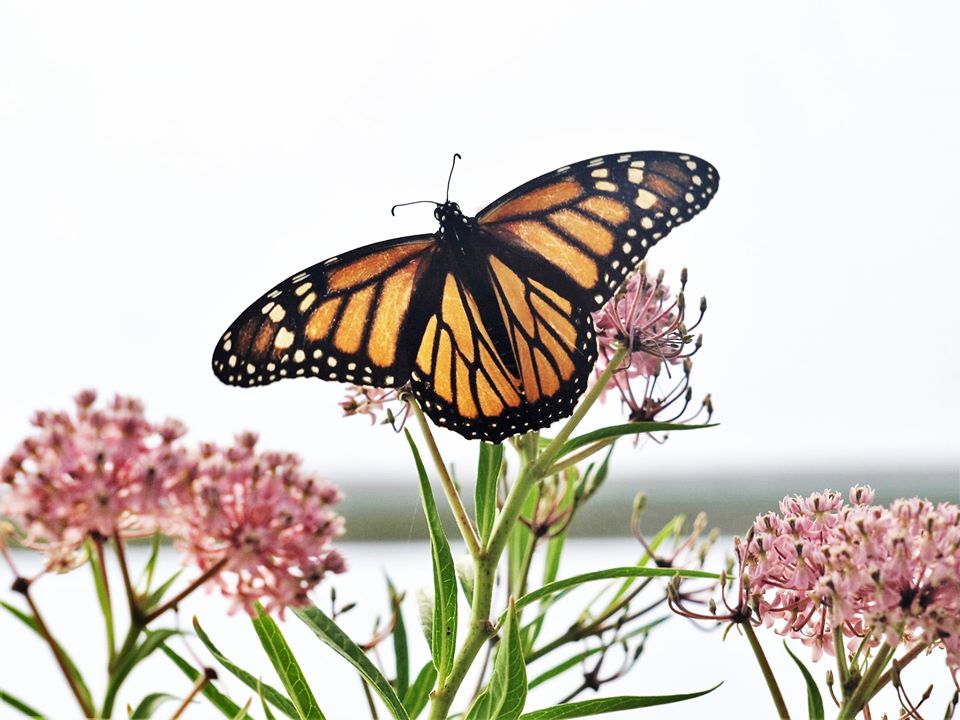
Monarch on late blooming Swamp Milkweed. Photo by Barbara Beesley

Fuel for the Flight

Again, monarchs need milkweeds. These plants are vital to their reproductive processes. However, they need other nectar-rich wildflowers too. This is one of the weak points in their return migration journey.  As they migrate south in the fall, they are not reproductive. Their goal during this part of the migratory cycle is to fuel up on late season nectar plants and build up their body fat so they can make it to Mexico and survive the winter. There, in early March of the following spring, they will leave their mountain roosts to mate, lay eggs on milkweed, and start the cycle all over again.

It is so important to provide fuel and sustenance for Monarchs and other pollinators. Available milkweeds, nectar plants, along with water, trees or other protection at night for roosting and connected habitats will help them all along the way – south to north and back again.

Linking the continental migratory cycle of the monarch butterfly to understand its population decline.

Watering Winter Landscapes

One key to successfully establishing plants in the fall is to periodically check them through the winter months. It has been an extremely dry fall and early winter in our area and for much of Kansas. More than likely, these new established plants are dry and would benefit from a deep soaking. Now is the time to check your plants if you have not already.

Trees and shrubs

Newly planted trees and shrubs are still growing as long as the ground is not frozen and will benefit from up to five gallons of water. Larger trees may need more water. If you have properly planted them with a small basin around the trunk, you can fill it with water and let the water percolate into the soil. This basin concentrates most of the moisture around the original root ball and those fresh new roots. I would even water trees and shrubs you planted within the last few years, because they have not fully developed sustaining root systems. Keep in mind that evergreen trees are always losing and using moisture. They are the most susceptible to desiccation during winter.

American Elm with soil basin for easy watering

Perennials

Hopefully, you were able to get your grasses and perennials established properly last fall. As part of the establishment process, roots attached to the damp soil and they were able to take up moisture on their own. As that soil has dried over the past few months, the perennials are at risk of drying out since they don’t have a deep fully developed root system. Check around the plants and water if the top couple of inches of soil is dry. Native grasses are not actively growing now since the soil temperature is below 60 degrees. But even grasses would absorb a little water this time of year, as well.

Summer and fall planted perennials and grasses, if dry, will benefit from a winter watering.

Watering options

  • Soaker hoses: Use pressure compensating soaker hoses for foundation plantings or shelterbelts
  • Overhead Sprinkler: Best for large areas of newly planted fescue or turf with competitive tree roots.
  • Five gallon bucket: Drill a small hole in the bottom of the bucket and let water slowly drain out over time.
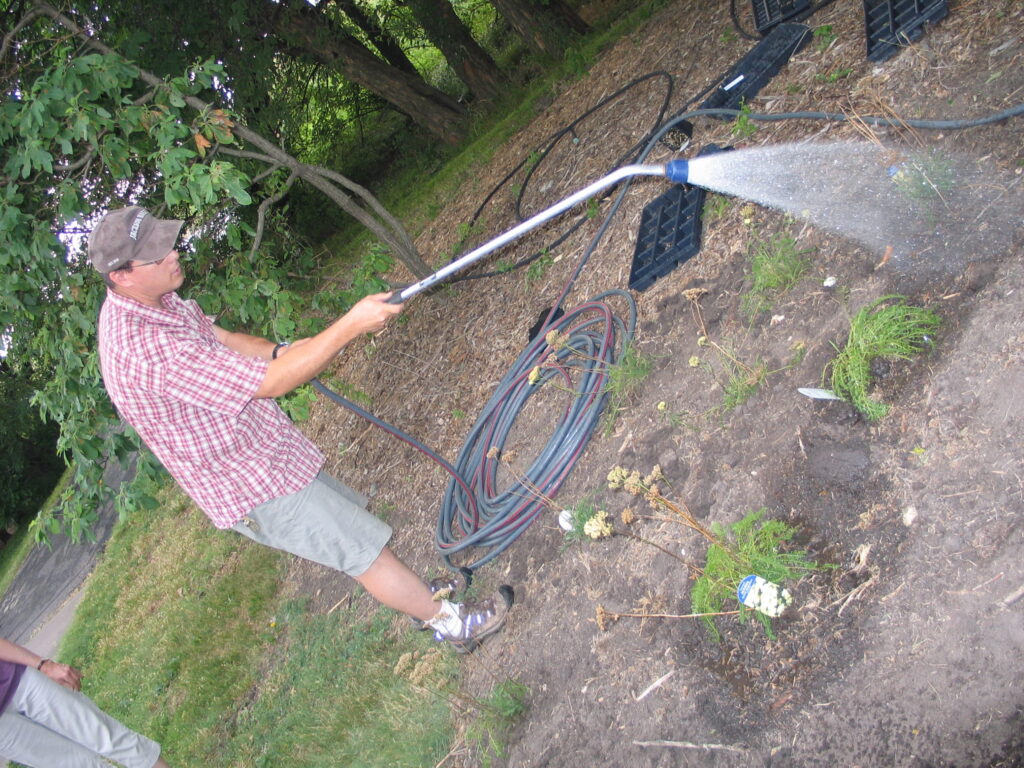
  • Watering wand: Helps water specific plants and not overwater others that like it dryer.
  • Garden hose: Place at base of trees or shrubs and let trickle until soil is deeply soaked.

Frequency

Water every few weeks or every time the top couple inches of soil is dry. I go out and physically dig down in the soil to inspect moisture content. If I water this time of year, I make sure to drain any hoses and sprinklers when I am finished to prevent freeze damage.

It may seem like plants are fine since they are not actively growing this time of year, but it has been extremely dry. A quick inspection of the soil will tell you if you need to water or not. Be proactive and water during the winter months as needed. If you have already put the effort into planting them, why not help them along through this drought? Your plants will benefit from your diligence by producing blooms and habitat for you and wildlife next season.

Dividing Perennials

A perennial border is evolution on fast-forward, a watercolor in the rain, changing weekly as various species segue in and out of bloom – and yearly as its constituents dominate or yield, flourish or succumb, according to their natures.

John Friel from Friel World in Green Profit

Friel perfectly describes a native perennial border. Each plant grows according to its nature. Some are spreaders while some stay put or fade with competition. To keep all these plants happy and harmoniously growing together, a few plants may need to be thinned from time to time – divided so that they don’t dominate too much.

Front entrance sign will be updated with division of plants, especially grasses and asters.

When to Divide Your Perennials

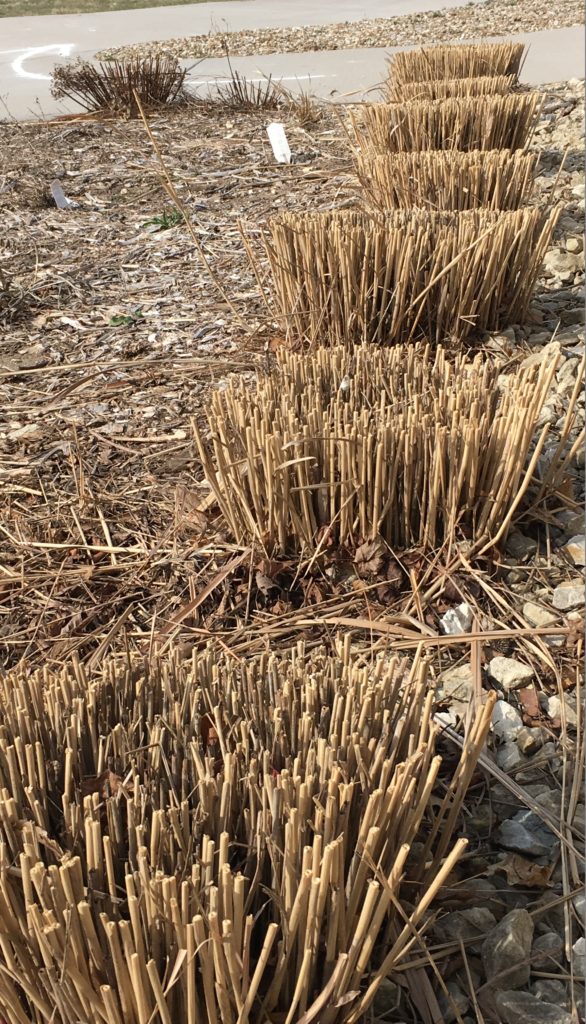
As we move into spring, March and April is the best time to begin dividing perennials. You can divide in August and September, but excess growth and heat may hinder success. Dividing perennials can be stressful on the plants so dividing during times with cool, moist conditions will reduce shock. Another thing to keep in mind is that native grasses will not start to actively grow until soil temperatures reach at least 60 degrees. Grasses are often the last plants I divide in the spring. It’s good to wait until they are starting to show signs of life.       
Which Plants to Divide

  • Yarrow
  • Asters
  • Coral bells
  • Joe Pye weed
  • Liatirs
  • Monarda
  • Rudbeckia
  • Coreopsis
  • Spiderwort
  • Sneezeweed
  • Goldenrod
  • Echinacea purpurea varieties
  • Vernonia
  • Sunflowers
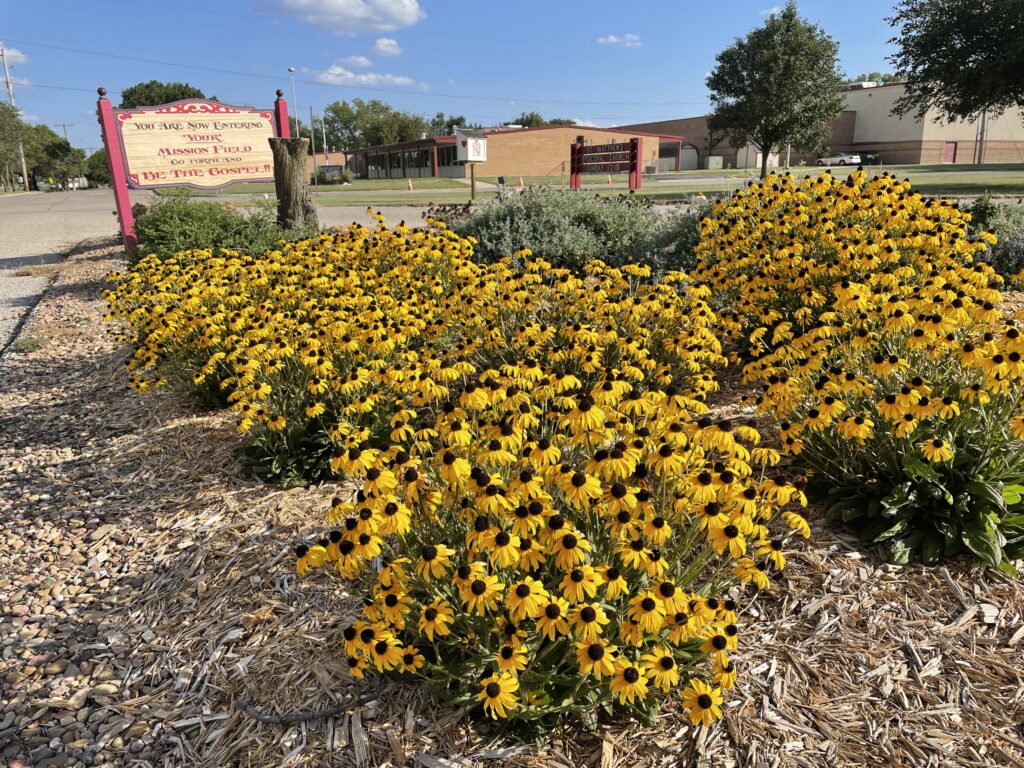
Black-eyed Susan is one of the easiest perennials to divide. (Photo by Brad Guhr)

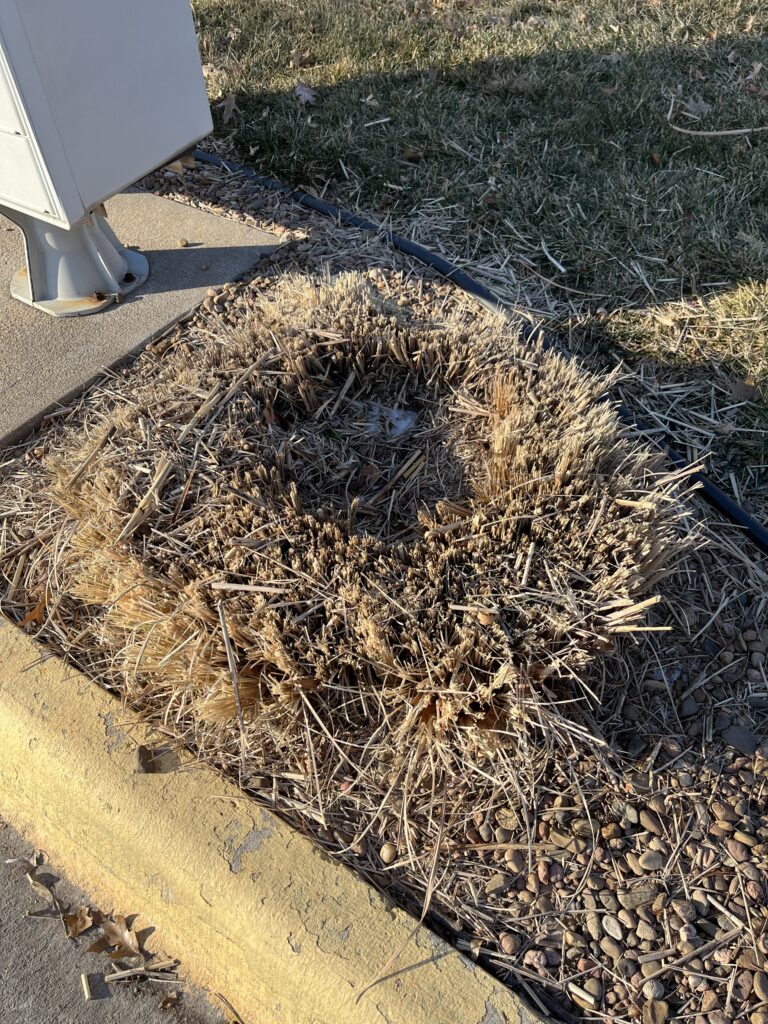
Native grasses often form a “donut” – the center dies back with active growth on the outer edges. 

  • Panicum
  • Little Bluestem
  • Big Bluestem
  • Indiangrass
  • Sideoats
  • Blue Grama
Grass that would benefit from being divided

How to Divide Perennials

  • Dig the Clump

After you have identified the plants that need to be divided, the next step is to dig the entire clump out of the ground.  If the soil is dry, it is beneficial to water the area a few days ahead to soften the soil.  With well-established grasses this may be a challenge, but it is important to work at it until it is removed. Grasses are resilient and can take much abuse in this division process. I have even worked at removal with a pick axe. Remove the clump/clumps from the hole and set it aside. Brush off excess soil to reveal the growing points.   

  • Separate the growing points/crowns and replant   

Some plants are easier to pull apart than others. For instance, asters are easier to pull apart than switchgrass. Usually, I break these clumps in to 1/16th, 1/8th or ¼ pieces. Each clump needs to have a few leaves or healthy growing points and roots in order to grow. Then, replant the divisions as soon as possible so the roots don’t dry out. I put them back into the same hole from which they were removed. Plant at the same depth as before and water well. Cover any bare soil with mulch to help conserve moisture while your new divisions become established. Left over plants can be shared with friends or composted. 

  • Water well

Reestablish these divisions as you would any newly planted perennial. Water daily depending on the weather for the first two weeks. Once you see new growth, reduce water frequency to every other day or every three days. You have removed much of the supporting root system so it will take at least a season to get that back. Also, I would not fertilize the new transplants, because it will encourage top growth that is not sustainable with the new root system.

Which Plants to NOT Divide

While most perennials benefit from being divided every few years, there are a few perennials with deep taproots that are better left alone. You will be more successful planting new seedlings than trying to dig these plants out of the ground. In my experience, it is easier to start with a plant than to remove these plants. Too much damage is inflicted on the taproot. Avoid dividing these varieties:

  • Baptisia
  • Butterfly weed (Asclepias)
  • Coneflowers (Echinacea angustifolia, Echinacea pallida, and Echinacea paradoxa)

We have divided and transplanted hundreds of plants over the years and I don’t believe I’ve ever lost one. Native perennials are resilient and recover from being transplanted in about a week. They may look rough the first year, but they will really come to life the next year. Go out in the next few weeks and identify a few plants that would benefit from a fresh start.

Looking forward to spring! (Photo by Brad Guhr)

Calling it Cuts: Tree Care

If you have been walking at the Arboretum lately you may have noticed some bare spots. Some big bare spots. We have been cutting down dead trees and clearing brush. It can be sad to say goodbye to something that has been a part of our landscape for so many years; casting shade, catching wind, housing birds. But there are lots of great reasons to break out the chainsaw and cut. Not sure when the time is right for tree care? Here are some guidelines.

Safety first! Make sure you are using proper eye and ear protection before you embark on your tree felling adventures.
And don’t go it alone if you can help it — enlist help from family and friends to be spotters and extra hands in case things get dicey.

Disease

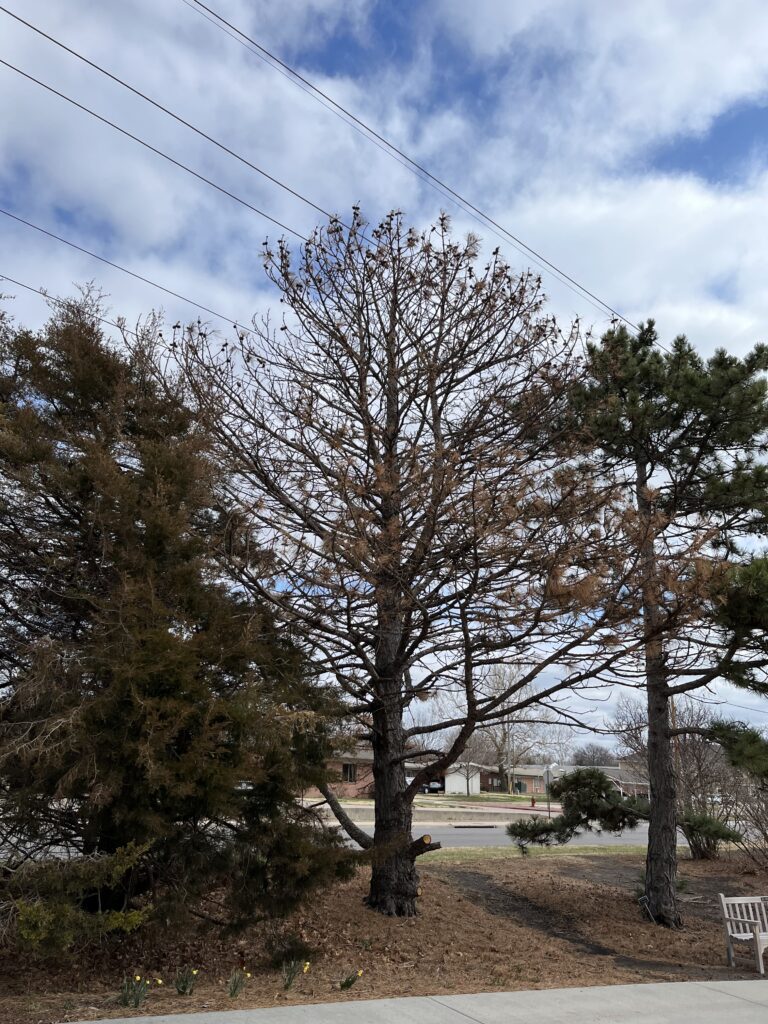
A tree harboring disease has got to go. Weather it is in an Arboretum or a neighborhood, diseased trees can sometimes spread their illnesses and cause a lot of damage. Be they mites, fungus, or viral pathogens, keep an eye out for health problems. Certain diseases, like pine wilt, that are spread by nematodes or beetles require the burning of affected wood to prohibit the spread of the disease to other trees. Be kind to your neighbors and dispose of wood properly to avoid contagion.

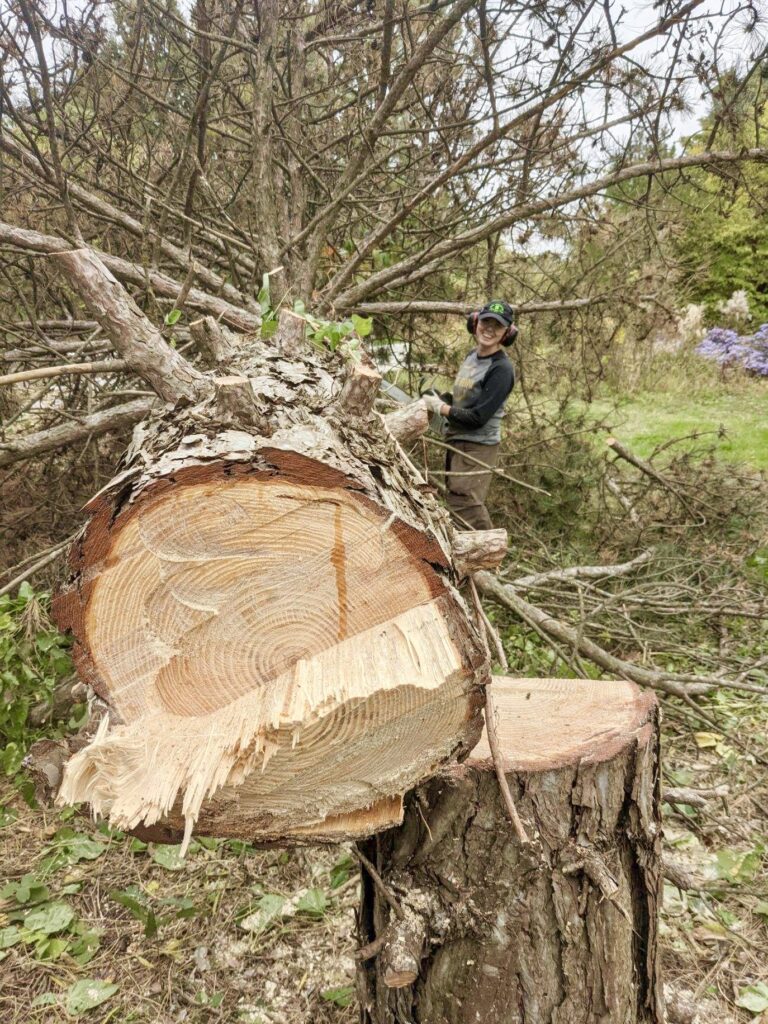
This pine was slowly dying, and was finally cut down to make room from a row of bald cypress in this area. A naturally wet and clayey spot, they should preform much better here than pines.

Crowding

A good tree in a bad place is not a good tree at all. We have lots of volunteer trees around the Arboretum thanks to a healthy squirrel population. But not all these saplings live to see old age. We cut truckloads of volunteer trees, even desirable oak and maple species, if they aren’t in the right location. Our goal here at the Arb is to create a naturalistic, not exactly ‘natural’ environment. This means curating and editing where trees are allowed to grow, and what species we want to showcase. Because our prairie biome depends on fire and grazing to keep woody species at bay, any area not exposed to those controls turns into an unmanageable forest pretty quick! In your own yard, choose carefully the species and placement of the trees you allow to sprout, and get rid of the rest. This will not only create a more aesthetically pleasing affect, it also allows you to eliminate non-native or invasive species.

This beautiful burr oak was 6 inches around and 12 feet tall, but had grown up in an inconvenient area too close to our other mature trees. It can be painful to cut down a specimen like this, but it is necessary to create well-spaced plantings.

Damage, Age, and Safety

We all get old. And certain tree species don’t age gracefully. From ice storm damage to weak wood, geriatric trees pose a special maintenance dilemma. How to preserve the healthy part of the tree, the shape, and the form, but cut out the dead? I am a lassiez-faire arborist, meaning I prefer to leave a bit of dead wood whenever possible. If the limb is not diseased and does not pose a hazard to nearby trees, why not leave it as habitat? Cavity nesting birds need dead wood to make their nests out of, and insects make their home in there, becoming food for hungry woodpeckers and chickadees. However, if limbs are dangling precariously or pose a safety hazard near structures or walkways, it must be cut immediately.

Fall Checklist for a Wildlife Beneficial Landscape

Each fall there are a lot of articles and checklists outlining what you need to do to make a healthy garden – a whole stack of chores that take so much time and effort. Who are you tidying for? Is all that raking, cutting, hauling, tidying, trimming and pulling necessary this time of year? I’m here to tell you to stop and take a few steps back before doing much yard and garden clean up this fall. Here’s my fall checklist for a wildlife beneficial landscape:

Habitat=Wildlife 

First, all that tidying is destroying habitat and making it more difficult for backyard wildlife to survive the winter in your landscape.  Leave your perennials and grasses standing through the fall and winter.  These plants are resources for wildlife, offering shelter, overwintering sites and sometimes food. Cut back perennials and grasses in early spring. 

There is one exception – if you have diseased plants, cut them back now and dispose of the debris, but not in the compost pile.

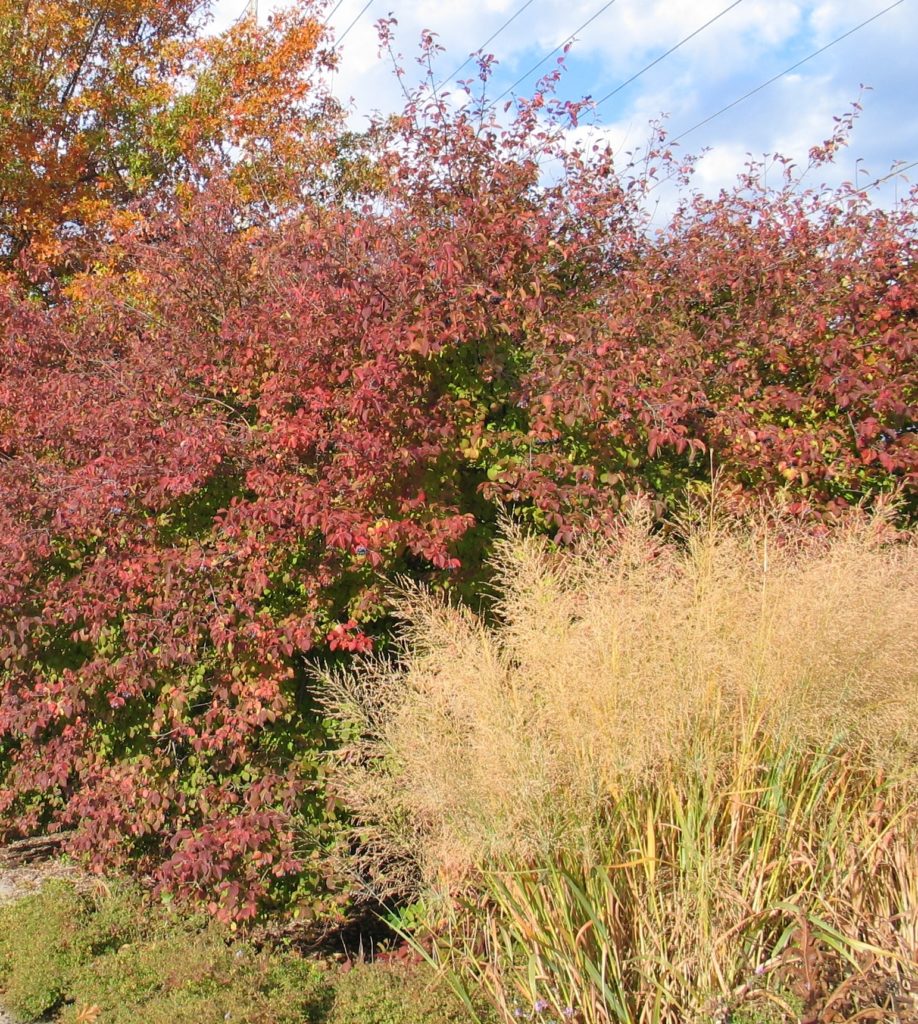
Blackhaw viburnum with fruit and switchgrass in the fall

Mulch

DO spread mulch around trees and shrubs. A fresh layer of mulch insulates the soil from weather extremes. Two to three inches of mulch helps conserve water and control weeds. Too much mulch though can be a real problem as it seals off the soil from air exchange and makes soil go into an anaerobic state too wet for plants to thrive. Mulch is a good way to keep mowers and string trimmer away from the trunks and stems.    

Walk about

DO take a walk through you garden and label any plants that you are thinking about moving in the spring. Look for signs of drought stress in your landscape and remember plants that have struggled this year. Unhappy plants may need a new home and would benefit from a space with more sun, more shade, or more or less water. By flagging them now, you will save yourself some time searching for them next March or April. Use durable labels with pencil markings or waterproof pen that will not fade from the sun to mark their location. Keep in mind that some of these plants may be very difficult to identify next year.   

Ponder

DO assess your landscape as an ecosystem. Do you have the habitat that attracts pollinators and wildlife? Are there plant layers of trees, shrubs and perennials that mimic natural areas around you? What plants have you noticed are missing from your landscape? What is the starting point to create beneficial elements, layers and habitat in your landscape? Each different layer provides habitat and resources for different wildlife, so plan to include any missing layers in the spring.

Layers of perennials, grasses, shrubs and trees

Look up and observe any pruning that needs to be done. Look for dead or diseased wood in your trees and shrubs and take note of path encroachment by neighboring shrubs. During winter, when these plants are dormant, is the best time to prune for best plant health. 

Leaves

DO leave fallen leaves in place whenever possible. Don’t let them smother your lawn, but rather mulch them into the lawn with several passes of your mulching mower. If you are inundated with leaves, collect them and use them in plant beds. Leaves make excellent compost and add organic matter to the soil. It is often overlooked that leaves offer overwintering sites for invertebrates and other critters that are part of healthy ecosystems. Remove only as much as needed.

Just think of all those pretty little insects tucked snuggly into bed for the winter in your landscape. (Photo by Brad Guhr)

This whole growing season you have created habitat through the use of native plants. You have been careful to avoid the use of pesticides and herbicides as much as possible. Bird baths, feeders, brush piles, and nectaring plants have helped build up populations of bees, butterflies, bugs, birds and other wildlife. 

You have created habitat so why destroy all that hard work by tearing it all down right now? Let the wildlife you have attracted to your landscape survive through the winter. Embrace a little untidiness. It will be worth it.  Wait until March or early April to get your landscape ready for another growing season. 

Last Update on Buffalograss Seeding Experiment

It has been almost a year since our buffalograss seeding experiment began.   In this new approach, we planted the buffalograss seeds along with annual ryegrass in the fall or early winter.  In theory, the annual ryegrass, a cool season grass will germinate and hold the soil through the winter.  The buffalograss seeds will work their way into the soil with the natural freeze/thaw of the soil throughout the winter.  These seeds will then germinate on their own the following spring with annual rainfall and warm 60 degree soil temperature.

Last fall I prepared the soil as if I was planting fescue so the annual ryegrass seed would germinate with daily watering.  This loose seed bed helped the annual ryegrass to germinate in about a week or ten days.  This method flipped the traditional buffalograss seeding upside down.  Typically, I have areas prepared to plant buffalograss in May and June.  Buffalograss it is a native warm season grass that needs to be planted when soil temperatures are above 60 degrees.

Update

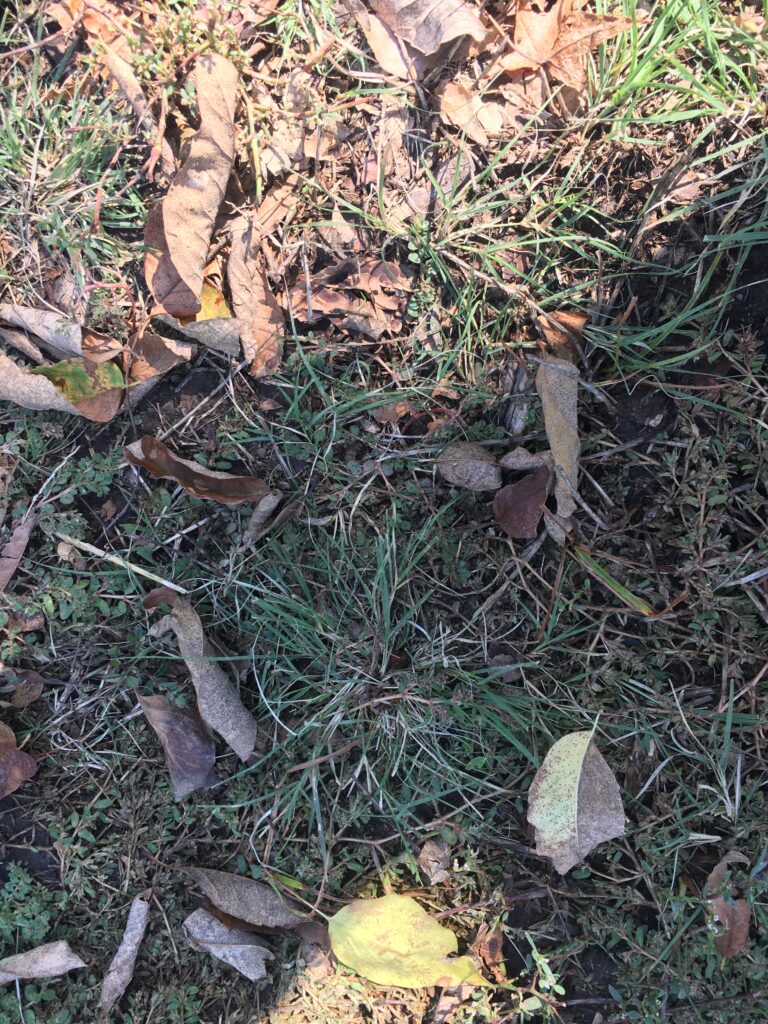
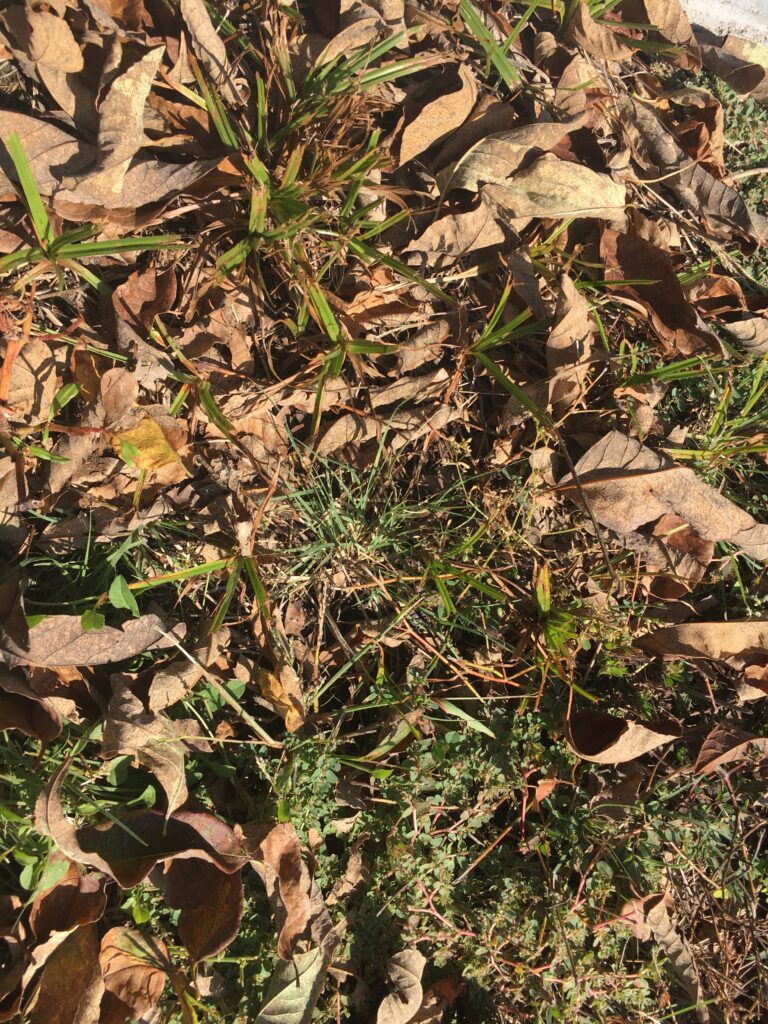
I have been pleasantly surprised.  The little buffalograss seedlings have started to spread in amongst the crabgrass and knotweed.  I believe it will begin to overpower these weeds and completely cover the areas next year. 

Buffalograss seedling that have started to spread

I may look at putting a preemergent herbicide down next spring to give the buffalograss less weed competition.  This is primarily to control summer annuals such as crabgrass and foxtail. Barricade (prodiamine), Pendulum Aquacap (pendimethalin), Dimension (dithiopyr), Specticle (indaziflam) are recommended pre-emergent herbicides on established Buffalograss stands. Read and follow the chemical label application instructions for best results.  Pre-emergent herbicides can also be applied in the fall to control that pesky weed, little barley.

When asked if I would do this buffalorass planting method again, I would say yes.  For small areas of 1000 sq. ft or less, it makes sense and saves so much water.  For larger areas, I think it is a toss-up.  I think it will be successful either way.  Of course, summer seeding take at least daily watering for the first 10-14 days to get the seed to germinate.  For large areas, this obviously requires so much water because the soil dries out quickly with wind and heat.  I think you can be successful with either method but I really liked using less water overall. 

We encourage people to use buffalograss in areas that receive at least six hours of sunlight each day throughout the year.  Newer varieties are vigorous growers and require little to no water once established. Compare that to a traditional fescue lawn, which needs one to two inches of moisture per week to keep it alive in the summer. These newer buffalograss forms stay green longer in the fall and green up earlier in the spring.  If kept relatively weed free, they require less frequent mowing. Buffalograss needs little to no fertilizer and will reduce your overall maintenance.

Small buffalograss seedling

Reasons to Leave Ornamental Grasses In Winter

The use of ornamental grasses in the landscape has become more popular than ever, and for good reason. The allure of ornamental grasses is that they are tough and easy to grow. Their resilient nature reflects our prairie landscape in our own garden. They are a nice visual contrast to many other plants like perennials, shrubs, trees and even other grasses. A bonus is the beauty and movement they add to the winter landscape.

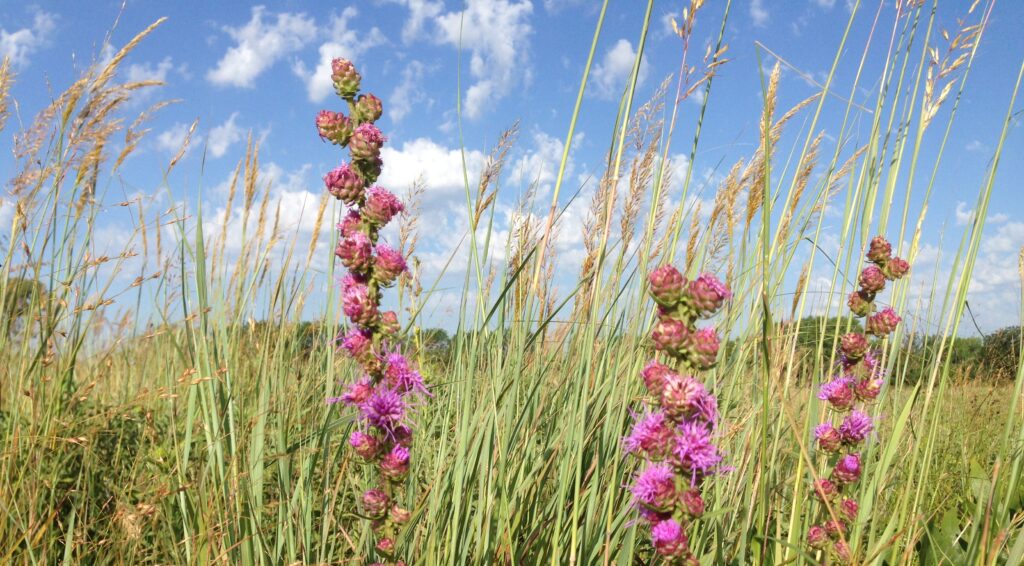
Liatris and Indian grass in the Prairie Window Project, Photo by Brad Guhr

One of the questions we get this time of year is whether or not to cut ornamental grasses back to the ground for winter?

In the fall, ornamental grasses are in their full regalia with their attractive seed heads. From short to tall, these grasses put on quite a late season show. As we transition into fall, the colors they develop are another reason we use them in our landscapes. However, these fall colors fade and we are left with dull shades of tan and brown. Is it best to leave these grasses now or remove them? Generally, we leave them through the winter, and cut them back before they begin to grow next season. In Kansas, this task can be done in late February to early April.

Here are some of the advantages of leaving grasses for the winter and waiting until the spring to cut them back

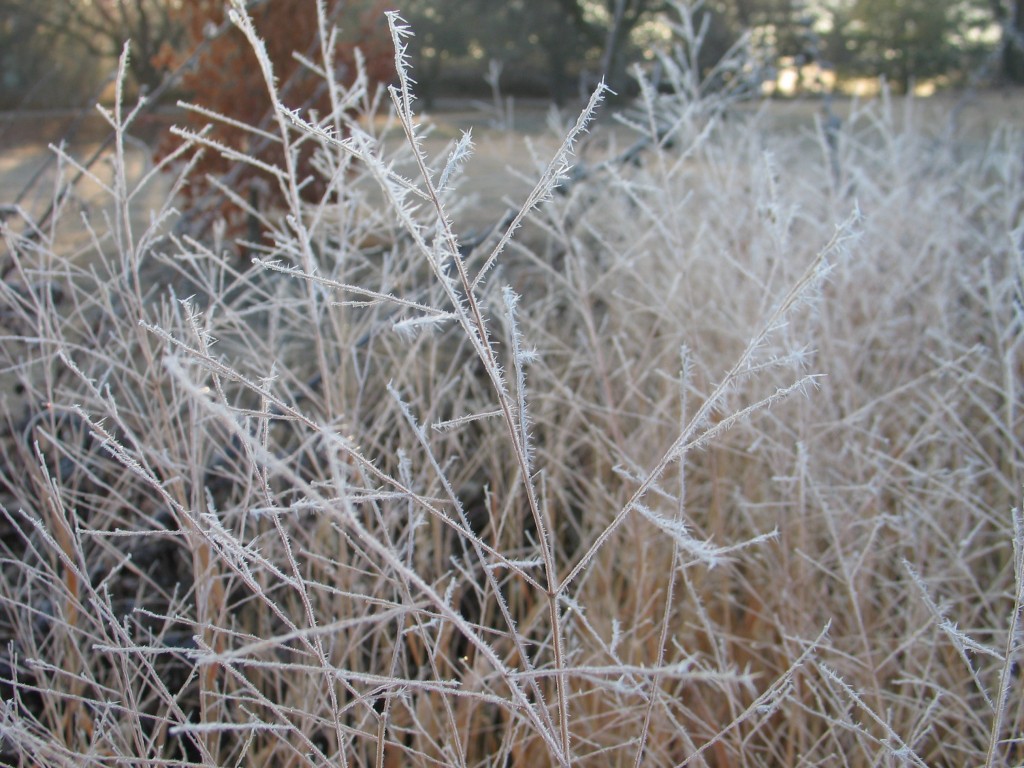
  • Grasses provide form and texture in the stark winter landscape of withered perennials and deciduous shrubs. These qualities stand out in the frost or snow and low winter sunlight.
  • Mix well with perennial wildflower seed heads
  • Provide movement in the garden. The tawny stems and seed heads move with the gentlest breeze.
  • If used as a screen, they can be left up just before they start greening up again in the spring.
  • Most native grasses can provide habitat and shelter for birds and other small animals along with overwintering sites for insects and pollinators.
  • By waiting to remove the previous year’s growth until late winter, the crown of the grass is more protected from the elements.
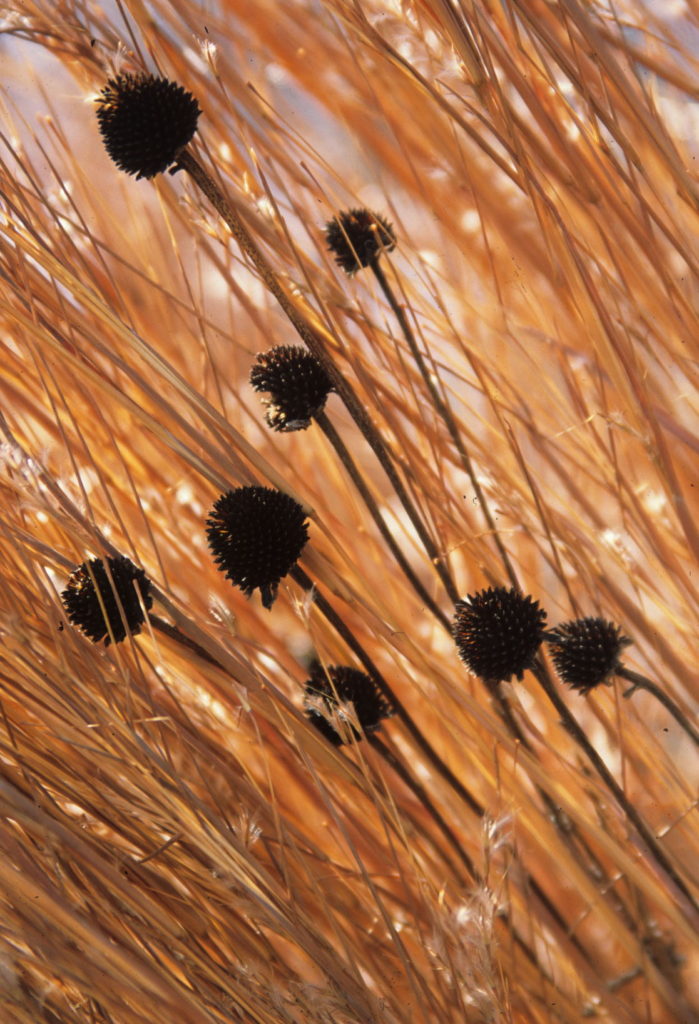
Little Bluestem and Coneflower Photo by Emily Weaver
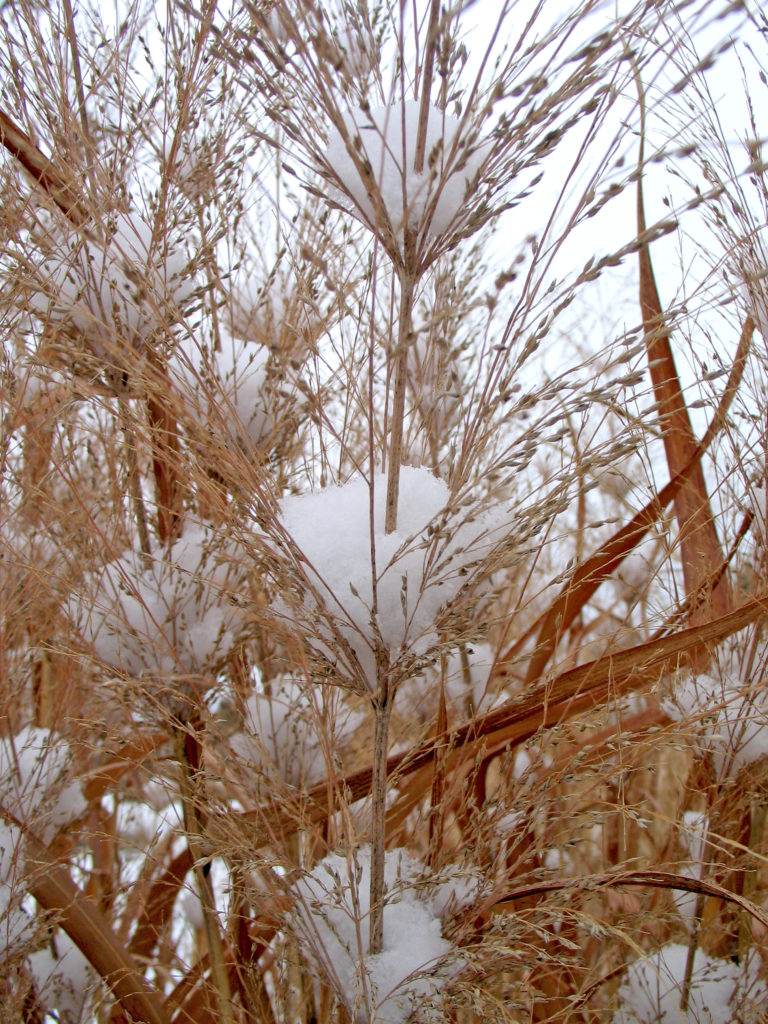
Switchgrass capturing snow

How do I cut back my grasses?

After leaving the stalks up through the winter, they are drier, more brittle, and easier to cut back. I like to cut tall grasses like switchgrass and big bluestem down to about 2-3 inches off the ground. I do this with a hedgetrimmer by moving it back and forth across the stalks a few inches at a time. We used to completely remove these stalks and haul them away. Now, we let the clippings lay as mulch around the plants. These stalks may still have overwintering pollinators in the stalks that are left in the garden for next season. By spreading the cut stems around as mulch it helps to break down more quickly too. I shape smaller grasses like prairie dropseed with a pruner or hedgetrimmer. Again, I like to cut them back to two to three inches from the ground.

Over the years, we have found it very beneficial to leave ornamental grasses standing for the winter. You’ll be creating a habitat for birds, insects, and small animals. The rustling grasses will remind you of the successful season past and the promise of spring yet to come.

Switchgrass cut back in late winter ready for spring

Coneflowers: A Lesson in Host Plants

Coneflowers are so emblematic of the prairie. I love to include these prairie denizens in many of my designs. They are quite adaptable and I love the yellows, purples and pink colors of the true natives as they bloom during the summer.  The new cultivated varieties are attractive too. A mass of coneflowers with little bluestem make a nice combination by providing color and texture through the growing season. But right now, many of the plants are full of little black or brown caterpillars that are using Echinacea and Rudbeckia as their food.

Coneflowers as host plants

We are getting calls from our members and customers, and are seeing damage on our plants as well. Coneflower leaves are blackening, getting holes and disappearing. Contrary to how you may feel, this damage is an indication that your garden is functioning properly. Host plants are the vital food source that caterpillars live on. Adult butterflies will seek out these plants to lay their eggs on because they know that the caterpillar cannot travel far and will not survive if placed on a plant that they cannot eat. These caterpillars will eventually turn into checkerspot butterflies or a relative in that family. 

Think differently about your landscape

One of the goals of any garden – besides beauty – is to have pollinators in your garden. Sometimes they might not immediately be in the form you desire. Sometimes pollinators or their caterpillars may eat your plants or deform them.  Don’t be too hasty to spray or remove the culprits. They are doing what comes naturally to them and it is often better to leave the insect. These insects are fantastic food for fledgling birds as well.

Understand the life cycle

The caterpillars eating your coneflowers will make cocoons in a week or so and then turn into butterflies.  We must learn to embrace these caterpillars and accept some damage. The coneflowers will eventually recover. The tradeoff is that we create habitat suitable for butterflies to complete their life cycle. The “ugly, hairy” caterpillars will morph into beautiful butterflies that are equal to the beauty of the flower. 

The key to a successful butterfly garden is to plant both nectar and host plants, so that the butterflies will have a food source in all stages of their life cycles. We often design our landscapes as nectar sources and forget that these pollinators need host plants too. So as you design your landscape, include flowering plants that produce nectar and also double as host plants.

Other host plants

  • Black Eyed Susan (Rudbeckia hirta) Host plant for: Silvery Checkerspot, Gorgone Checkerspot, Bordered Patch butterfly
  • Aster spp. Host plant for: Pearl crescent, Painted Lady and more
  • Coneflower (Echinacea spp.) Host Plant for: Silvery Checkerspot and more
  • Hollyhock (Alcea spp.) Host plant for: Painted Lady, Common Checkered-Skipper and more
  • Golden Alexander (Zizia aurea) or Dill (Antheum graveolens) Host plant for: Black Swallowtail, Anise Swallowtail and more NOTE: The Black Swallowtail will feed on any plants within the Parsley family.
  • Sunflower (Helianthus spp.) Host plant for: Silvery Checkerspot, Painted Lady and more
  • Milkweeds (Asclepias spp.) Host plant for: Monarch
  • Mallow (Malva spp.) Host plant for: Common Checkered-Skipper, Gray Hairstreak , Painted Lady and more
  • Violet (Viola spp.) Host plant for: Great Spangled Fritillary, Variegated Fritillary, Meadow Fritillary and more

Tree Stress

This spring we have several trees showing signs of stress that are not particularly attractive.  Since last fall, something has happened to them.  They leafed out late and/or they have some dead branches throughout the tree.  More than likely, it is a result of the historic cold temperatures this winter.  But it made me wonder about some other reasons these trees may be stressed this spring. 

Why trees?

Trees in Kansas are a luxury and one of your property’s greatest assets. To sit under a mature tree on a warm afternoon, enjoy the blue skies and sip your favorite cool drink is a special experience.

Trees need to withstand the rigors of the climate. Trees block harsh winter winds, give you privacy, delineate boundaries, offer great fall color, attract birds and other wildlife that enhance your enjoyment or your landscape, and increase its resale value. Trees are important for all of these reasons and more, but they are not invincible. At any moment, signs of stress can emerge, so we need to understand and make every effort to alleviate problems that may arise. 

Open-grown burr oaks are wider than they are tall (Photo by Lamar Roth)

Tree Stress Symptoms

Stressed trees are easy to pick out in the landscape. Symptoms will manifest in a number of ways including flaking bark, secretions, distorted or missing growth, insects, foliage issues, dead branches and lack of vigor. 

These symptoms are visual clues to internal, external or environmental stressors. Left untreated, these stressors could ultimately kill your tree. Stressed trees are beacons to insects because they are weaker and vulnerable to attack.  Compounding factors over a number of years from the same stressors or multiple stressors lead to tree fatality. Here are some common causes of stress in trees. 

Poor Tree Watering Techniques  

It is true that trees need water to survive, but they need just the right amount of water.  Too much or too little can cause a tree to be under stress. These problems can be compounded when planted in our clay soils. Defoliation, yellowing of the leaves and branch die back are all symptoms to avoid. Most trees, if properly situated, can withstand seasons of drought without much extra inputs. 

Monitor trees during stressful times such as drought to make sure they don’t need a deep soaking. Keep in mind that waterlogged soils are more problematic than drier soils because proper air exchange by the roots in hindered by extremely wet conditions. Sometimes we see a tree under stress from drought and do more damage by giving it too much water. Give it a deep soaking, but let it dry out between watering.   

Install the tree properly 

One of the first lessons I learned as a novice horticulturist is how to plant a tree. “How hard can it be?”, you may say.  Just dig a hole, put it into the ground, water it for a while and watch it grow. More trees are killed by improper installation than you might realize. Choosing the right tree for the soil conditions, along with understanding mature size, will go a long way to helping that tree survive and thrive. 

In our clay soils, I plant the root flair a few inches higher than the soil line in a hole that is at least twice the size of the root ball. I make a small basin around the tree that makes it easier to water and then lightly mulch the basin. It is important to keep mulch away from the trunk of the tree. I stake the tree for the first year and remember to remove the wires that will eventually girdle the tree if forgotten.

For some additional tips on how to properly plant trees, check out my blog post “Steps to Planting a Tree”.

Beware Lawn mowers and Weed eaters

Anything you can do to keep mowers and weed eaters away from the trunk of trees is vitally important. I have seen too many tree trunks damaged by mowers bumping them and people string trimming around the base of the tree, trying to cut down every sprig of grass. A small two to three foot mulch ring provides just the right buffer between the trunk and lawn.  I have seen a string trimmer completely girdle the soft bark of a maple tree and kill it in a couple weeks. If you have invested in a tree, protect it from these tree killers.   

Mulch Around Trees Properly

The advantages of mulch around trees are obvious. It is one of the easiest things to do and it improves the aesthetics of the landscape. However, too much mulch, mulch touching the trunk, or mulch volcanos around your trees could cause major tree stress. These stressors are totally avoidable with one to two inches of mulch around the trunk, but not touching the trunk. It is important to keep the mulch several inches away from the trunk. Too much mulch will cake up and seal off the soil, impeding proper air exchange by the roots.    

Too much mulch piled up at the base of the tree can lead to fungus, rot, low oxygen levels and tree death.
This is an example of a mulch volcano. Be sure to pull mulch away from trunk of tree and spread out.

Improper Tree Pruning

Pruning your trees as they mature is a necessary function. I generally prune our deciduous trees during the winter when they are dormant, making sure not to remove more than 1/3 of the growth at a time. Proper timing will allow the tree to begin to heal without opening up the tree to potential diseases and pests. Evergreen trees can be pruned any time but I avoid the hottest part of the year.   

Construction Injuries to Trees 

Trees often suffer during and after construction projects. Compacted soils and branch or trunk damage can stunt the growth for several years after the project has been completed.  It often takes years for compact soils to improve.  I killed several nice maple trees after our Visitor Center was constructed because the soil was too compacted.  The soil would not drain and they were essentially planted into an undraining bowl.  The roots were completely surrounded by water and they drowned and stunk when I pulled the dead trees out.  Remember to protect/ fence off any trees you want to save during a construction project. 

Environmental Injuries

There are so many nice trees and shrubs from which to choose. We often push the hardiness zones to grow trees that are borderline hardy in our area. As I mentioned earlier, we have a sawtooth oak and gingko that suffered damage from the extreme cold earlier this year. The are coming out of it, but they will look tough for a few years. These trees are not native and remind me to choose native plants first. It also reminds me to be aware of the hardiness of plants we install. Match plants up to your site, including sun, soil, exposure, hardiness, mature size, and moisture.

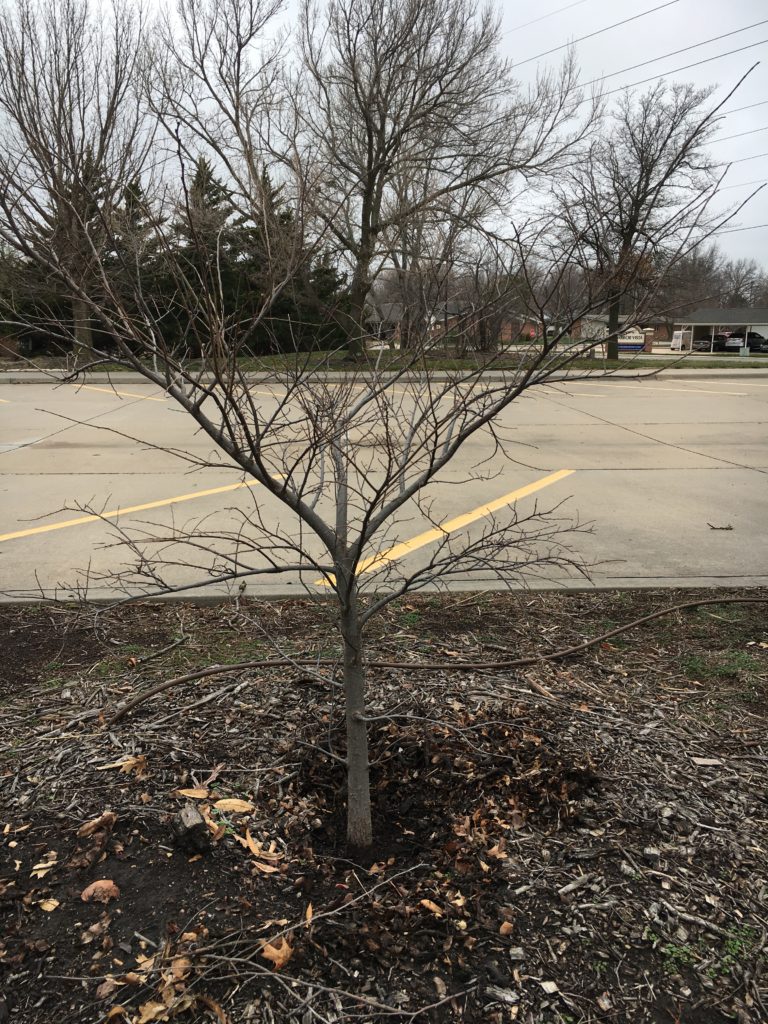
Sawtooth Oak winter damage

Trees are resilient, but we can help them by considering their needs. A little homework before planting can alleviate problems through the years. Trees are alive and ultimately affected by so many factors, some of which are out of our control. Who know what the next pest will be? Who knows when the next drought will occur? All we can do is try to create/match an environment conducive to growth.