Dividing Perennials

A perennial border is evolution on fast-forward, a watercolor in the rain, changing weekly as various species segue in and out of bloom – and yearly as its constituents dominate or yield, flourish or succumb, according to their natures.

John Friel from Friel World in Green Profit

Friel perfectly describes a native perennial border. Each plant grows according to its nature. Some are spreaders while some stay put or fade with competition. To keep all these plants happy and harmoniously growing together, a few plants may need to be thinned from time to time – divided so that they don’t dominate too much.

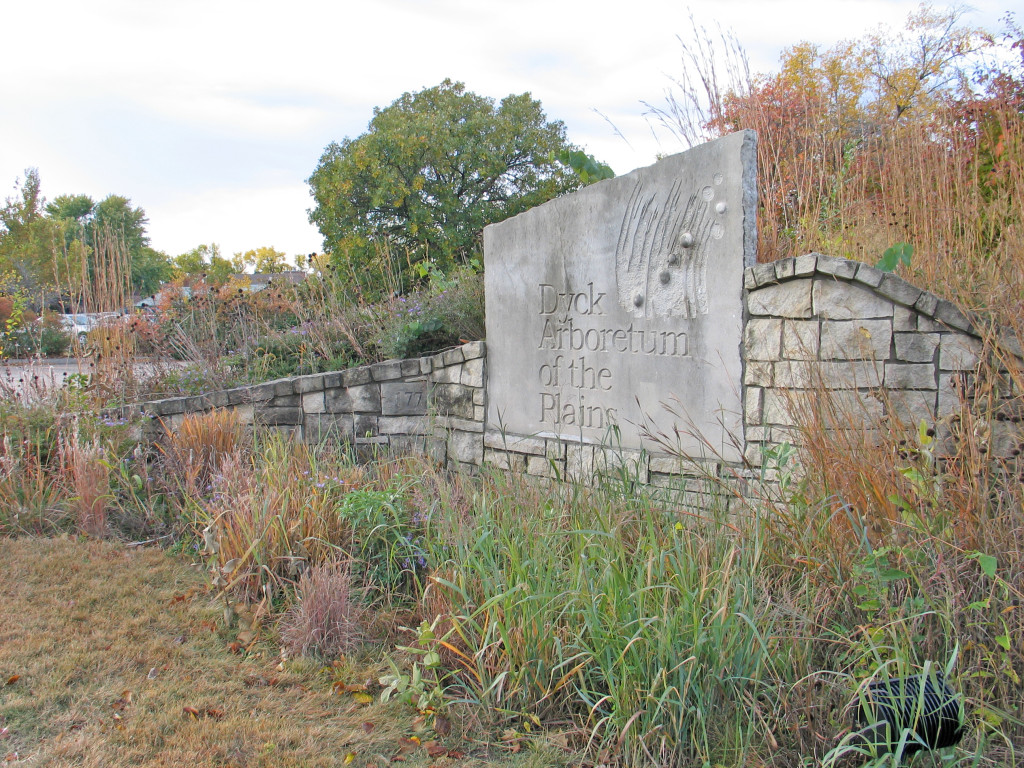
Front entrance sign will be updated with division of plants, especially grasses and asters.

When to Divide Your Perennials

As we move into spring, March and April is the best time to begin dividing perennials. You can divide in August and September, but excess growth and heat may hinder success. Dividing perennials can be stressful on the plants so dividing during times with cool, moist conditions will reduce shock. Another thing to keep in mind is that native grasses will not start to actively grow until soil temperatures reach at least 60 degrees. Grasses are often the last plants I divide in the spring. It’s good to wait until they are starting to show signs of life.       

Which Plants to Divide

  • Yarrow
  • Asters
  • Coral bells
  • Joe Pye weed
  • Liatirs
  • Monarda
  • Rudbeckia
  • Coreopsis
  • Spiderwort
  • Sneezeweed
  • Goldenrod
  • Echinacea purpurea varieties
  • Vernonia
  • Sunflowers
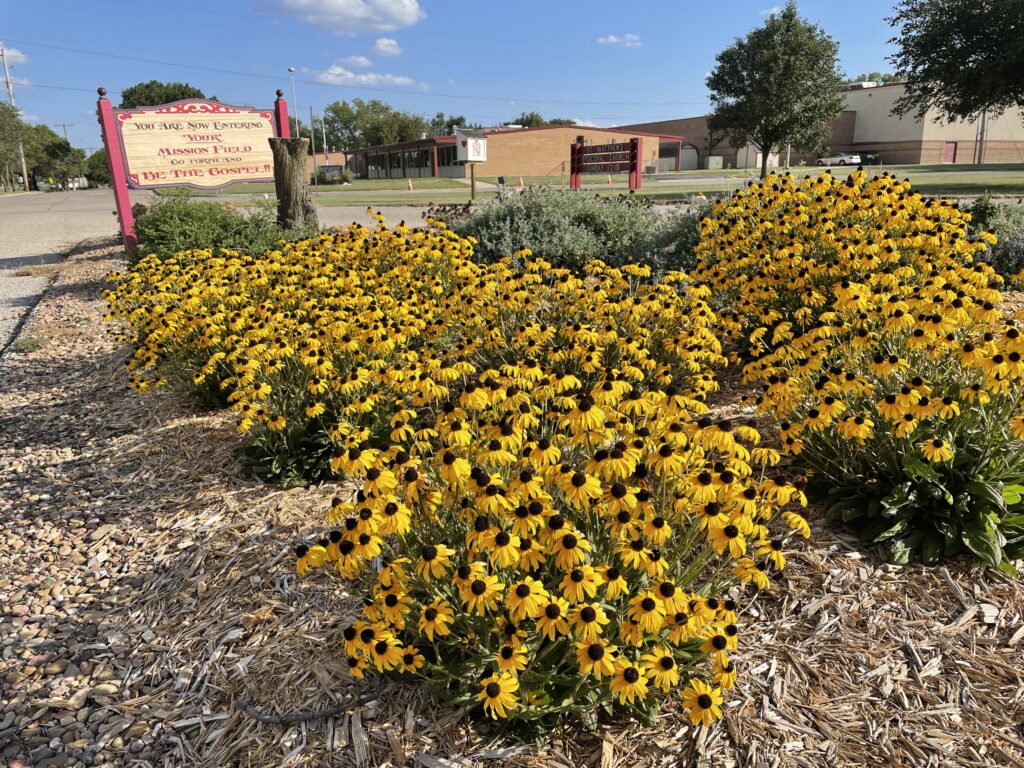
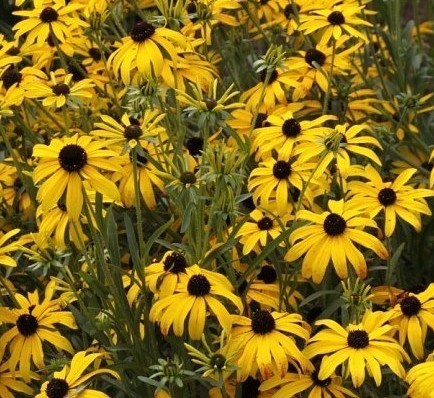
Black-eyed Susan is one of the easiest perennials to divide. (Photo by Brad Guhr)

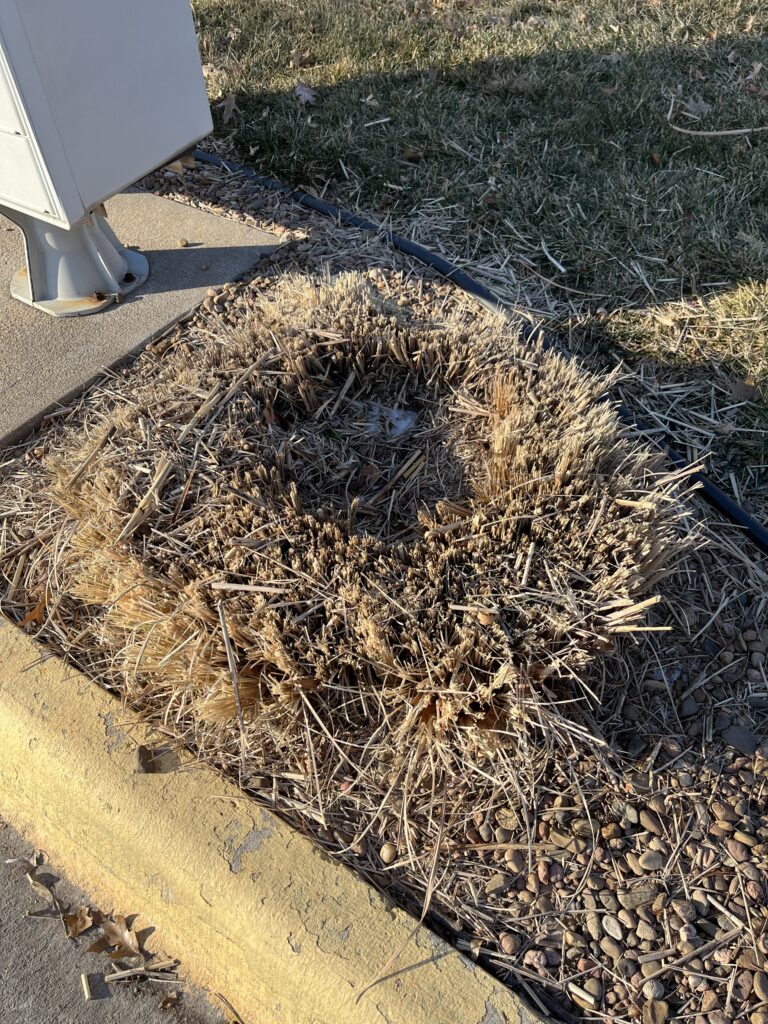
Native grasses often form a “donut” – the center dies back with active growth on the outer edges. 

  • Panicum
  • Little Bluestem
  • Big Bluestem
  • Indiangrass
  • Sideoats
  • Blue Grama
Grass that would benefit from being divided

How to Divide Perennials

  • Dig the Clump

After you have identified the plants that need to be divided, the next step is to dig the entire clump out of the ground.  If the soil is dry, it is beneficial to water the area a few days ahead to soften the soil.  With well-established grasses this may be a challenge, but it is important to work at it until it is removed. Grasses are resilient and can take much abuse in this division process. I have even worked at removal with a pick axe. Remove the clump/clumps from the hole and set it aside. Brush off excess soil to reveal the growing points.   

  • Separate the growing points/crowns and replant   

Some plants are easier to pull apart than others. For instance, asters are easier to pull apart than switchgrass. Usually, I break these clumps in to 1/16th, 1/8th or ¼ pieces. Each clump needs to have a few leaves or healthy growing points and roots in order to grow. Then, replant the divisions as soon as possible so the roots don’t dry out. I put them back into the same hole from which they were removed. Plant at the same depth as before and water well. Cover any bare soil with mulch to help conserve moisture while your new divisions become established. Left over plants can be shared with friends or composted. 

  • Water well

Reestablish these divisions as you would any newly planted perennial. Water daily depending on the weather for the first two weeks. Once you see new growth, reduce water frequency to every other day or every three days. You have removed much of the supporting root system so it will take at least a season to get that back. Also, I would not fertilize the new transplants, because it will encourage top growth that is not sustainable with the new root system.

Which Plants to NOT Divide

While most perennials benefit from being divided every few years, there are a few perennials with deep taproots that are better left alone. You will be more successful planting new seedlings than trying to dig these plants out of the ground. In my experience, it is easier to start with a plant than to remove these plants. Too much damage is inflicted on the taproot. Avoid dividing these varieties:

  • Baptisia
  • Butterfly weed (Asclepias)
  • Coneflowers (Echinacea angustifolia, Echinacea pallida, and Echinacea paradoxa)

We have divided and transplanted hundreds of plants over the years and I don’t believe I’ve ever lost one. Native perennials are resilient and recover from being transplanted in about a week. They may look rough the first year, but they will really come to life the next year. Go out in the next few weeks and identify a few plants that would benefit from a fresh start.

Looking forward to spring! (Photo by Brad Guhr)

A Winter Garden to Look Into

This time of year our focus changes a bit as we transition to spending more time inside. You look longingly outside at your garden, anticipating warmer weather and the arrival of spring. We are not restless yet, but for those of us who garden and love to dig into the soil, it helps if we have something to look at through the kitchen window or sitting in our living room. Here are some plants to consider adding as you “look into” your winter garden.   

Form

Flowers fade into buttons, globes, plumes, spikes, daisies or umbels that can be emphasized with the play of light and motion. These expired flowers are attractive even after they are done blooming.  

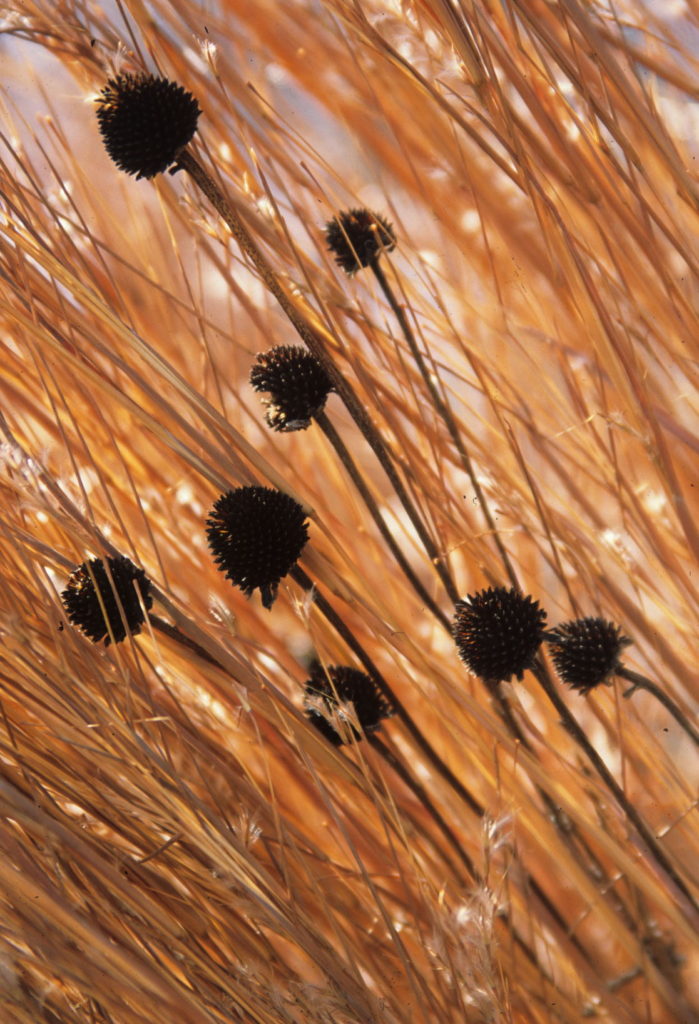
  • Coneflowers: These dark seed heads are attractive with native grasses and are favorites of overwintering birds.
  • Asters: Swaths of these fall blooming perennials provide structure and decent fall color. 
  • Amsonia: Blue flowers in the spring and attractive color in the fall
  • Prairie Dropseed: This is one of my favorite grasses. Fine foliage, airy seedheads, and golden orange fall color that mixes well with many other shorter perennials.
Coneflowers with little bluestem

Texture

This garden design element refers to the surface quality of the plant. Whether coarse or fine, textural plants combined with interesting forms are quite dramatic in the winter landscape.    

  • Switchgrass: There are so many varieties to choose, from tall to short and from green to red leaved. You really can’t go wrong by adding some of these native grasses to your garden. 
  • Rattlesnake master: This unusual native has attractive gray-green foliage and starry white blooms in the summer. As it transitions into the winter-the whole plant turns tawny gold.
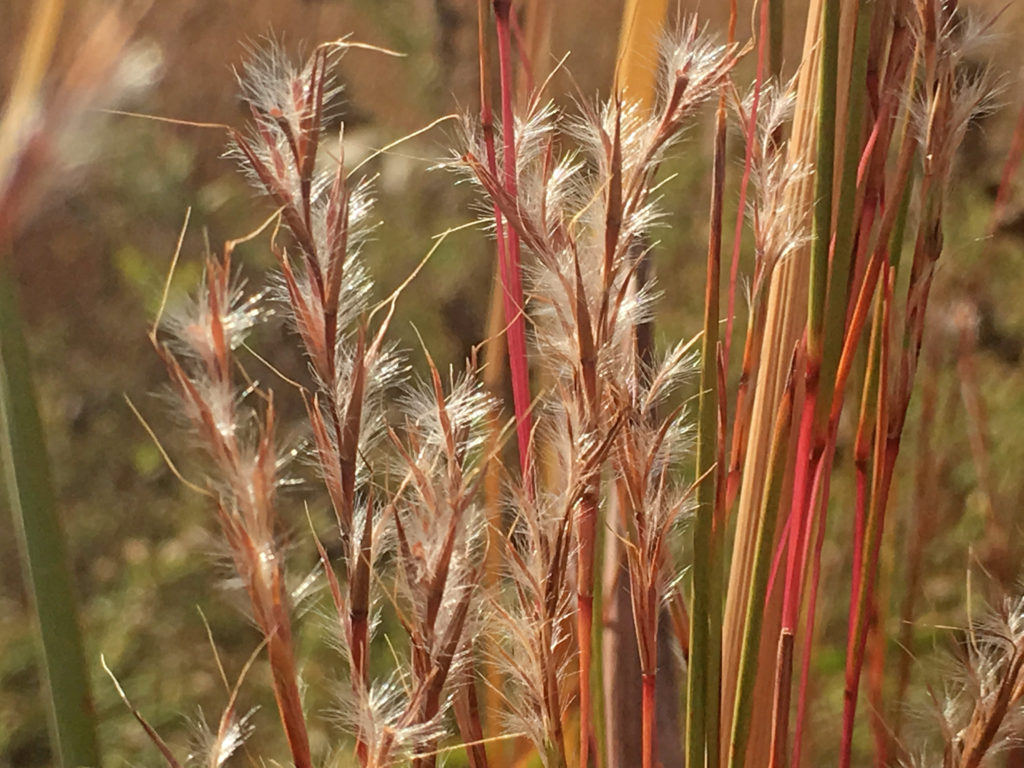
  • Little bluestem: The fine stems of little bluestem add bright color to the stark winter garden.   
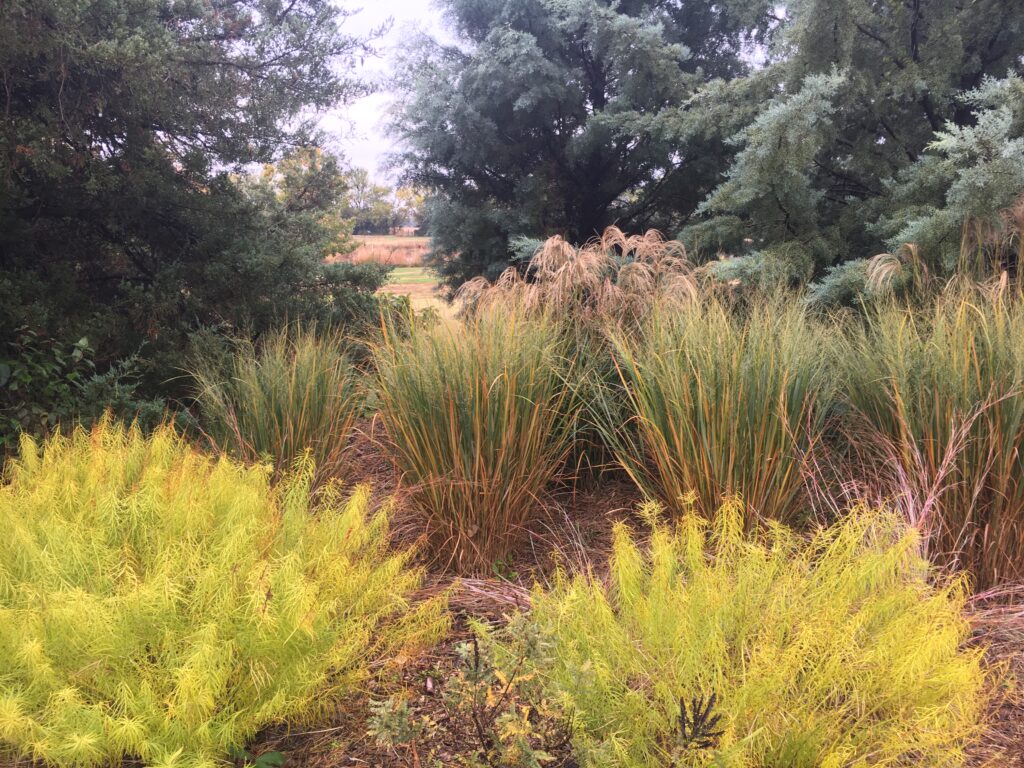
Fall color of Amsonia with Northwind switchgrass and Oktoberfest Maidengrass

Fruit/seeds

This element in the garden is often overlooked or removed before the birds need them. For birds that take winter residence in your garden, the right mix of plants creates a habitat that is fun to watch. 

Composite flowers like blackeyed susan, coneflower, blazing star, sunflowers, and goldenrods are vital food that birds seek out. 

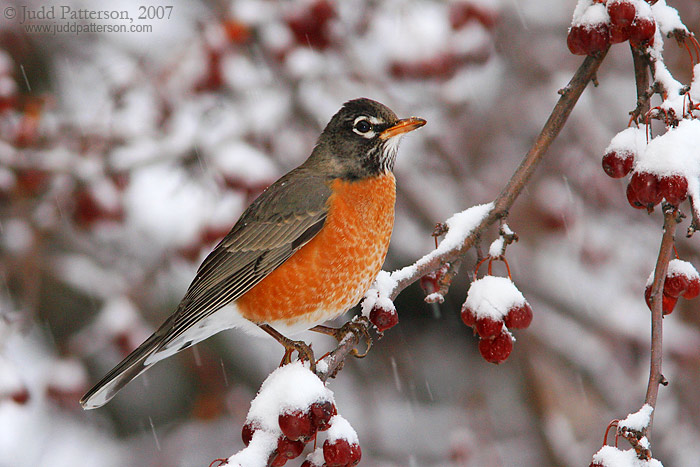
  • Crabapples: Most of ornamental trees have persistent fruit that are utilized later in the winter as other food becomes scarce.
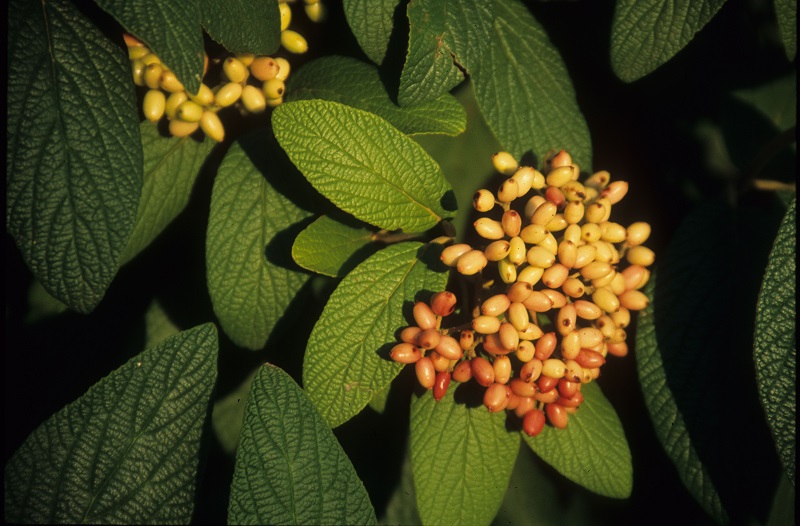
  • Blackhaw Viburnum: This native produces abundant fruit that taste like miniature prunes. Birds and other wildlife love them.   
  • Sumac: The reddish fruit atop these native shrubs are a favorite of Chickadee and Titmouse. 
Robin on a crabapple tree (Photo Credit: Judd Patterson, Birds In Focus)

Stems

Stems are not noticed until everything is bare, but can provide something interesting and beautiful to look at in the winter.

  • Red/Yellow twig dogwoods: They explode with color especially with snow.
  • Big Bluestem: Forms with brilliant red fall color are the best with regards to standing out in the landscape.
  • Seven-Son Flower: Great exfoliating bark on this fall blooming small tree. 

Shelter

This can be a brush pile or evergreen of some type. Each provide shelter and safety for wildlife during the cold winter months.   

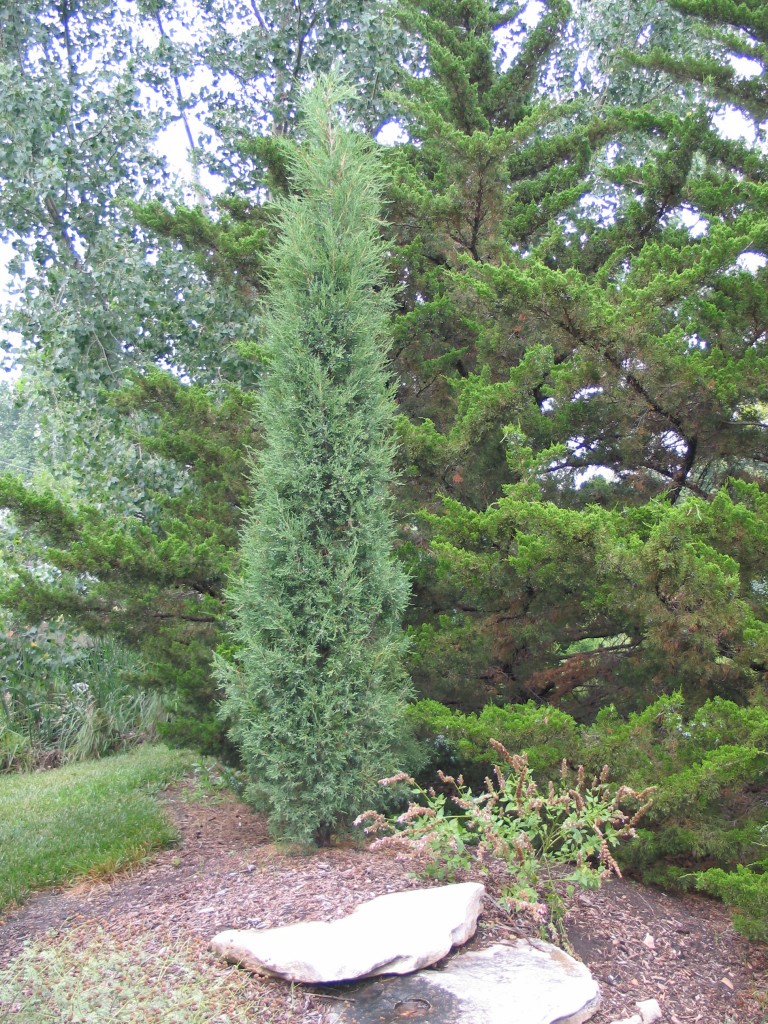
  • Taylor Juniper: This upright form of our native evergreen also has fruit that the birds need. 
  • Alleghany Viburnum: Tall semi-evergreen shrub with attractive fruit and leathery leaves. 
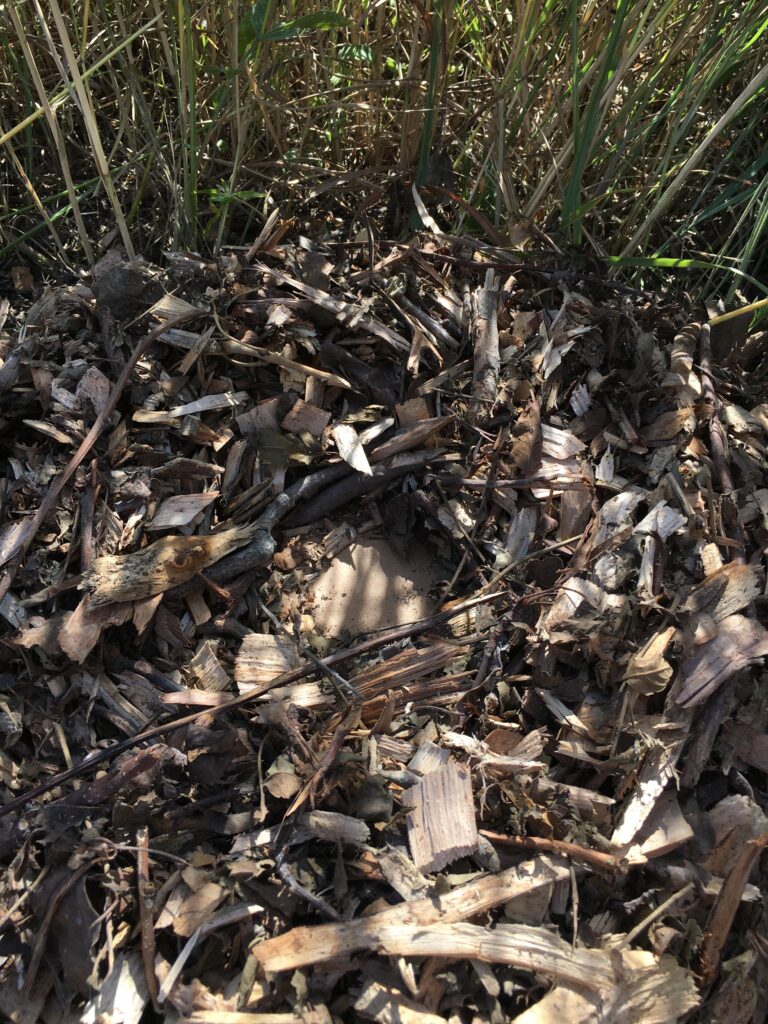
  • Brush pile: Brush piles create shelter that conceals and protects wildlife from predators and weather. Situate the brush pile where you can enjoy wildlife viewing. 


This image has an empty alt attribute; its file name is ViburnumRhytidophylla_EWeaver_14July2002_00371-Copy.jpg
Alleghany Viburnum fruit and evergreen leaves

In the winter, there are fewer times of satisfaction from the garden. If you have only a few plants to watch in the winter landscape, make sure it’s enough to keep it interesting.

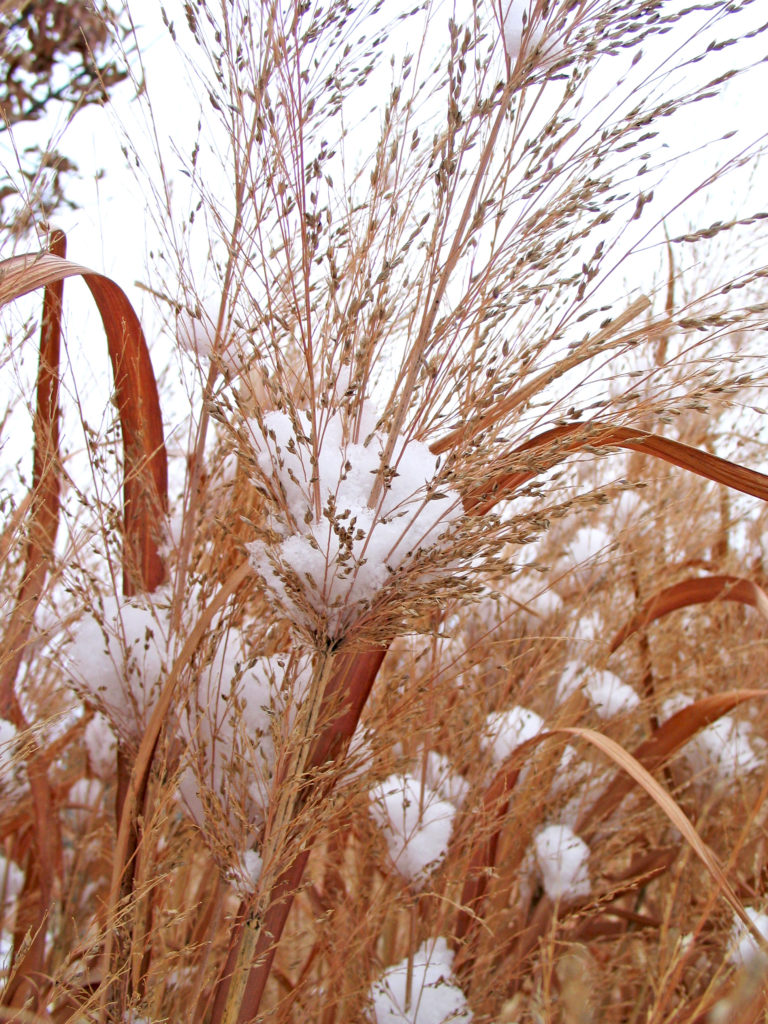
Snow captured by switchgrass

Seeded Prairie Checkup

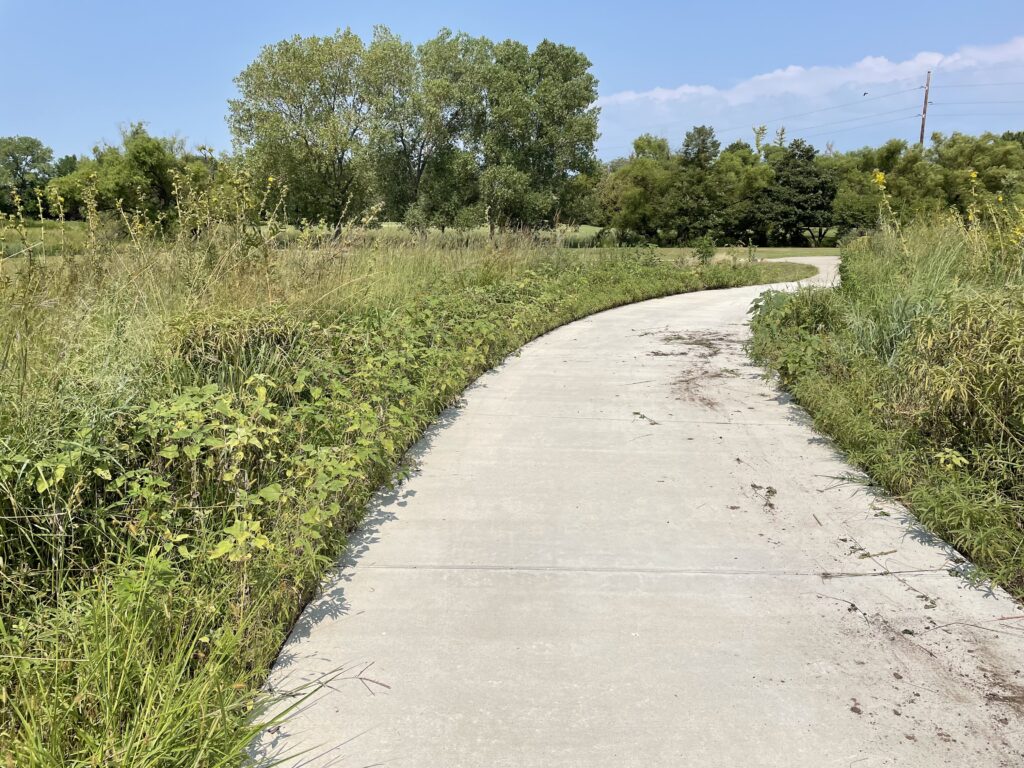
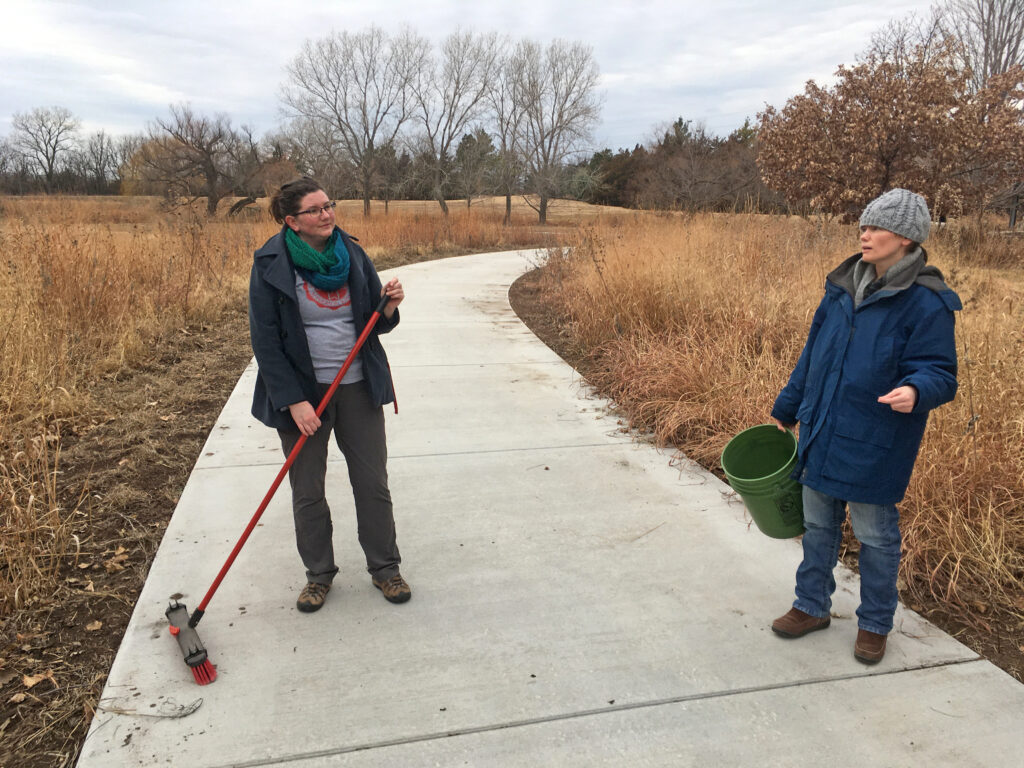
I recently did a seeded prairie checkup to see how our December 2020 sidewalk planting described in the earlier blog post “Seeding After Disturbance” is doing. I’ve been informally monitoring it regularly since spring and have been encouraged by the progress I’ve seen.

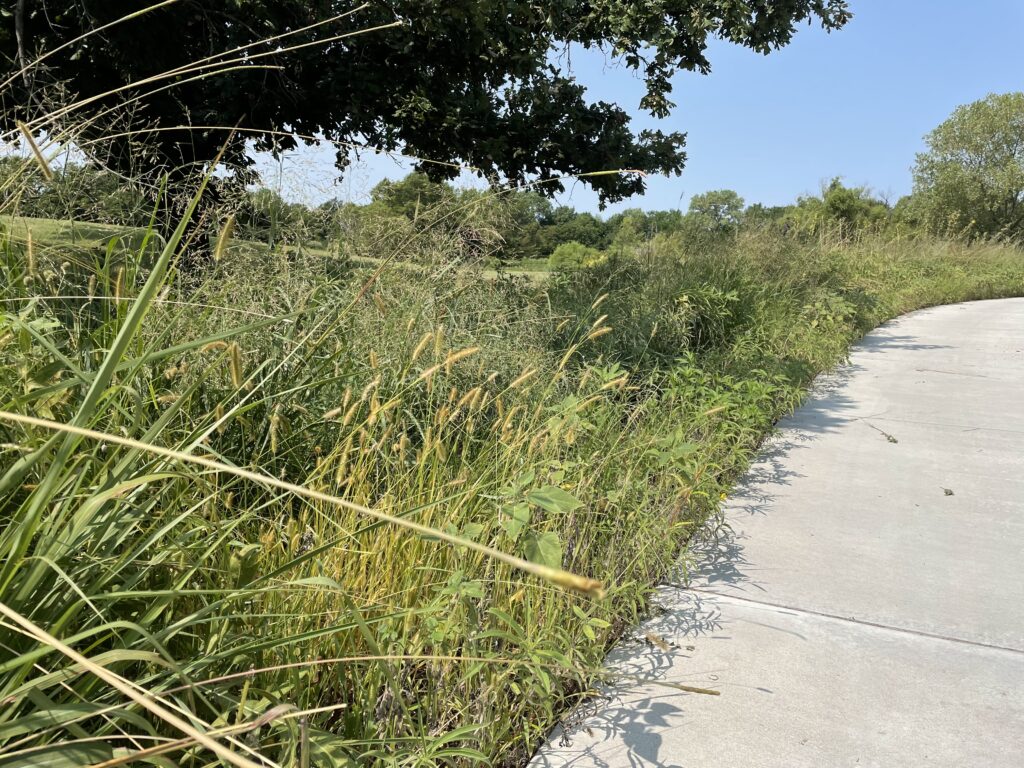
Sidewalk edge seeded planting site this week on 8/10/21
The same planting site on the day it was planted 12/28/20 w/ planters Janelle and Kendra

Good Germination

We’ve been lucky with the weather since this planting. Conditions to promote good seed germination have been excellent. Remember the deep freeze we had in February? While it tested our human resiliency and strained our heating bills, it was good for this seeded prairie. Adequate precipitation and freeze/thaw action commenced throughout February and March. These conditions helped work the seed down into the soil while also breaking down their seed coats to help prepare them for germination.

Warmer temperatures along with rains in April and May promoted good germination. Identifiable prairie seedlings from the planted species list identified in the earlier blog post were evident amidst the expected seedlings of annuals like ragweed, sunflower, and foxtail.

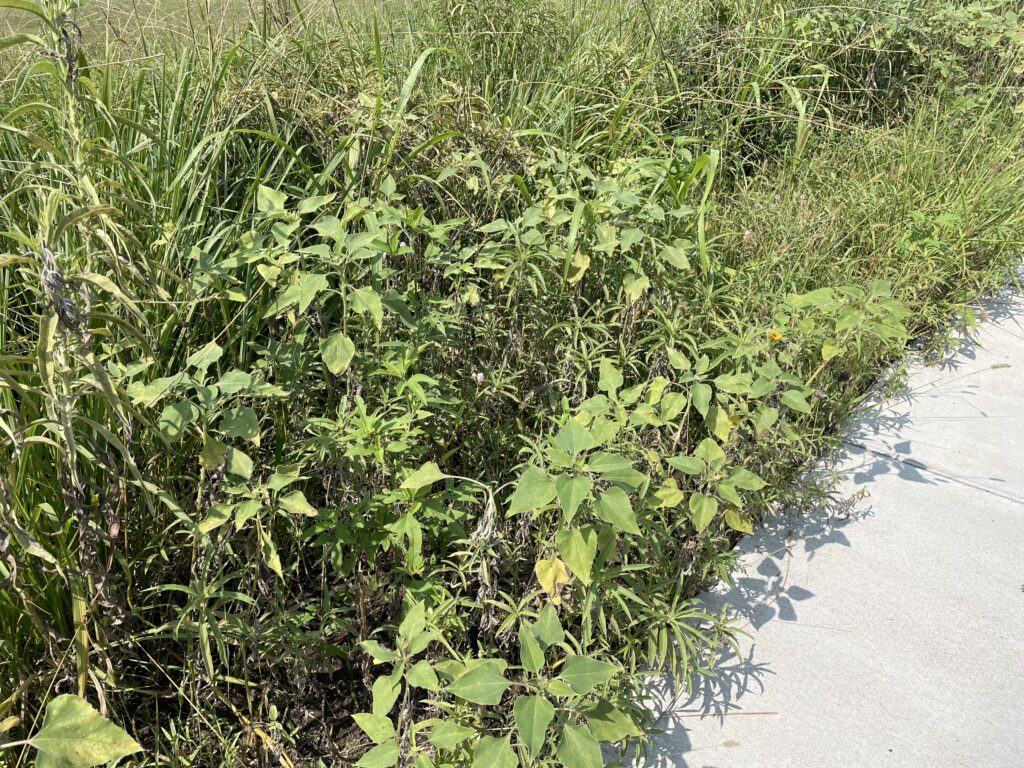
Annual sunflower, giant ragweed, and foxtail grass serve as a shading nurse crop for tender, young perennial prairie plants

Thanks to the planting areas’ proximity to a water spigot, I was able to do some supplemental irrigation during the hot, dry weeks of late June and early July to keep the new seedlings from burning up while the seedling roots were small. But periodic rains in July and early August along with mottled shade from the nurse crop of sunflowers and annual grasses provided the conditions needed to help the prairie seedlings get well established as we head into fall.

Species Identified

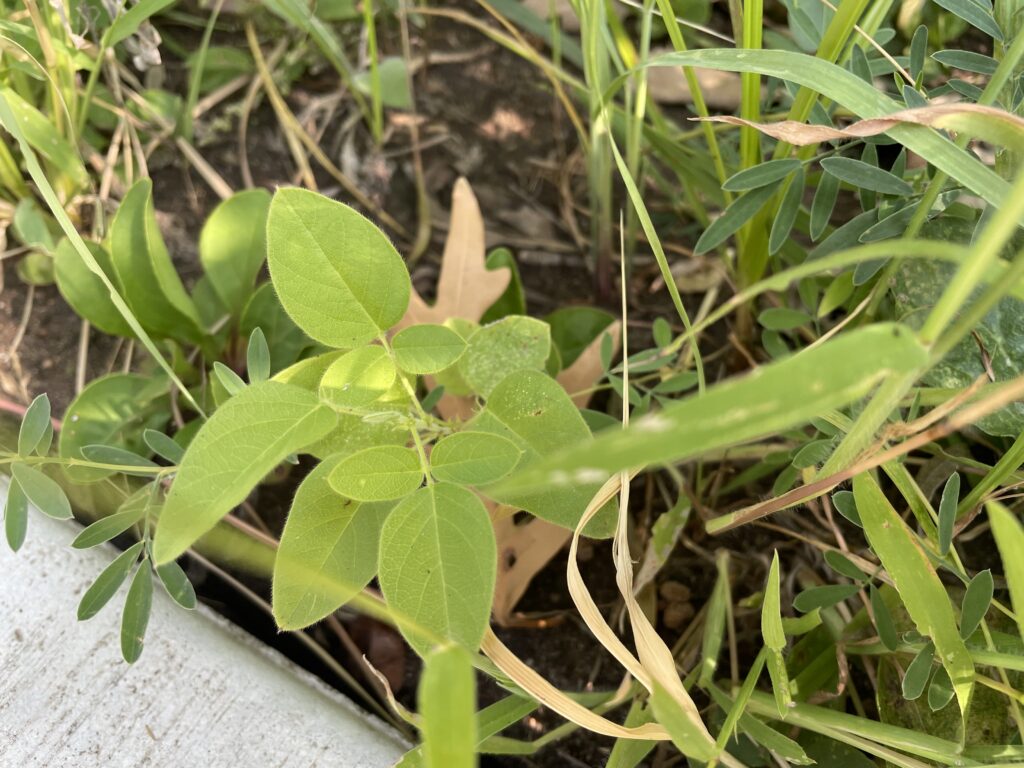
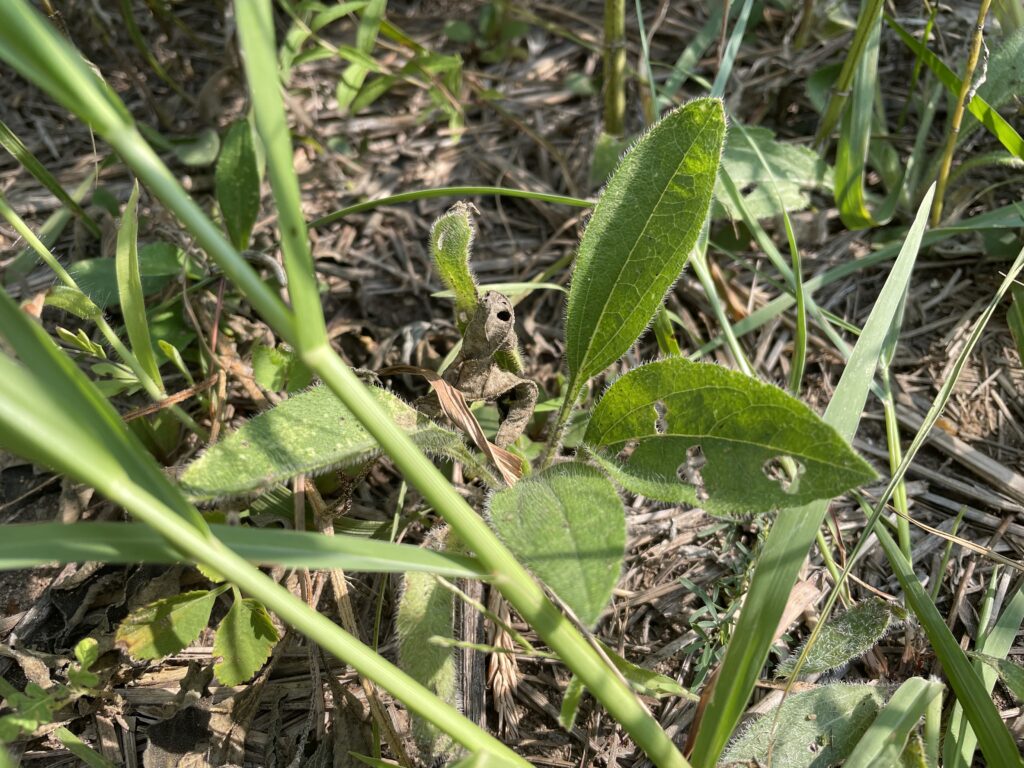
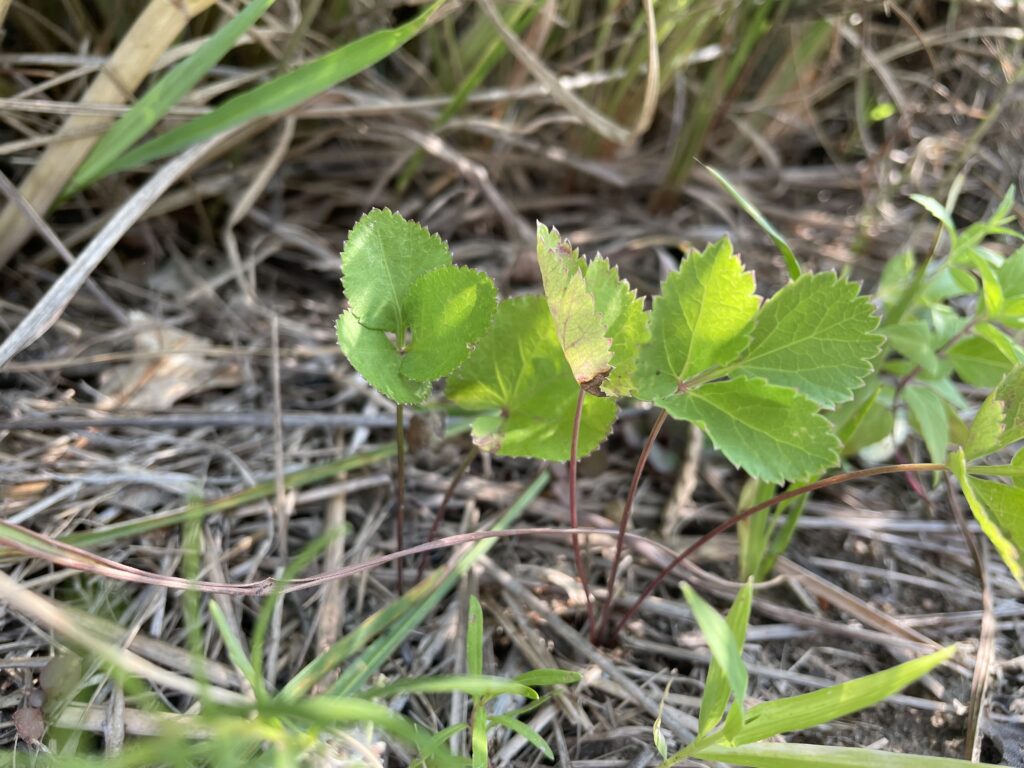
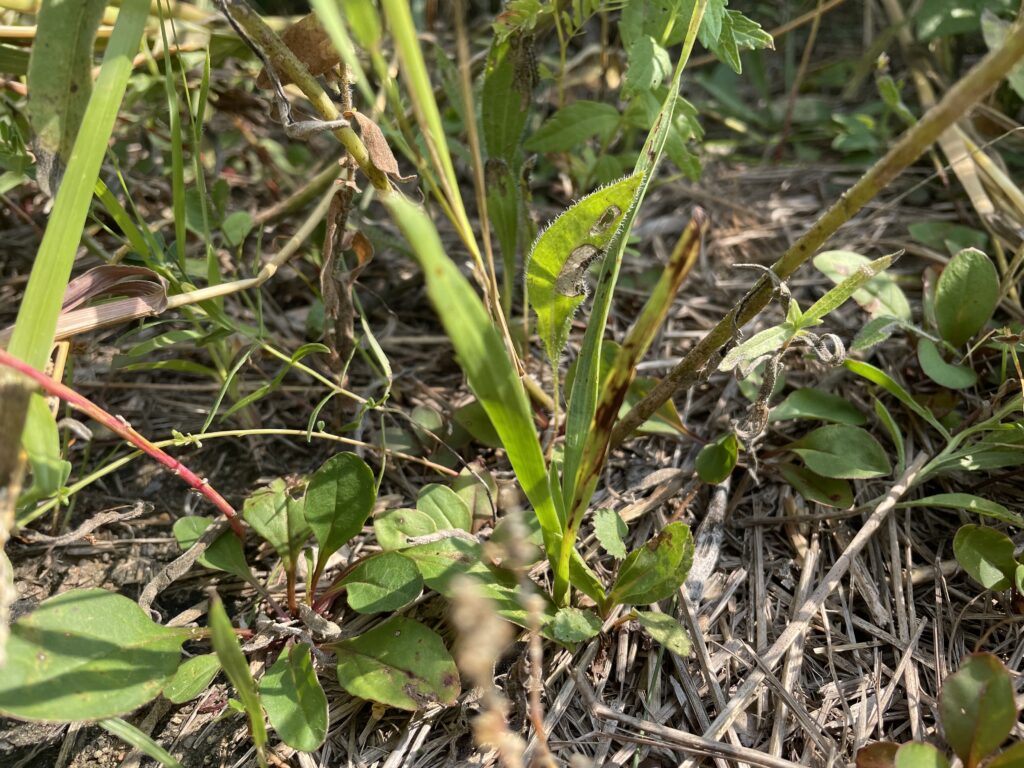
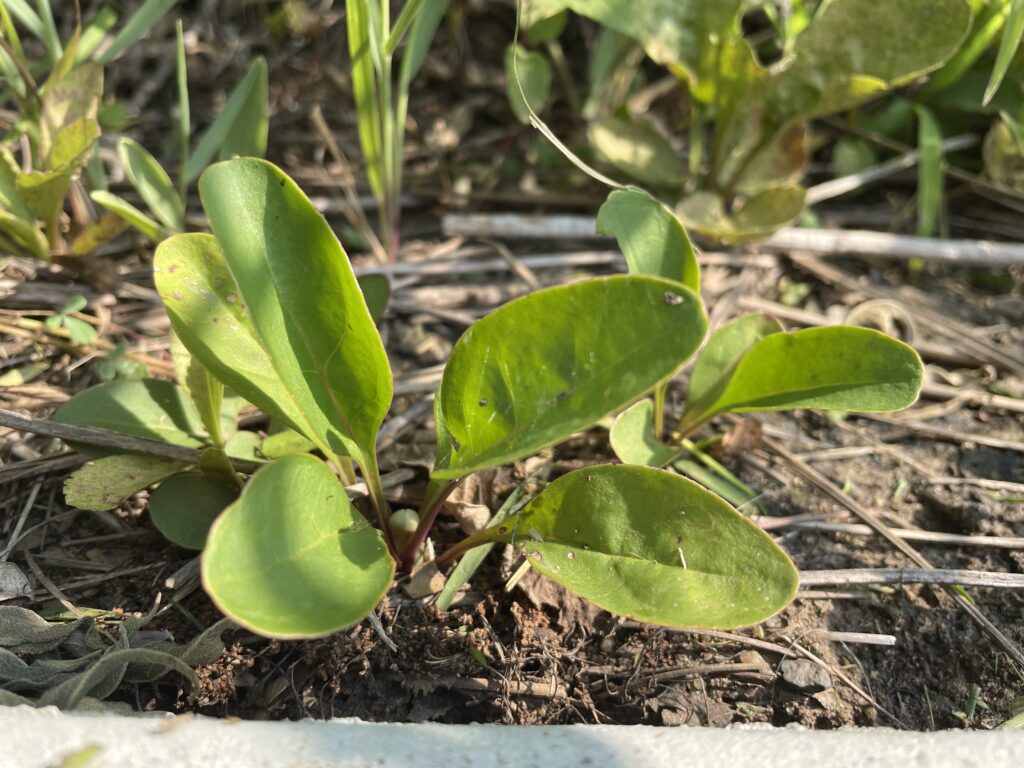
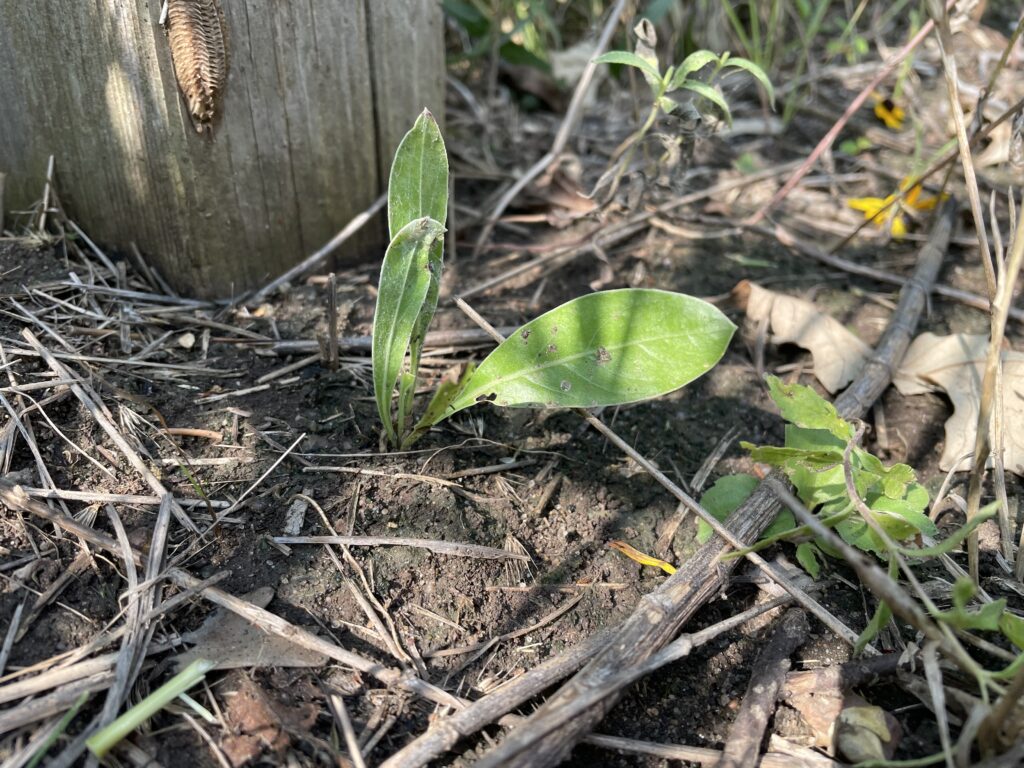
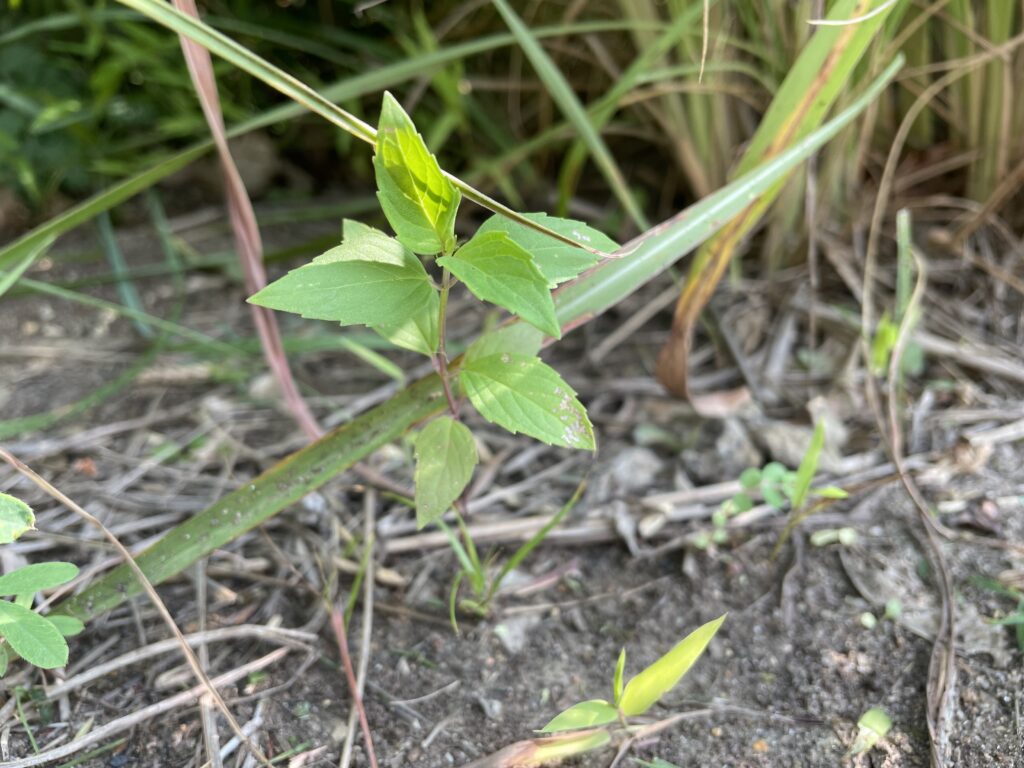
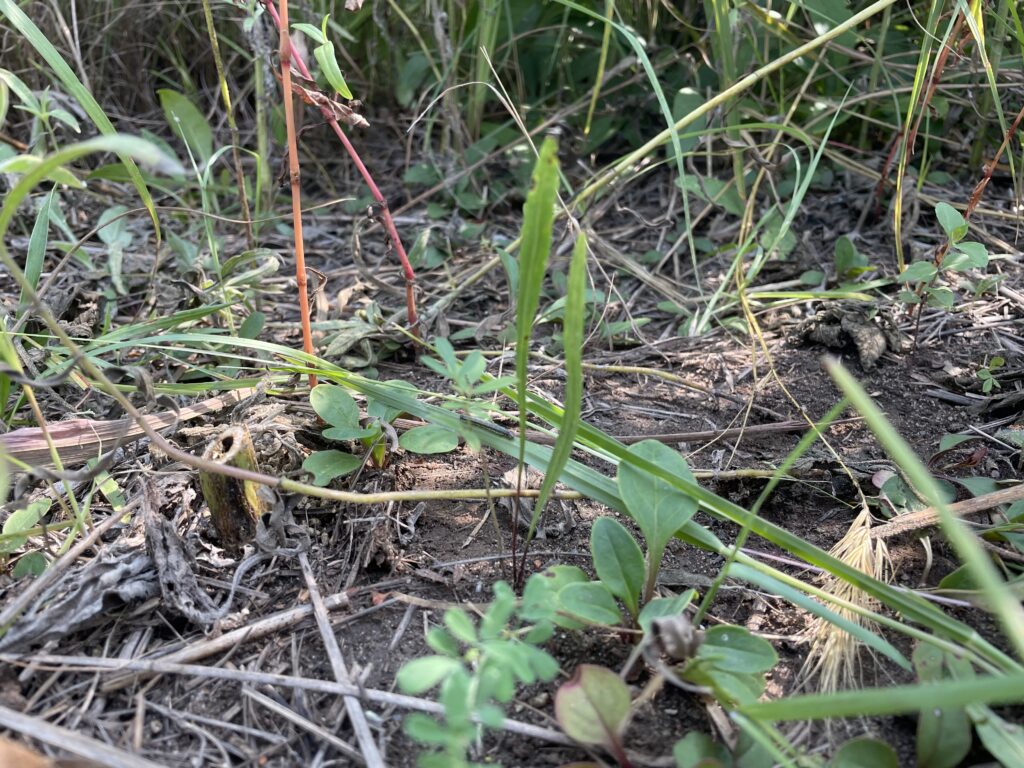
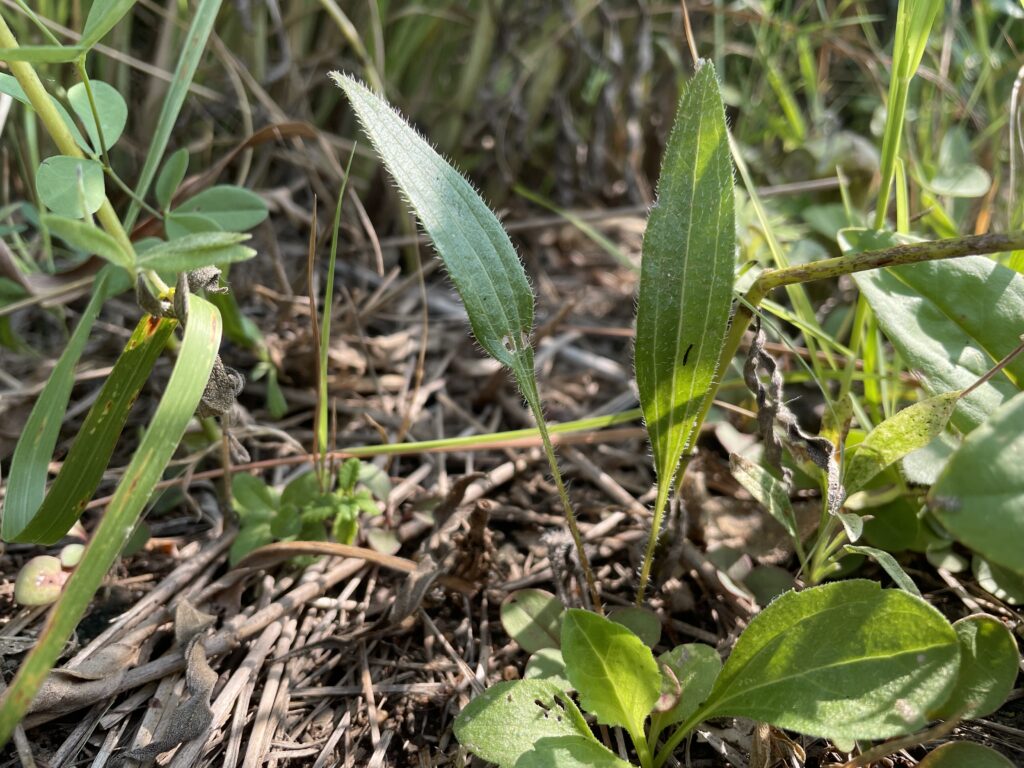
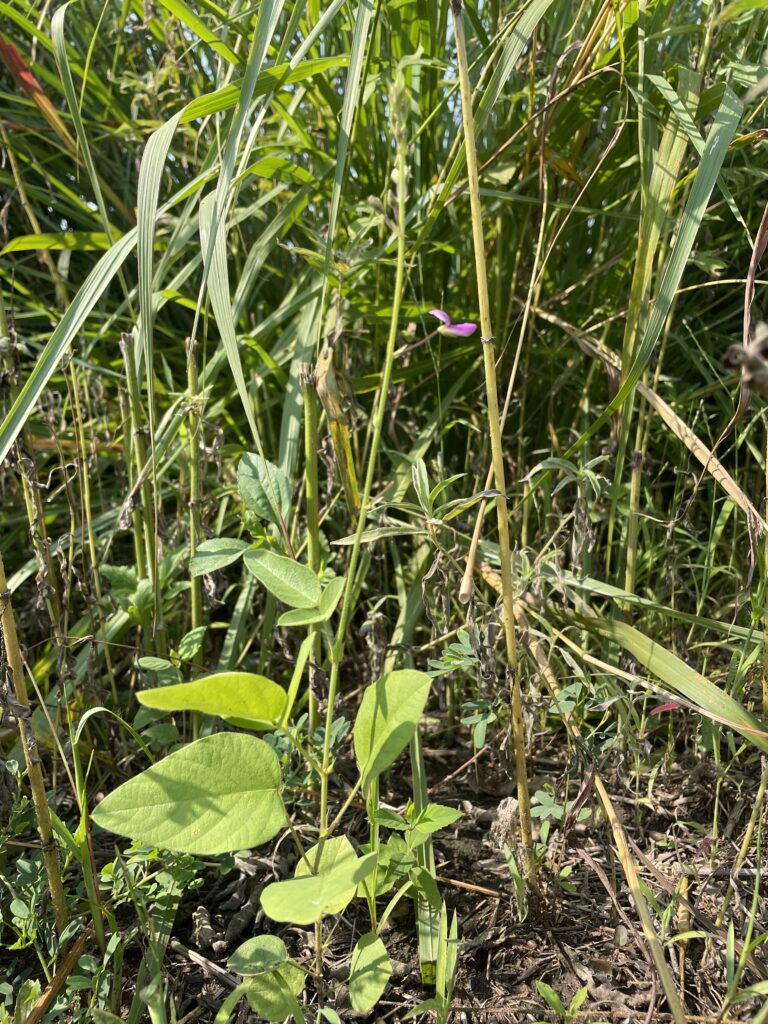
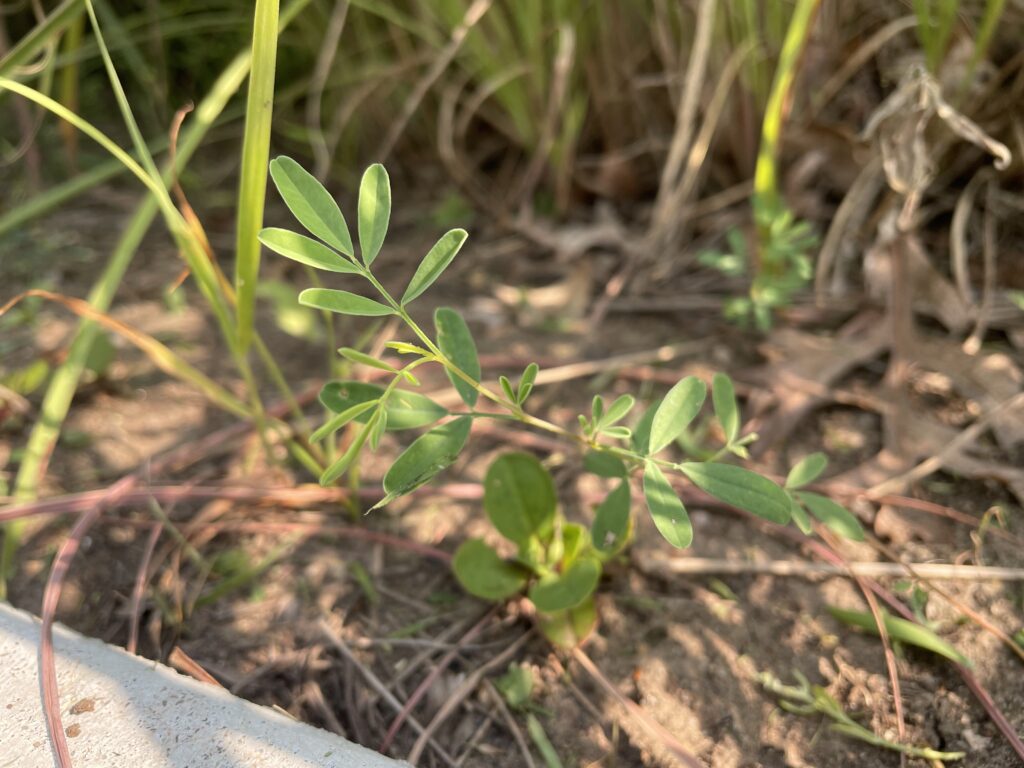
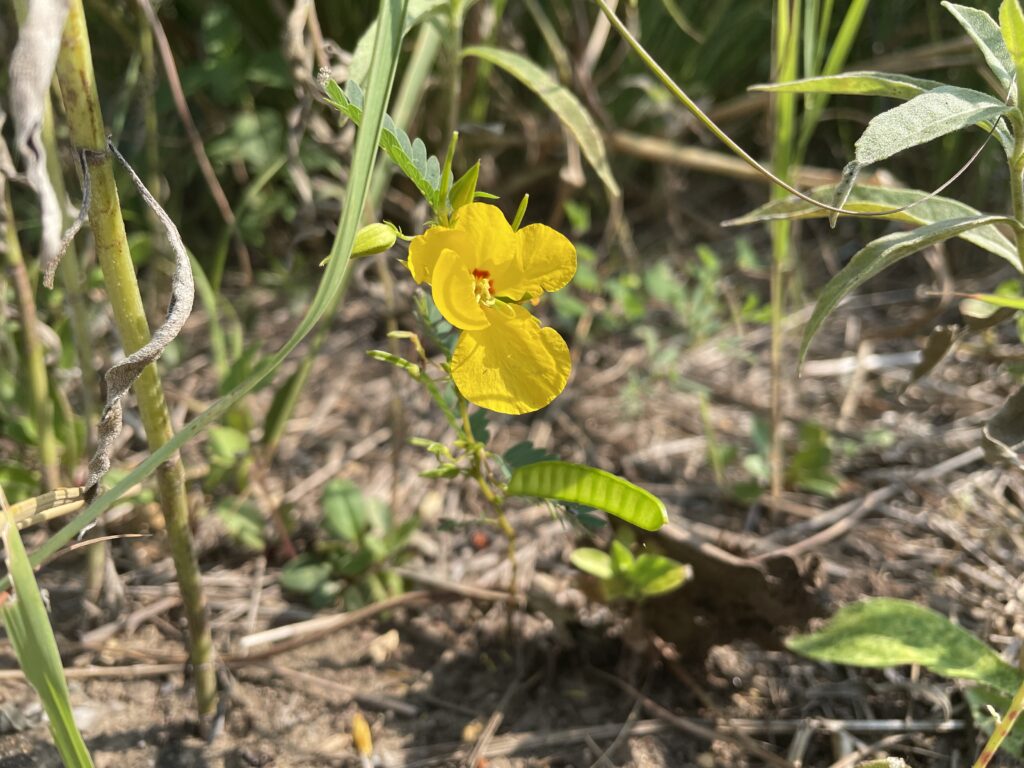
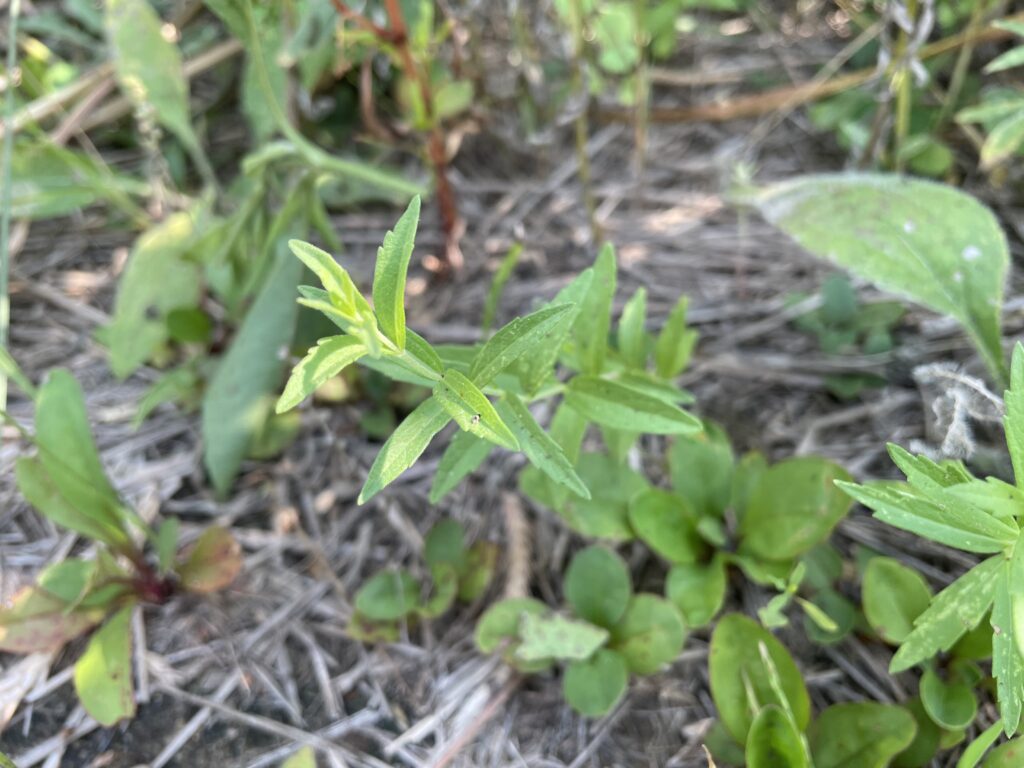
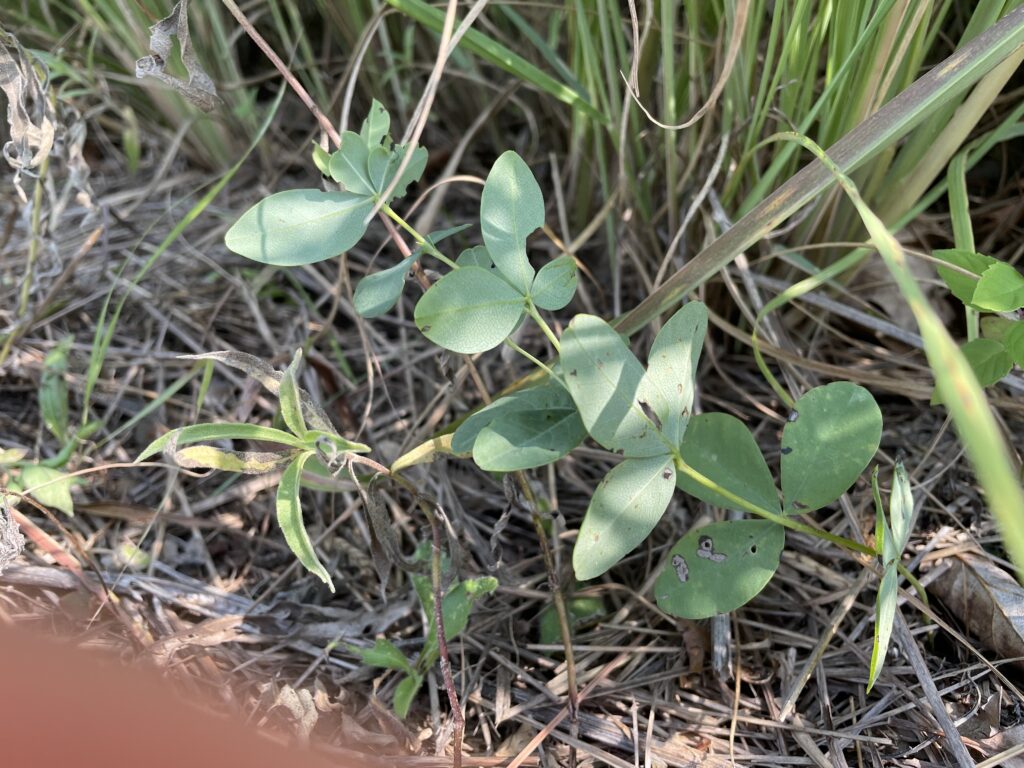
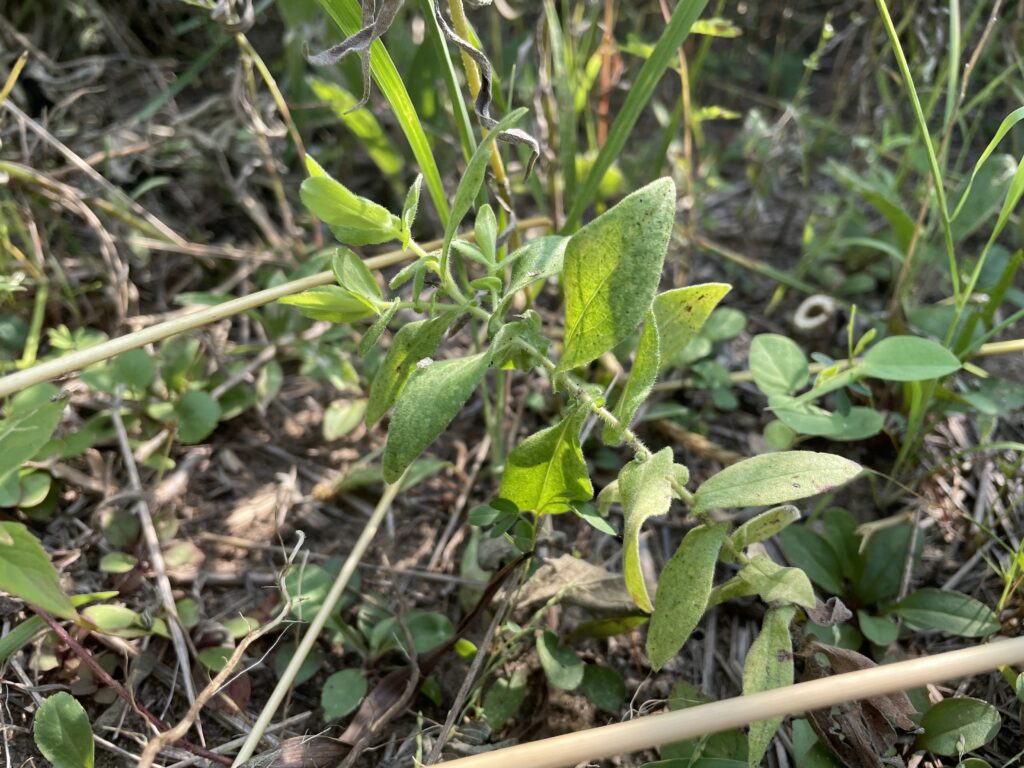
A brief perusal of seedlings during this week’s seeded prairie checkup helped me find and photograph 14 of the 43 species that were part of the Prairie Moon Nursery seed mix. My prairie seedling identification skills are rusty, but I was able to identify the following seedlings to at least genus and some to species.

Seedlings of these identified species are thick throughout the planting and I’m confident that a good number of the rest of the 43 species in the mix will also show up eventually.

Weed Management

Typical management for a less-manicured seeded planting is simply to mow it a couple of times during the growing season to keep annuals from going to seed. Since such an approach for a higher profile area near the visitor center may look a bit scalped and perhaps not as appealing, we are taking the approach of cutting or pulling stems of the annuals. It is more labor intensive than mowing but not an unmanageable approach for small sidewalk edge planting, and regular volunteer, Gerry Selzer, has cheerfully embraced this task.

This weedy sidewalk edge vegetation is shading and hosting a variety of prairie seedlings underneath
The rare and coveted Gerrius selzeranii

Attracting Insects

One of the main reasons for planting this diverse wildflower seed mix in addition to adding pretty splashes of flower colors, is to attract insects and biological diversity to our sidewalk edge prairie beds. In two or three years, these planted species will be flowering and attracting insects with their flower nectar and host plant vegetation. I look forward to engaging school kids and teachers with regular investigations of these sidewalk edges to learn more about relationship between prairie plants and insects.

A new black-eyed susan is already playing host to caterpillars, possibly of species of checkerspot butterfly

Overall, I’m pleased with the progress of this planting as seen during this seeded prairie checkup. Days are getting shorter and we are almost to the cooler months of this planting’s first year when I can be pretty sure that these young prairie seedlings will have deep enough roots to survive about any weather conditions. Stay tuned for future updates about the development of this planting and consider how you too might add a seeded planting somewhere in your landscape.

Succession of Bloom

Every gardener strives to have a continuous symphony of flowers in their gardens from spring through fall.  However, most gardens, including some of mine, seem patchy in appearance with sporadic blooms from time to time.  Although a continuous floral bloom is the goal, it is often not achieved unless a method called succession planting has been implemented. 

Succession of bloom is used to describe a diverse set of plants in a flower border that will always have interest. At any given time during the growing season there are plants coming into bloom and fading out of bloom.  This consistent bloom is important in a design, especially when using native plants.   
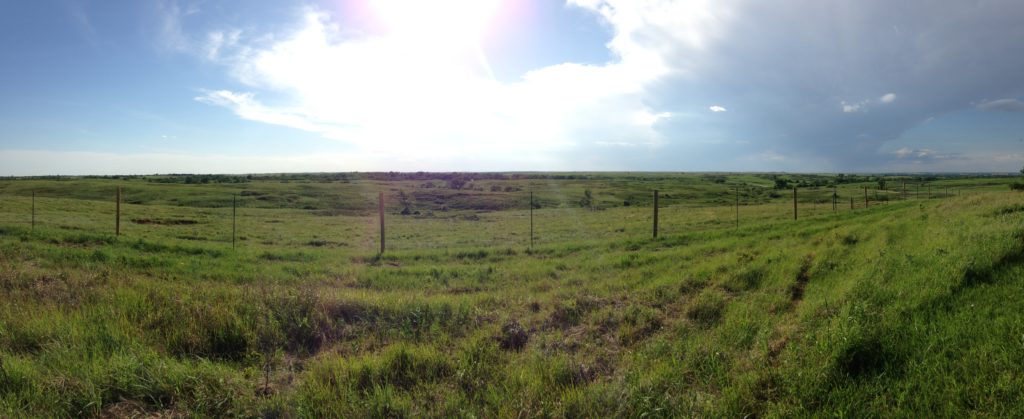
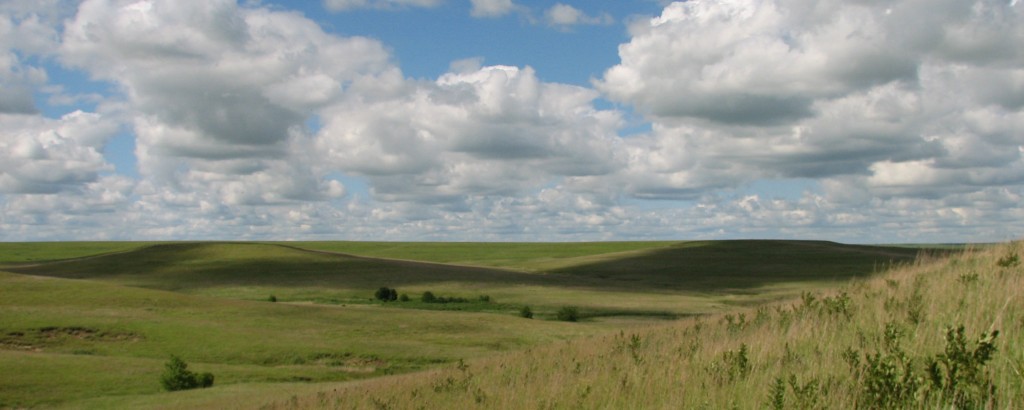
Tallgrass Prairie National Preserve in the Flint Hills. Photo by Brad Guhr

There are no Wave Petunias in the prairie. If you visit a prairie landscape like the Konza Prairie every two to three weeks throughout the year, you will observe plants beginning to bloom, in full bloom or going out of bloom. That is how you need to design your native landscape. Include plants that bloom in every season of the year and then strategically add grasses for movement and texture in the winter months.

In my opinion, succession of bloom is one of the most important concepts in native plant design, right after site considerations and matching plants up to your site. Take time to acquaint yourself with the life cycles of wildflowers and grasses. The more you know, the easier it will be to seamlessly incorporate them into your design. Succession of bloom always provides something of interest in the garden, but it also provides season-long food for pollinators and other wildlife.   

Starting a List

Put together a list of plants that bloom at different seasons and will grow well in your area.  Include early season bloomers, midseason bloomers, and late season bloomers. Select a set of grasses that combine well with those wildflowers or provide backdrop for other perennials in front of them. 

Native Plant Guide
Working on a landscape design for one of our members.

Begin the Design

As you layout your plants in your design, think about heights and layer of plants. Typically, there are only three or four layers of plants.  Plants 4-18 inches tall in the front, middle layers of 18-24 inches and 24-48 and then taller perennials at 48+ inches tall.  These tiers guide how I combine the plants and layout the design. 

Initial planting next to the Prairie Pavilion.
Needs more grasses and wildflowers to fill the gaps and cover the mulch.

Layout

Always think about foliage and flowers. In matrix planting, made popular by Dutch landscape designer Piet Oudolf, every square inches is covered with plant material.  From the groundcover layer through the seasonal interest layer and on up through the structural layer, plants crowd out weeds and mimic the prairie community.  Keep in mind, blooms will fade, so foliage is important too. Seed heads can be supported and highlighted with grasses. A striking example is the dark seed heads of coneflowers later in the season with little bluestem.

Little Bluestem and Pale Coneflower seedheads

Plant in smaller groups

I prefer to plant is smaller groups such as five, seven or nine individual plants. Often, I will mix in some native grasses with the wildflowers. A larger swath of something out of bloom leaves a large void in the design, especially if it blooms in the spring. Plant closely enough so that foliage intermingles. If plants are spaced too far apart that there is more mulch or soil than plants, this void will draw your eye to the plant that is out of condition. By planting densely, you will hardly notice a plant out of bloom. 

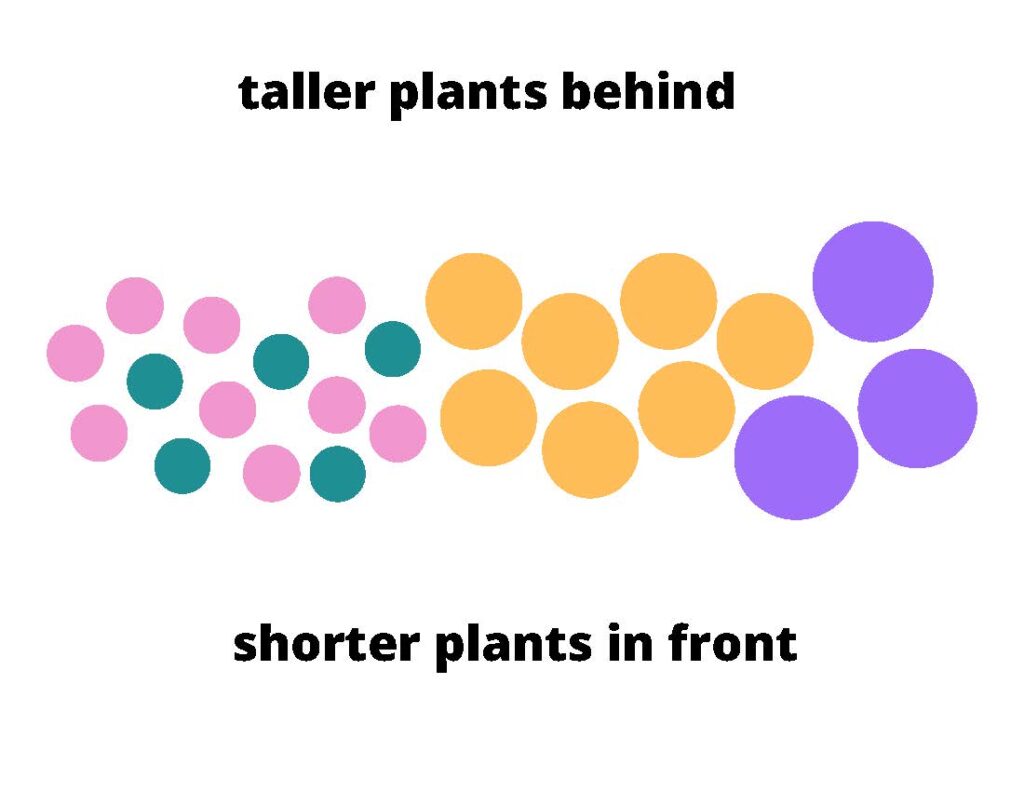
The example below is simplistic, but the concept is the same. Succession planting combines specific plants for your garden that all look good together and bloom at different seasons. Try to avoid planting two different groups of plants next to each other that bloom at the same time. Those groups will leave a larger hole in the landscape.   

Example: nine coneflowers (pink) with five little bluestem ‘Twilight Zone’ (blue) planted next to seven Rudbeckia ‘American Gold Rush’ (yellow) which is planted next to three Aster ‘Raydon’s Favorite (purple).

Your pattern can be continued or another set of seasonal plants can be incorporated into the design. This is also a tier in the overall design. They are all about the same heights. Plant something taller behind and shorter in front of these perennials.

Succession planting is very rewarding, and these simple techniques should guide the process. Again, take time to acquaint yourself with the life cycles of wildflowers and grasses. The more you know the easier it will be to combine them according to bloom time. Succession planting is something that we all respond to, and brings the garden together visually.

Keystone Natives for the Food Web, Part 2

A couple weeks ago, we laid the ground work for enhancing the food web by listing some of the keystone species gardeners should include in their landscapes. When choosing plants to support insects, the foundation of the food web in our gardens, we want to make the most of our space. 

Insects are typically not picky when it comes to food sources, but they do have their preferences.  Here is an extension of that original list to give you more options to diversify your plantings and support a more robust food web in your habitat garden.

Grasses

Little Bluestem (Schizachyrium scoparium)

This native bunchgrass can be found throughout the Great Plains. It reaches two to three feet tall and prefers a medium to dry well-drained soil. Give it plenty of sunlight for best growth. It is the larval host for many species of butterflies including Ottoe Skipper, Crossline Skipper, Dusted Skipper, and Cobweb Skipper. 

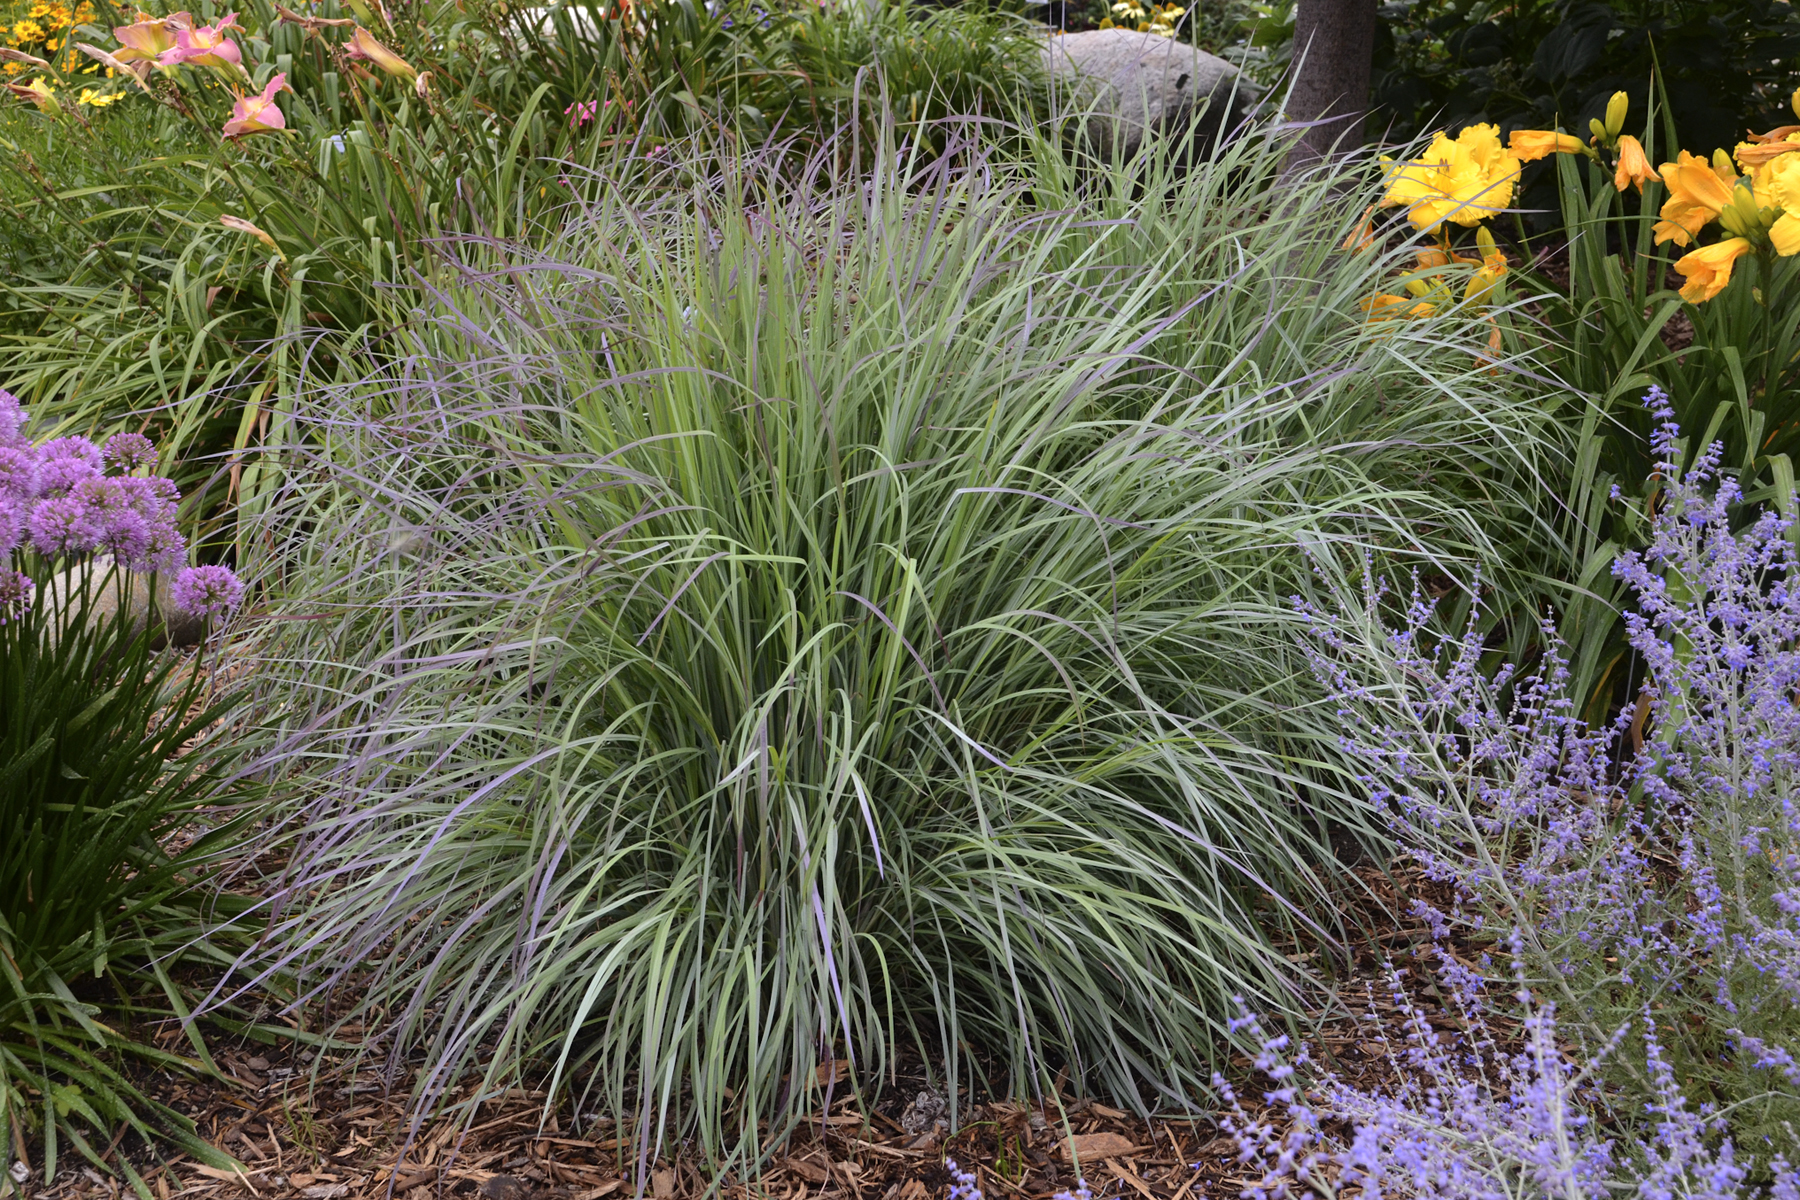
‘Twilight Zone’ is a nice cultivar with purple green foliage during the growing season and good fall color.

Twilight Zone Little Bluestem. Photo courtesy Walter Gardens

Blue Grama (Bouteloua gracilis)

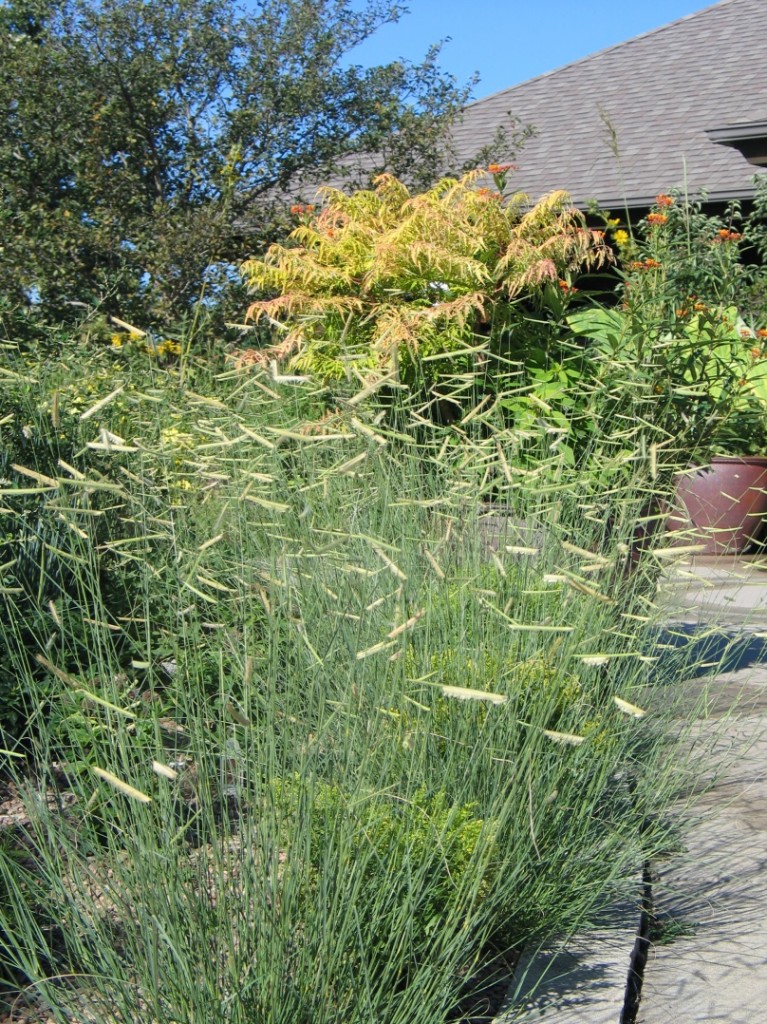
Blue grama forms dense clumps and is extremely drought tolerant. Use in a sunny spot as a ground cover or mix with buffalograss for an easy-care lawn substitute.  The flowers look like tannish eyelashes that are attractive well into winter. There are over 10 butterfly larvae that feed on blue grama, including many skippers, Ottoe, Leonards, and Uncas; but also Mead’s wood nymph and the garita skipperling.  
My favorite cultivar of blue grama is ‘Blonde Ambition’. Several birds have been noted feeding on blue grama seed, including grassland sparrows, wrens and wild turkeys.

Blue Grama Blonde Ambition
Blue Grama ‘Blonde Ambition’

Wildflowers

Beardtongue (Penstemon sp.)

To see huge bumble bees crawling into these tubular flowers in the spring is fun to watch. The longer lower lip of the flower makes a perfect landing pad. Many of the species have distinct lines leading to the back of the flower known as nectar guides. These lines act like runway lights, leading pollinators to the back of the flower where the nectar is located. 

Penstemons are a diverse species, but some of our native Kansas species like Penstemon cobaea, Penstemon grandiflorus, Penstemon tubaeflorus and Penstemon digitalis put on quite a show in the spring. My favorite penstemon variety is ‘Dark Towers’.

Black-eyed Susan (Rudbeckia sp.)

Black-eyed Susan is one of the most recognizable summer-blooming wildflowers. Its bright yellow flowers explode in the summer and are covered with all sorts of pollinator activity.  Bees, flies, butterflies, and beetles feed on their nectar and pollen. The fruiting heads also provide seed for birds over the winter. 

Missouri blackeyed susan and Rudbeckia ‘American Gold Rush’ are garden worthy perennials. 

Missouri Black-eyed Susan

Coneflower (Echinacea sp.)

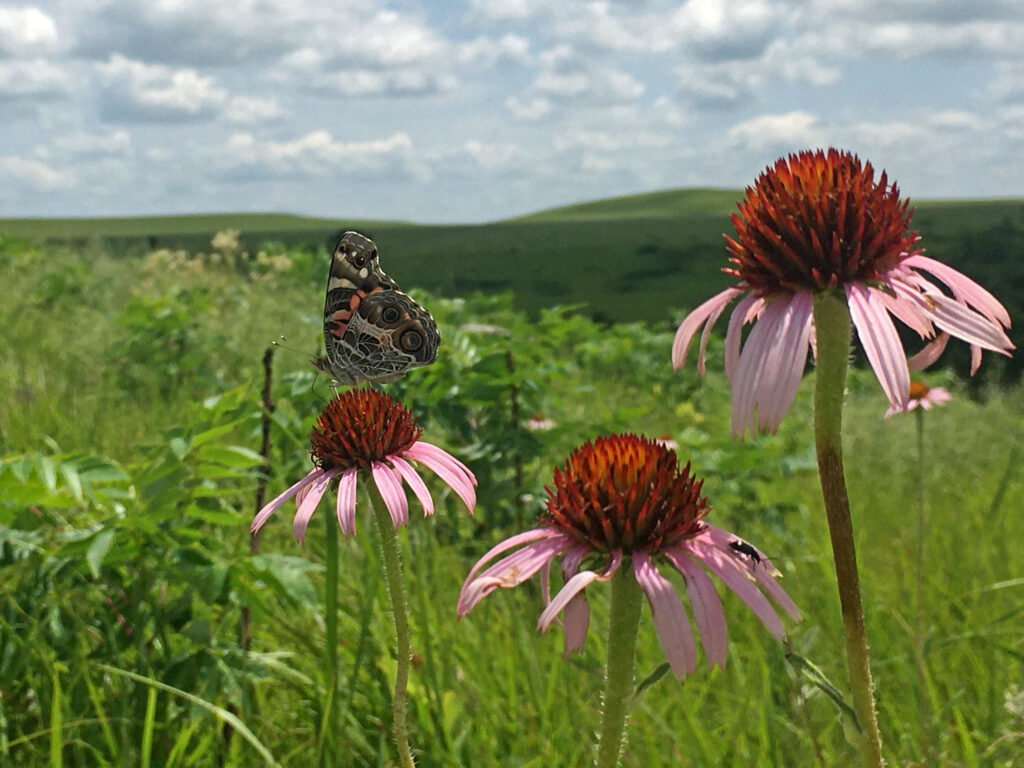
There are so many choices when it comes to coneflowers. Oranges, yellows, reds, greens, pinks and every shade imaginable. The options are endless, but I always try to include some of the true native coneflowers in my designs. Echinacea angustifolia, Echinacea pallida, Echinacea paradoxa and Echinacea purpurea are all pollinator magnets. Be sure to avoid any coneflowers with double blooms. They may look cool, but they do nothing for pollinators, because they either don’t produce nectar or pollen or, because of their double-decker nature, don’t allow bees access to it.

Native bees (bumble bees, sweat, mining and sunflower bees) along with honey bees and butterflies (monarchs, swallowtails, sulfurs, fritillaries and many others) glom onto these summer blooming (May-August) perennials.  Coneflowers can be quite adaptable, but most appreciate at least 6 hours of direct sun. 

American lady butterfly on purple coneflower at CSFL

Rattlesnake master (Eryngium yuccifolium)

The unique globelike blossoms of rattlesnake master attract many types of small native bees and syrphid (hover) flies.  I have seen the tan hollow stems used by overwintering tunnel-nesting bees. Rattlesnake master is the host plant for rattlesnake master borer moth.

Rattlesnake master in full bloom

Narrow-leaf mountain mint (Pycnanthemum tenuifolium)

As a member of the mint family, narrow-leaf mountain mint has a tendency to spread, but it is a garden worthy wildflower because of the diverse pollinators it attracts.  Bees, wasps, moths, ants, flies, beetles and many types of butterflies including Ladies and smaller Fritillaries, Hairstreaks, Blues, Common Buckeyes seek out this plant’s frosty white blooms.  It also attracts beneficial insects for biological control of pests.

A few others worth considering

  • Campanula         Bellflower          
  • Cirsium                 Thistle  
  • Claytonia             Spring-beauty  
  • Erythronium       Trout-lily             
  • Geranium            Cranesbill           
  • Helenium            Sneezeweed     
  • Heuchera            Coral Bells          
  • Hibiscus                Rose-mallow     
  • Monarda             Bee Balm
  • Oenothra            Evening Primrose
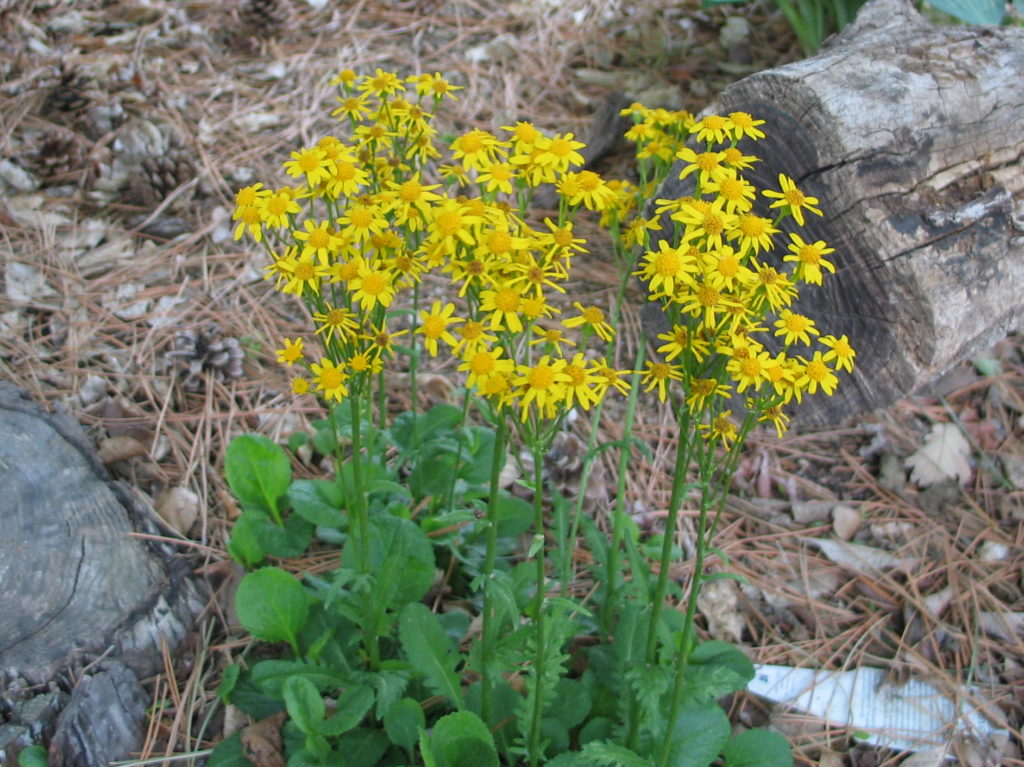
  • Packera                Groundsel
  • Polemonium      Jacob’s-ladder
  • Pontederia         Pickerel Weed
  • Potentilla             Cinquefoil
  • Uvularia               Bellwort
  • Verbena              Vervain
  • Viola                      Violet
  • Zizia                       Golden Alexanders

Solution gardening works to solve a problem with your landscape.  These lists of plants should be considered first to curb the decline of threatened specialist insects. Our goal should be to provide habitat for the largest possible number of insect species and to support a healthy food web. Having most or all of these keystone species in your landscape will make your landscape part of the solution to reversing drastic declines of pollinators in recent years.

Defining Sun Requirements for Native Plants

Knowing how much light a plant needs to thrive should be a simple question, but it is often easily misunderstood. There are so many different descriptions for sun requirements or exposure found on plant labels, but they don’t provide all the information you may need to make the right selection for your yard. Are these descriptions for Kansas or Virginia? Can a plant survive in full sun with 30 inches of average rainfall or does it need 50 inches?  Does it need full sun with protection from the hot afternoon sun? 

Plant labeling has been getting better and more consistent, so understanding a few key terms will assist in selecting the right plant for your landscape conditions. Let’s take a closer look.

Terminology

Every plant in the landscape needs sunlight to grow.  Even shade plants with their adaptations need a certain amount of light to grow and prosper. Plant labels identify the amount of sun a plant requires as full sun, part sun, part shade full shade, or dense shade:

  • Full sun – Plants need at least 6 hours of direct sun daily
  • Part sun – Plants thrive with between 3 and 6 hours of direct sun per day
  • Part shade – Plants require between 3 and 6 hours of sun per day, but need protection from intense mid-day sun
  • Full shade – Plants require less than 3 hours of direct sun per day
  • Dense shade – No direct sunlight and little indirect light reaches the ground.

A Closer Look at the Terms

Full Sun

Most prairie plants fall into this category of sunlight exposure. This light is bright, sunny for most of the day like in open areas and backyards. These spaces get at least six hours of direct sunlight and need to be planted with full sun plants. Their deep roots and natural adaptations for direct sunlight will help them thrive in this harsh environment. Silver or gray leaves, pubescent leaves, or leaf orientation are adaptations that help them prosper in these sunny areas. 

There are other plants that appreciate some protection from the hottest part of the days, but they still need at least six hours of direct light. Keep in mind that full sun in the Smoky Mountains and full sun in Texas are different.  So, think critically about your local site, because some experimentation may still be needed.

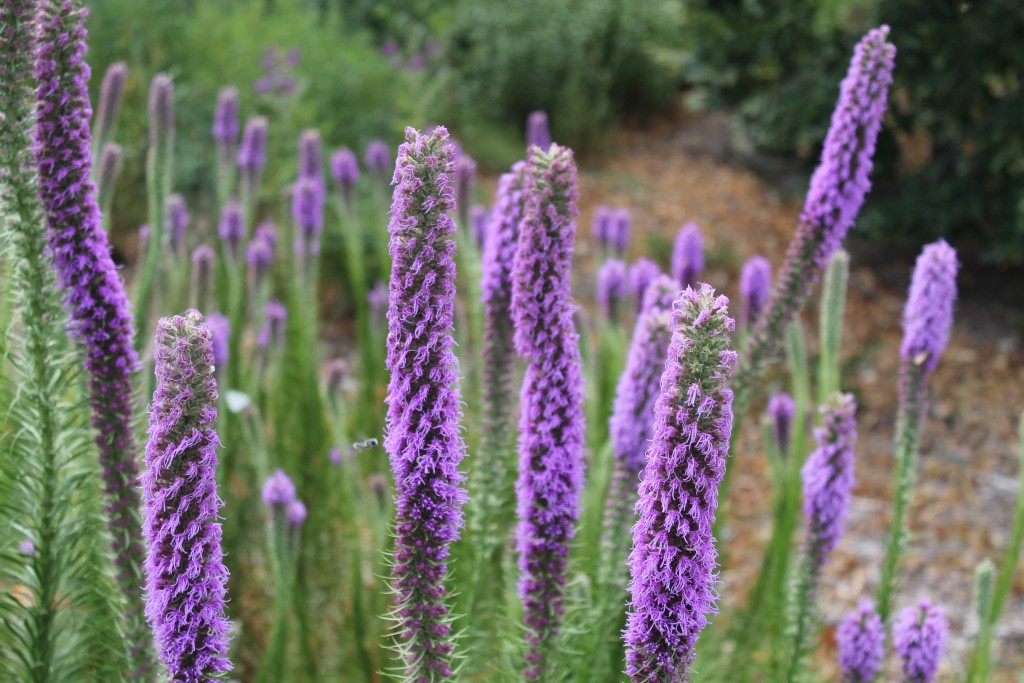
Kansas Gayfeather in full sun

Part Sun and Part Shade

When I think about part sun and part shade, savannah plants come to mind. They are tucked up close to the margins of the forest. They transition from prairie plants to woodland plants. Some will get sunlight for most of the day, but not often. It is not the hottest direct sun. 

Part sun and part shade are very similar, but there are subtle differences. These two terms can be understood quite differently. Most plants requiring either part sun or part shade do well in filtered light for most of the day. In Kansas, a plant requiring part sun or part shade needs to be protected from the more intense afternoon sun. Give it morning sun to keep it happy.

Plants requiring part shade can be quite sensitive to too much direct sun, particularly in the afternoon, and will need shade during the hottest parts of the day.

Plants requiring part sun can usually tolerate more light and need a minimum amount of direct sun to thrive. These plants may bloom poorly if given too little sun.

For either group, providing a few hours of direct morning sun is a good choice.

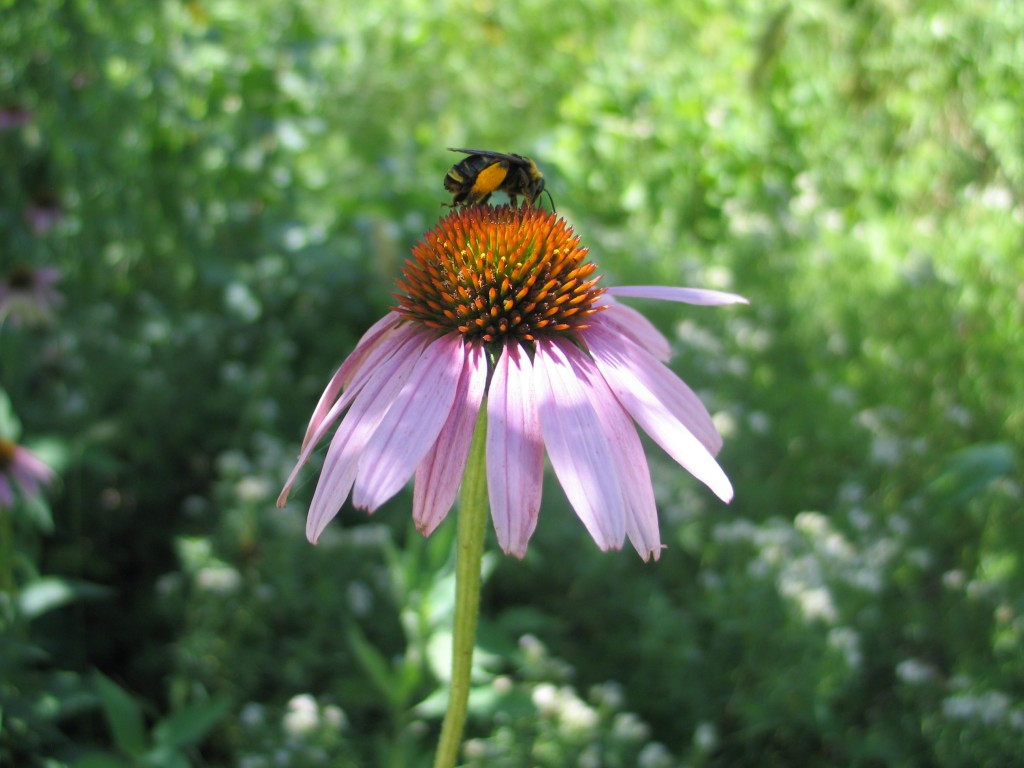
Bumblebee on Echinacea purpurea-Purple coneflower appreciates partial sun conditions
photo by Janelle Flory Schrock

Full Shade

Plants requiring full shade are the most challenging in Kansas. Essentially, we are trying to grow shade plants in a prairie environment with lots of sun and inconsistent moisture. Shaded areas typically stay dry and need supplemental moisture to grow full shade plants. Full shade plants require anything less than three hours of direct light such as morning sun and late evening sunlight. Protection from the hot midday sun is very important.  Filtered light, such as that found beneath a tree canopy, is a good setting for full shade plants. This type of light is referred to as dappled shade and offers many gardening opportunities.

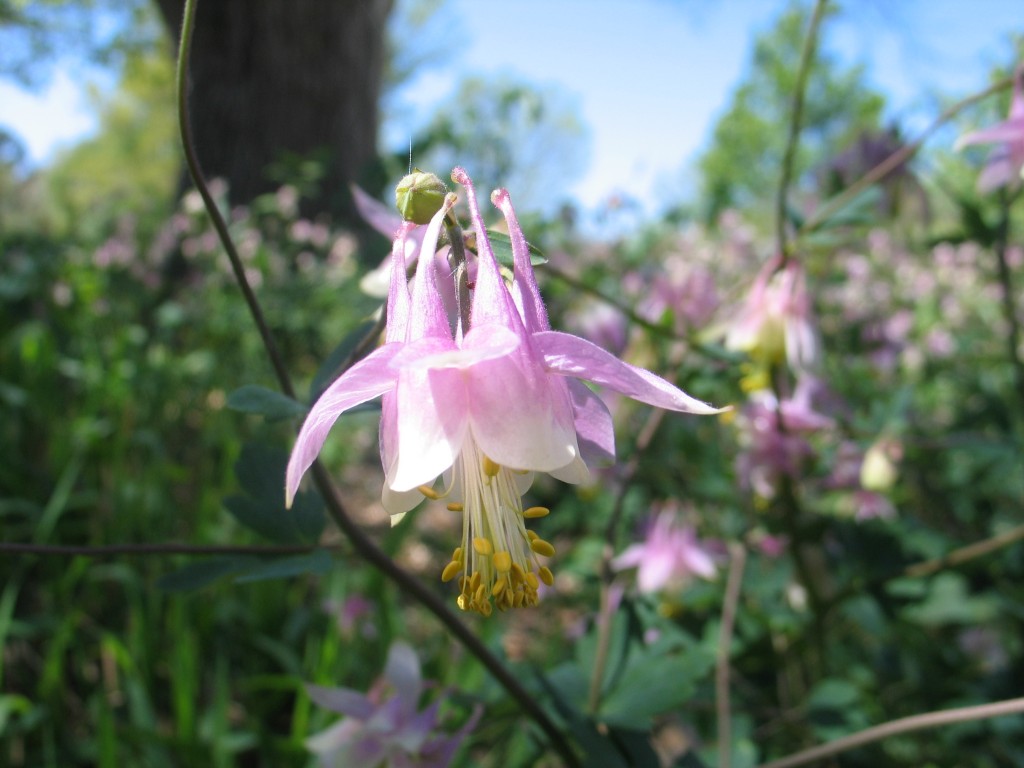
Native columbine thriving in the shade of an elm tree

Dense Shade

Dense shade may occur under a dense evergreen tree against a fence, or the north side of your house protected by a deck. These areas get little if any sunlight throughout the day. These problem areas are usually dark and can stay very wet or very dry. There is not much you can do under these conditions, but maybe a ground cover or decorative yard element would be a good choice. Plants need some light and you are fighting nature by trying to grow something without much light. Rather focus on the areas that do have some light to draw your eyes away from this area. 

It is best to become familiar with sun exposure in your landscape by checking on light conditions throughout the day and over the course of a full growing season. Growing plants in Kansas can be a test of your will, so match plants up to your landscape based on light conditions in your landscape. I have found that if you get this requirement right, some of the other elements like soil, water and fertility will sort themselves out on their own.

How to Add Native Plants to an Established Prairie

As we wind down the growing season, now is a great time to take stock of your new prairie garden or established prairie landscape.  Which plants have done well?  What has struggled?  What needs to be moved?  Which plants need to be added?  These questions will help guide your efforts this fall and especially next season. 

If you have an established prairie, it can be challenging to make some desired changes.  To add a few plants to a mature landscape takes some forethought and planning.  The deep rooted natives have a distinct advantage over the immature perennial you are trying to get started.  Here are a few simple steps to help give these new plants a fighting chance.

Choose spots

Maybe you want to add some wildflowers into a prairie setting dominated by native grasses.  Visualize where you want these new plants.  Remember, a prairie has subtle splashes of color.  Sprinkling in a handful of wildflowers will look more natural. 

This couple is slowly adding a few native wildflower into their meadow. Some have even started coming in on their own.

Prepare the soil

With your spots chosen, now it is time to make room for these additions to your prairie.  We flag the spots and then spray them with Roundup.  These spots are usually not more than one foot in diameter.  If you want to avoid spraying, cut the area down to the ground and cover it with heavy cardboard for several months or over winter.  Secure these one foot areas with several inches of mulch or stones. 

Two or three inches of mulch will hold down the cardboard and smother out the existing plants.

Choose the right plant

I keep circling back to this point because it is so important.  If plants have struggled in an area, it is usually because either the soil or the plant is out of balance. Typically, the soil is not to blame. It is more likely that the soil and plant have not been correctly matched. Observe soil, sun and drainage issues and match the proper plant to your area. It is good to have a sense of how some of these natives grow naturally in community.  The more you know, the more successful you will be.   

Establish your plants

After waiting several months or over winter, it is now time to plant.  Establish plants using this method in either spring (April/May) or late summer (August/September).  If you sprayed the small areas, you can simply plant right into the open weed free soil.  If you put down cardboard and covered it with mulch, you can pull back a little of the mulch and slice through the cardboard. Put the plants into the ground and water daily.  Leave the cardboard and mulch to decompose over the next few years, as this will give the new plants a little room to grow with less competition.  The cardboard and mulch will ultimately disappear.

Next Steps

Over the next few years, it will be necessary to monitor these new plants.  It generally takes two to three years for the root systems to get fully established.  Remember to:

  • Water deeply as needed.
  • Make sure they are not getting too crowded by other vegetation. 
  • You may need to cut back nearby grasses so these new plants get enough sunlight.  This will only be necessary during this establishment phase. 
Native grasses are wonderful but a few wildflowers in the prairie make it even more beautiful and dynamic.

This process is not guaranteed to succeed, but we have used it successfully to add some diversity to an established prairie.  This approach can also be used to transform a smaller intensively planted display bed. Either way, plan now so you are ready to plant next season. 

Winter Watering Tips for Your Garden

Growing plants in Kansas can be a challenge.  This spring we had an abundance of moisture – too much in fact – and now we are experiencing expanding drought conditions throughout the state.  With the landscape in a state of dormancy, you may forget to water those parched plants.  With winter upon us, how do you keep your plants alive?  Here are some winter watering tips that will save your landscape investment.

Little bluestem in late fall

Should I water my garden in winter?

Even though plants have gone dormant and lifeless, they should be watered periodically.  Newly planted perennials, trees and shrubs have not developed the extensive root systems to sustain them through a dry winter.  Dehydrated plants will struggle to survive the winter even when they are not actively growing.  Your plants are thirsty, so you will need to give them a drink. 

Cold weather watering tips

  • Look at the soil around your plants. If the top inch or two is dry you must water the plants.
  • If the soil is unfrozen, water on days above 40-45 degrees
  • Obviously, it is better to water after noon so water has time to infiltrate the soil before freezing at night. 
  • Water through the winter any time the top inch or two of soil is dry. 
  • Evaporation rates are slower during the winter, so you may only need to water once or twice a month.
  • If it stays dry through the winter months, it is critically important to water as the plants break dormancy next April and May.

What to water in winter

  • Plants installed this year (perennials, trees, shrubs and cool season turf)
  • Established cool season (fescue) turf, especially under trees and around shrubs.  Roots are competing for moisture with the grass roots
  • Pay special attention to evergreens as they are more susceptible to winter dry-out.
  • If it is especially dry, even established trees, shrubs and perennials will benefit from an occasional winter watering. 
Taylor Juniper (foreground) and Canaertii Juniper (background) – Don’t let these evergreens get too dry!

How to water in winter

Use garden hoses to connect to sprinklers and water nozzles.  These can be easily disconnected from the hydrant.  Obviously, irrigation systems will be damaged by freezing temperatures, so don’t restart any underground automatic sprinkler systems.      

Established turf and trees, especially those in sunny, windy, or exposed areas should be a high priority. Watering prevents them from drying out due to unique environmental conditions.

Don’t overwater your plants.  Soggy soils and heavy clay soils that stay wet for long periods of time will cause root rot and fungal issues.

Water as needed with one-half inch to one inch of moisture to rehydrate the top few inches of soil. 

Remember to remove hoses from spigot so pipes don’t freeze. Drain hoses of water to eliminate freeze damage to hoses as well. 

The winter landscape can be stark and often forgetten since it is not producing flowers or new growth. However, dormant plants are still using water and can be damaged by prolonged periods without moisture. Hopefully, we get some rain or snowfall, but it takes around 10 inches of snow to equal one inch of rain.

Don’t forget about your plants in this busy season of the year, keep checking those plants and the soil around them.  We don’t want you to be surprised by dry, dead or desiccated plants next spring.  A little winter watering now will keep you from replacing plants next spring. 

Finding Value in the Undesirables

It is time to give some props to the plants that don’t always play nice in the urban landscape. Over the past month, I have enjoyed finding value in the undesirables.

In recent years, we have culled tall and aggressive native plant species from our plant sales because they become weedy and dominant in small manicured gardens. They out-compete shorter, slower-growing species for which we also find value. But even though some of these species may be landscape bullies, they still provide nectar for pollinators, food for seed eaters, vegetation for host-specific insect larvae, and beautiful flowers to please the human eye.

In some of the low-maintenance habitat areas here at the Arboretum, I’ve been recently admiring the profuse blooms and insect-attracting abilities of the following species:

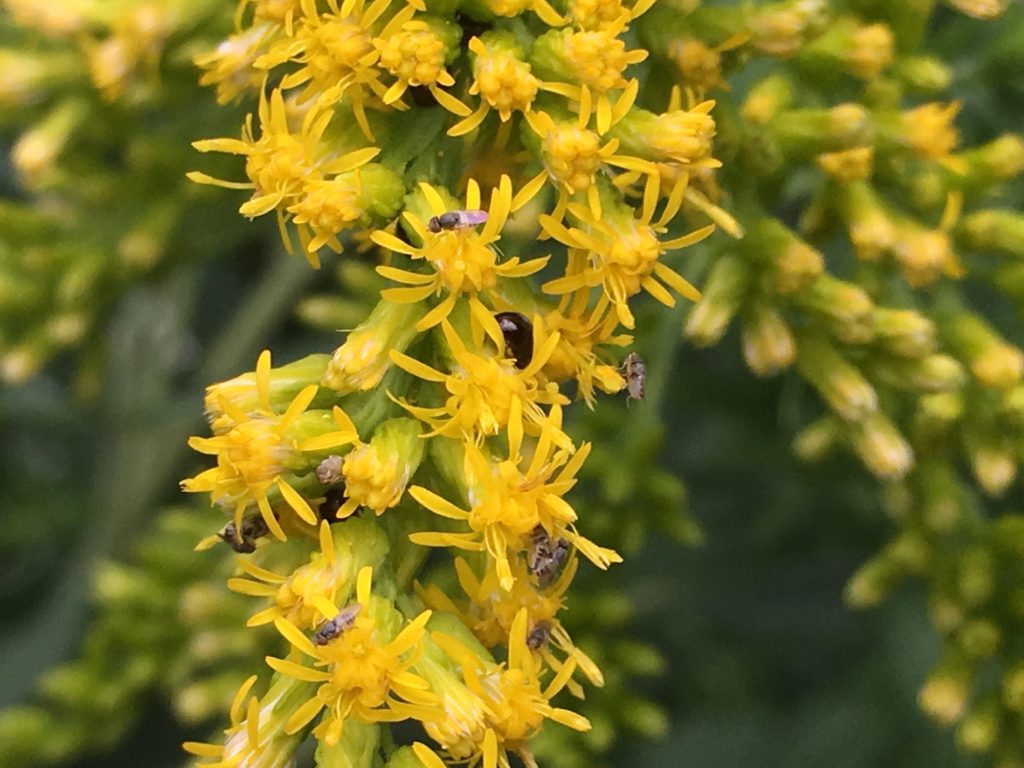
  • Canada goldenrod (Solidago canadensis),
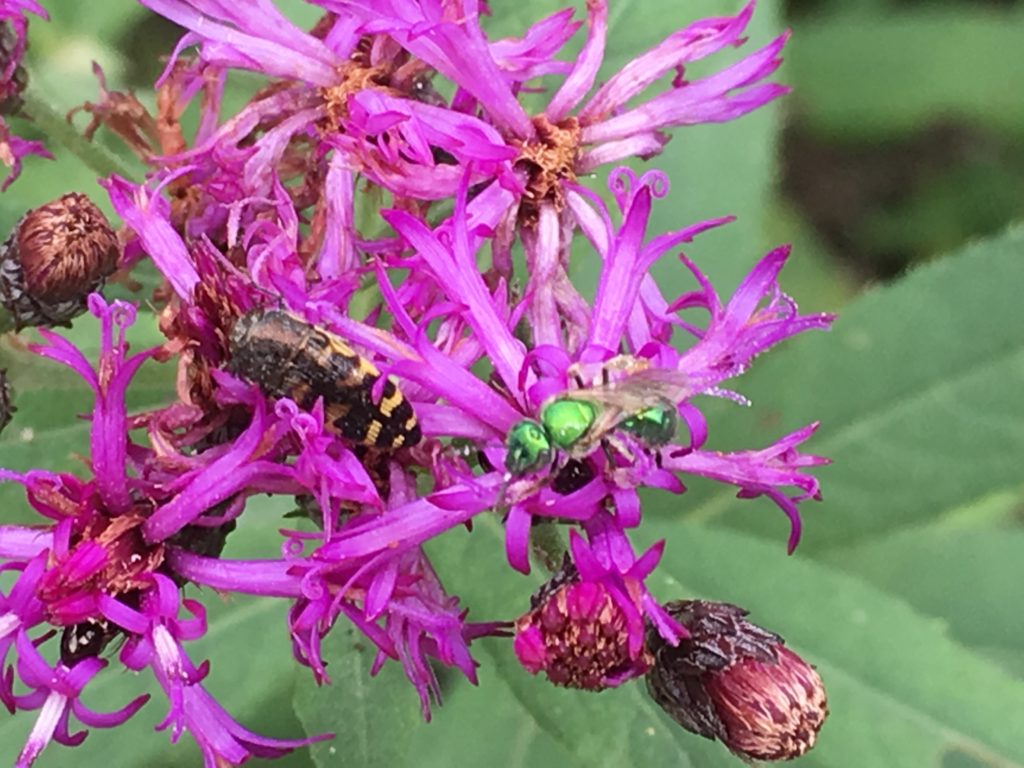
  • western ironweed (Vernonia baldwinii)
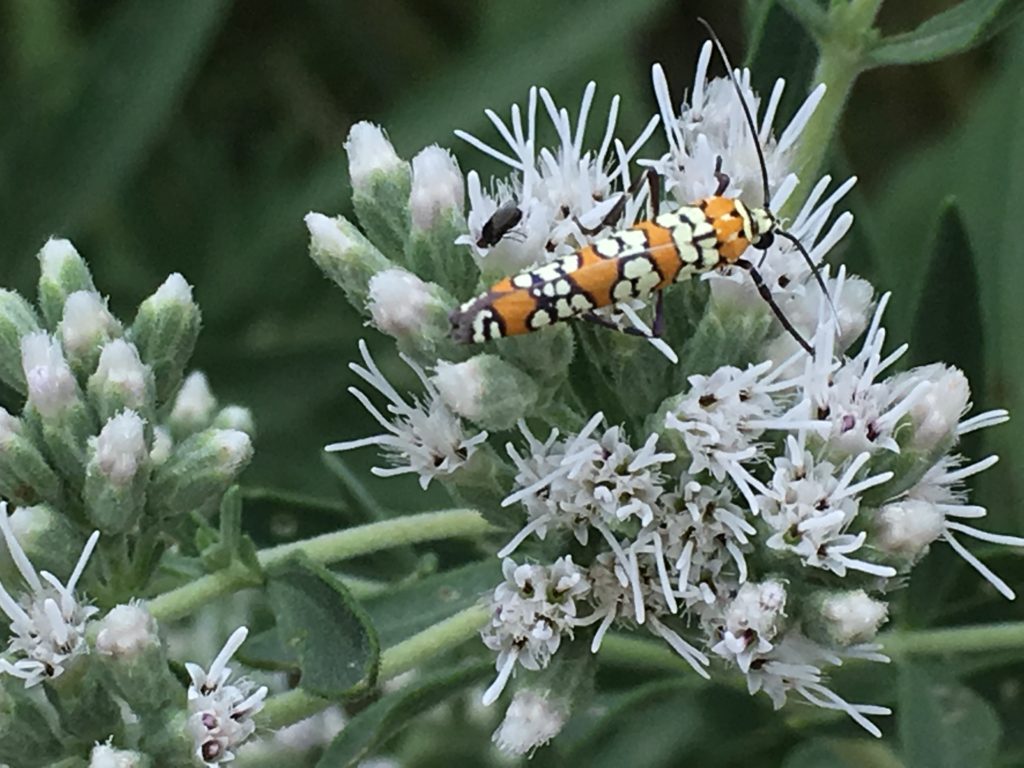
  • tall joe-pye weed (Eupatorium altissimum),
  • brown-eyed susan (Rudbeckia triloba),
  • tall thistle (Cirsium altissimum),
  • common milkweed (Asclepias syriaca),
  • compass plant (Silphium laciniatum)
  • prairie dock (Silphium terebinthinaceum)
  • Maximillian sunflower (Helianthus maximiliani)
Canada goldenrod with a host of fly, beetle, and true bug pollinators.
Western ironweed with a beetle and a sweat bee.
Tall joe-pye weed with an Ailanthus webworm moth and a beetle.
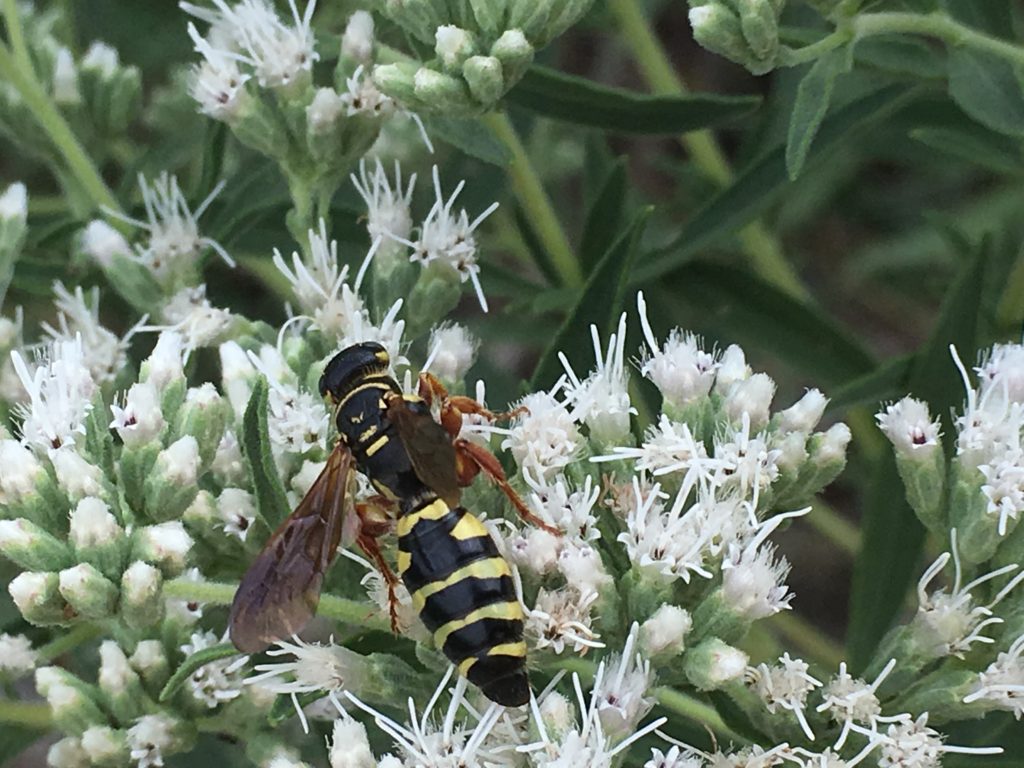
Tall joe-pye weed with a wasp.
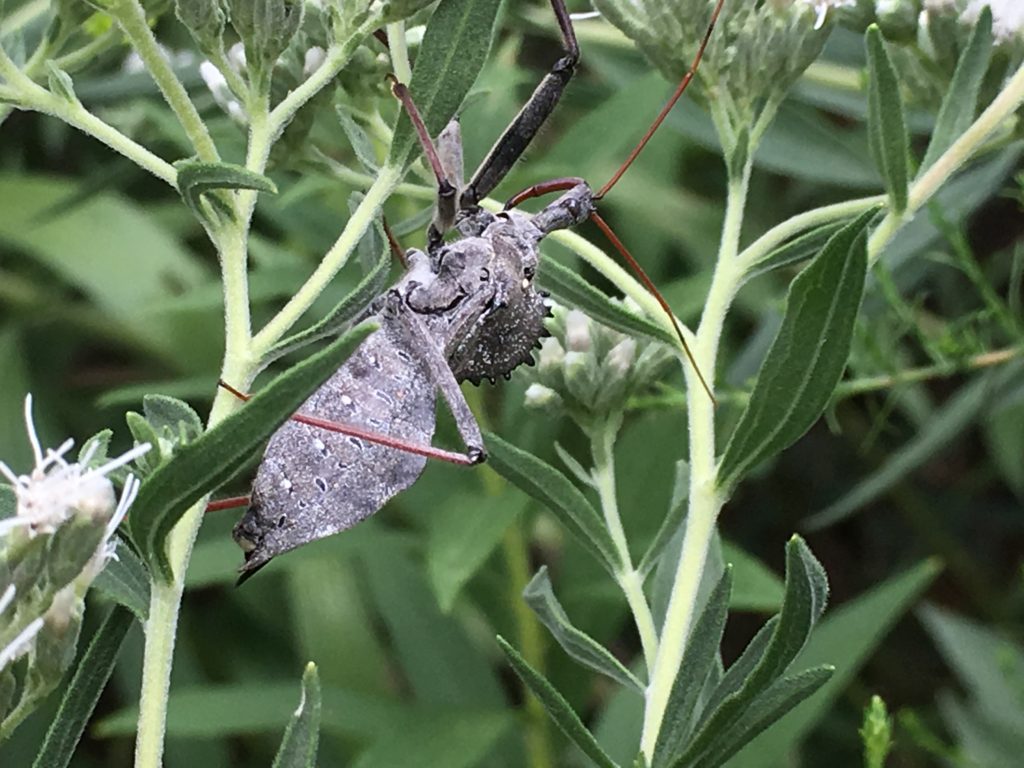
Tall joe-pye weed with a predatory wheel bug.
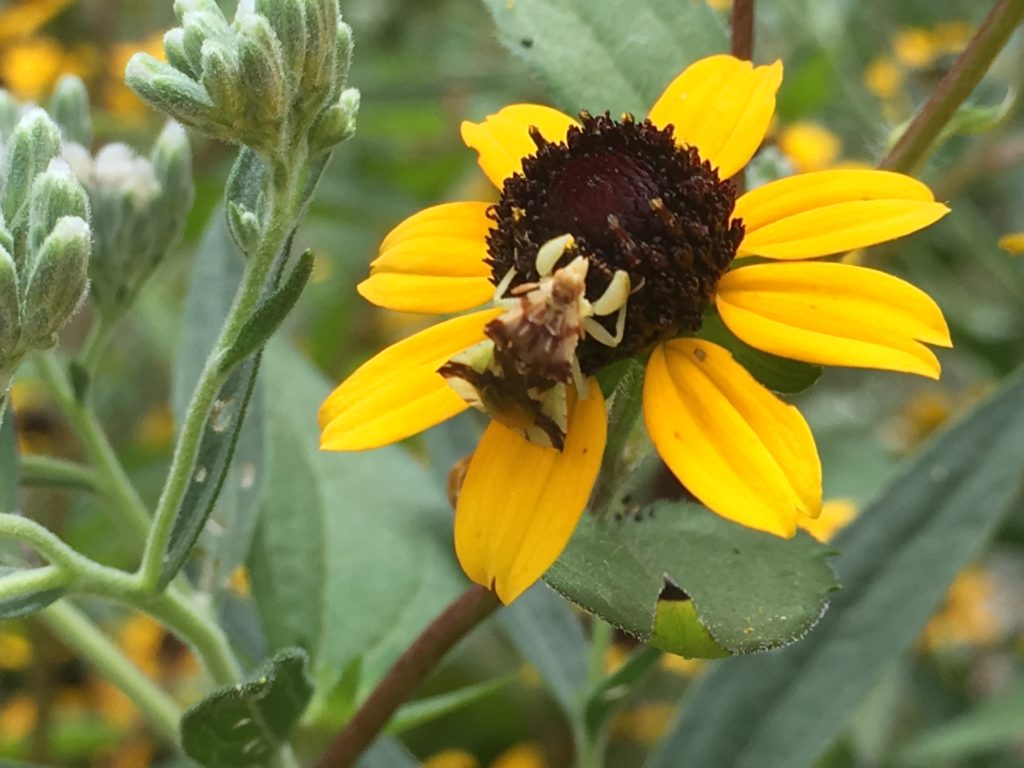
Brown-eyed susan with an ambush bug.
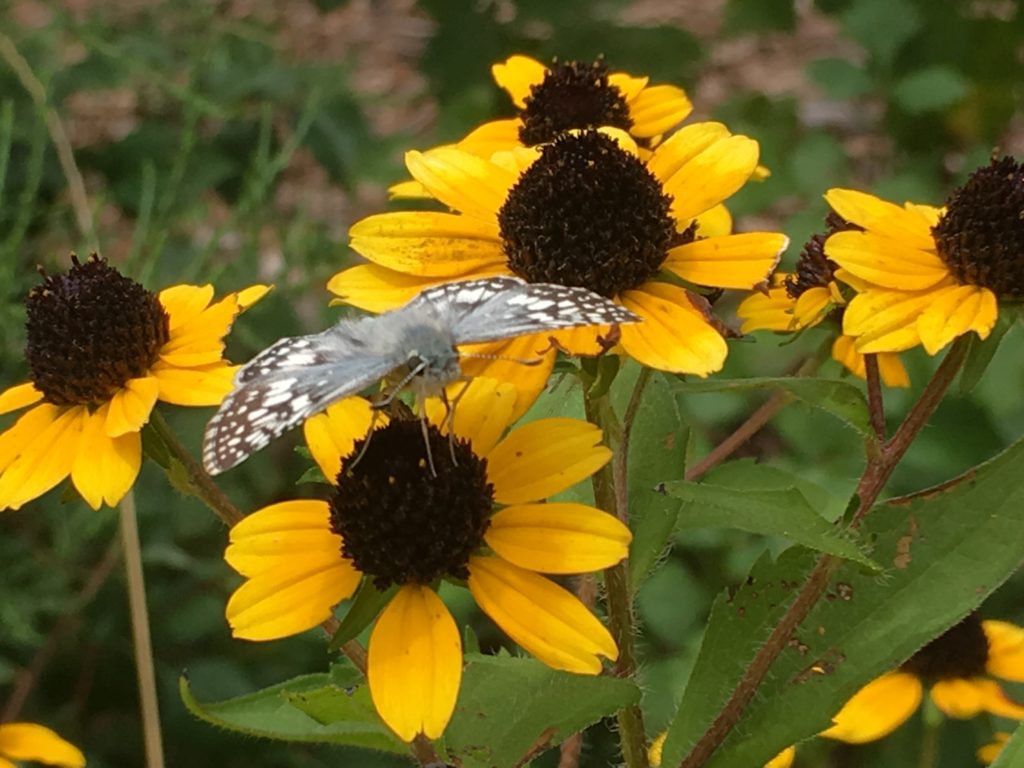
Brown-eyed susan with a checkered skipper.
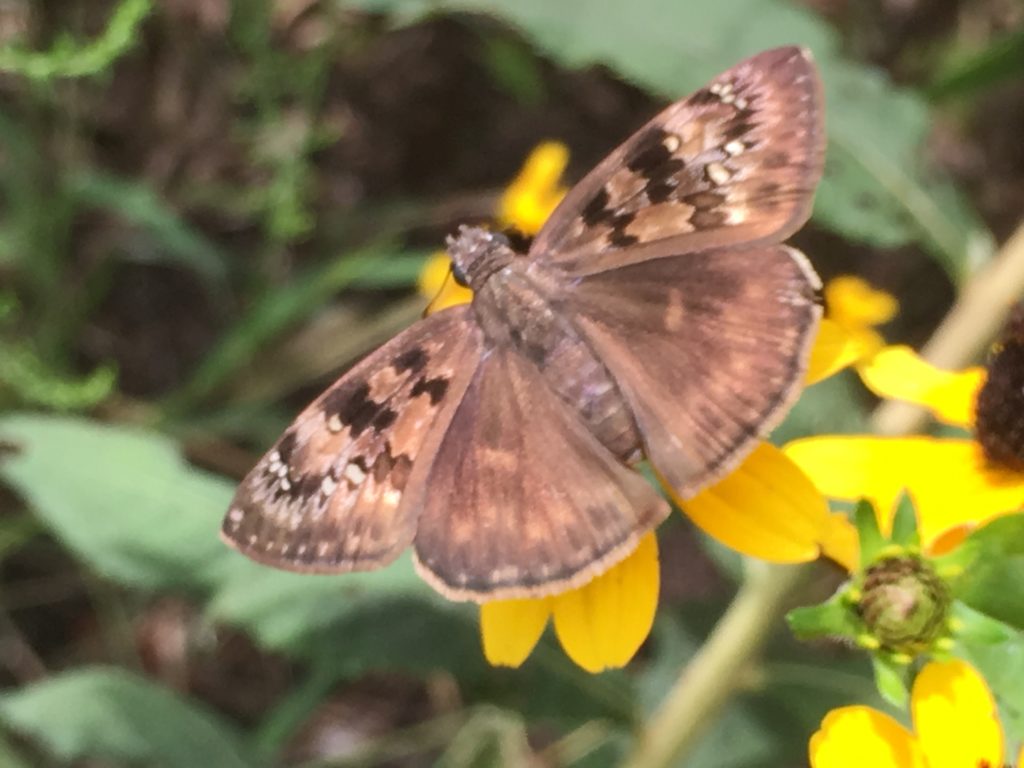
Brown-eyed susan with a Horace’s duskywing.
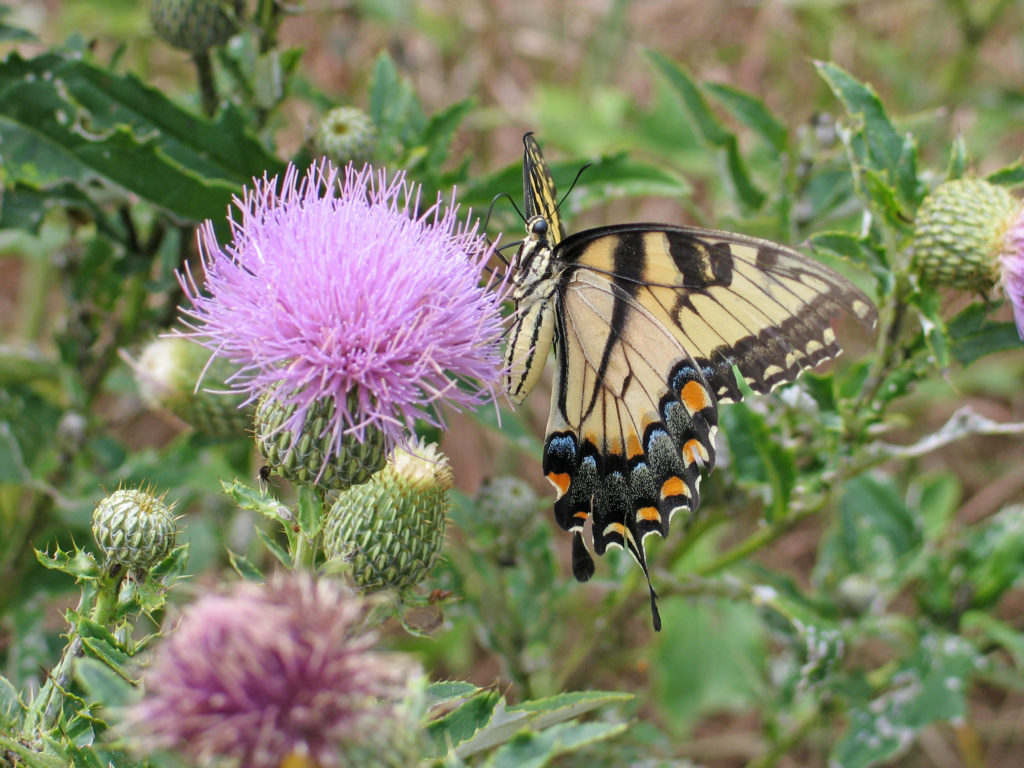
Tall thistle with an eastern tiger swallowtail.
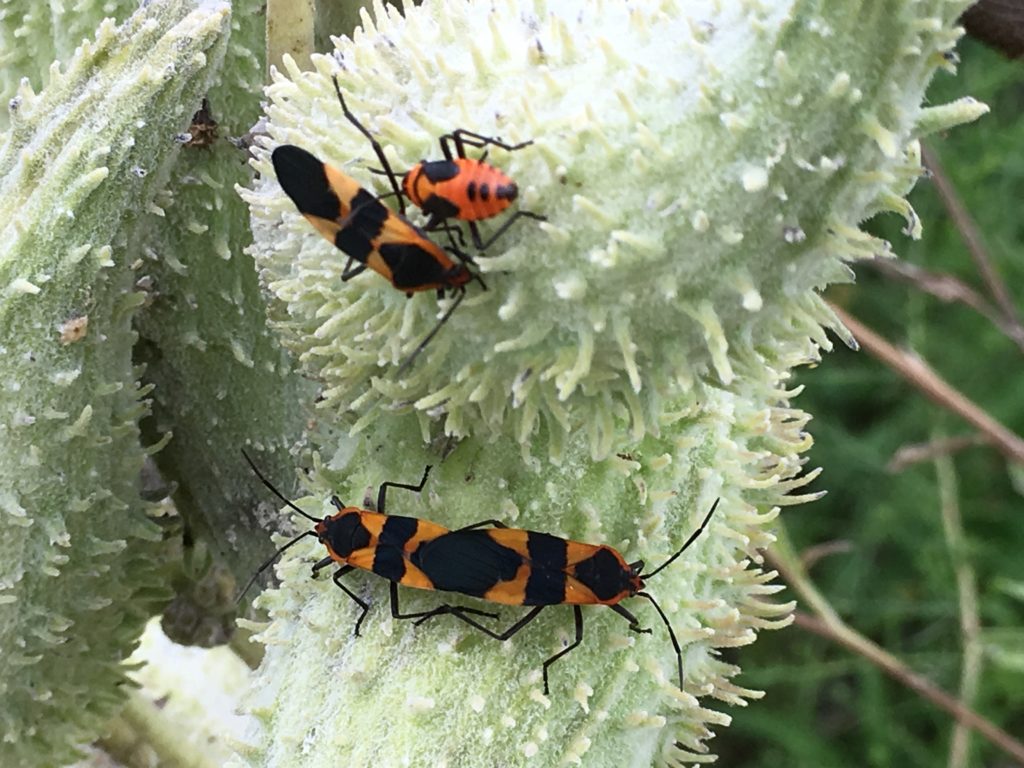
Common milkweed with large milkweed bugs.
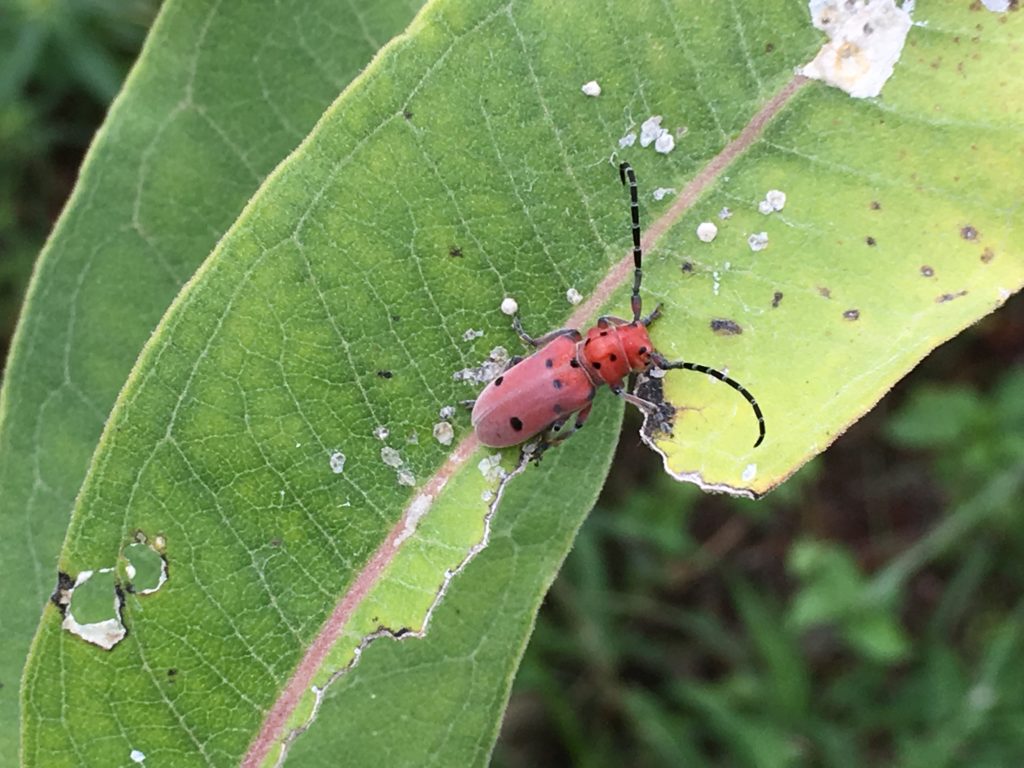
Common milkweed with a milkweed longhorn beetle.

While I would not recommend these plants for the more manicured parts of your yard where you weed, mulch, and tend for a tidier look, consider these “undesirables” for more wild places around you. You will only find a couple of these species for purchase at our plant sales. But you can find all of them in the landscapes around our grounds and I will be happy to pick some seed for you to take home and disperse in your wild places. The insects and greater ecosystem around you will benefit!

What Do Pollinators Need?

One of my favorite past times during the fall season is watching pollinators work on the many wildflowers in bloom.   This morning there were dozens of different pollinators crawling all over the white flowers of Tall Boneset (Eupatorium altissimum).  It had everything from small flies to larger wasps to different bees and even a few butterflies.  They were all living harmoniously together atop this one plant.  It was fun to watch and listen.

That was one plant. Imagine how many plants are needed to sustain these pollinator populations.  With documented losses of habitat nation wide and documented losses of milkweeds (host plants of the migrating monarchs), what should our strategy be to help the plight of pollinators? 

It’s important to realize that we all need to participate and understand that the choices we make in our landscapes can make a difference. Yes, our landscapes can help pollinators no matter the size.  This one boneset plant was found by dozens of pollinators.  Sure – we will never replace the pristine prairies that once were here, but our smaller green spaces can still help support an abundance of wildlife.     

Here are six ways you can help increase declining populations of pollinators, including bees and monarchs:

1. Plant Pollinator-Friendly Plants

It goes without saying that pollinators need blooming plants and the plants need the pollinators. Having a diverse set of native plants in your landscape will be a good start to attracting pollinators to your yard.

Certainly, milkweeds are the best wildflowers for attracting monarchs to your yard.  We have seen several already migrating through on their way south, and some have been depositing eggs on our common milkweed plants. The wildflowers are the buffet these pollinators need for their survival. (Peruse our native plant list and sample landscape designs for some inspiration.)

Monarch butterfly on Asclepias incarnata, or swamp milkweed – photo by Brad Guhr

2. Plant with a Succession of Blooms

I recommend planting wildflowers that bloom at different times of the year.  A mixture of wildflowers coming into bloom and going out of bloom throughout the year provides a ready food source.  This approach mimics the natural prairie and the changing seasons.

Skipper butterfly on Tall Boneset Eupatorium altissimum

3. Create Habitat in your Yard

Layer trees and shrubs along with wildflowers and grasses.  These plants provide shelter from the wind as well as nesting sites and food for birds, butterflies, and bees. I like to leave old logs and small brush piles so these pollinators can overwinter in my yard. Remember, even a small garden can have a tremendous impact.

Bumblebee on Echinacea purpurea, or purple coneflower – photo by Janelle Flory Schrock

4. Provide Water

We all need water for survival.  Pollinators need it too.  A clean source of water such as a birdbath, basin, or hollow stone is enough water for pollinators.  These features also provide landing spots so that pollinators have a perch. Here are some great plants to complement your water feature.

Pearl crescent butterflies meet at the watering hole – Photo by Dave Osborne

5. Reduce Chemicals

There is growing research on the detrimental effects chemicals have on pollinators.  Any time we can reduce or eliminate the use of chemicals in the landscape, we are impacting wildlife in a positive way.  Allow insects to control unwanted pests.  Be willing to accept a few damaged plants, knowing that by not spraying you are saving much more in the long run.

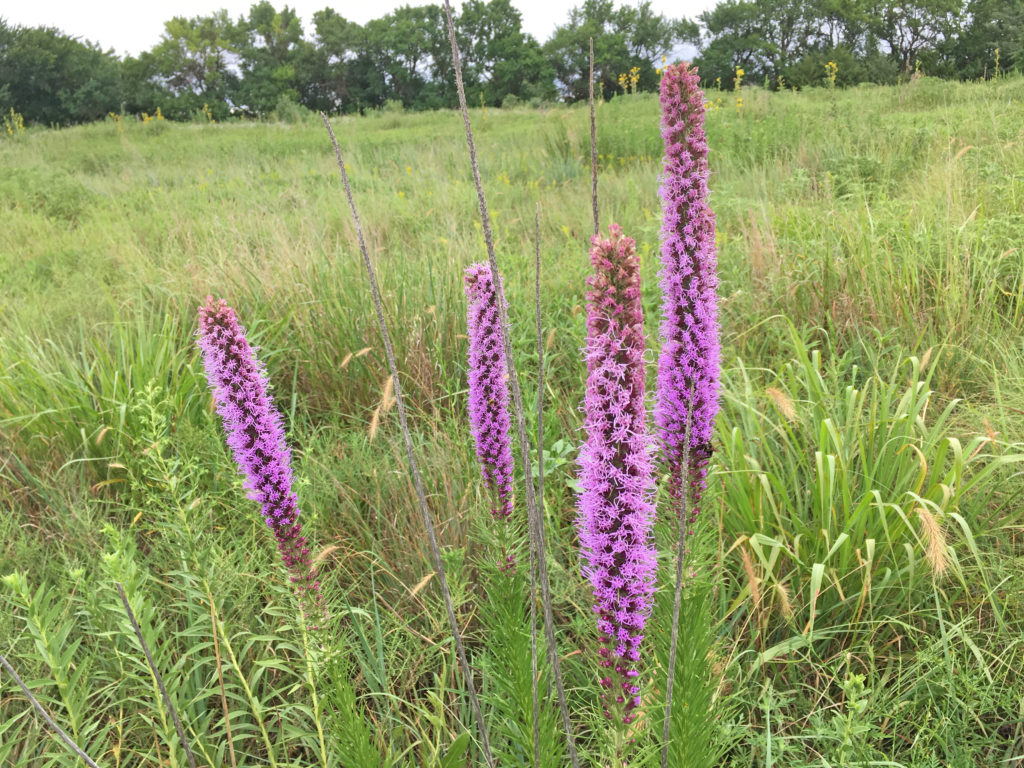
Hummingbird moth on Liatris pycnostachya, or Kansas gayfeather – photo by Janelle Flory Schrock

6. Learn About the Plight of Endangered Pollinators

There is so much to learn about each type of pollinator.  When are they out in the garden?  What do they need to complete their life cycle?  Where do they migrate or how do they overwinter?  We have so much to learn about these important insects. (One good resource for this is this book, by Heather Holm, which we often carry in our gift shop. And, of course, MonarchWatch.org is a great resource.)

When it comes to supporting the life cycle of pollinators, you can be part of the solution.  Native wildflowers are the best option to help them prosper.  You will be amazed when you introduce just a handful of wildflowers to your landscape.  If you plant them, pollinators will come.