
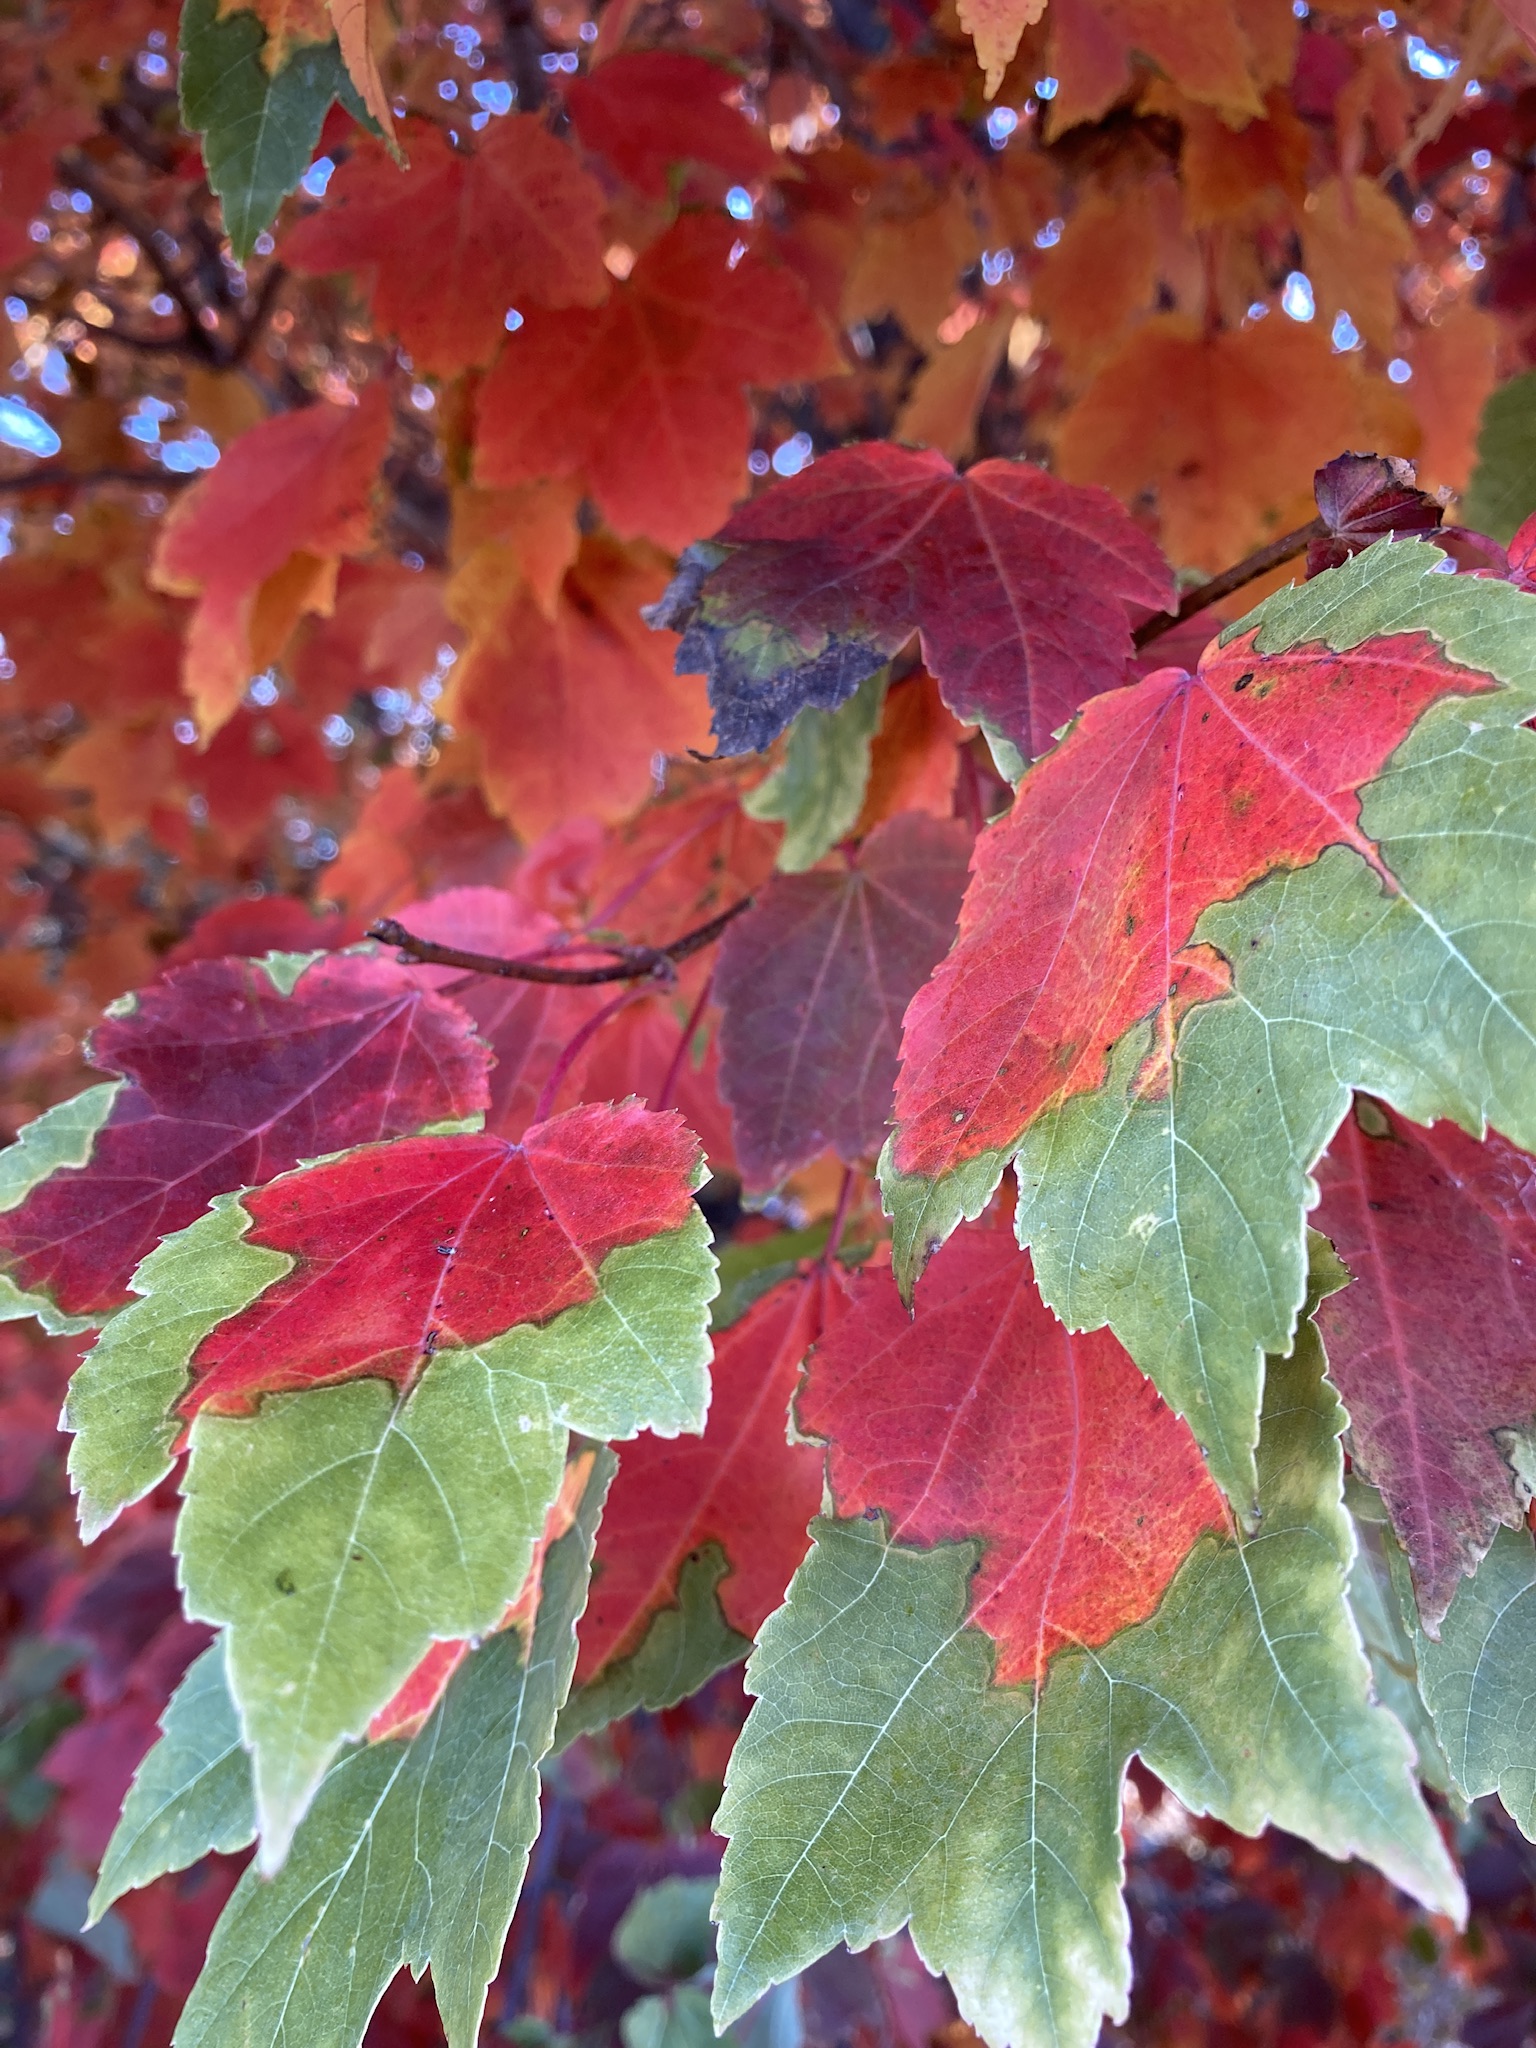
Leaves are everywhere this time of year, and for good reason! Leaves have an important role in the ecosystem. Trees and the organisms living in and below them have evolved for millions of years together, working in sync to create vegetation and break it down in an efficient cycle. But most Americans don’t realize this, quickly raking the leaves away as soon as they fall on our precious lawns. Well, here are some facts that might change your mind and urge you to leave that rake in the garage!
For the Love of Lawn
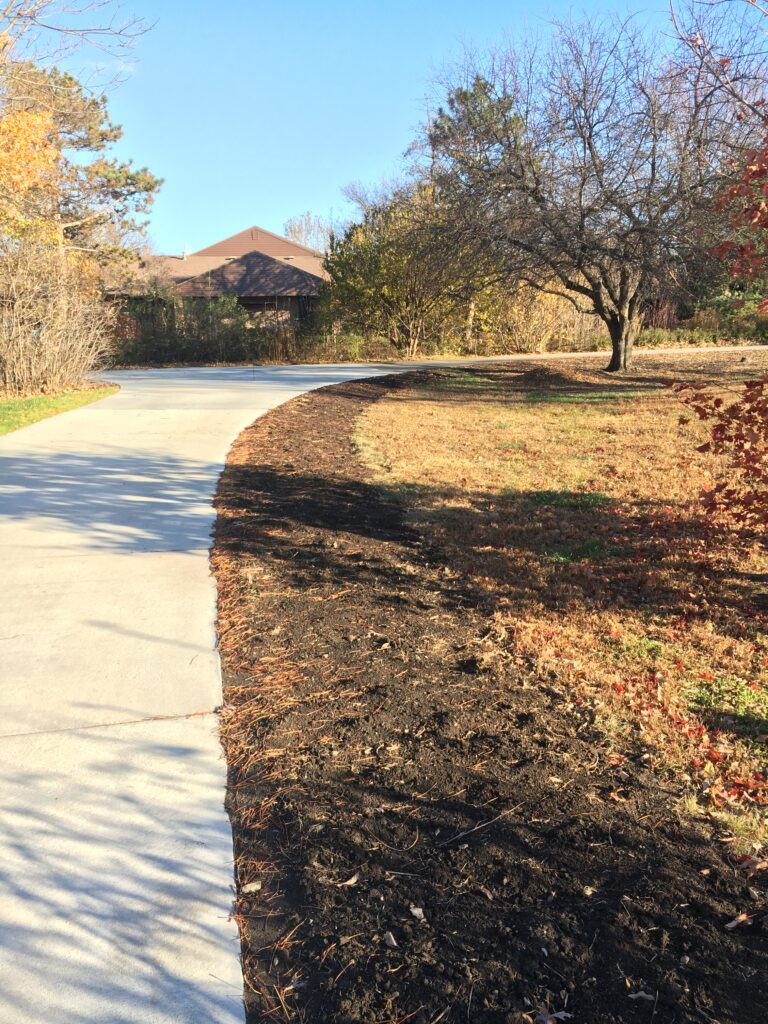
Most people rake leaves out of concern for their lawns. Rightly so, as a thick layer can damage turf grass. Leaves staying wet too long causes snow mold, and without enough airflow even grass smothering, leaving bald patches next spring. But a light layer of leaves shouldn’t be cause for alarm – remember, a few leaves here and there will feed the lawn the nutrients it needs. You may consider using a leaf blower to thin them out if they are piled too high in some areas, allowing the turf to breathe through the winter. And when you think about it, if your non-native turf grass is so fragile and takes so much special care to grow well outside it’s natural environment…*maybe the problem is the grass, not the leaves?
*Our obsession with a 1950’s American Dream Lawn (which actually harkens back to medieval castle-dwelling elitism) is a problem; its a multi-billion dollar industry that relies heavily on chemical inputs, replaces native habitat, and sucks up millions of gallons of drinkable freshwater, but produces no useful food crop. Ready to ditch that old fashioned thinking and consider downsizing your traditional lawn space? More info here, here and here on alternatives.
Oh Leaf Me a Home
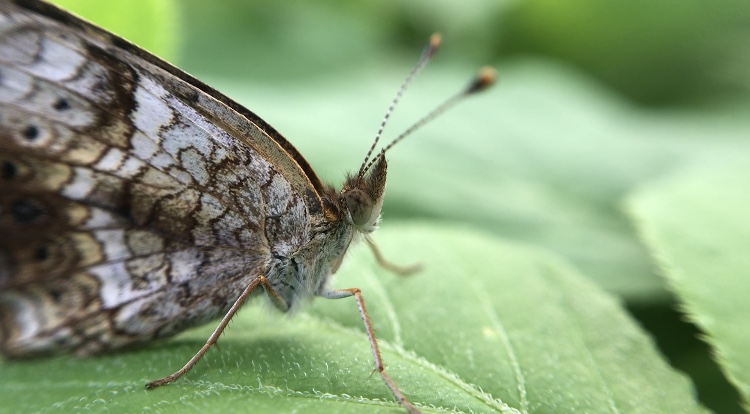
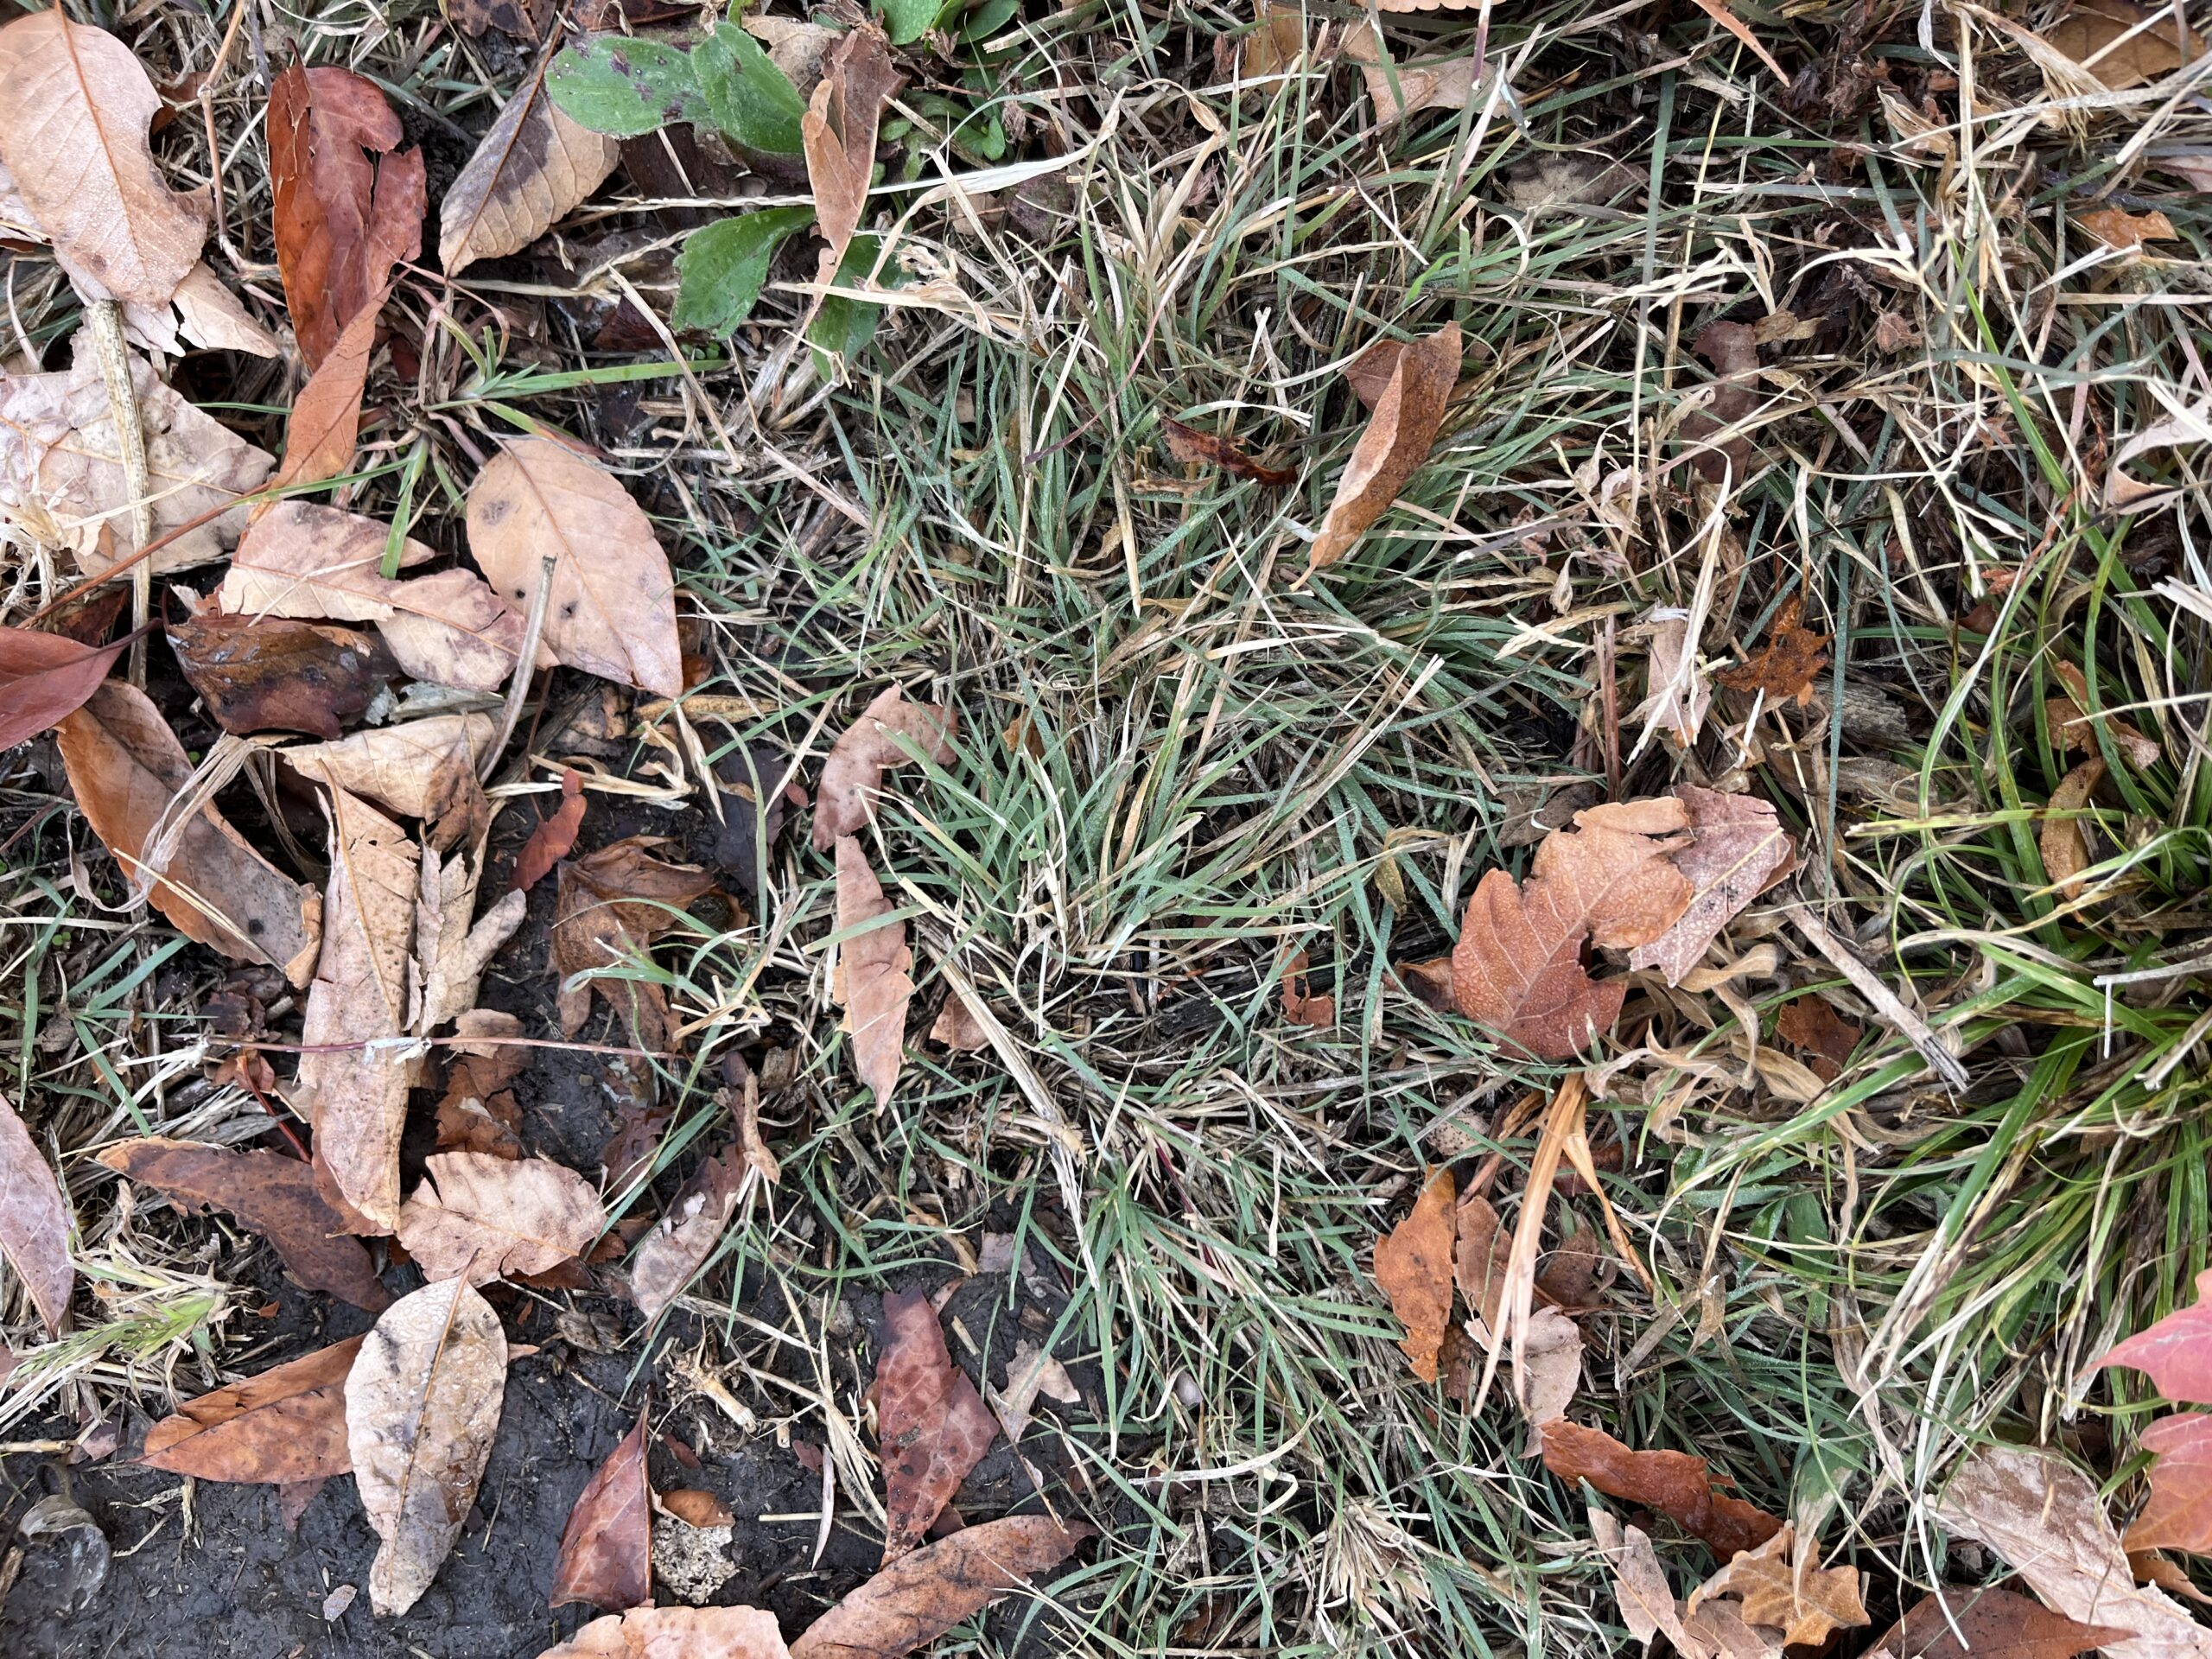
Leaves are home to lots of overwintering insects. We may not notice them, but these tiny friends are there, clinging to the underside of leaves and crawling into the leaf piles that collect in garden beds. While the well known and well loved Monarch butterfly migrates, most of our native insects do not! They desperately need these natural places to hid in winter, often as an egg, chrysalis, or hibernating as an adult. Many gardeners work hard to support declining insect populations all summer, only to ruin all their hard work in the fall when they take all their leaves to the curb.
Paper or Plastic
Too many folks spend their beautiful fall days bagging up leaves and sending them away. This creates a lot of plastic waste. Not only are we sending enormous amounts of plastic to the landfill, all the insects, eggs, and larvae already on those leaves will die inside the bag, never to take their place in the ecosystem! The nutrients in that foliage will not return to the soil, and instead stay trapped for hundreds of years in their plastic prison.
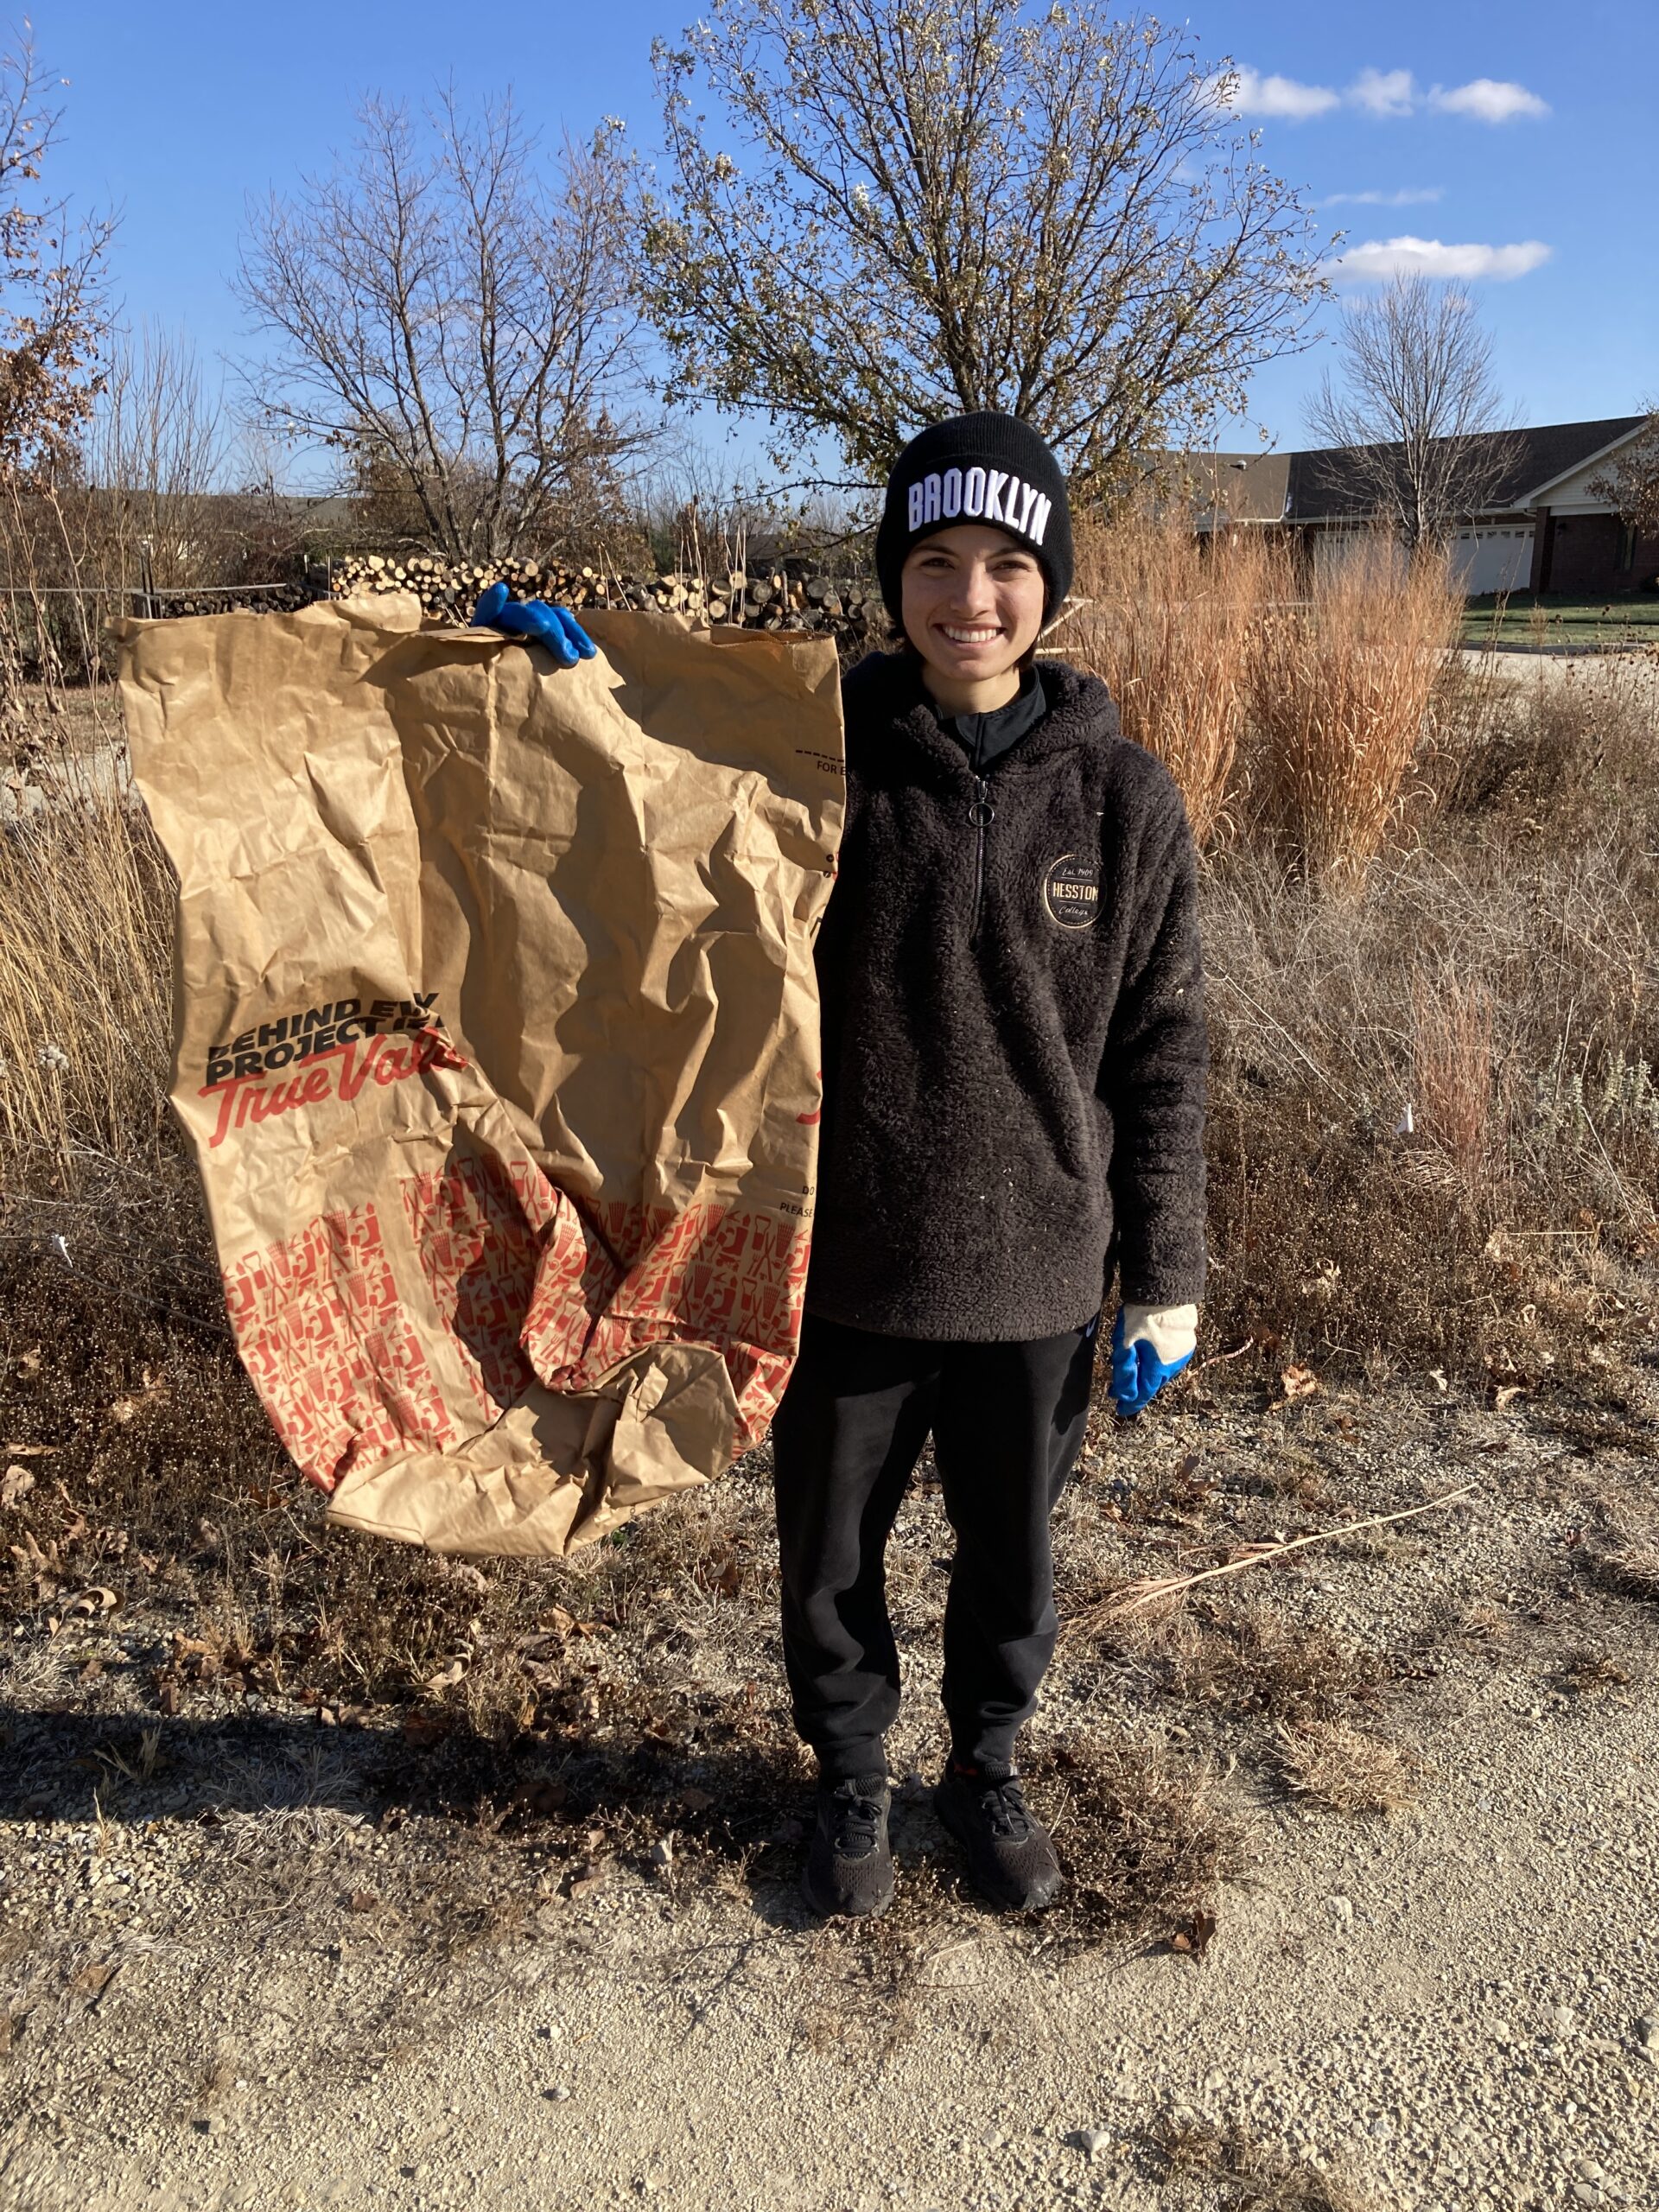
Free those leaves, folks! Let them decay and feed the soil microbiome. If you must haul them away, load them onto a tarp for transport, or opt for paper bags that can be composted with the leaves.
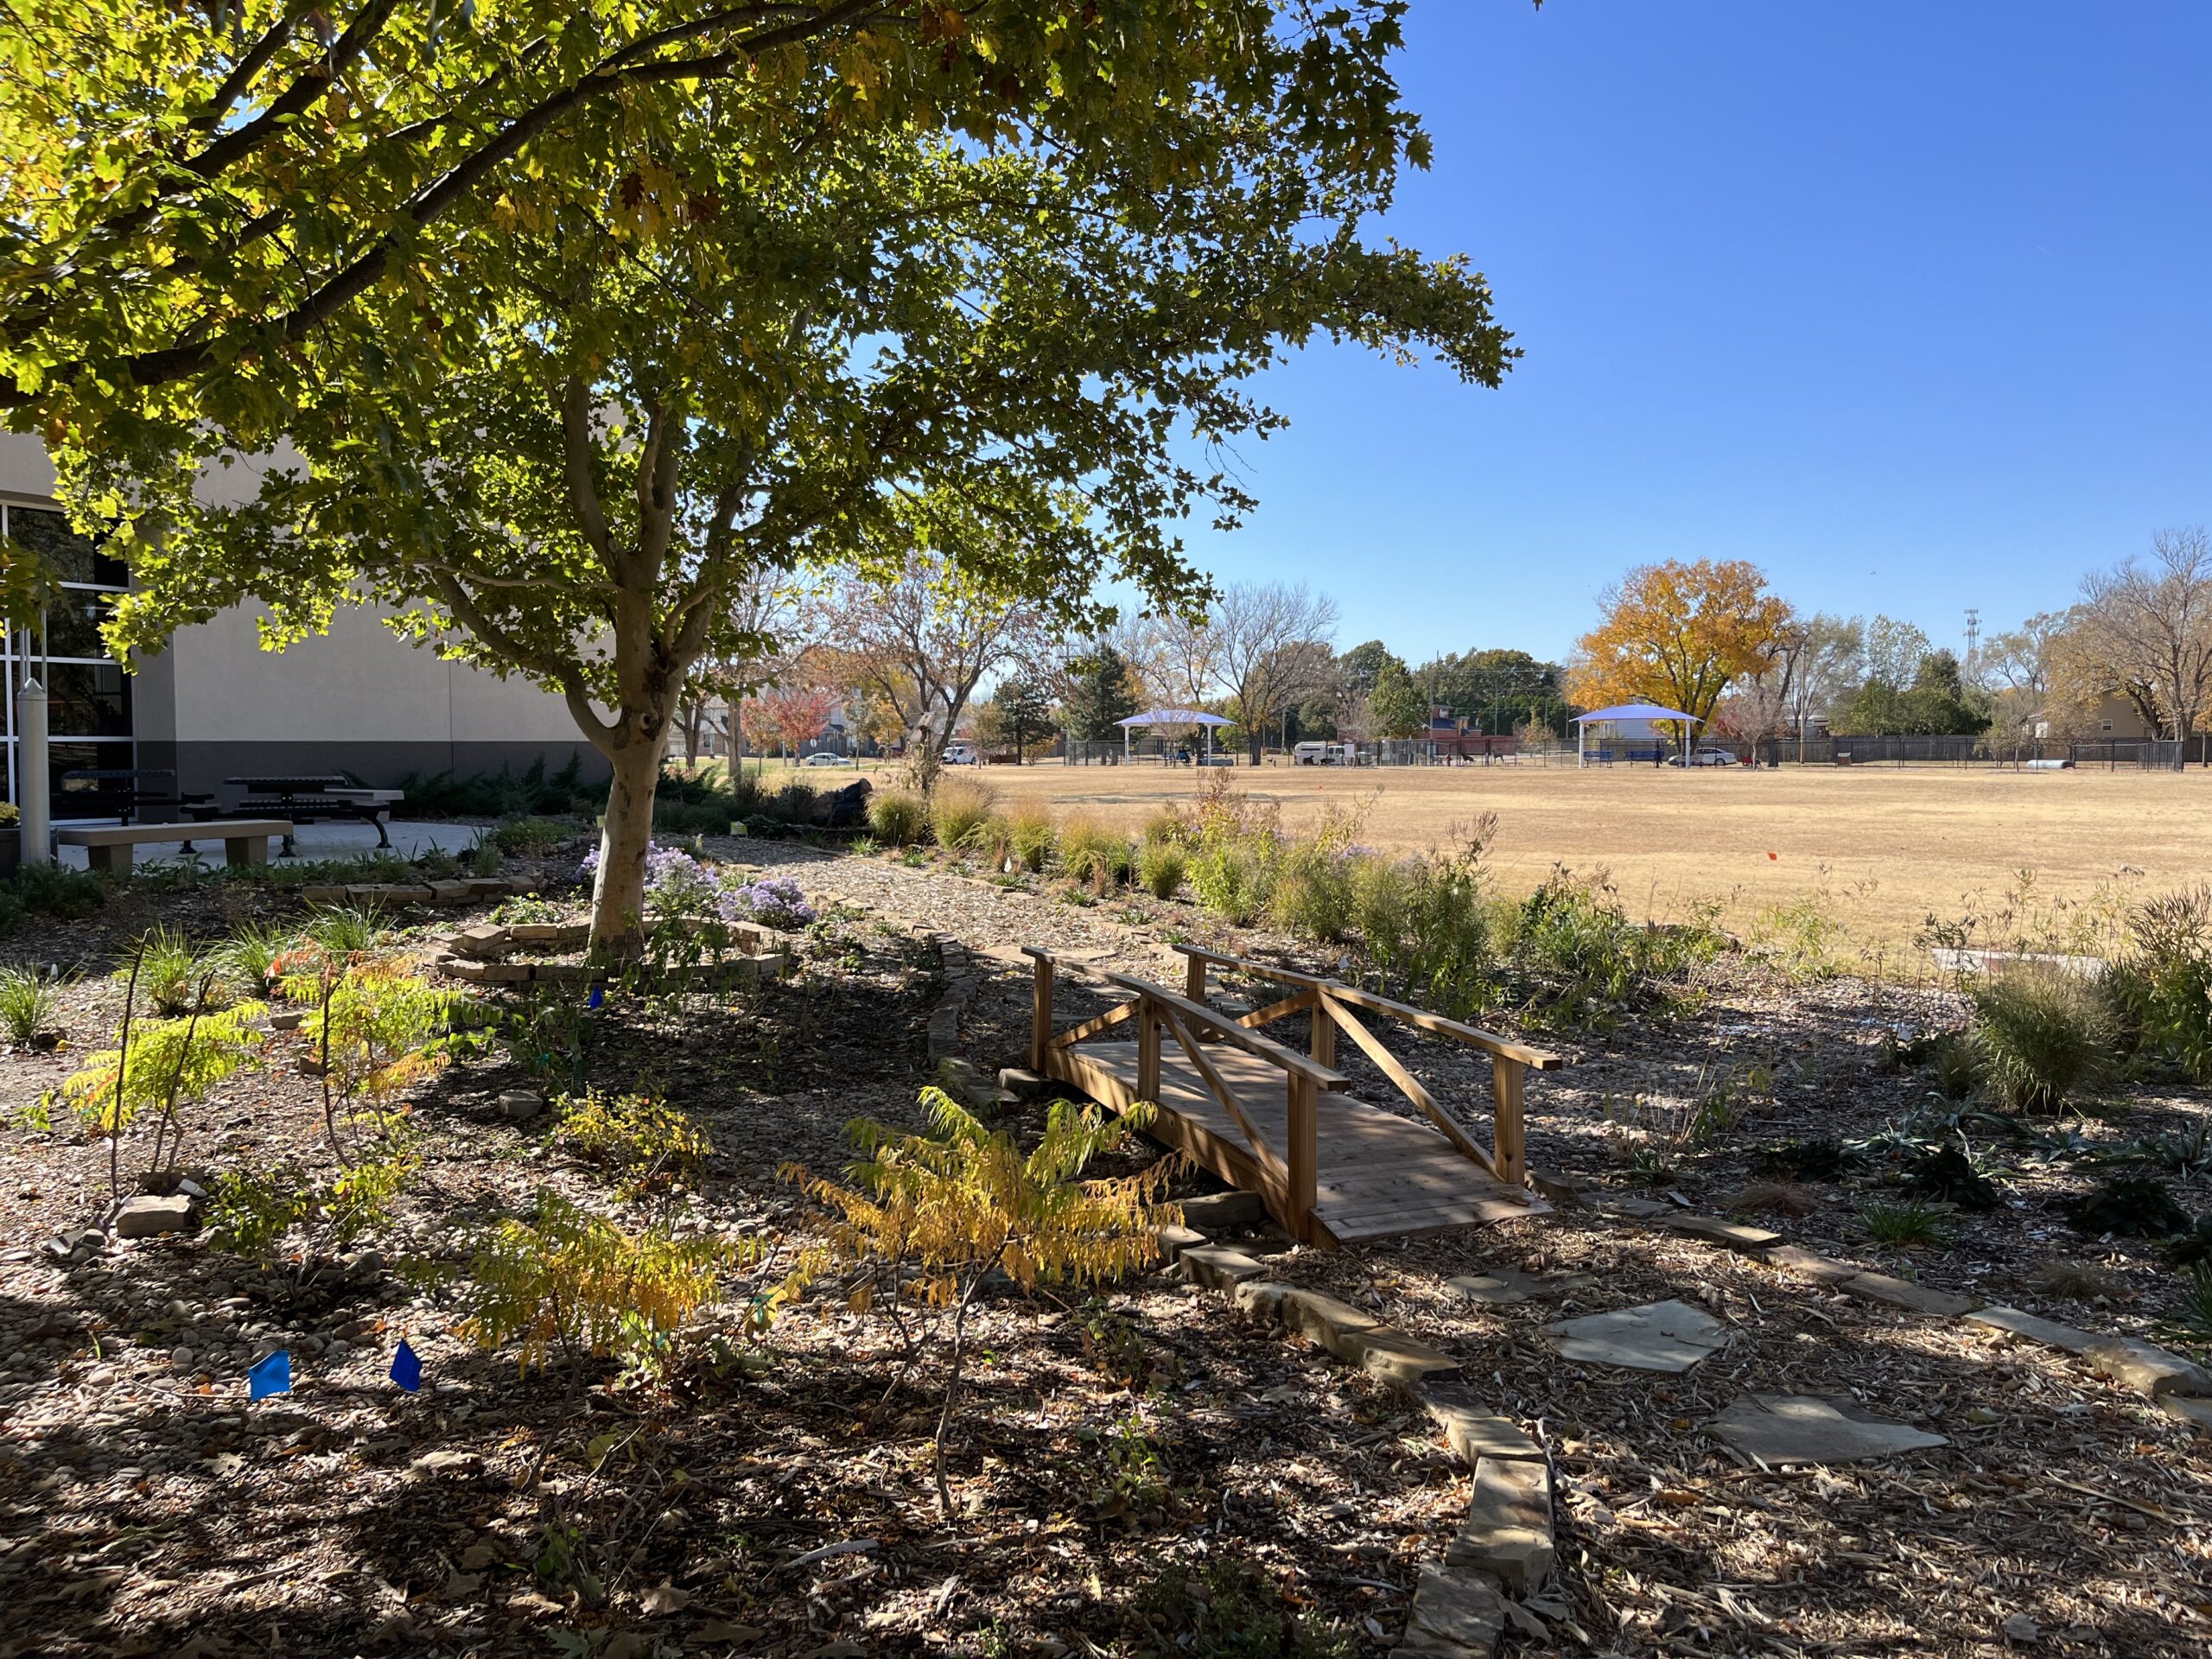
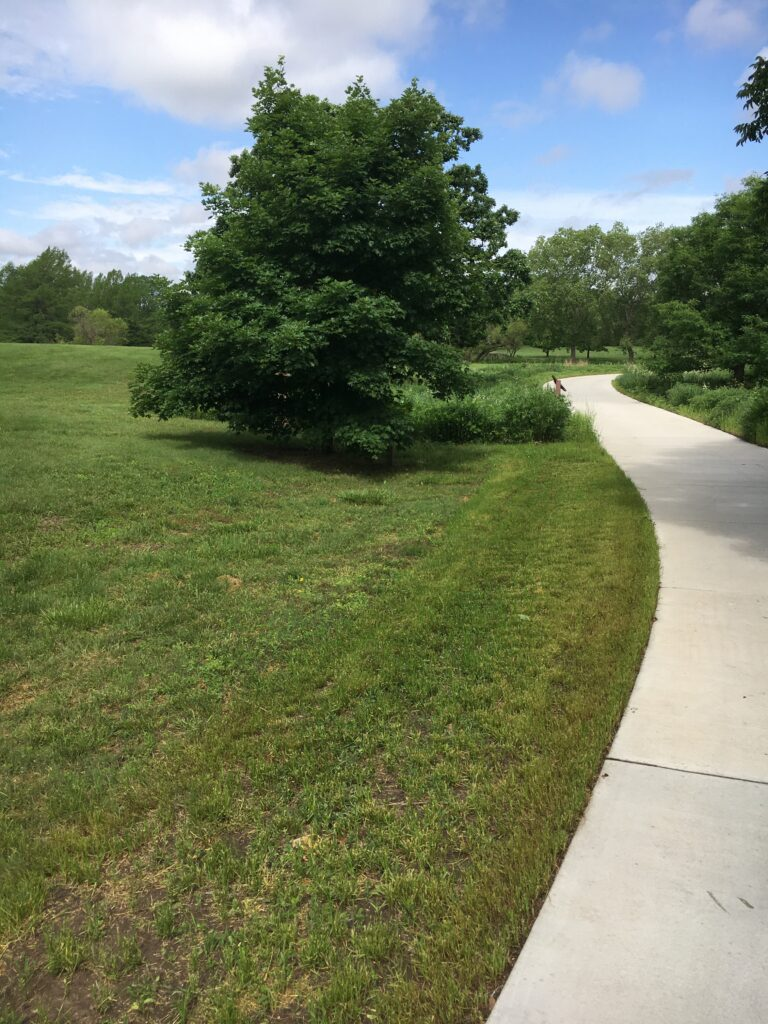
I love a lush, green lawn as much as the next person, but we can all aim to achieve a useable lawn space while also being kind to the environment. If you have too many leaves in one area, spread them out, move them to your garden as free mulch, or start a neighborhood leaf compost pile. If you must haul them away, stick to compostable or reusable containers and consider taking them to a city compost area or even your local Arboretum! Doing your part to help the environment, in this case, means less work for once. So stay inside and watch that football game, the leaves in the yard can wait.


