Sumac might not be what you imagine when you think of an outstanding garden plant. Native sumac often grows on roadsides or prairie draws, and would be unruly in the home landscape. But there are two cultivated varieties that are wonderful additions to the garden — Gro-Low Sumac and Tiger Eyes Sumac. With all the loveliness of native sumac, but much more manageable.
Rhus aromatica Gro-Low has leaves that look similar to poison ivy, but this plant is completely harmless.
Gro-Low sumac is perfect for that spot in your yard you don’t want to maintenance anymore. It grows only sixteen to eighteen inches tall but sprawls out six to eight feet. A shrubby groundcover, it needs no mowing or trimming, no fertilizing, no attention at all! Poor soil in full or part sun will do just fine, and is very drought tolerant once established. It produces small green flowers in the spring, well-loved by native bees, and a brilliant red-orange leaf color in fall. Plant it with Prunus besseyi, little bluestem grass, or even Raydon’s Favorite Aster for groundcover that dazzles.
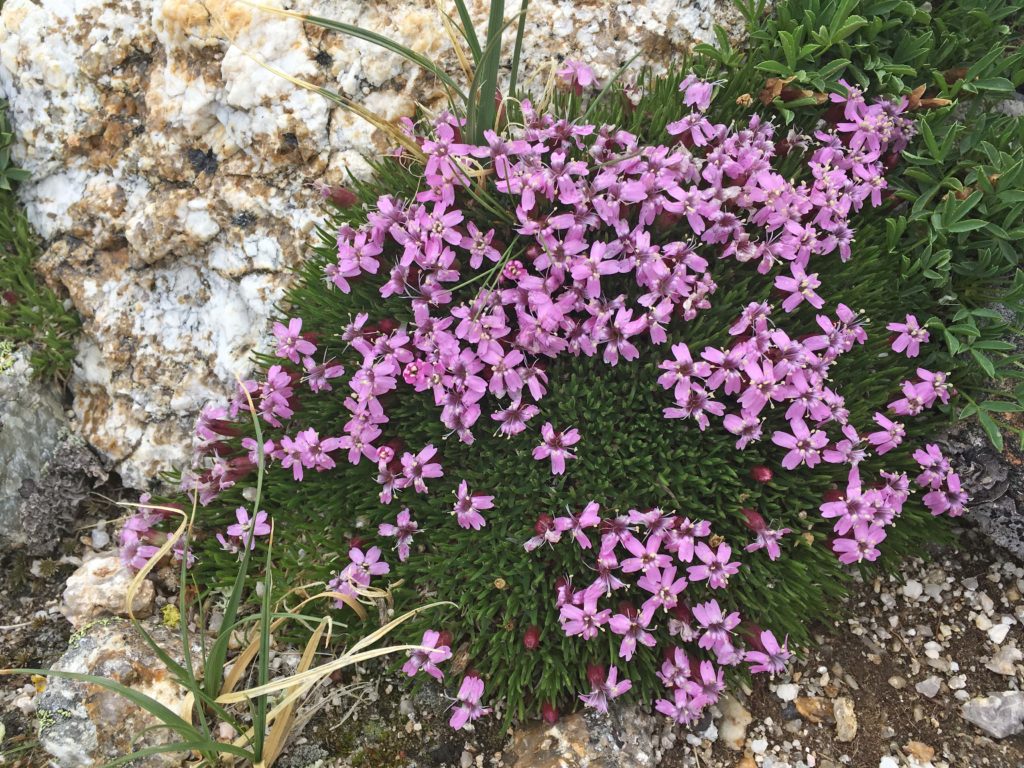
The native Rhus aromatica bush has lovely fall color, and gets much taller than the Gro-Low variety. Photo by Emily Weaver
Tiger Eyes sumac has been become a landscape favorite for Arboretum staff. They seem to find a place in every landscape design and new garden bed. Chartreuse leaves turn orange in the fall, and they can tolerate lots of hot sun and drought. They can grow between four and six feet tall. Poor soil is no problem; they are highly adaptable. Fuzzy stems and interesting branching make this plant wonderful to observe anytime of the year. Plant it with Amsonia and Red October big bluestem for a memorable fall color show!
These Tiger Eyes Rhus in the Prairie Lakes edition of Showalter Villa are thriving in full sun. We are always happy when we see native plants in the landscapes of our neighboring organizations!
These sumac will be available at our fall FloraKansas Native Plant Festival September 5-8. Staff can help you find the right plants for your landscape, and your purchase supports the Arboretum’s mission to cultivate transformative relationships between people and the land.
When I recommend native plants for a particular landscape, I’ve learned to focus on the fact that people and the insects they are hoping to attract are conditioned to desire seeing a concentration of blooms with decent repetition. Some of the fascinating parts of landscaping with native plants are that they also have interesting features regarding their vegetation, seed pods, relationship to insects as host plants, and natural/cultural history stories that accompany them as Kansas native plants as well. But first and foremost, their flowers are what most intrigue the masses.
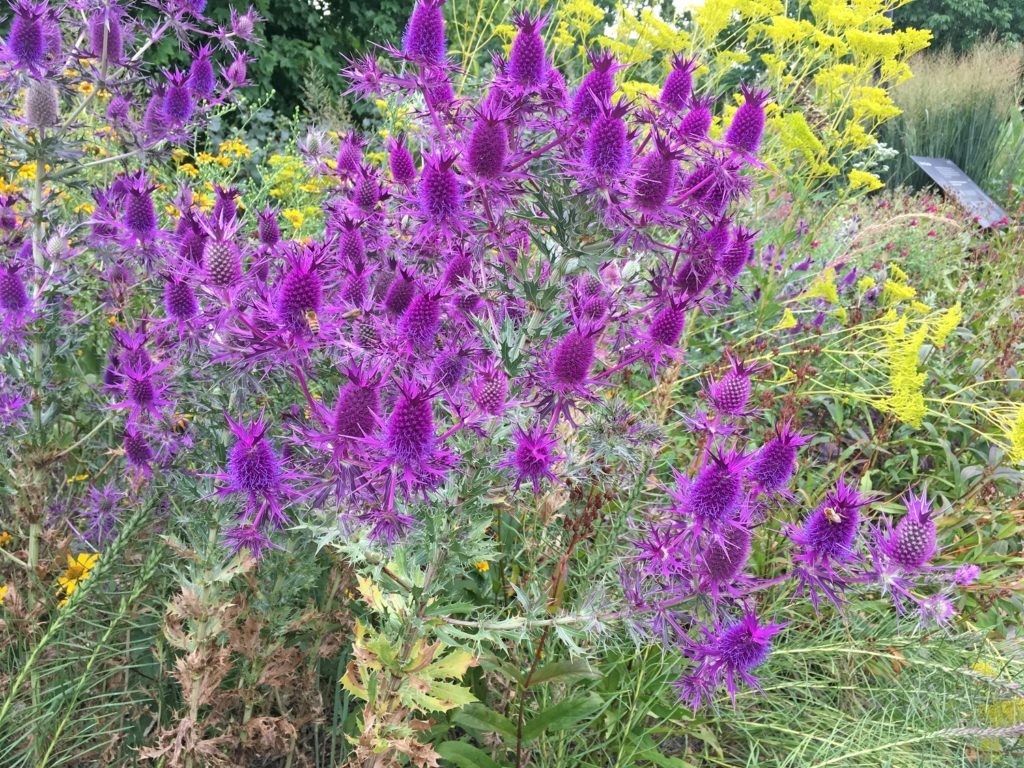
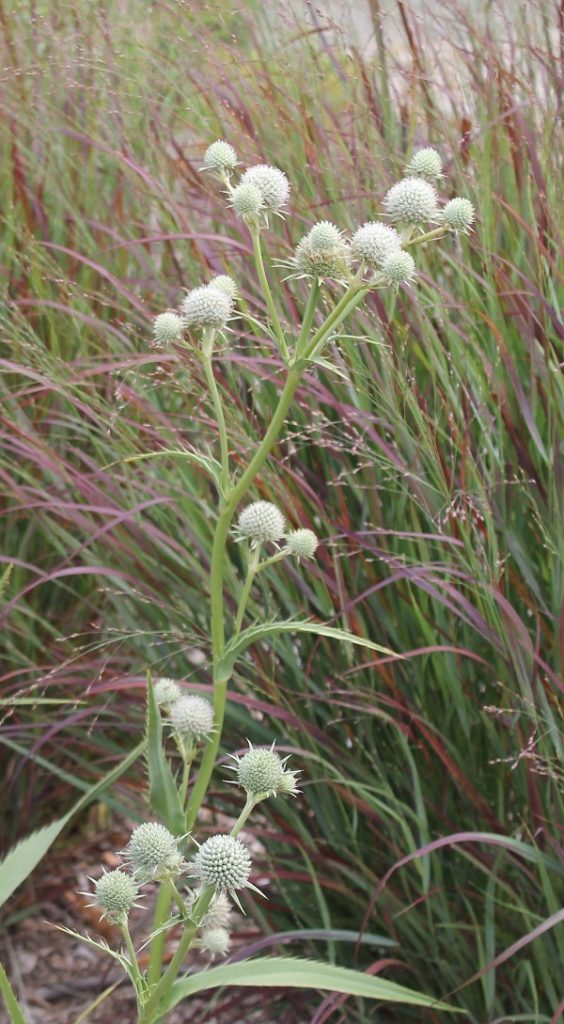
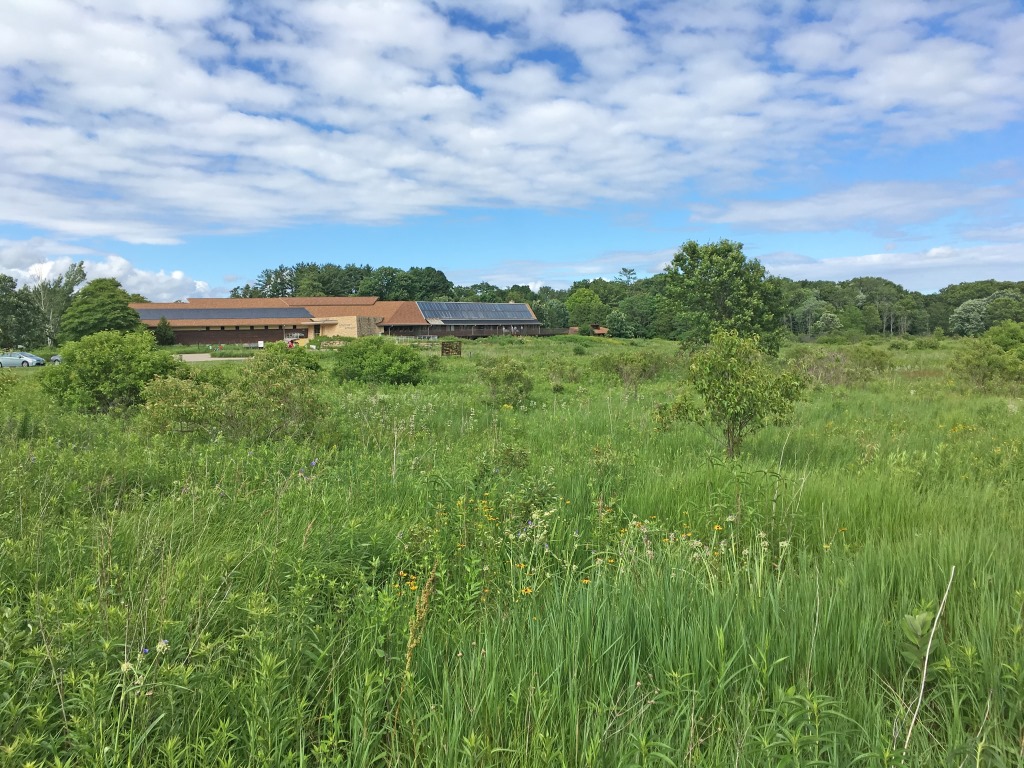
A profusion of purple is about to happen at Dyck Arboretum when the annual Leavenworth eryngo (Eryngium leavenworthii) hits its colorful stride in late August to early September.
A Long Growing Season in Kansas
The challenge when landscaping in Kansas is that our growing season is long, spanning 7 to 8 months, generally from March to October. A given landscape only has so much space for plant repetition and one has to choose which plant species will be planted in big numbers to have a concentration of color when desired. With a school planting, for example, I will mostly choose species that bloom in either April-May or August-September when students will see and enjoy them.
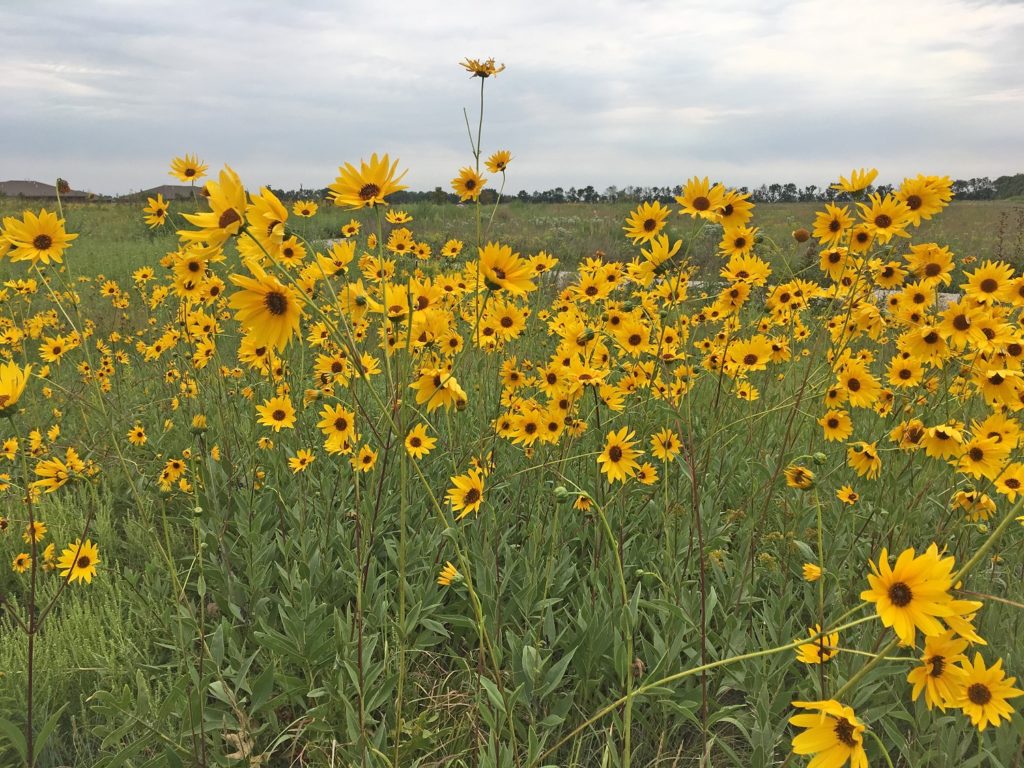
The angst I have in knowing that rigid sunflower (Helianthus rigidus) is having an increasingly dominating presence in our Arboretum prairie reconstruction is slightly soothed by the salve of its showy floral display in mid-September.
When you plant just a handful of species with big numbers of each for a few different times of focused colorful brilliance, you look like a genius during those times of flowering. Each perennial species, however, blooms for only a couple of weeks or so. When the plants are not blooming, critics of native plantings may label your garden as “too wild” or “dead-looking” when vegetation begins to senesce. These folks are not too forgiving of the fact that perennial plants must first build vegetation before they can flower. and then invest energy in building roots so they can come back again next year. So, one needs to find a reasonable balance between sufficient repetition of a given species and making sure there are enough species to provide blooming overlap throughout the growing season.
Prominent Prairie Grasses in July
This concept of concentrated flowering, or lack thereof, is on my mind every July when the Kansas temperatures are hottest and the well-adapted warm-season prairie grasses that are a significant part of the prairie matrix begin to shine. Grass flowers are wind-pollinated and understandably not investing in colorful flowers with a design to attract pollinators. It always seems to me that prairies in July are dominated by green, and that any blooming non-grass flowers stand out.
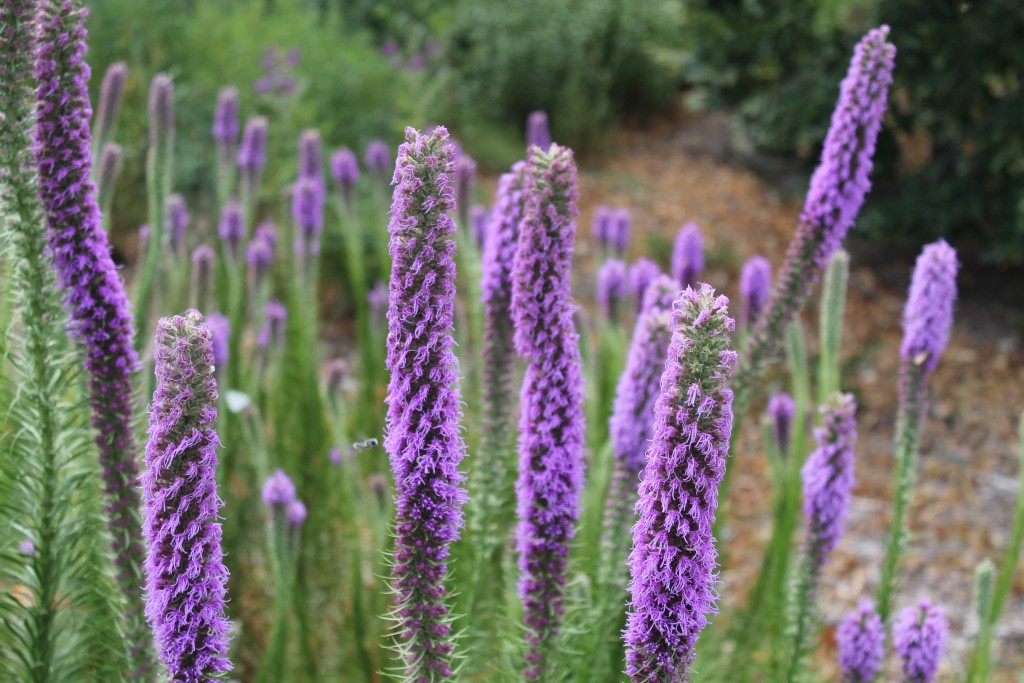
Kansas gayfeather (Liatris pychnostachya) looks great when it blooms around our pond edge in late July, especially because of its eye-catching repetition.
Inspiration of High Elevation Wildflowers
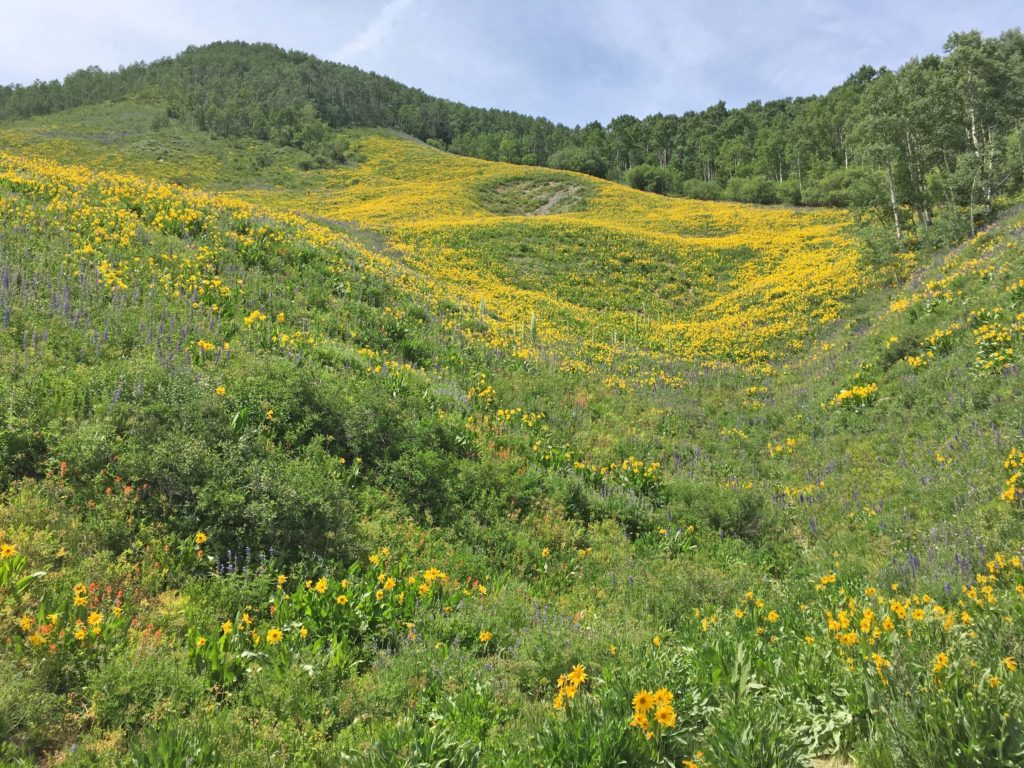
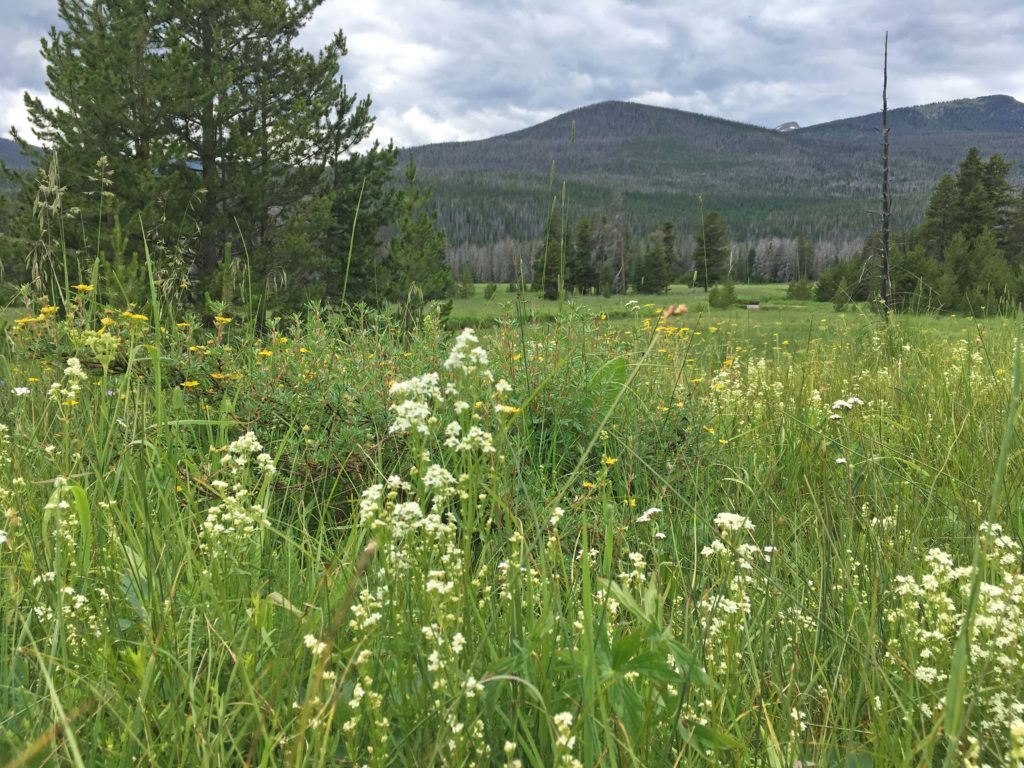
My family and I usually get away for vacation to Colorado or somewhere west of Kansas to enjoy different landscapes. These trips usually take us to areas with higher elevations, cooler air, and snow-melt streams. Above 5,000 feet in elevation, these areas have much shorter growing seasons, roughly half of that in Kansas. This phenomenon concentrates the flowering of available species into a tighter window of opportunity causing many blooming occurrences to overlap. Since late July is the center of that growing season, the wildflowers are often at their peak during our visits.
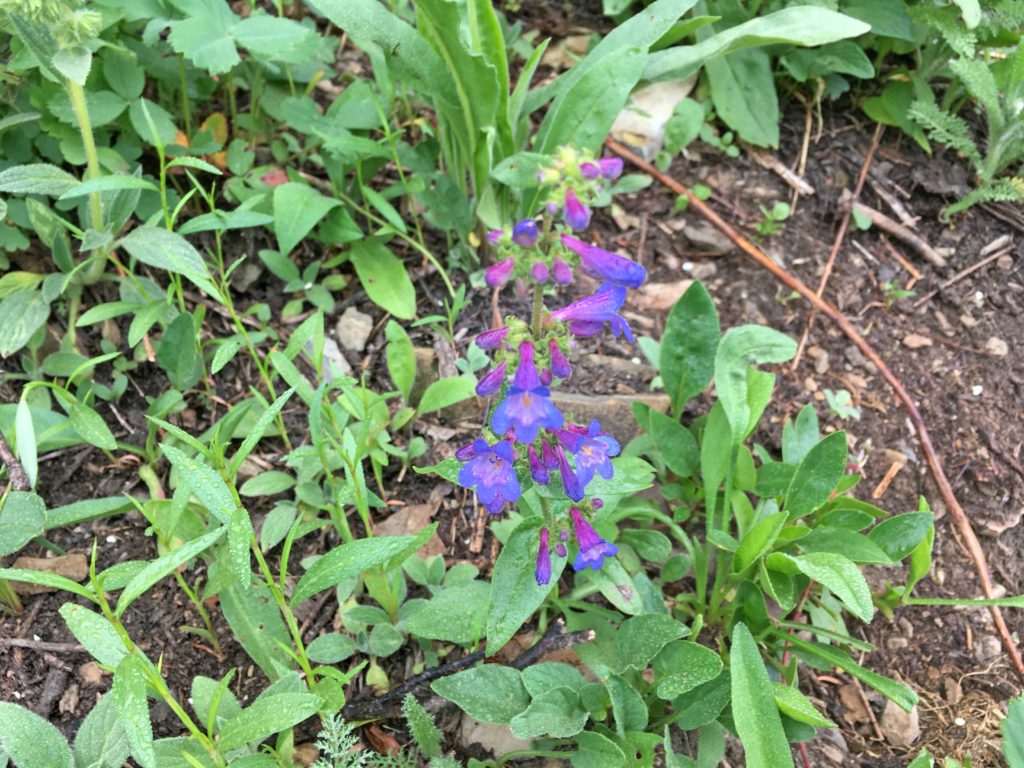
Sunflower family plants wash this mountain-side in yellow with the punctuation of purple penstemon and red Indian paintbrush along Brush Creek Trail above Crested Butte, the so-called “Wildflower Capitol of Colorado.”
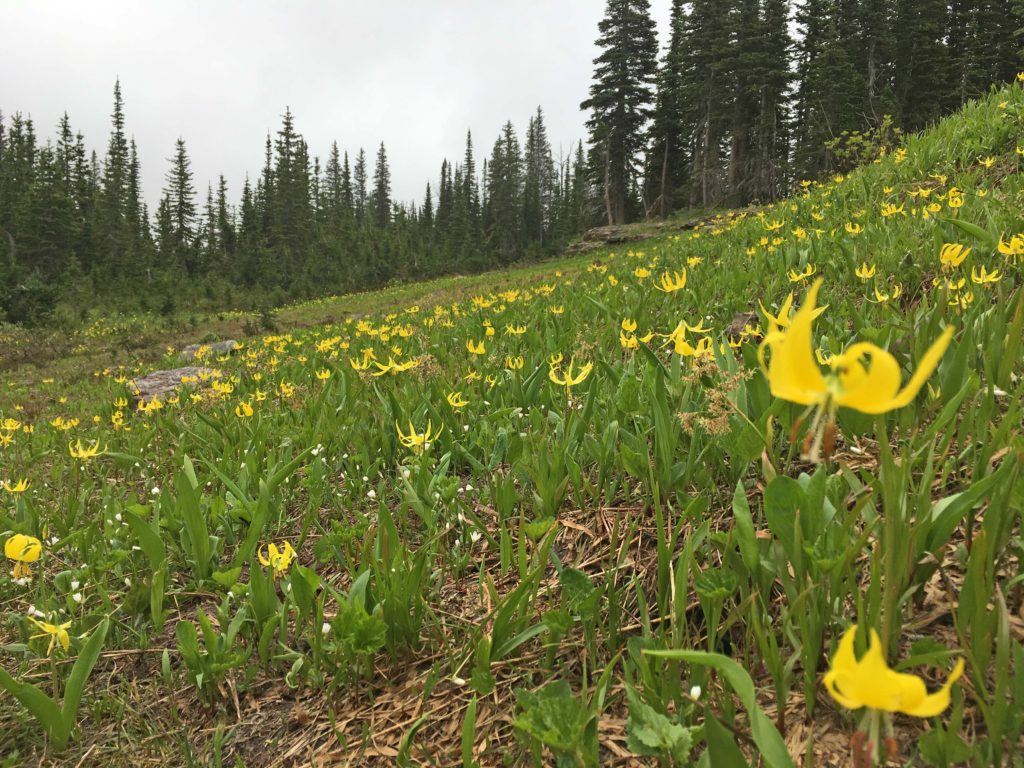
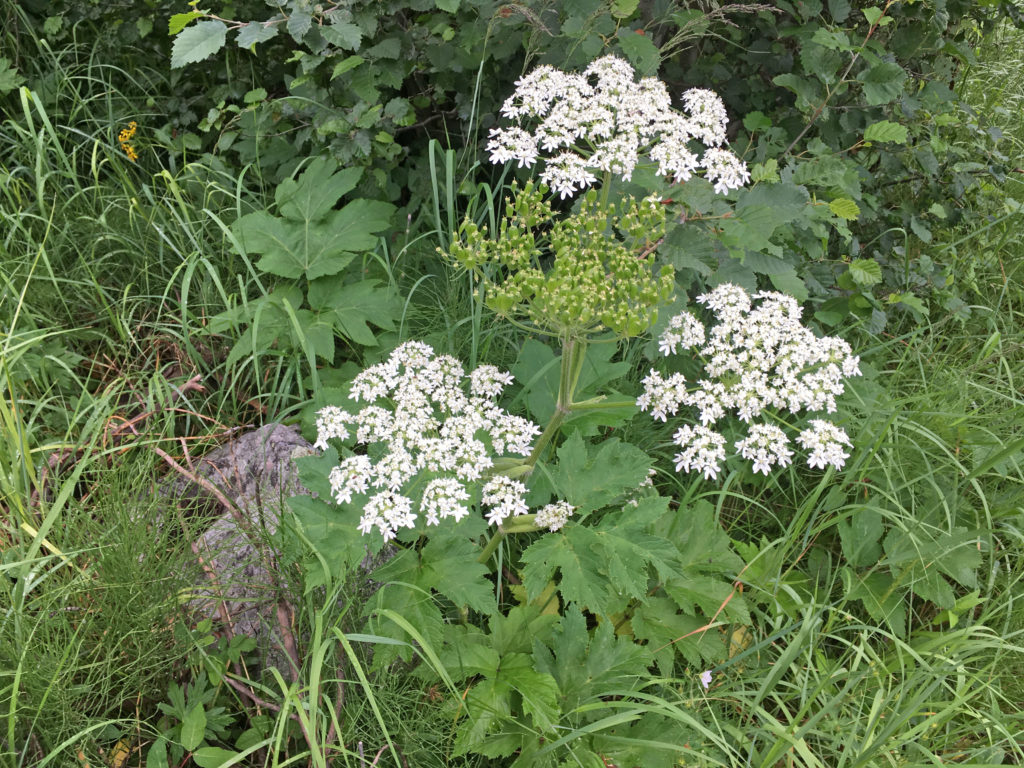
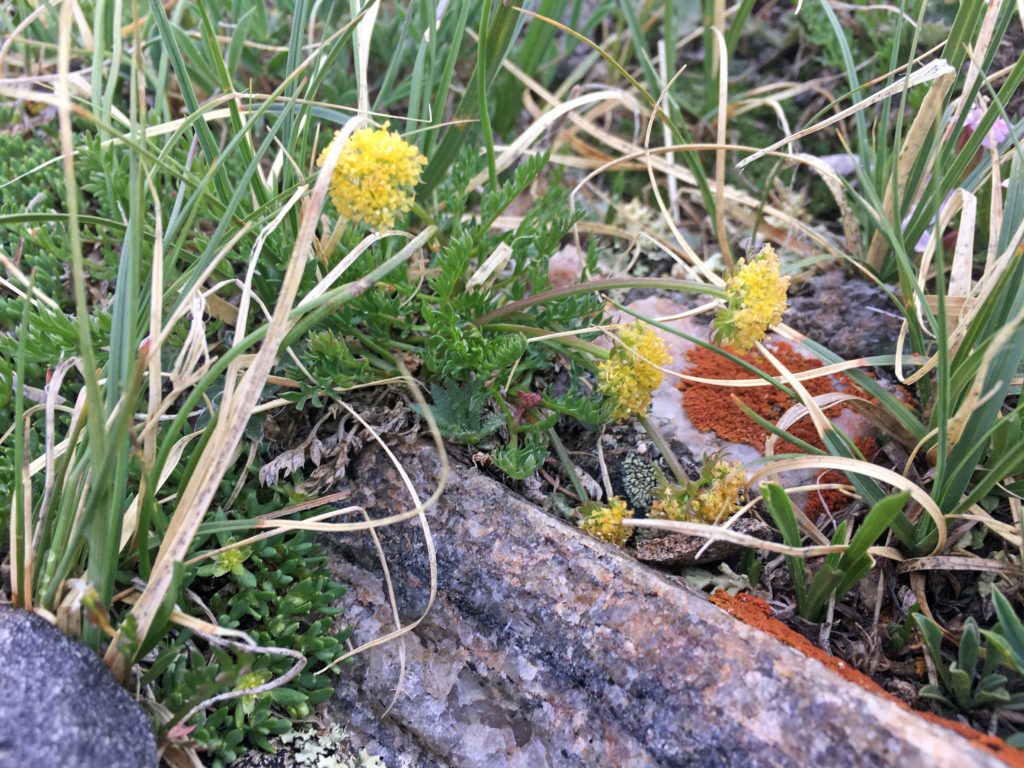
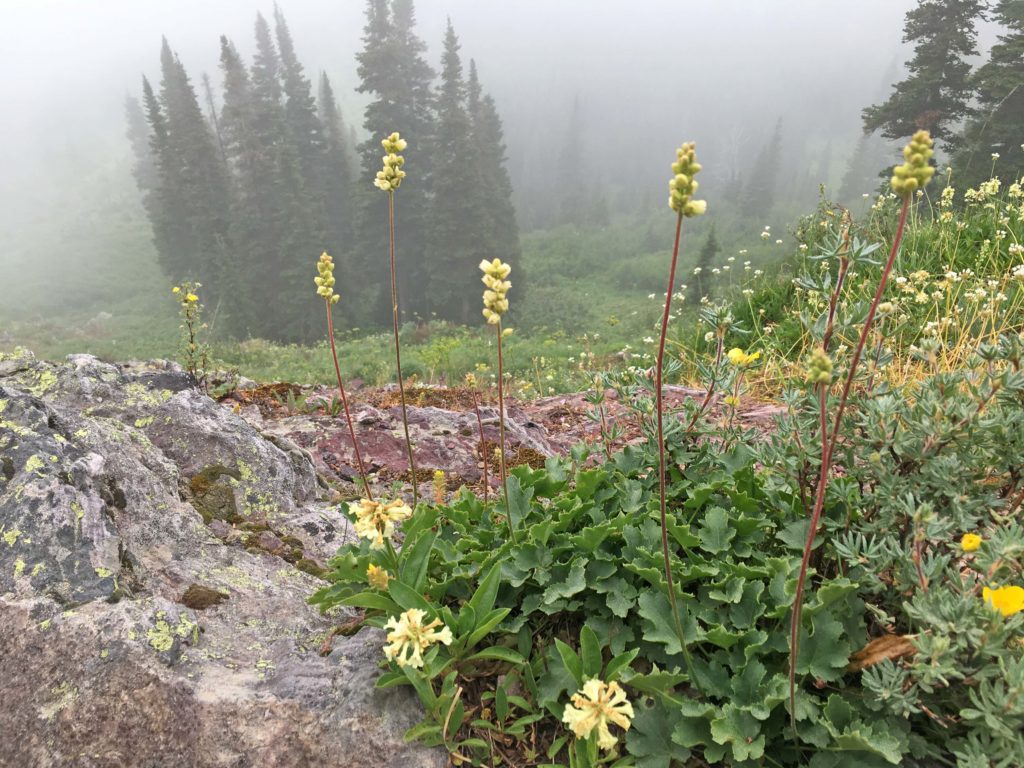
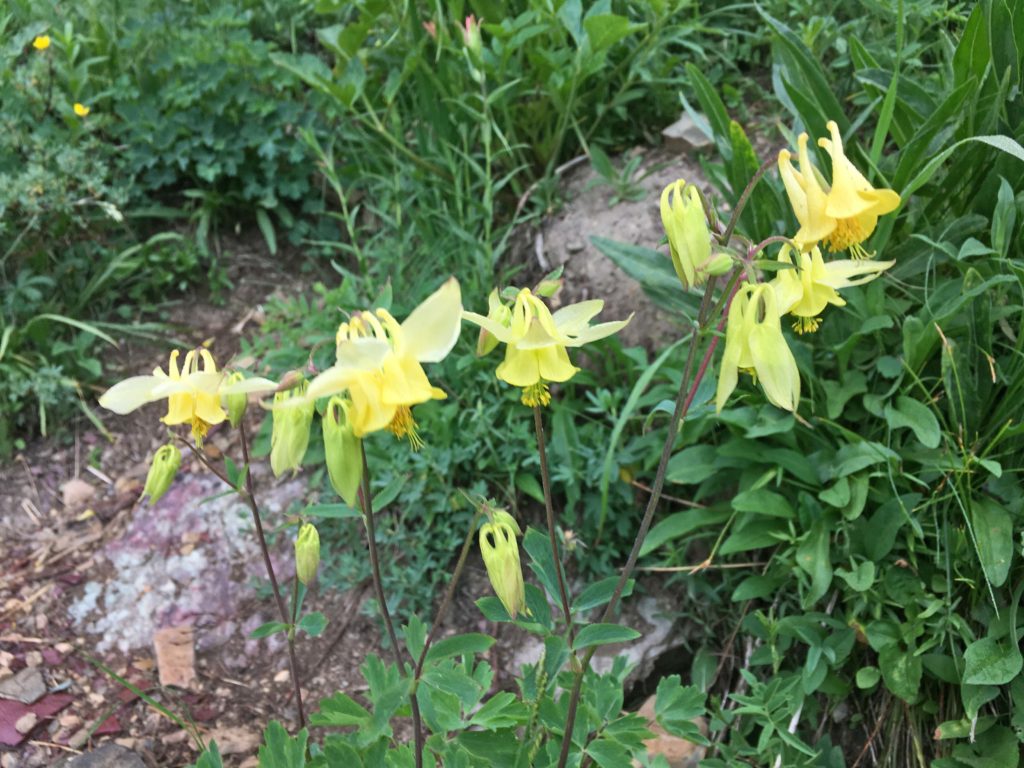
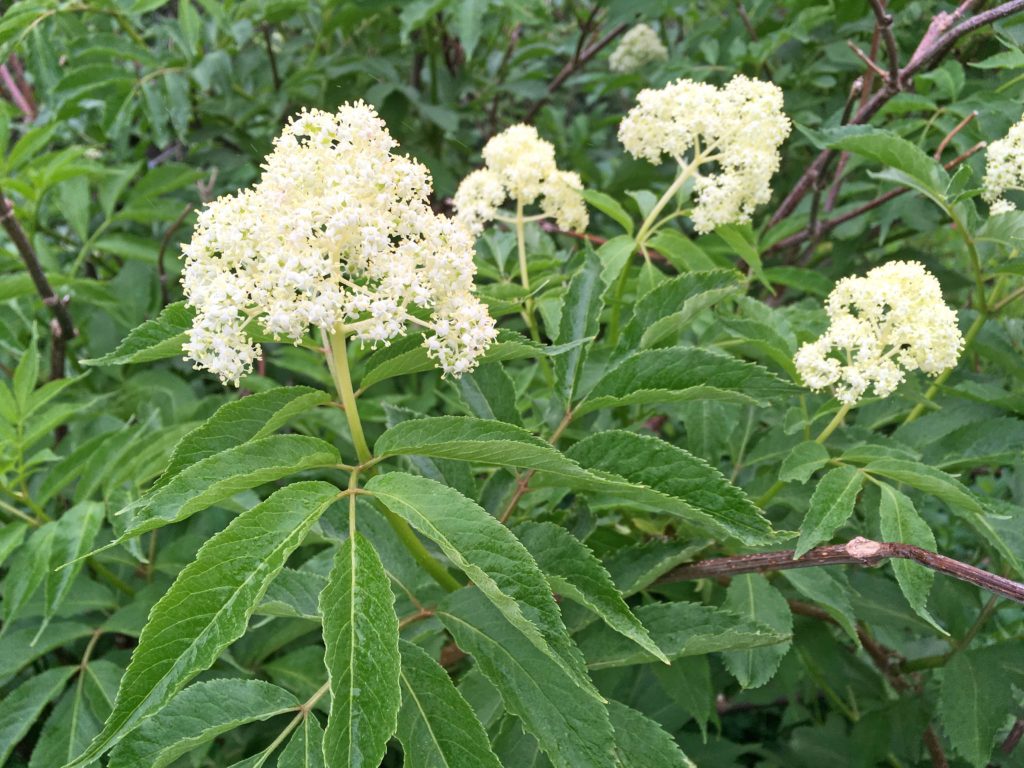
During our last two July vacations to Montana’s Glacier National Park (GNP) and Colorado’s Rocky Mountain National Park (RMNP) in 2018 and 2019, respectively, we witnessed especially lush displays of wildflowers that made hikes for me most enjoyable. The following photo collage includes species observed on mountain trails that made me pause and take note. They each have similar-looking close relatives in Kansas.
Glacier lily – GNP
Cow parsnip – RMNP
Lomatium – RMNP
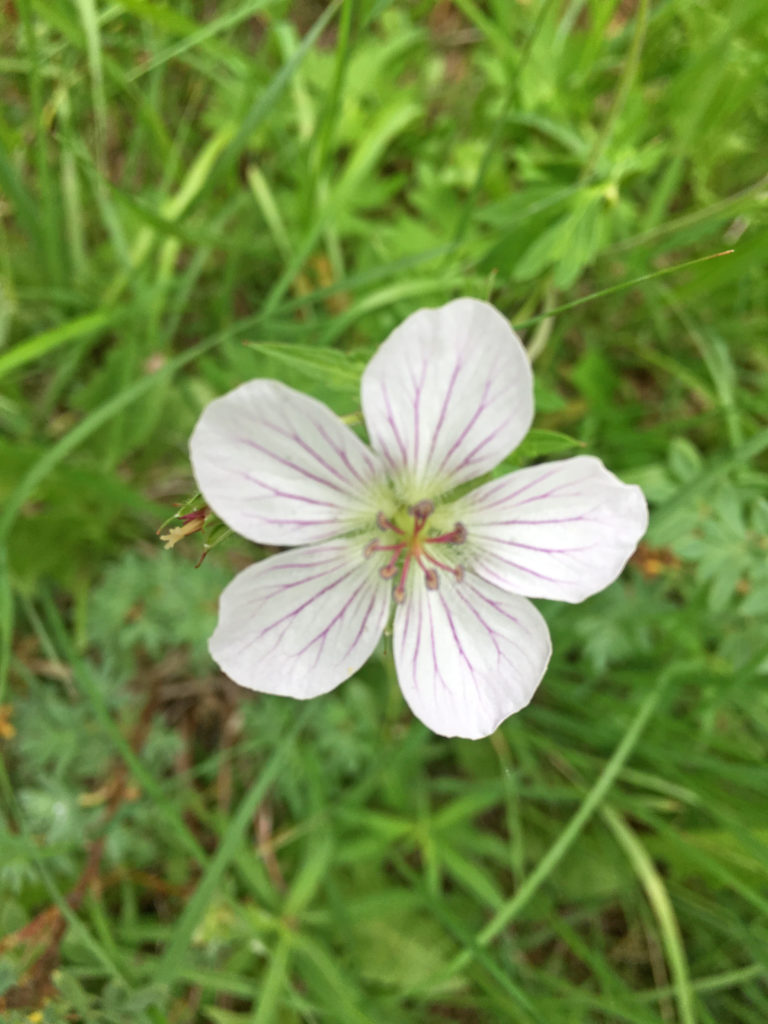
Sticky geranium – RMNP
Showy fleabane – GNP
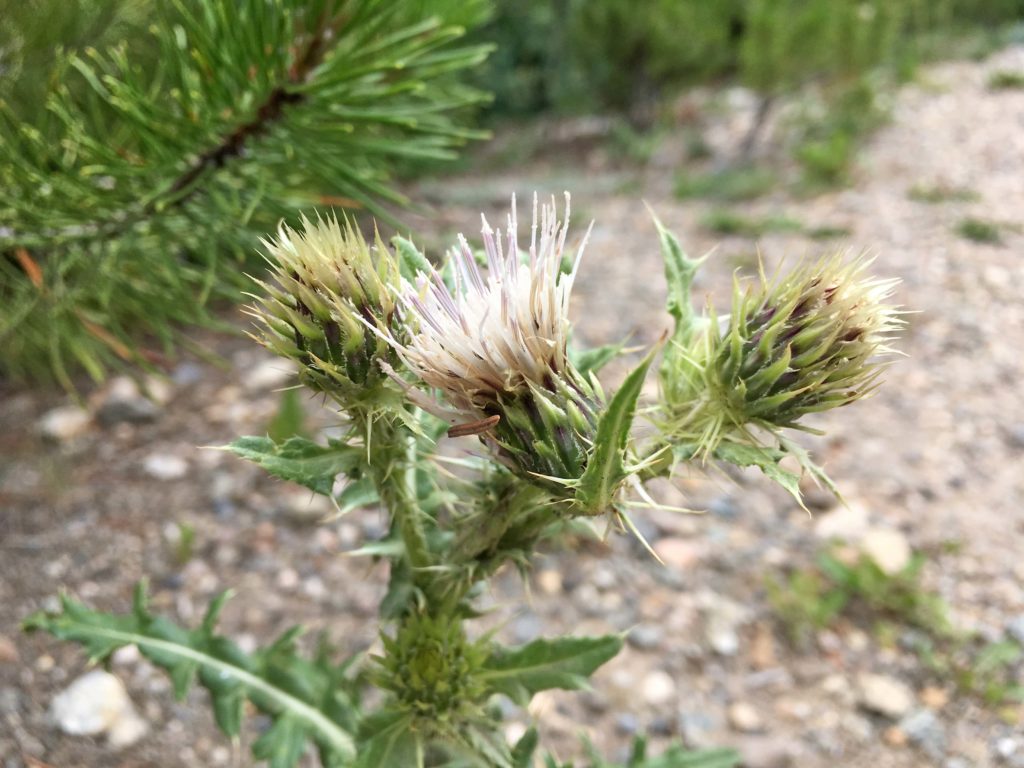
Parry’s thistle – RMNP
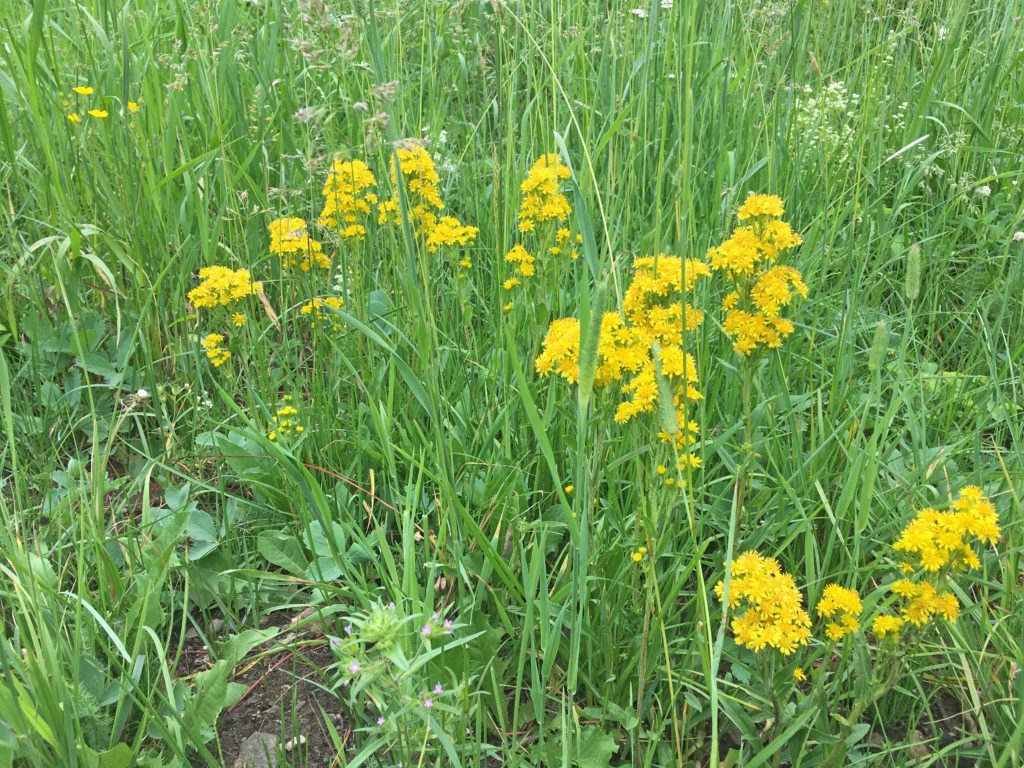
Goldenrod – RMNP
Northern bedstraw – RMNP
Arnica – RMNP
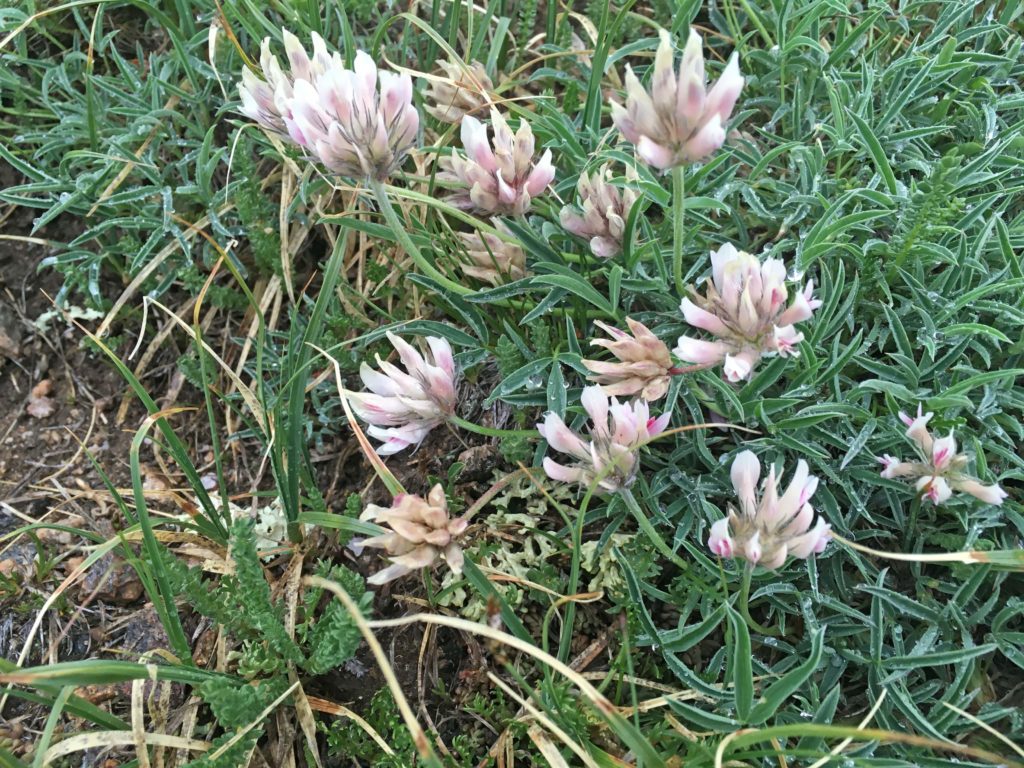
Locoweed – RMNP
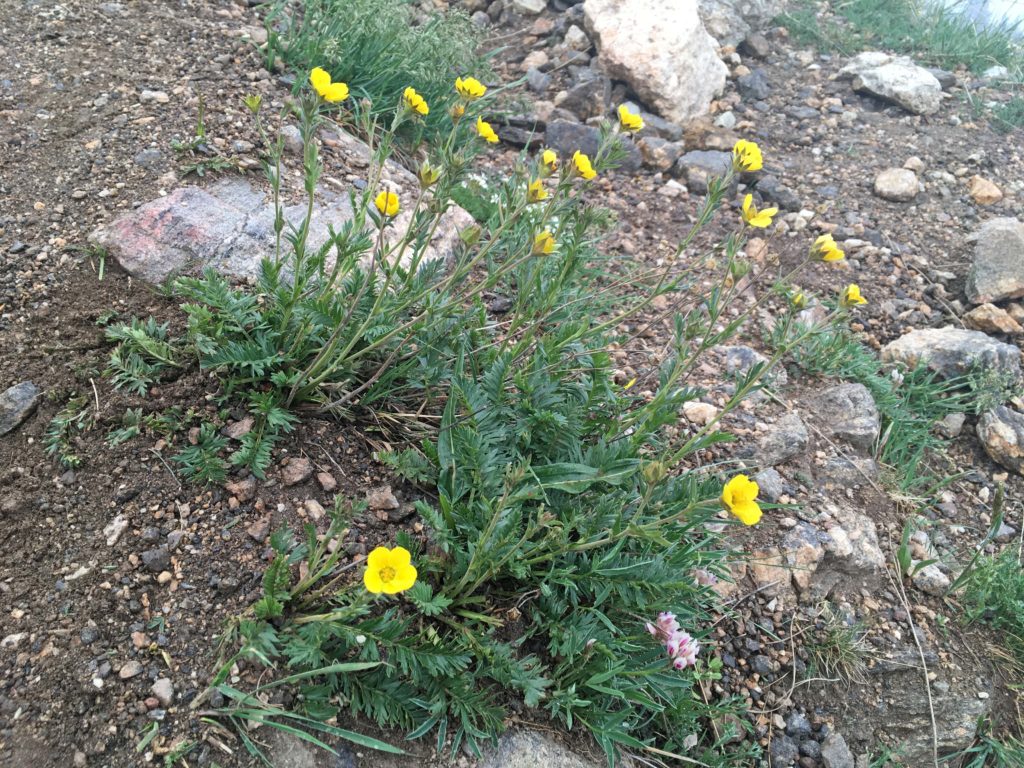
Cinquefoil – RMNP
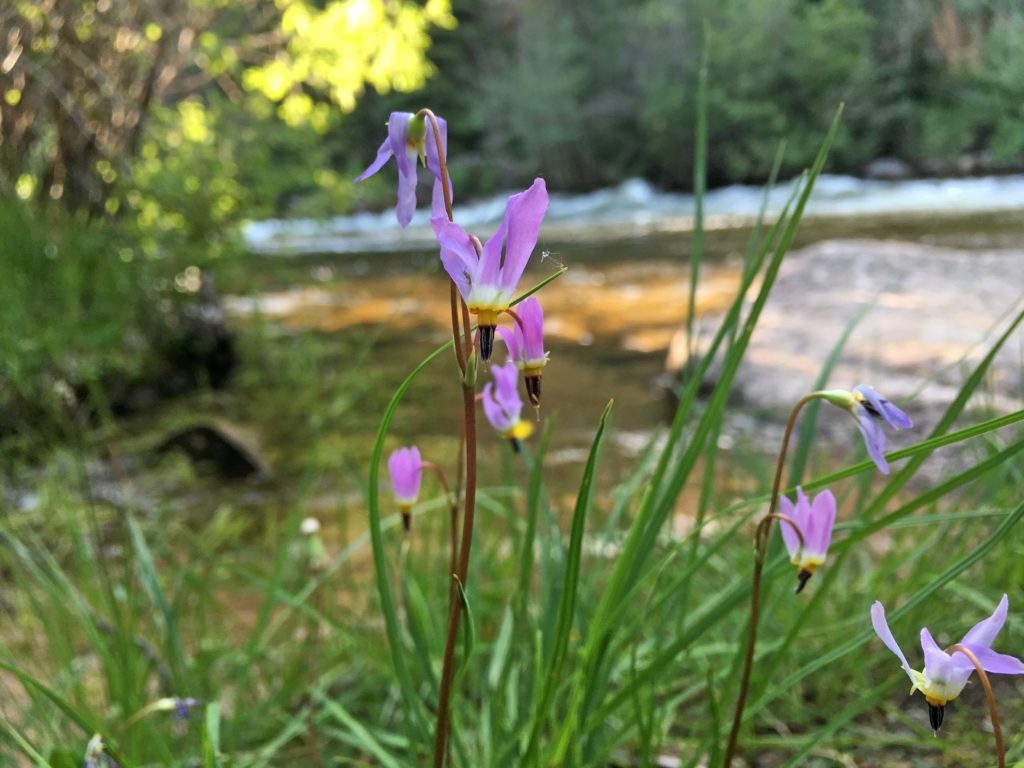
Shooting star – RMNP
Roundleaf alumroot – GNP
Groundsel – GNP
Penstemon sp. – GNP
Columbine – GNP
Red elderberry – GNP
Moss campion – RMNP
While I know that most mountain wildflowers won’t survive in Kansas, I am still inspired by them. I observe their site-specificity with regard to moisture/light, what wildlife they attract, and their growth form — often including many plants of one species creating a concentration of color. Our upcoming Fall 2019 FloraKansas Plant Festival will offer many native species that thrive in our Kansas climate and soils. Plan to peruse the options, see what catches your eye, plant them in repetition, and be inspired.
Creamy-colored beargrass (not a grass, but a lily) and pink subalpine spirea provide landscaping inspiration along the Iceberg Lake Trail in Glacier National Park.
Something interesting is happening to our front yards. They are slowly shrinking. The typical large expanse of green lawn is being replaced with low-maintenance, drought tolerant shrubs, perennials and grasses. Homeowners are realizing that this alternative to a mowed lawn has its advantages. Certainly, this new paradigm will require less water over time, but it can be functional and beautiful as well. The potential environmental impacts of making this change can be significant.
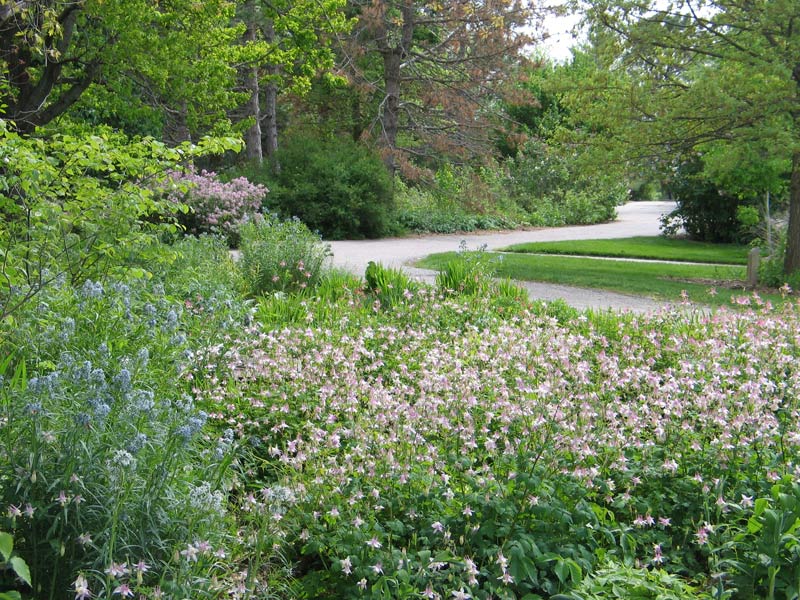
Shady area at Arboretum converted from fescue turf to columbine, blue star and other perennials and shrubs.
Lawn grasses such as fescue and bluegrass require more mowing and watering than native landscapes. Here are some facts about lawns and their impact on the environment:
There are some 80 million home lawns across the country
30-60 percent of urban fresh water is used for watering lawns
The typical American lawn uses 10,000 gallons of supplemental water (non-rainwater) annually
Nearly 70 million pounds of pesticides are used on U.S. lawns each year
Approximately $25 billion is spent on lawn care each year in the U.S.
If you are tired of the traditional front yard and wish to reduce your lawn, a simple landscape design focused on native plants can make a real difference. With their deep roots, native plants can adapt to the regional climate and ecological conditions, while also addiing diversity, reducing maintenance and attracting a host of wildlife and pollinators. Use these simple steps as a guide to develop a native front yard.
Step 1: Plan your design, start small
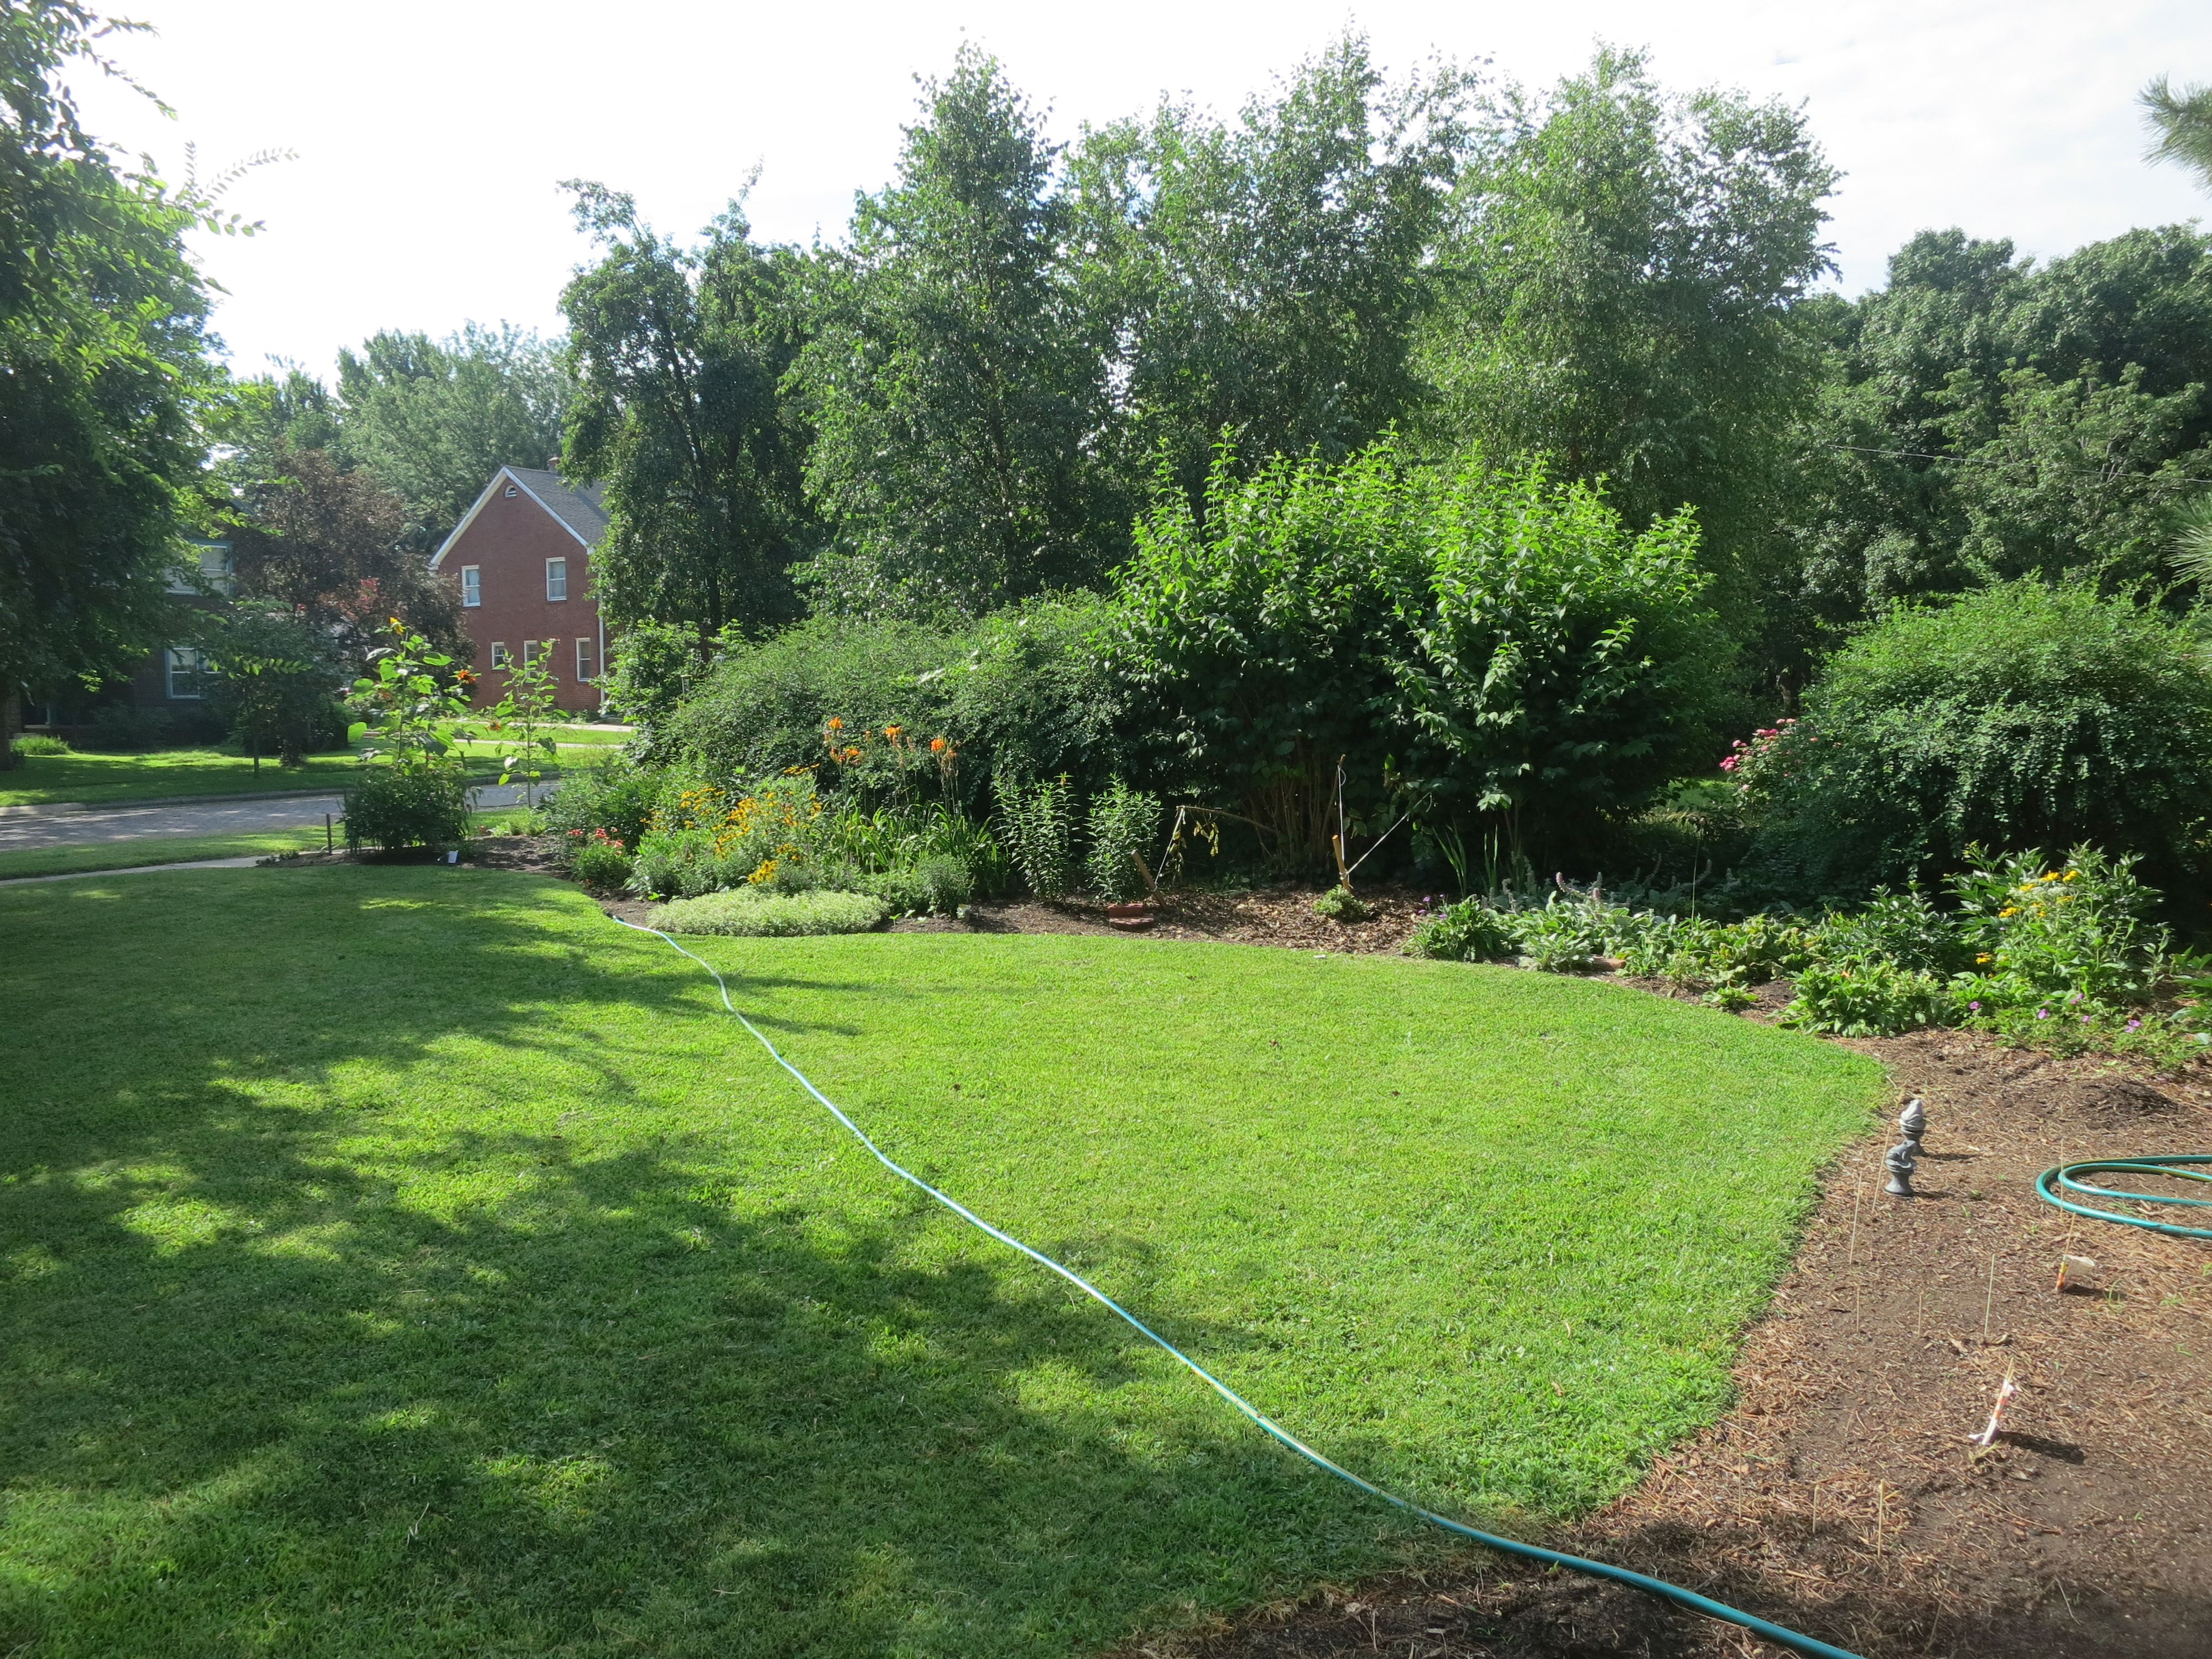
I prefer to lay out a garden hose to get the curves and flow that I want. It is a great way to “fiddle” with the design before tearing anything up. Start small by removing a section of lawn that you can manage. You can convert other areas over the next few years.
Step 2: Investigate plant types
Think about the type of plants that will grow in your area. I group shrubs, perennials and grasses to add impact in the landscape. Strategically locating small trees such as redbuds and disease resistant crabapples will give height and take up space in the design. Are there some evergreen trees and shrubs that will give some splashes of green especially in winter?
Investigate the types of plants you wish to include in your yard. Plan your garden for a succession of bloom to guarantee there are always a few plants flowering throughout the year. These native plants provide nectar and pollen for beneficial insects. A few plants such as milkweed can provide food for larvae and fruits and seeds will feed the birds. A monoculture of lawn can be transformed into a landscape alive with diversity and activity.
Buffalo grass, blue grama grass and mixed prairie plantings
Step 3: Find your plants
Find the plants you need for your design by checking with local nurseries, or you can use our Native Plant Guide 2019. Steal ideas from nature or visit the Arboretum to gather ideas of combinations and groupings that grow well together. Then purchase the plants you want at our sale in April or September and get them in the ground.
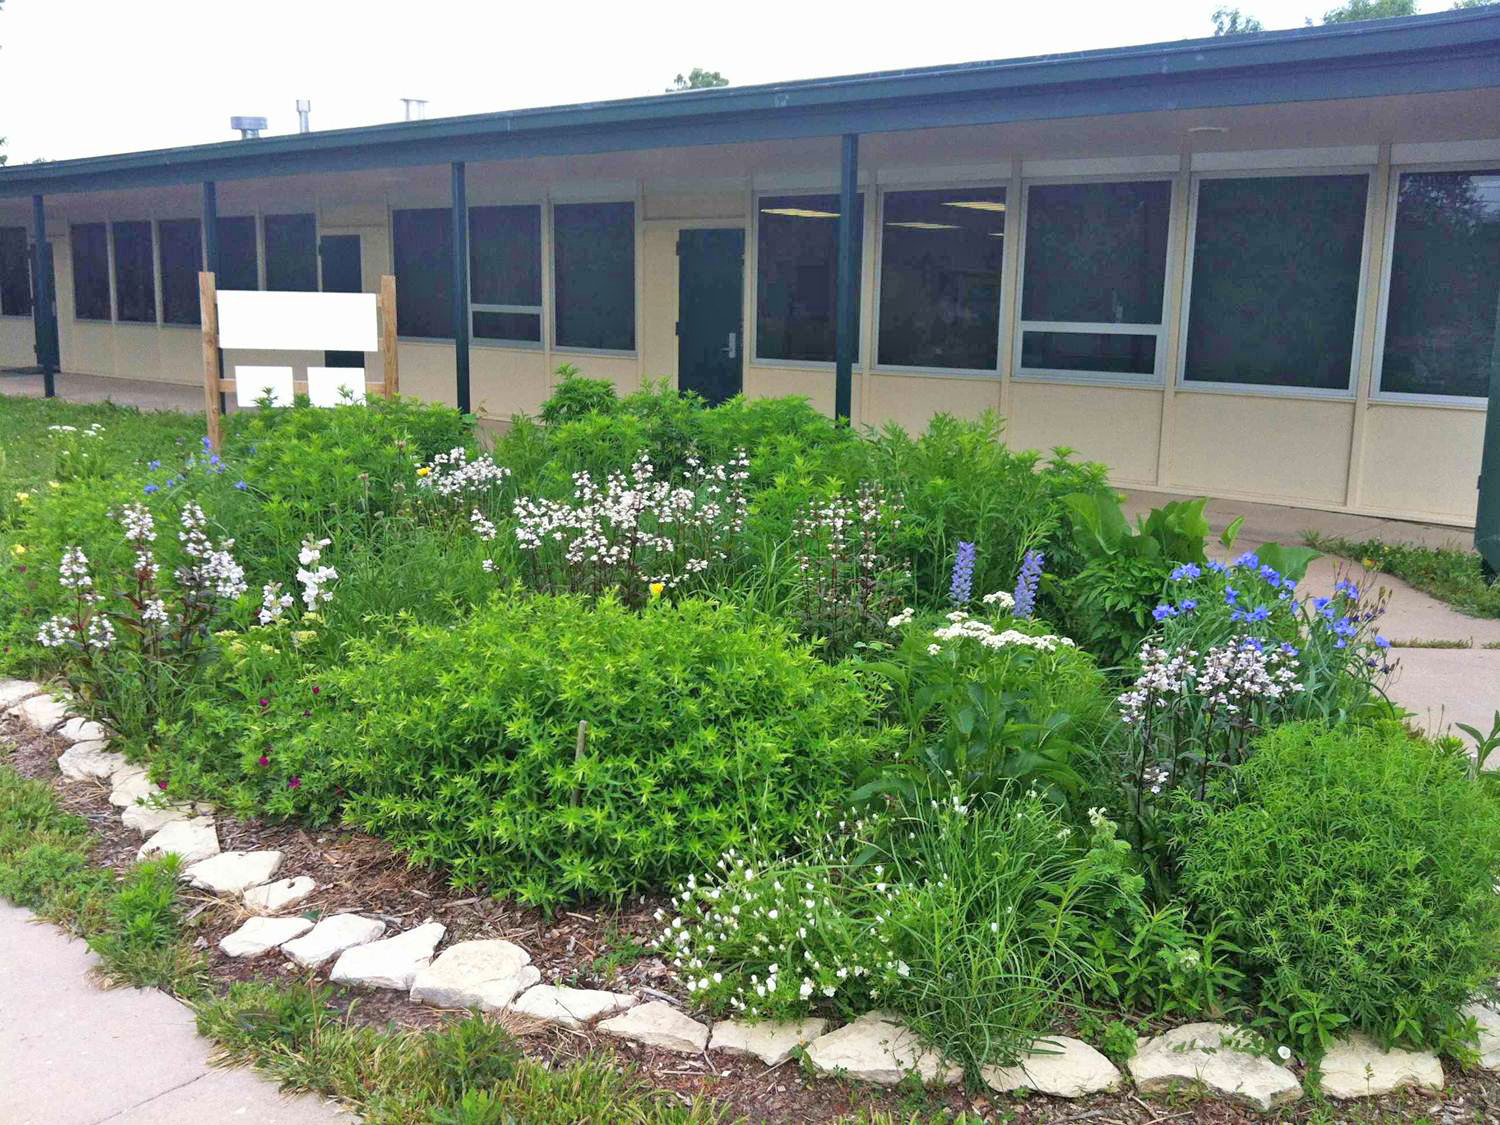
Earth Partnership for Schools Prairie Planting along walkway to school
It will be great to see your front yard transformed into an oasis for pollinators and birds. You will be able to look out your front window at a diverse and functional landscape that has a positive impact on the environment. It will be a landscape that fuels pollinators and supports all sorts of birds and other wildlife. It will be a landscape that is part of the solution rather than part of the problem.
I believe lawns will always have a place in our landscapes, but maybe just a smaller place than in the past.* It is not a bad thing to replace some of our lawn areas with beautiful and attractive trees, shrubs and other perennials. Just think about the possibilities.
*If you like a larger expanse of lawn, but wish to consider drought-tolerant alternatives, consider buffalograss as an option.
It has been an interesting year weather-wise, to say the least. We have seen monsoon flooding and sweltering heat. I would like to say that this is another typical year in Kansas, but I don’t know what typical is anymore. So with all the highs and lows, wet and dry, what will grow here? How can you choose trusted plants with confidence, knowing that they are right for your site?
Plants are the best teachers
The simple answer is to look to nature to show you the way. Plants are the best teachers. So go ahead and choose plants that you believe will grow without much input on your part. After a year or two you will have a pretty good idea which plants grow best. You will need to plant more of the plants that are thriving and find a new space for those that are struggling. Every good gardener has had their share of plant failures, but they keep finding new plants that work. Don’t get discouraged, this is all part of the process of growing plants in a harsh environment.
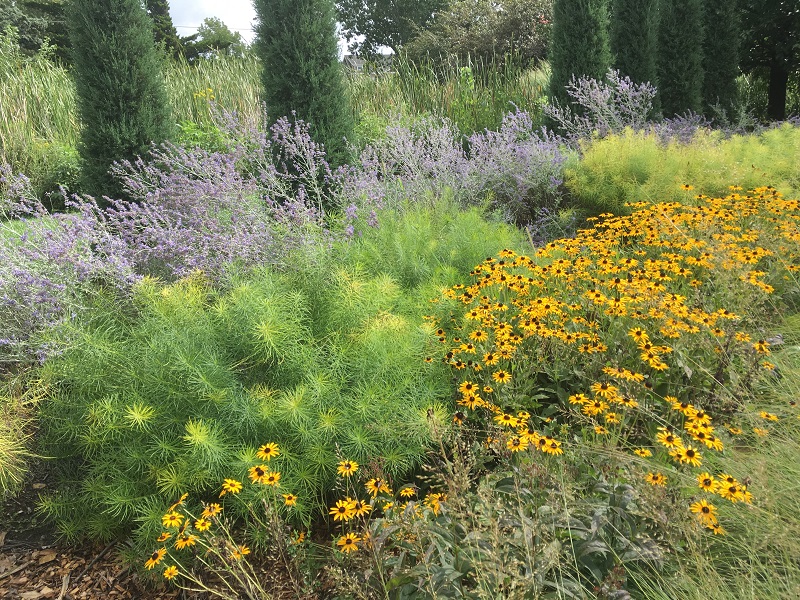
A display of Black-eyed Susan, Russian sage, and blue star.
Every Landscape is Unique
The other thing to keep in mind is that every landscape is different. What works for your neighbor may or may not work for you. The plants they use may not be your cup of tea. Choose plants you like and appreciate to make your landscape uniquely yours. It doesn’t have to be perfect, but it does need to bring you joy, fulfillment and increase your confidence to try new things.
Start Small
Start with a small area and slowly expand it. This way your garden doesn’t overwhelm you. From weeding, to watering, to maintaining your garden space, establish a garden you can manage with just a few hours each week. More than likely, it will not be perfect the first time, but with trial and error you will discover the types of plants that work in your areas.
Rattlesnake master with red switchgrass
A Reflection of You
From those humble beginnings, you will have a space that
reflects your interests and tastes. Here
are a few of my favorite “go to” plants.
I confidently use these plants because they are quite adaptable and
provide consistent color, texture and/or bloom.
Some of these plants may work for you too.
Grasses for Sun
Switchgrass: Panicum ‘Northwind’, ‘Ruby Ribbons’, or ‘Purple Tears’
Prairie dropseed: Sporobolus heterolepis
Blue grama: Bouteloua gracilis ‘Blonde Ambition’
Little bluestem: Schizachyrium scoparium ‘Twilight Zone’, ‘Standing Ovation’, or ‘Jazz’
Feather reed grass: Calamagrostis ‘Karl Foerster’ (Not native, but it has nice form and texture)
Wildflowers for Sun
Aster: Aster ericoides ‘Snow Flurry’, Aster laevis ‘Bluebird’, Aster lateriflorus ‘Lady in Black’, Aster oblongifolius ‘Raydon’s Favorite’ or ‘October Skies’
Ornamental onion: Allium ‘Millennium’
Blue star: Amsonia hubrichtii, amsonia illustris and ‘Blue Ice’
Baptisia varieties
Coneflowers: Echinacea angustifolia, pallida, and paradoxa. Hybrid varieties are nice if properly placed.
Rattlesnake master: Eryngium yuccifolium
Blazing stars: Liatris aspera, punctata, pycnostachya and spiccata
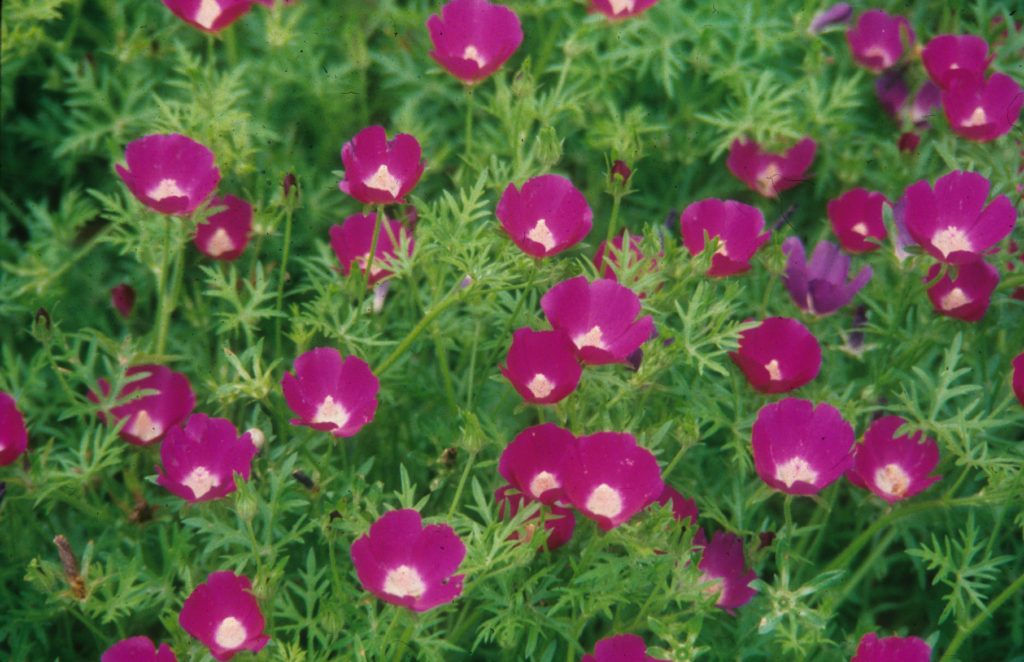
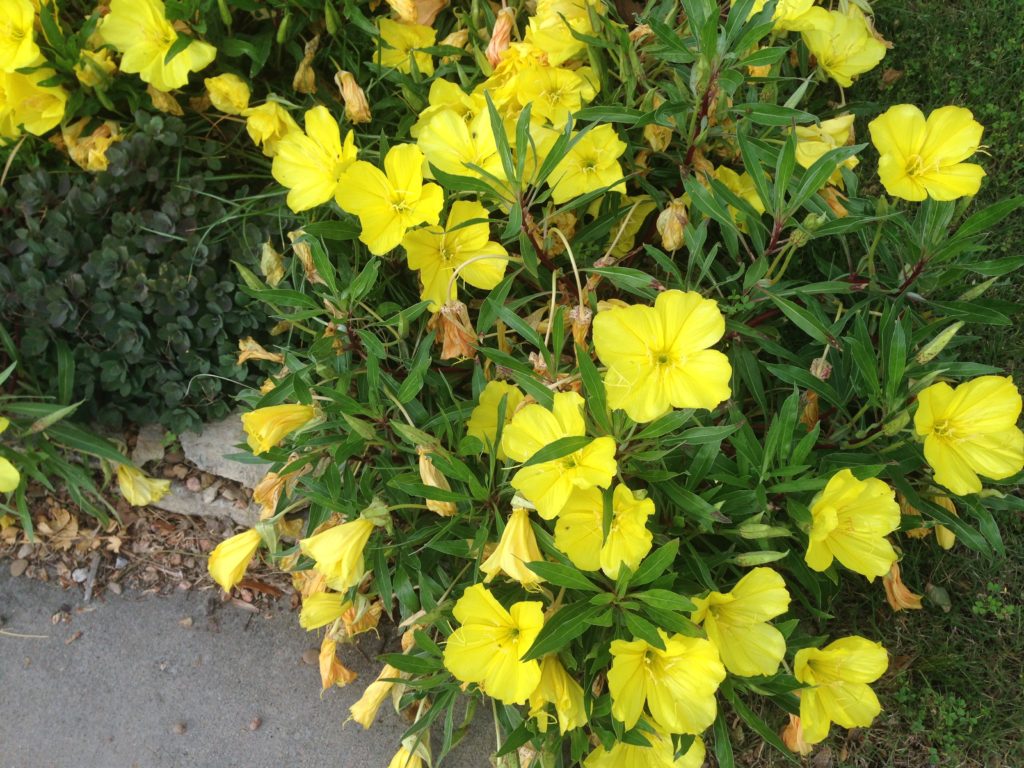
Primrose: Oenothera missouriensis
Penstemon ‘Dark Towers’
Wild quinine: Parthenium integrifolium
Black-eyed Susan: Rudbeckia missouriensis, fulgida, maxima, or triloba
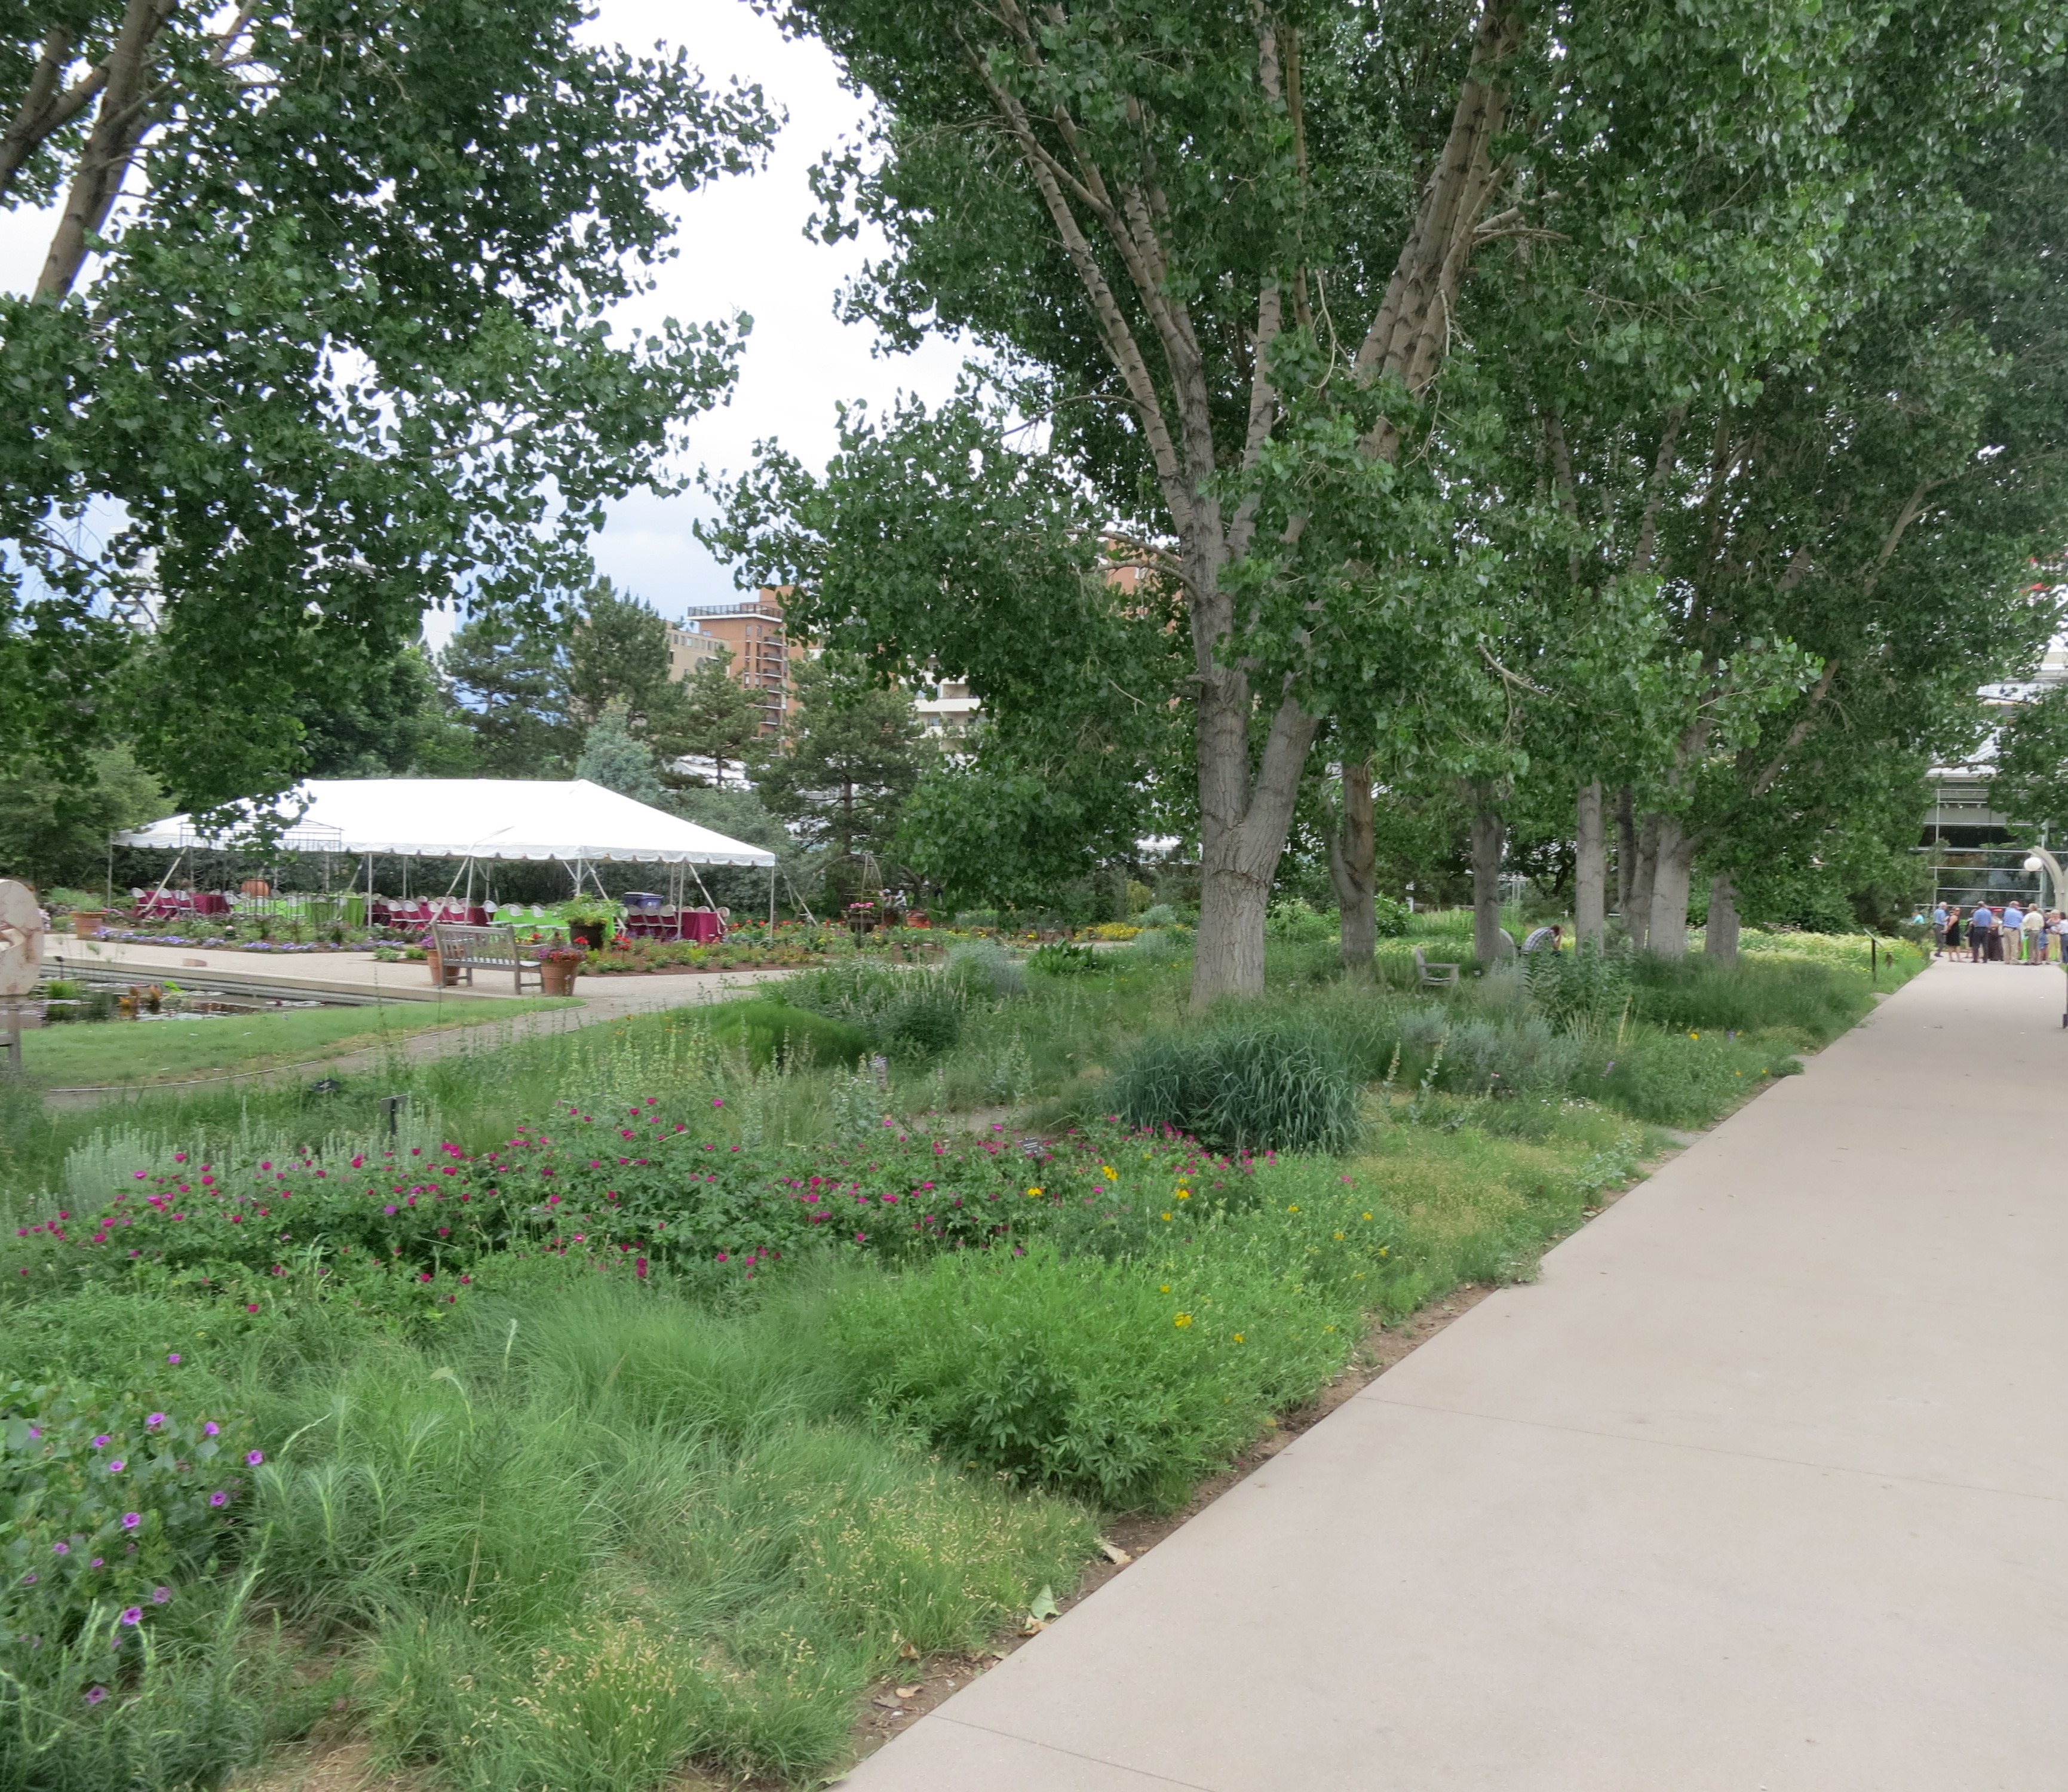
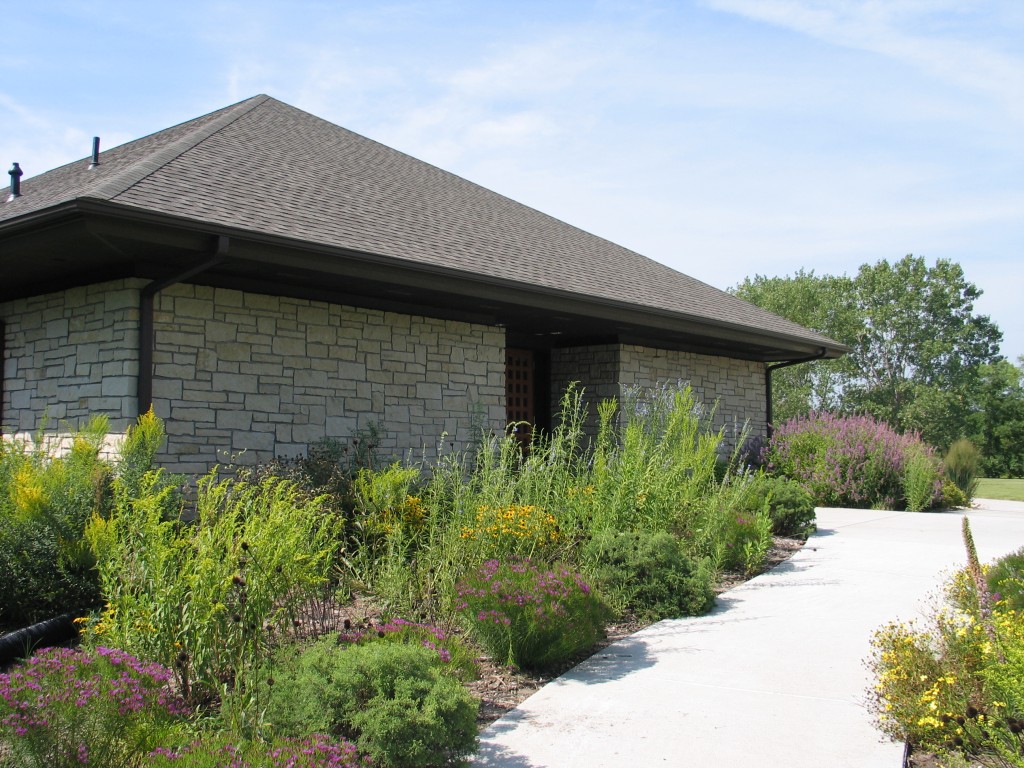
The construction of our new HUB (Horticulture and Utility Building) meant a lot of new sidewalk installation to go with it. And whenever there is cement work around here, there is always a lot of disturbed turf grass and less-than-desirable fill dirt. Instead of reseeding more grass in the areas adjacent to the sidewalk and fighting the weed growth, I decided to put in a new garden. In only two short years, that garden has grown more quickly and successfully than I could have hoped! I designed it in a snap using just three main guidelines: light, color palette, bloom time.
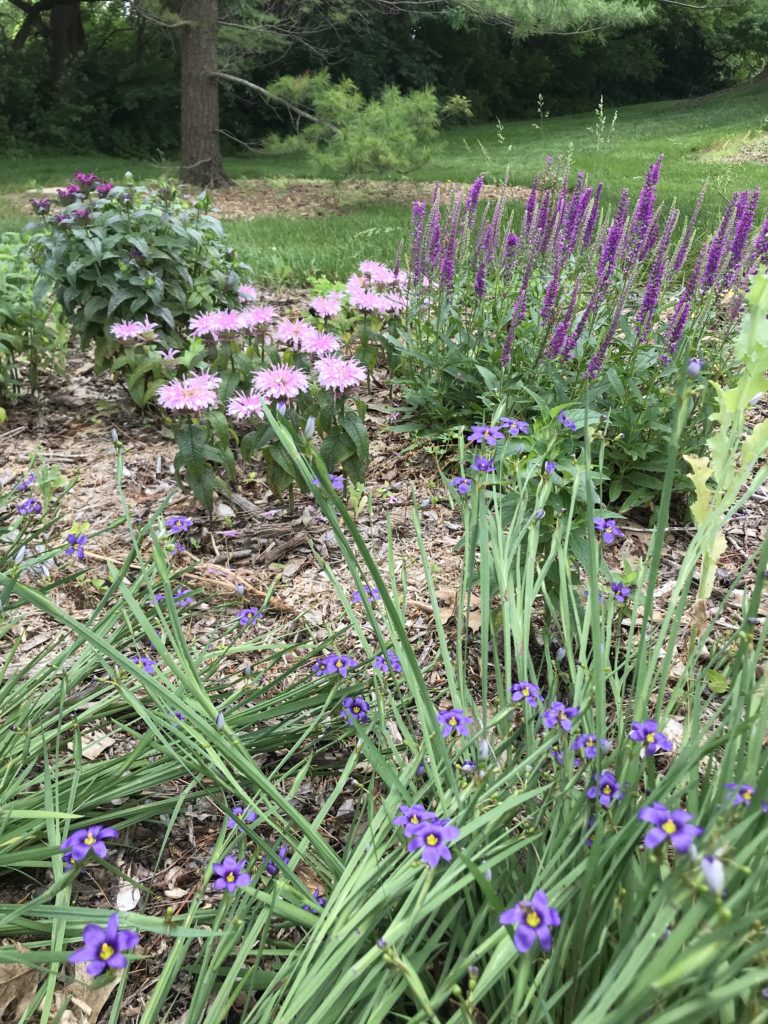
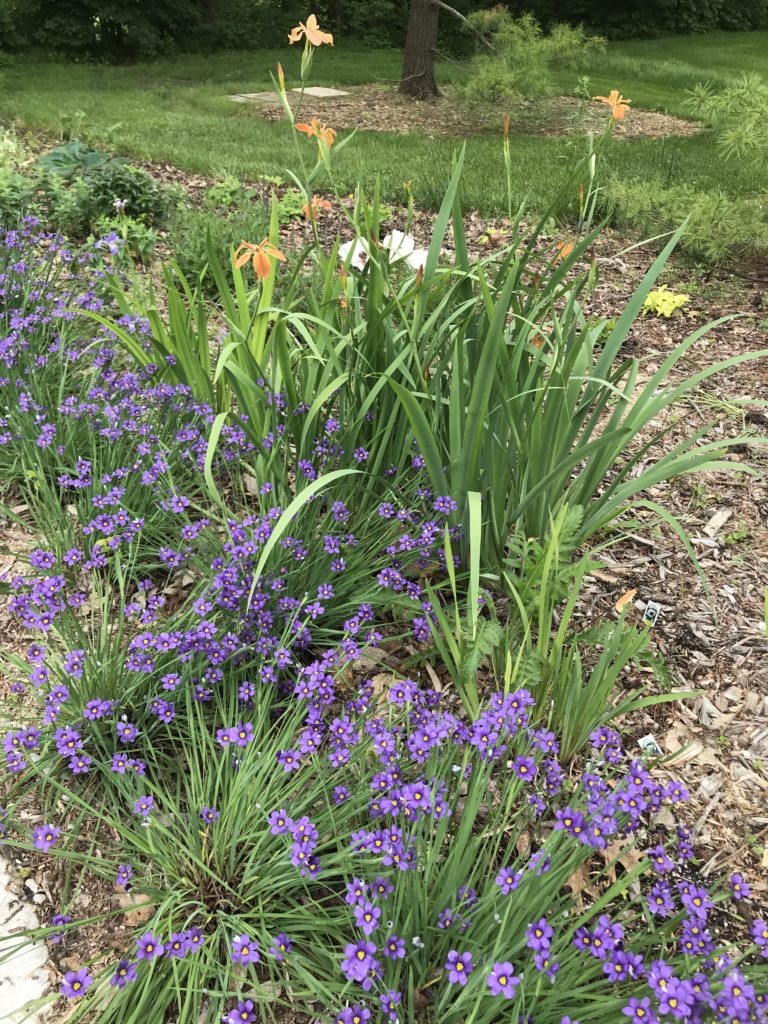
I focused my design on purple. With the part sun conditions in the middle of the bed my bee balm, blue eyed grass and spike speedwell felt right at home.
Light
This space was a delight to design because of its unique conditions and shape. Long and narrow, it spans length of the sidewalk and changes gradually from full sun to full shade as you walk towards the HUB. It irrigated by the same system that keeps our fescue green and lush in that area. These factors gave me endless plant options — a garden situation anyone could design!
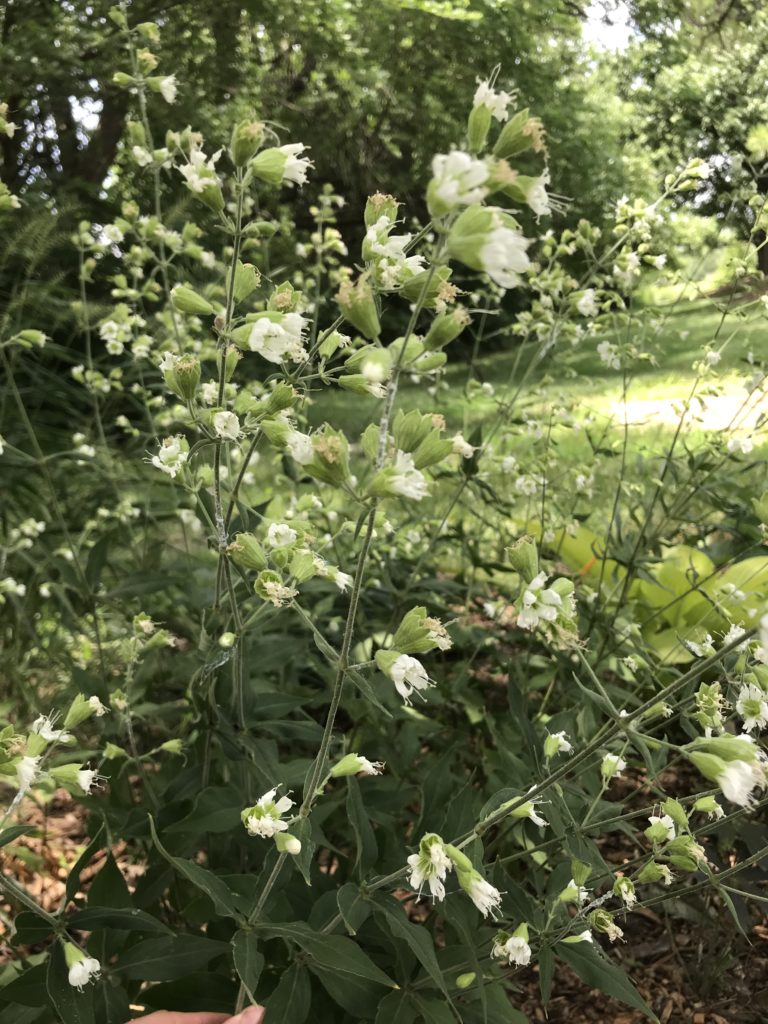
Starry champion or widowsfrill (Silene stellata) is a little known shade plant sporting fringed white blooms through June and July. Wonderful for adding a wispy, airy texture to the bed.
Timing the Blooms
I narrowed it down to mostly spring and fall blooming plants for this area. The adjacent sidewalk leads right to our FloraKansas plant festival, so I planned for the biggest impact at the highest traffic times. I have nicknamed this garden the ‘display bed’ because it allows our plant shoppers to see what the plants look like in the ground, actively growing in a garden before they buy them. This justifies the unusually high species diversity in this bed, breaking from my personal style of simplicity and mass planting.
In spring, copper iris blooms tower over the blue-eyed grass clumps. Purples and oranges always pair well together, and the foliage similarities between these two help carry on a grassy texture throughout the bed.
Pick Your Palette
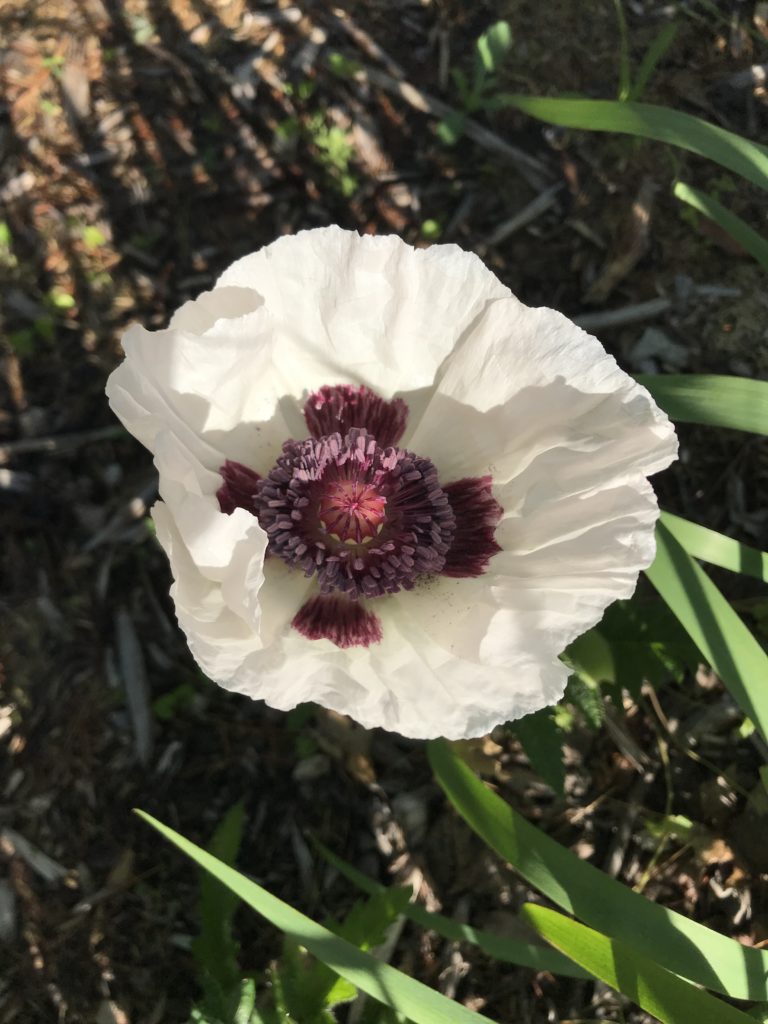
Papaver orientale ‘Royal Wedding’ stuns in white and purple. The whites blooms in a garden help to blend and unify other colors that might clash.
Color was key in my plant selection. In this area we have a lot of fescue grass and pine trees. These all fall into the cool green spectrum of color. To contrast that, I chose lots of reds, pinks and warm purples to populate the garden space. Purple and reds are not colors I like to use heavily in garden design, but it really works against all the cool tones of that area.
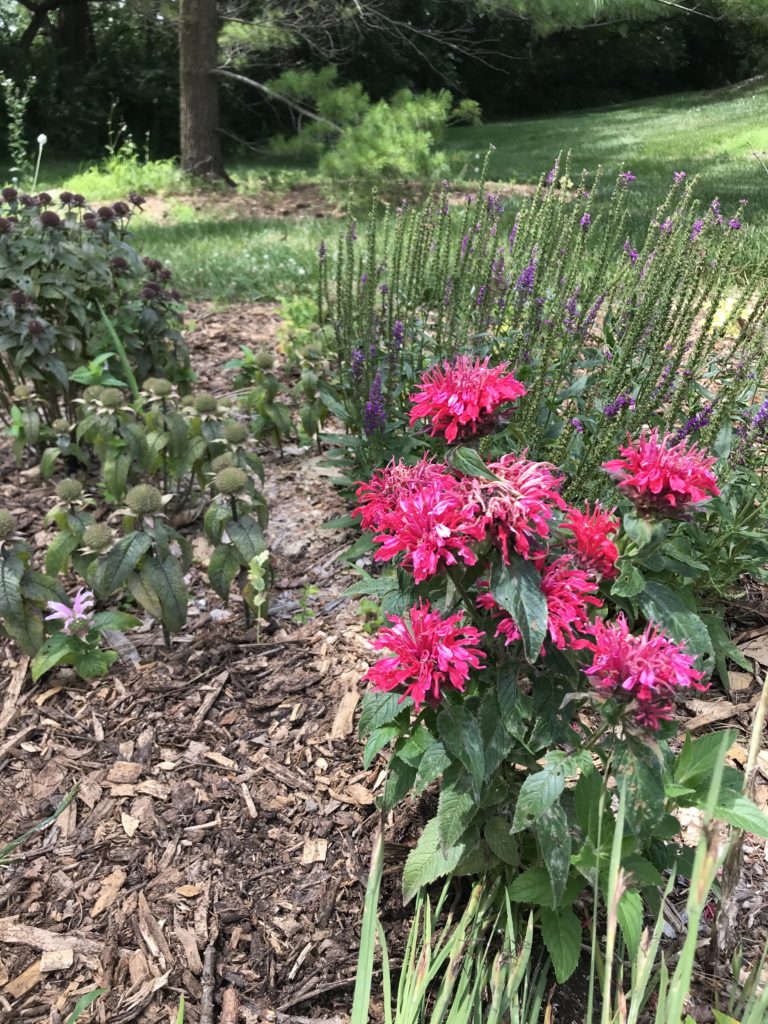
Monarda “Cherry Pops” is still beautiful even as its blooms are fading.
I stuck with mostly non-woody plants so that I can mow down this bed in the spring without fear of damaging a shrub. The only shrubs I included were ‘Proud Berry’ Symphoricarpos — the pink matte-finish berries are too cute to pass up! I placed the shrubs in the back of the garden so they are out of the way for maintenance of the rest of the bed.
Designing a cohesive, attractive new garden bed can be simplified by giving a little thought to these three important factors. If the thought of balancing light, color palette and bloom time still sounds overwhelming to you, email us to schedule a landscape consultation. We are here to help!
Plant placement, proportions and scale – these three elements of a successful design are really straight forward, but often overlooked. They hinge on a certain level of understanding regarding plant height and spread at maturity. These design principles also require you to incorporate clusters, sweeps and groupings of plants that look natural together with a succession of bloom all through the year.
Plant Placement
When I start a design, I think about where the bed is going to be viewed. Is it from the street? Is it from the living room? Will I want to view it from different vantage points? This helps me frame the landscape. For instance, if you have a foundation planting, you would obviously put the taller plants in the back working down in layers to the smaller plants along the border/edge of the bed. If you were designing an island planting that would be viewed from both sides, I would plant the taller plants in the center with shorter plants spaced around the central focal point. It seems obvious, but we don’t always think about sight lines.
Another element of effective plant placement is bloom time. With native plants, you need to think about succession of bloom. You want to have plants coming into bloom and going out of bloom throughout the year. Don’t plant two spring blooming plants next to each other, but rather plant a spring blooming wildflower next to a grass or later season blooming wildflower. By incorporating plants that have color at varying times, you have something interesting happening year-round.
Proportion and Scale
I don’t always observe or think about proportion and scale until it is too late. The beds you design and the plants you include should look appropriate with the size of your home or the size of the flower bed. As a general rule, I include plants that are no larger than half the bed width. For instance, if your area is eight feet wide, try to find plants that are no taller than four feet. Sometimes, smaller beds are all we have to work with, such as the small area between a sidewalk and your home. Maybe it is only three feet wide. Don’t try to put plants that are four to five feet all in that space. It will flop onto the sidewalk and look out of place.
Compass Plant is a beautiful wildflower that gets eight feet tall. It is out of scale in a smaller space. Give it room to grow.
If you are starting from scratch, lay out a garden hose away from your foundation. Take note of the gentle curve around your home. I like to have at least four to six feet of width to work with. That gives you so many more plants to choose and include in your design. On the corners, I like to give myself a little more room of maybe up to 10-12 feet. This allows larger plants to be combined to soften the corner. You probably have a picture in your mind of what you want to frame the views and keep it simple. A garden that is too busy and out of proportion detracts from your home rather than complementing it.
Again, it is important to know how tall and wide each of the plants will grow. I like to include plants that will fill in the spaces available to them. Really think about the plants you want to have near sidewalks, windows, patios, and porches. You don’t want to be continually cutting them back when they have outgrown the space.
It sounds so simple, but these are the design principles I struggle with the most. There is so much to consider with each design, from site analysis, plant habit and bloom times, textural elements, and so much more. We can’t have it all, but a basic understanding of scale, proportions and plant placement will help you create a successful design. Now is the time to get started. If you need help, we will be happy to work with you during our remaining Native Plant School classes or at the FloraKansas Native Plant Festival.
A native plant design is a highly subjective project. The plants you like may not be the ones I would choose and vice versa. Your garden area is unique to you. Sun, soil, moisture conditions can vary as well. The canvas you are painting on will look distinctly different than my artistic design. As we strive to create a sense of place in our landscapes, our medium is the land. Even though each garden is one-of-a-kind, there are a few design principles that we all should follow. Over the coming weeks, we will discuss some of these design principles.
Today, we will be tackle lines within the garden.
Lines should be used to draw people in and through the
garden. They appeal to the senses. They lead you through the garden and help
frame views we see or don’t want seen.
Straight lines
Long, straight rows of plants can be rather formal. They are structural, often symmetrical and lead the eye directly to the focal point like the front door. Straight lines can be boring if you don’t cluster plants and repeat patterns. The strong straight line of a fence can be softened with a sweeping curved edge or accentuated with parallel plantings that run the length of the fence.
Vertical lines
These lines move you up and down in the landscape. Taller trees, larger structural features such as an arbor should make your eyes go upward. They make the space feel larger and help enclose the space.
Horizontal lines
Just like vertical lines lead your eye skyward, horizontal lines lead your eye along the ground plane. These low lines help define the space and work to tie everything together. Rock walls, edging with plants or stone, hedges, or a clean line between turf and plants are examples that create these intentional low lines.
Curved lines
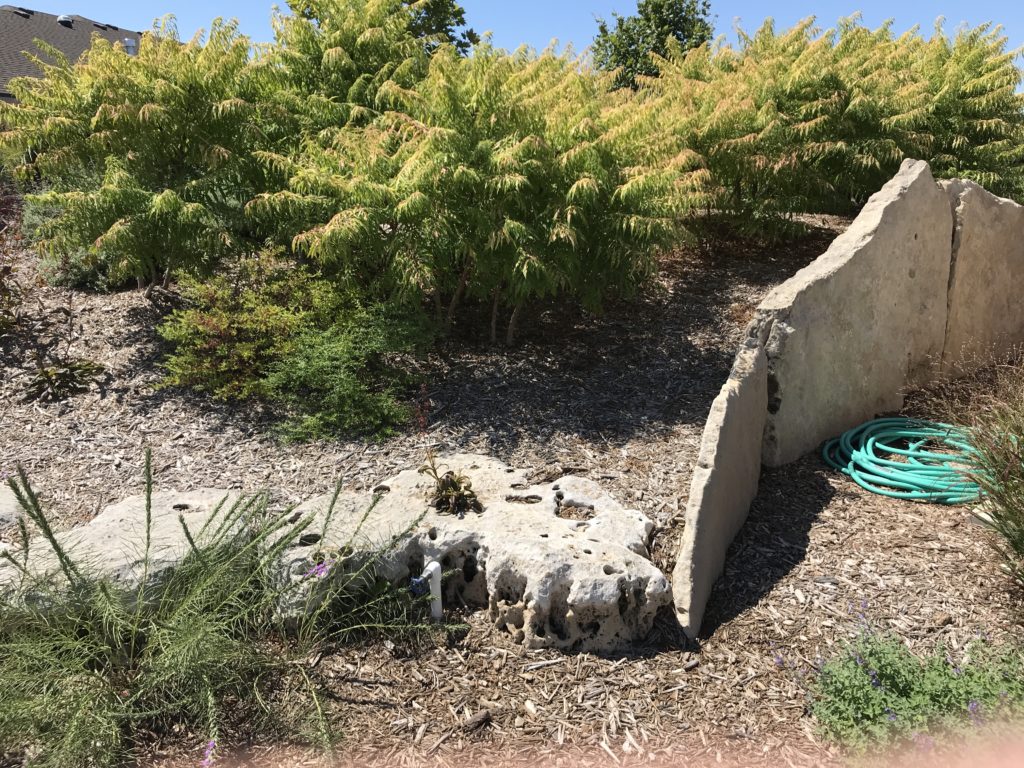
Curved lines look intentional and informal. Gently bending lines can be used to lead people slowly around a corner to an architectural feature or element such as a bench, garden shed, arbor or vegetable garden, which adds mystery and intrigue to your garden space. Curved lines can help dissolve rigid straight lines of a walkway, fence, house or other structural feature. Curved lines fit better in a natural asymmetrical design using native plants. I like to place a garden hose on the ground to help me visualize these meandering lines. As you step back to look, you are able to move the hose to create the effect that is most appealing before you break ground on your new garden.
Be intentional in grouping plants.
No matter the lines you use in your landscape, plants
obviously play a key role. Formal and
informal looks can be achieved with the use of certain plants grouped together
or spread apart. Cluster plants together
for more visual appeal. Repeat
structural plants like native grasses and incorporate filler plants throughout
the design that bloom at different times during the year to draw you into the
garden and through the garden. Plants
that spill over onto the straight lines of a walkway soften the edge. The
possibilities are endless because there are so many plants to choose. How you use lines will distinguish your design
from others. Really think about this
important design principle and what lines you want to use.
Next time, we will talk about plant placement, proportions
and scale.
As a horticulturist and a dog lover, life can be a little ‘ruff’. I dream of a beautiful, lush landscape of gorgeous plants and well-tended lawn, but we all know how dogs wreak havoc on our outdoor spaces. Even my sweet pooch, well behaved and trained to a T, inadvertently tramples my plants and upends my #gardengoals with every enthusiastic game of frisbee.
But there is light at the end of this long, muddy, paw-printed tunnel — with some careful planning, you can love your dog and your yard.
To save my small lawn from total destruction, Rosie and I sometimes take our game of fetch to the tennis courts or a park.
Safety First
This should be a no-brainer, but bears repeating: Keep harmful chemicals and pesticides out of a dog-friendly yard! Even if you think your dog doesn’t “go over there that often”, or you are pretty sure the treatment “will dry by the time she gets there”. Remember that your doggo is in direct paw-to-ground contact with the plants and soil they walk on – not to mention the digging, rolling, and rooting around that pups do on a daily basis. Some studies show a growing link between lawn-care products and cases of canine lymphoma. So, if you or your lawn care professionals are applying ANY pesticides or herbicides, do your research and call your vet to make sure you are making a safe choice for your canine friend.
We all love our dogs and smother them in love, and your yard is part of that! Commit a little time to providing a safe and fun space for them!
Do Your Homework
It is impossible to keep straight all the poisonous and non-poisonous plants out there. Even the most well intentioned garden center clerk might get it wrong, putting your pup at risk. Check before you buy at ASPCA.org’s Poisonous Plants database. Be aware that even the most benign plants can cause problems if ingested in large quantities or if your pup has other health issues.
On the whole, plants in the mint genus (Mentha) seem to be fairly safe for dogs, including peppermint and spearmint, (but excluding Mentha pulegium.) In fact, many common herbs are safe for dogs and keep their highly evolved noses stimulated. Look for lavender, basil, rosemary, and oregano to include in your garden. Not only will these herbs freshen your pet’s breath should they choose to take a nibble, but they also attract pollinators and have lovely foliage.
As much as I love milkweed, this plant DOES NOT belong in a pet-friendly garden. Milkweed has toxic sap with cardiac glycosides in it. Keep all milkweed species far away from your pup’s nibbling snout.
Dog-Friendly Perennials
As native plants go, it gets a little more difficult to pin down exactly what is safe and what is not. Most native plants only have a toxicity rating for livestock, but with completely different digestive systems, does that rating apply to dogs as well? There are lots of online sources for toxic plant information, so all I can provide here is a short list of native and adaptable plants that DO NOT appear on those toxic plant lists and DO appear at our spring sale.
Be sure to check with your veterinarian before assuming the safety of any plant, especially if your pet is prone to grazing.
Winecups (Callirhoe involucrata) make an excellent ground cover. They love hot sun and dry conditions. Oenothera doesn’t show up on many toxic plant lists. Its large cheery blooms and drought tolerance make it perfect for xeric gardens.
Happy Tails, Happy Trails
If your dog spends unsupervised time in the yard, you have surely found narrow, hard-packed trails devoid of vegetation. These are a dog’s version of cattle trails — a safe and quick way to get from A to B. Dogs are creatures of habit, and this one may stem from their wolf ancestors. Pro tip: DO NOT try to change the trail. It is extremely unlikely you will change his walking pattern; this deeply ingrained behavior is stronger than your desire for a perfect lawn. If you plant anything in this path your pup will tromp over it or dig it out of the way. Instead, think about hardscaping problem areas with pavers, gravel, or a charming boardwalk. A friend of mine has four huge Labradors (yes, you read that correctly) and still manages a stunningly beautiful landscape. How? By planting and planning in accordance with their flow of traffic.
As a young pup Rosie often came to work with me. Here she is staying cozy in our trusty Arboretum work truck.
How to Stop the Digging
A once beautiful garden can turn into an ankle-twisting nightmare once your pooch gets the urge to dig. Punishment often won’t deter this behavior, as it is almost impossible to catch them in the act. In some cases, this is just a phase of puppyhood and the dog will grow out of it. In others, it signals she is bored and frustrated – time for us humans to get serious about fetch, walks, and training to placate their need for interaction. Lastly, if you notice the holes seem to only show up in summer, it means Fido is just trying to find a spot to stay cool. Dogs will dig in cool, moist areas of soil to create a comfortable spot to lounge. An easy fix for this comes from landscape designer Maureen Gilmer,
“…provide them with a pit of their own where it’s more damp and cool than the flower beds. Give them sand to lie in and it won’t make mud or stains, and easily falls away from their fur. Keep the area moist and your dog will prefer that spot over all else .”
THE DOG-SCAPED YARD: Creating a Backyard Retreat for You and Your Dog
With some careful planning, your backyard can be an oasis for dogs and people alike. If you are needing a little help planning out your garden space, please call us to set up a landscape consultation. If you would like to get Fido out of the yard for a while, visit the Arboretum grounds for a long walk in the prairie. Be sure to have your pup on a leash and to clean up after her! Our grounds are open dawn to dusk, 365 days per year.
In our Prairie Notes blog, we have talked extensively about the need to utilize native plants in the landscape. The benefits of having native plants are obvious and many. We have shown you pretty pictures with nicely spaced plants and beautiful combinations of wildflowers and grasses. Often, you get the sense that in order to have an attractive garden it has to be perfect.
Perfect gardens are maintained by perfect people or by horticulturists who do this sort of thing for a living. I don’t know of too many perfect people. In reality, perfection is in the eye of the beholder. Our gardens are a reflection of who we are and how much time we are able and willing to spend tending these landscapes. In fact, there is a growing trend (pun intended) that focuses less on maintenance and more on the natural order we see in nature.
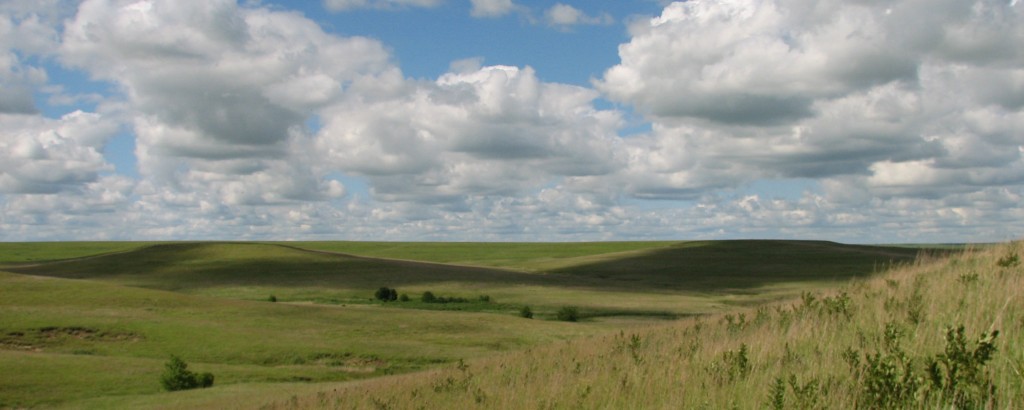
Tallgrass National Preserve in the Flint Hills. Photo by Brad Guhr.
Perfection can be a mess
The randomness of the prairie is easy to see and it flourishes effortlessly. Plants are intertwined and touching each other. There is not much space between plants. Instead, a matrix of lush, densely organized plants grow harmoniously together. To some, this looks messy and unkempt, but this natural collection of plants has a beauty and resiliency that is also healthy and productive.
Designing your imperfect garden
The thought of an imperfect garden is counter cultural. The idea that we would purposely design and then establish plants in our landscapes that mimic the prairie goes against just about every landscaping principle we have ever learned. However, more and more people are embracing the natural landscaping trend. We are creating a sense of place. These newly developed gardens incorporate a network of plants by grouping them together with similar growth requirements, and different textures and heights to completely cover the soil. All of these plants crowd out weeds and create layers that look natural in their setting. This idea takes the pressure out of growing the perfect garden and instead allows you to enjoy the process.
Maintenance of an imperfect garden
Imperfect gardens are not zero maintenance gardens. Some level of maintenance is still important, but being tied to your garden will be a thing of the past. Again, you may have to let some things go and work toward being comfortable having less control of the natural processes. A few dandelions and clover in the lawn can be overlooked. Letting some plants naturally seed and spread along with uneven rows and random plants that have moved from last year can now be tolerated. For us who want to control everything in the garden, we now have permission to back off a little and see what happens. We still need to pull some weeds, especially at first, but as time passes weeds will become less of a problem.
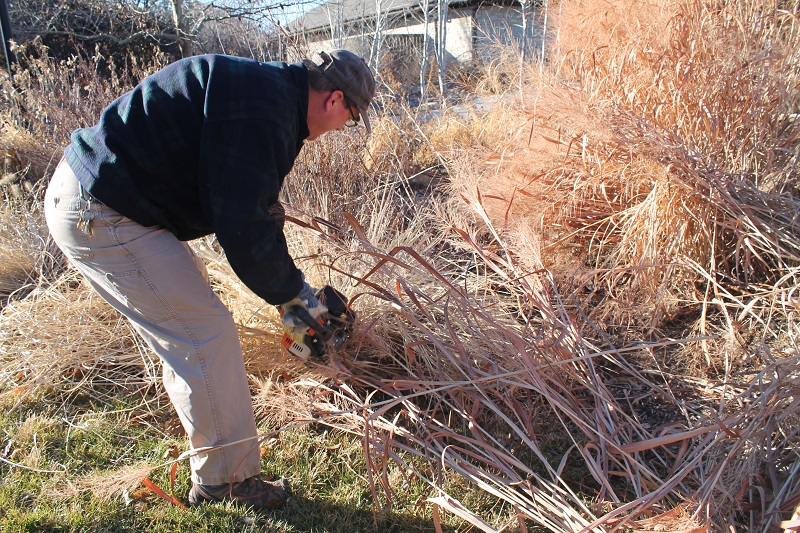
Giving the prairie a haircut in late winter
If you plant it, they will come.
An imperfect garden will attract visitors. Pollinators, birds, and other wildlife will be drawn to your intentional prairie garden. A functional garden will be used, and sometimes abused, by pollinators. Your landscape is providing just what wildlife needs. A few eaten leaves and damaged flowers is a small price to pay for helping complete the life cycle of a few thousand pollinators and other wildlife. Even some unwanted pests may visit from time to time. This is a perfect time to watch your imperfect garden take care of itself. Keep the chemicals in the shed and watch the natural predators find these pests and work to eliminate them. Should we really care if they are not all gone? You have my permission to step back and let the little critters work it out amongst themselves.
Your garden is a reflection of you. You are already having a bigger impact than you might imagine. Don’t be shamed into thinking that you have to have everything in its place. Sometimes the most aesthetically pleasing garden is sterile and void of plants that actually help the environment. By gardening, you are already an ecologist. You may not have the official title, but you are a good gardener.
RELAX, step back and enjoy the process. Don’t stress about the sad little plant in the corner of you garden. If it’s not happy, move it. Learn about what your plants need. Most of us don’t garden for a living, so give yourself a little grace. A perfect garden is one that gives you not stress, but joy.
Over the past few years, there has been a renewed emphasis on water conservation. An ever increasing number of communities in Kansas and elsewhere are realizing that water is a finite resource. These concerns are causing them to ask hard questions and ask homeowners to look for ways to reduce water usage, but still keep an attractive landscape.
The need for better stewardship of this precious resource, paired with higher municipal water rates, makes this a good time for us all to consider ways to reduce water consumption in our homes and in our landscapes. The basic approach to reducing water usage in the landscape centers on efficient design, proper site preparation, and the use of low water-demand plants. All these work together to help conserve water. Collectively, these principles make up an approach to landscaping termed “xeriscaping” (“xeri” meaning “dry”).
Tha Arboretum xeric bed in May.
From the standpoint of design, a key principle is the reduction of turf area. Turf grasses such as fescue and bluegrass demand the most water of all of the components in the landscape. Consequently, reducing the amount of area planted with these turf grasses and thinking strategically about where and why we need turf areas will make a tremendous difference. Replacing them with deep rooted perennials and shrubs will also reduce water usage. Another option in sunny areas is to use buffalograss, a native, drought tolerant grass, in place of a high water-demand grass like fescue.
A home owner beginning to reduce the amount of turf in the landscape. These mulched areas were planted with drought tolerant perennials.
The Arboretum buffalograss in the summer
Another water-conserving measure that can influence your design is to separate the landscape into zones according to water usage, with areas that are difficult to water, or which are less-used, being planted with trees, shrubs and perennials that require less water to maintain them. Zoning an irrigation system to accommodate the water requirement of the different areas of the landscape further aids conservation.
Proper preparation of the site is also an important consideration. Constructing retaining walls, or terraces, where steep slopes favor excessive water runoff is one suggestion. The planting of deep rooted wildflowers and native grasses are another viable option to holding these slopes in place.
Planting wetland species along the Arboretum rain garden near the greenhouse. These plants quickly established and are holding the shore of the rain garden from eroding.
The use of mulches to cool the soil and reduce water evaporation is also helpful. A newer technique is the inter-planting of wildflowers and grasses that mimics the natural prairie system. By planting closely so all layers are covered with plants from the ground level to the higher, more ornamental plants, you will also reduce overall water needs while reducing weed competition.
Obviously, a major part of an overall water conservation program is the use of low water-demand plants. Native plants are particularly valuable for this, since they are already adapted to the region’s precipitation amounts and patterns as well as summer heat and winter cold. Once established, these plants should do well with little or no supplemental irrigation.
Curtis Prairie, the world’s oldest reconstructed prairie, at UW-Madison Arboretum. Photo by Brad Guhr.
At the Arboretum, we are concerned about water conservation from both an ecological and economic standpoint. We think critically about the plants we use. This is not a perfect system, but we manage to maintain our 30 acres with a water budget of only $7,000 or less. I think this is quite a feat, since we have so many intensively managed and beautiful display areas. Buffalograss is used extensively as turf and we select deep rooted native and adaptable perennial, trees, and shrubs.
The reasons for conserving water are many. It will take all of us doing our part to begin to reverse the water trends. Why wait to have water restrictions forced on us? With a few changes now, we can save ourselves money and benefit the environment in the process.
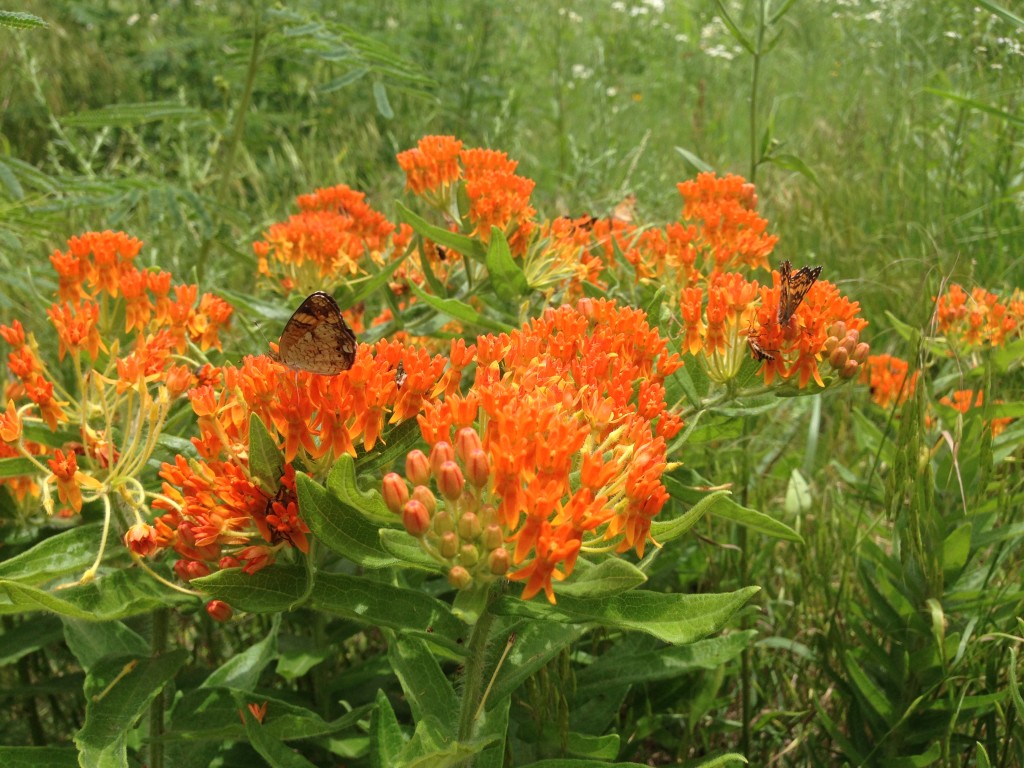
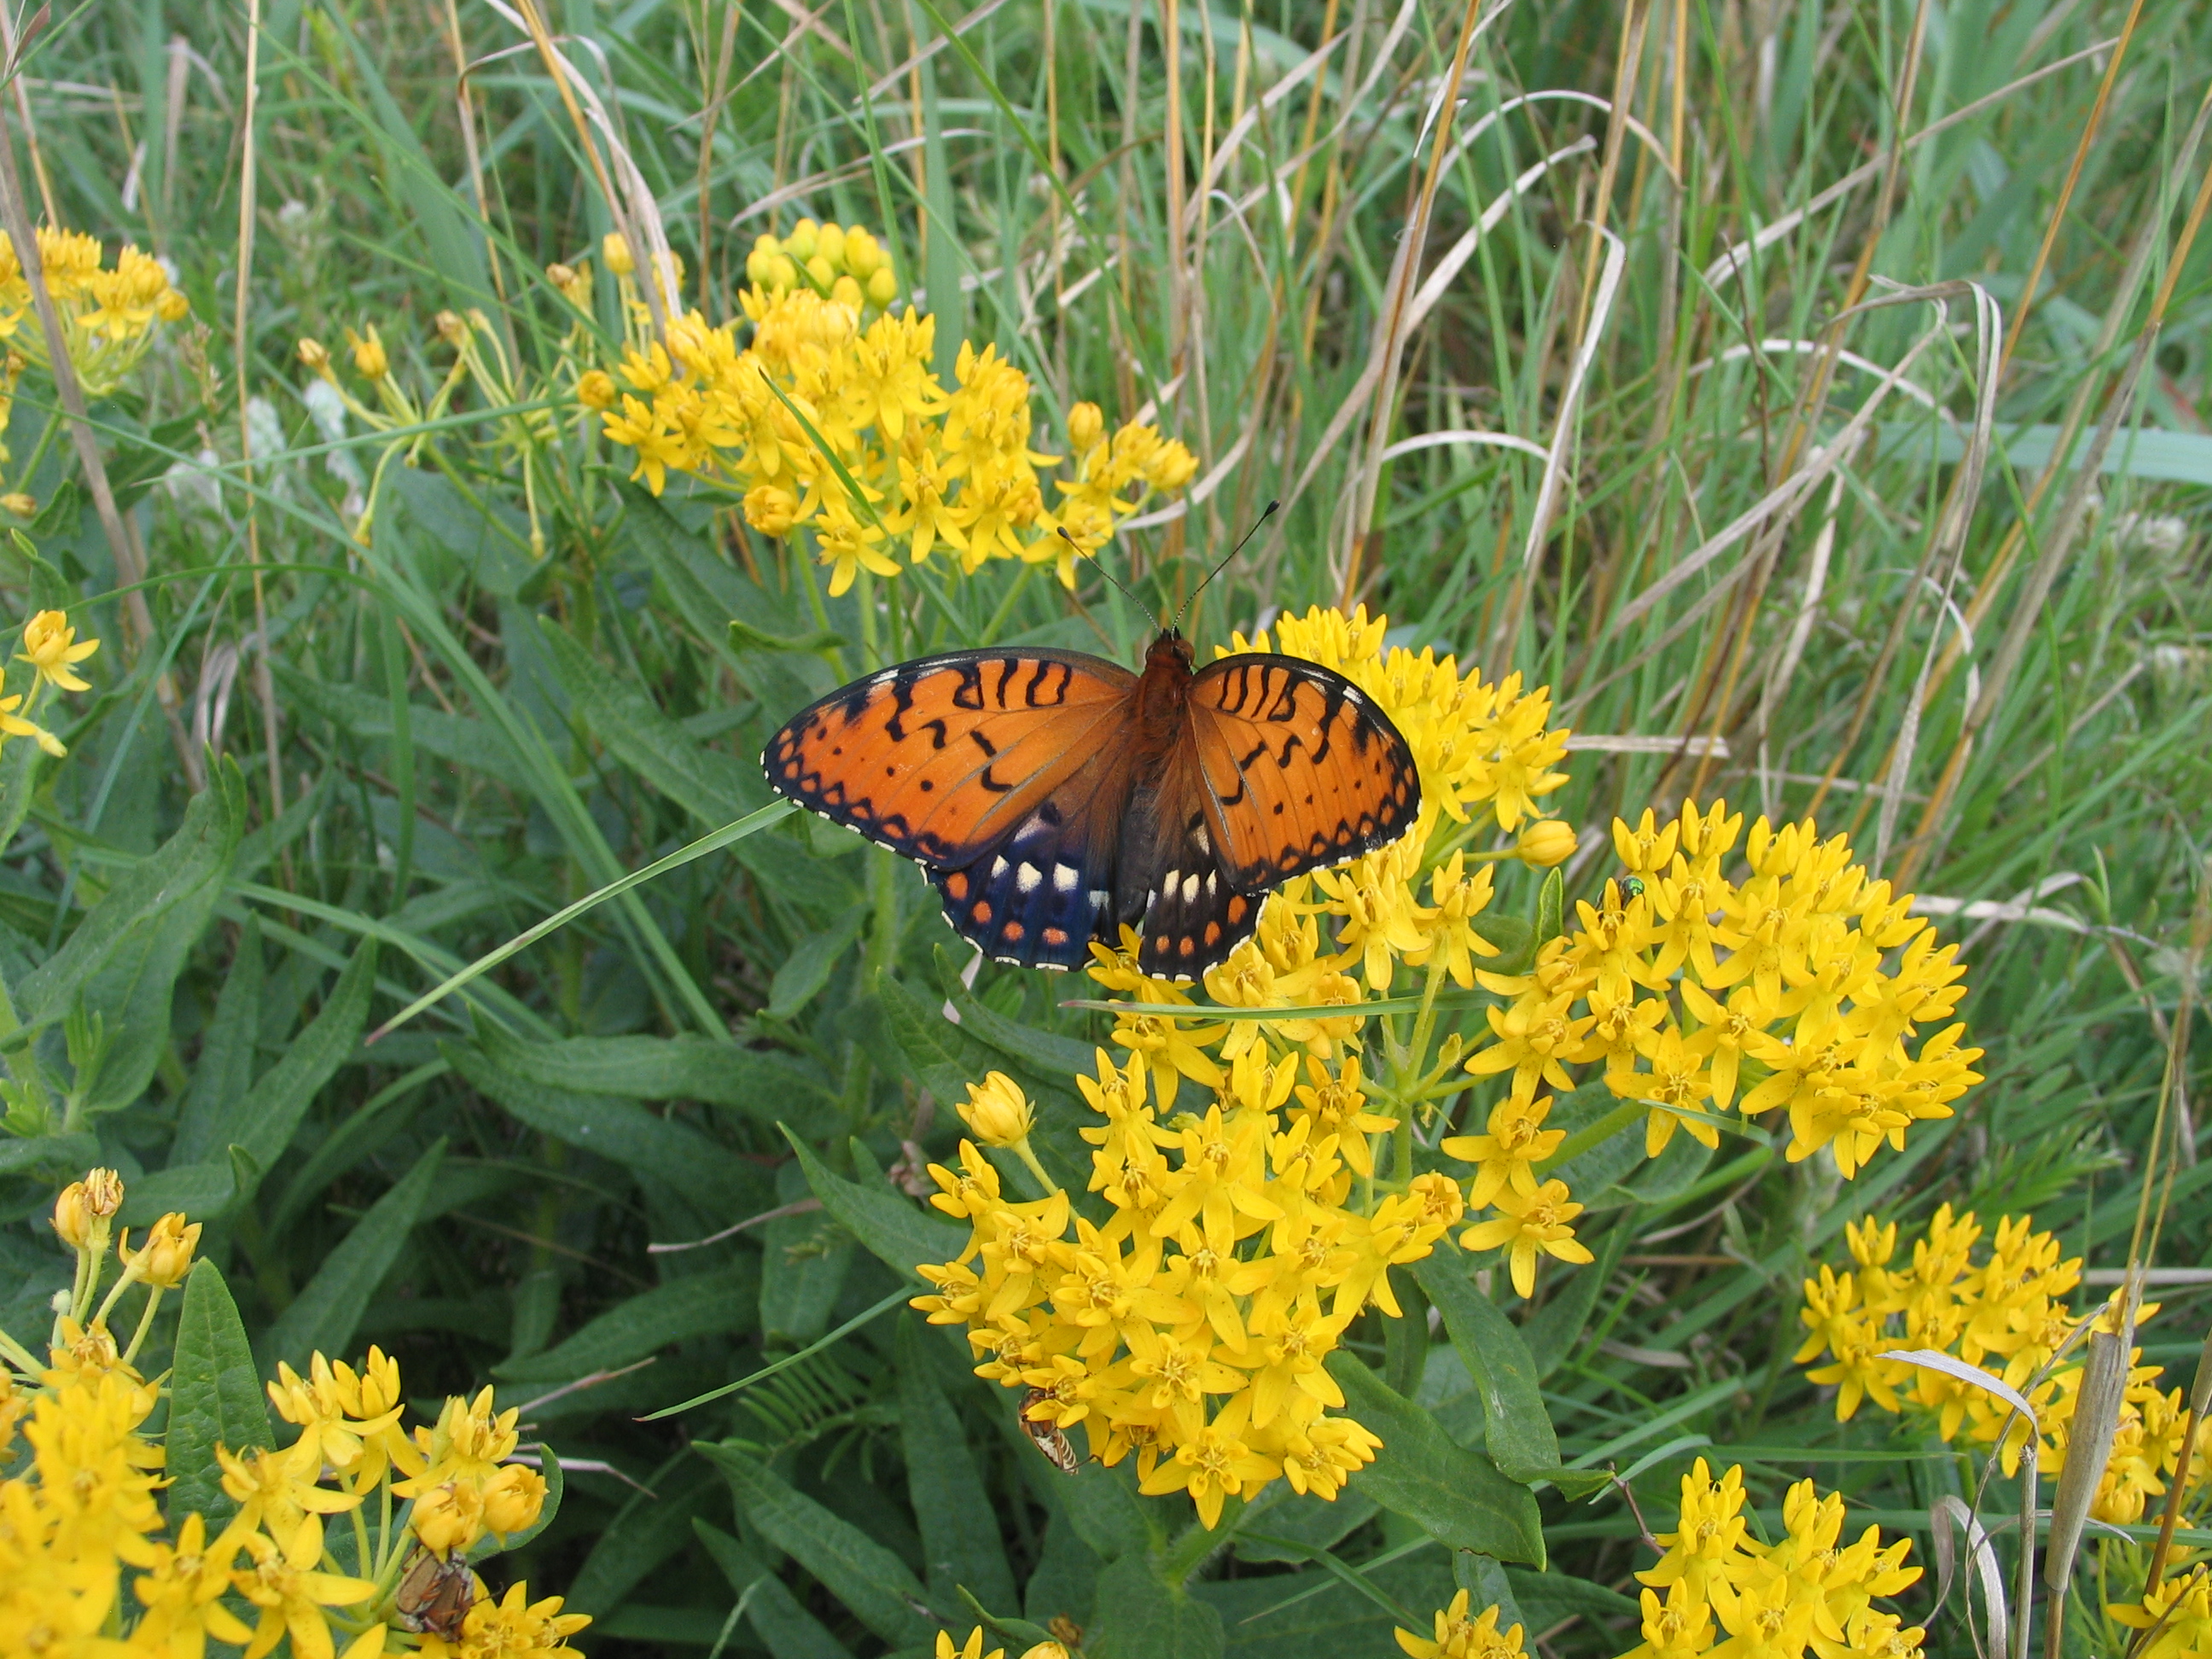
Regal Fritillary on yellow butterfly weed. Photo by Brad Guhr