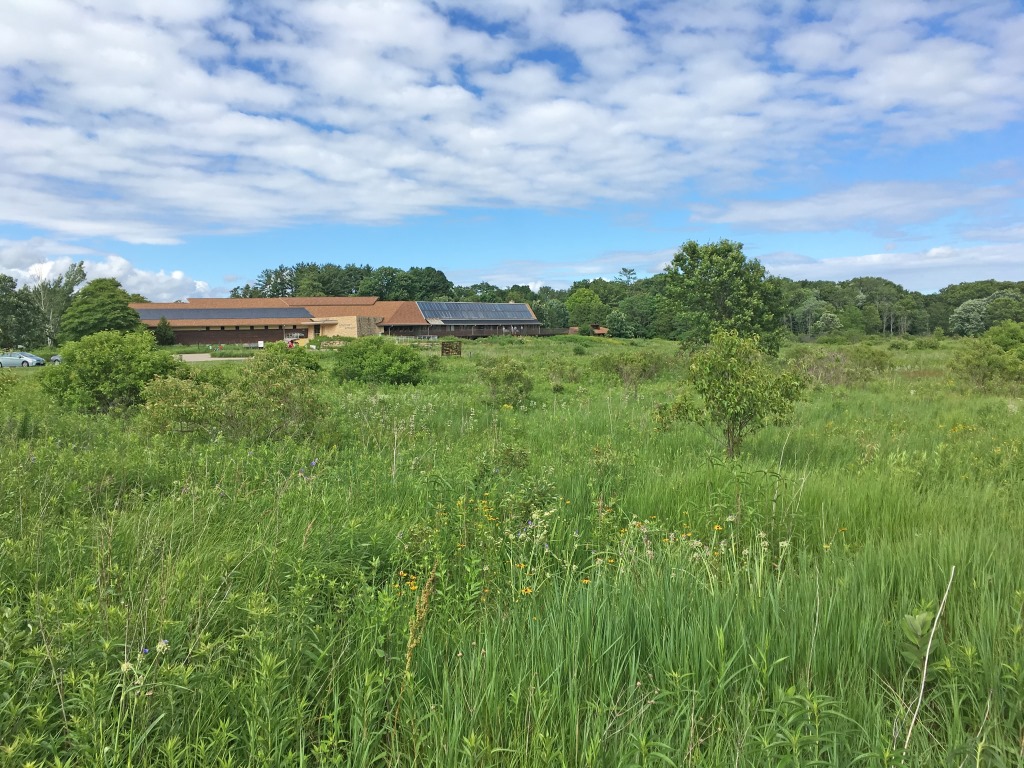
We talk quite a bit about landscaping with native plants in this Dyck Arboretum blog space. Native plants have productive flowers and fruits, which benefit our sustainable landscape aesthetics and provide habitat for wildlife. The initial establishment process of prairie garden planting, watering, mulching, and tending is very similar to food gardening. I spend a fair amount of time gardening with both native plants and food, and I’m wondering why we don’t utilize more of both in our landscapes.
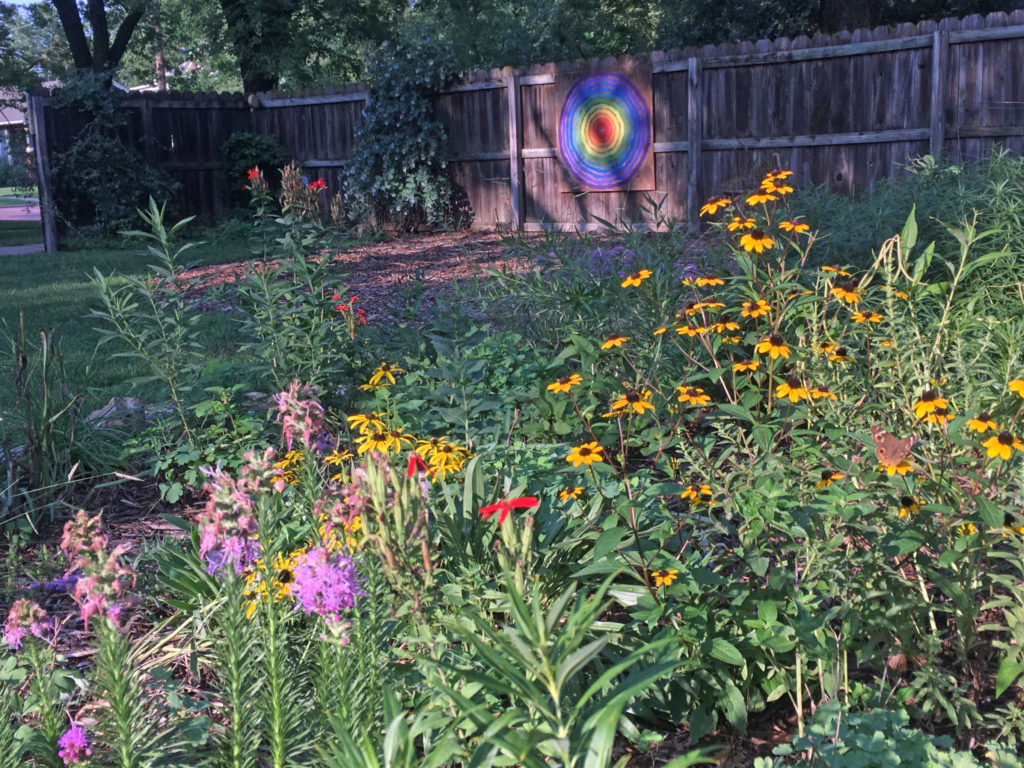
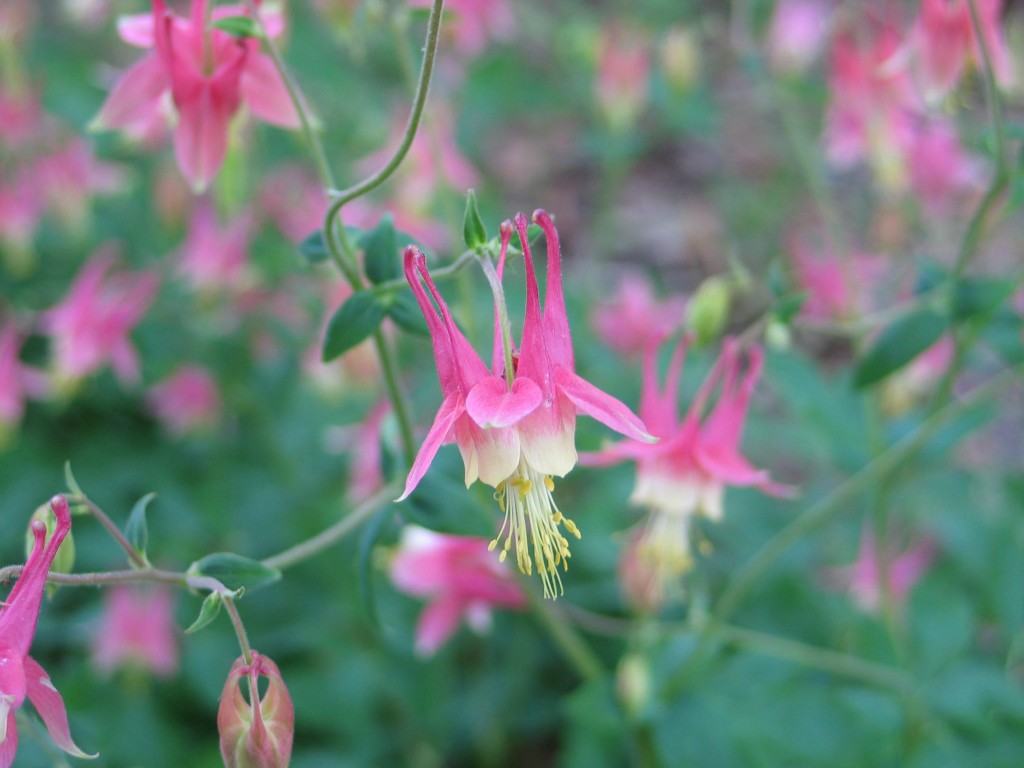
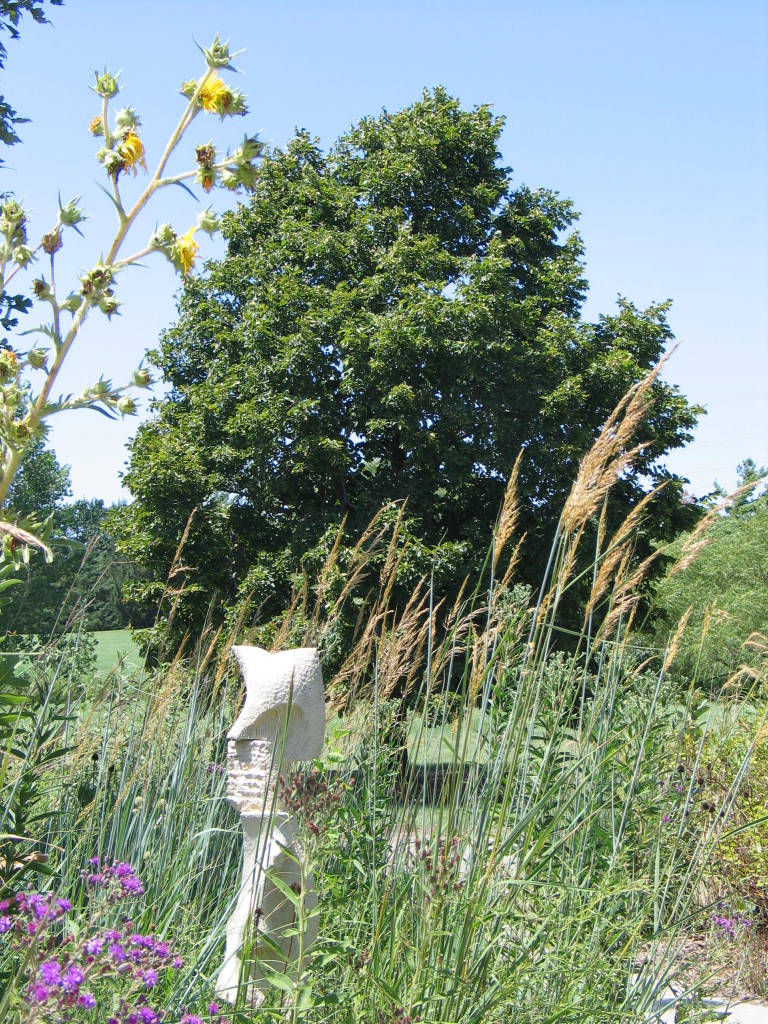
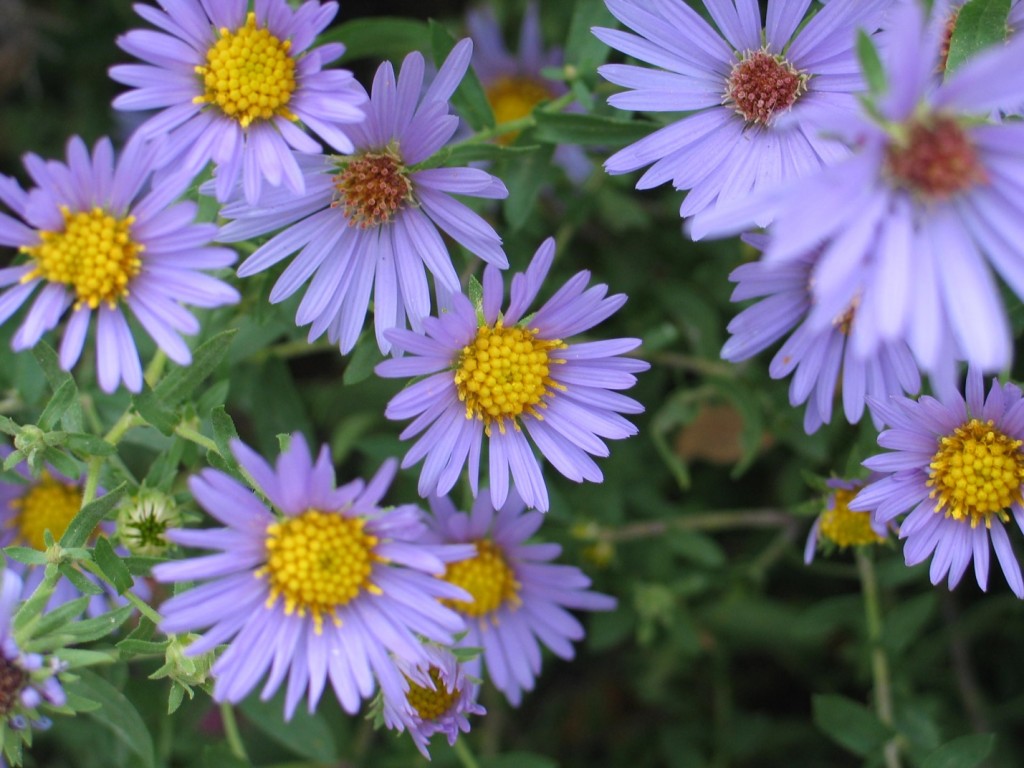
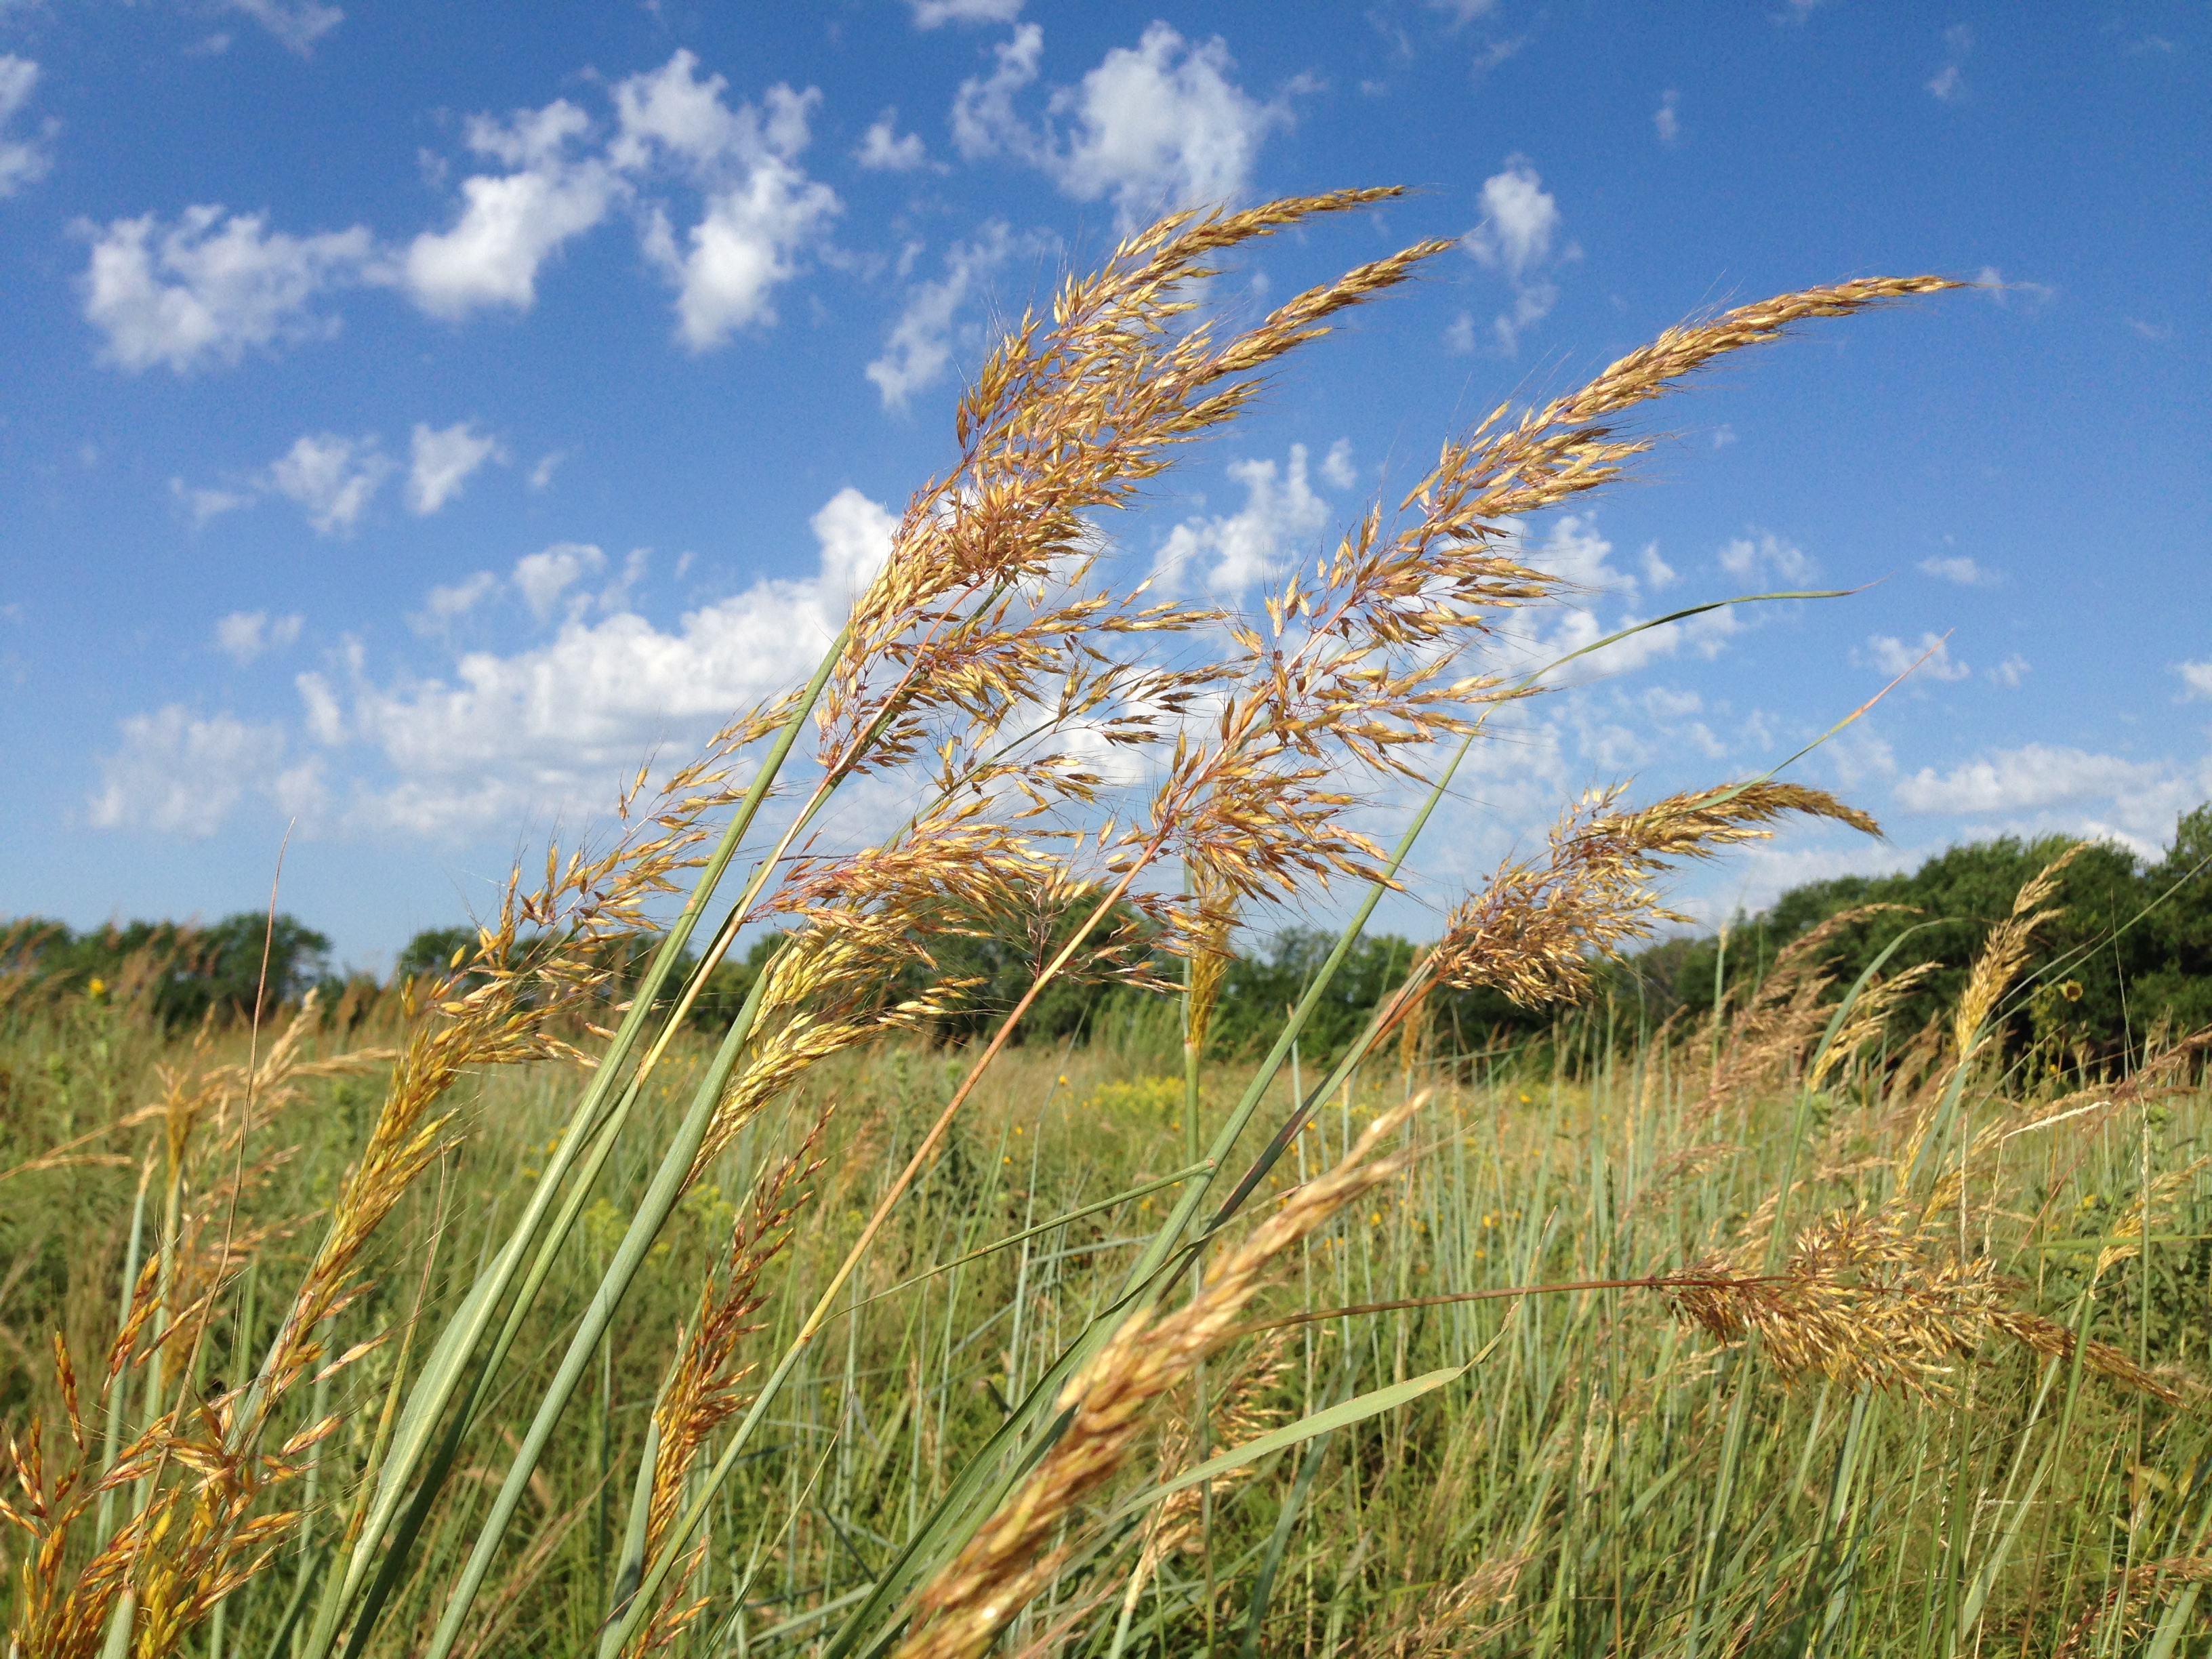
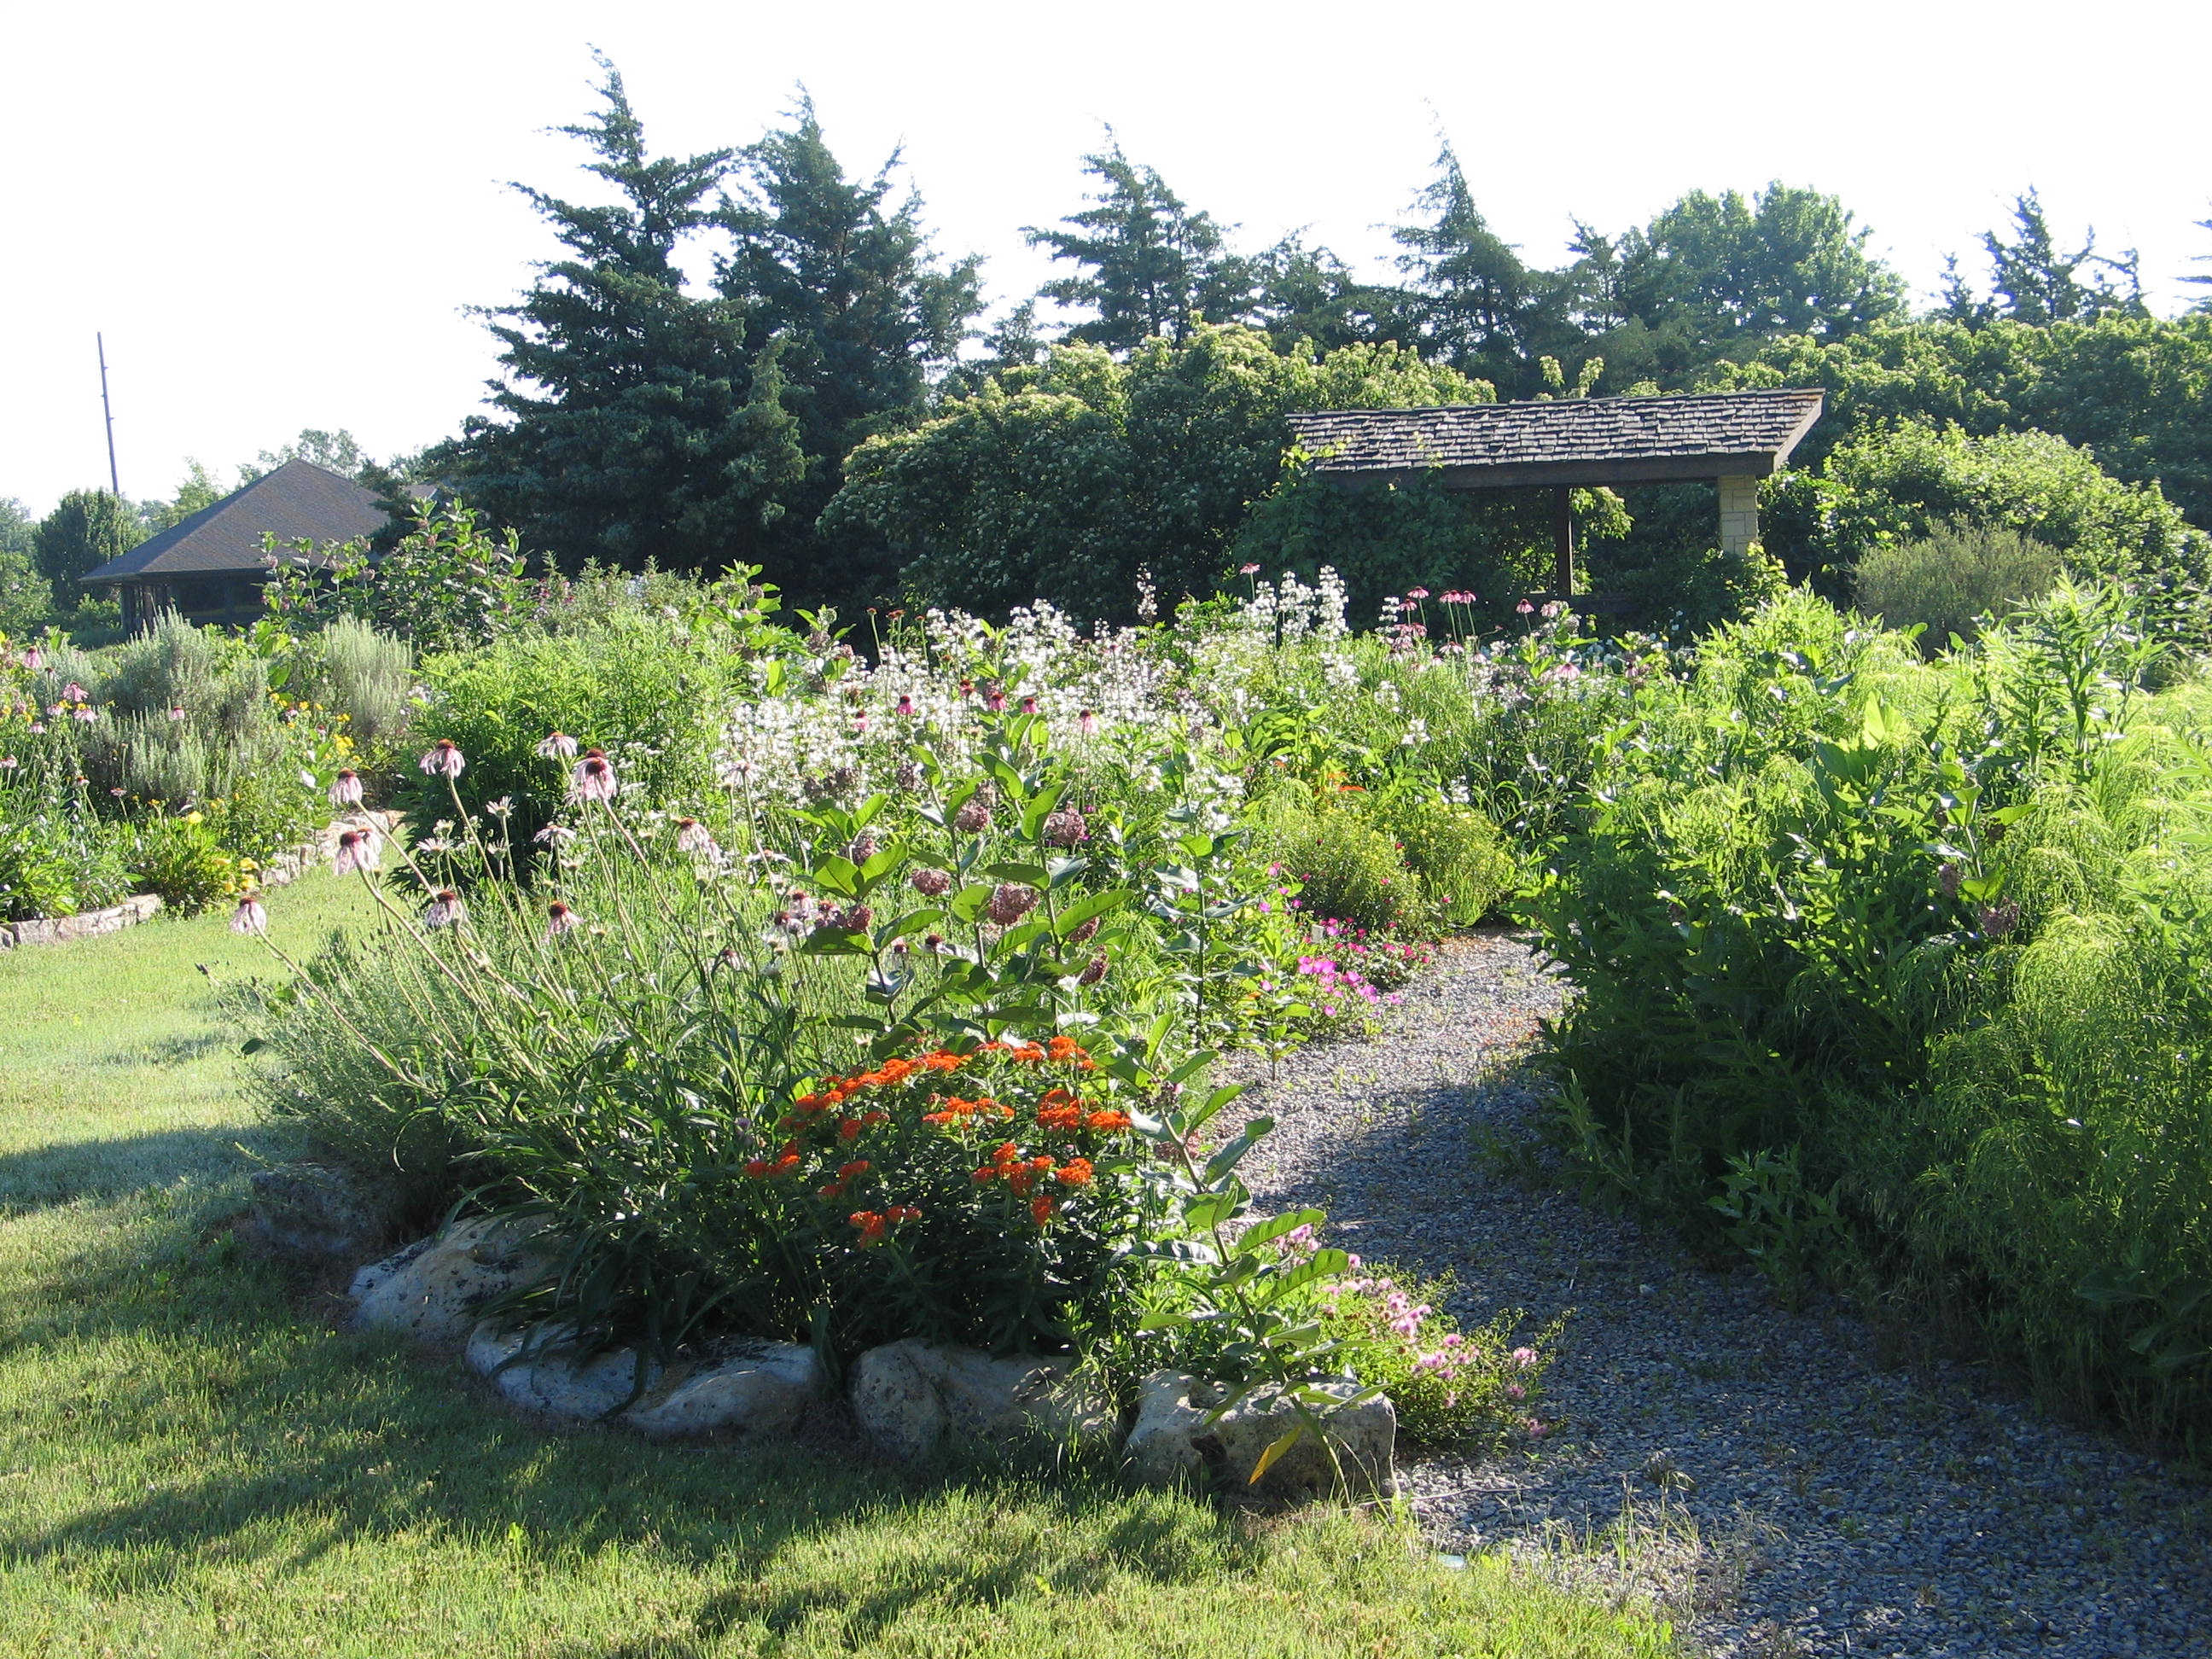
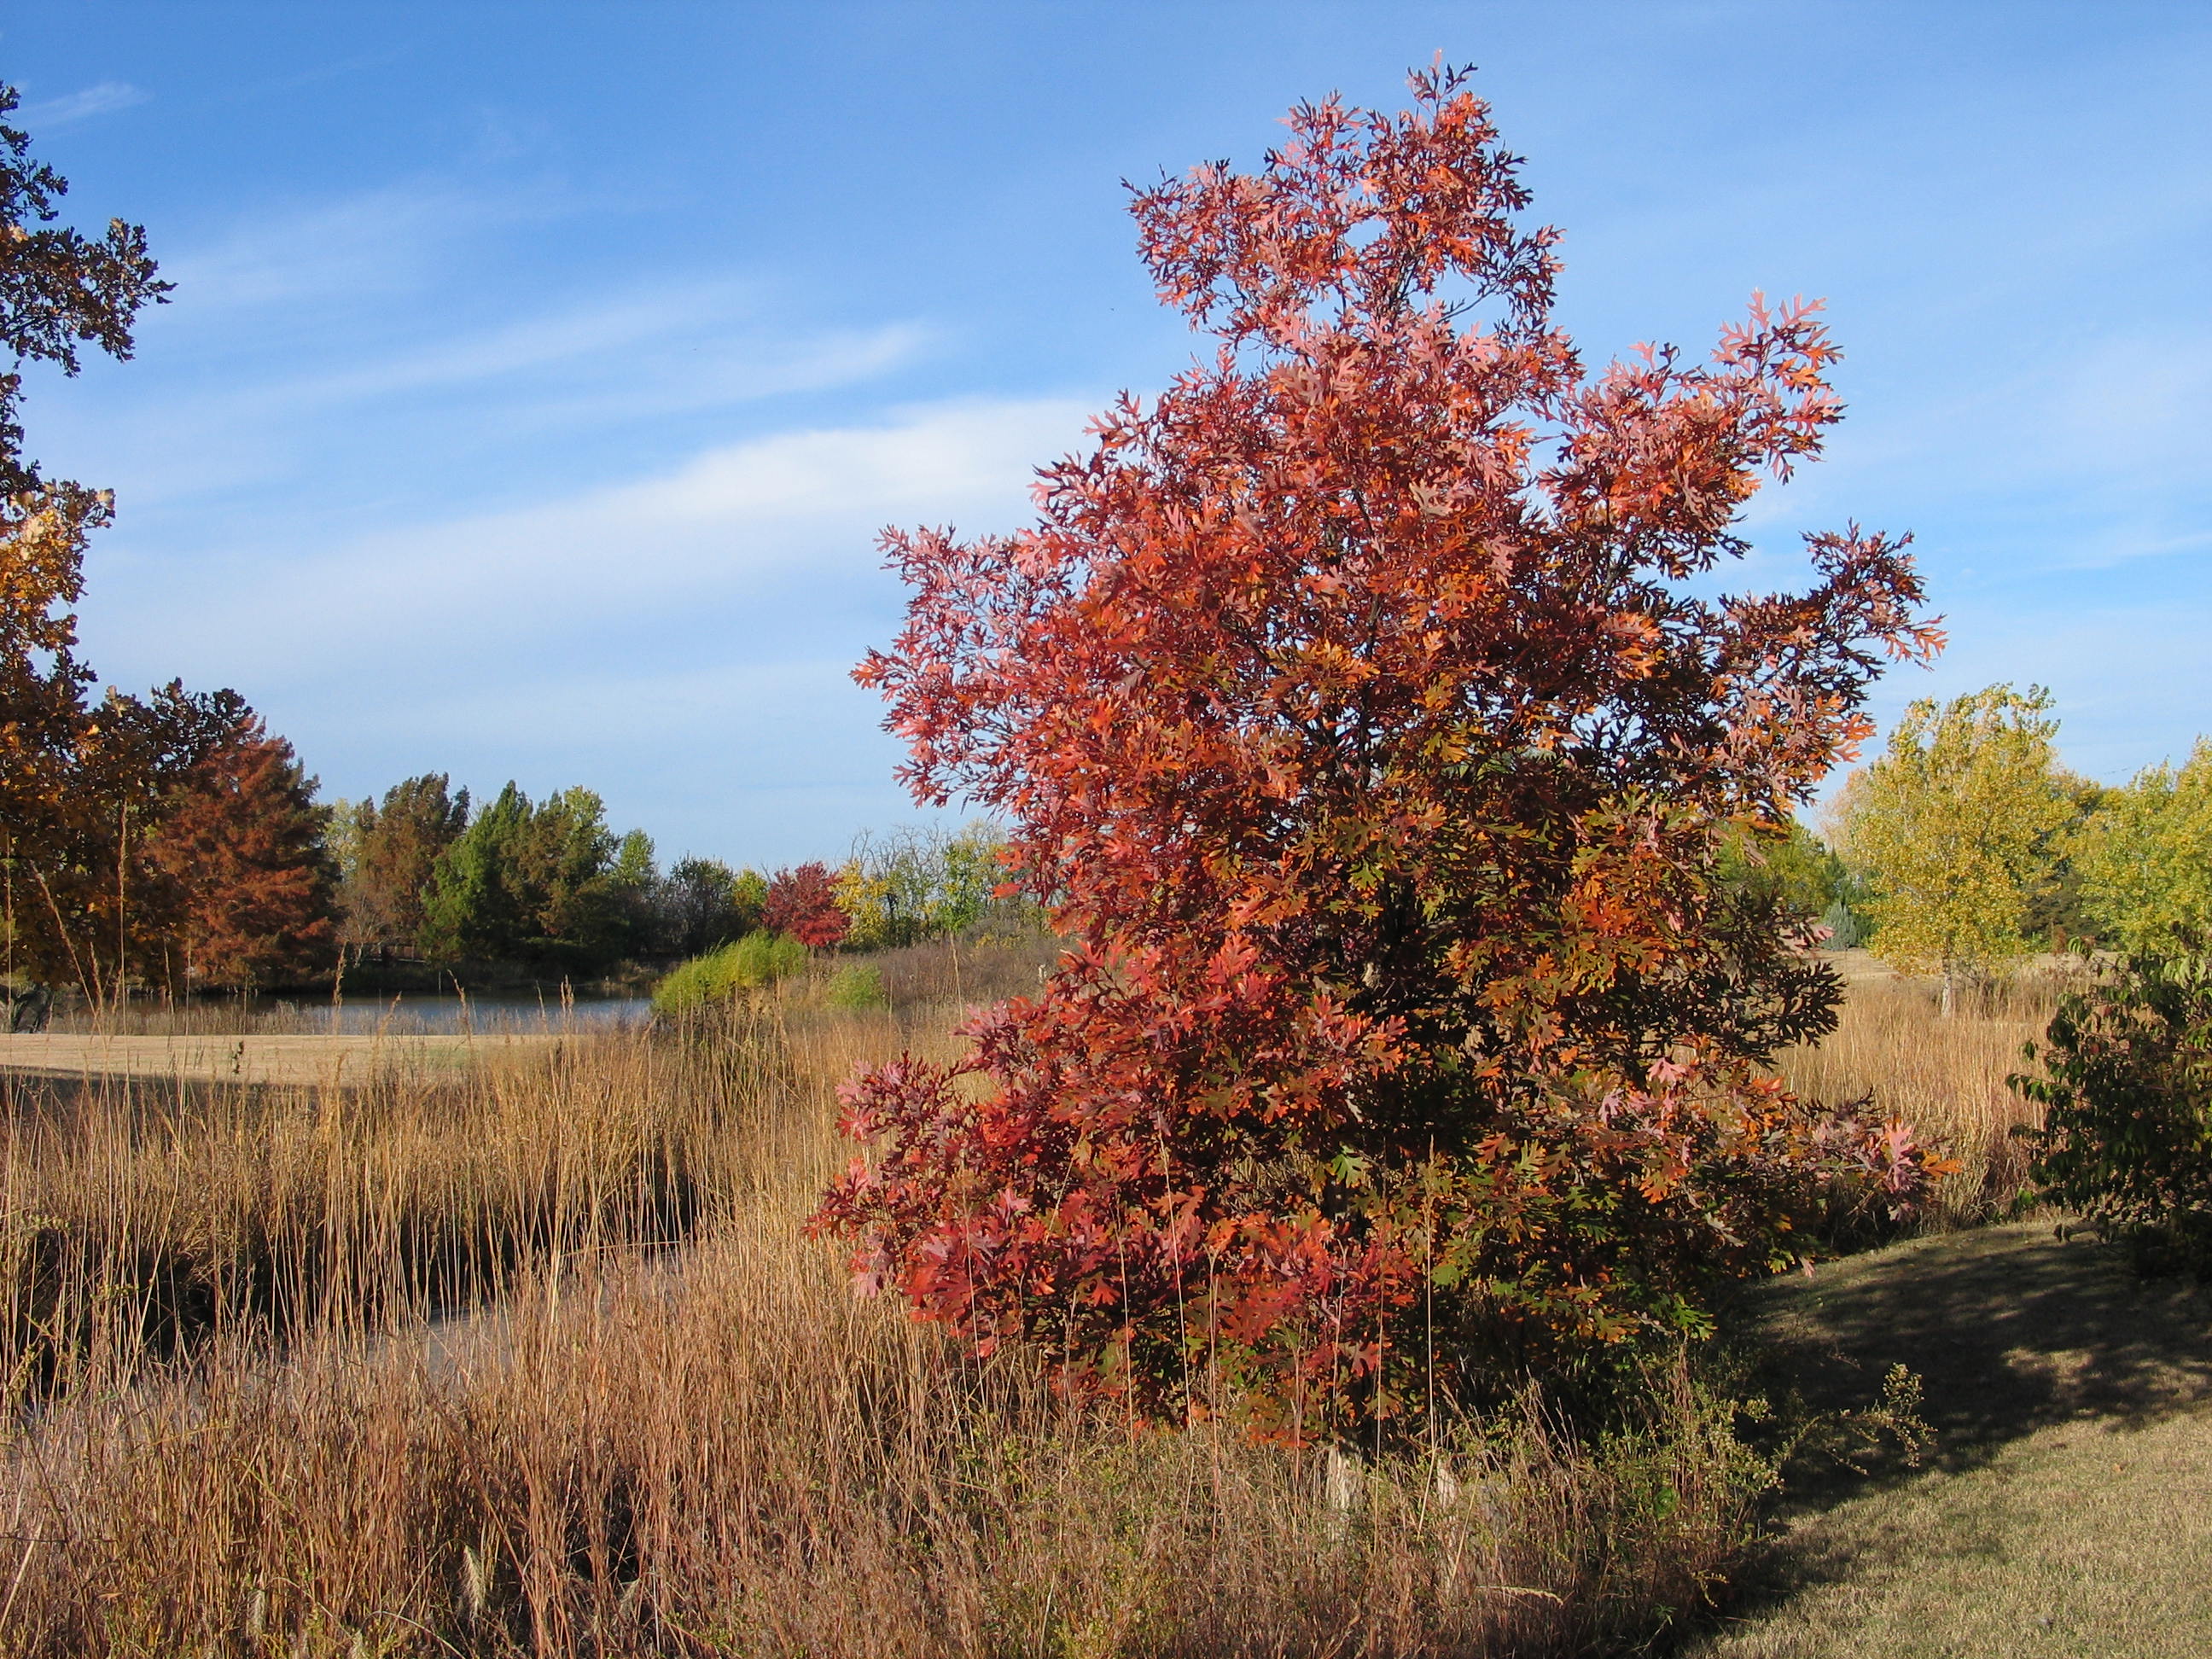
The practices of raising native plants… Photo Credit: Brad Guhr

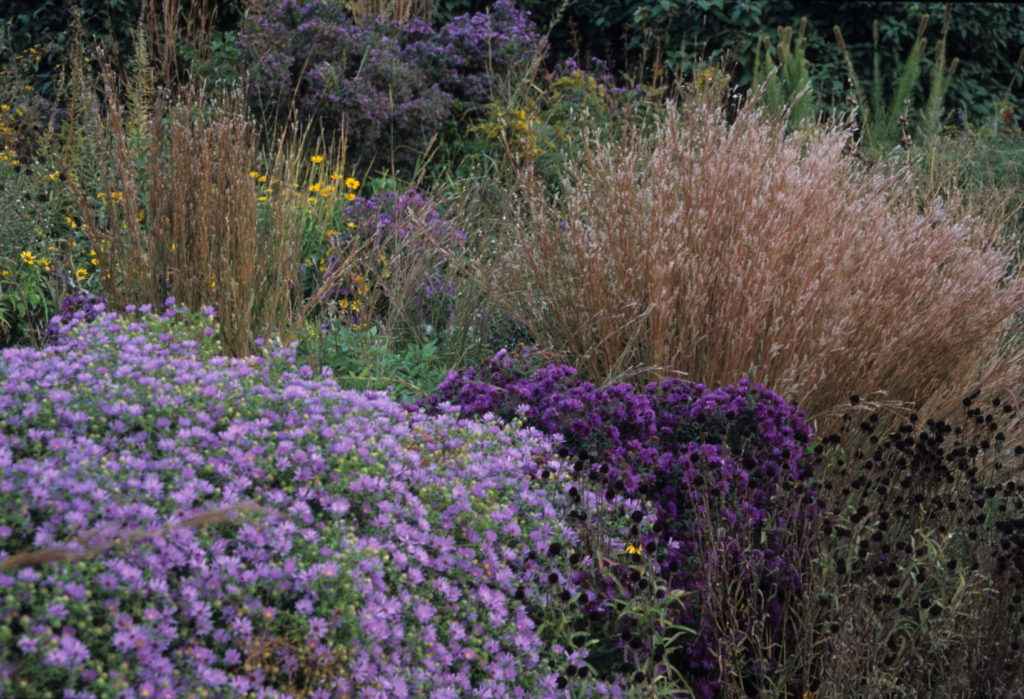
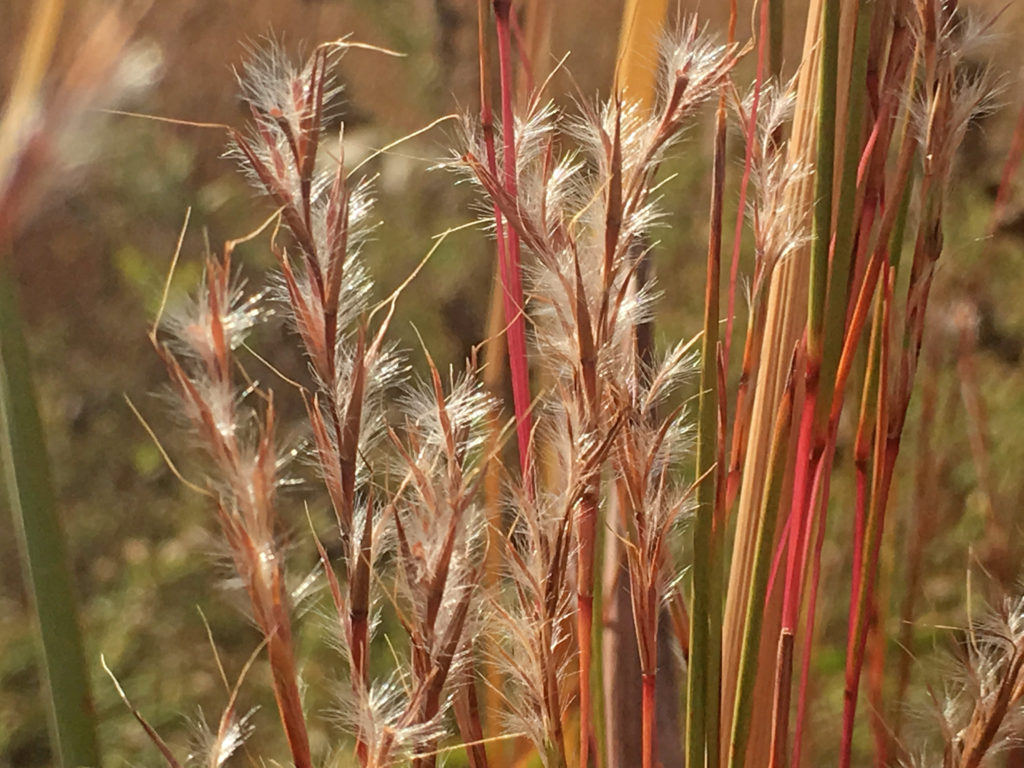
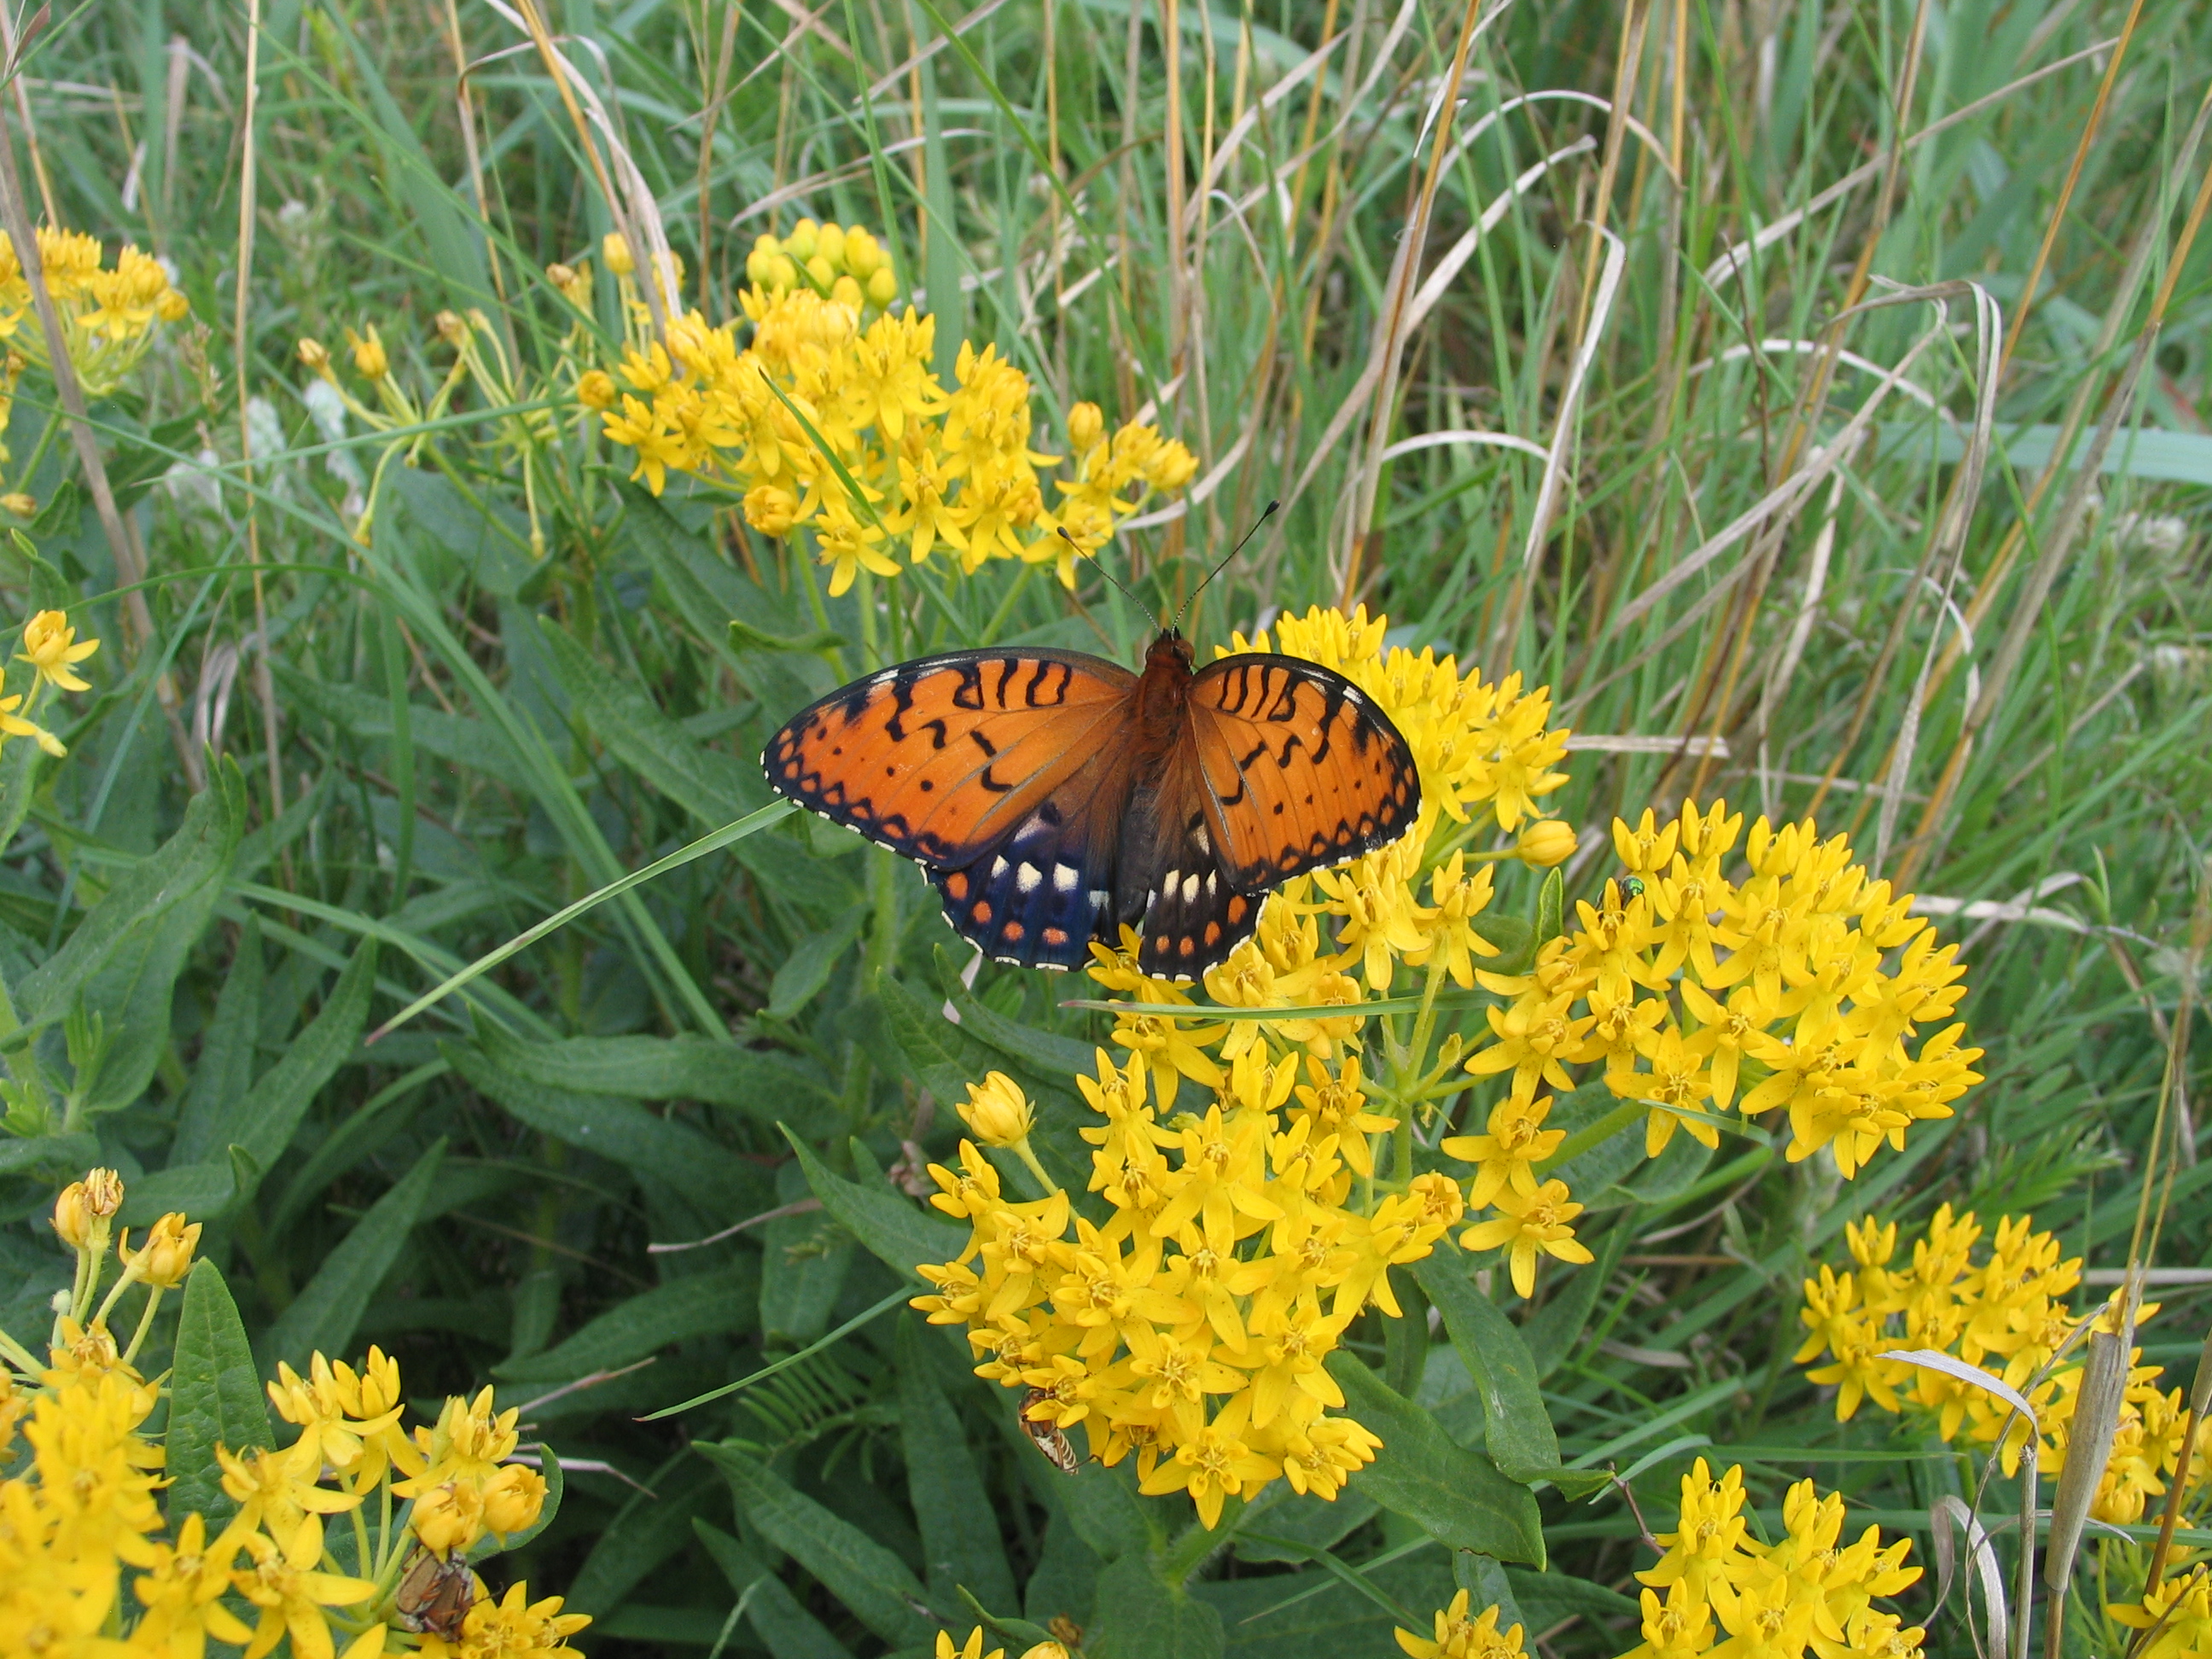
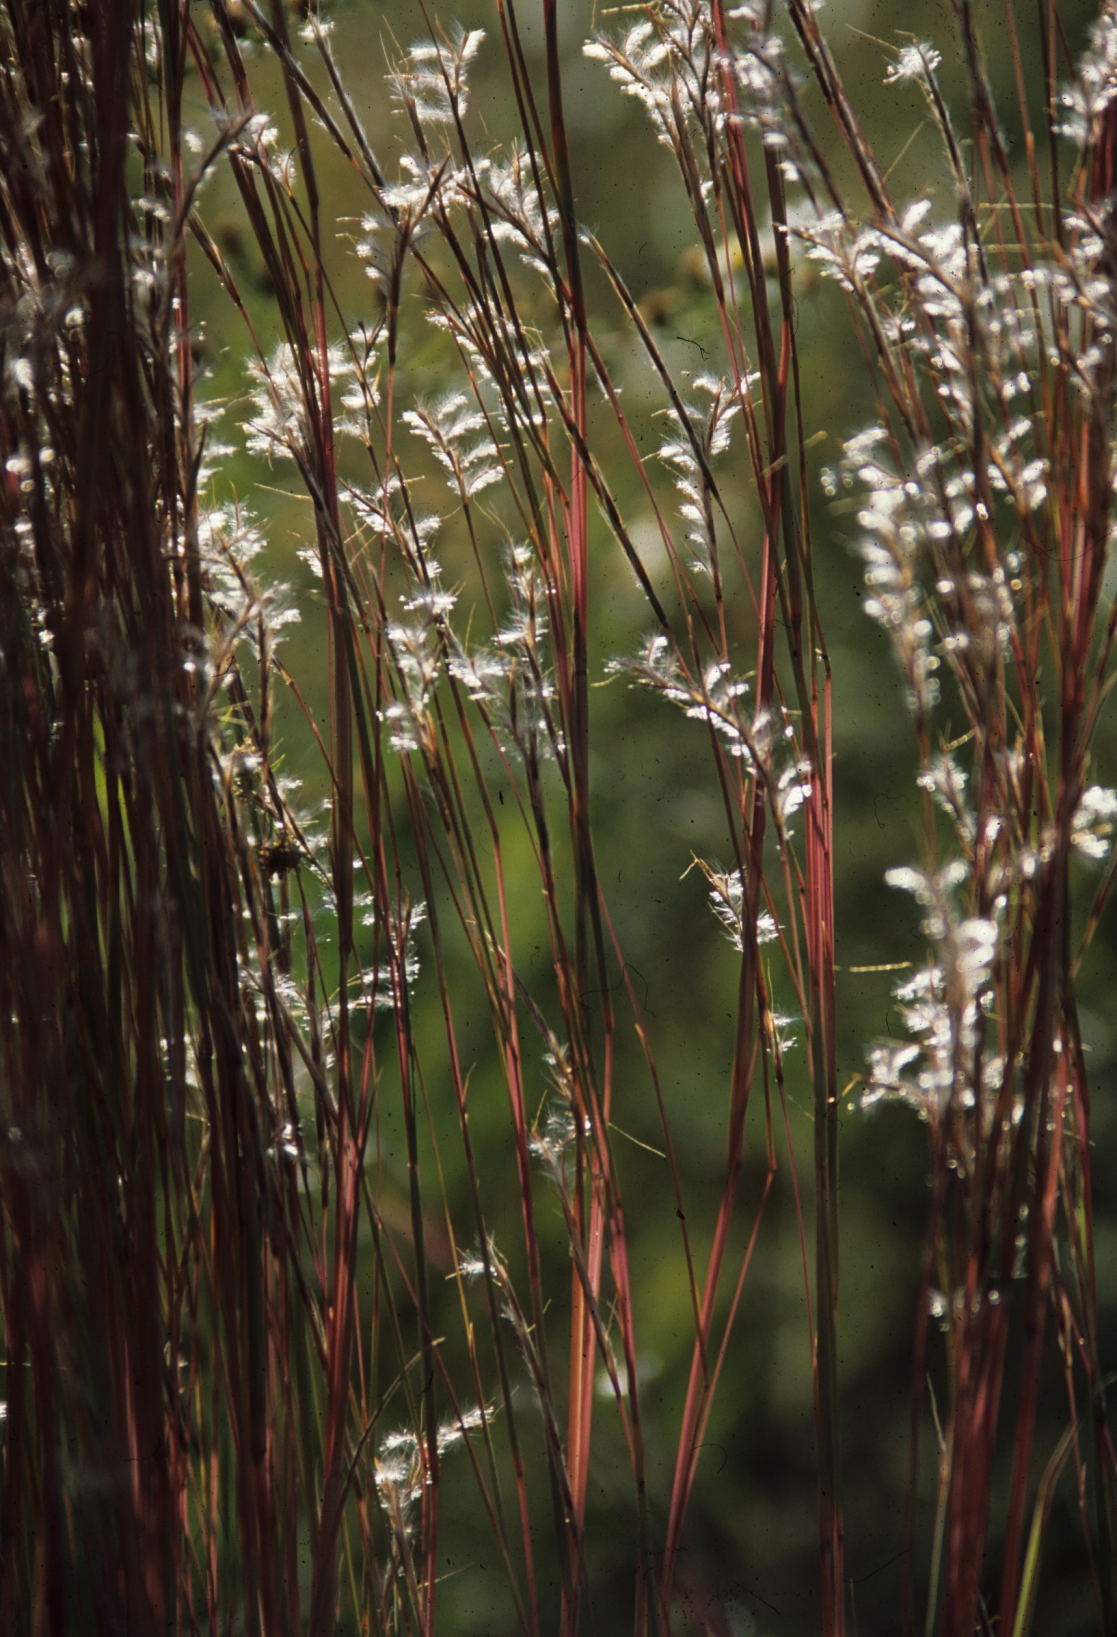
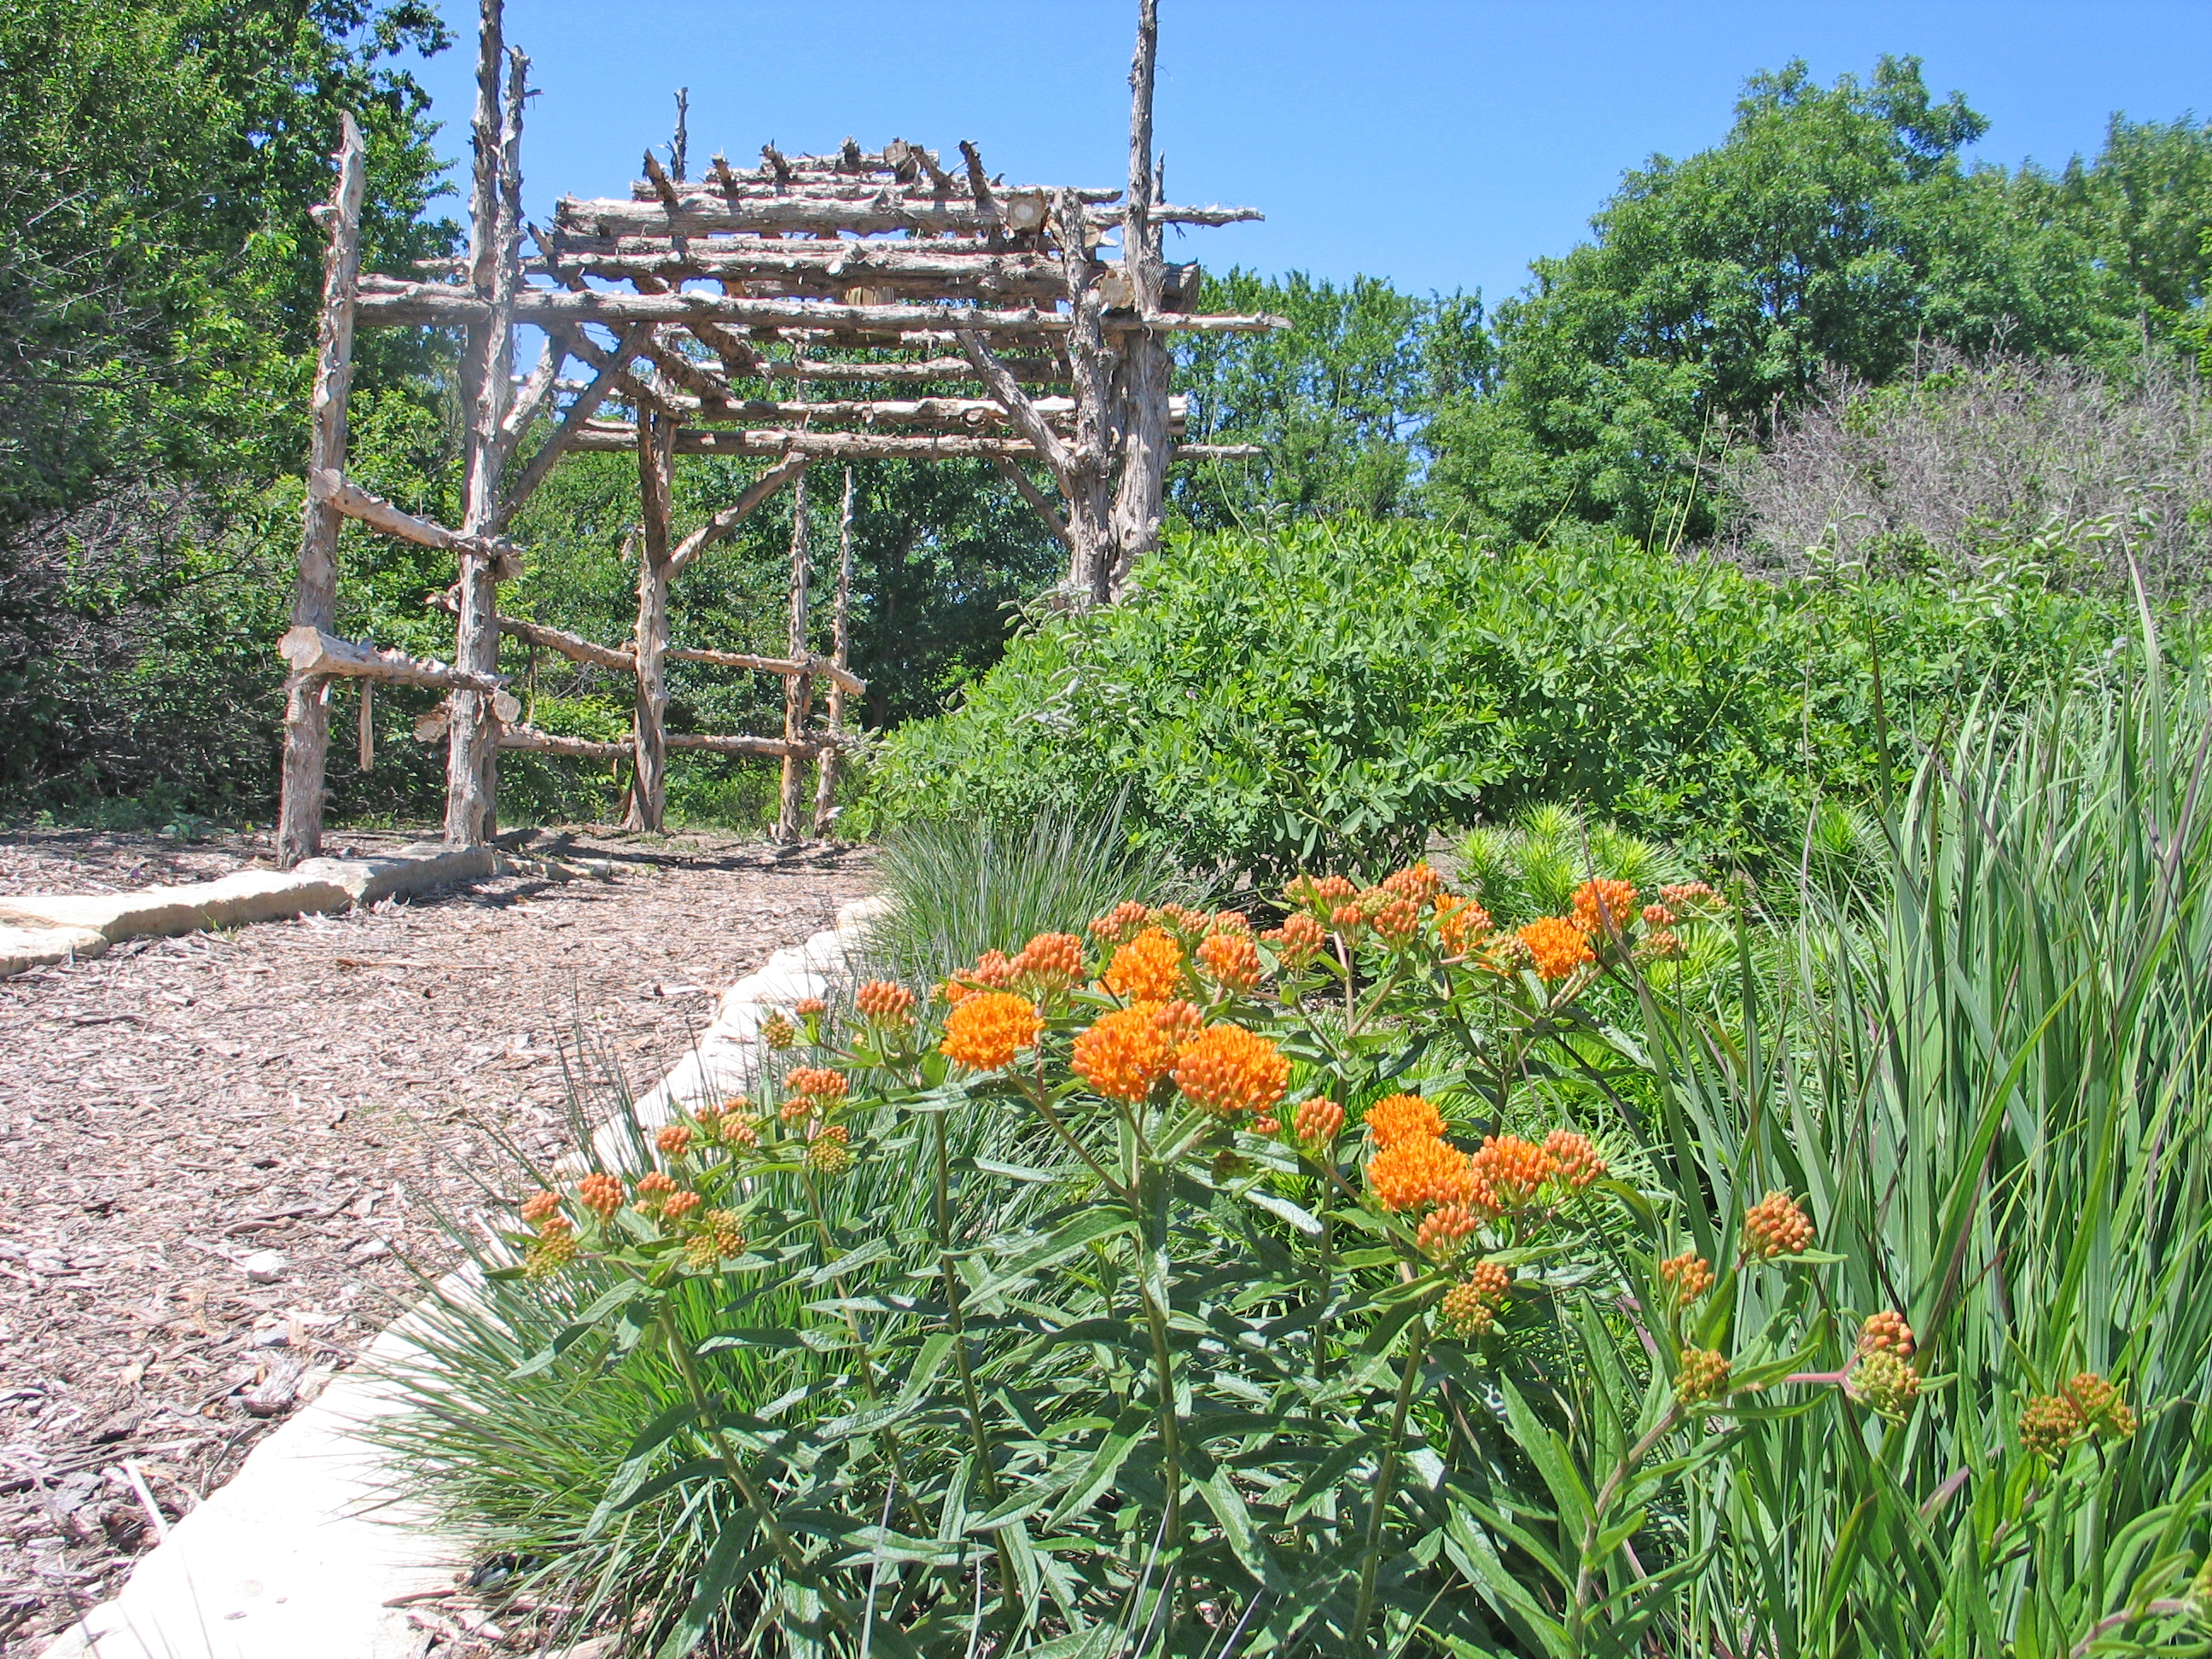
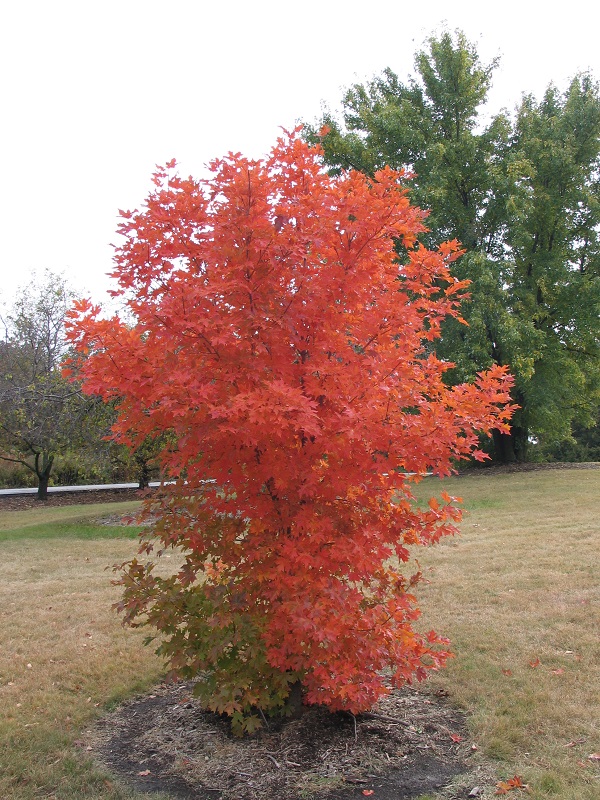
…and food plants are not all that different. Photo Credit: Brad Guhr
Everybody needs, wants, and loves food. Most of us in the U.S. eat food three times per day, if not more. The amounts and kinds of food we eat relate to our culture, income, and health. Food is critical to our human physical well-being, and I would even argue that food is an important part of our emotional and mental well-being. Agriculture is also deeply related to the health of our Kansas environment and economy. Food just plain matters.
Searching for Meaning
I view eating food on a spectrum of connection and enjoyment. On the least connected and lowest enjoyment end of the spectrum, I would order from a fast food pick up window or open a can of tuna and loaf of bread to gain quick, easy calories for a meal. On the other higher connection and enjoyment end of this spectrum, I would grow/raise, sometimes home preserve, prepare, share, and eat a meal over a couple of hours with family and friends. And I would enjoy all the love that went into that meal – from the garden to plate. I definitely find more happiness, meaningfulness, and even entertainment in the latter end of the spectrum, but it also requires more effort, education, and time. In this regard, I think our society, in general, would benefit from doing more rituals of hunting, gathering, growing, and preserving of our own food.
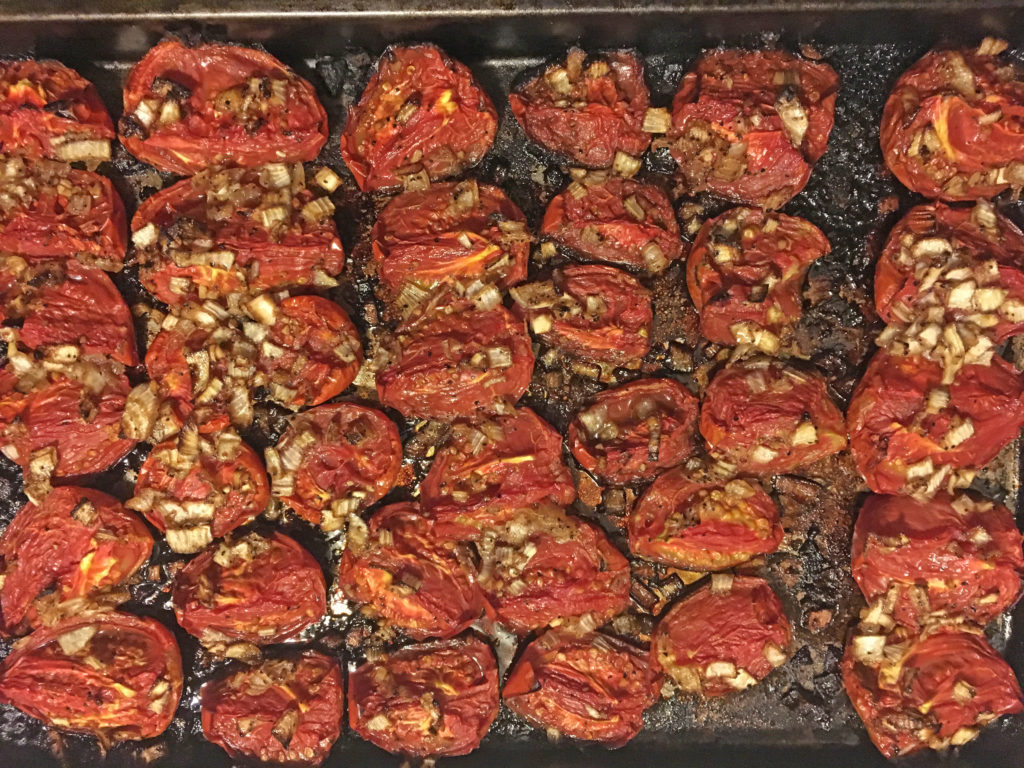
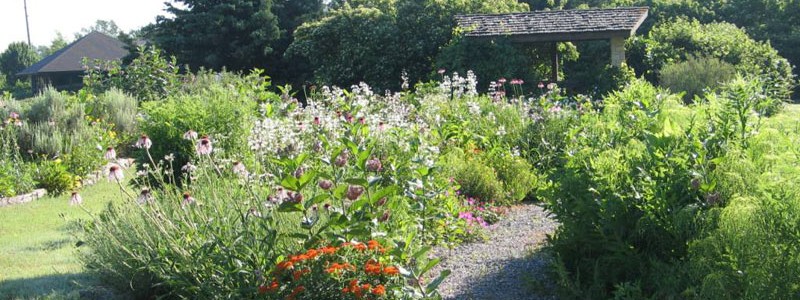
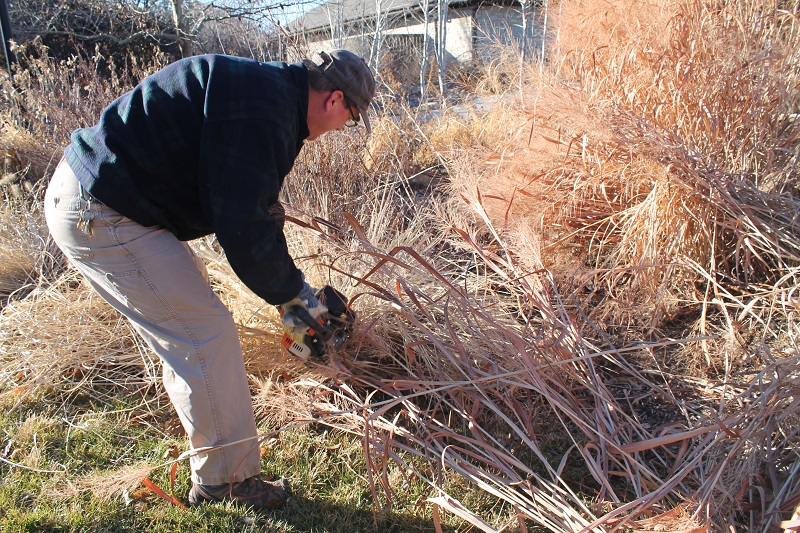
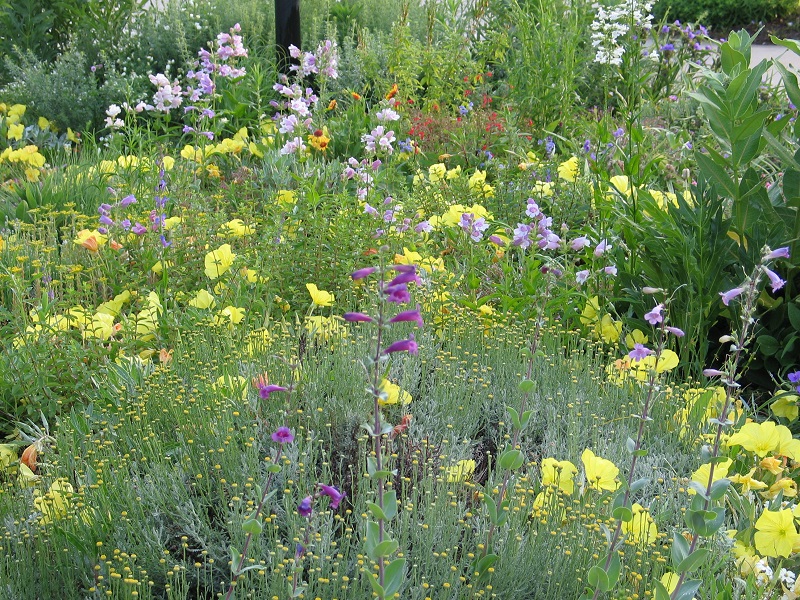
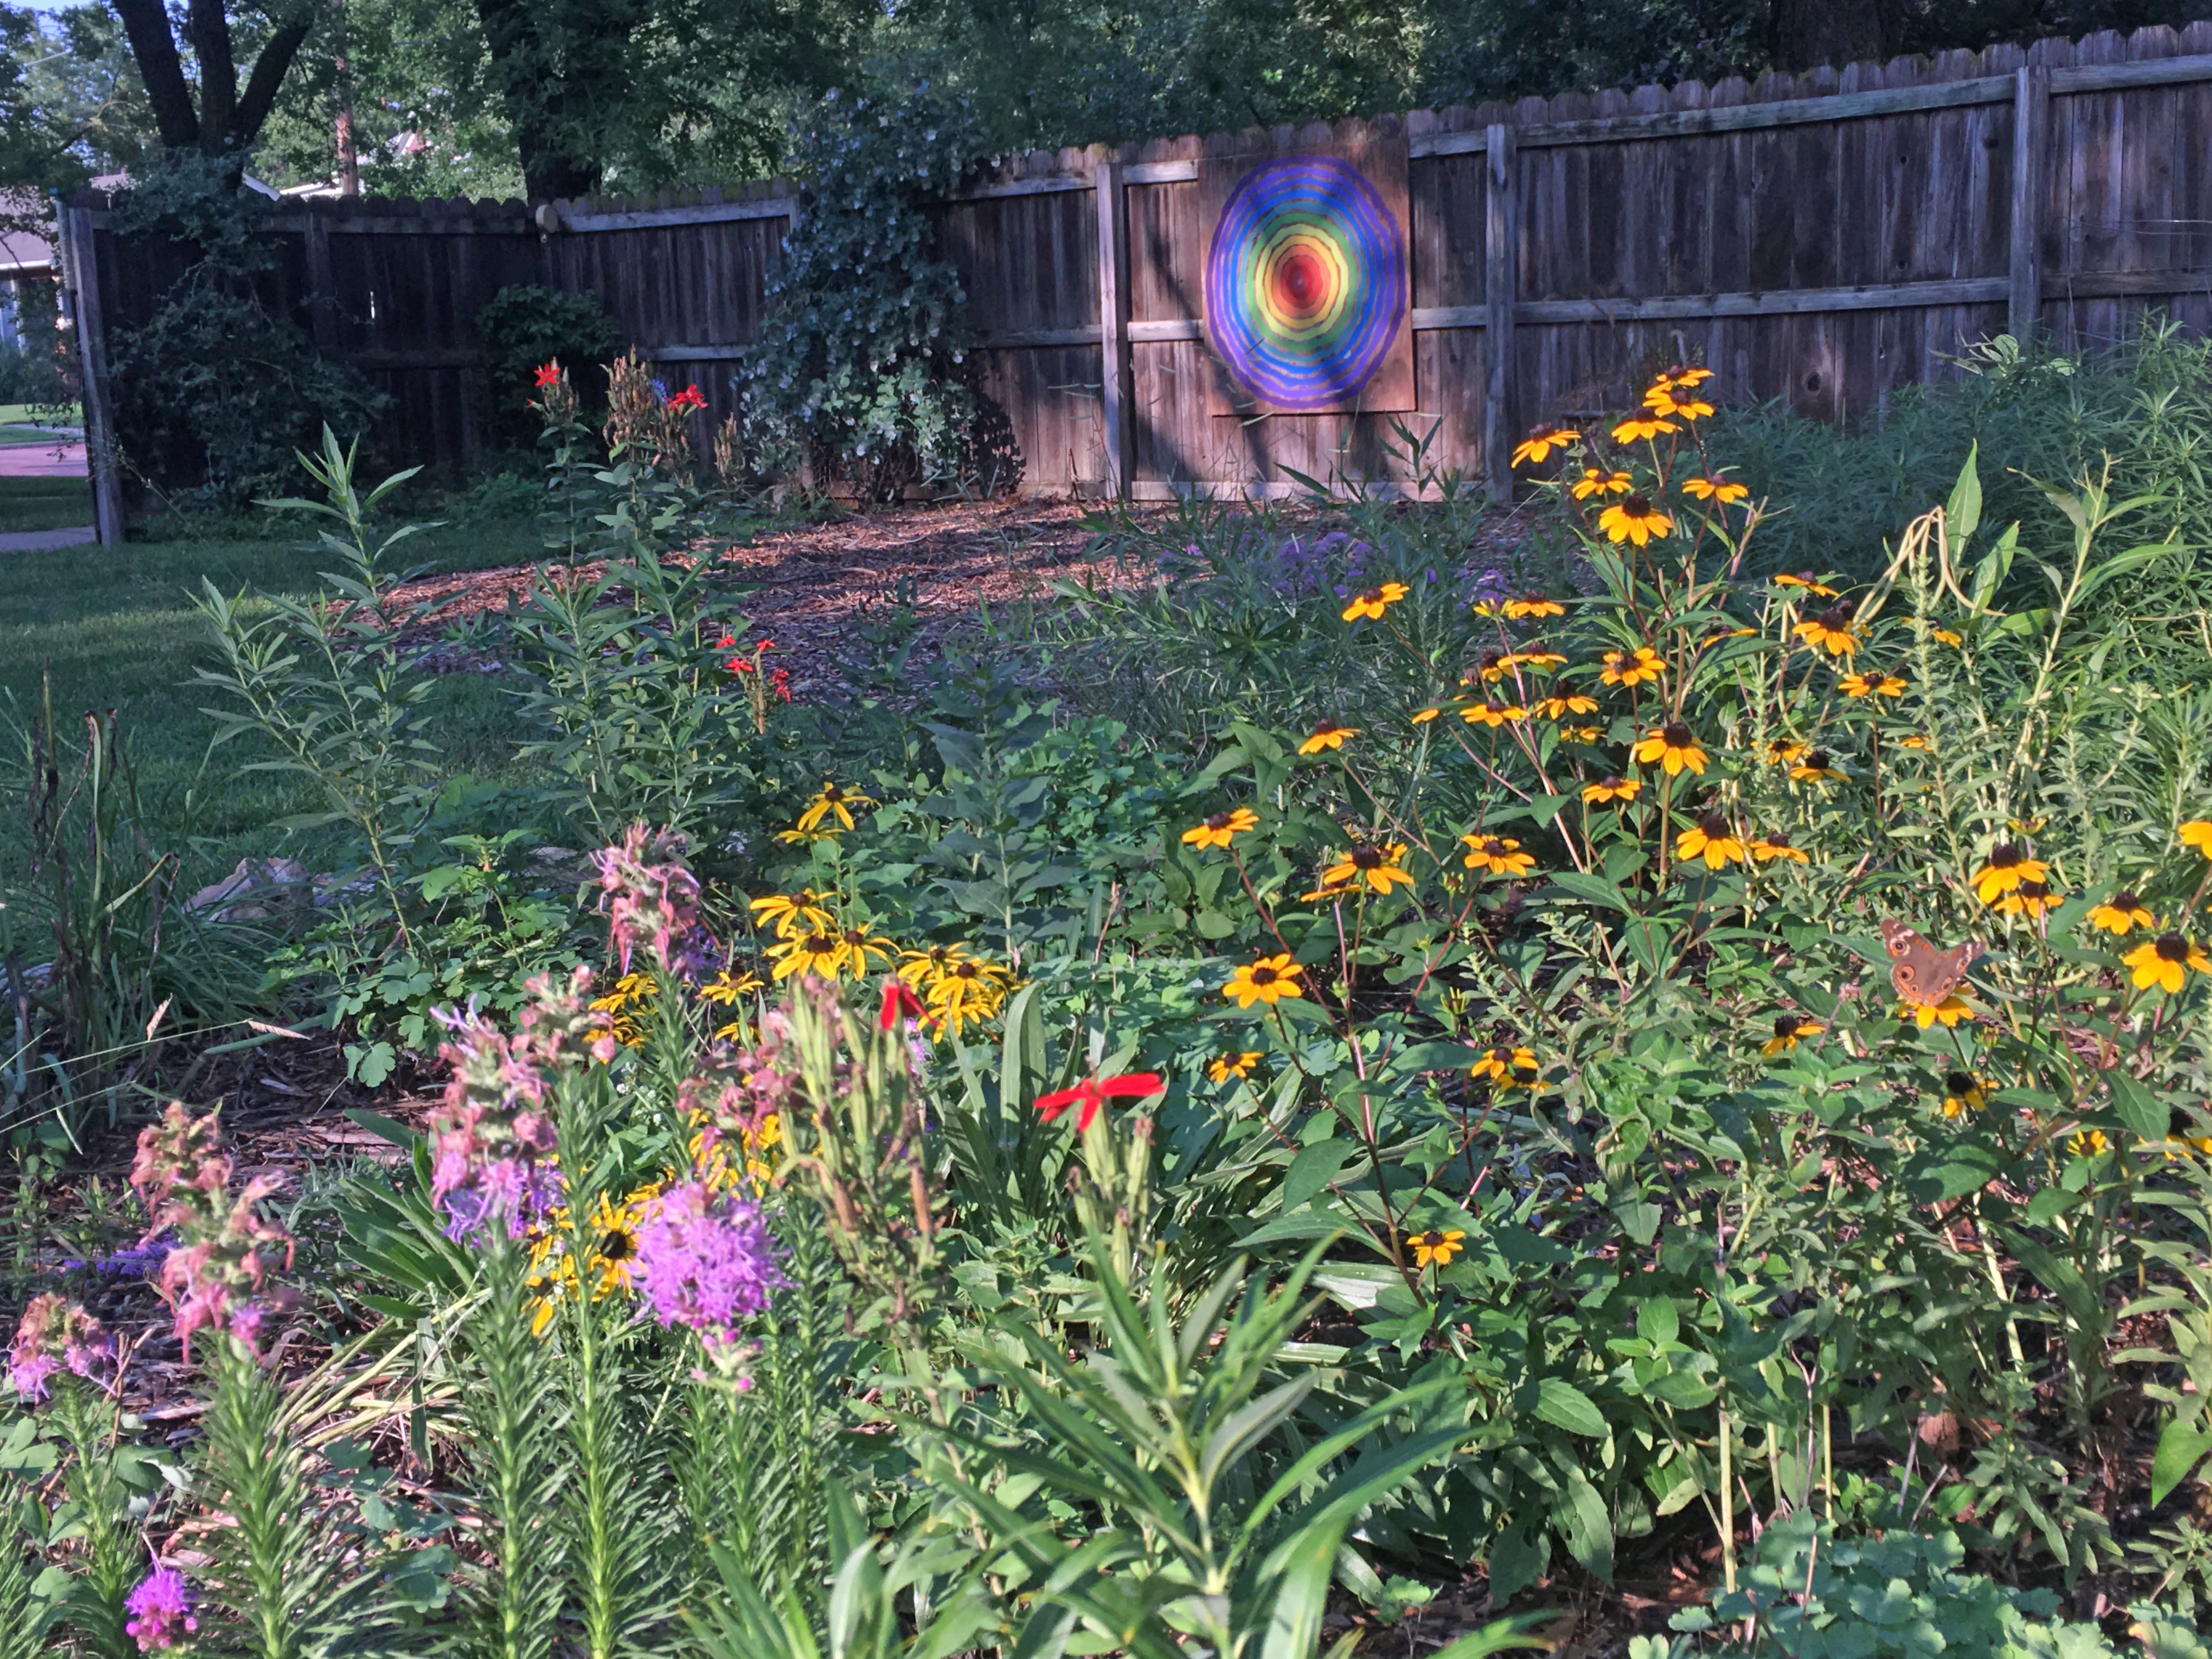
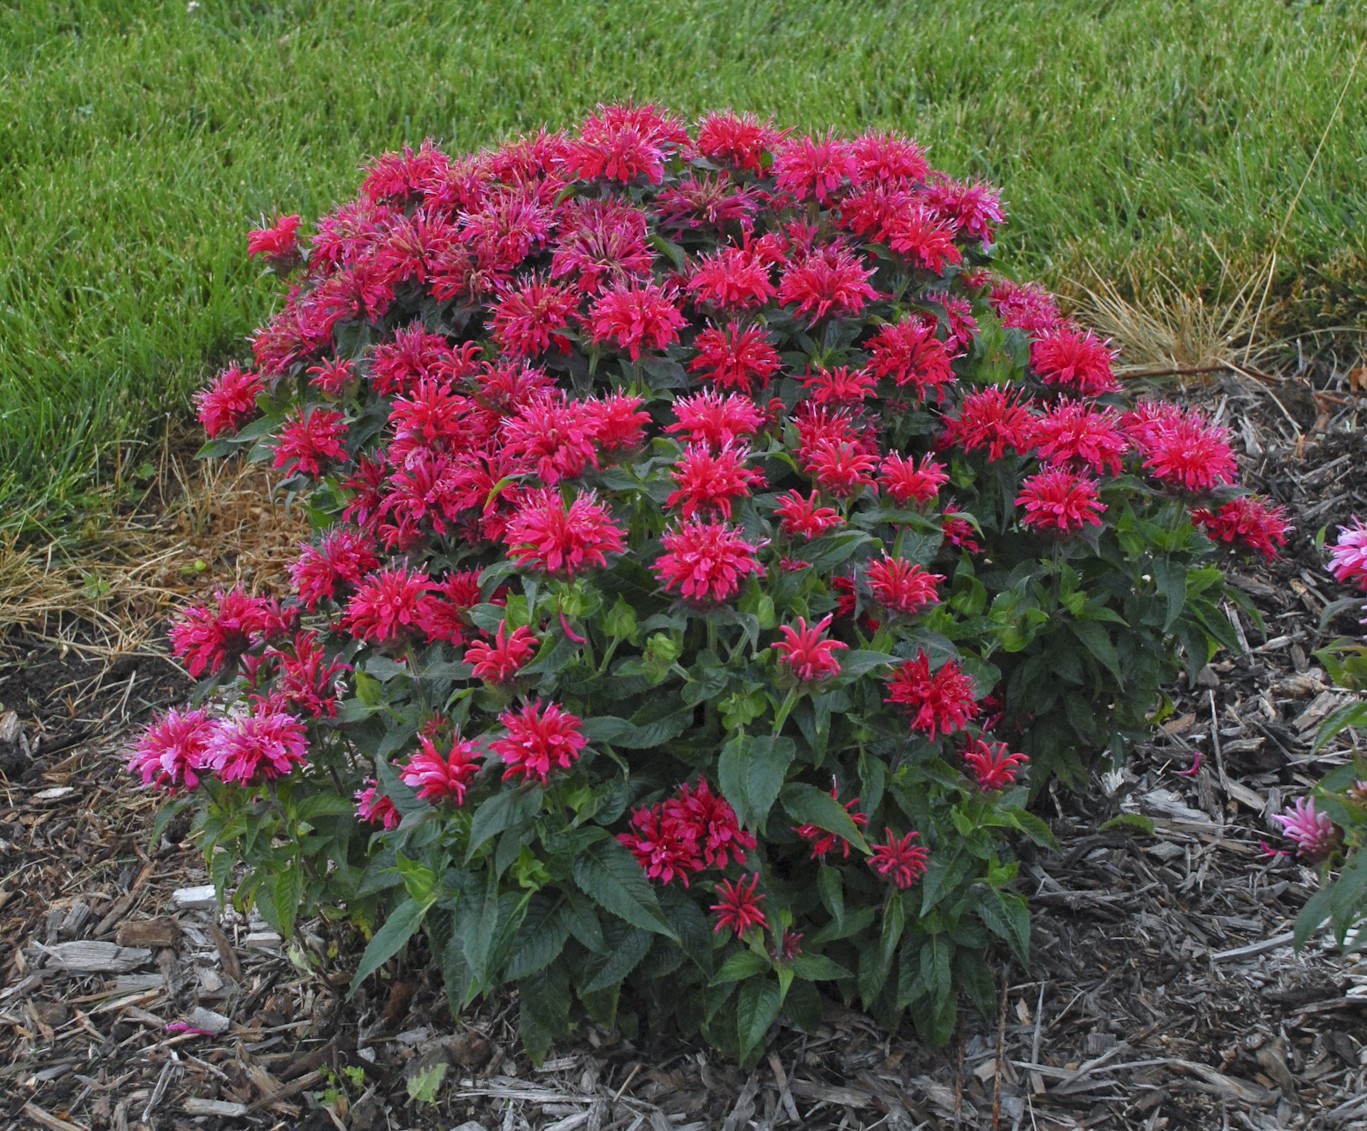
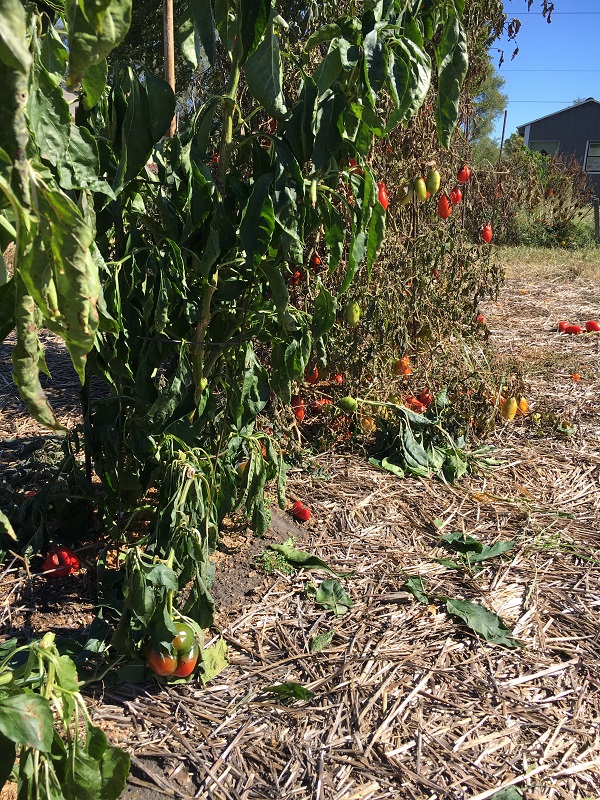
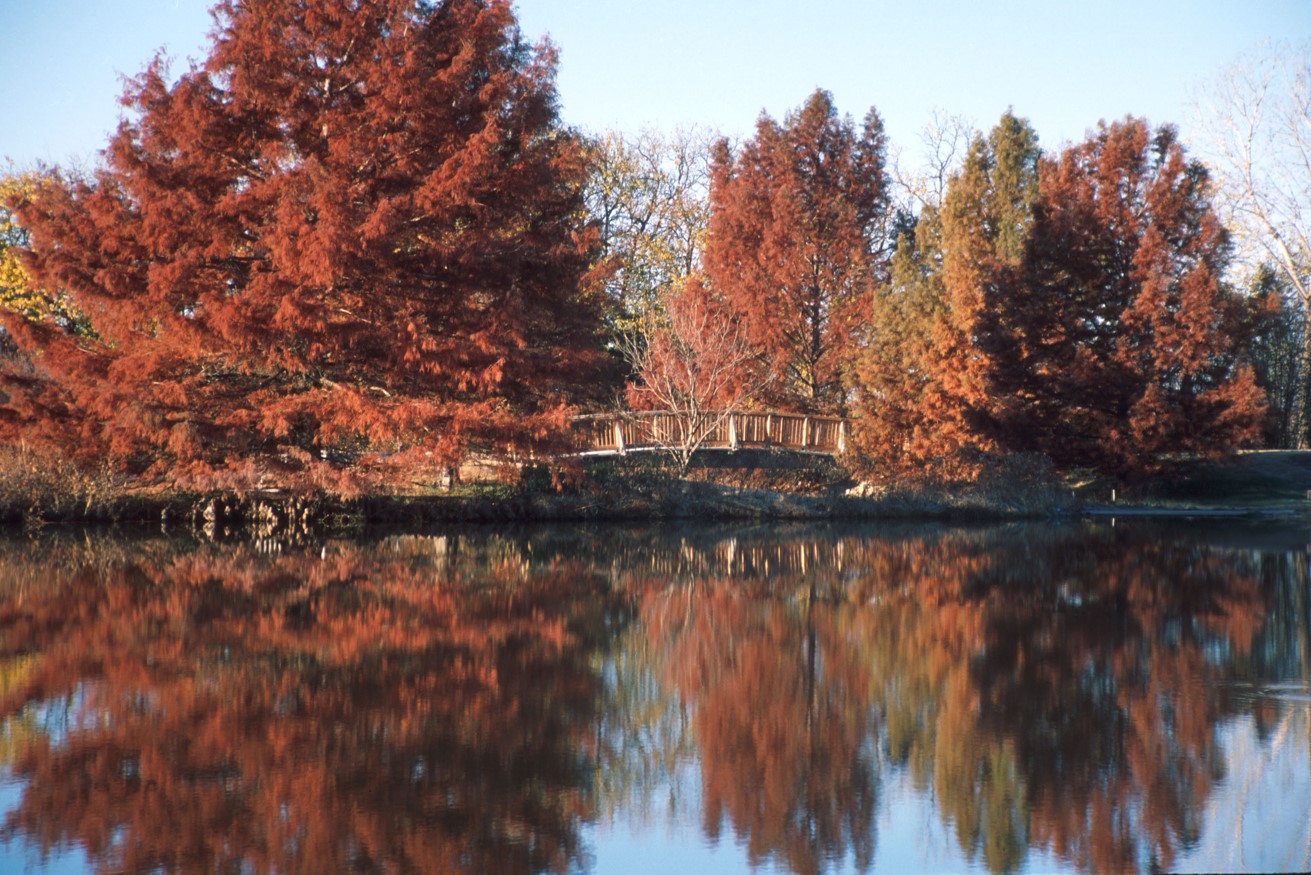
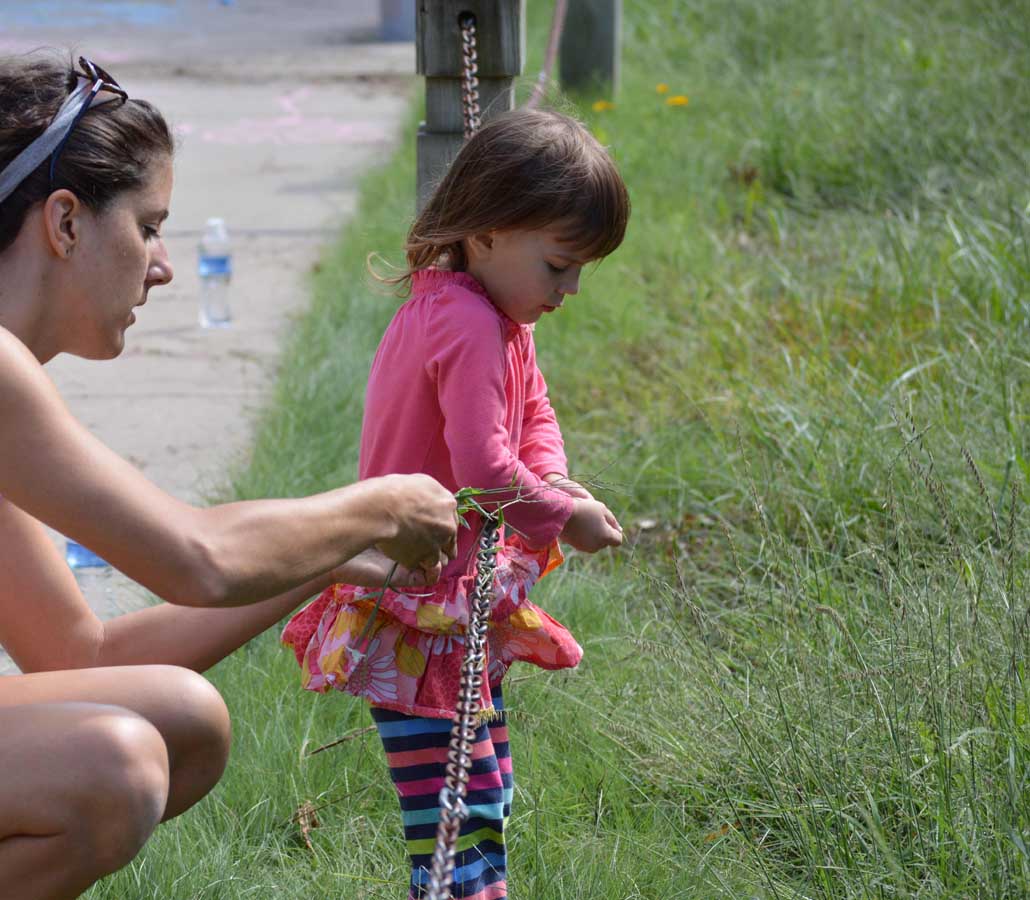
Food acquisition and preservation rituals can bring people calories and joy. Photo Credit: Brad Guhr
Every calorie we eat has its own story and sum of energy required to get it from farm to plate. We learned a great deal about this topic during our spring 2011 Locavores on the Prairie Symposium. Barbara Kingsolver explores this topic in her book Animal, Vegetable, Miracle. Few of us in this world of increasingly accessible food will spend an entire year eating food raised from within a 100-mile radius of where we live as the Kingsolver Family did. But doing so would certainly cut down on the size of our carbon footprint and add to our enjoyment of food if we could eat food sourced as locally as possible.
The Problems – Poverty and Disconnect
Poverty – The U.S. may be a developed country, but poverty and/or a variety of other barriers here (disabilities, single parents working multiple jobs, substance abuse, etc.) lead to food insecurity and prevent families from getting adequate, quality food. In my home City of Newton, KS, 80+ percent of kids in a number of the elementary schools qualify for free or reduced fee breakfast and lunch programs. Backpack food assistance programs organized by the Kansas Food Bank and supported by local churches and organizations try to help fill some of the calorie voids for families with elementary-aged children. However, these backpacks do not meet all nutrition needs and are filled with mostly dried or preserved foods that can sit in storage for long periods of time until consumed. The adults in these homes may not have the resources or abilities to grow/raise/hunt/gather/buy adequate supplies of food nor model those healthy behaviors for the children in the household. Not only are these children not getting the calories they need, but they also are not learning the good food-raising habits to pass along to future generations either.
Disconnect
“There are two spiritual dangers in not owning a farm. One is the danger of supposing that breakfast comes from the grocery, and the other that heat comes from the furnace.” ~Aldo Leopold
Advancing technologies in agriculture, transportation, and food preservation make it even easier for people in urban areas with adequate resources to have food wherever and whenever they want it. There is a tradeoff though…people are becoming increasingly disconnected from the food they consume. The first food-related part of Leopold’s famous quote above is coming true. We know less and less about the origins and journeys of our food.
“Eating is an agricultural act.” ~Wendell Berry
Aldo Leopold biographer, Curt Meine, introduced me to this Wendell Berry quote at a 2017 Land Ethic Conference in Baraboo, WI entitled “Bridging the Urban-Rural Divide”, and it certainly resonates with me. According to a 2016 U.S. Census Bureau Report, 81% of the U.S. population is urban, and 19% is rural. This disparity continues to grow. This statistic tells me that fewer and fewer people (including children) know where their food comes from. Fewer and fewer people (including children) know how the growth, transport, production, and processing of that food impacts their environment and their health. But everybody (including every child) wants a clean environment and personal health. There is a growing disconnect here.
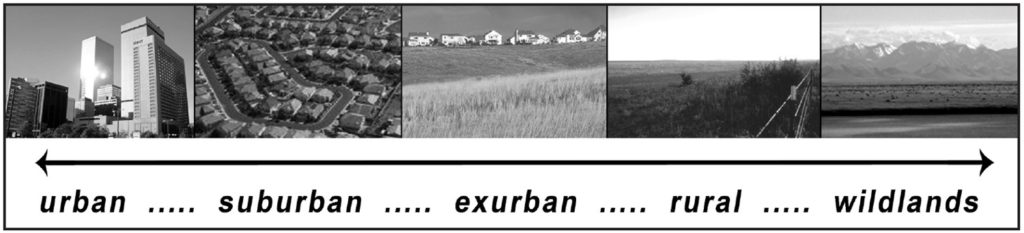
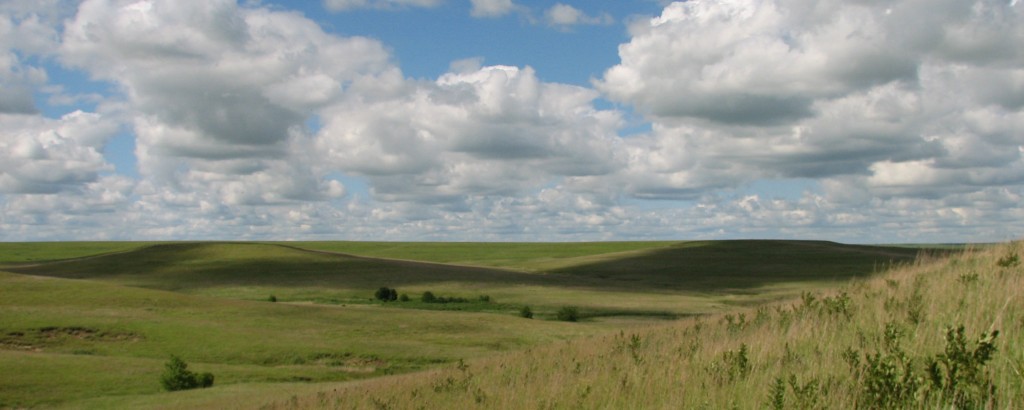
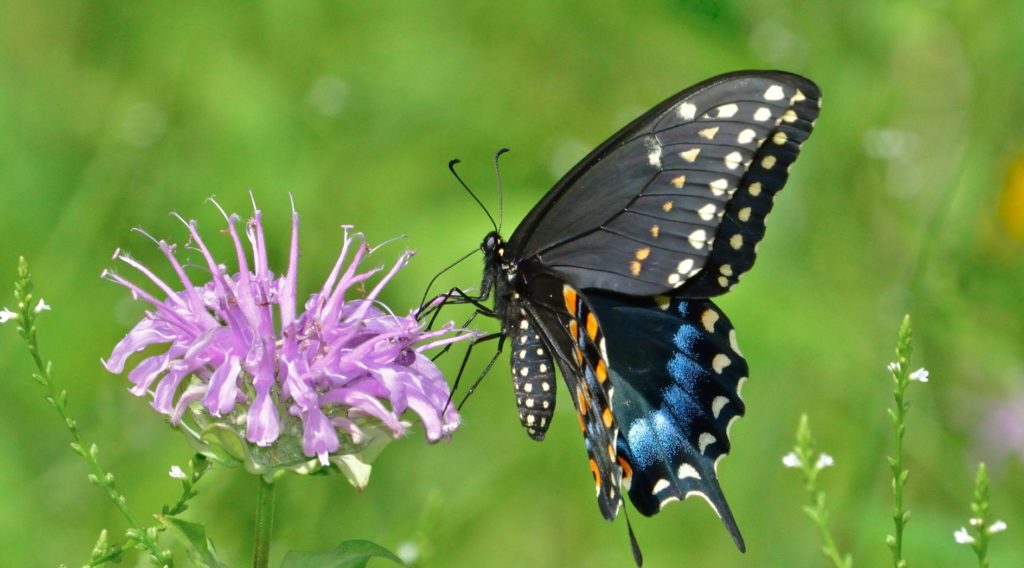
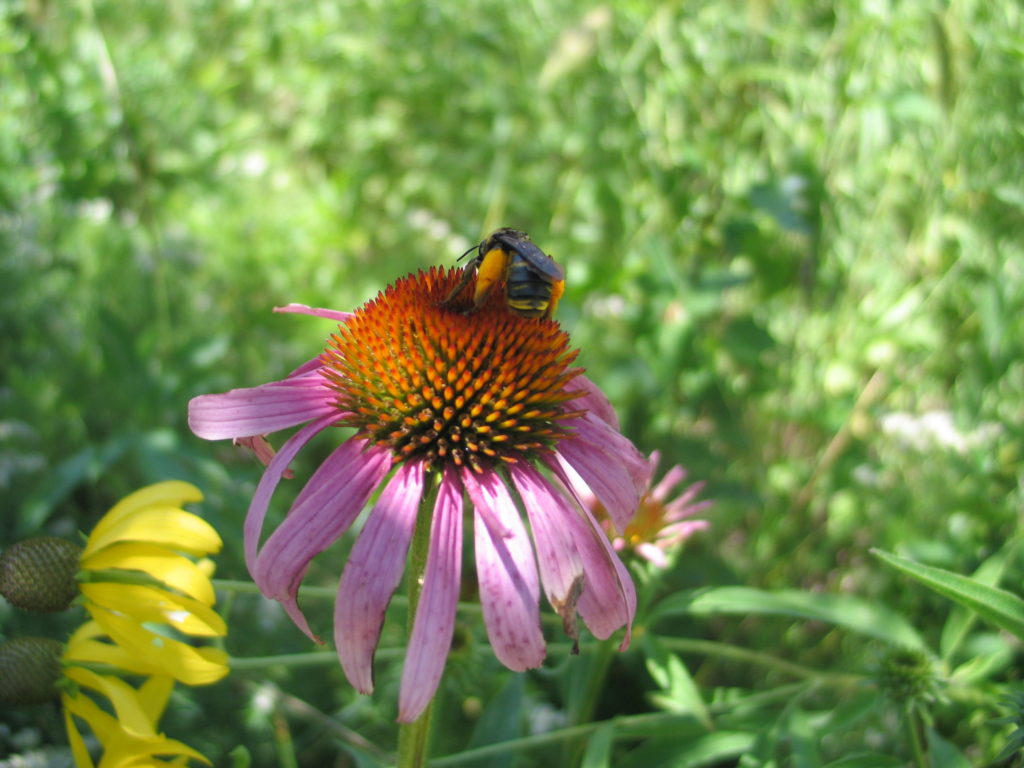
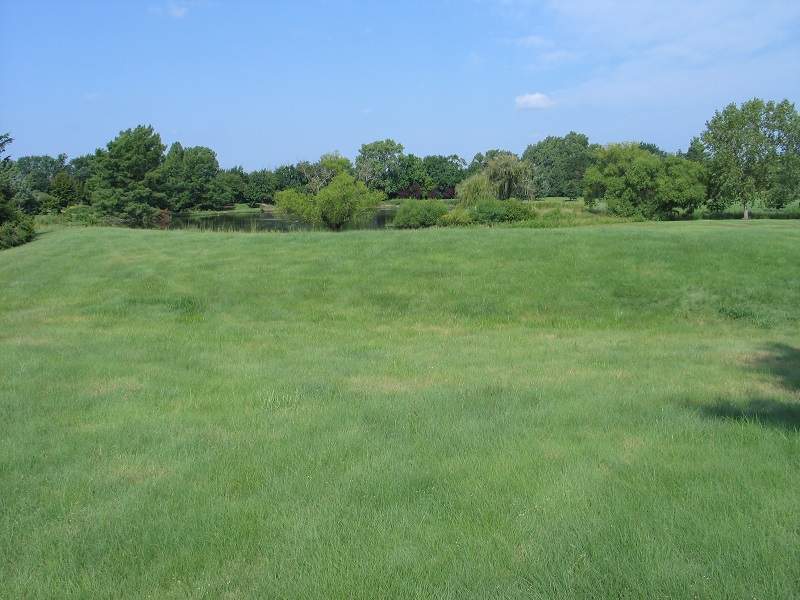
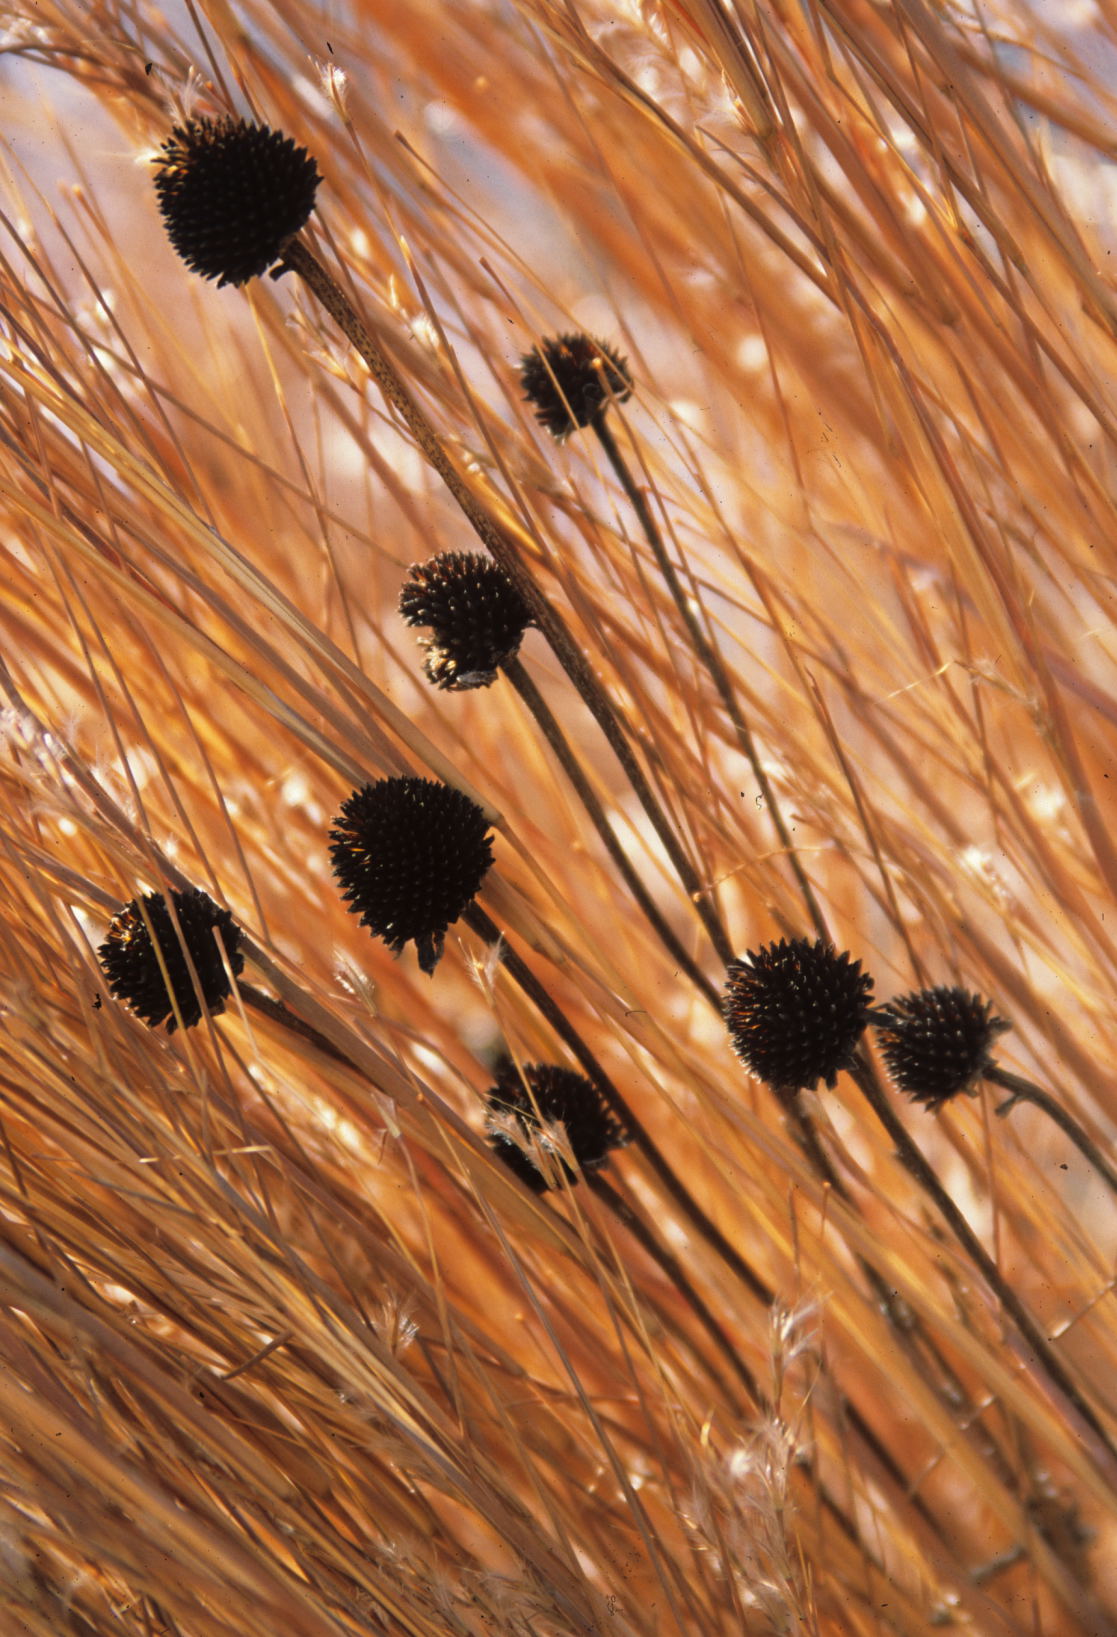
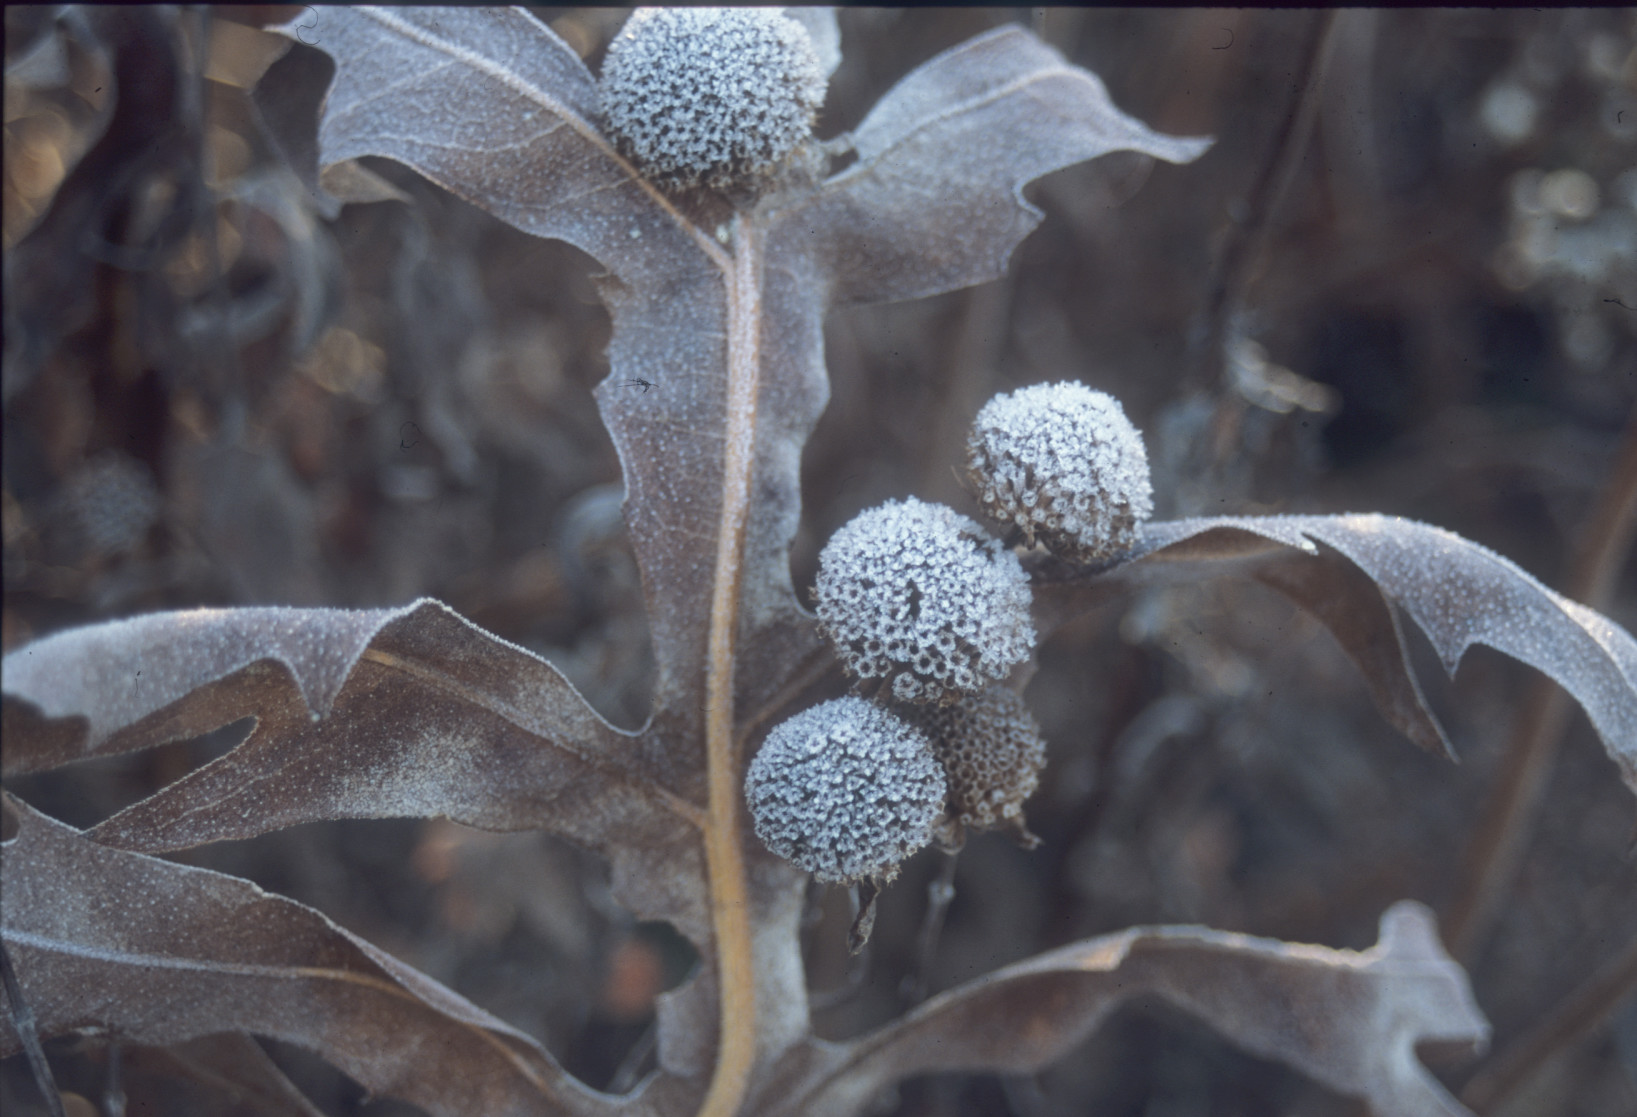
Can we fit more food plots into the human part of this spectrum? Photo Credit: Curt Meine
There Is Hope
Schools would be an excellent place to teach some of these important life skills of growing food. Schools can help empower students to combat the food-related problems created by poverty and disconnect. Growing food plants alongside native plants in school gardens would not be very different from what we already promote through our Earth Partnership for Schools Program. Growing Kansas-adapted flowering prairie plants that can attract beneficial insect pollinators and predators next to tomatoes, squash and peppers – while adding pleasing aesthetics – can only be a good thing, right?
Fortunately, we do not need to start from scratch in this endeavor, because inspiring examples are already out there to guide us. The following people are passionate and experienced in their successful efforts to teach kids and local communities how to grow their own food.
Stephen Ritz – Green Bronx Machine, New York City, NY – “We are a whole school approach to education rooted in health, wellness, and mindfulness.” By getting kids to grow, consume, and distribute food using school gardens, he is helping improve student grades, attendance, and performance. Through the Green Bronx Machine, Stephen is cultivating minds and harvesting hope. Using urban agriculture aligned to key school performance indicators, the program grows healthy students and healthy schools to transform communities that are fragmented and marginalized into neighborhoods that are inclusive and thriving. A visual component of their gardening projects includes vegetables growing via indoor towers.
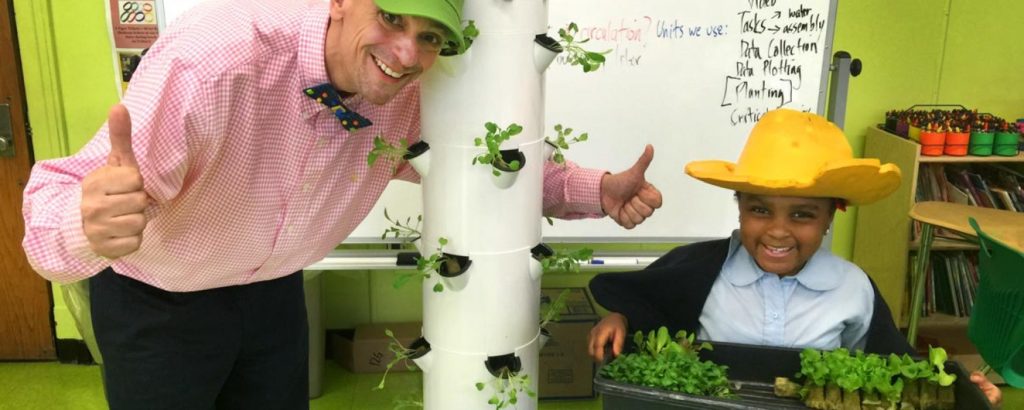
Stephen Ritz Photo Credit: Green Bronx Machine
Will Allen – Growing Power, Milwaukee, WI – The story of Growing Power is an interesting one. Former professional basketball player, author and genius grant winner, Will Allen, grew up on a farm in Maryland. Through the entity Growing Power, which he started with the priorities of growing compost and mentoring youth, Allen became one of the most influential nationwide leaders of the food security & urban farming movement. Turning vacant lots of Milwaukee into vegetable-growing gardens, Allen’s organization successfully raised compost, worms, tilapia through aquaponics, bees, chickens, goats, and more. Growing Power dissolved in 2017 due to mounting debt and Allen’s retirement, but for more than 20 years, through workshops, internships, and leadership programs, Growing Power inspiringly trained and exposed thousands of people to a more community-based relationship with their food.
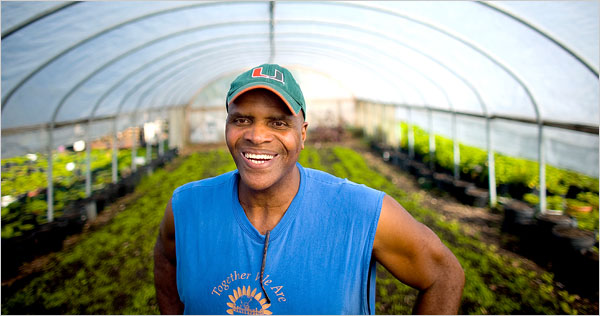
Will Allen Photo Credit: Darren Hauck for The New York Times
Michael Howard – Eden Place, Chicago, IL – In the Fuller Park neighborhood on the south side of Chicago, Michael Howard has helped turn a former dump site into an oasis of food production and biological diversity that promotes nature conservation and urban agriculture. Their story is helping transform the conversation in this area from lead poisoning and urban blite to nature conservation and urban agriculture. Environmental education at Eden Place focuses on undoing cultural disconnect and scars of the past through hands-on food production and habitat restoration. New funds and programming are focused on bringing stronger science proficiency for students, teachers, and families.

Michael Howard Photo Credit: Mike Nowak
Jared Hall – Coleman Middle School, Wichita, KS – An inspiring local example of kids learning about community-based food systems can be found at Coleman Middle School in Wichita. 7th Grade Science Teacher, Jared Hall, makes science fun with hands-on, project-based learning endeavors, including a honey-making beehive in the classroom, vegetable gardens just outside the door, and chickens and rabbits on the playground. Hall is teaching economics, entrepreneurship, botany, and ecology in the process and his students are having a great time while learning.
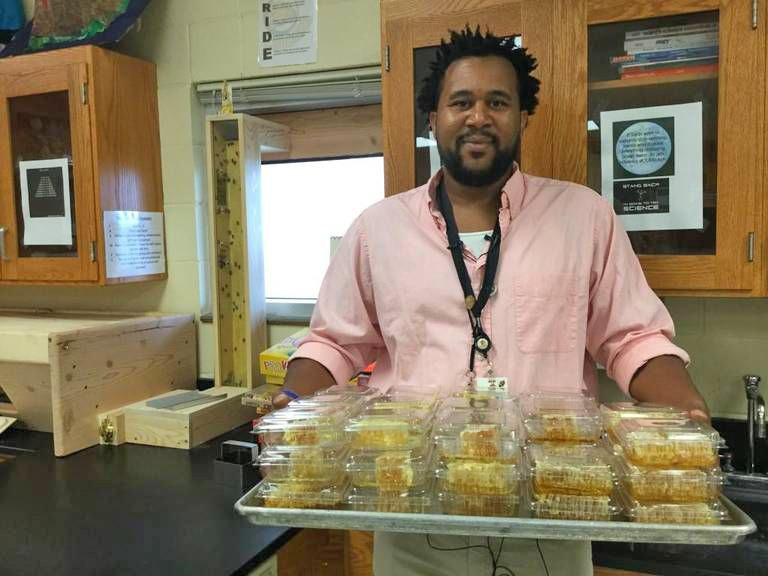
Jared Hall Photo Credit: Coleman Middle School
I attended the Kansas Rural Center 2018 Farm & Food Conference last week and learned that there are many more inspiring sustainable food examples out there to learn about and emulate. Mary Hendrickson, Rural Sociology Professor from the University of Missouri, taught us about the sustainability of Community-Based Food Systems. Donna Pearson McClish of Common Ground in Wichita taught us about food deserts in south-central Kansas and what she is doing to combat them. Terrell Dyer and Aaron Marks of Project RALLY in Kansas City presented about how their urban gardening program is focused on Respect, Accountability, Love, Leadership, and Youth.
The Future of Food
There are good ecological reasons for mixing native plants with food plots as highlighted in the Xerces Society Book, Farming with Native Beneficial Insects.
Polyculture farming solutions have been a successful message of the Land Institute for decades. But these are topics for future blog posts.
Stay tuned for possible food-laden tweaks to the Kansas Earth Partnership for Schools Program in the future.