
As stewards of our landscapes, we need to be constantly vigilant as we monitor for problematic weeds and invasive species. We have some usual culprits such as bindweed, bermuda grass, Johnson grass and Bradford pear trees. However, I have noticed another subtle spreader that is quite attractive but quite pushy – Dame’s rocket.
For years, I have been monitoring a growing population of Dame’s rocket in one of our bordering hedgerows. It is beautiful right now with its bright purple blooms, but don’t be fooled. This desirable plant will wreak havoc on the natural environment if left unchecked. Larger populations will even threaten the survival of native plants and degrade habitat and water quality.
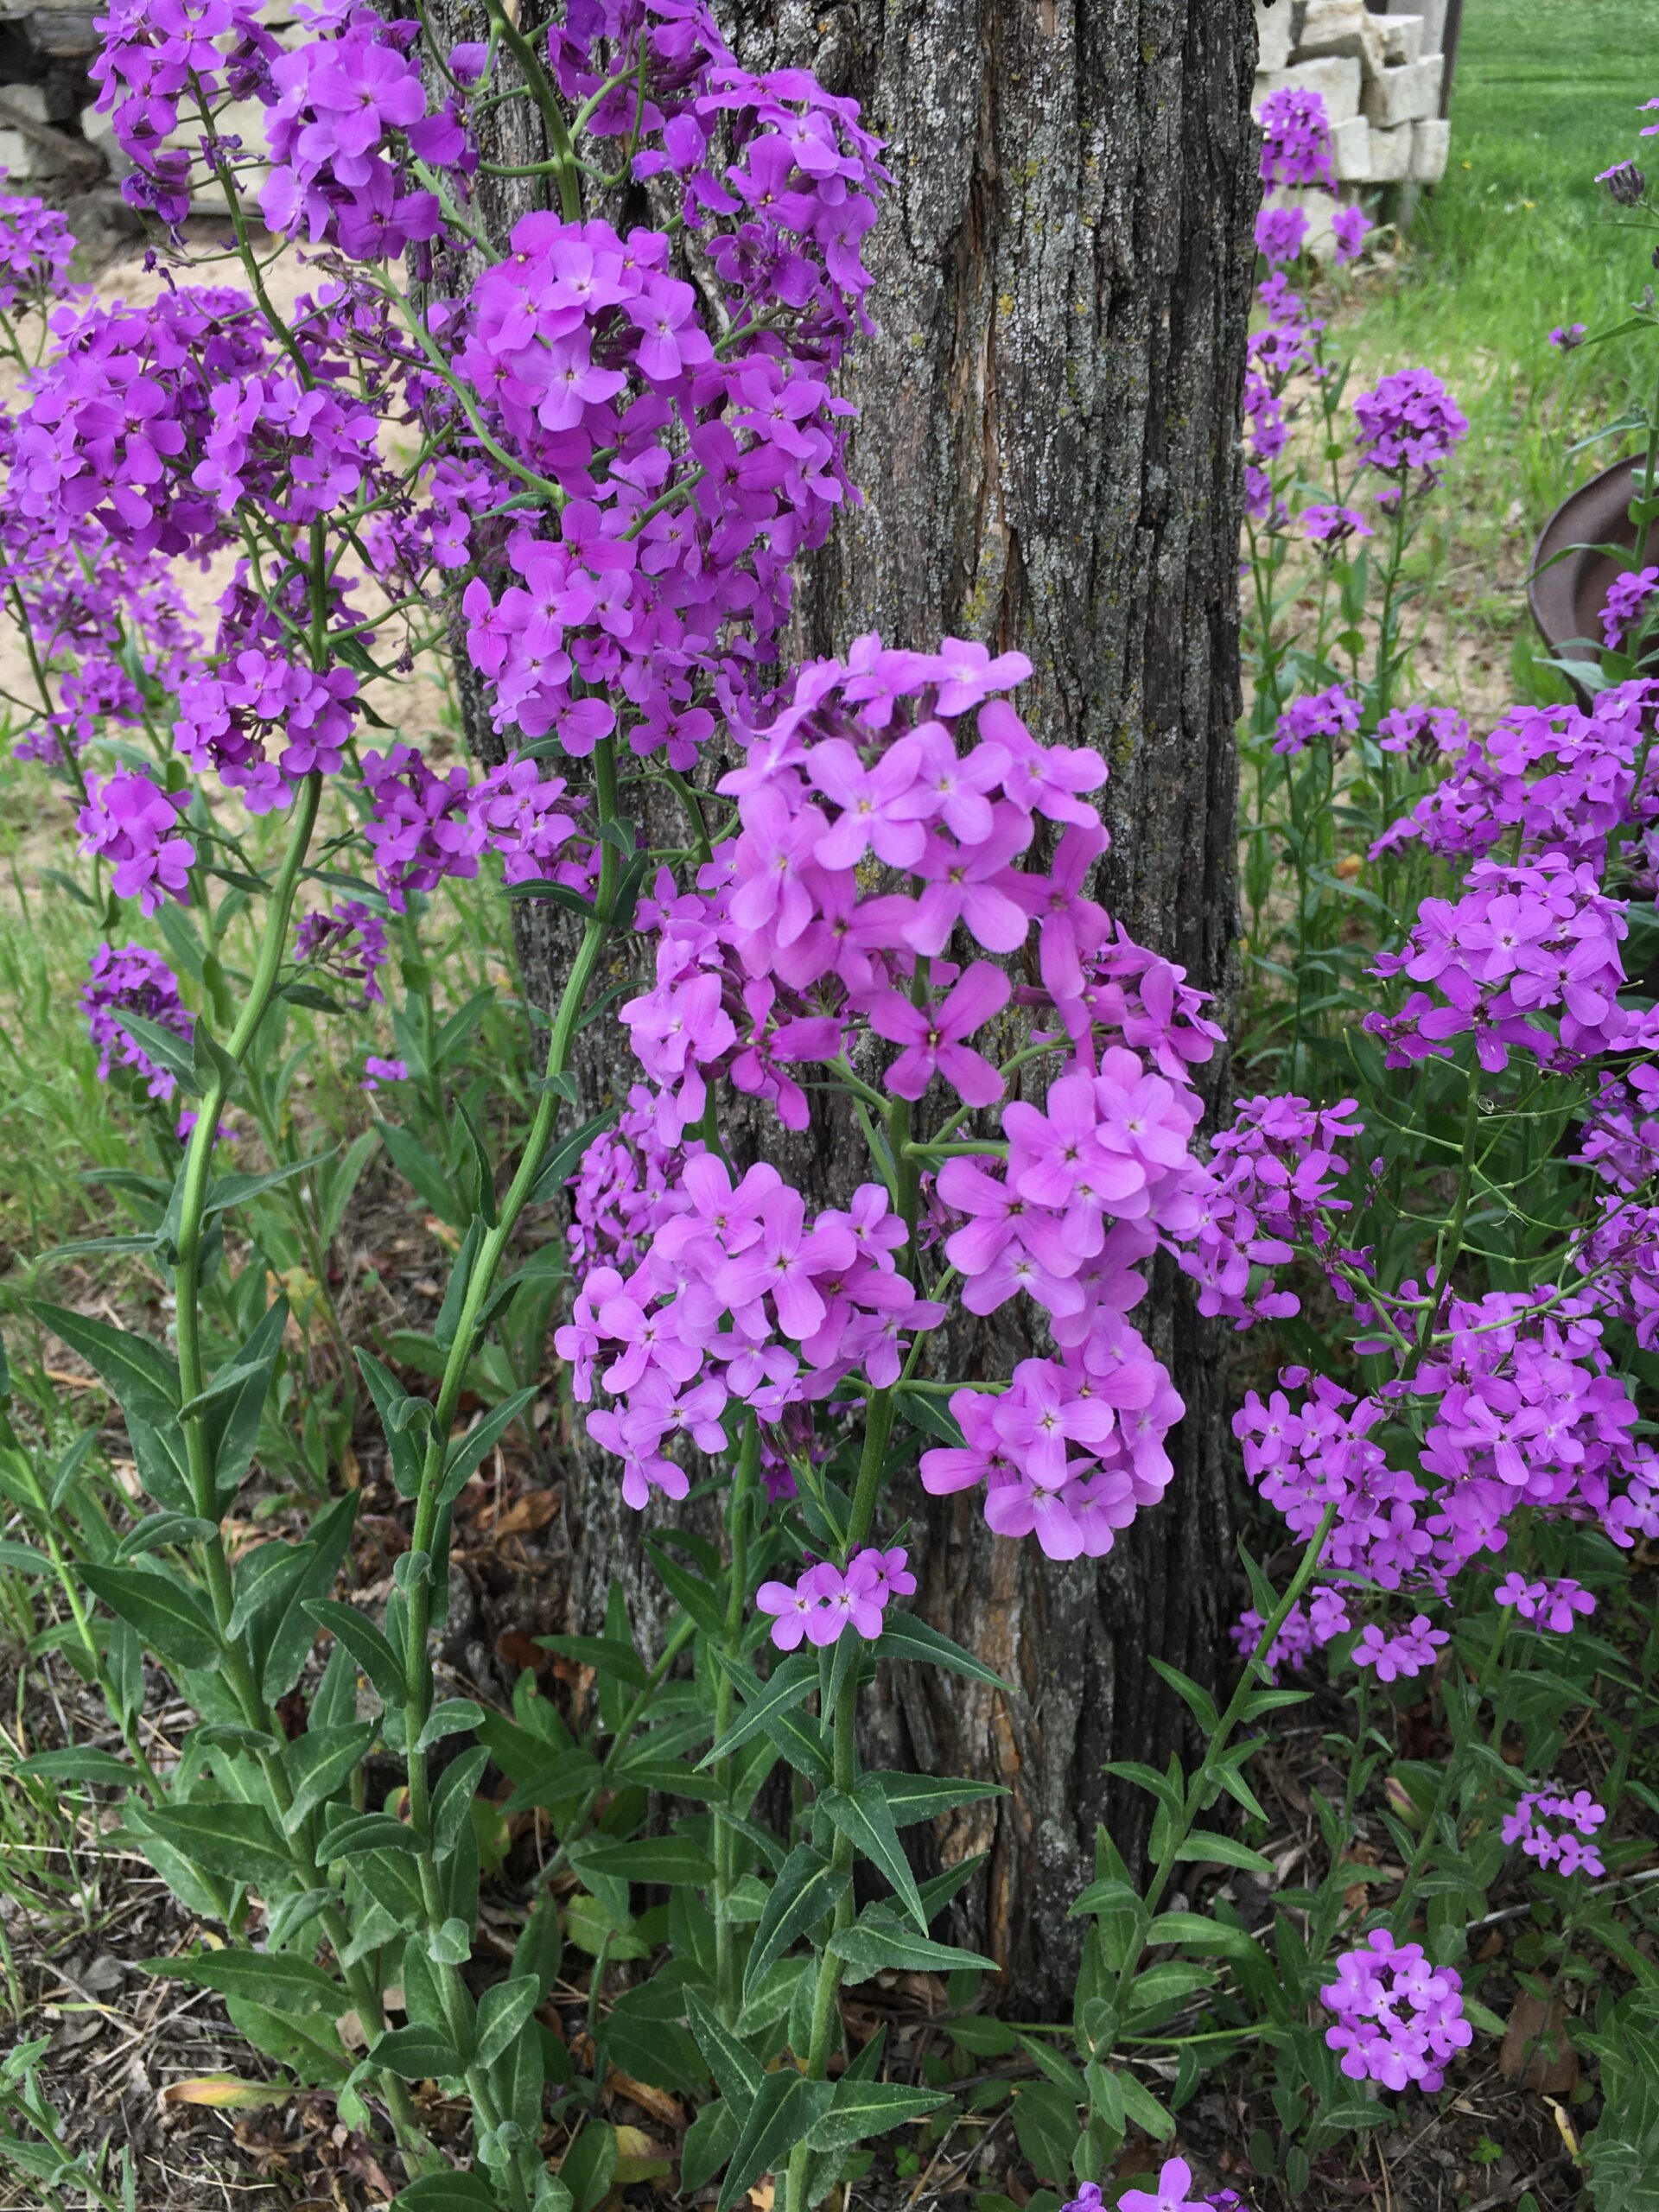
Dame’s rocket (Hesperis matronalis) is a tall, annual, biennial or short-lived perennial, which produces either white, pink or purple flowers in the April and May. It was introduced to North America in the 1600’s from Eurasia. The attractive blooms have made it a garden favorite. It is often seen in roadside ditches, hedgerows, older farmsteads. However, in recent years, Dame’s rocket has gone rogue, moving from yards and garden plantings into adjoining landscapes.
Phlox’s Doppelgänger
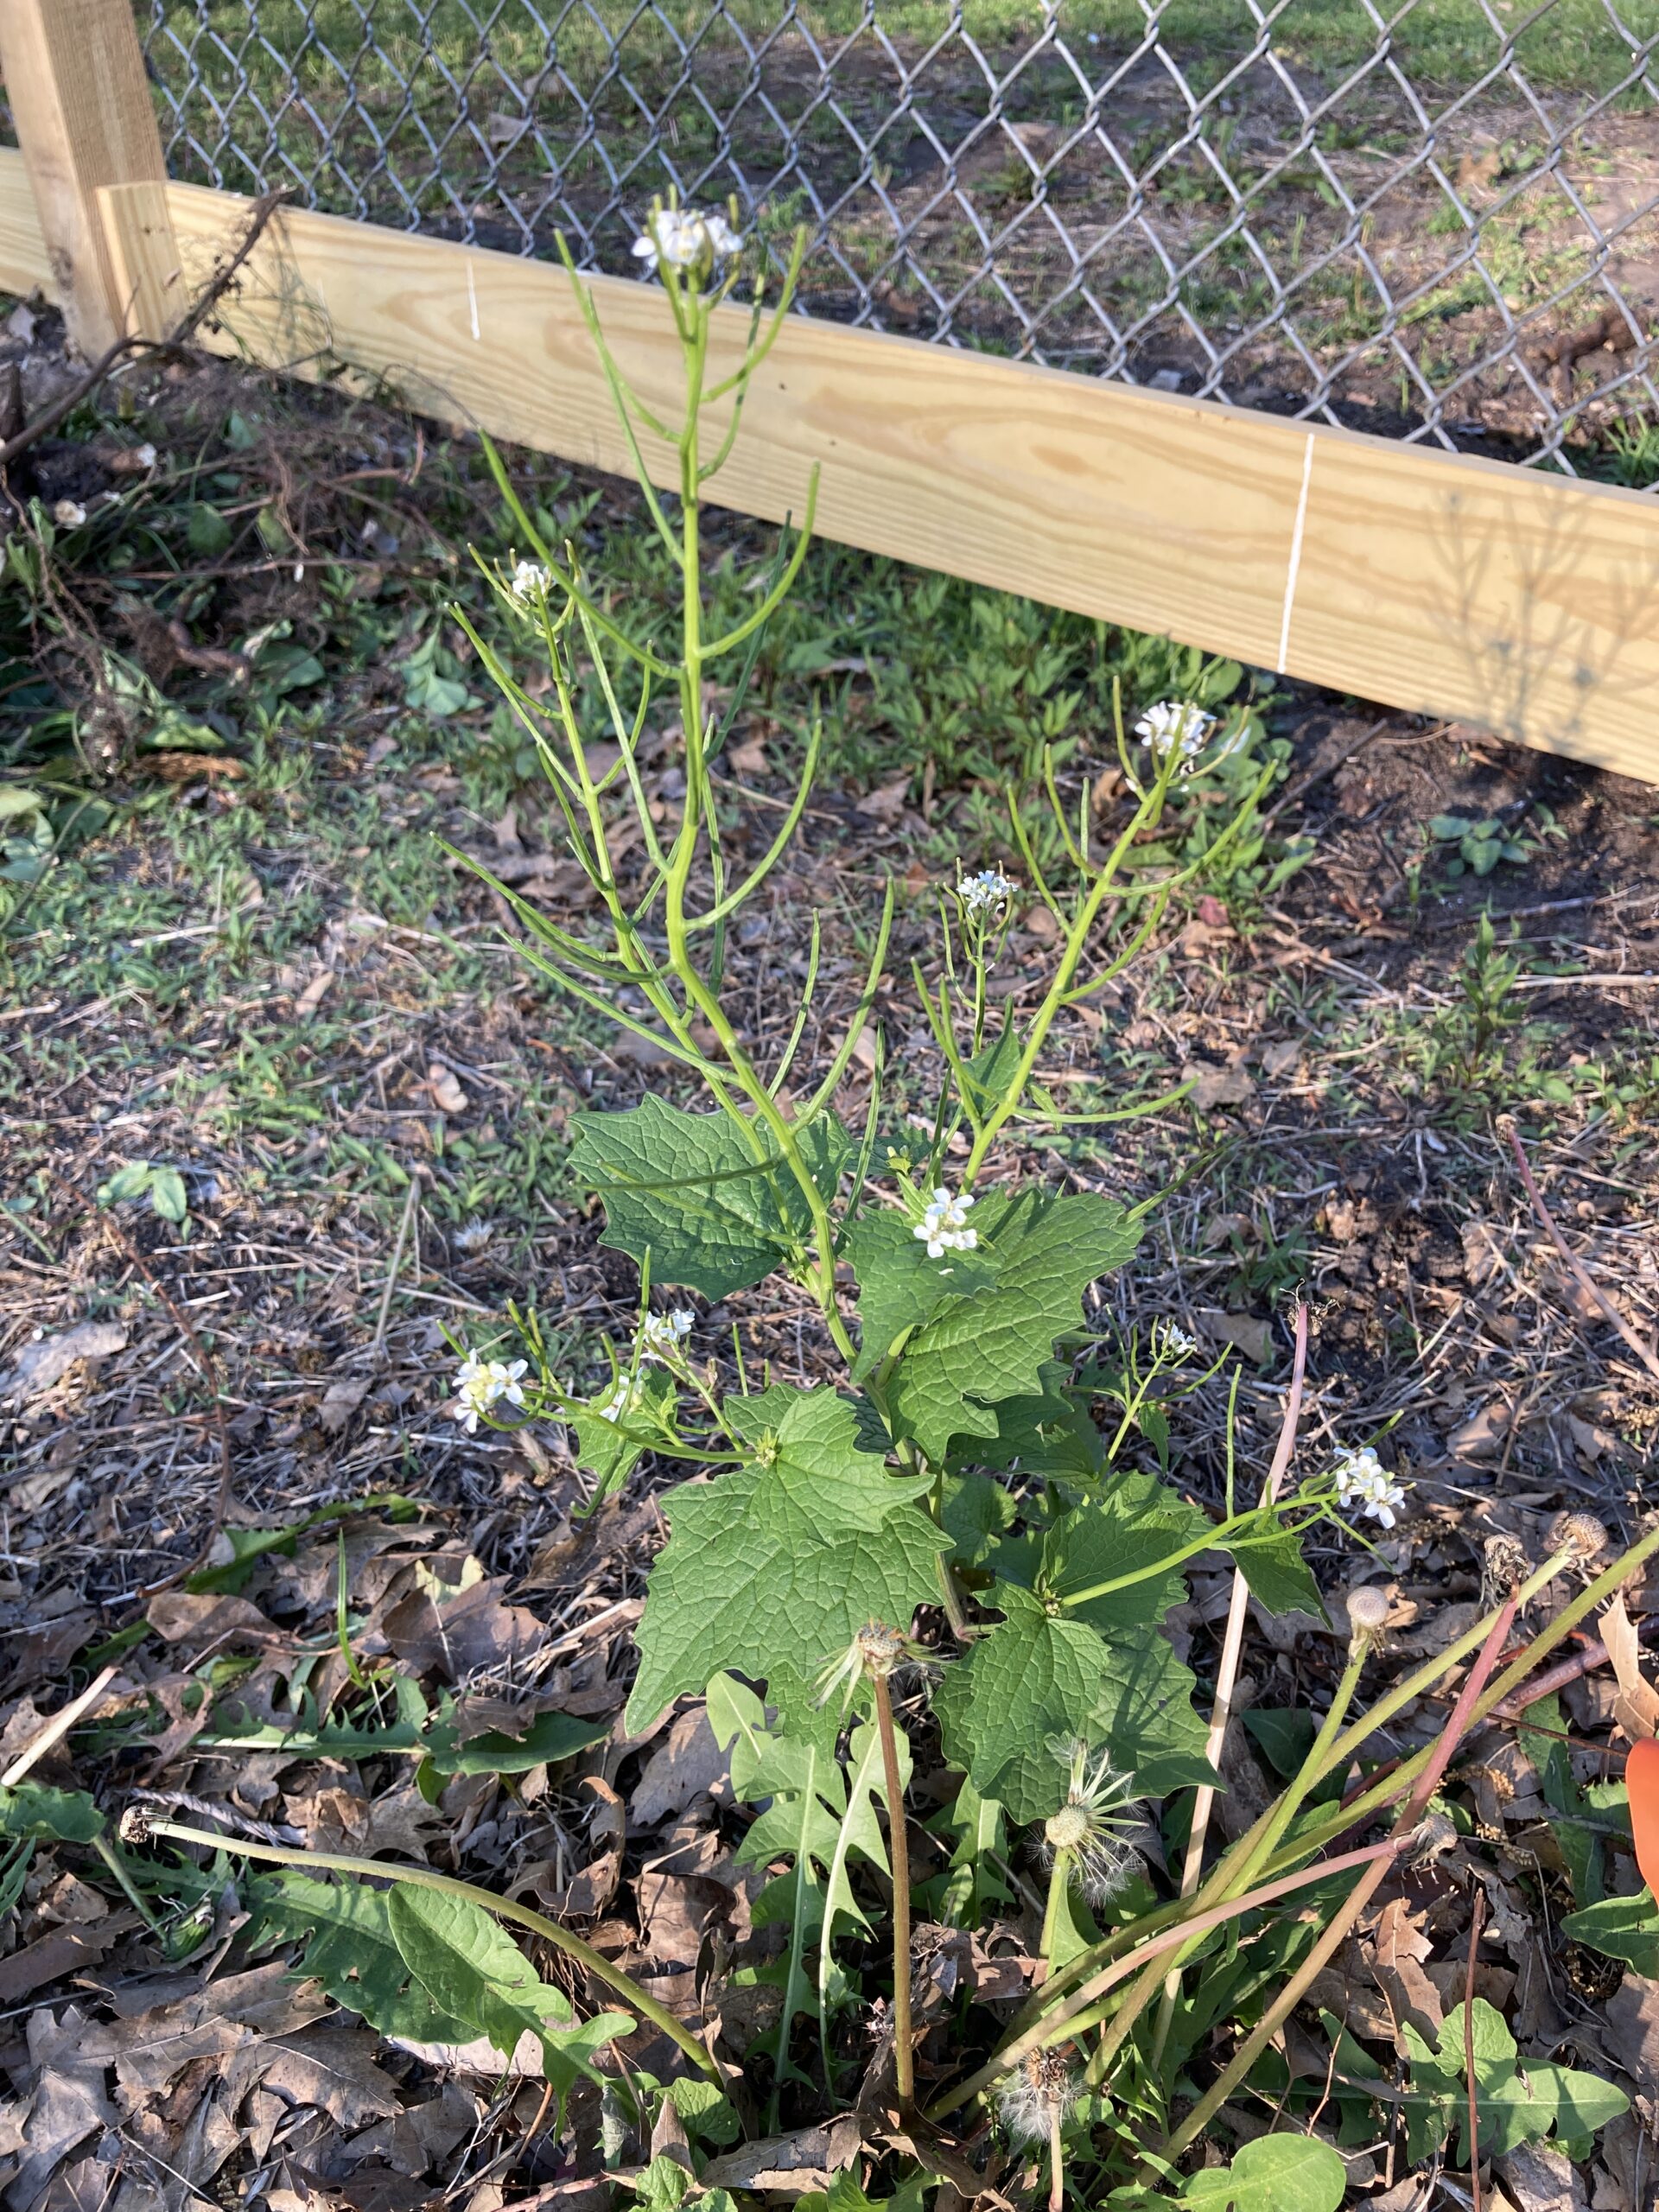
From the Mustard family (Brassicaceae), this weed resembles tall garden phlox in height and color. However, Phlox is in the Phlox family (Polemoniaceae). Perhaps the most distinguishing difference between the two is that Dame’s rocket has four petals, while phlox has five. As part of the mustard family, it produces an abundance of seed. These seeds are dispersed by mammals and eaten by birds. When the seed pods ripen, they shoot seed in all directions, including the coats of wildlife. These mammals unknowingly spread the seed to nearby waterways, hedgerows, pond edges, and maybe your landscape. Dame’s rocket is reported in most states equal or north of Kansas longitudinally. It is reported as invasive in CO, CT, IN, MD, MI, NJ, PA, TN, VA, WI, and WV.

Dame’s Rocket is closely related to other problematic weeds of the mustard, family such as garlic mustard, hedge mustard, wild radish and yellow rocket. All of these weeds are prolific and opportunistic, infesting field margins, woodlands, open grassland and wetlands. It appears to have allelopathic tendencies (the ability to produce chemicals that prevent or reduce the growth of other plants) similar to garlic mustard. With these tendencies, Dame’s rocket and garlic mustard will quickly form dense monocultures within a few years, pushing out other desirable native plants. As has happened to our little planting, it quickly colonizes by spreading in every direction.
Controlling Dame’s Rocket
To control Dame’s rocket, pulling before it produces seed is the best option if the population isn’t too large. Make sure to remove the whole plant roots and all. Discard the plants in the trash.
Spraying is another option with a 2,4-D product. A systemic herbicide applied as a foliar spray can be effective. Herbicide is best applied to the basal rosettes (low round clumps of leaves) in late fall or early spring, when other plants are dormant. Always read and follow the directions on the label when using herbicide. Any plan must also be mindful of desirable native plant species and habitat conditions in a targeted location that may be vulnerable to herbicide uses. This is a reason to spray as a last resort. Cutting or mowing can also prevent seed production and spread until other management techniques can be initiated.
Over the past few years, I have changed my tune regarding Dame’s rocket. As beautiful as Dame’s rocket may appear, it is an invasive species with the potential to damage entire natural ecosystems. I used to say, it is doing no harm growing in the hedgerows. Those are just waste areas that need a little beautification, I thought. Then I started seeing it in other small populations away from the original colony. Be on the lookout for it and take action before it spreads and really becomes a problem in your landscape or your neighbors landscape.


