
I recently read an article in the summer edition of National Wildlife Magazine that caught my attention. It was all about living fences – areas of dense plantings that form a barrier between two properties or areas. These spaces not only make your yard feel more private and cozy, but are great for attracting and sustaining wildlife.
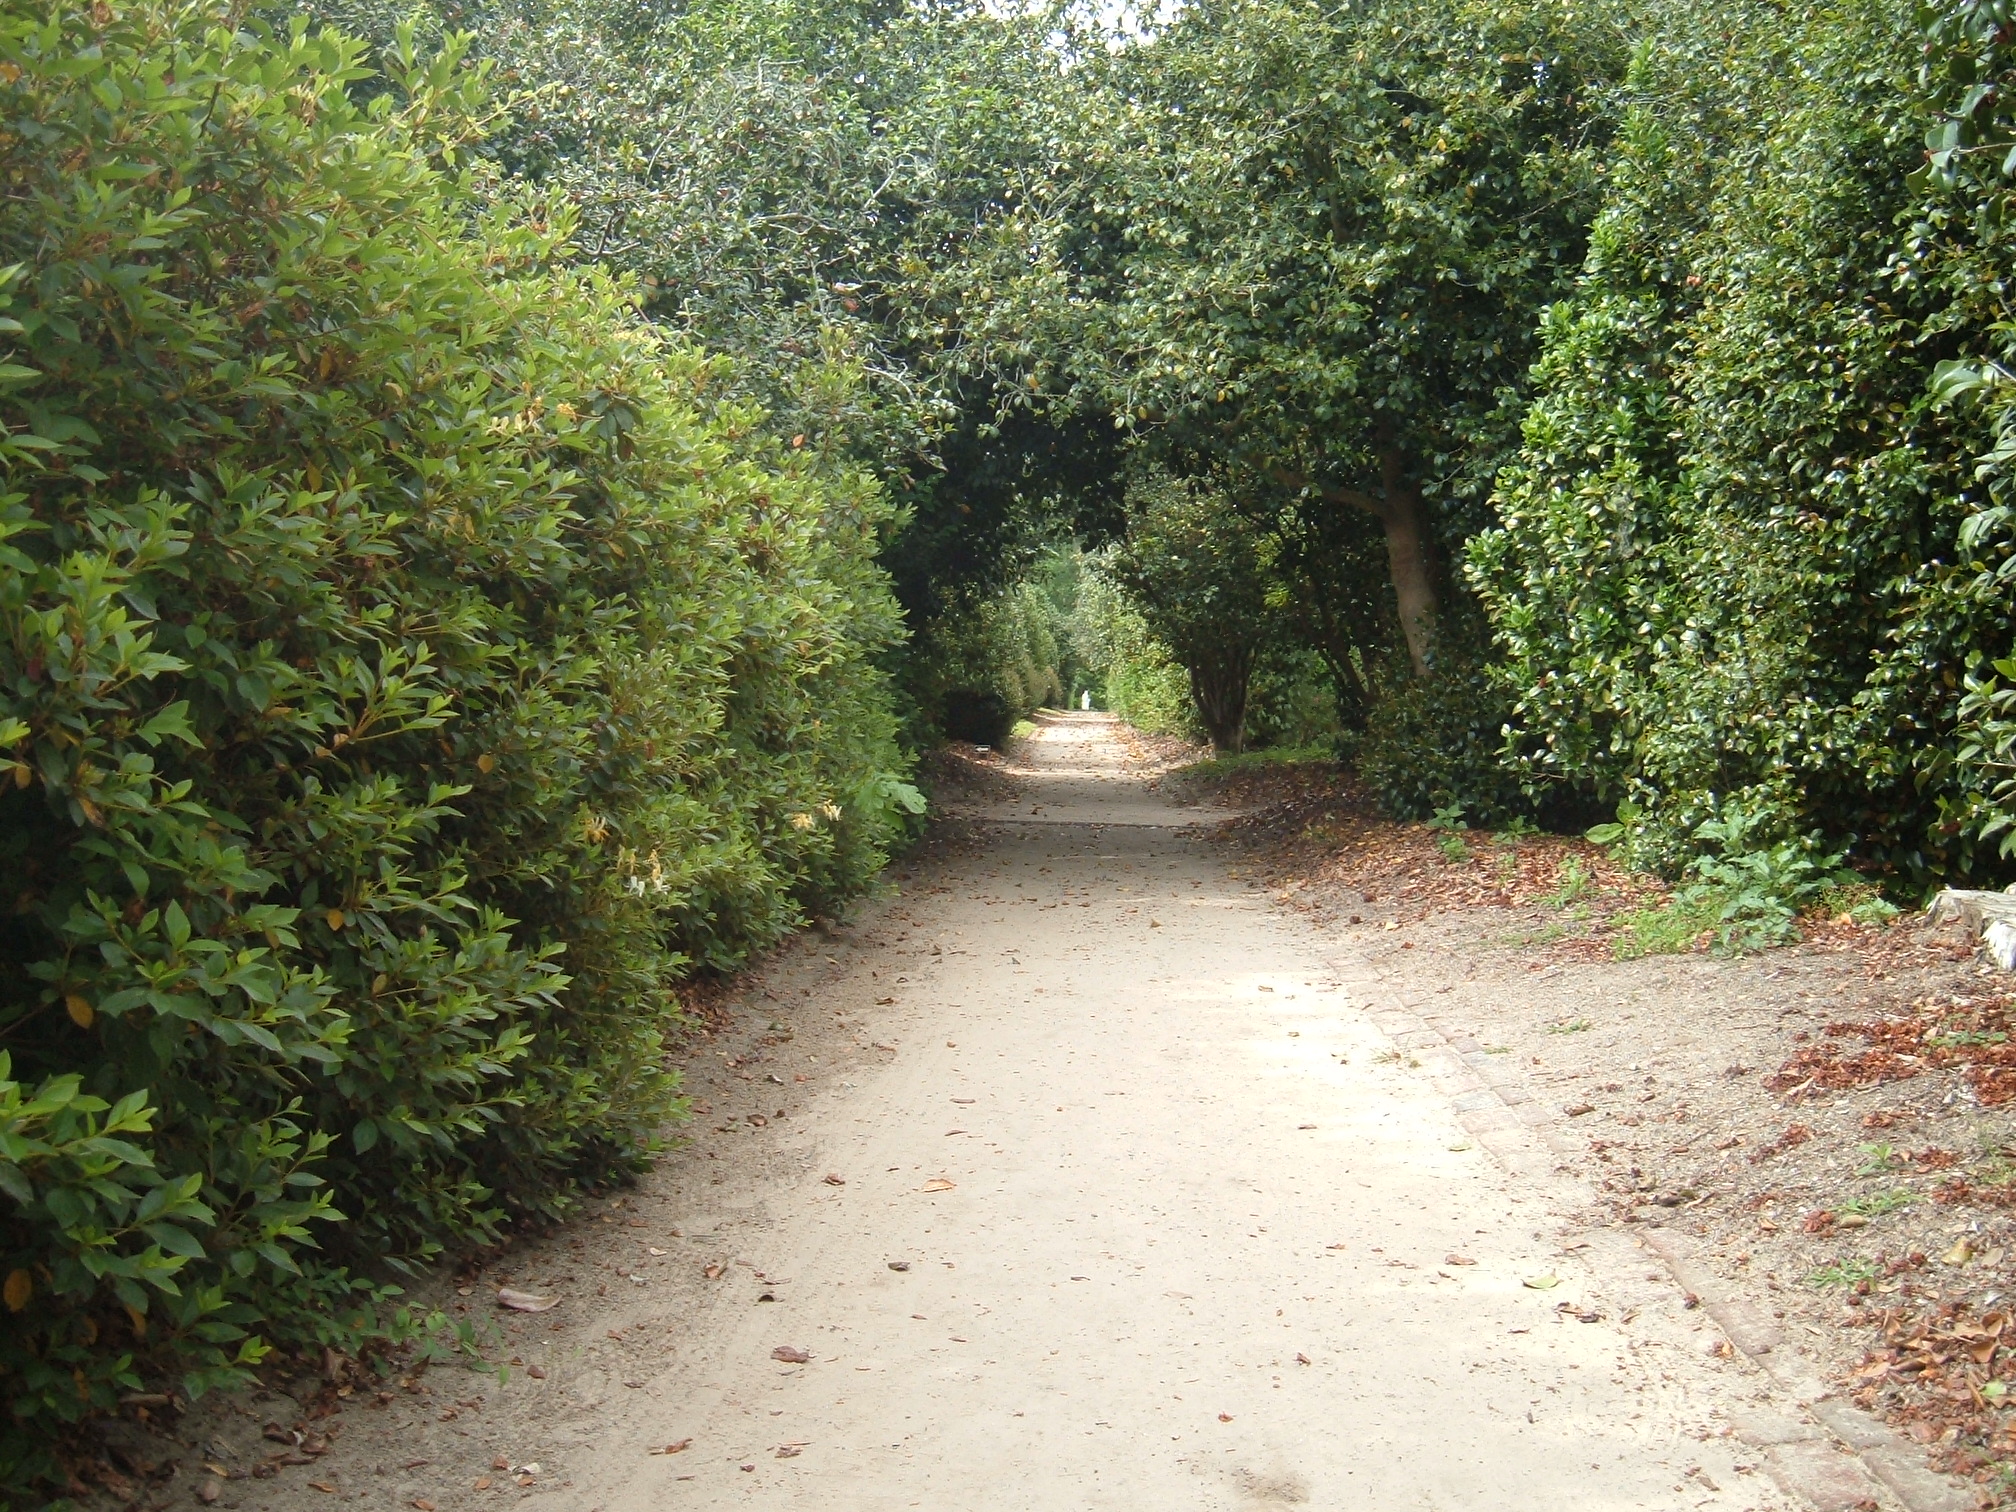
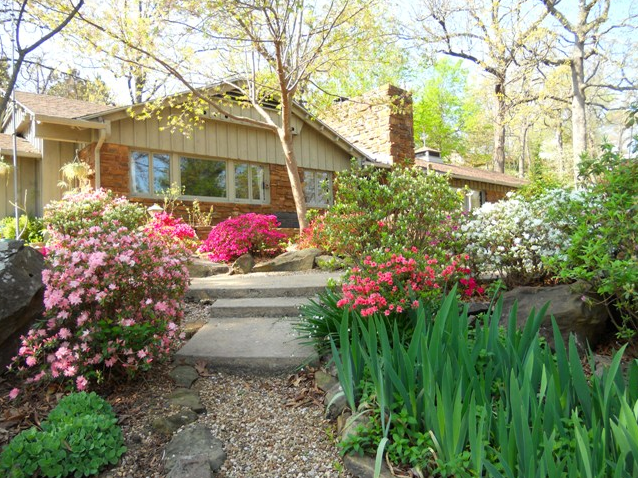
Living fences can be big (like a hedgerow) or small (like a back garden border). They can enclose your yard, your patio, or even your driveway. By Brian Zinnel [CC BY-SA 4.0 (https://creativecommons.org/licenses/by-sa/4.0)], from Wikimedia Commons
What’s it made of?
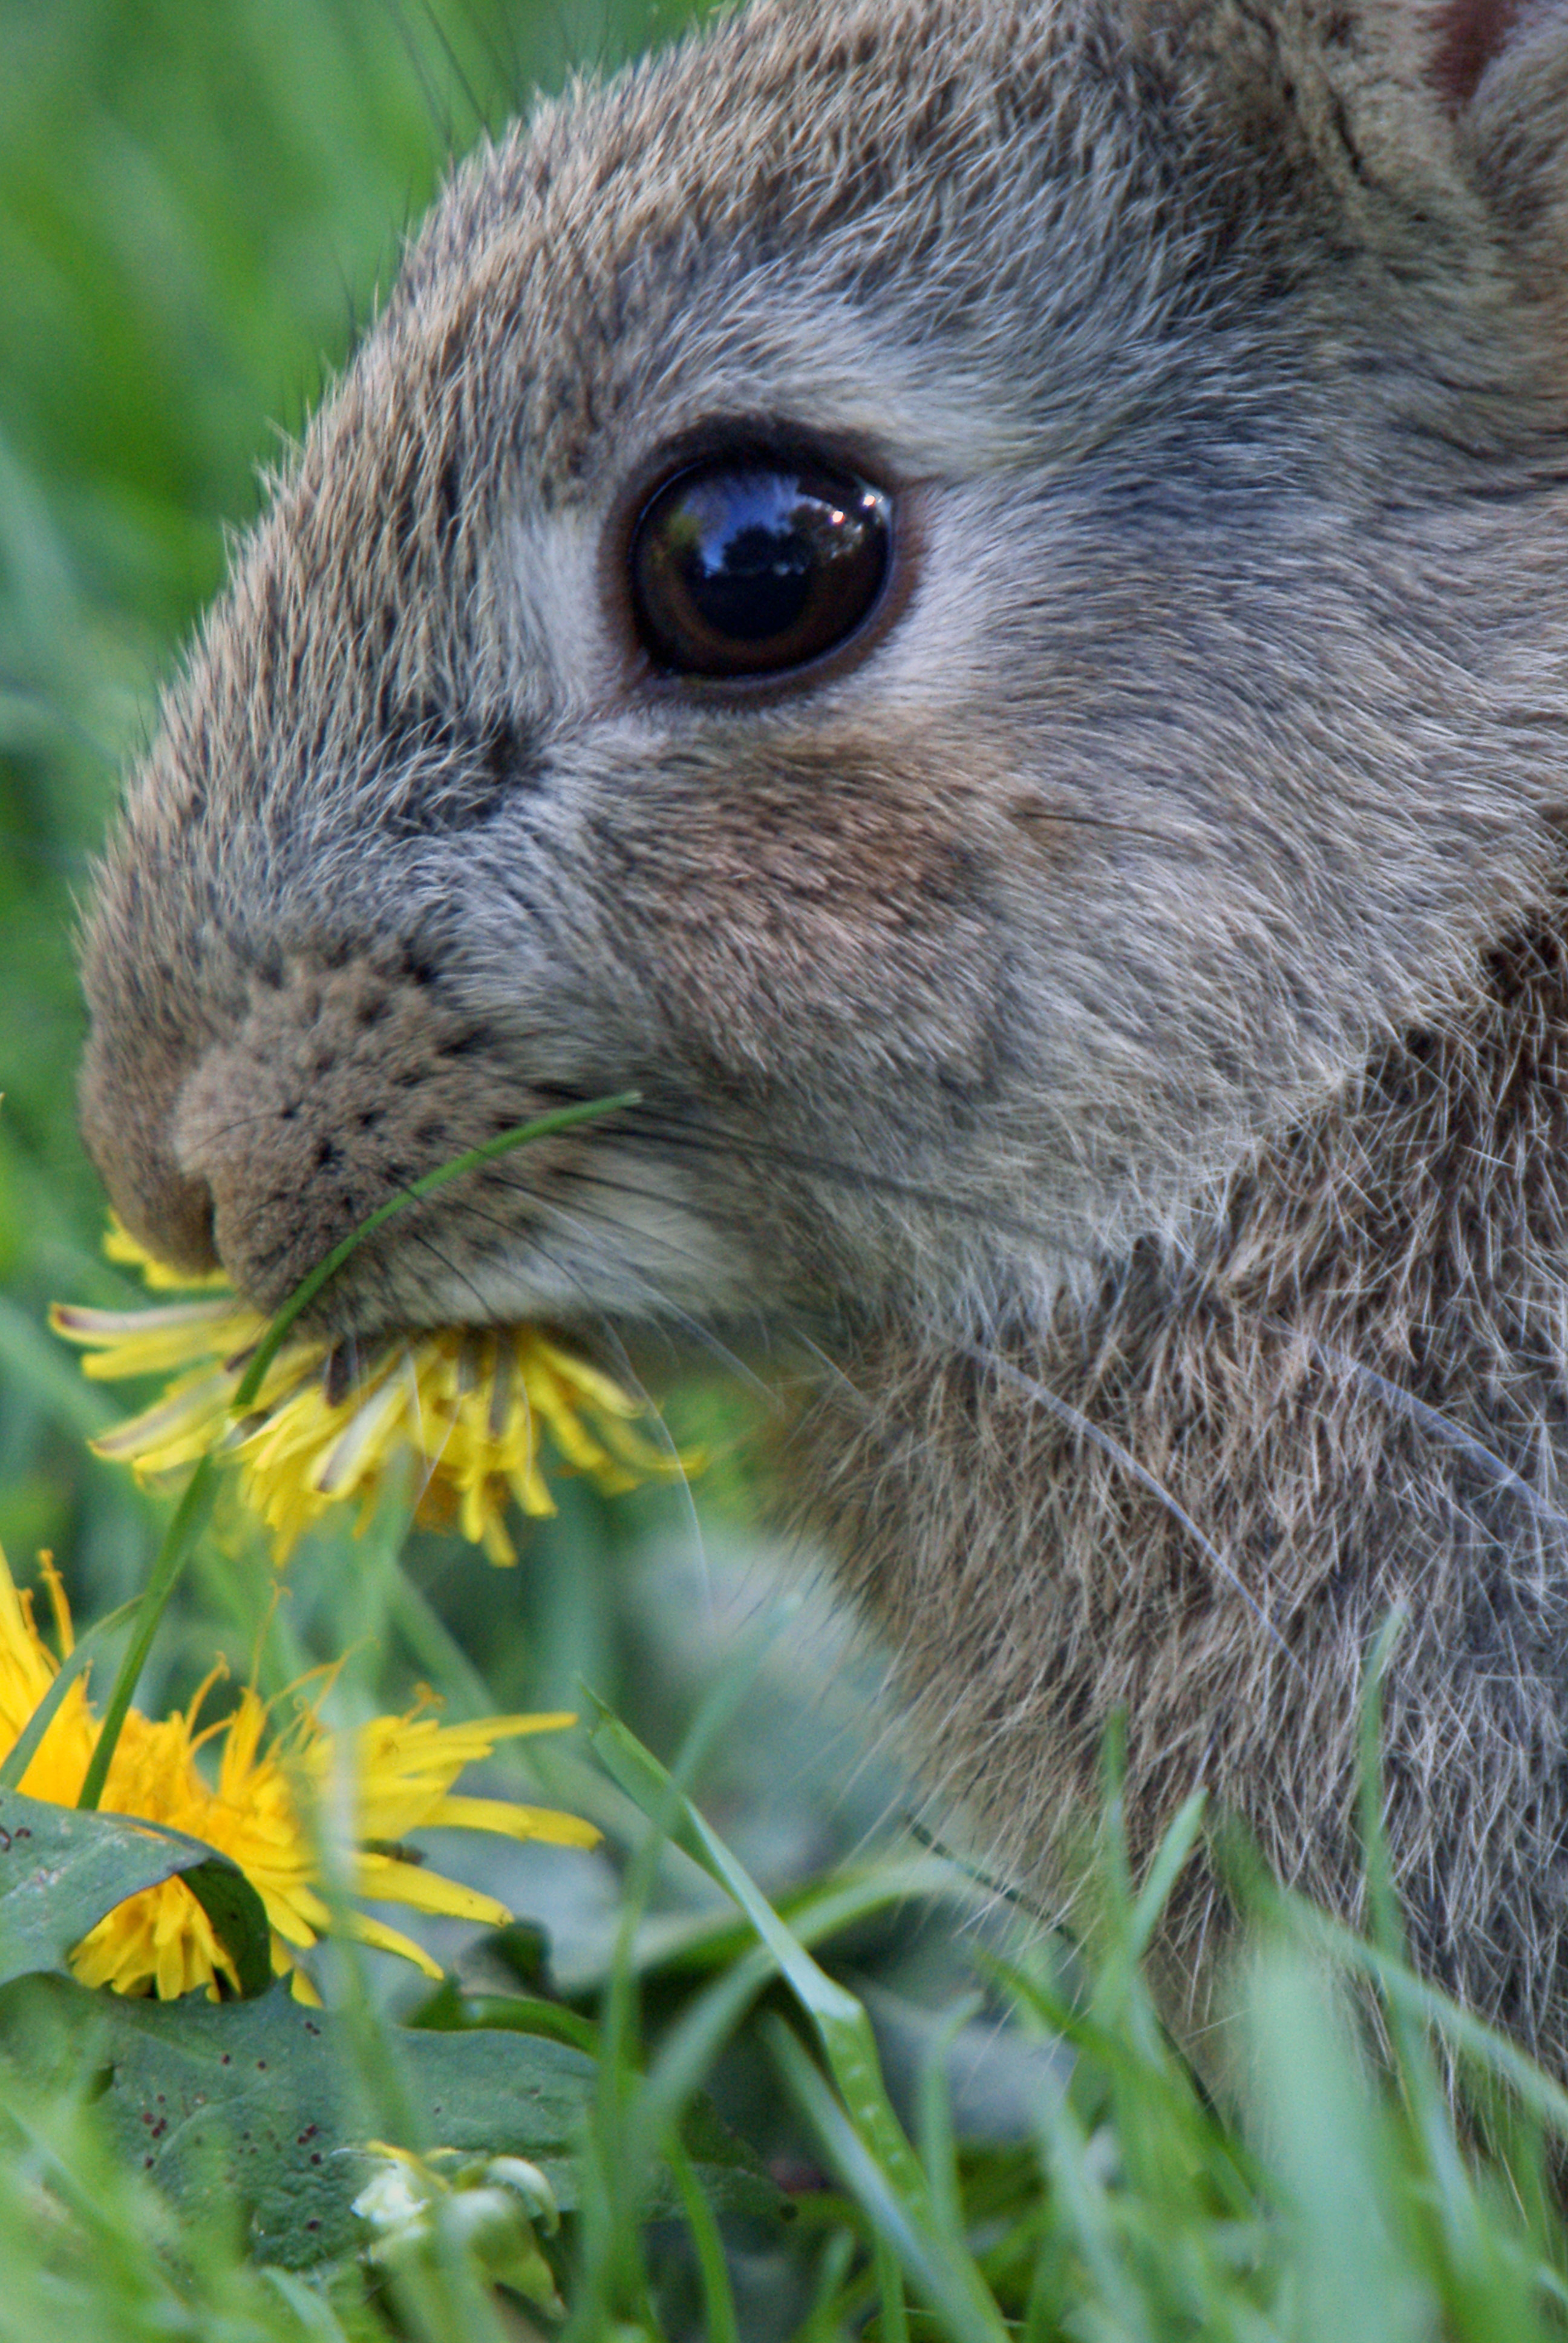
Living fences should be layered and lush. As the article suggested, it should have 3 layers in descending height. Plant the first layer in small to medium sized trees or shrubs. The second layer is mainly shrubbery, with some tall perennials. The last and lowest layer is herbaceous perennials. You should consider each plant for its wildlife attracting qualities: Does it have thorny branches to protect birds from predators? Does it have flowers for pollinators to visit? Is it dense enough for rabbits, opossums, bats or other small mammals to take refuge in? Are there caterpillar host plants included? Each of these factors increases valuable habitat on your property, making life easier for the animals we share space with.
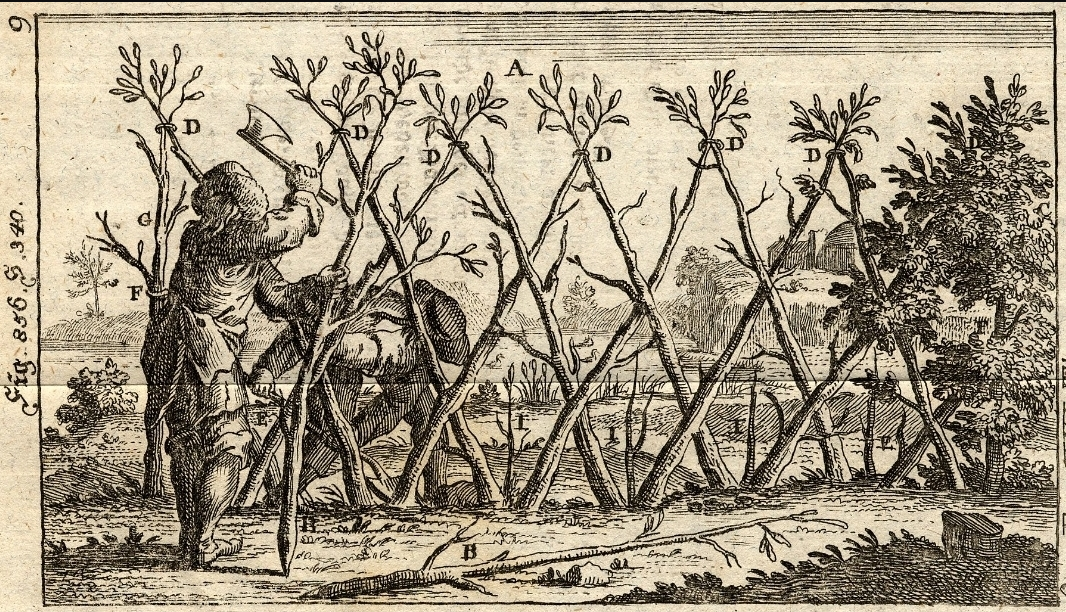
Living fences are not a new idea. In the days of old, people would actually bend young trees to train their growth into a lattice pattern. By Johann Georg Krünitz [Public domain], via Wikimedia Commons
Plant Selection
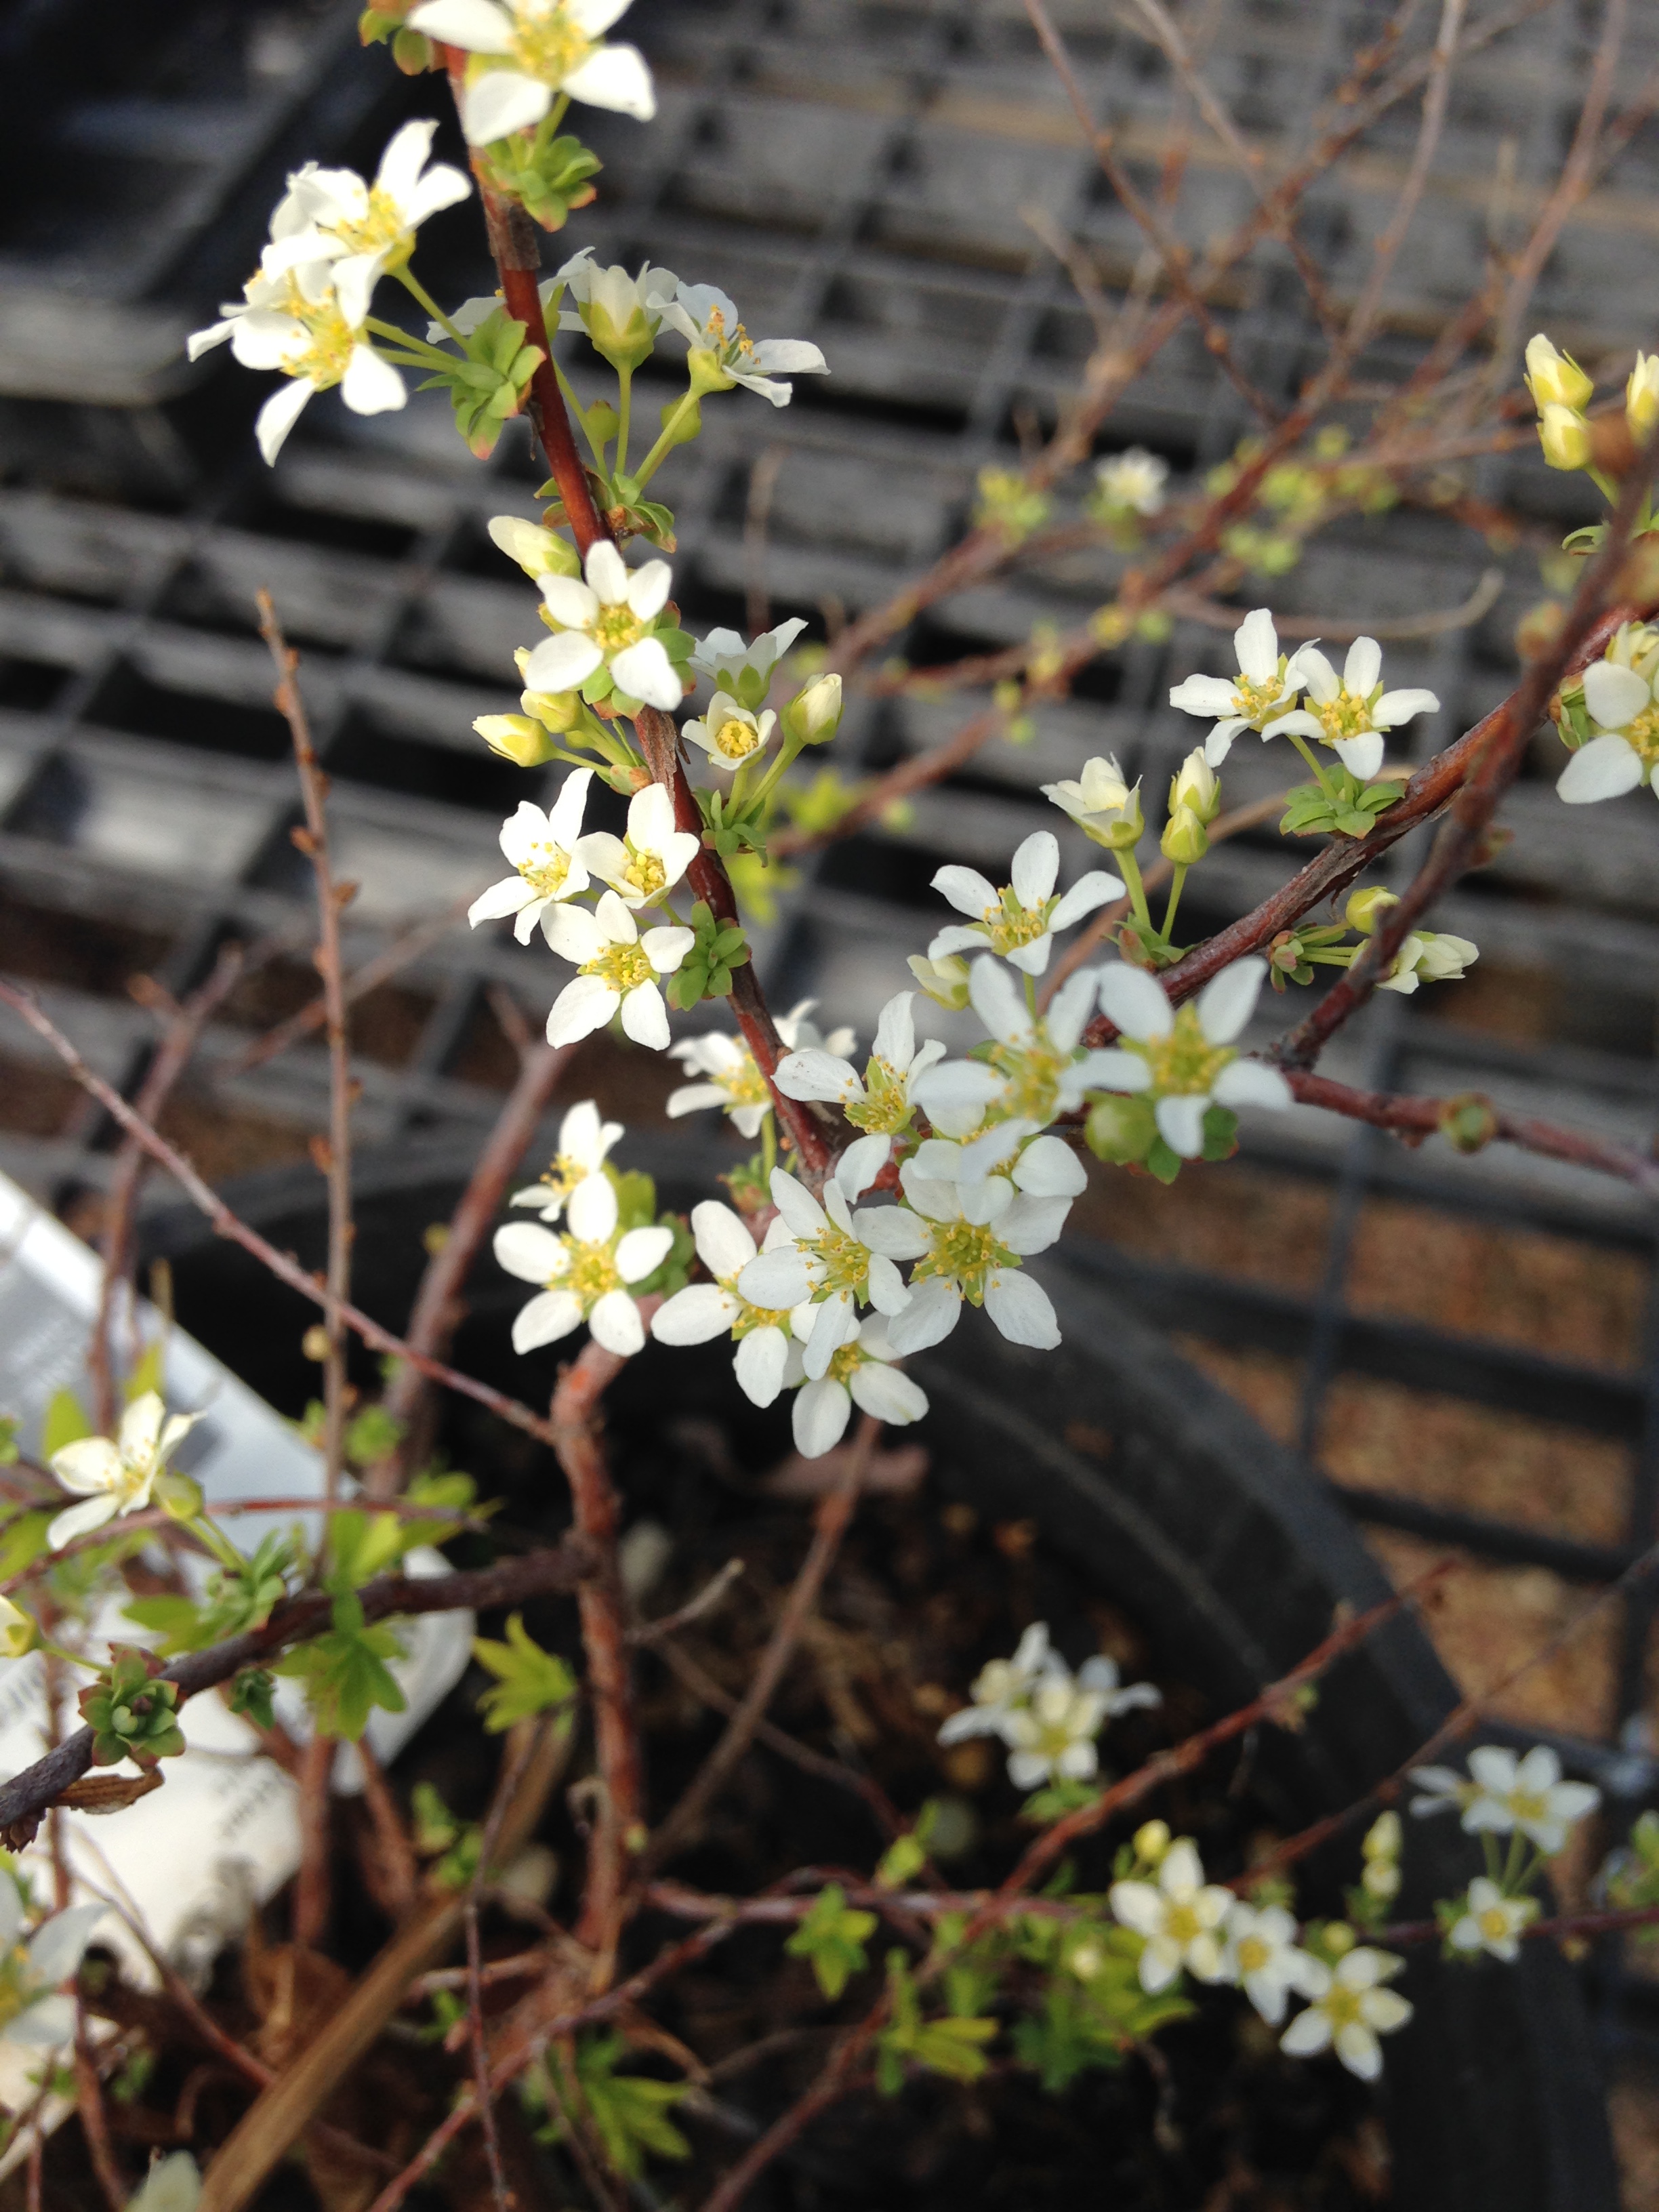
Suckering or thicket forming trees such as pawpaw (Asimina triloba), dogwood (Cornus drummondii), serviceberry (Amelanchier arborea) and tall sumac (Rhus typhina) make excellent top layer specimens for our area. Thickets provide the dense cover that small birds need to build nests and feel safe.
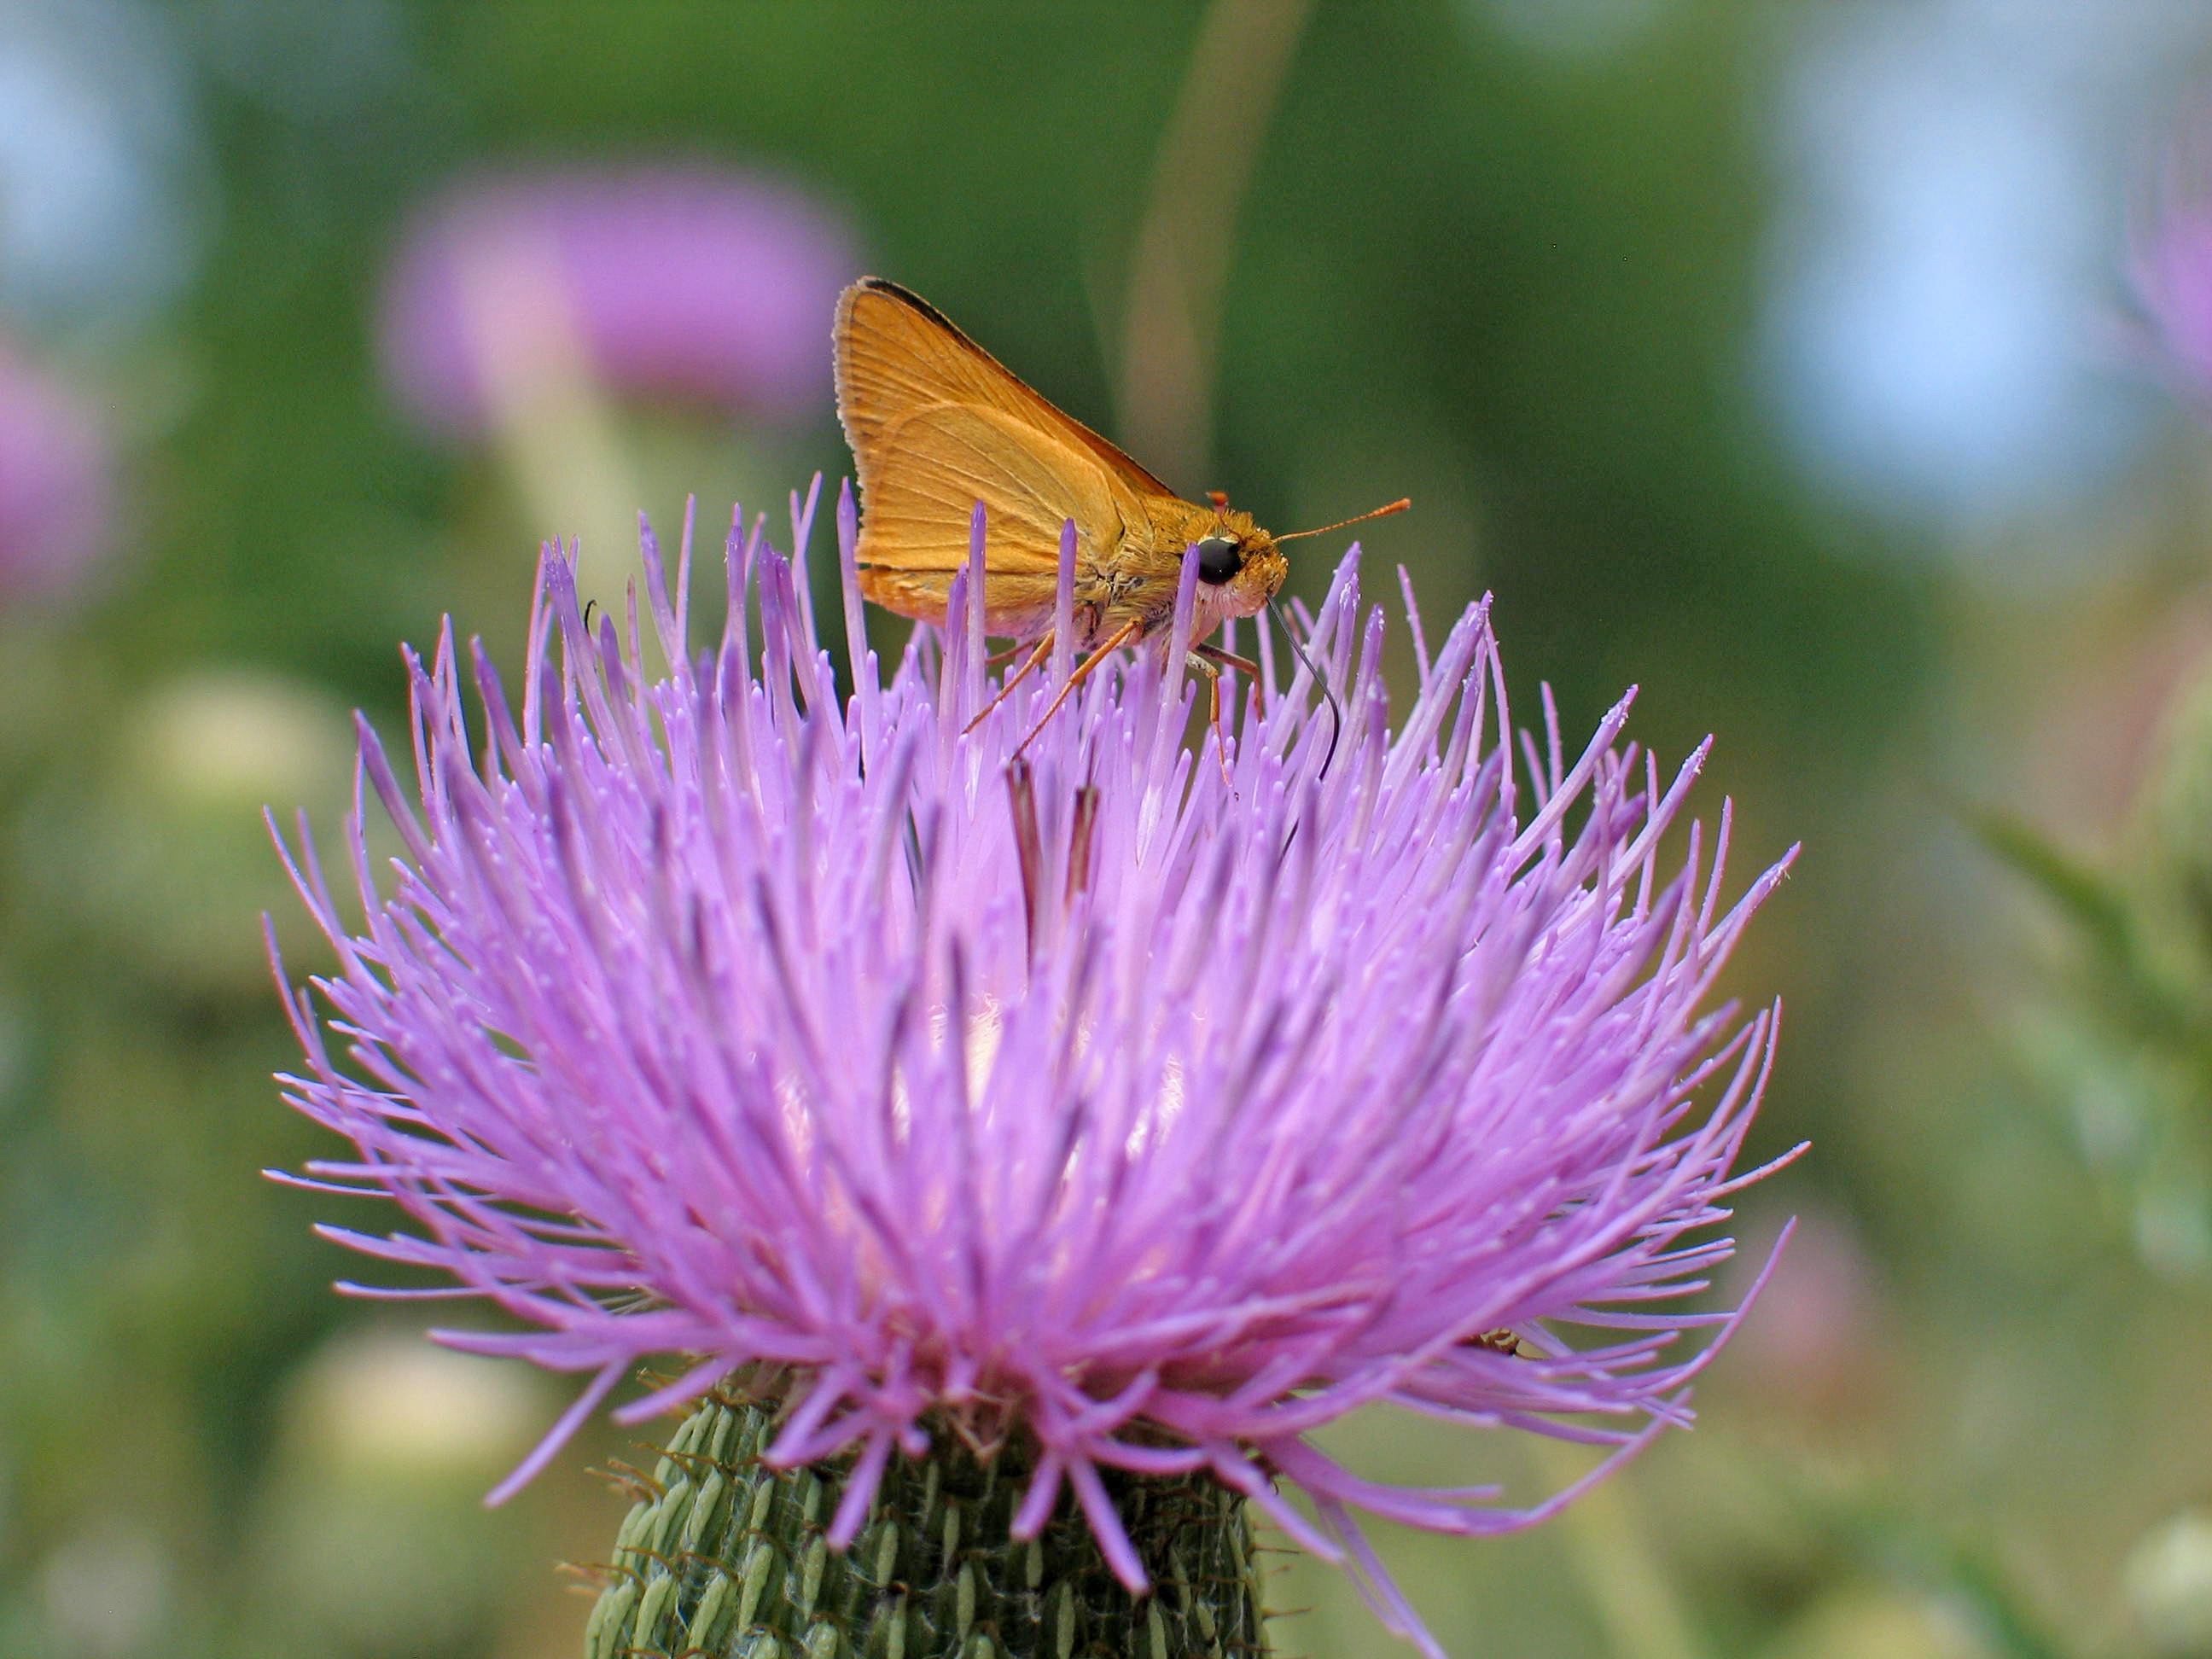
The middle layer could be populated with New Jersey tea (Ceanothus americanus), American beautyberry (Callicarpa americana), buttonbush (Cephalanthus occidentalis) or lead plant (Amorpha canescens). These shrubs reach from 3 to 7 feet tall and have ample blooms to feed pollinators. Beautyberry is also a favorite among berry eating birds.
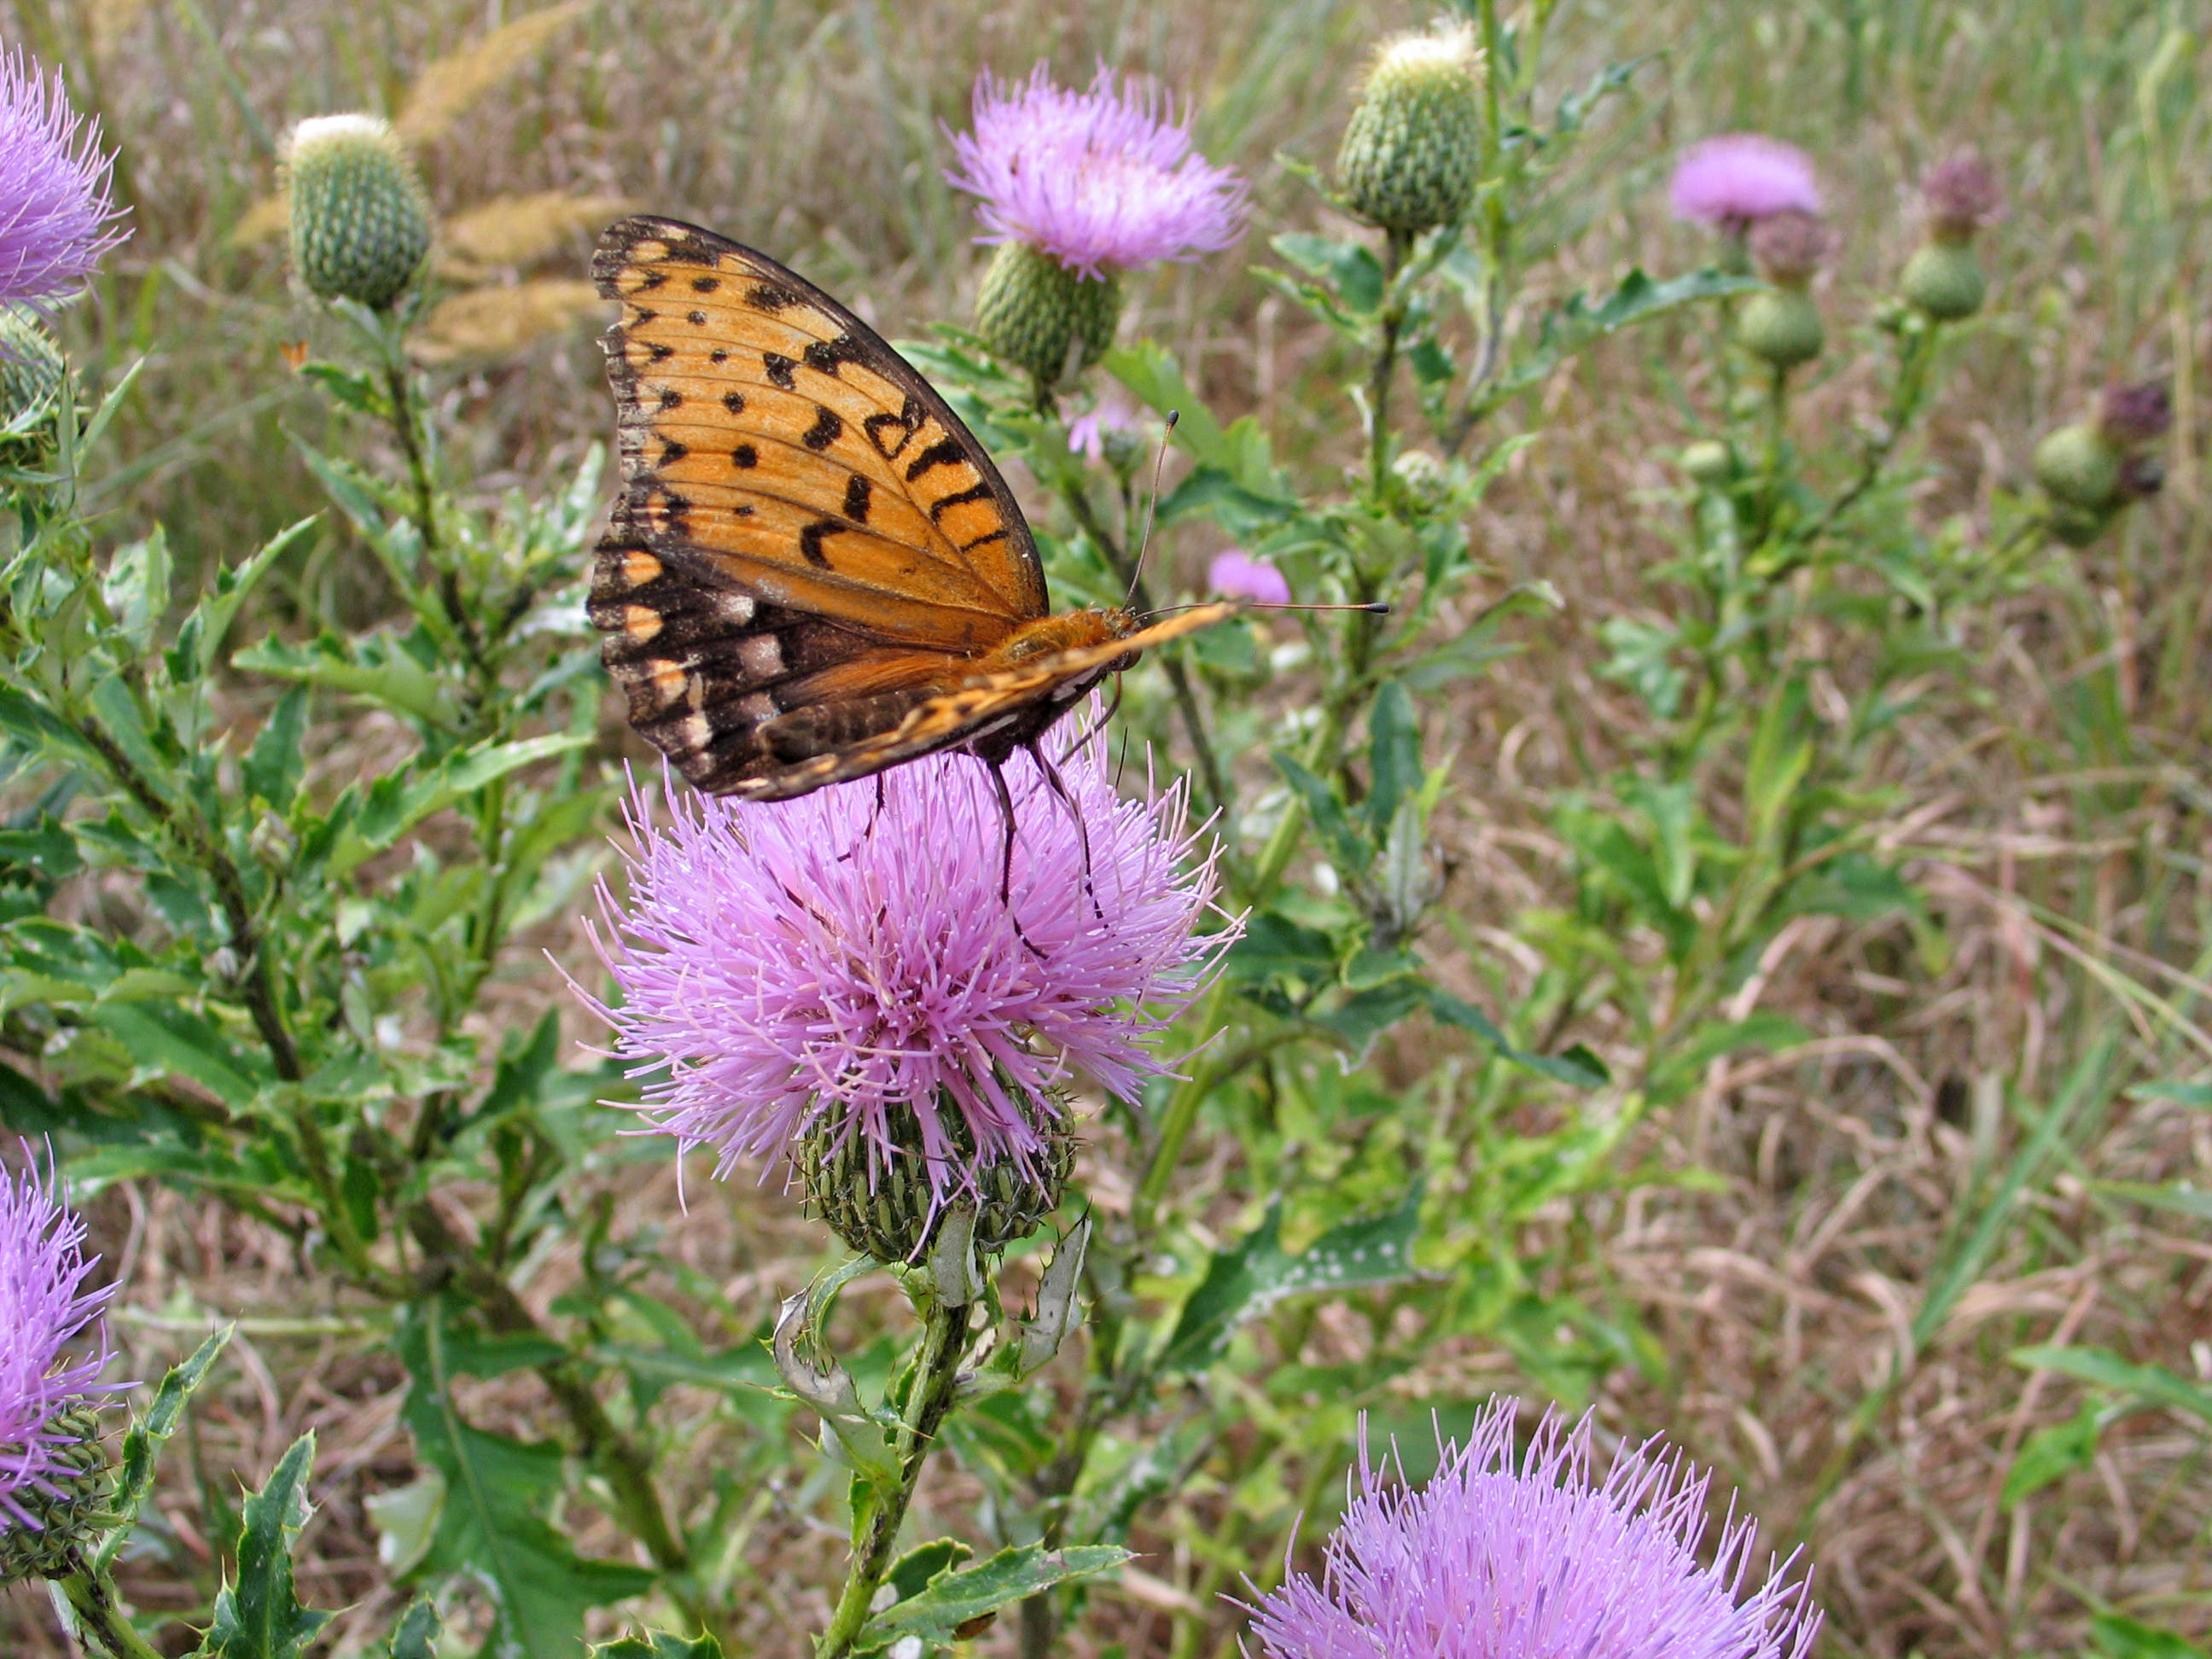
The shortest layer should include a few host plants for caterpillars. Not only will it help insect populations, but even seed eating birds rely on caterpillar and insect protein to feed their young. Plant golden alexanders (swallowtail butterfly host plant), wild senna (sulphur butterfly host plant), and wild violets (Viola pedata, regal fritillary host plant) to see more butterflies and caterpillars in your yard as well as more happy momma birds hunting them.

American beautyberry is unique shrub with arching branches and bright purple/pink berries. By Forest and Kim Starr [CC BY 2.0 (https://creativecommons.org/licenses/by/2.0)], via Wikimedia Commons
Benefits
Planting a green living fence has lots of perks. Besides attracting wildlife and supporting healthy habitats…
- green fences are constantly renewing themselves and need little maintenance once established. You’ll never have to replace missing slates, reseal the wood or fix rusted gates.
- the thick foliage and multiple layers help to block out road noise and unsightly neighbors
- just looking at and being near landscapes that are dynamic, engaging and green can naturally enhance your mood and decrease stress.
- established trees and good landscaping can increase the value of your home, and depending on if they shade/protect the house, can help you save on heating and cooling
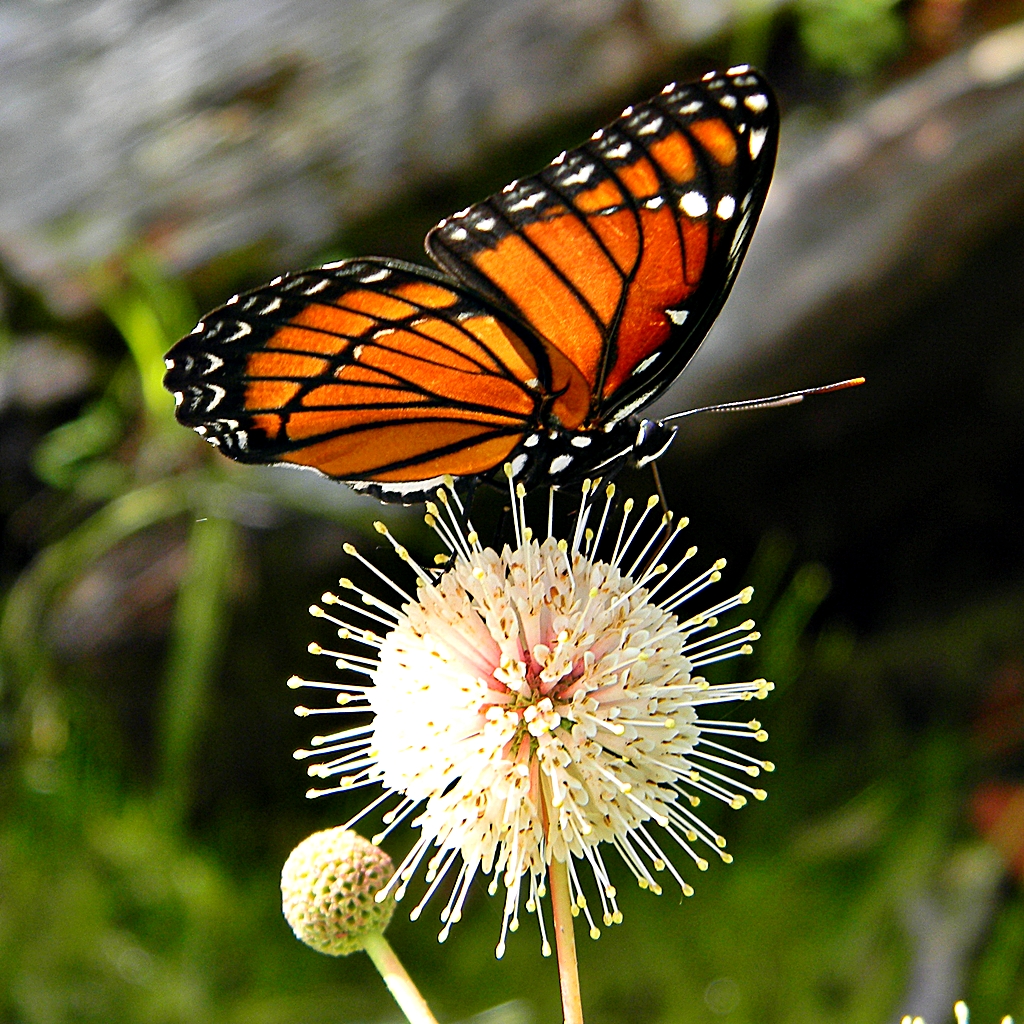
The butterflies will thank you if you include buttonbush in your living fence. The globe shaped flowers are eye catching! By Bob Peterson from North Palm Beach, Florida, Planet Earth! [CC BY-SA 2.0 (https://creativecommons.org/licenses/by-sa/2.0)], via Wikimedia Commons
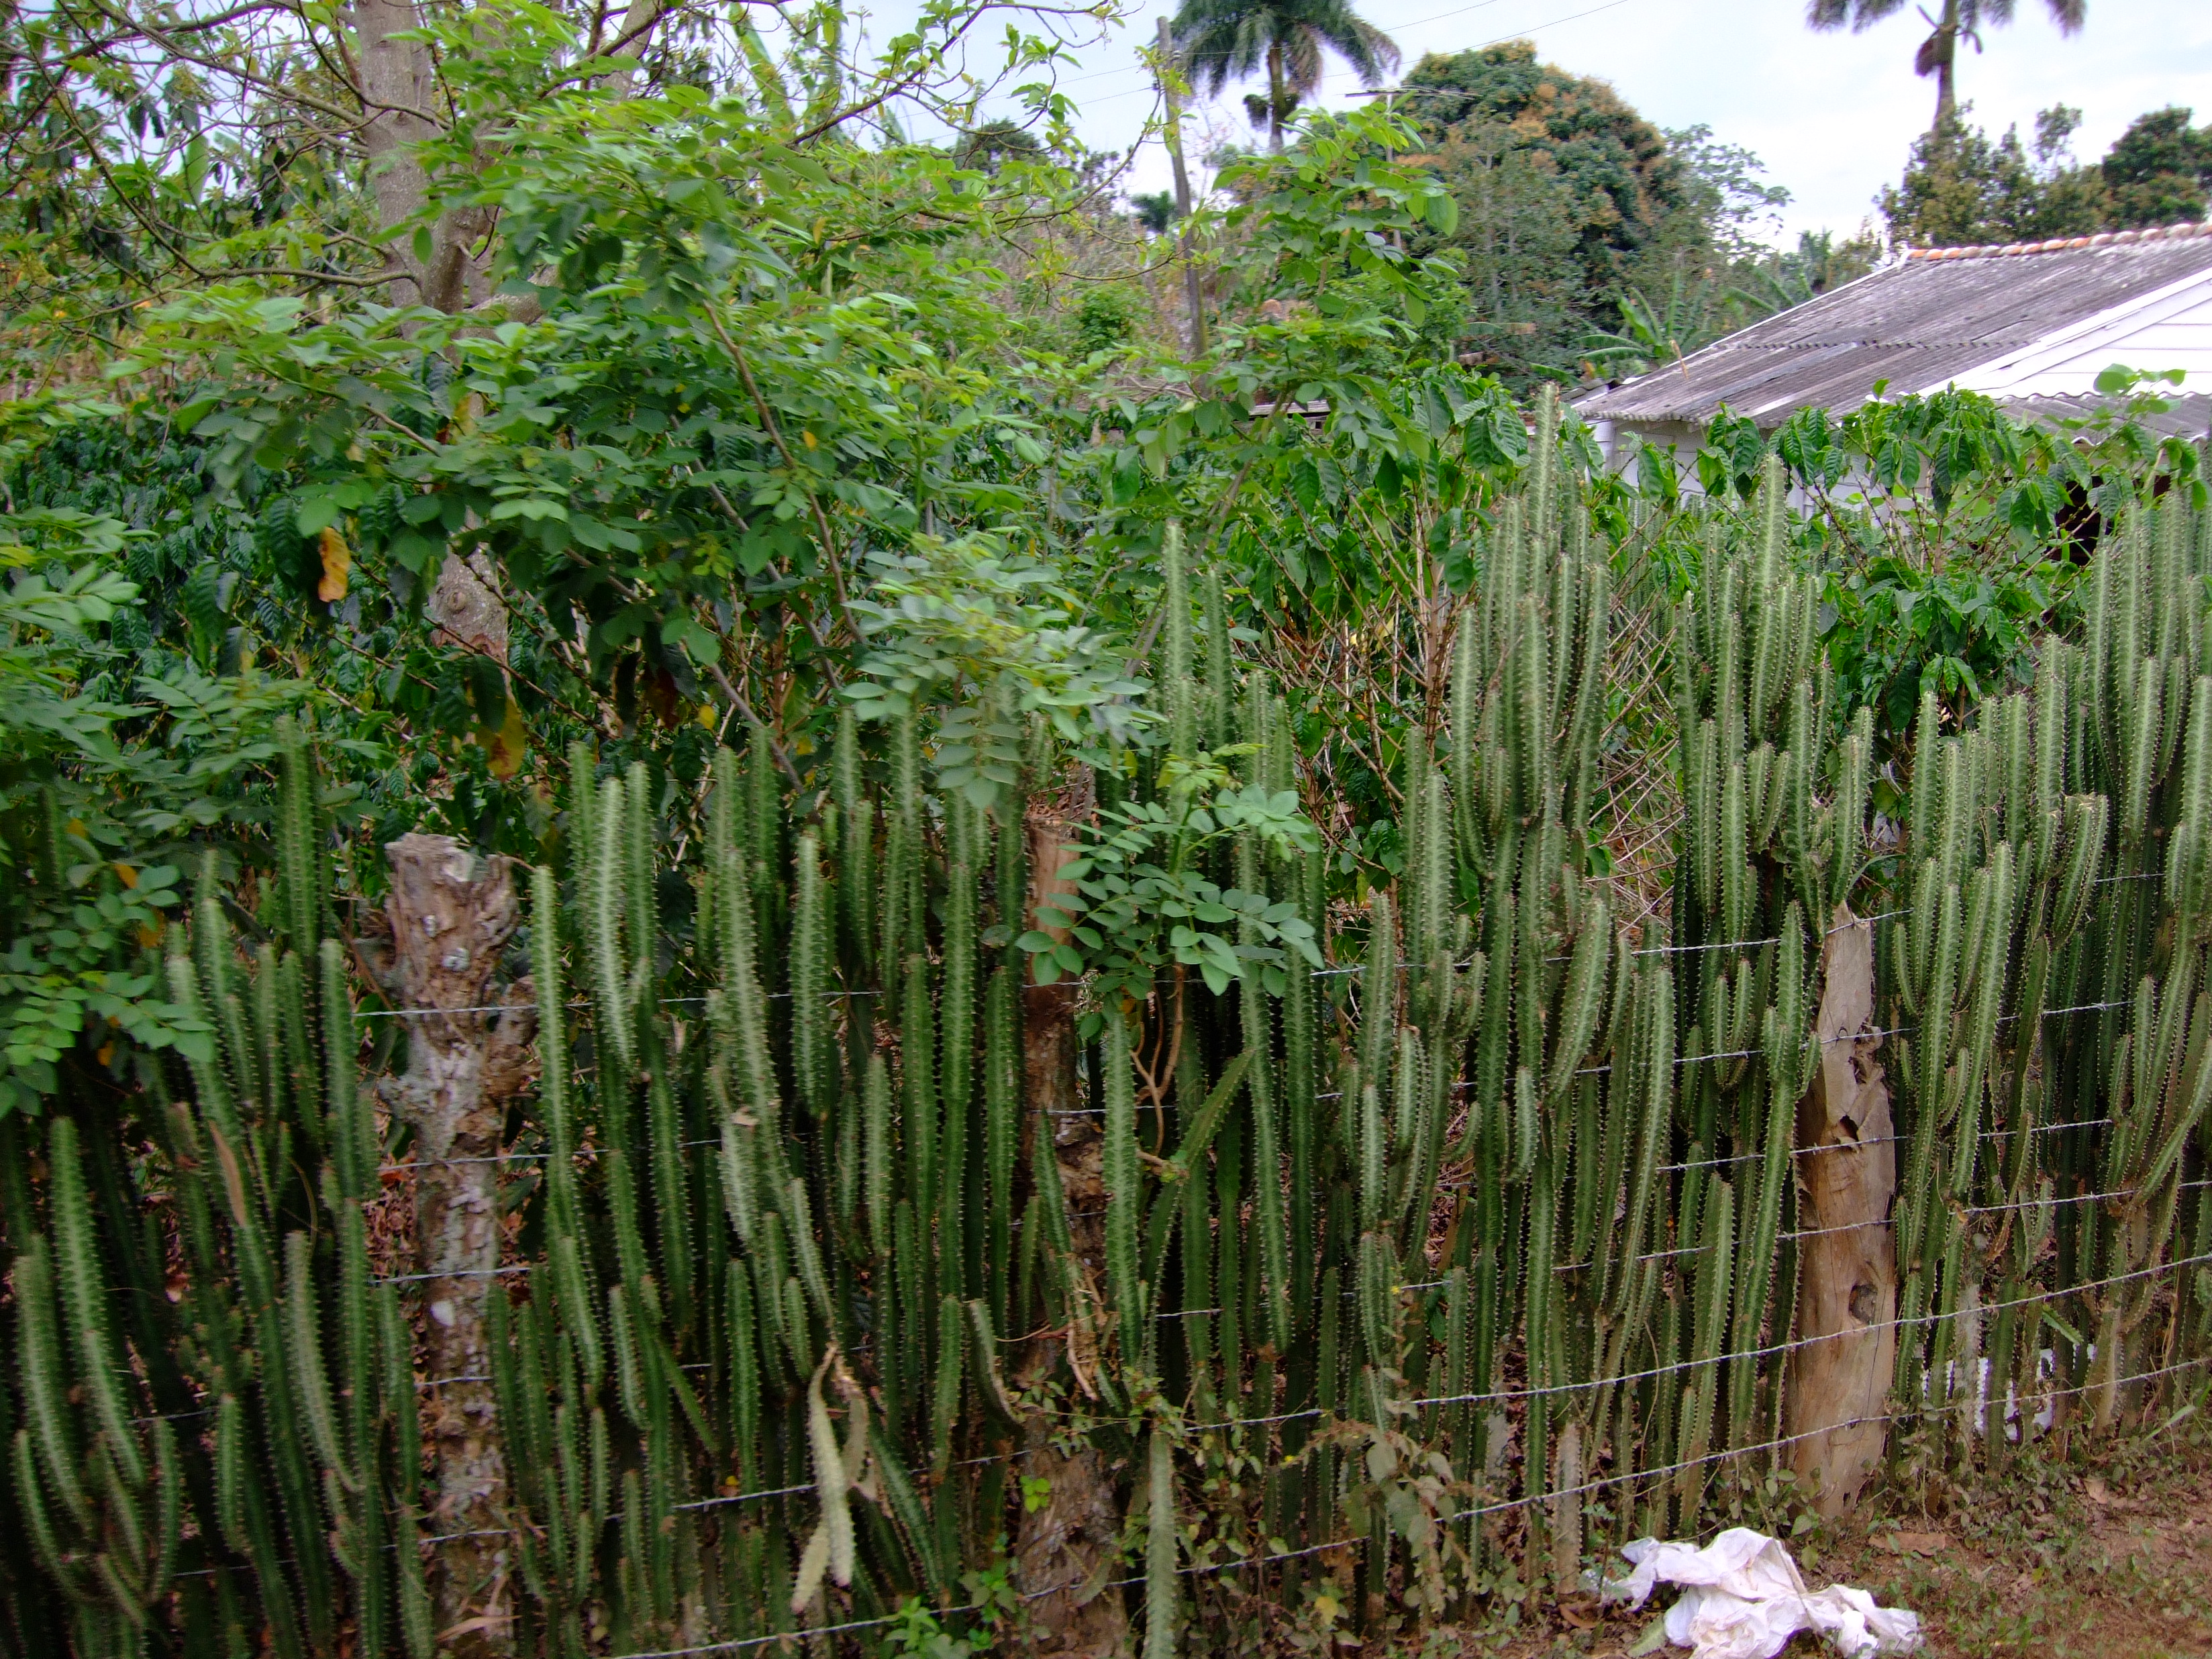
People all over the world, even in Cuba, have used green fences to enhance or disguise their traditional fences. By Arnoud Joris Maaswinkel (Arnoud Joris Maaswinkel) [CC BY-SA 4.0 (https://creativecommons.org/licenses/by-sa/4.0)], via Wikimedia Commons


![By Brian Zinnel [CC BY-SA 4.0 (https://creativecommons.org/licenses/by-sa/4.0)], from Wikimedia Commons](https://upload.wikimedia.org/wikipedia/commons/2/29/Charleston_South_Carolina-Hedge_row_at_Middleton_Place_Plantation-20060430151856.jpg)
![By Johann Georg Krünitz [Public domain], via Wikimedia Commons](https://commons.wikimedia.org/wiki/File:Knick_oder_Geb%C3%BCck_nach_Kr%C3%BCnitz_(1779).jpg)
![By Forest and Kim Starr [CC BY 2.0 (https://creativecommons.org/licenses/by/2.0)], via Wikimedia Commons](https://upload.wikimedia.org/wikipedia/commons/b/b6/Callicarpa_americana_%2824976139485%29.jpg)
![By Bob Peterson from North Palm Beach, Florida, Planet Earth! [CC BY-SA 2.0 (https://creativecommons.org/licenses/by-sa/2.0)], via Wikimedia Commons](https://commons.wikimedia.org/wiki/File:Florida_Viceroy_on_Buttonbush_(5150793020).jpg)
![By Arnoud Joris Maaswinkel (Arnoud Joris Maaswinkel) [CC BY-SA 4.0 (https://creativecommons.org/licenses/by-sa/4.0)], via Wikimedia Commons](https://commons.wikimedia.org/wiki/File:AJM_046_Euphorbiaceae_in_Cuba.JPG)
.jpg)
![By Gidzy [CC BY 2.0 (http://creativecommons.org/licenses/by/2.0)], via Wikimedia Commons](https://commons.wikimedia.org/wiki/File:Oryctolagus_cuniculus_eating_dandelions.jpg)
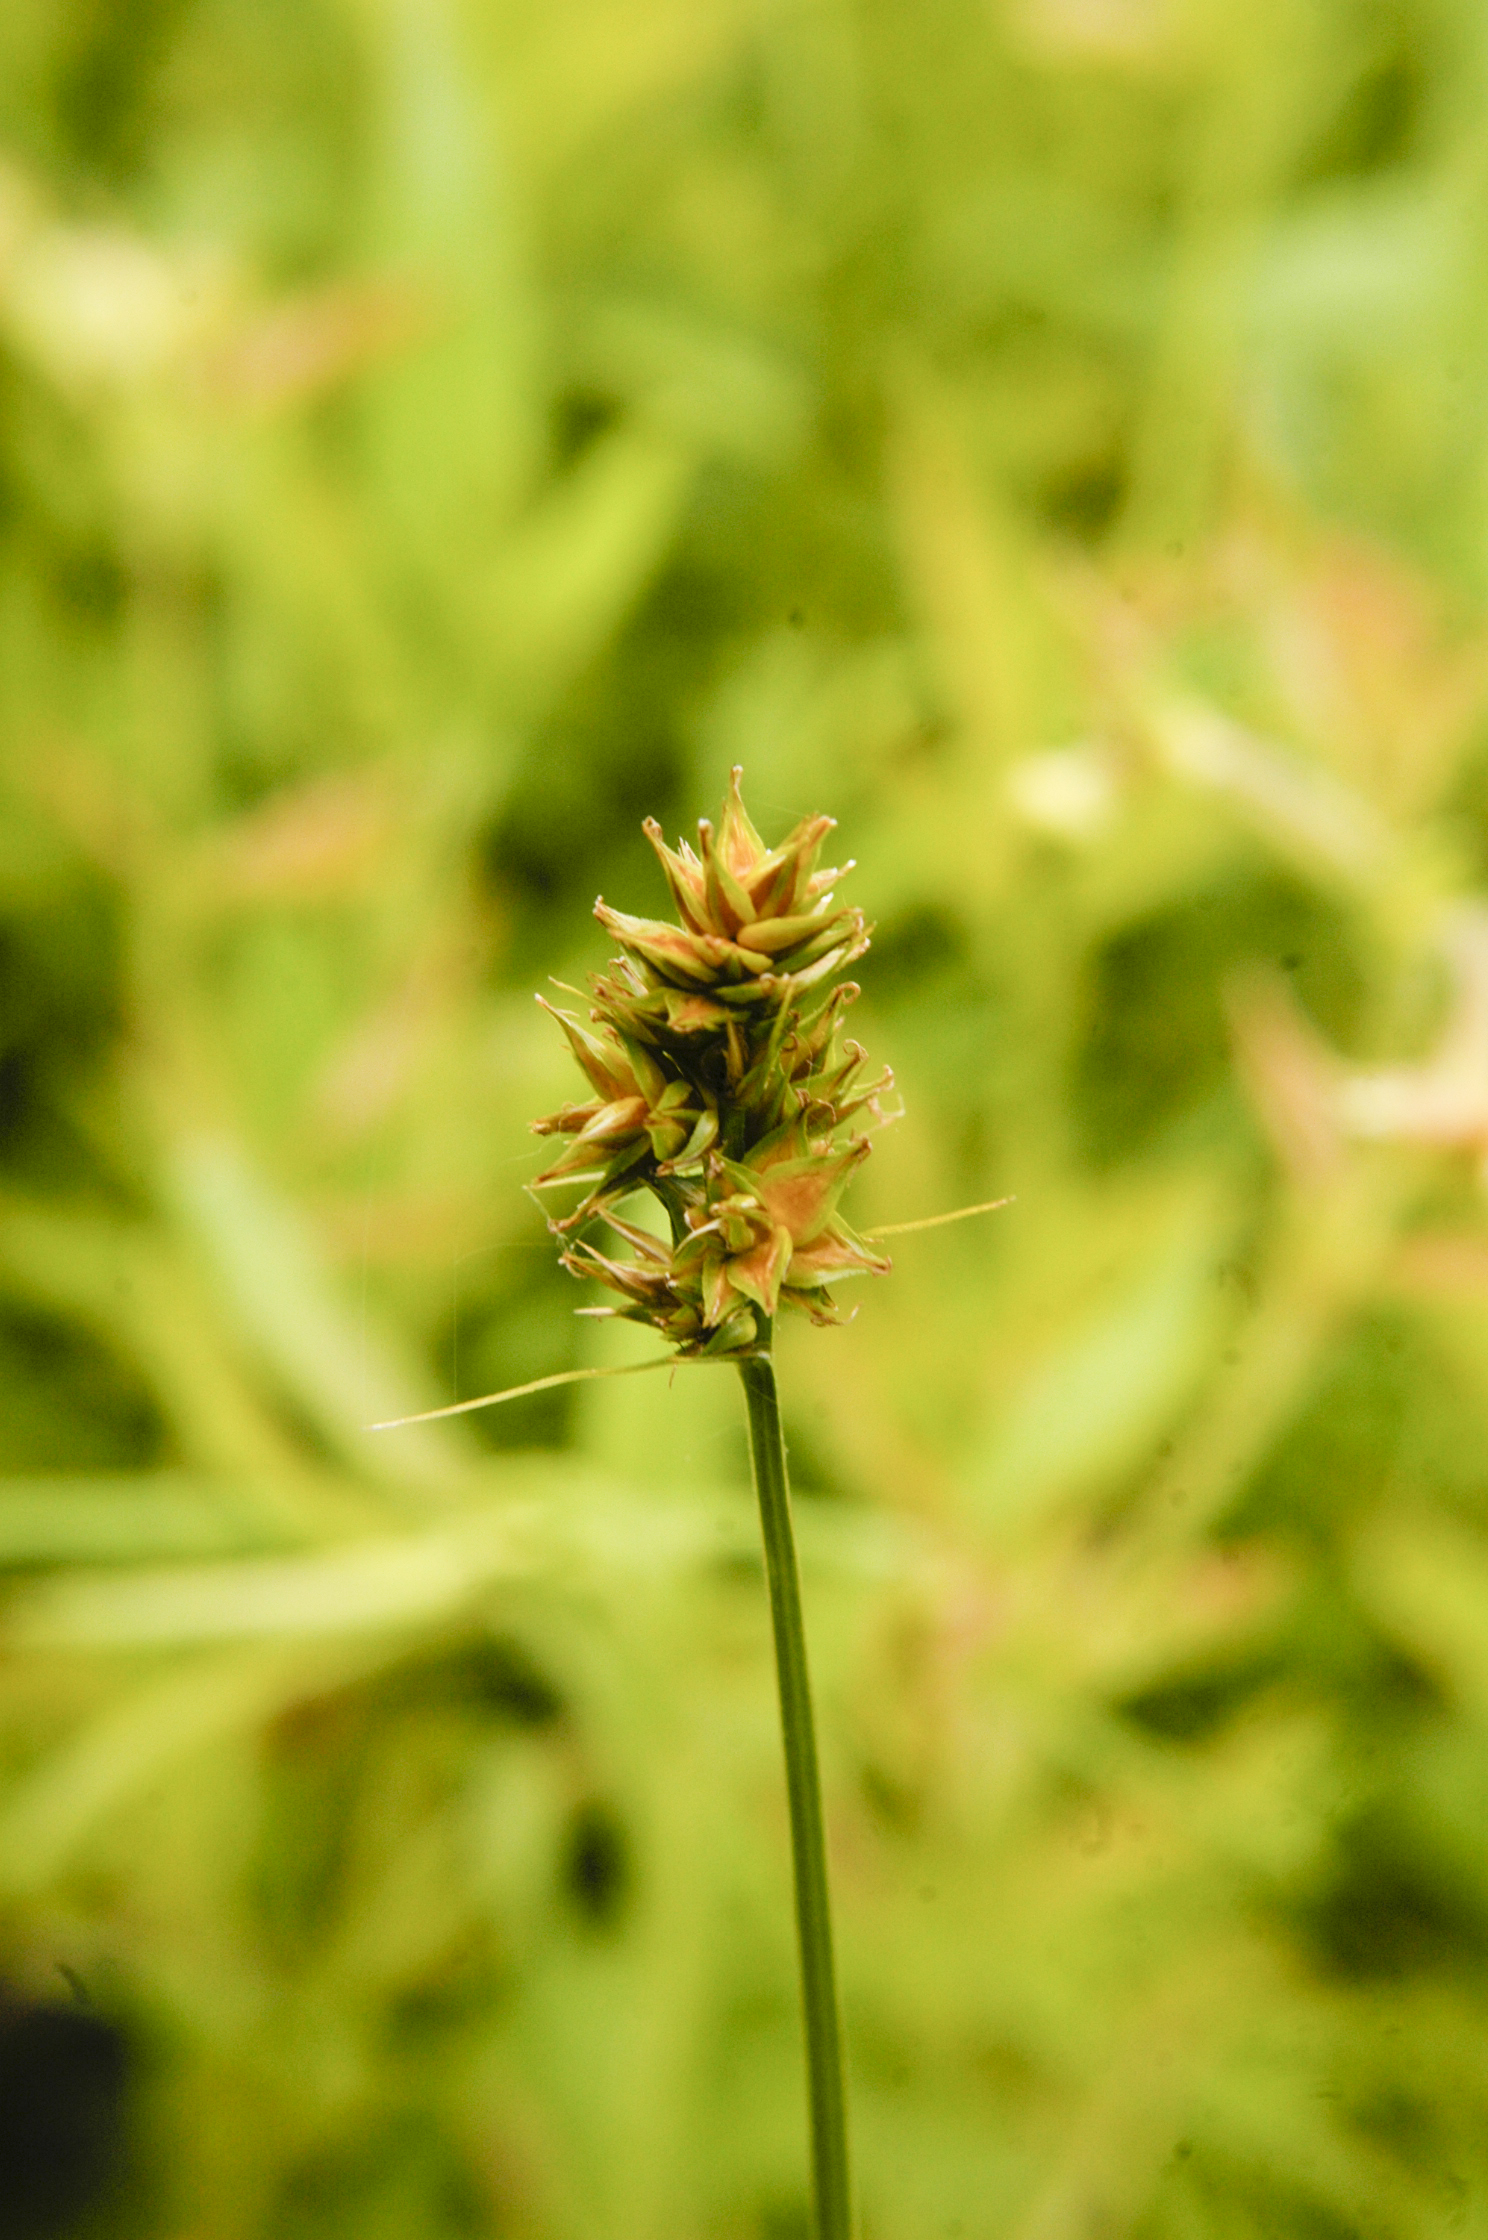
![Photo by Frank Mayfield [CC BY-SA 2.0 (https://creativecommons.org/licenses/by-sa/2.0)], via Wikimedia Commons](https://commons.wikimedia.org/wiki/File:Carex_brevior.jpg)