The Importance of Diversifying Landscapes

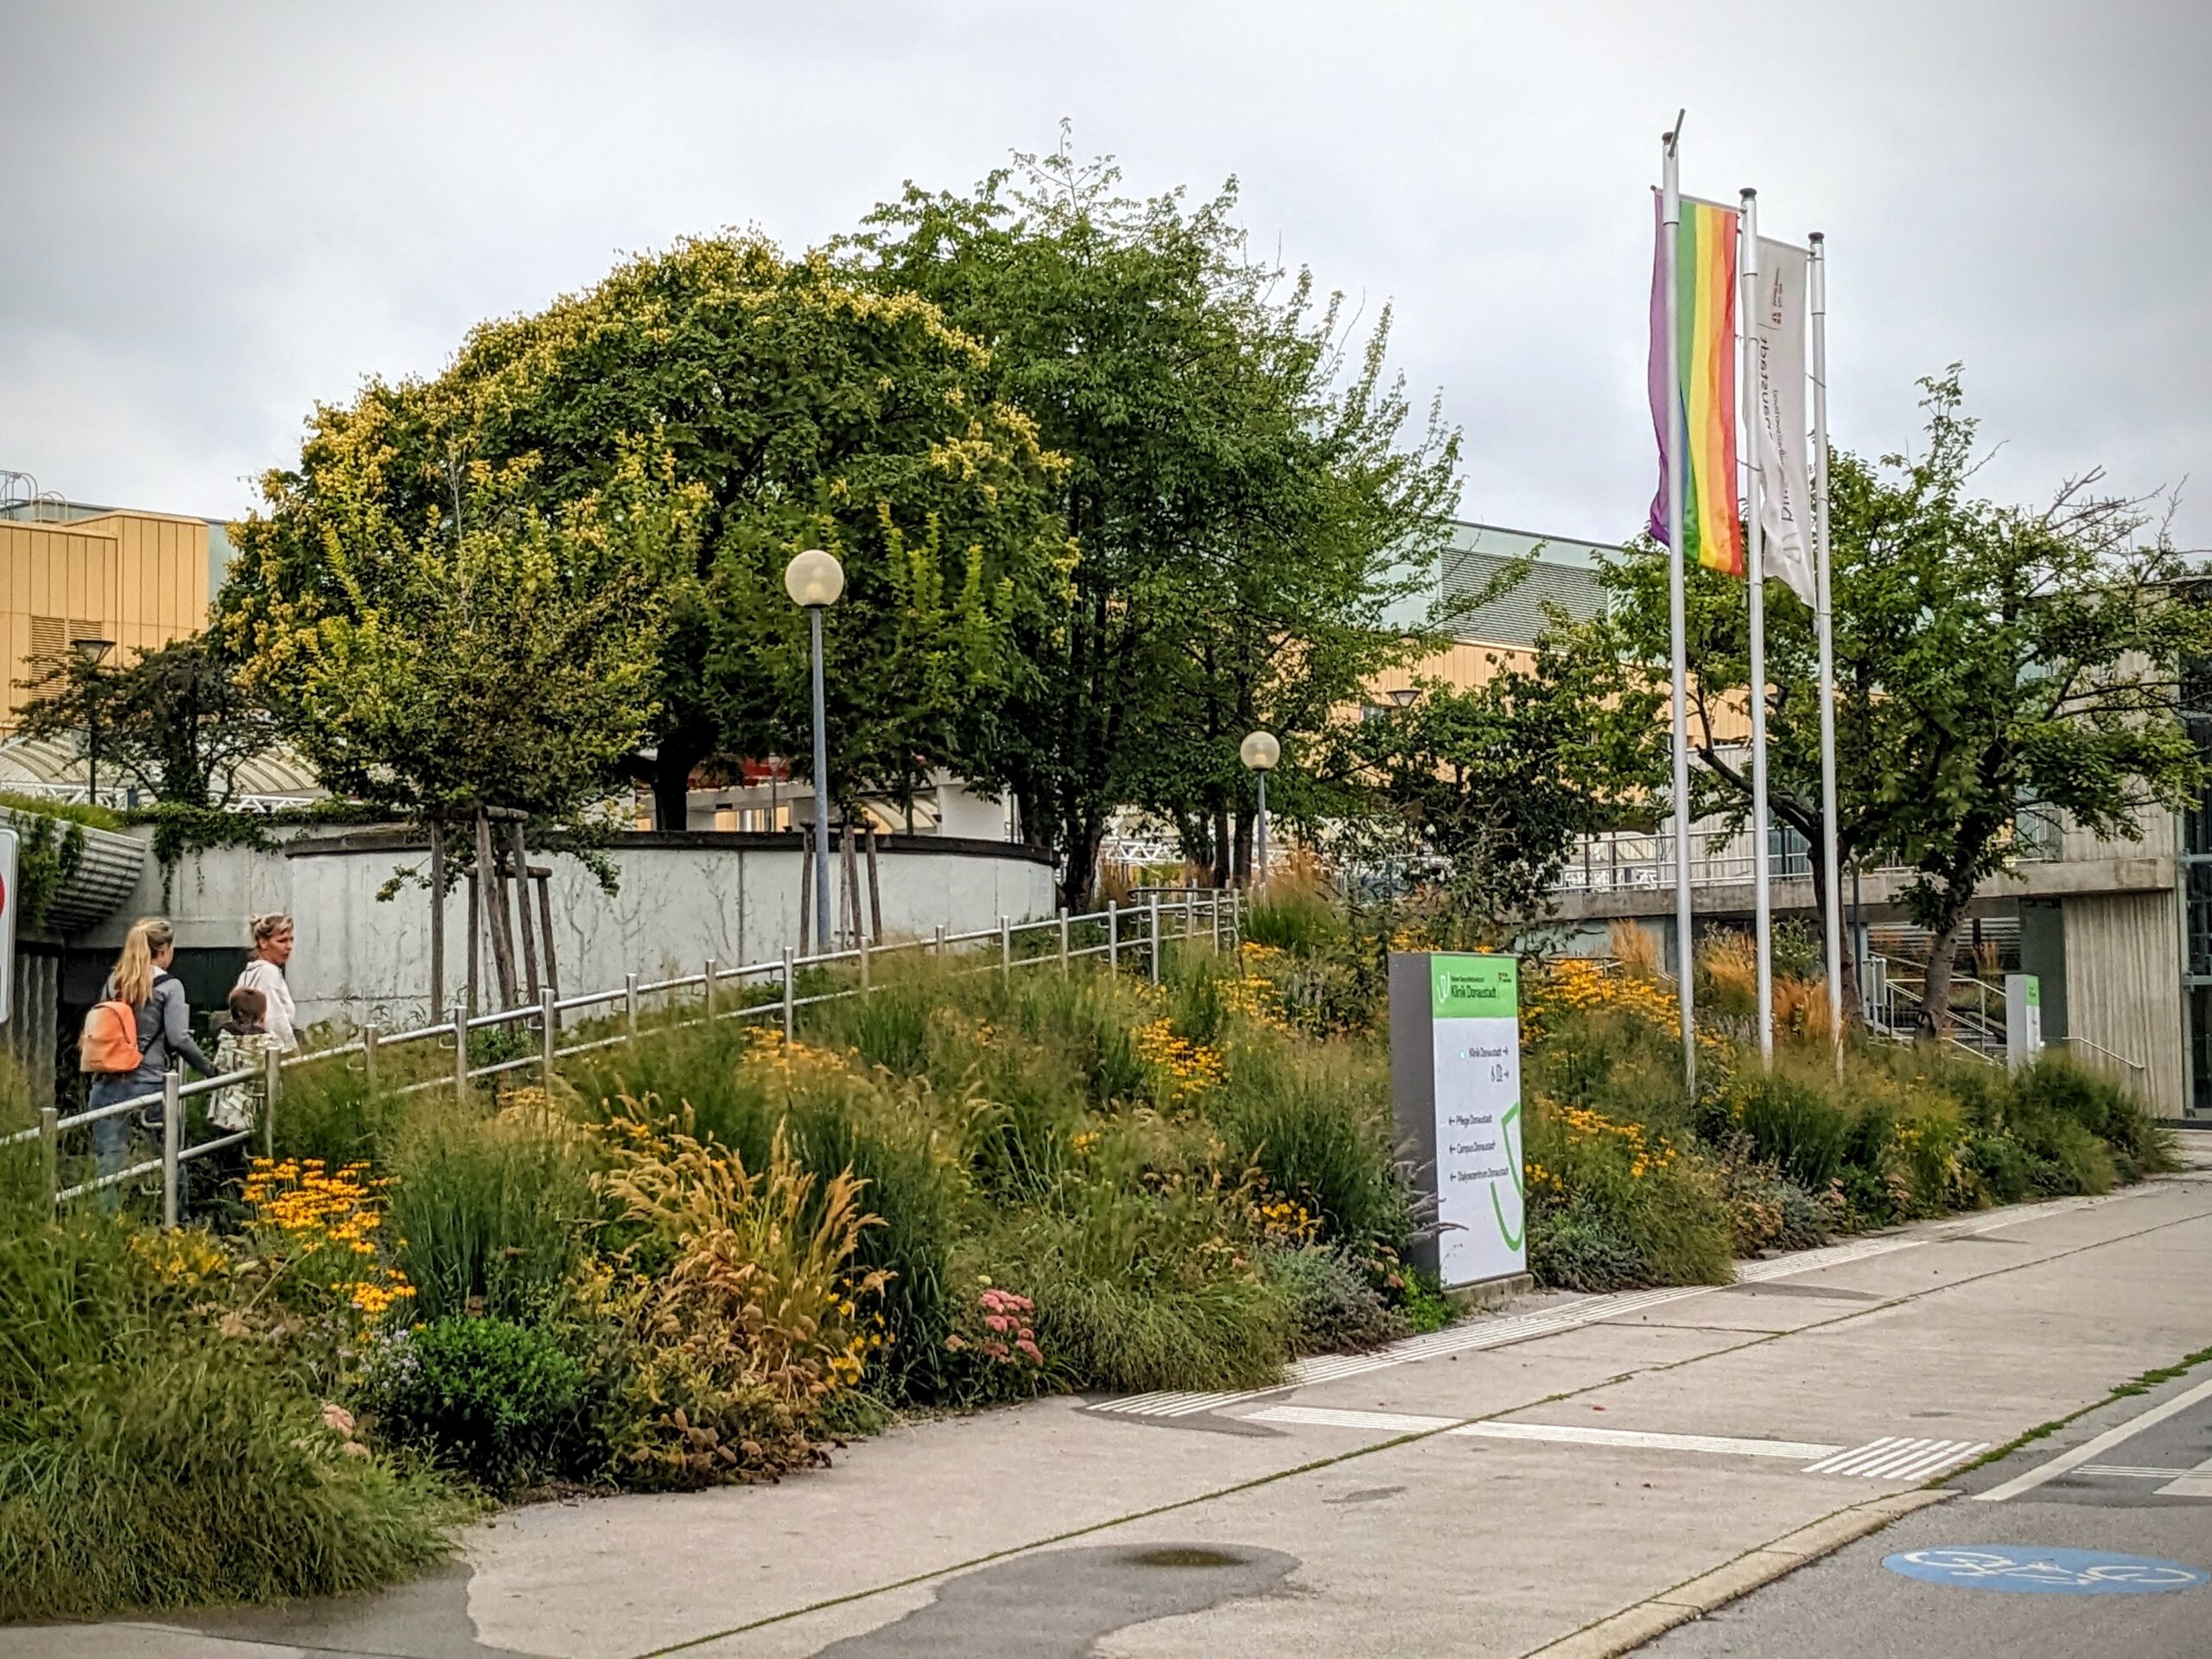
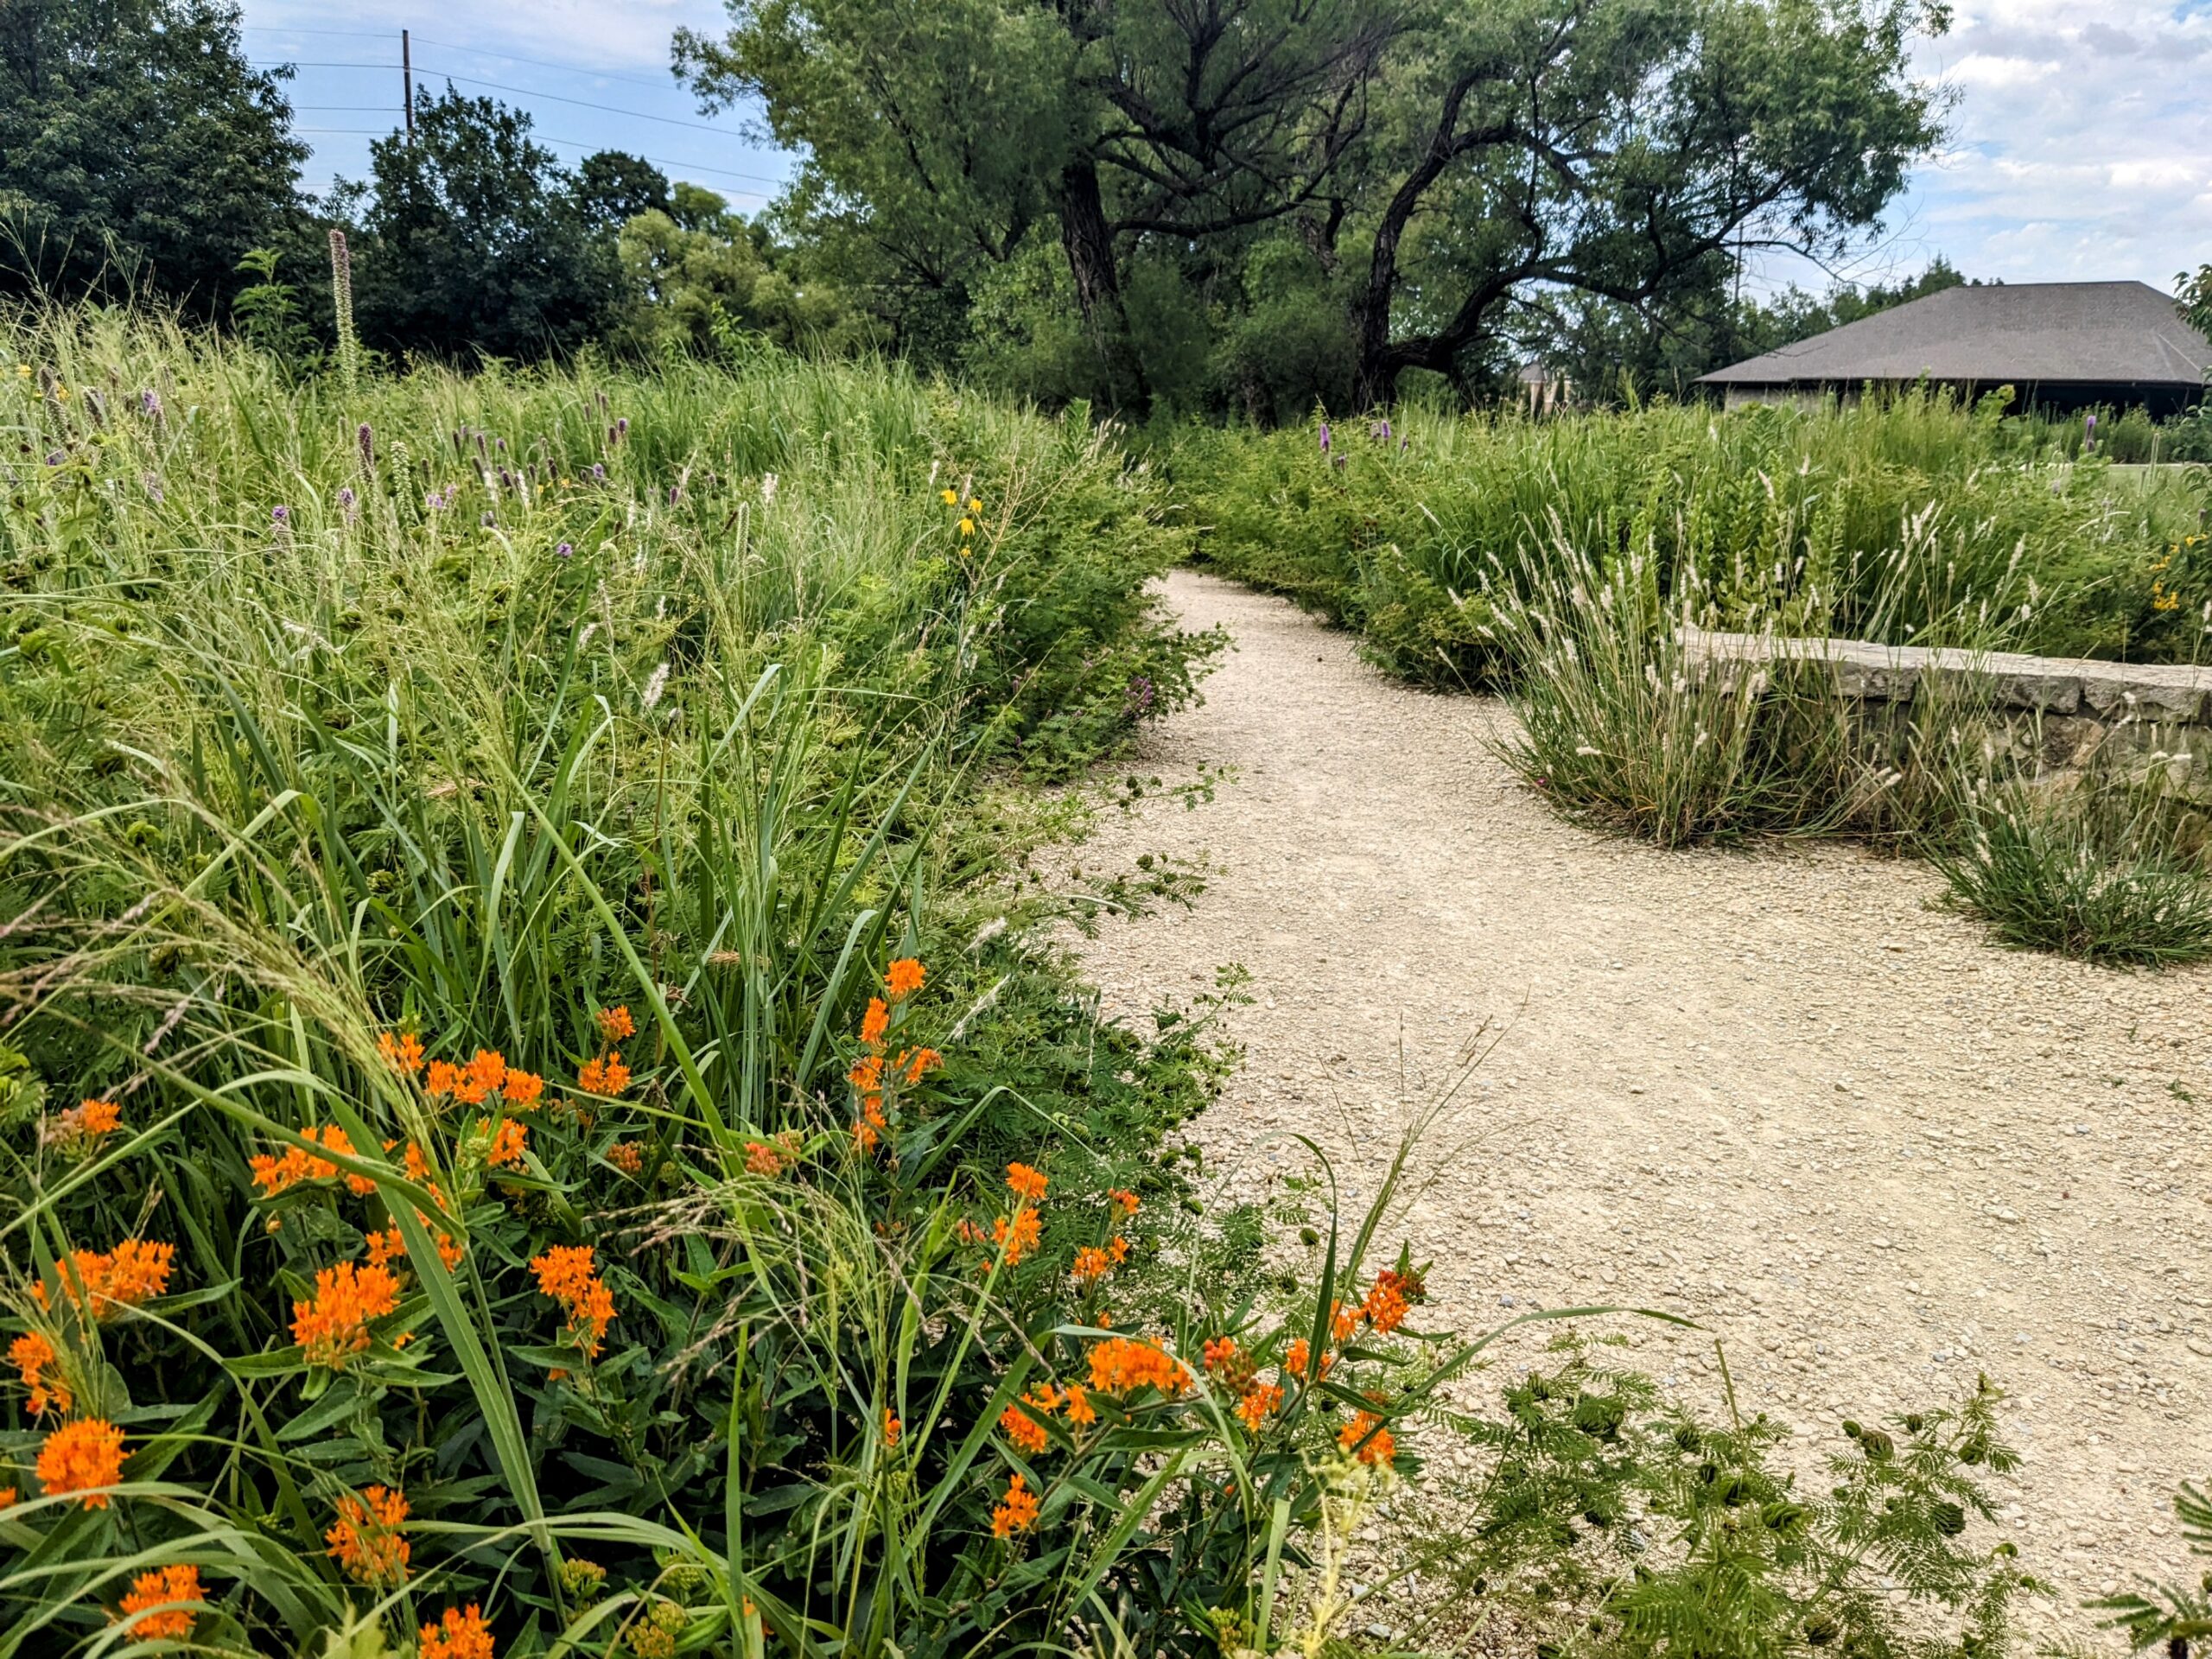
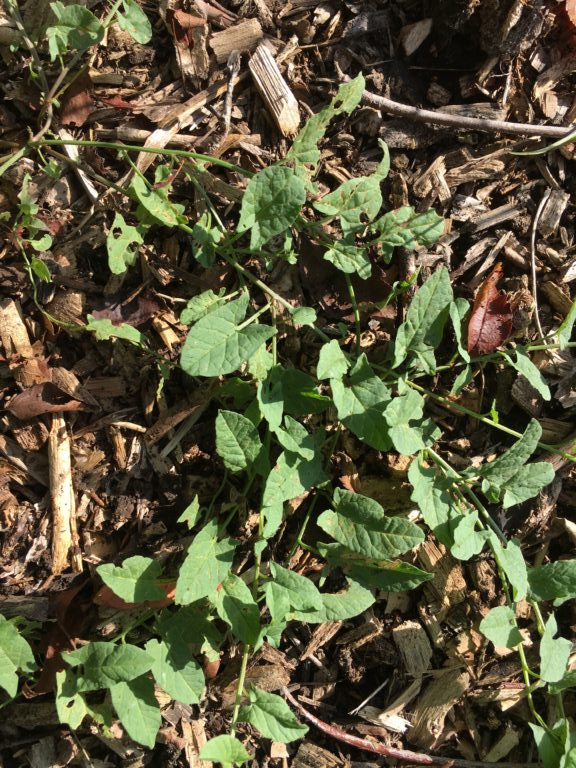
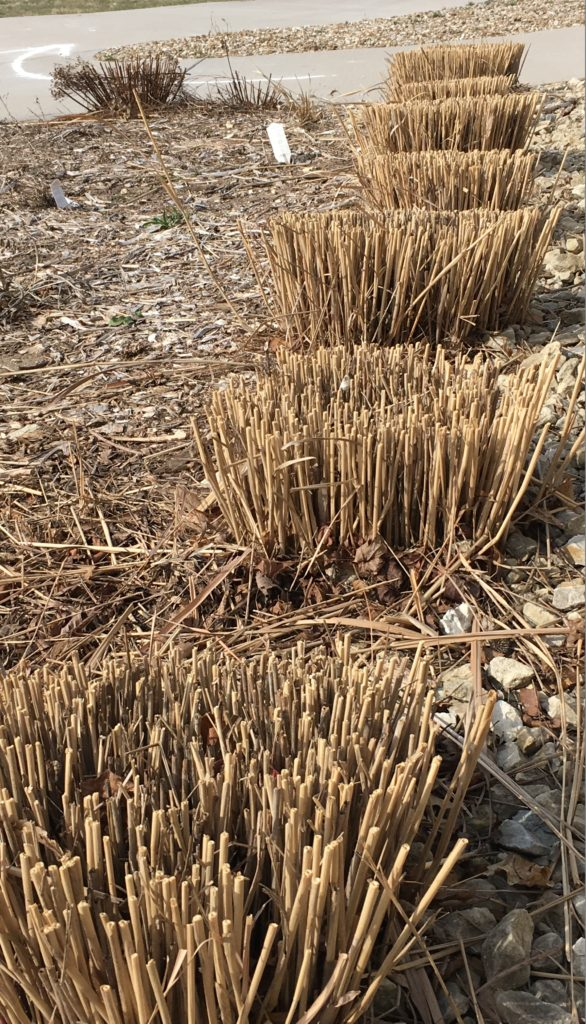
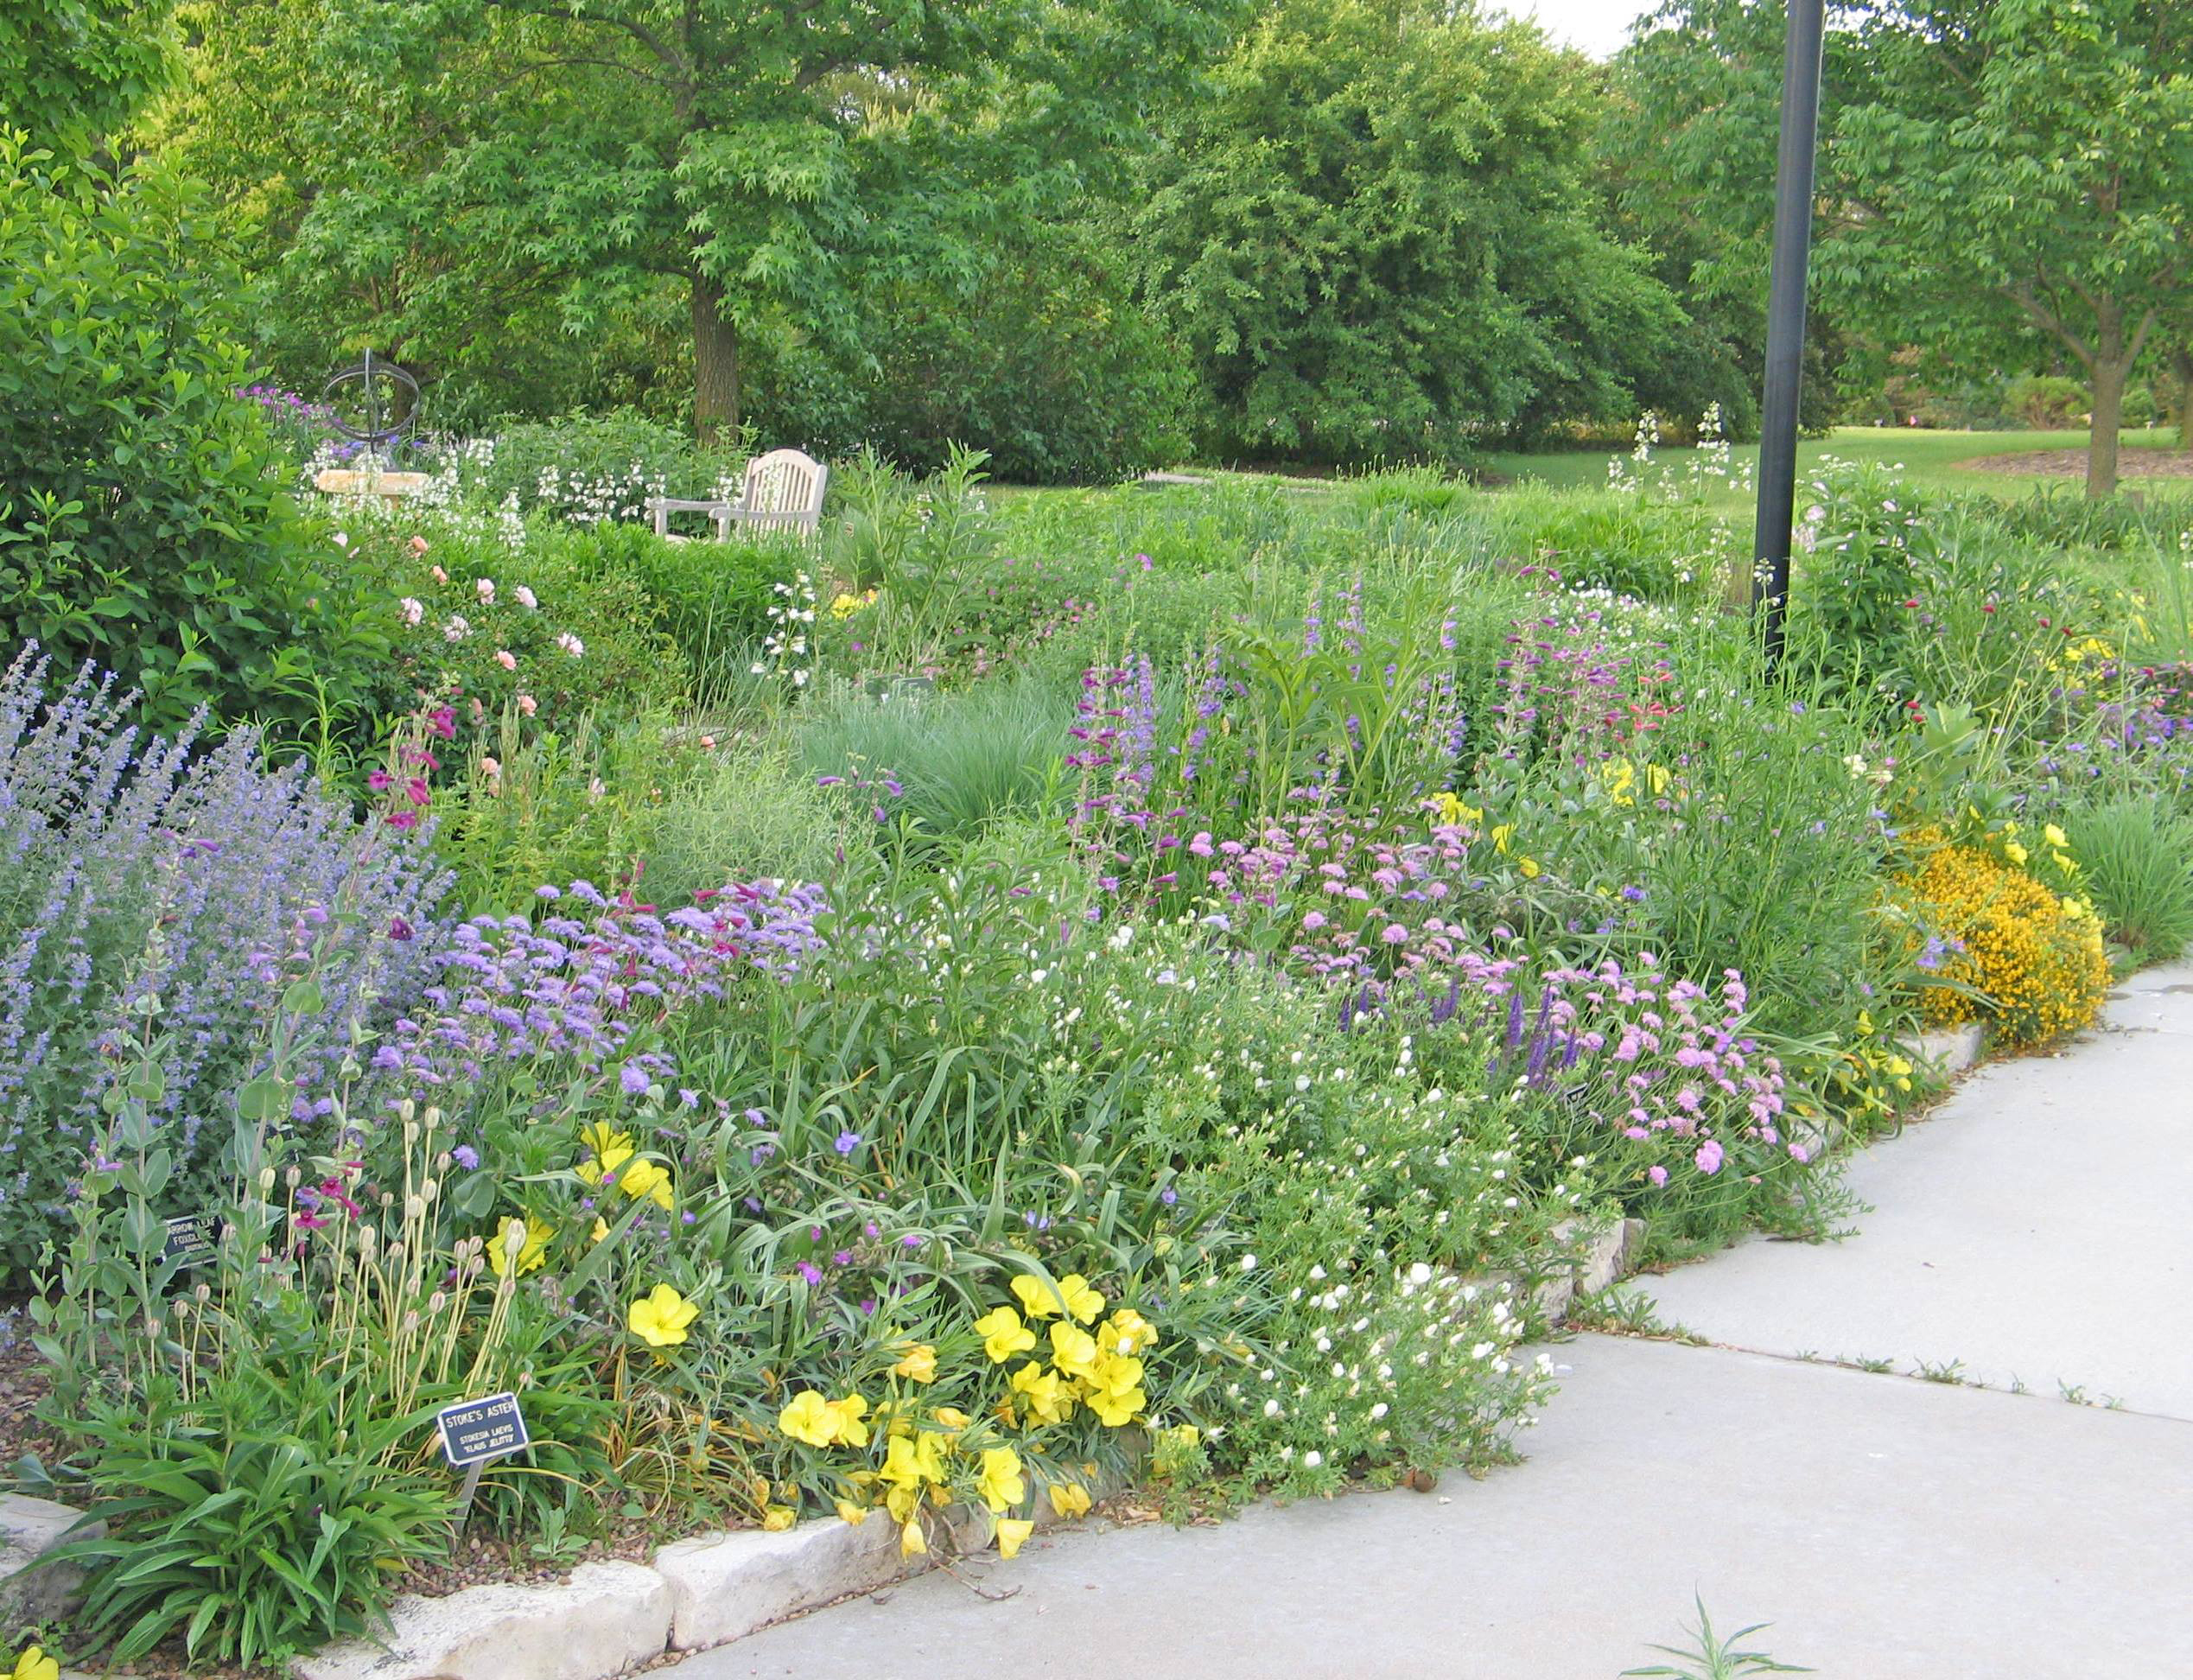
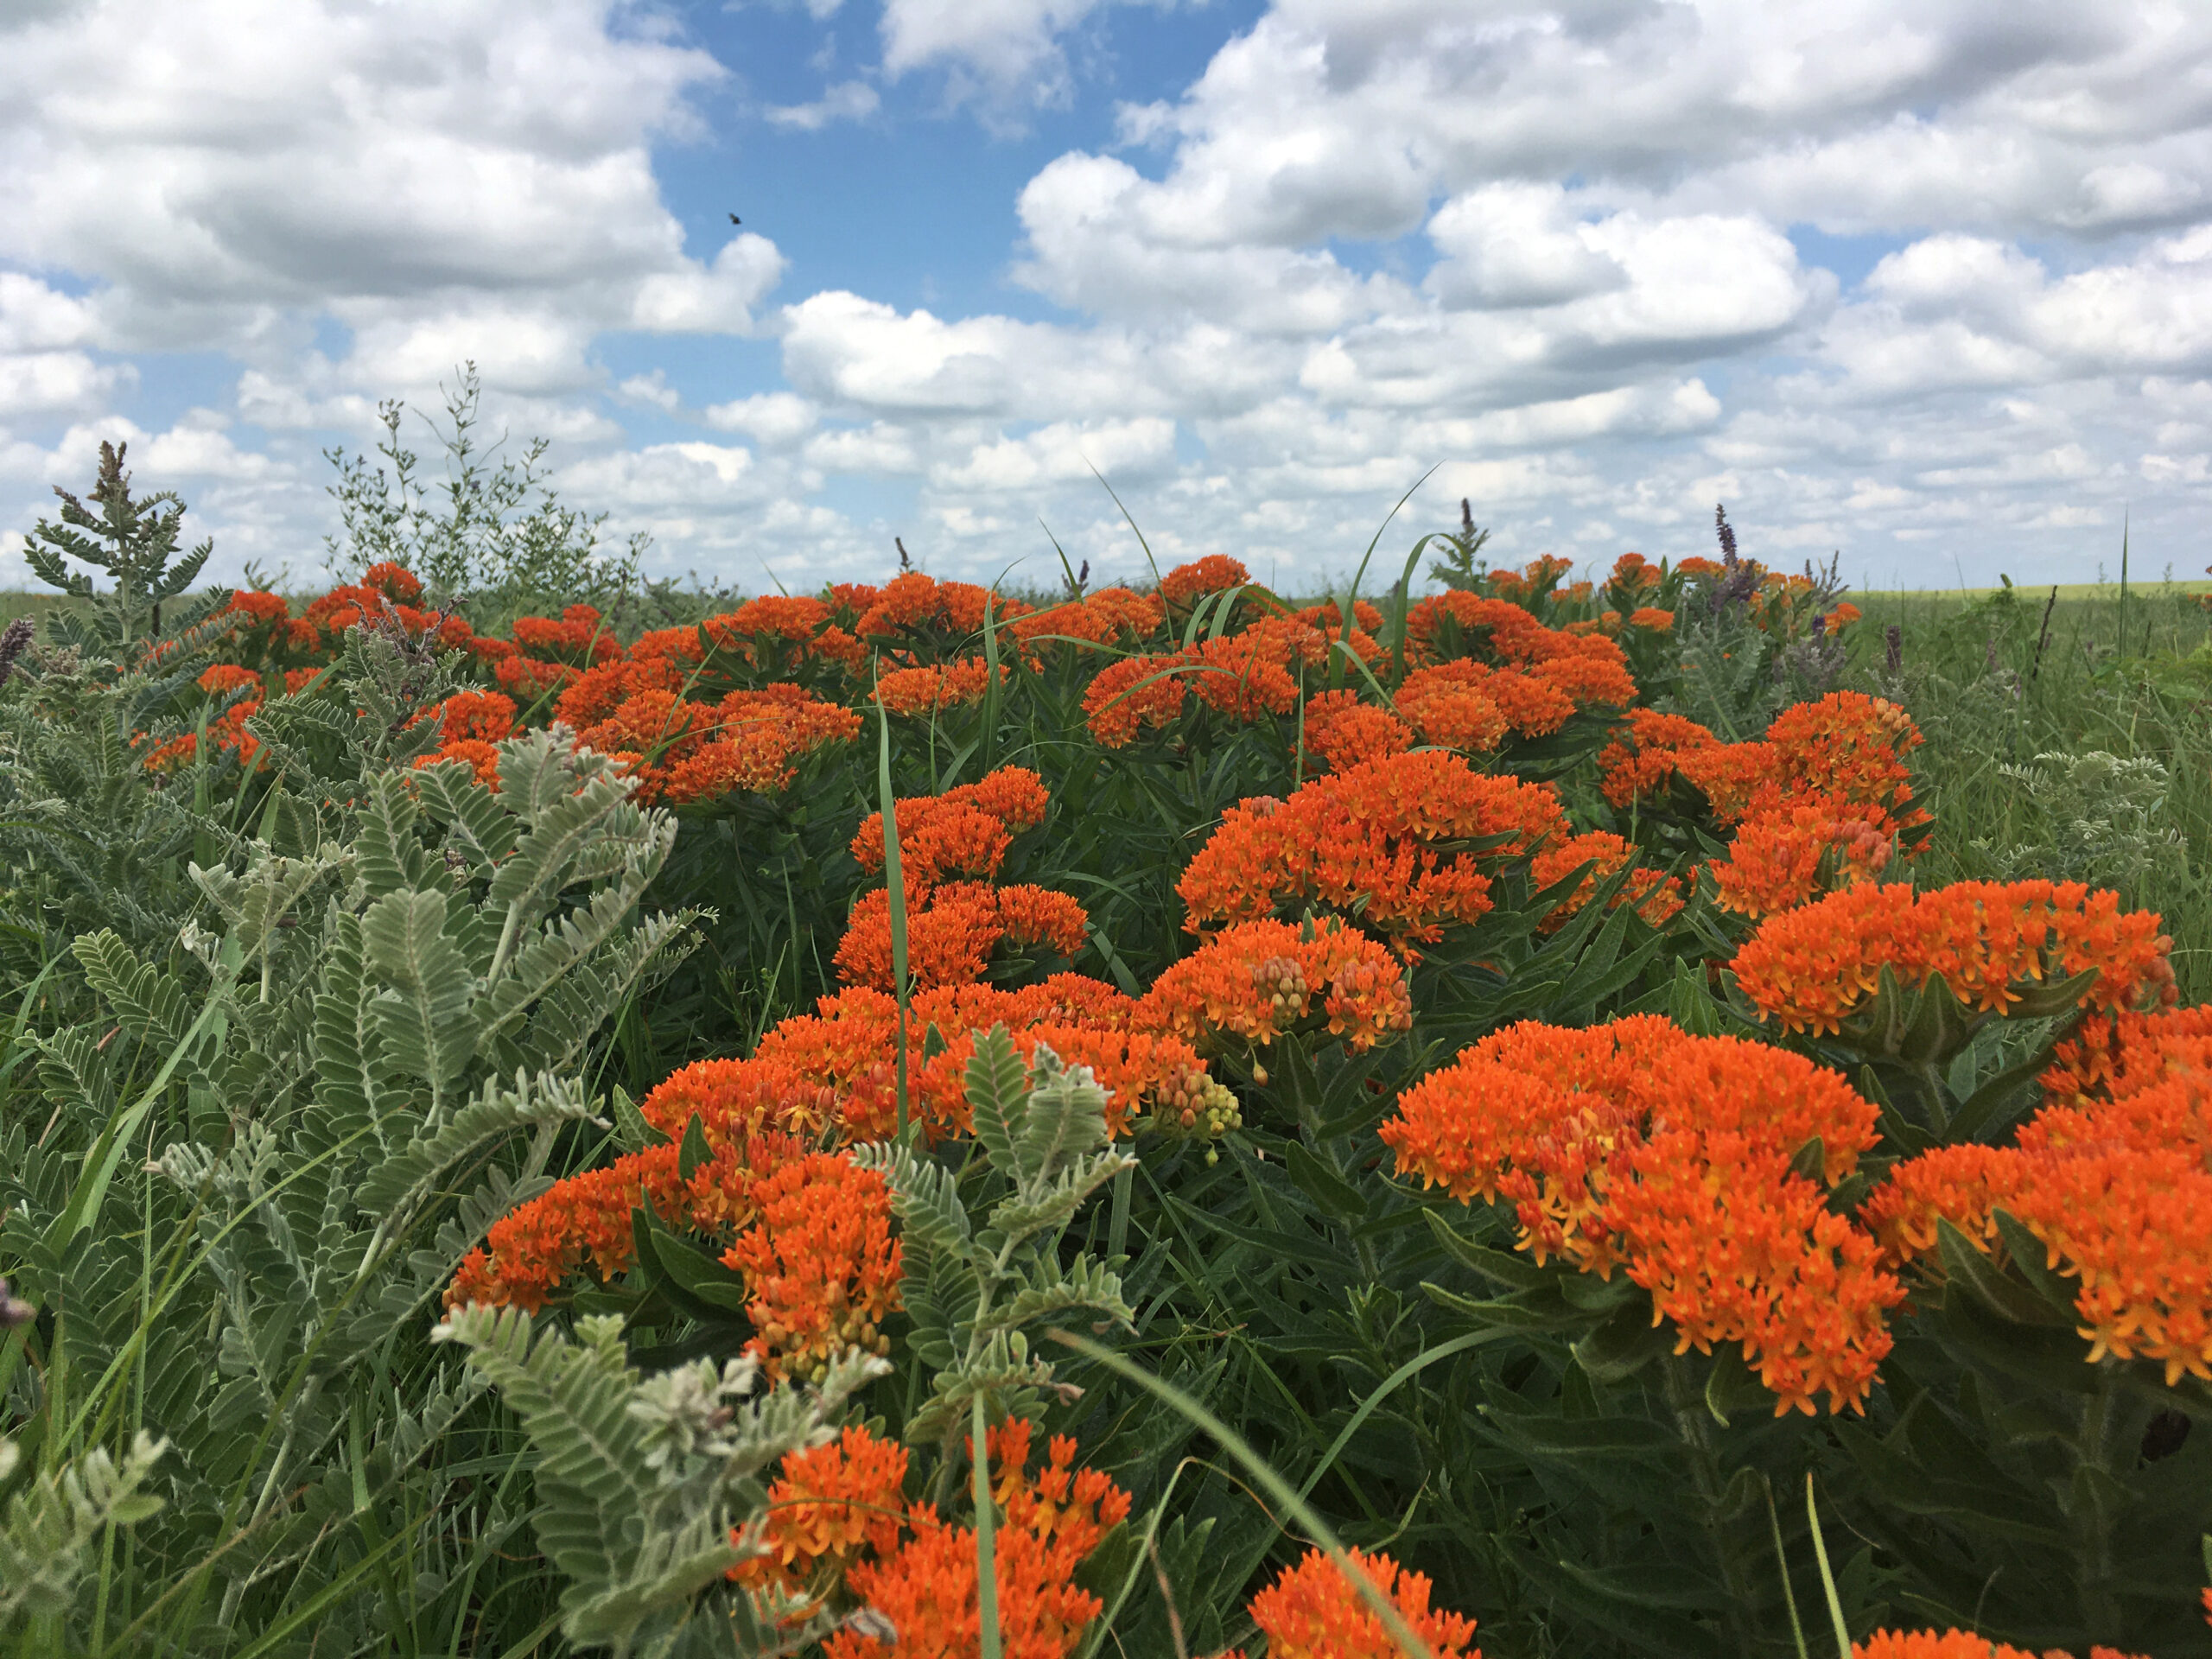
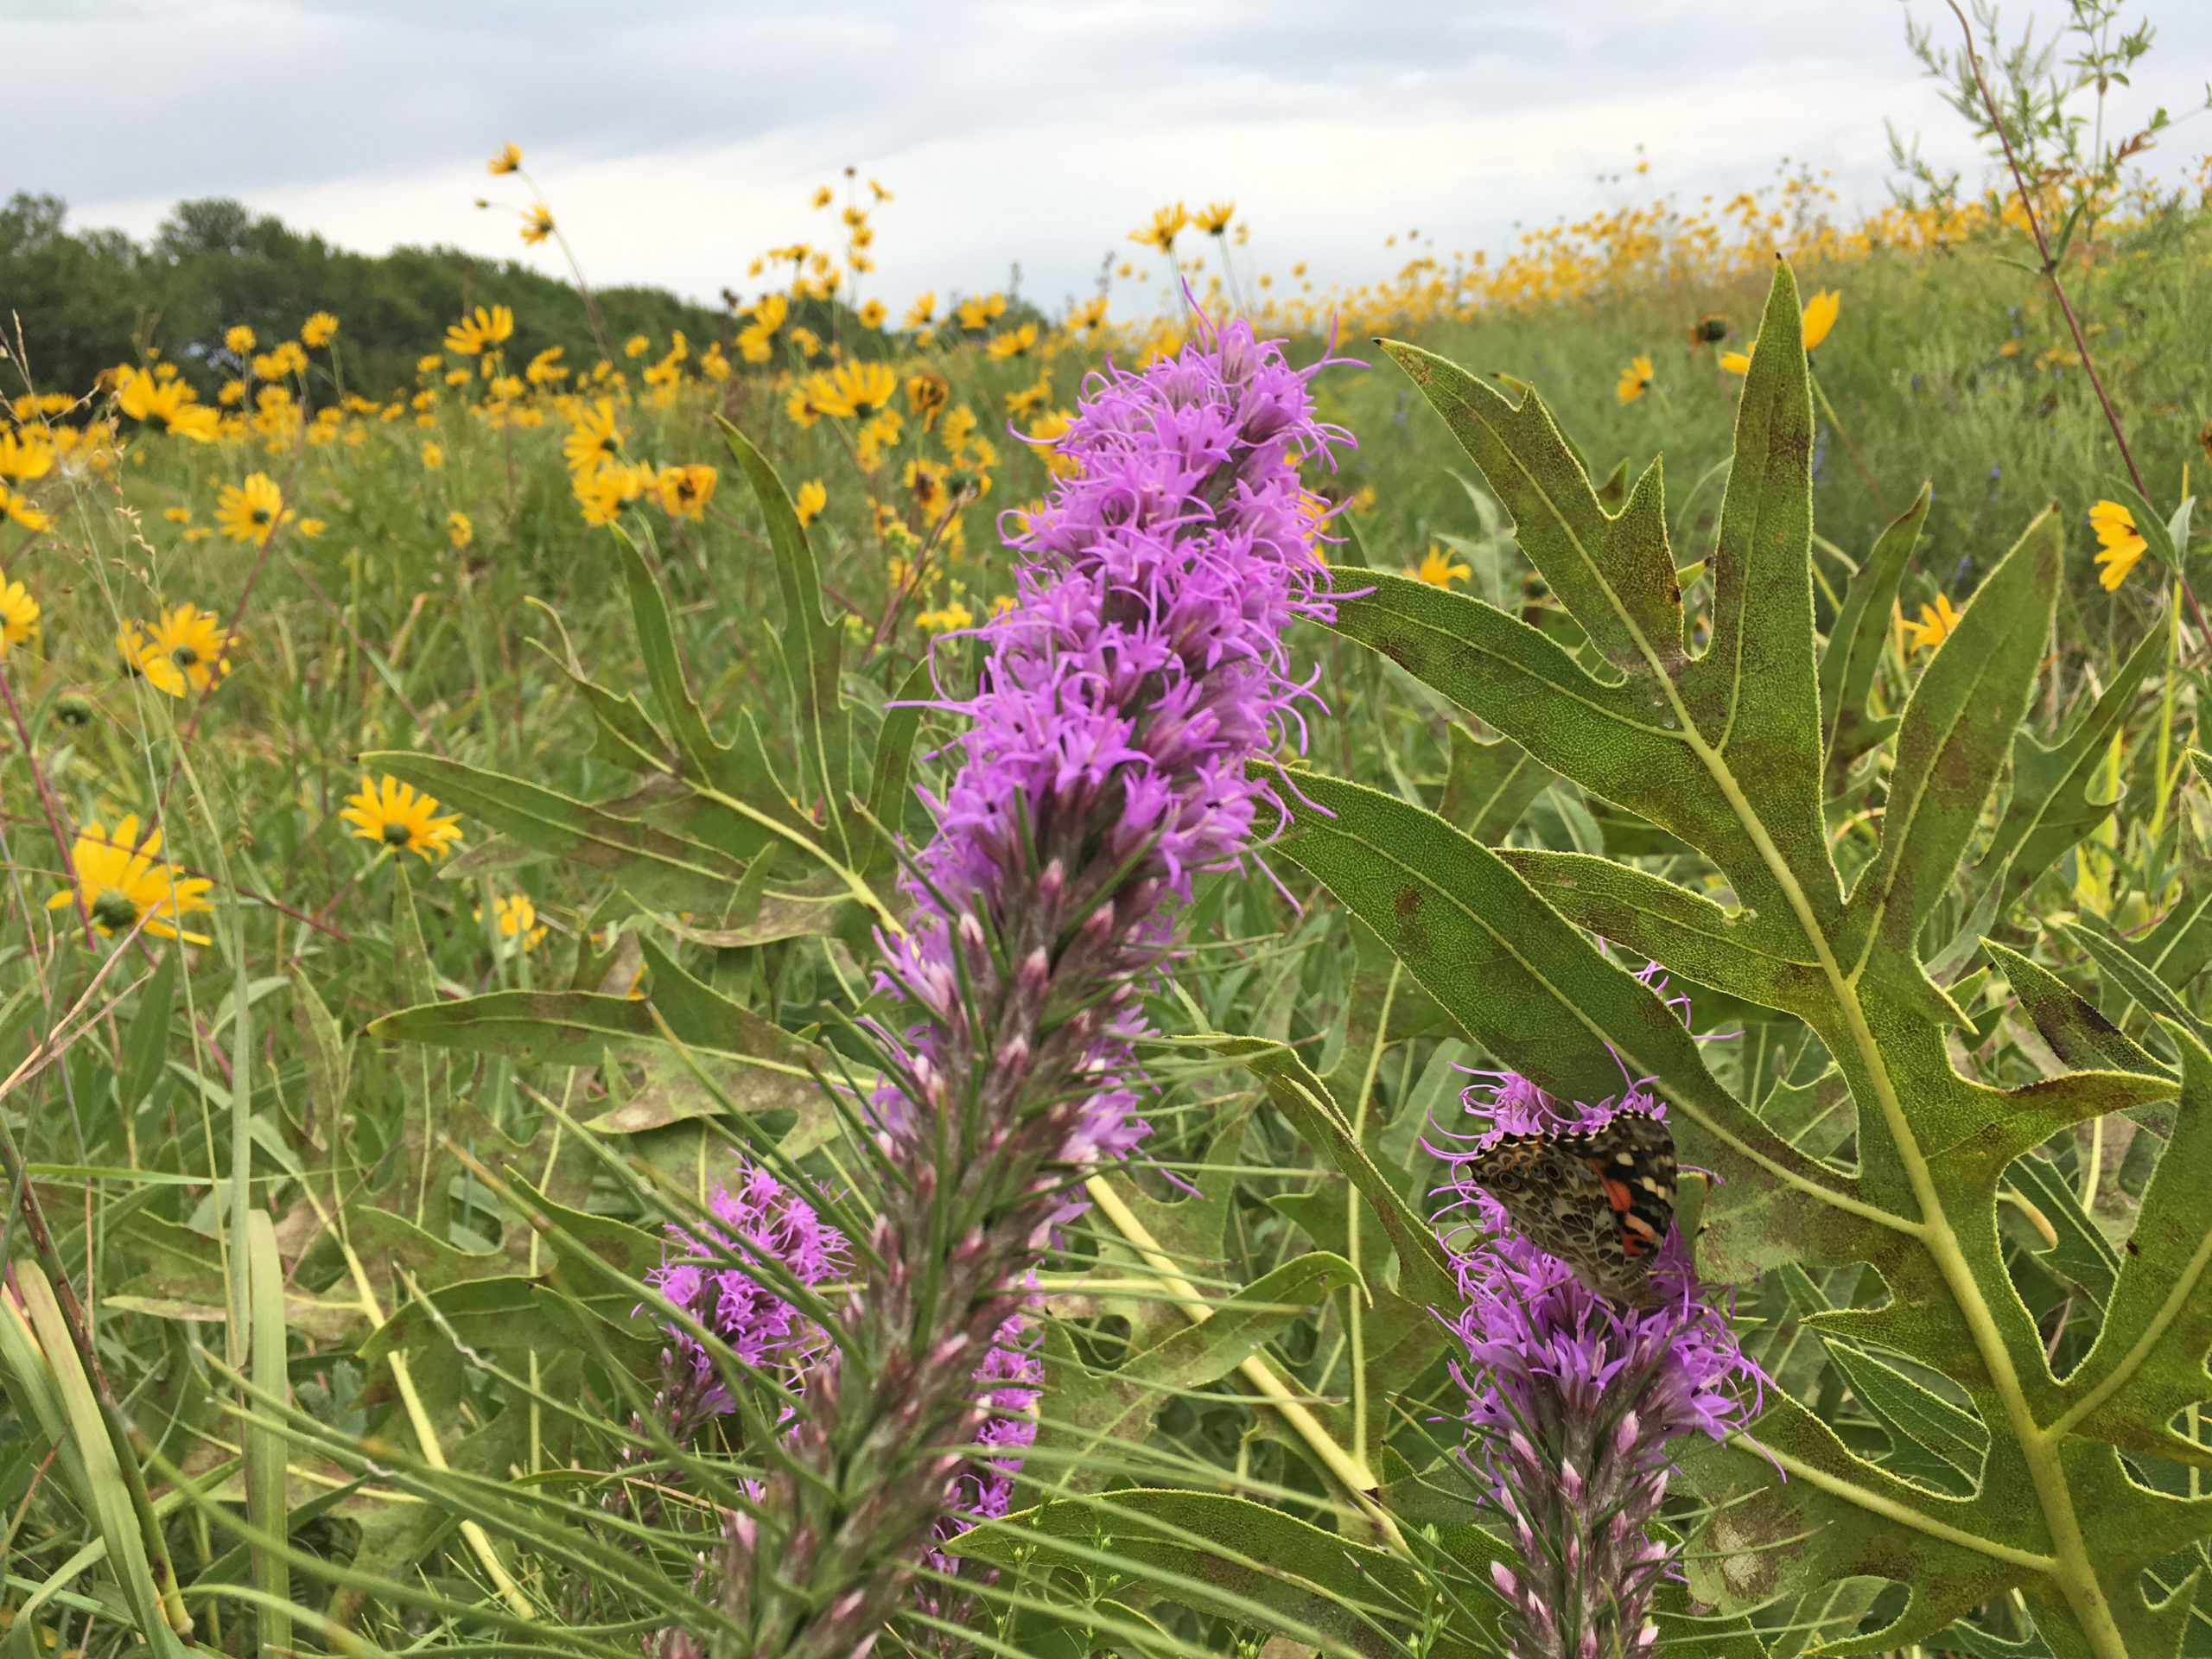
When you look at a virgin prairie (one that has never been tilled), you quickly discover a tremendous diversity of plants. Each square foot has many different species vying for sunlight, moisture, and space. Species change throughout the prairie as well from high to low, wet to dry, sun to shade, and vary even with soils. This diversity contributes significantly to the overall health and sustainability of the prairie landscape.

Prairie Window Project in September 2017. Photo by Brad Guhr.

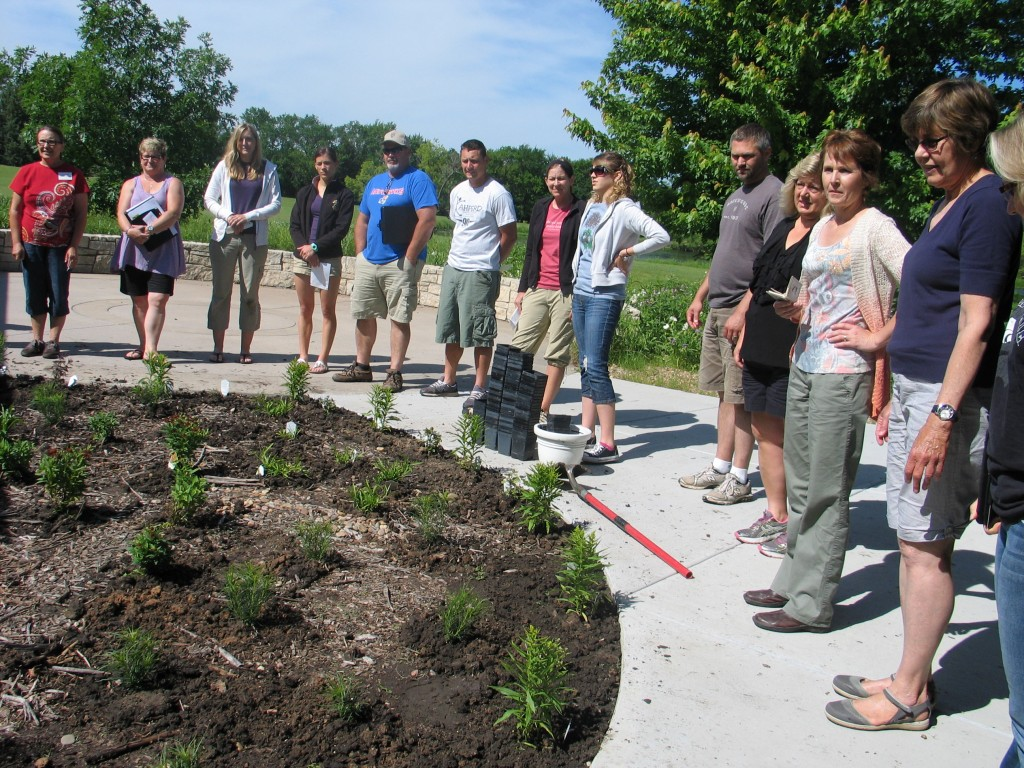
One of the keys to successfully creating a prairie garden is including a diversity of plants suited to your site. Time of bloom and aesthetics are often considered first, but including variety is an essential element in the process too. It’s also important to think about diversifying trees and shrubs. Let’s look at some reasons why diversifying our home landscapes to include more species is so relevant.    

A Diverse Landscape is a Resilient Landscape

While each landscape is different, they all face an array of environmental pressures, such as drought, floods, pests, and diseases. A diverse landscape is more adaptable and resilient, able to endure these environmental hazards.  We have all seen shelter belts and monocultures decimated by drought, pests or disease-leaving large holes in the landscape.  If you think about it, single species or similar species landscapes are vulnerable to eradication in ways that diverse landscapes are not. 

A Diverse Landscape Attracts Diverse Wildlife

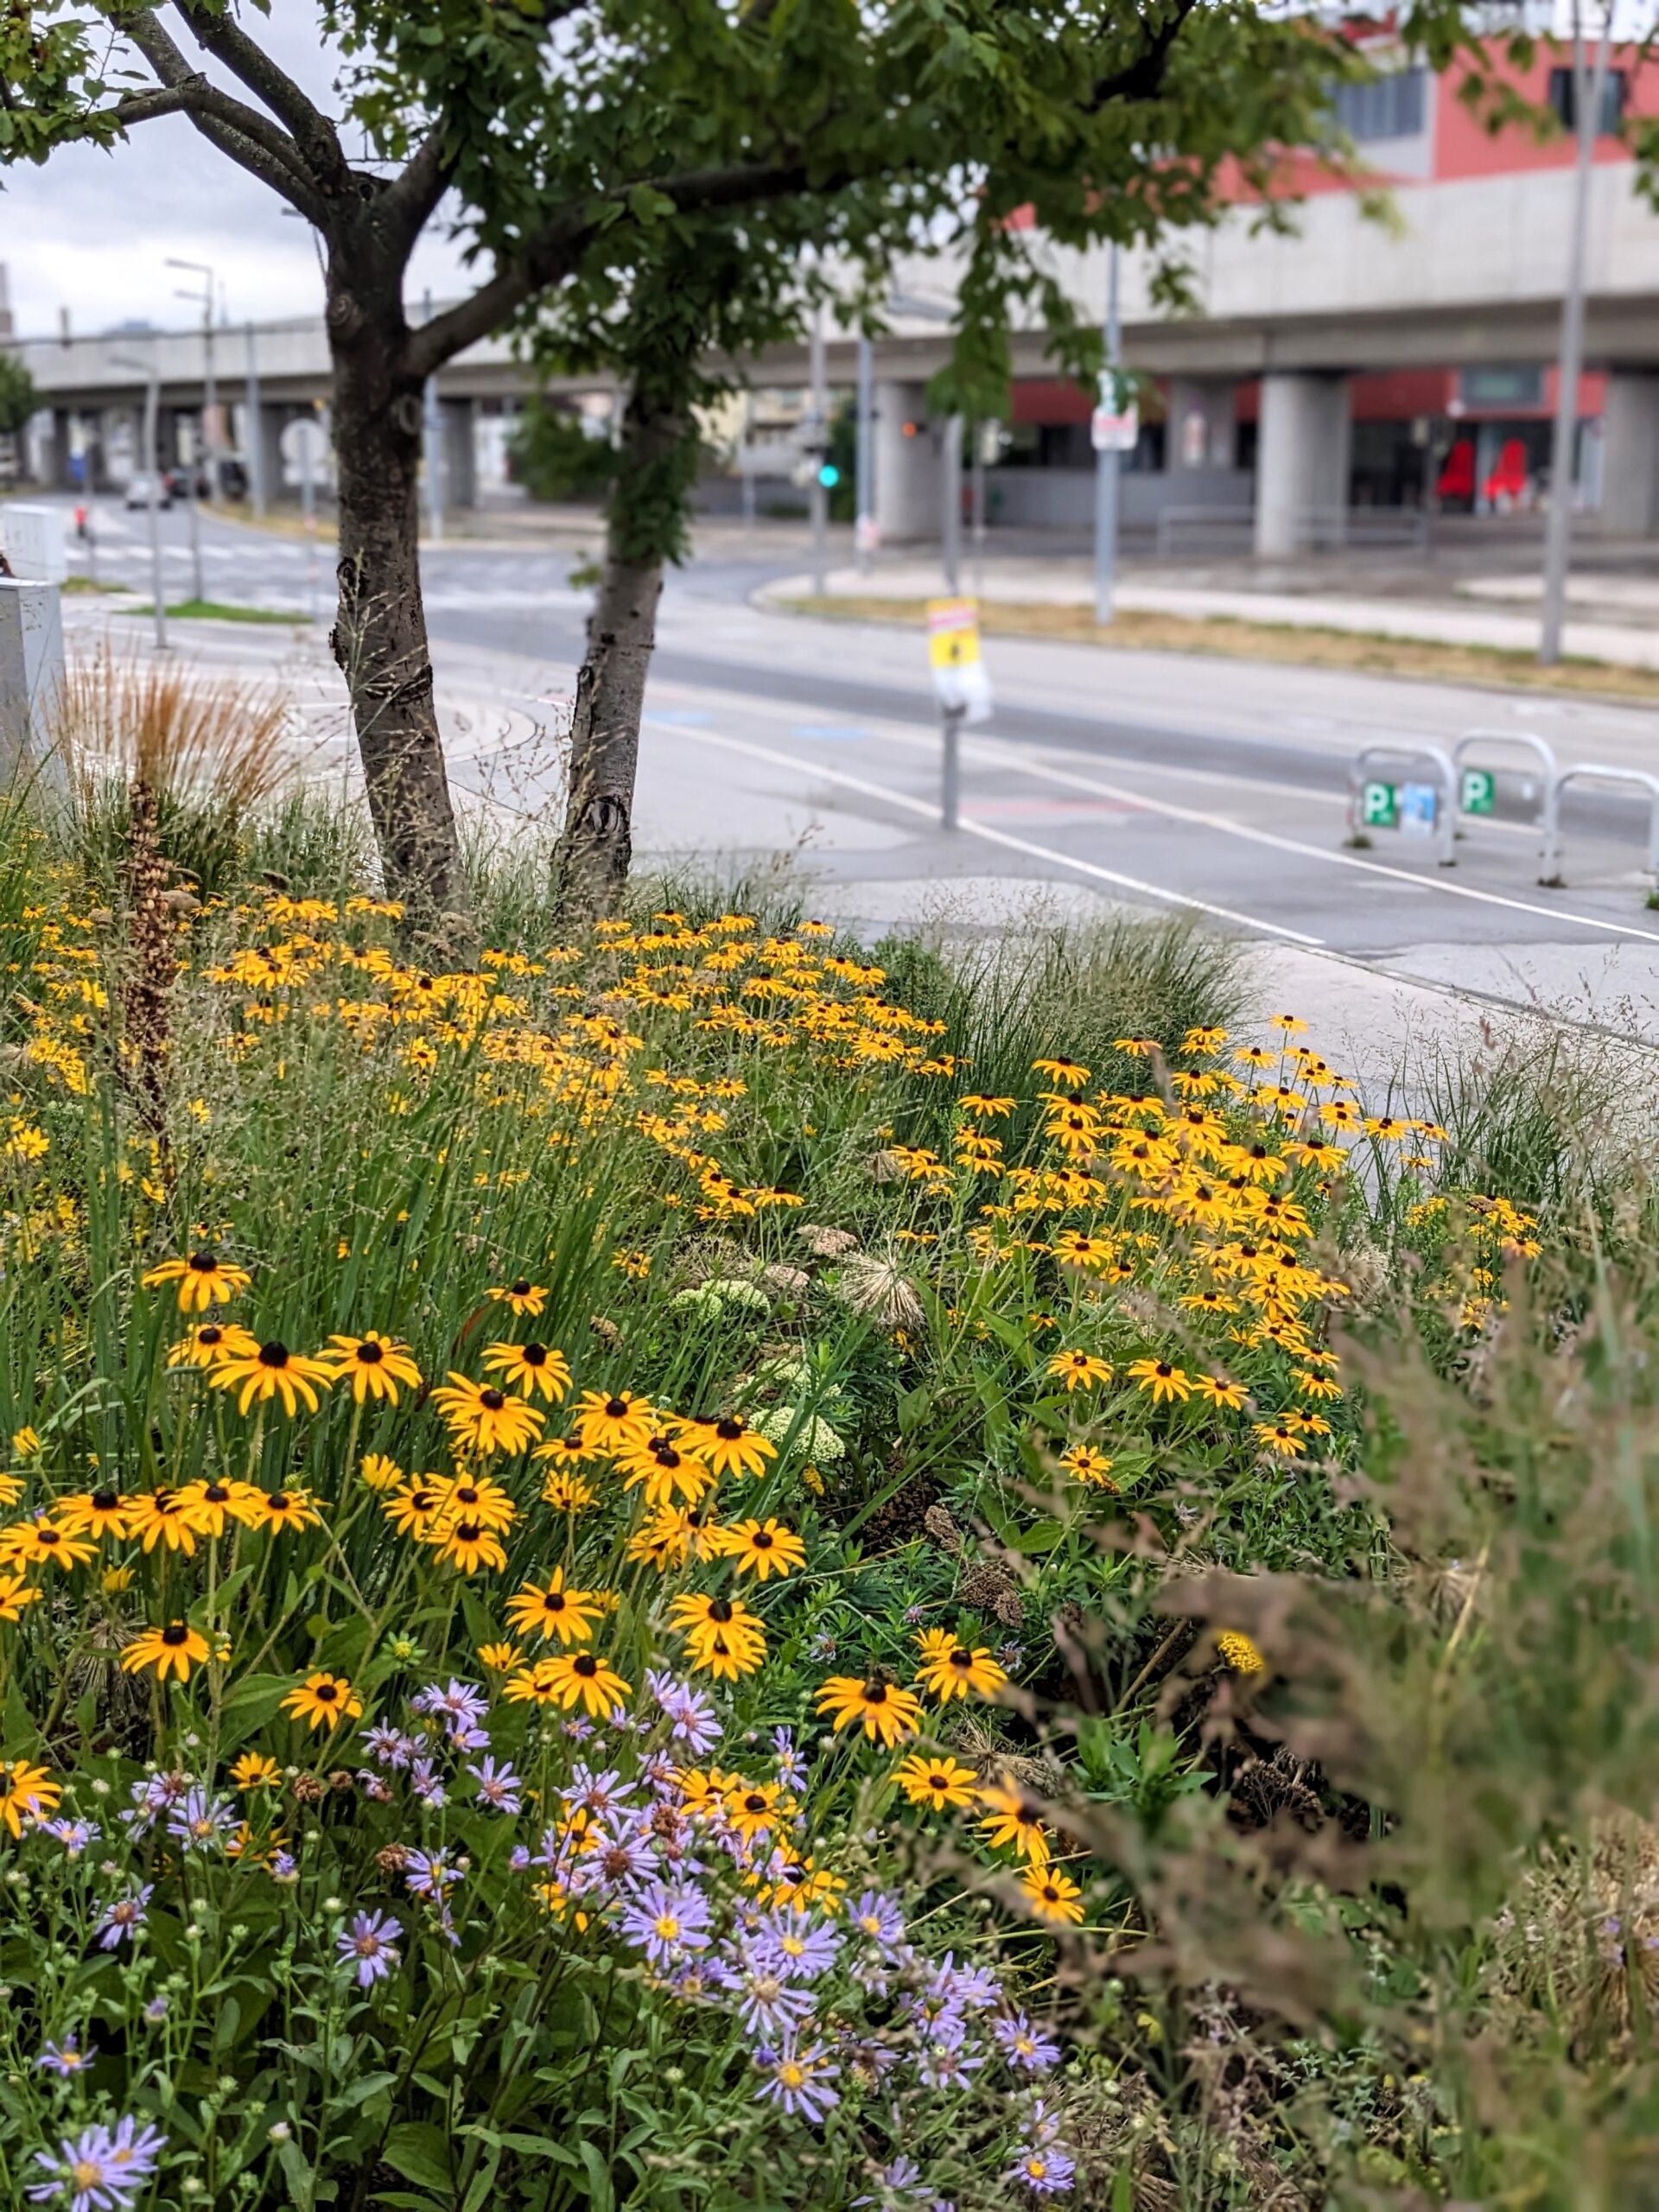
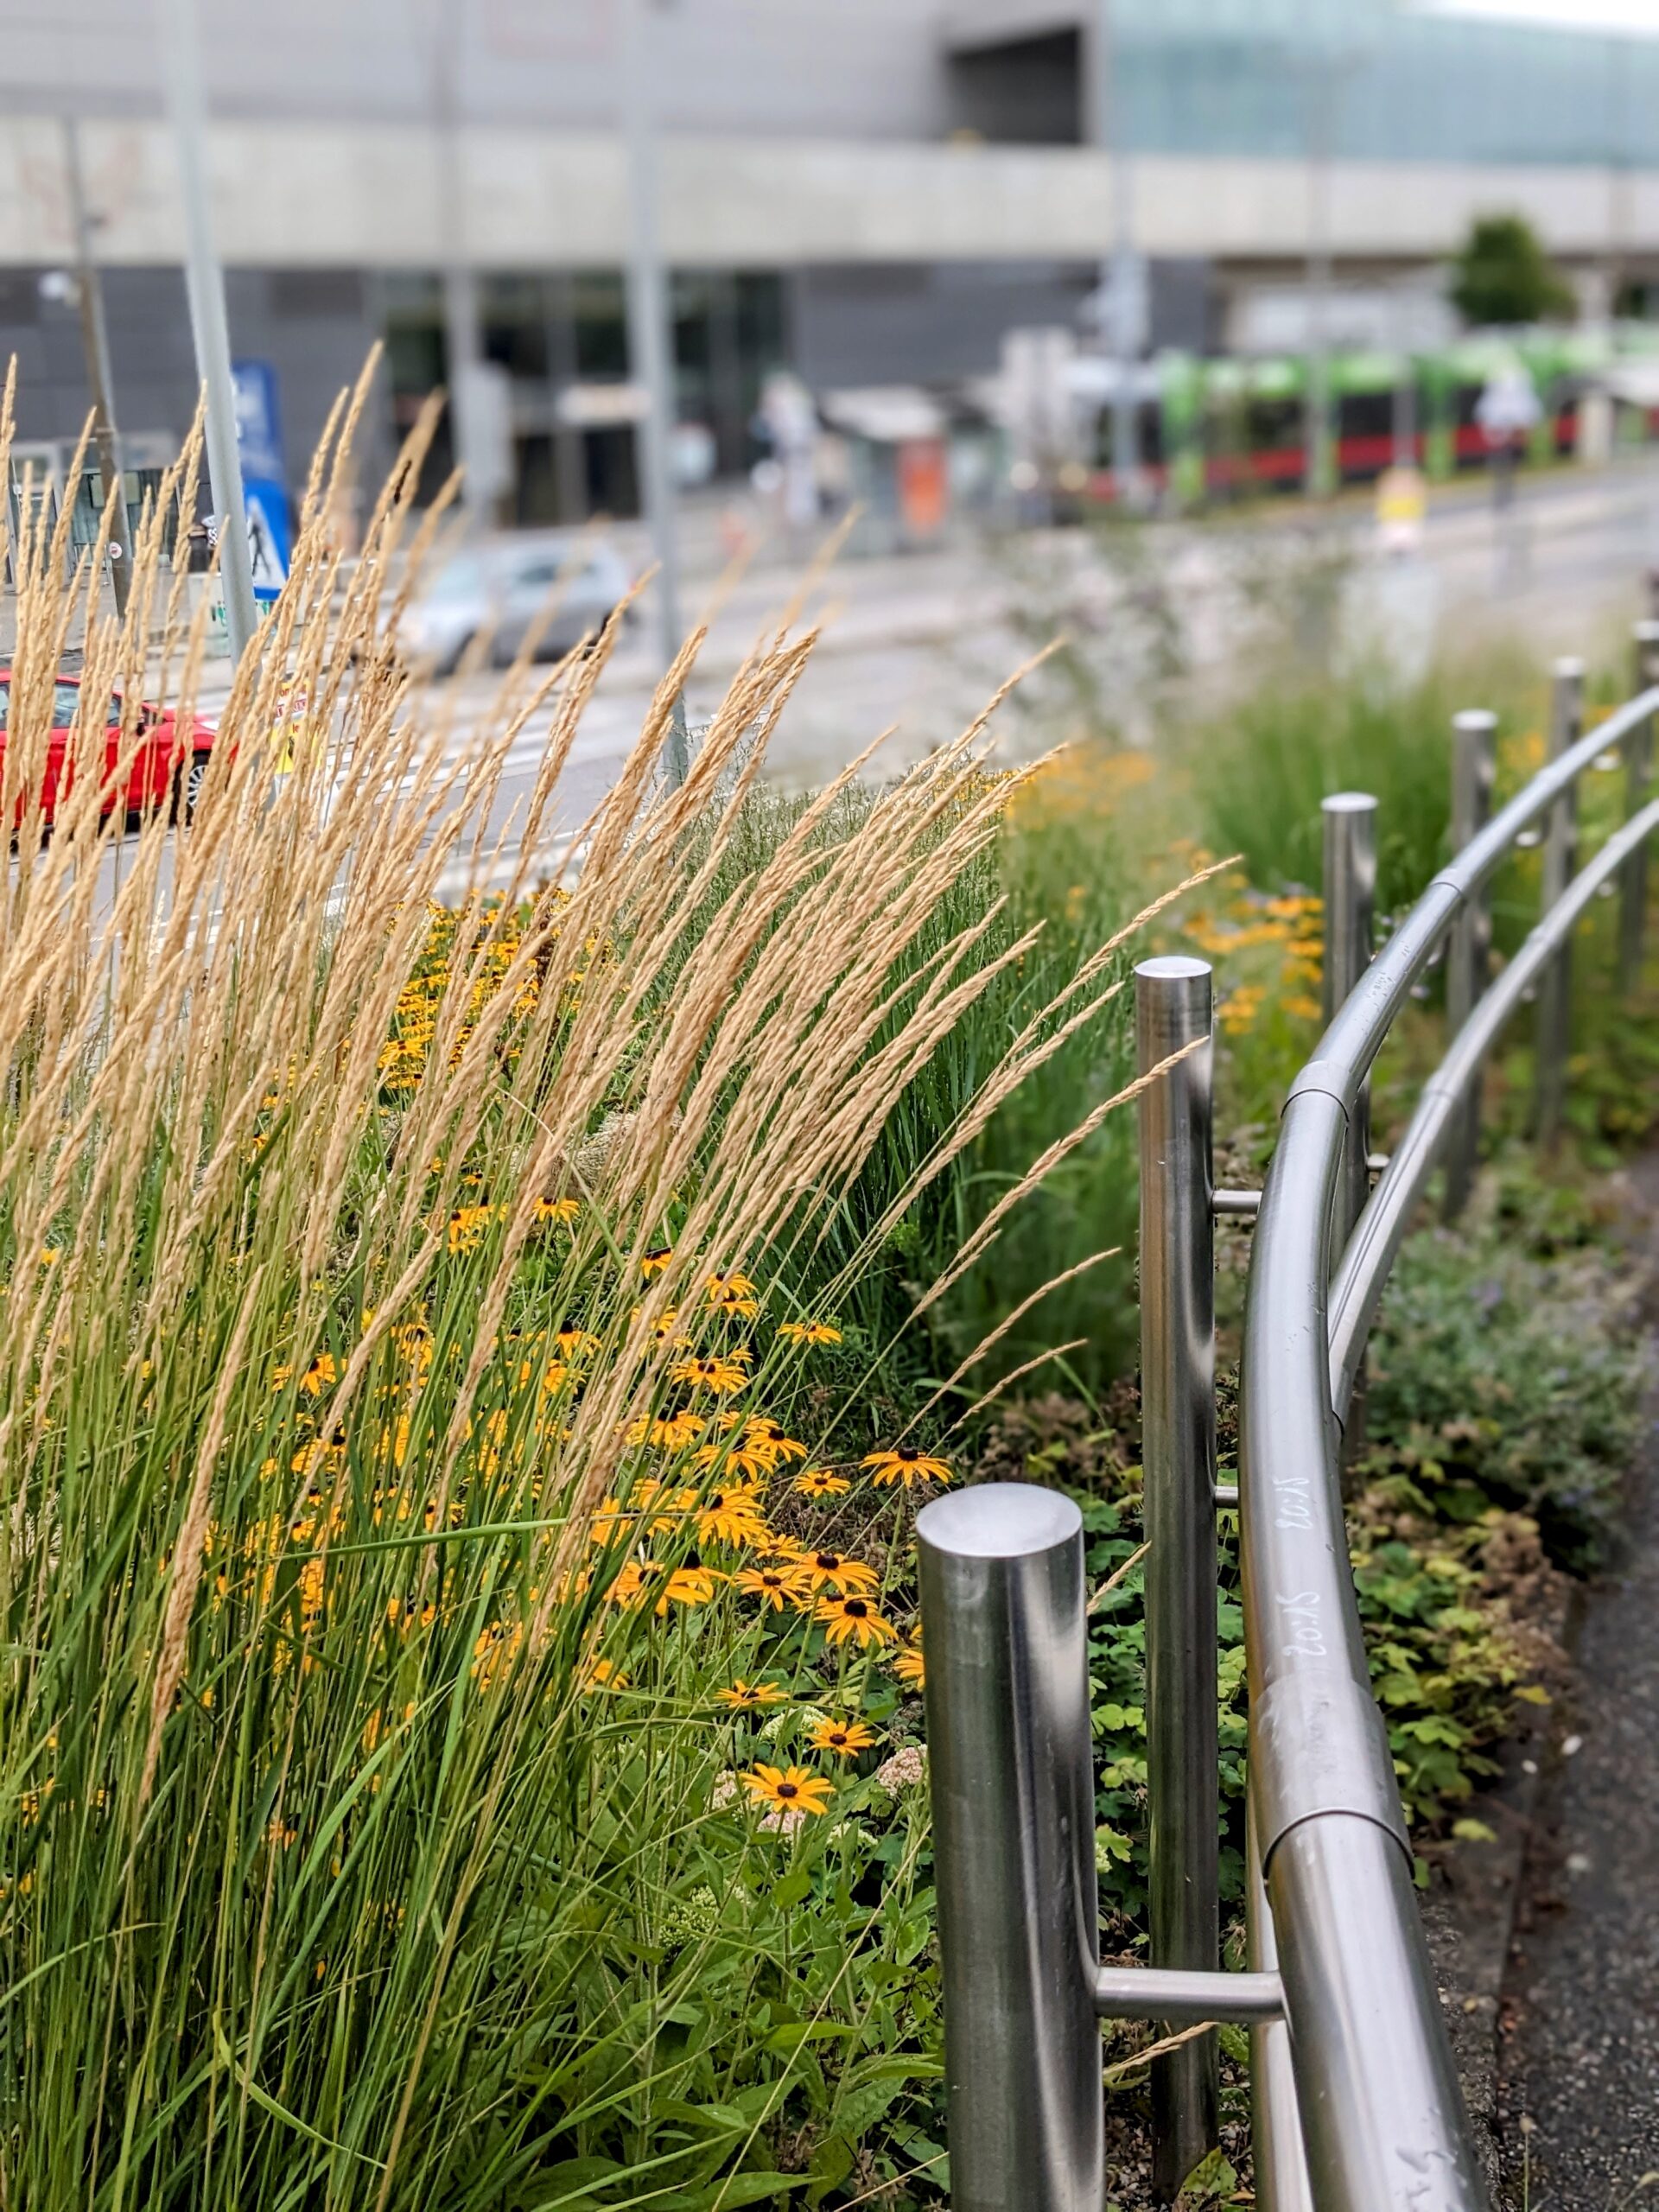
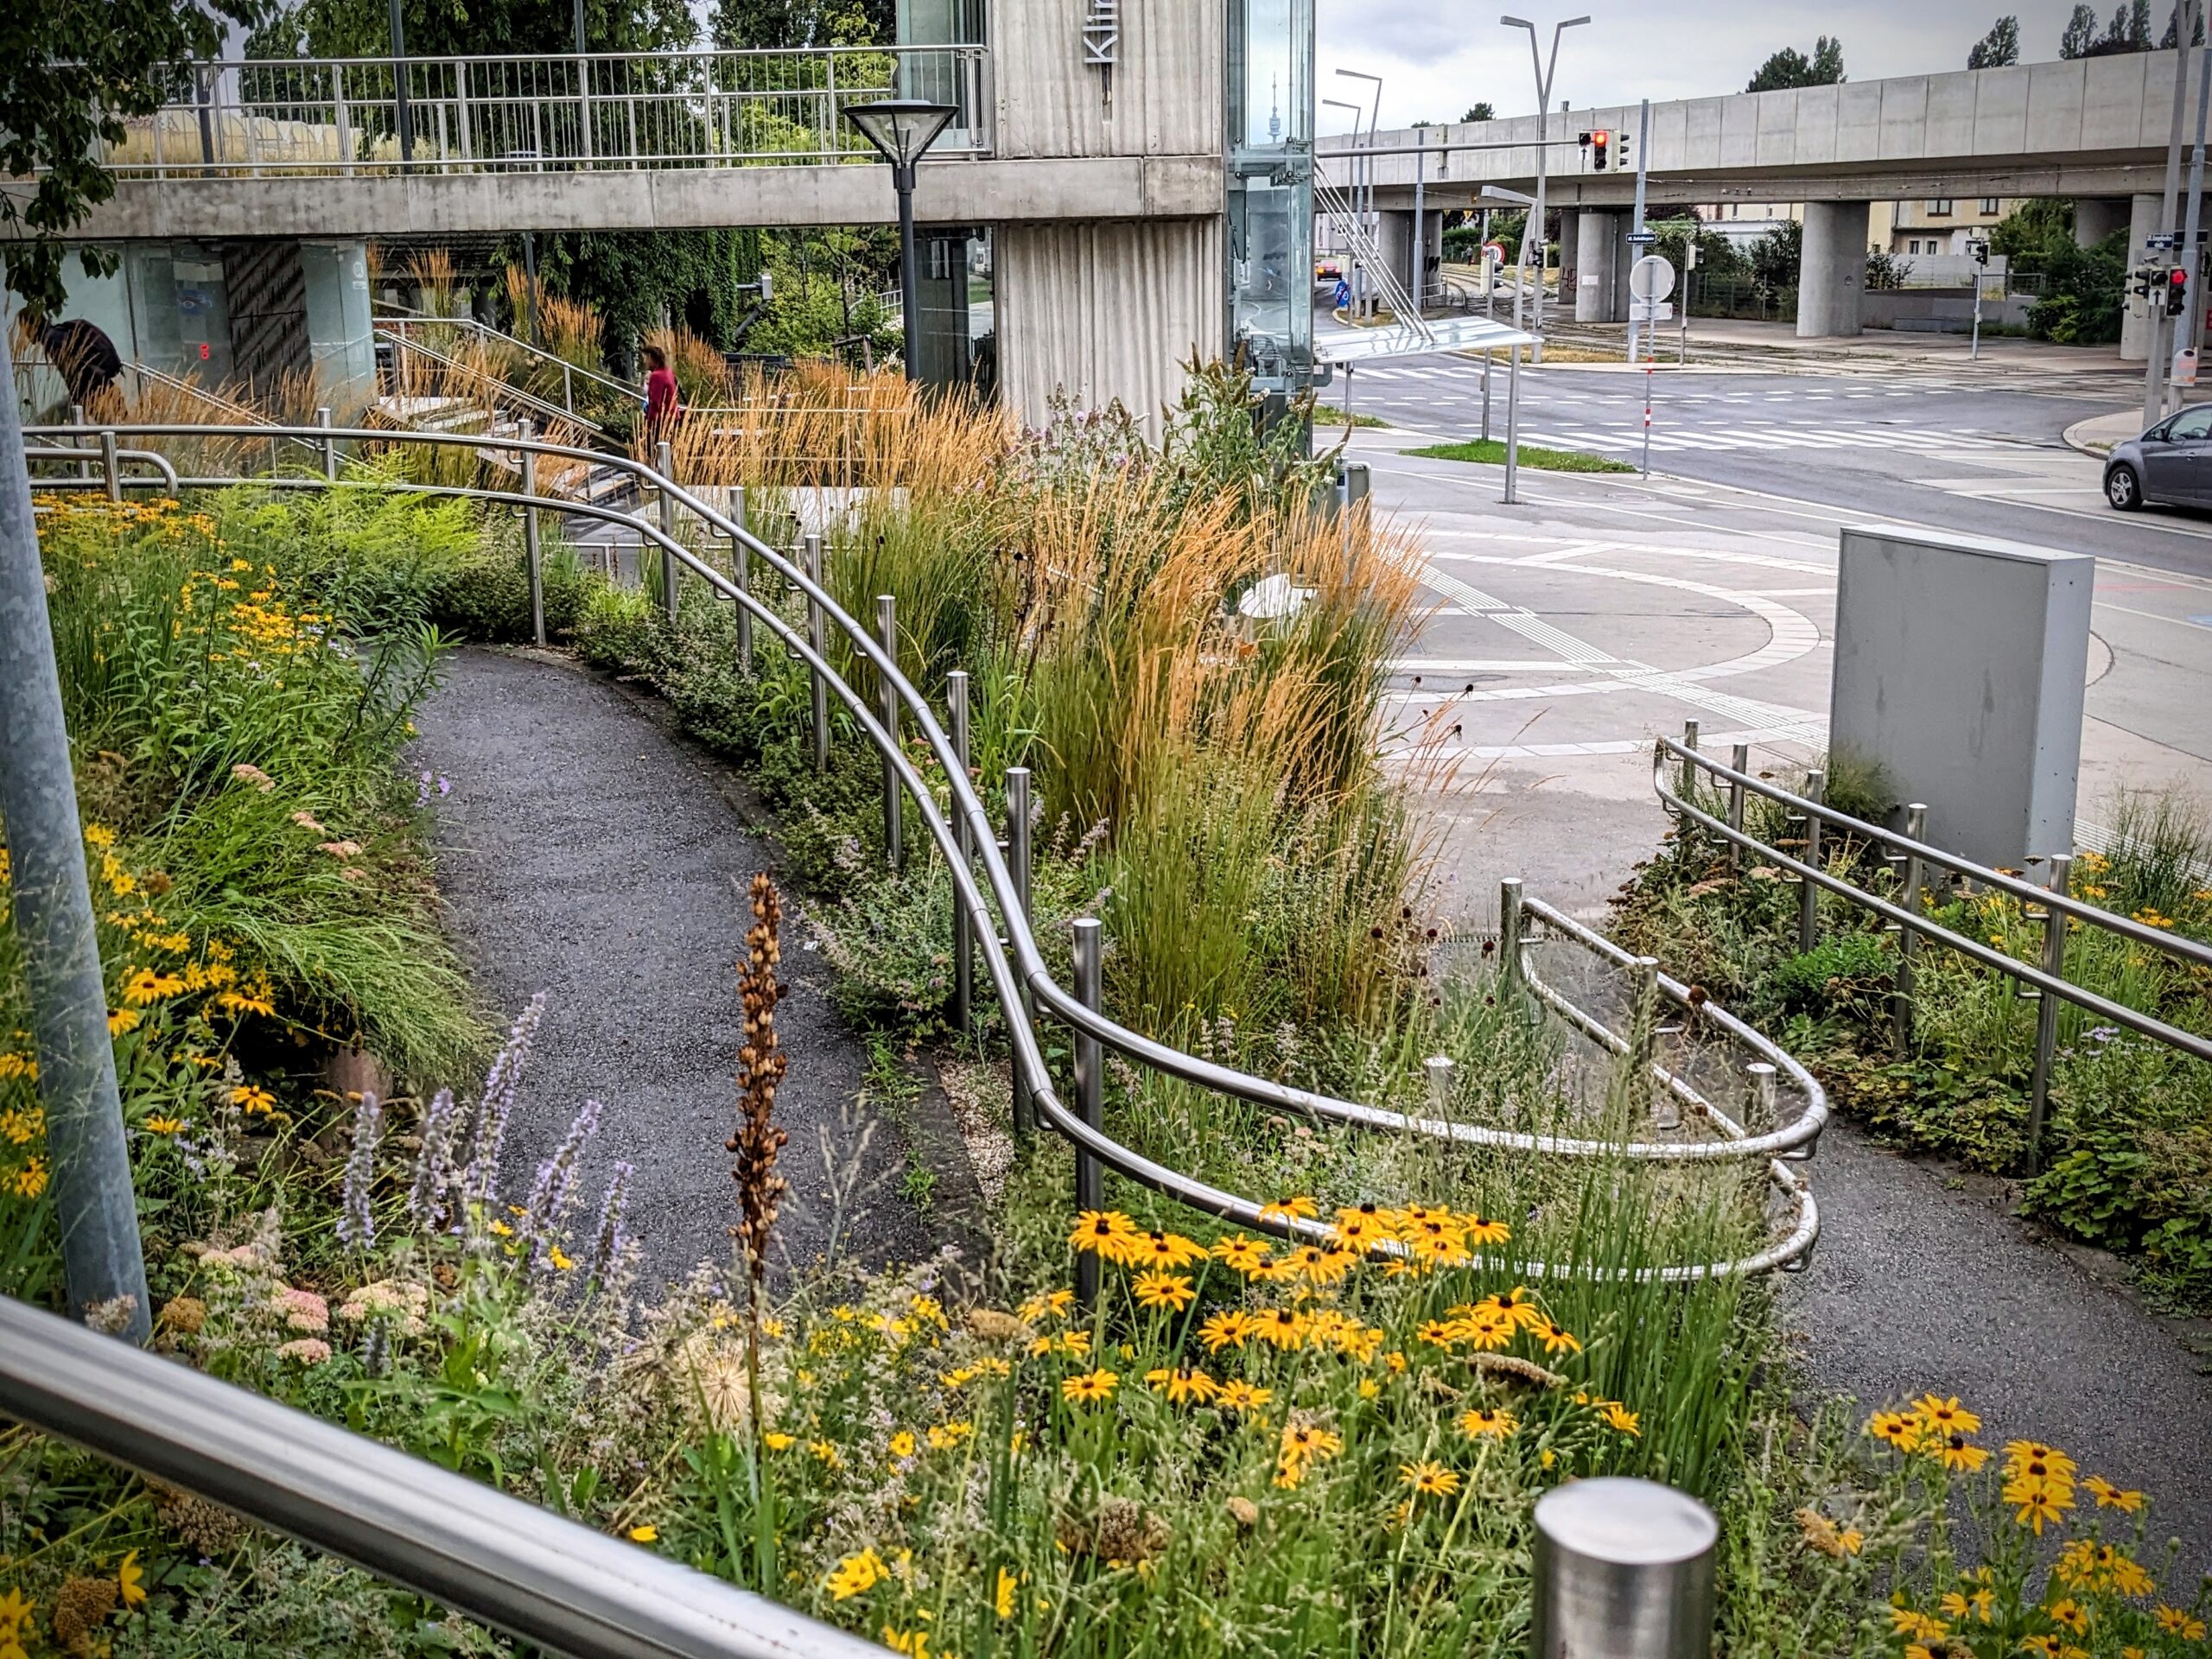
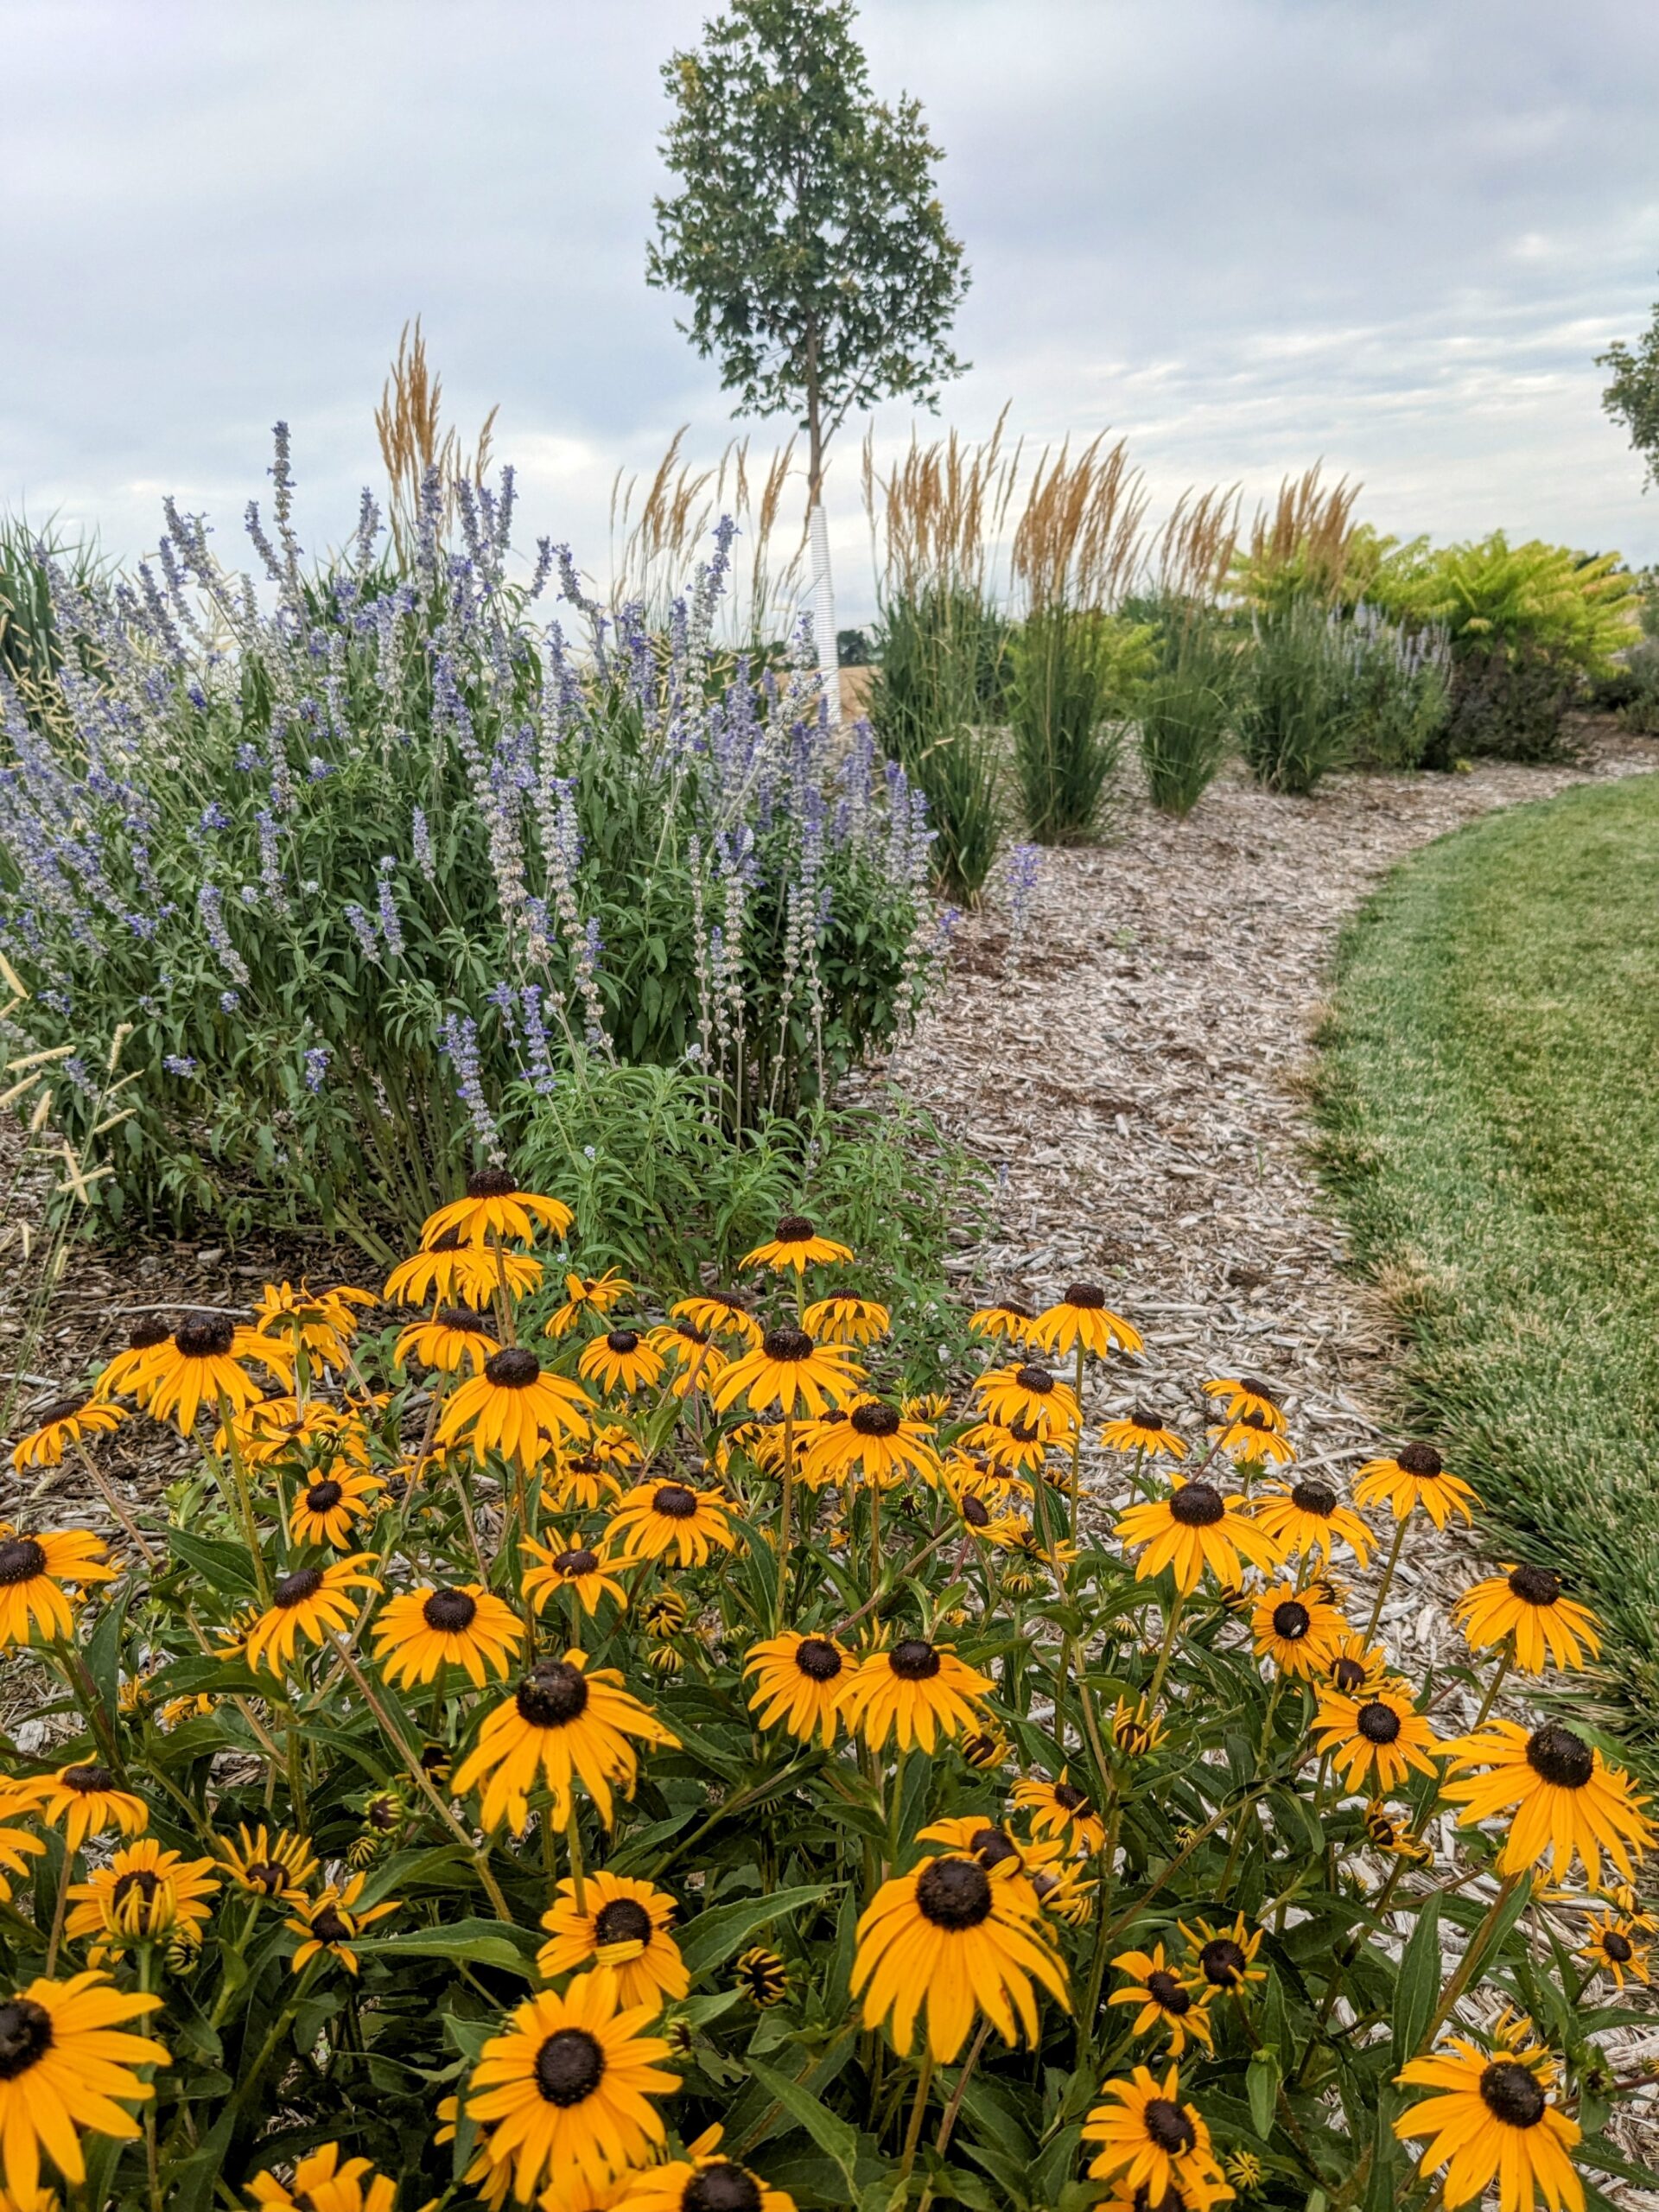
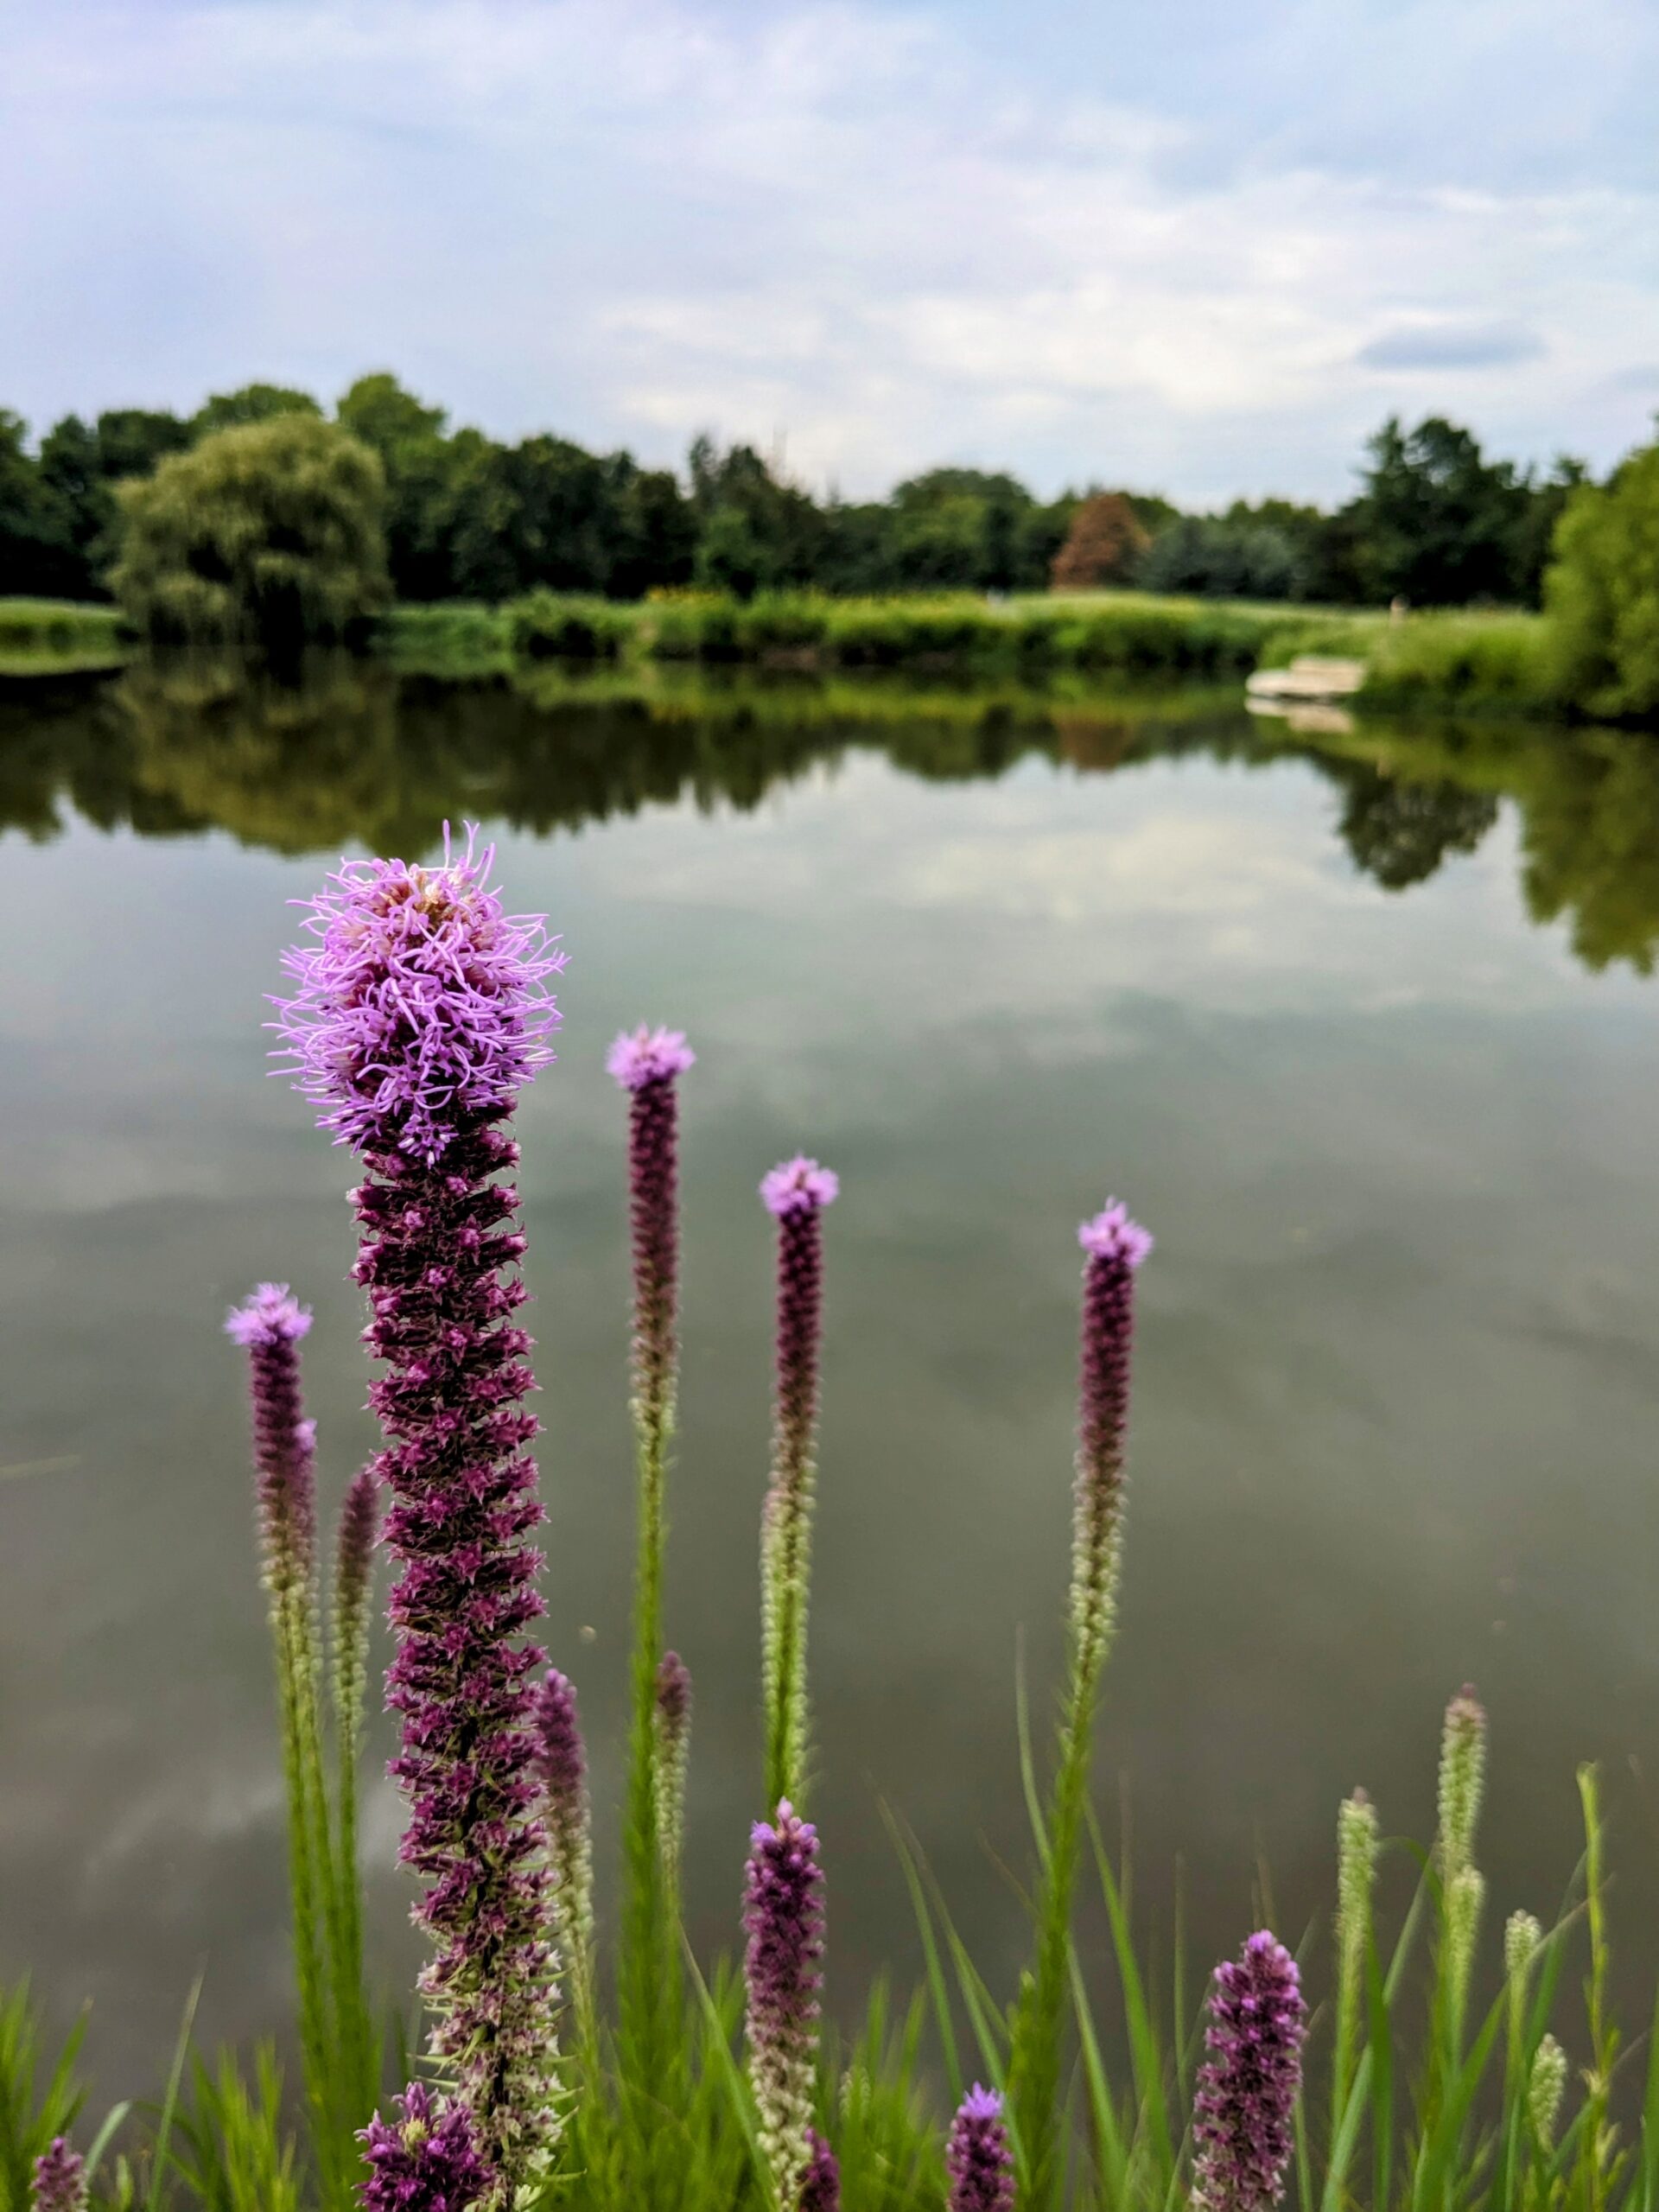
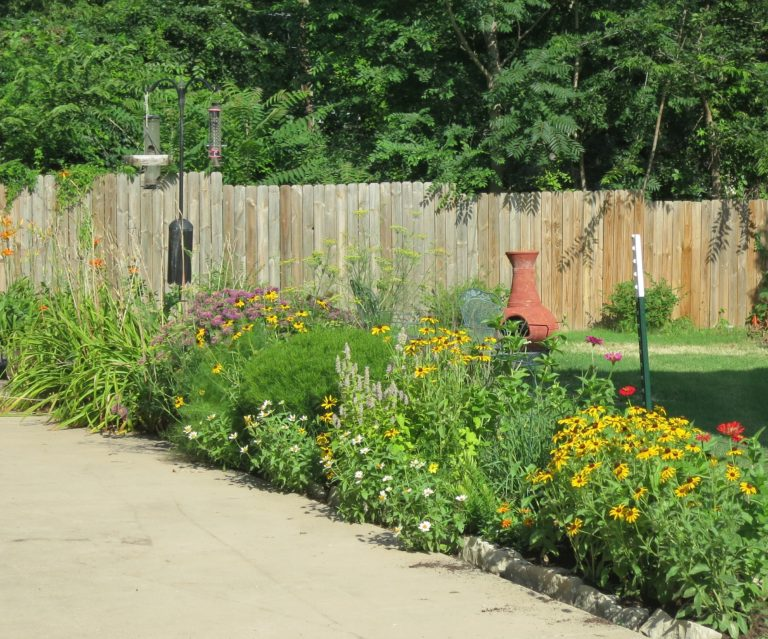
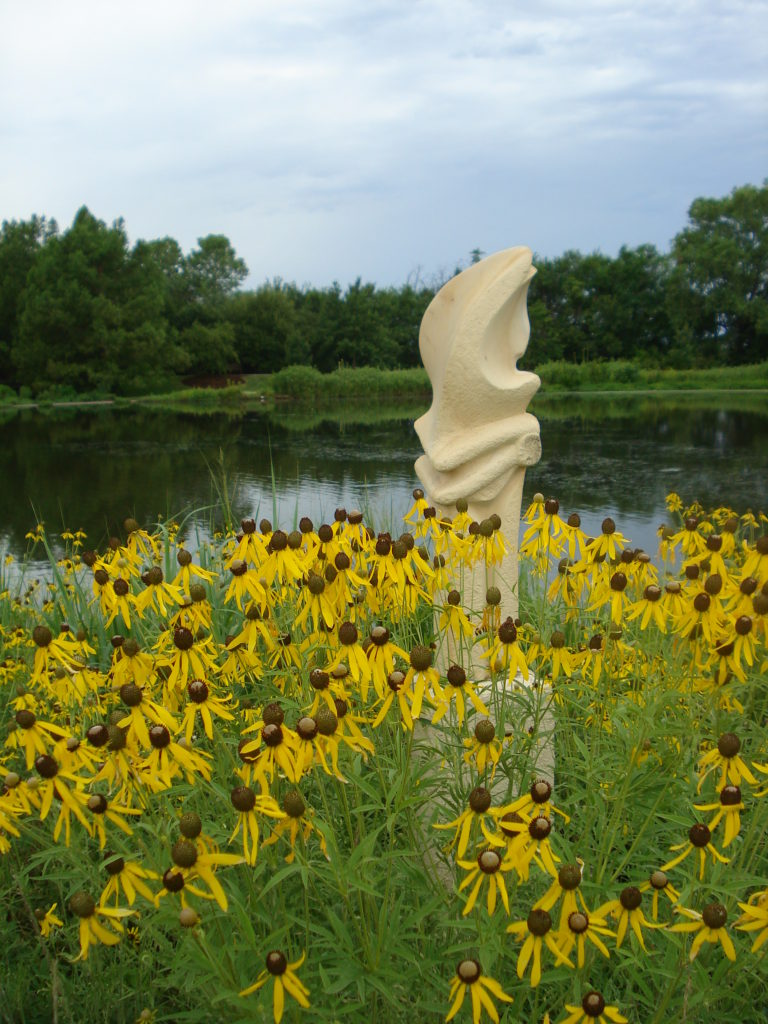
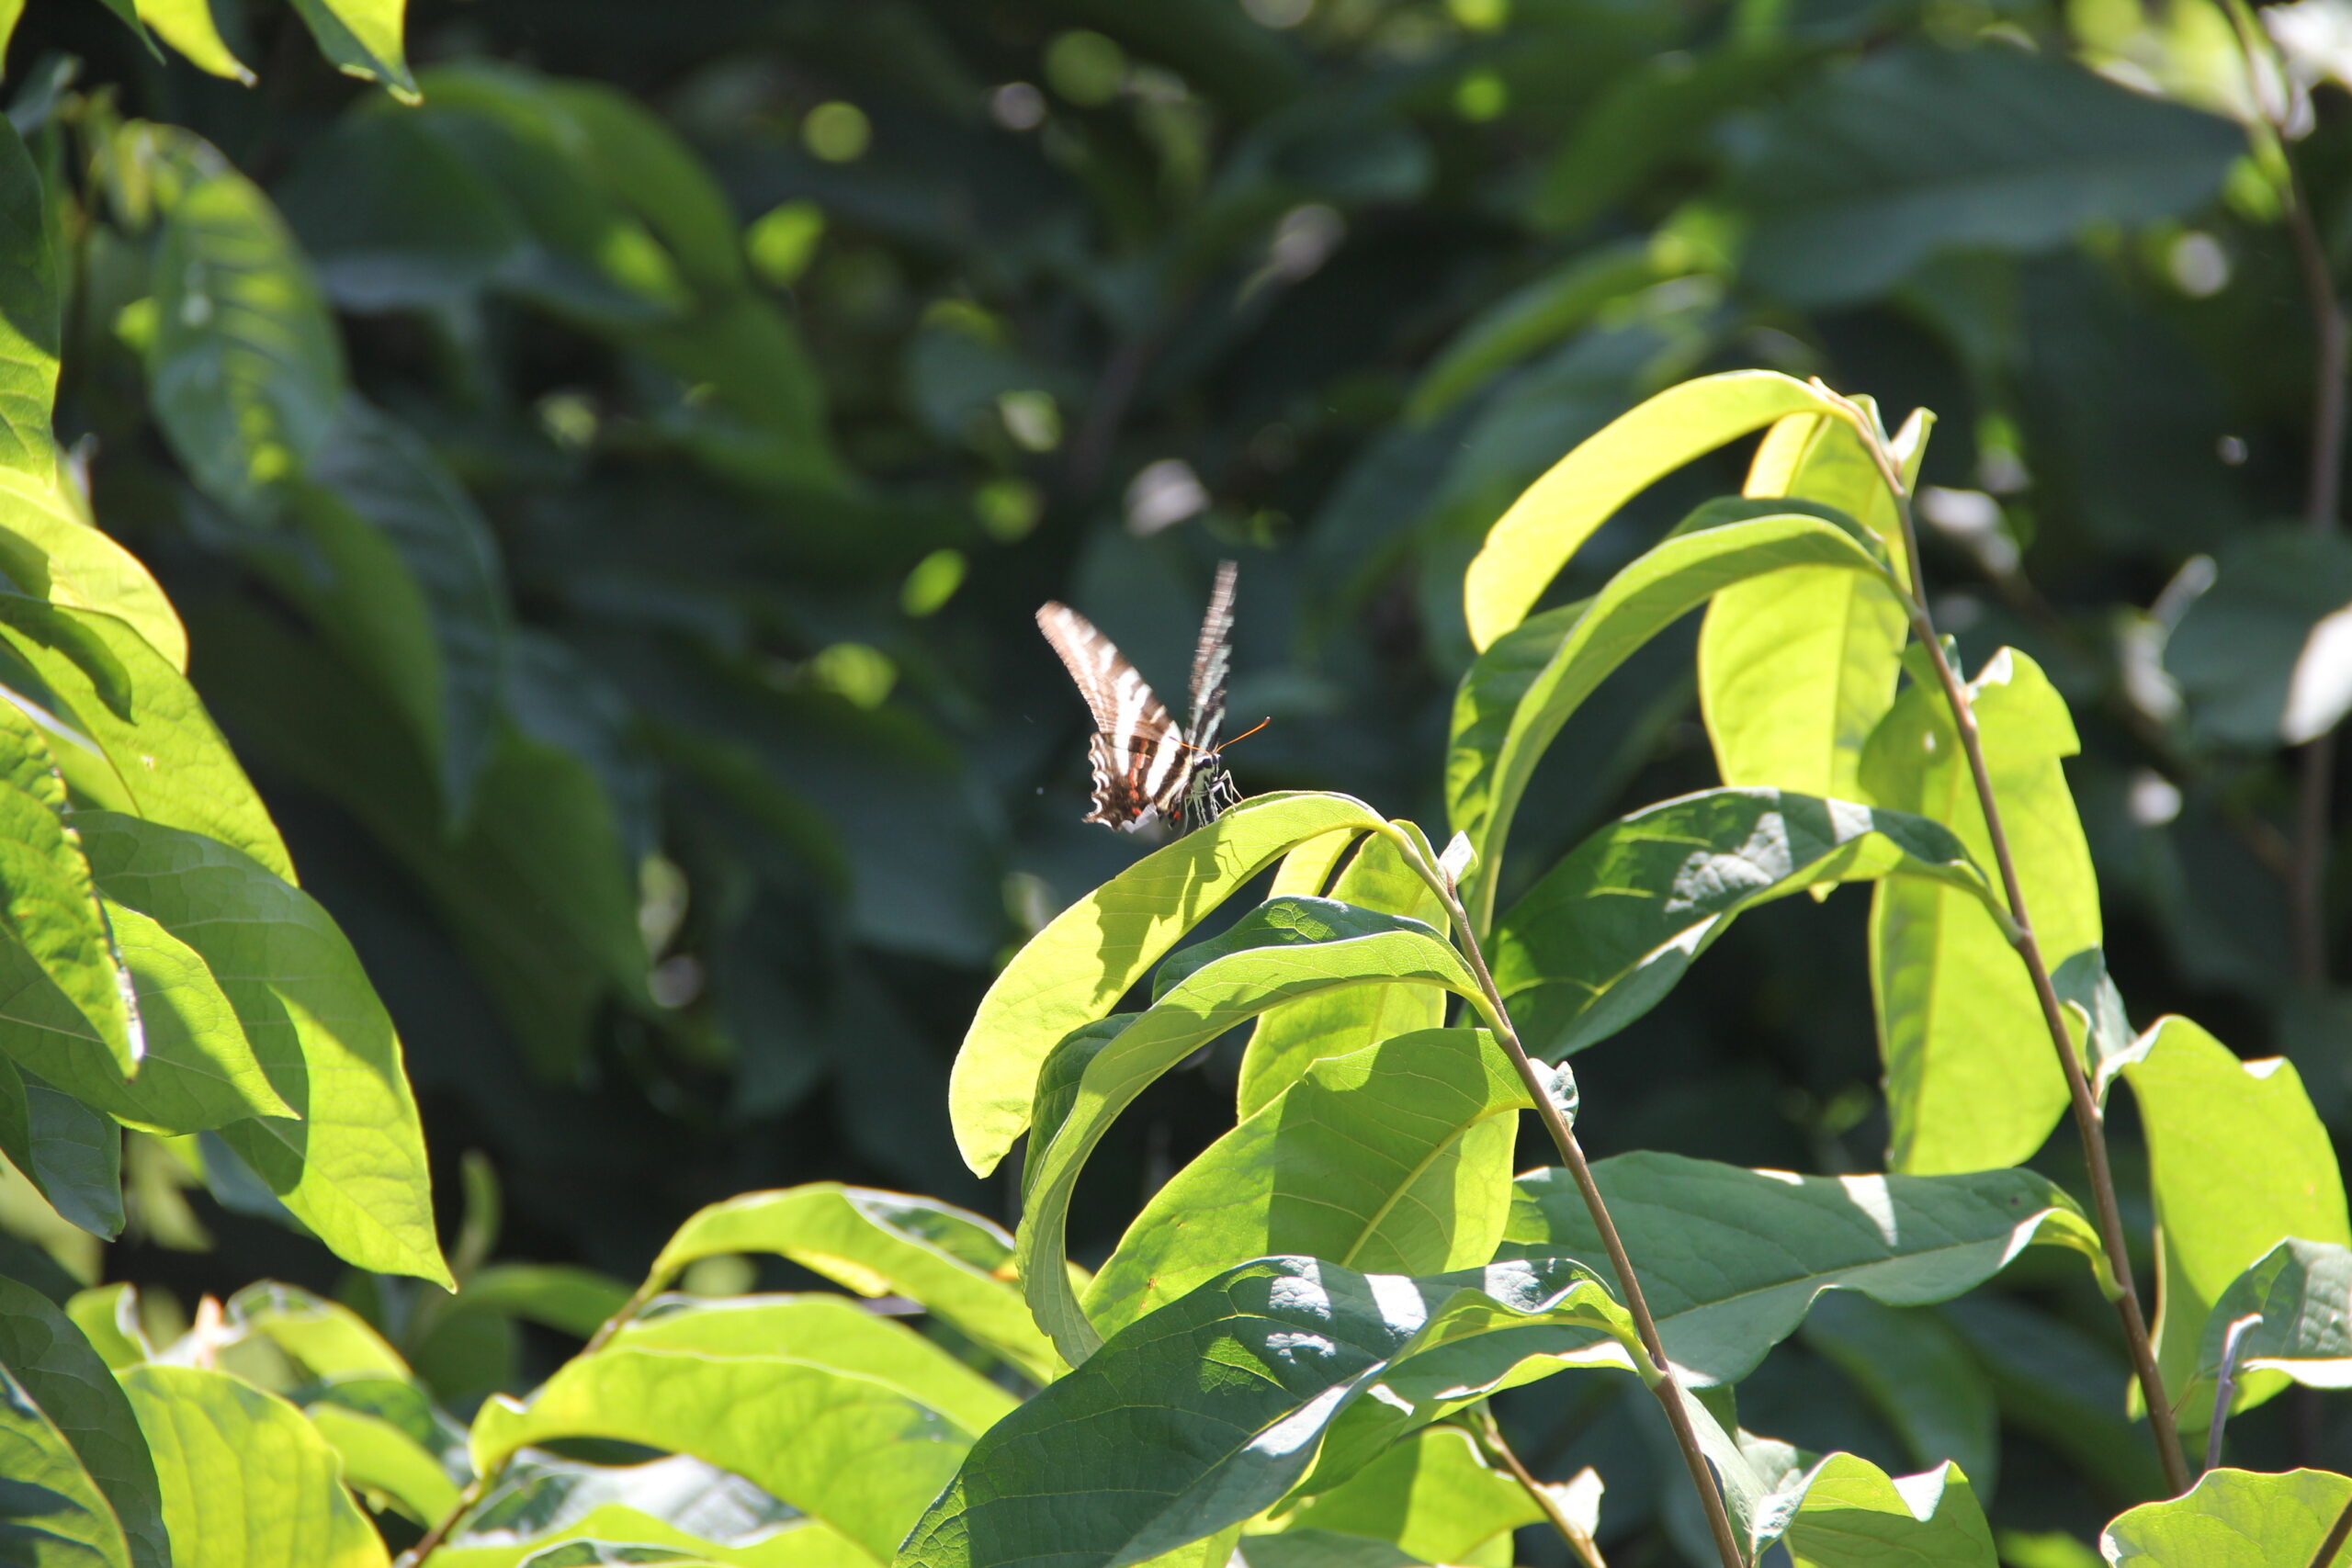
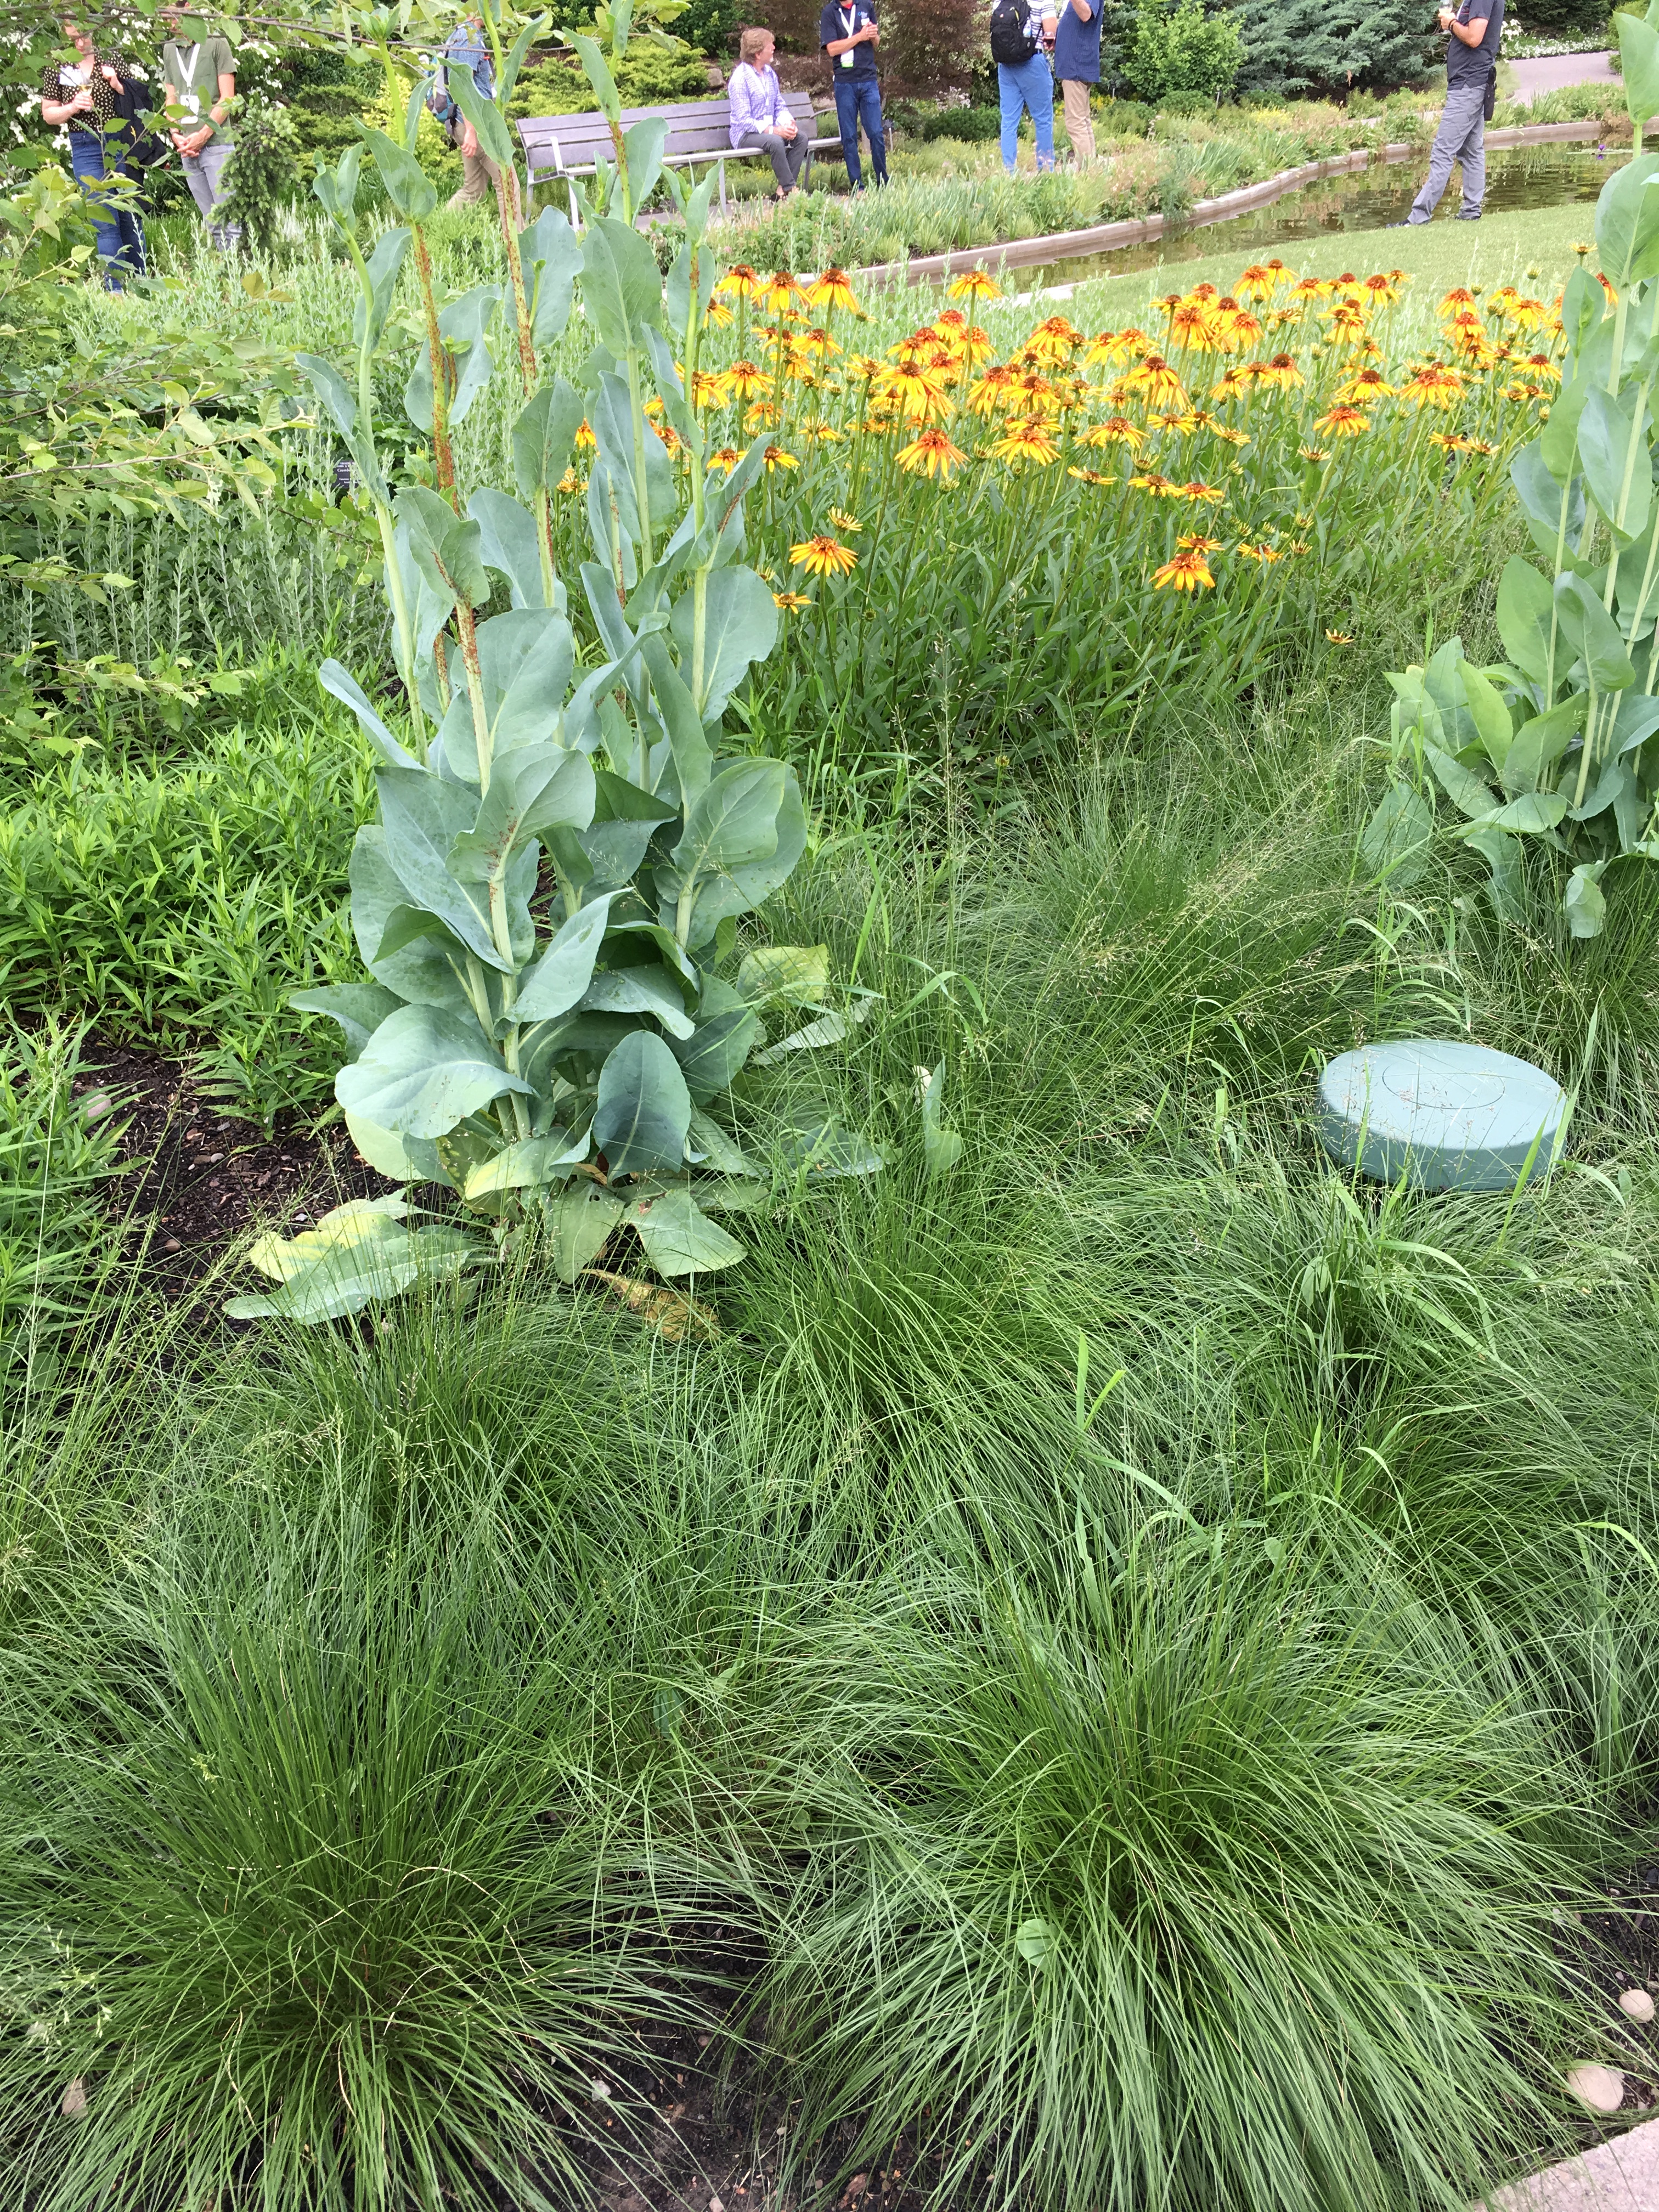
Building season long blooms benefits wildlife. Plants coming into bloom and going out of bloom mimics the prairie ecosystem. If you watch any prairie throughout the year, there are always a new set of plants blooming every few weeks throughout the growing season. Beyond building resilience, a diversity of plants attracts a diversity of pollinators and wildlife allowing them to complete their lifecycles. This is so crucial for their survival.  Patchwork prairies can serve as harbors, offering food and shelter to a broad range of wildlife. 

Butterflyweed with pale purple coneflowers and common milkweed

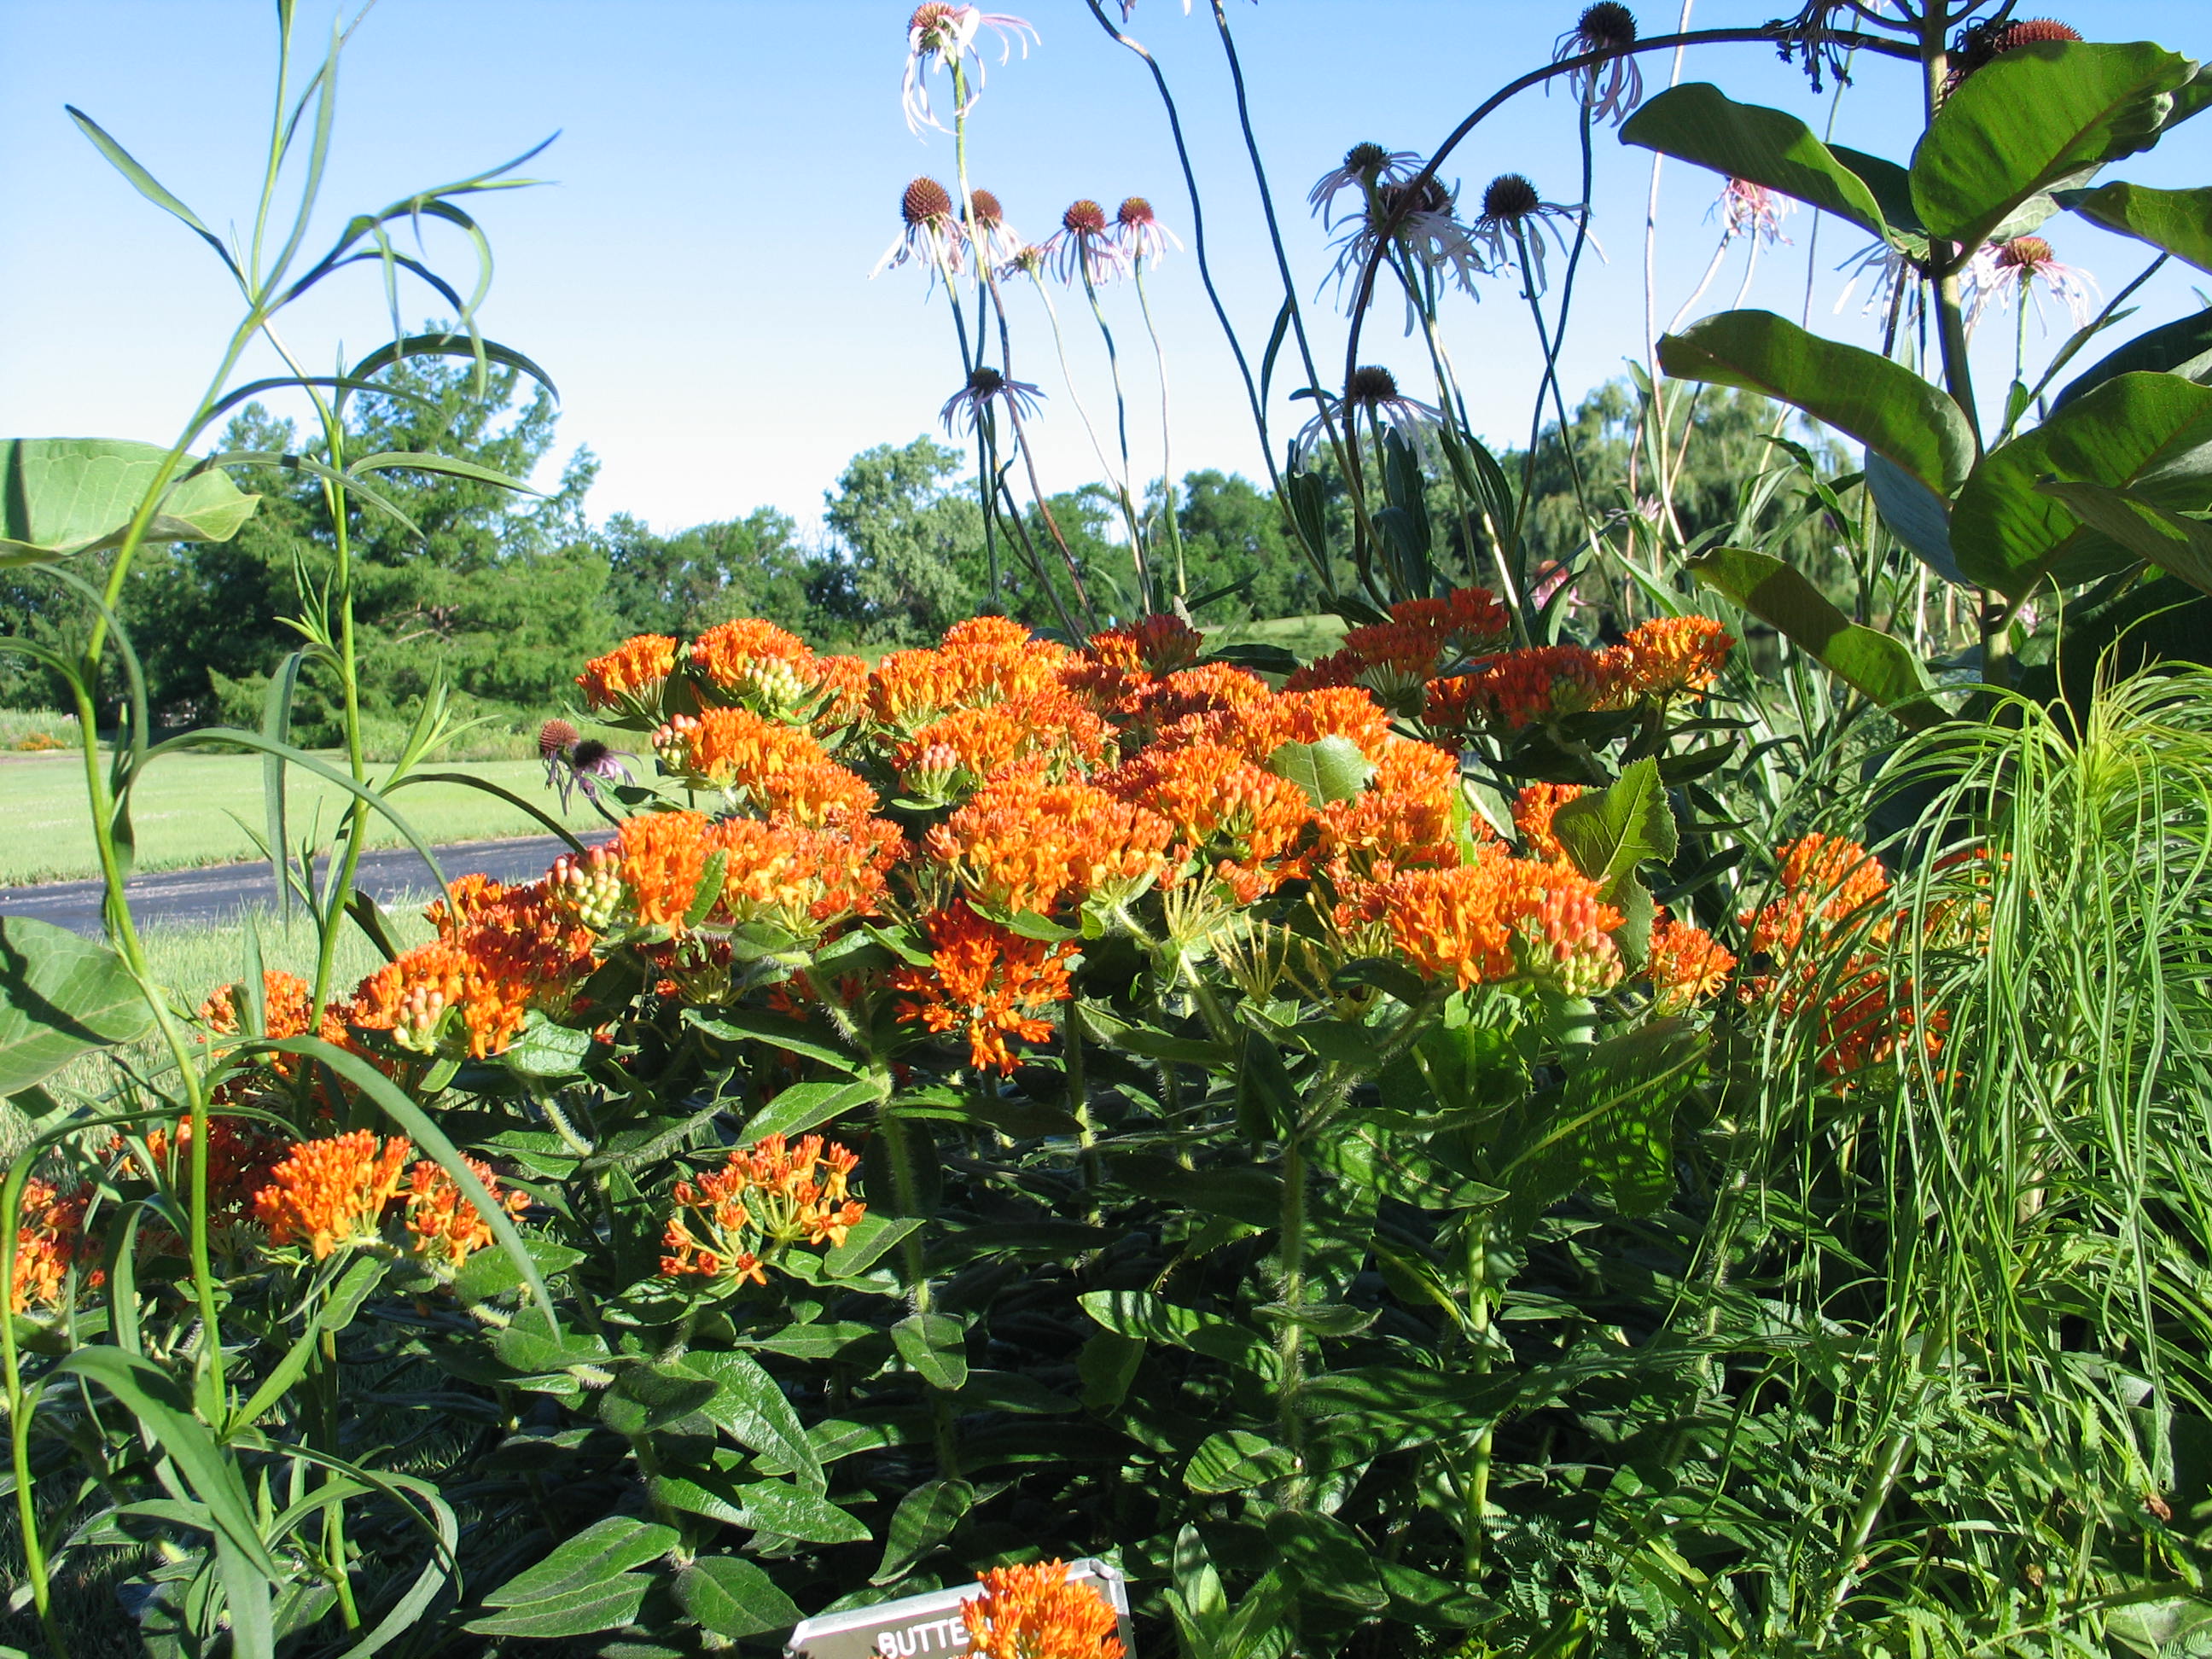
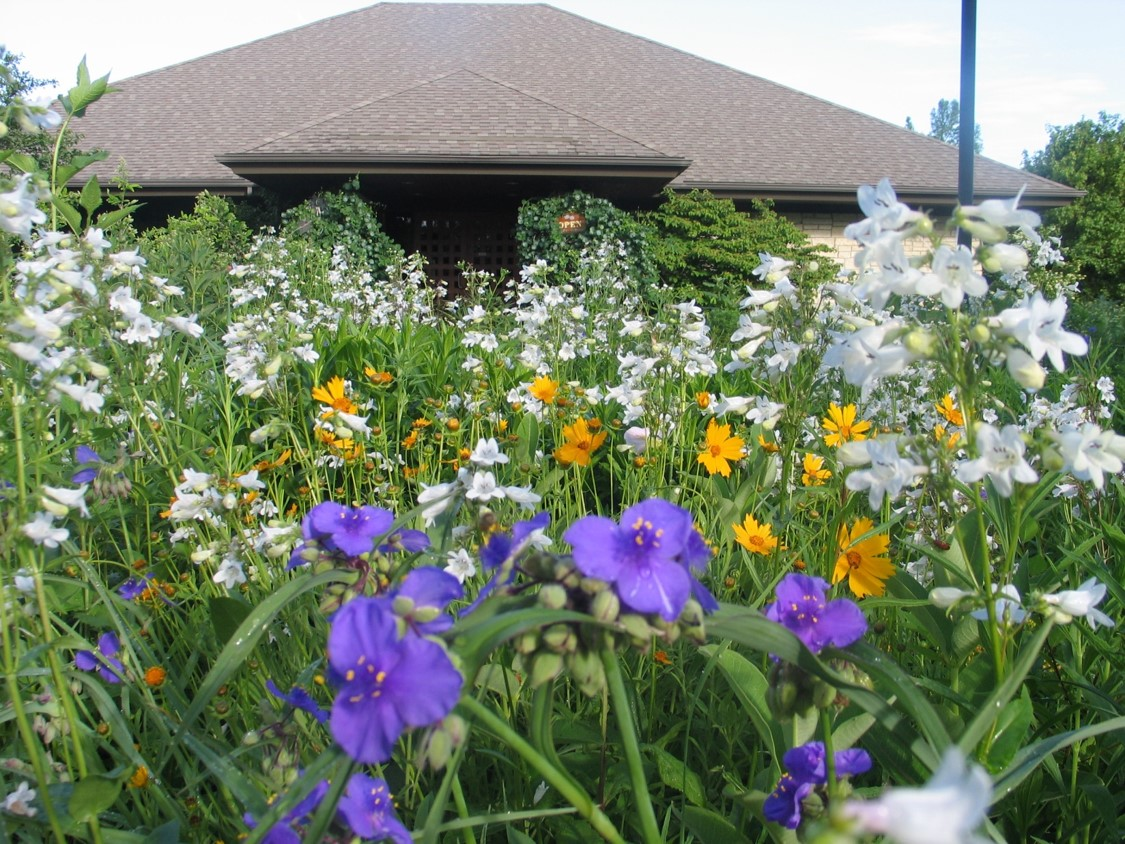
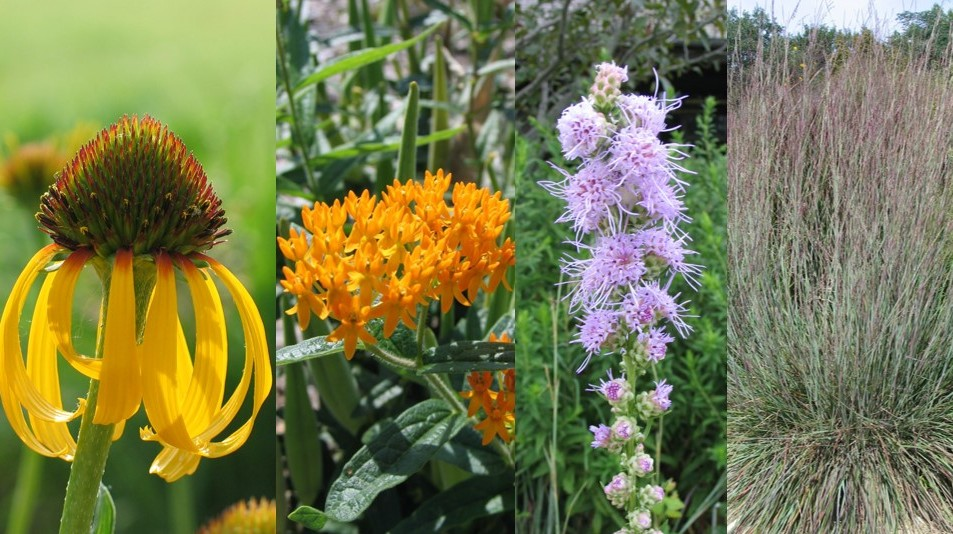
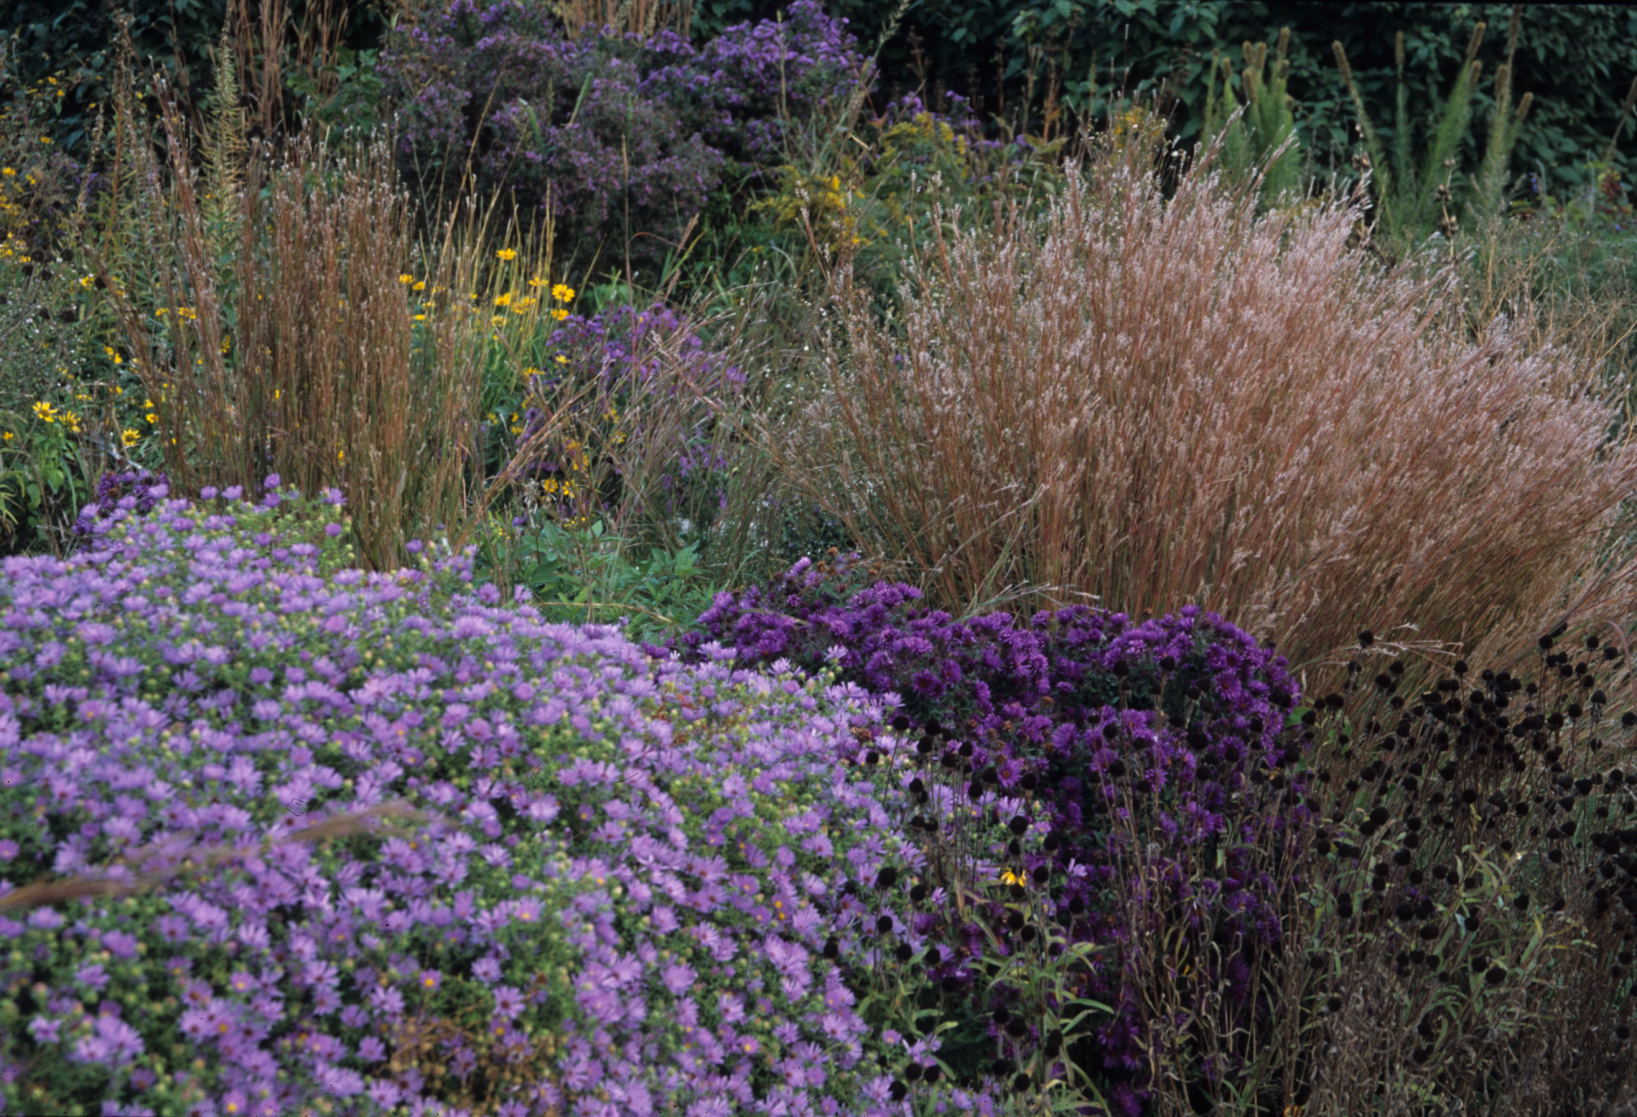
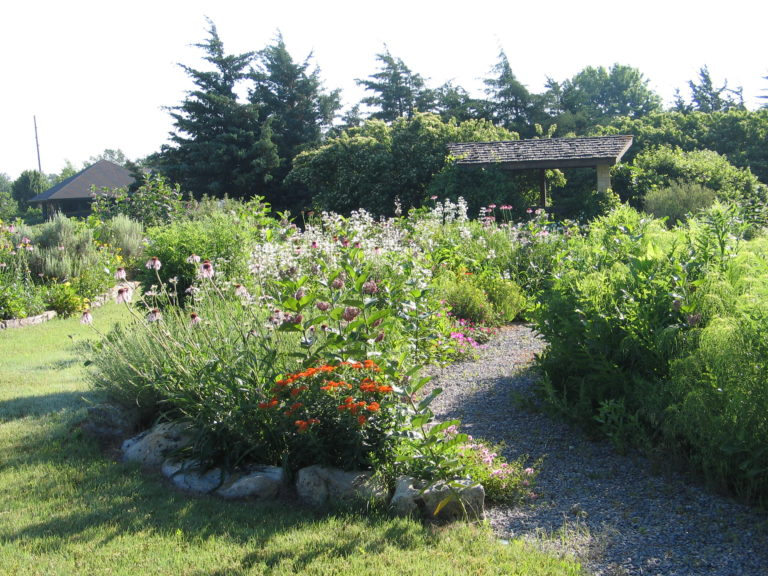
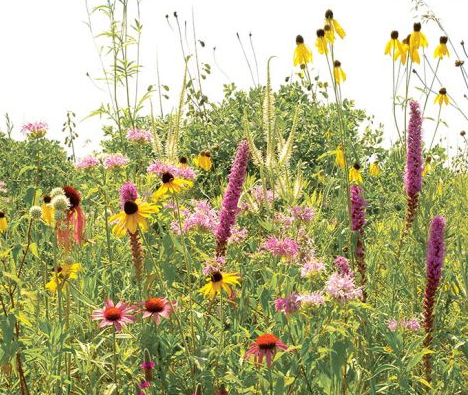
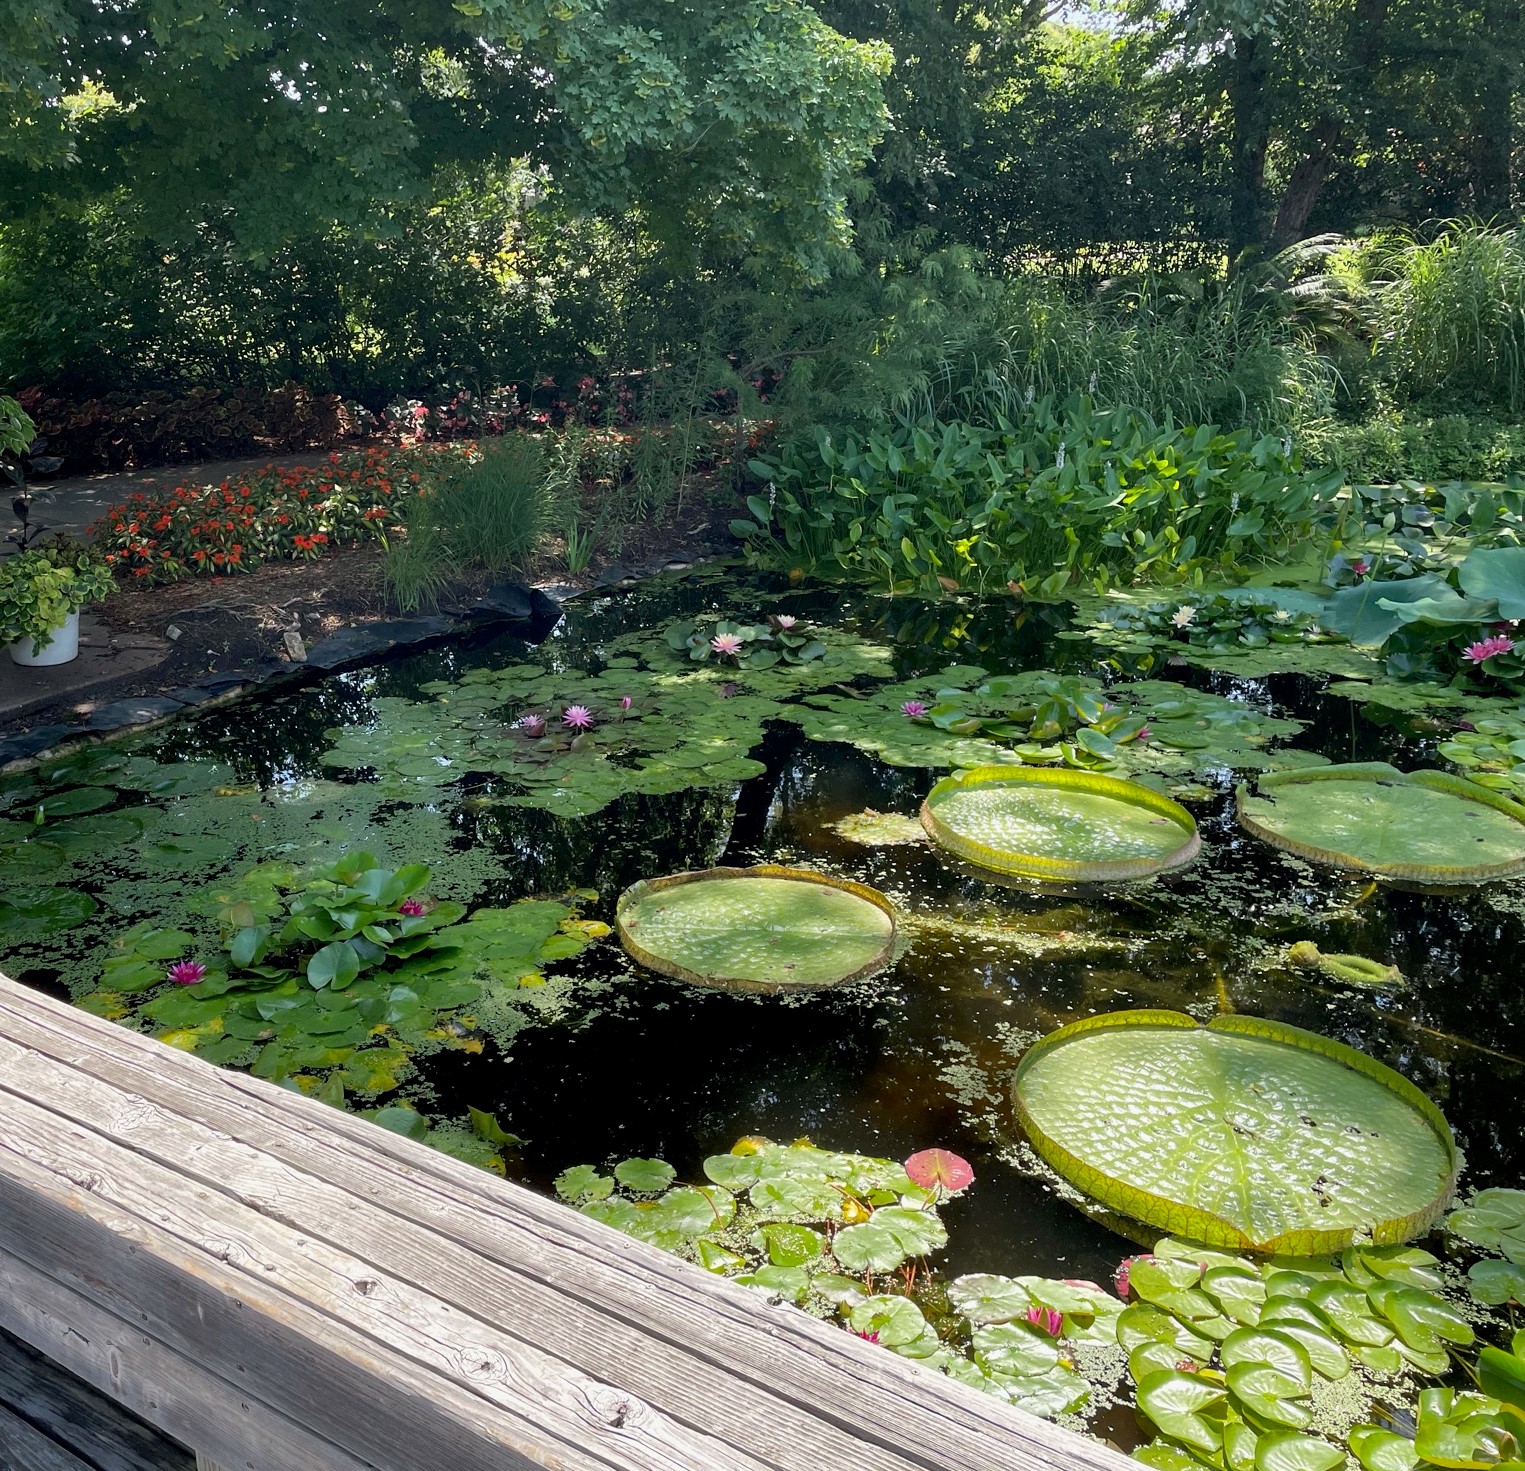
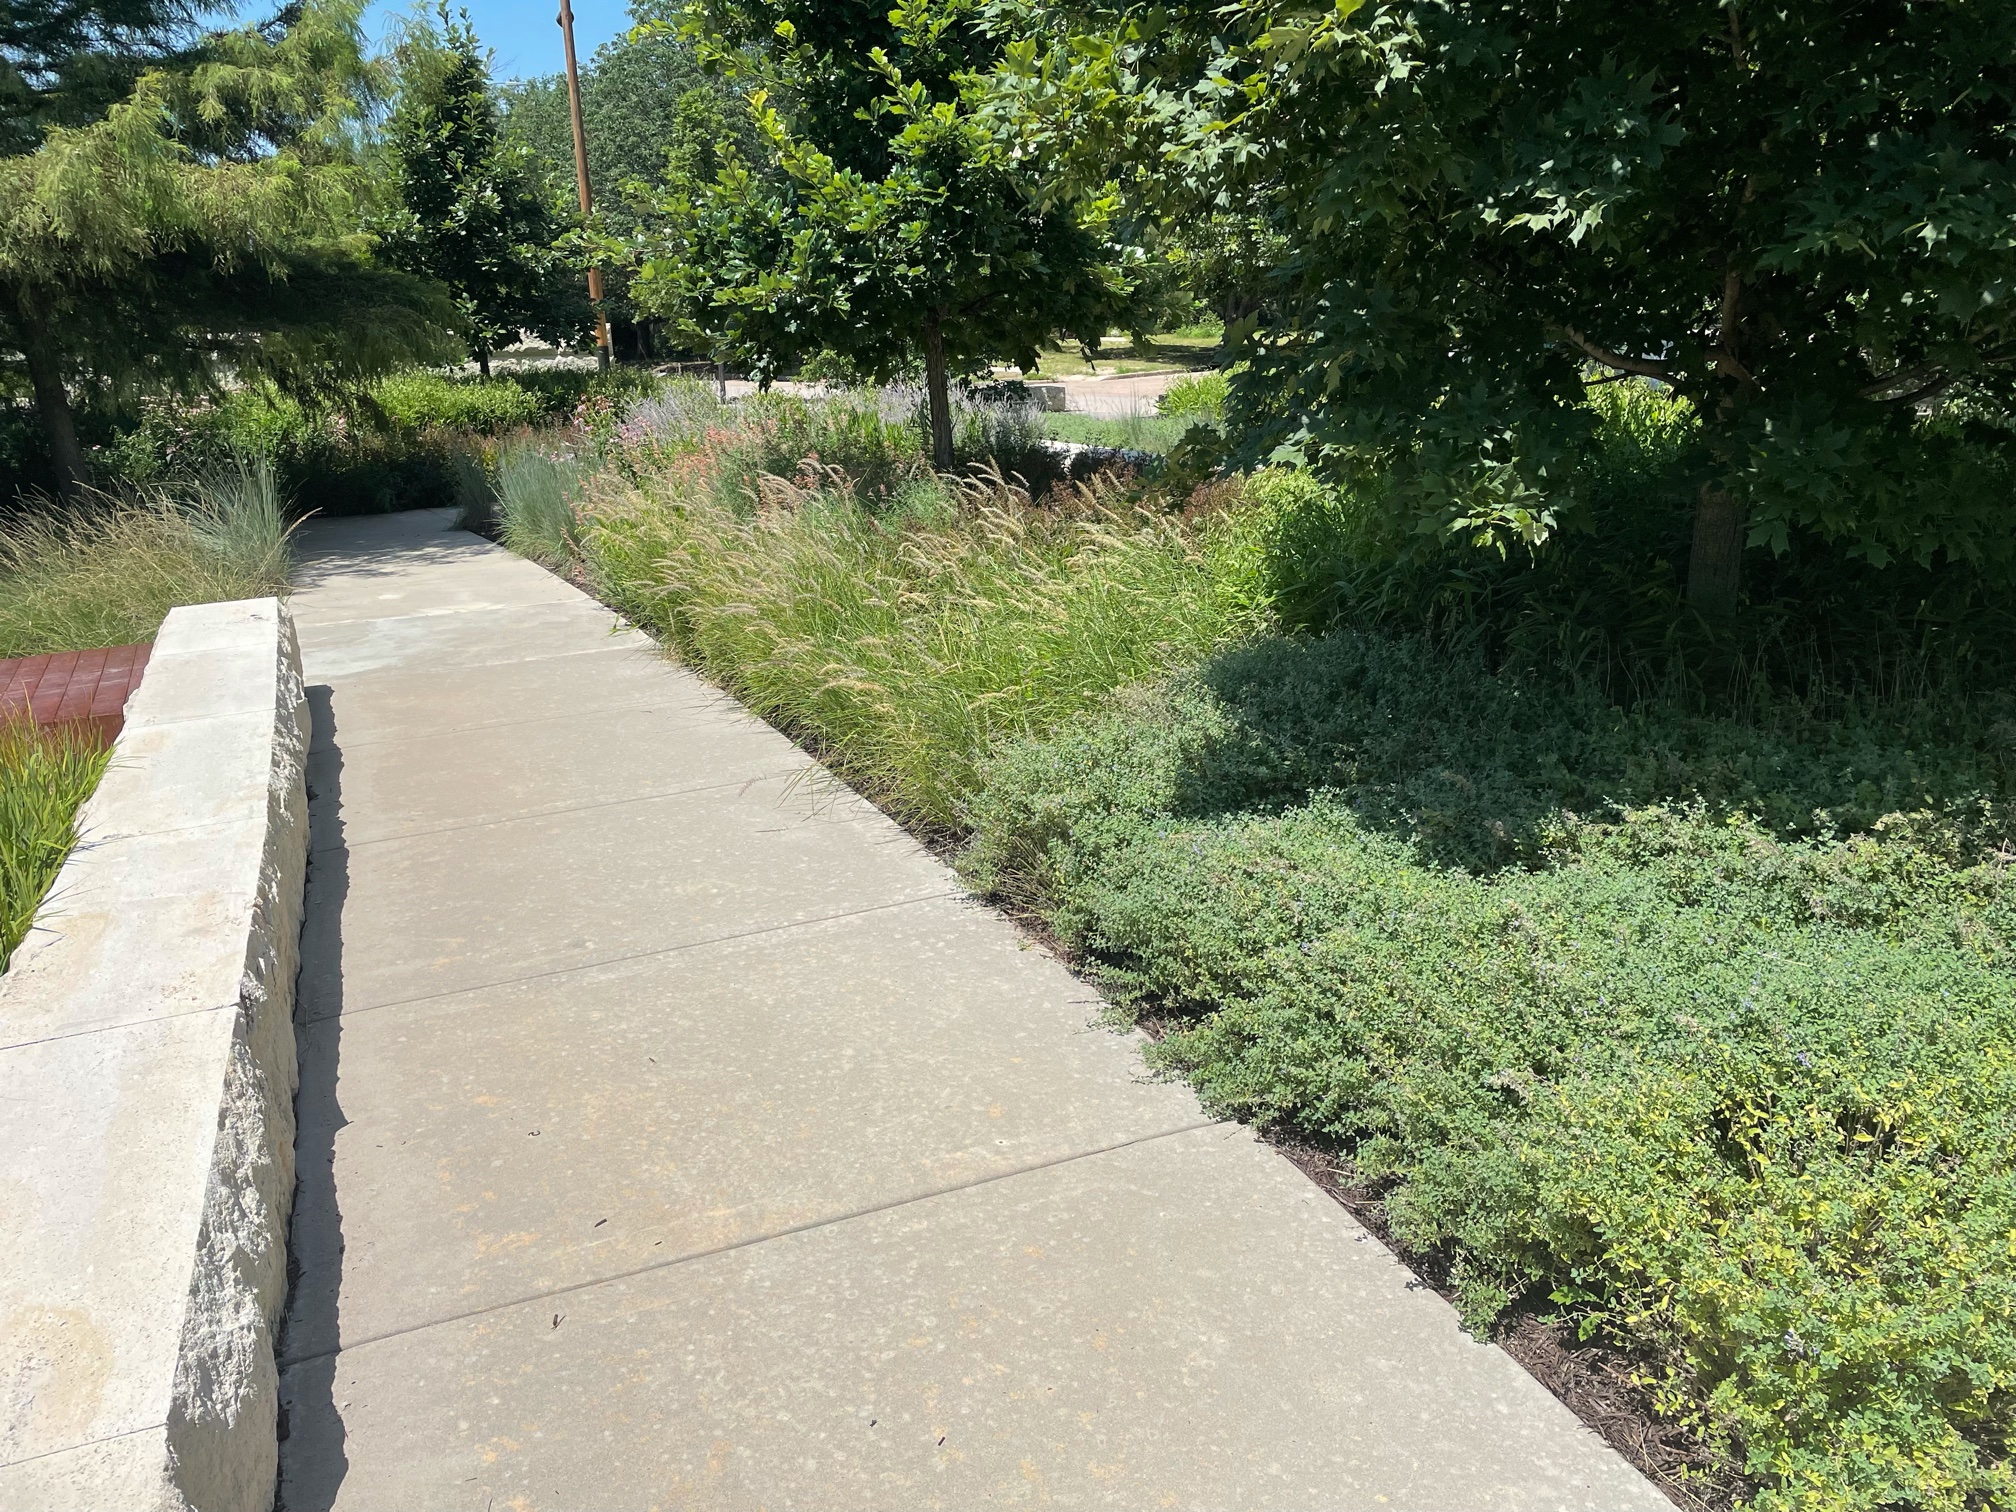
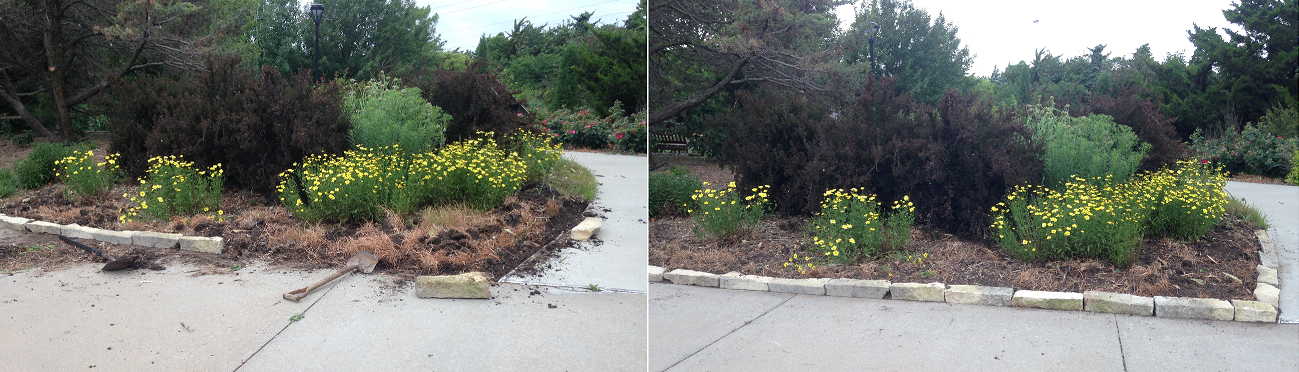
A Diverse Landscape is Visually Interesting

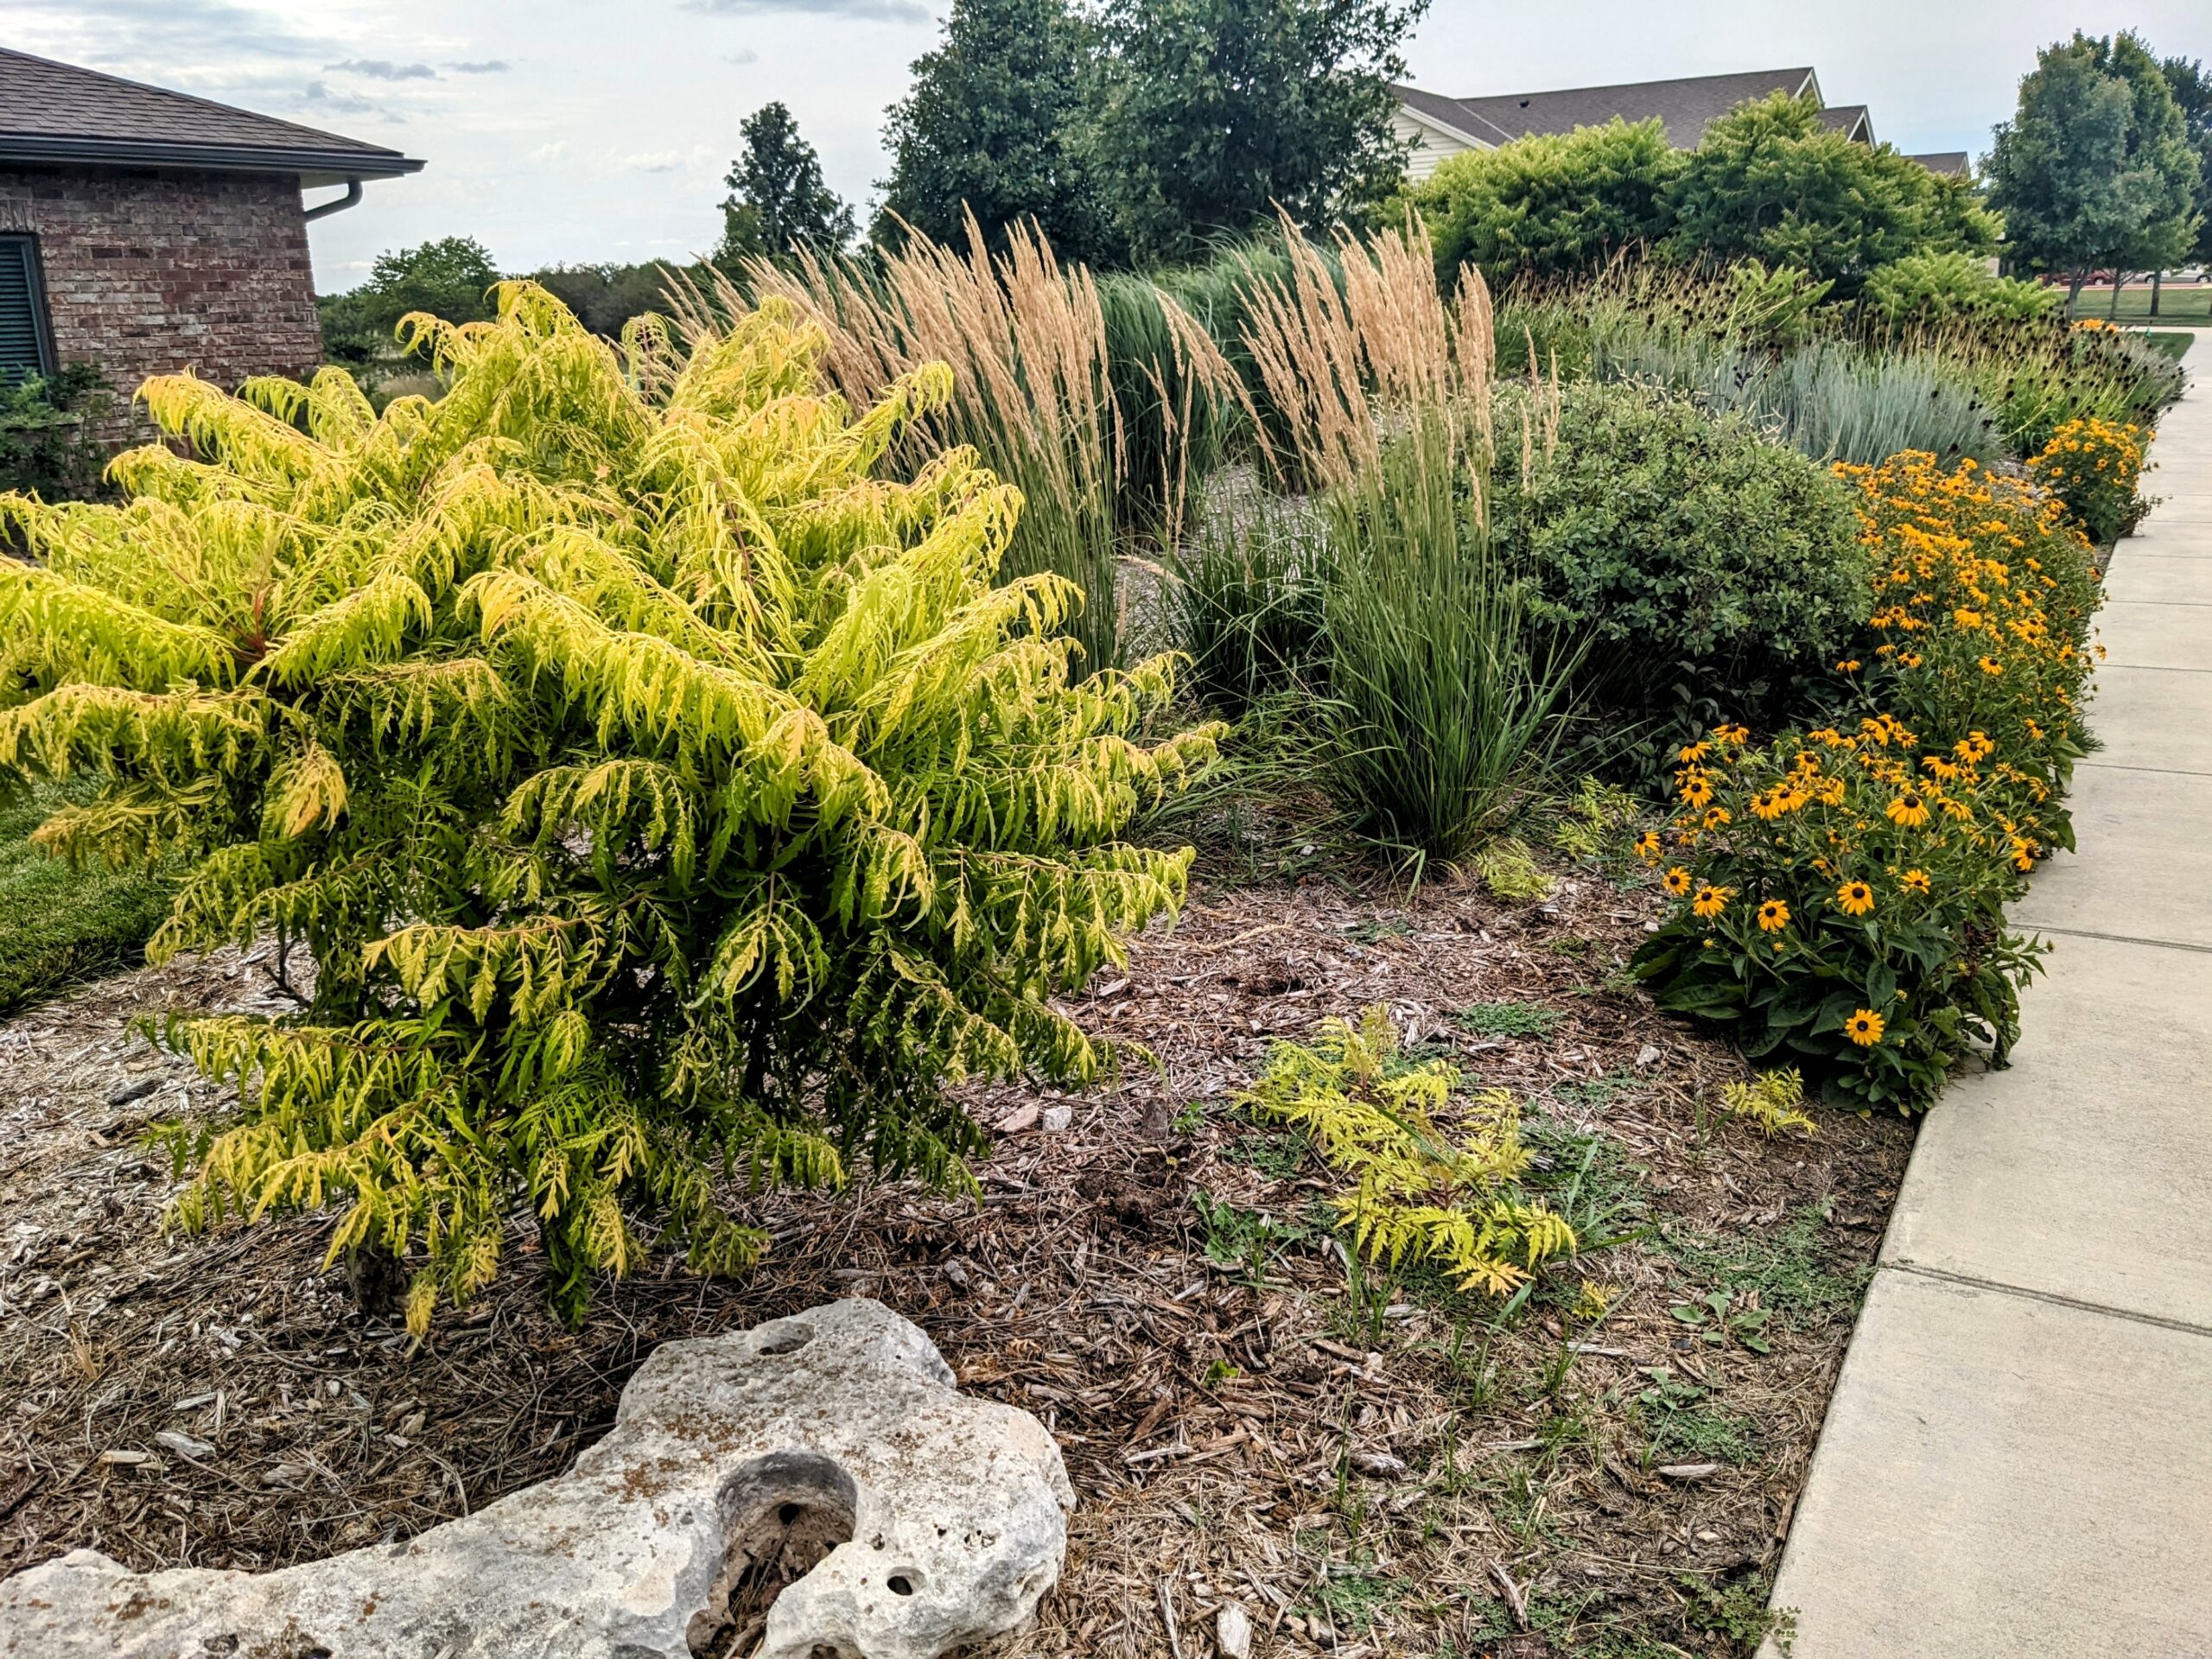
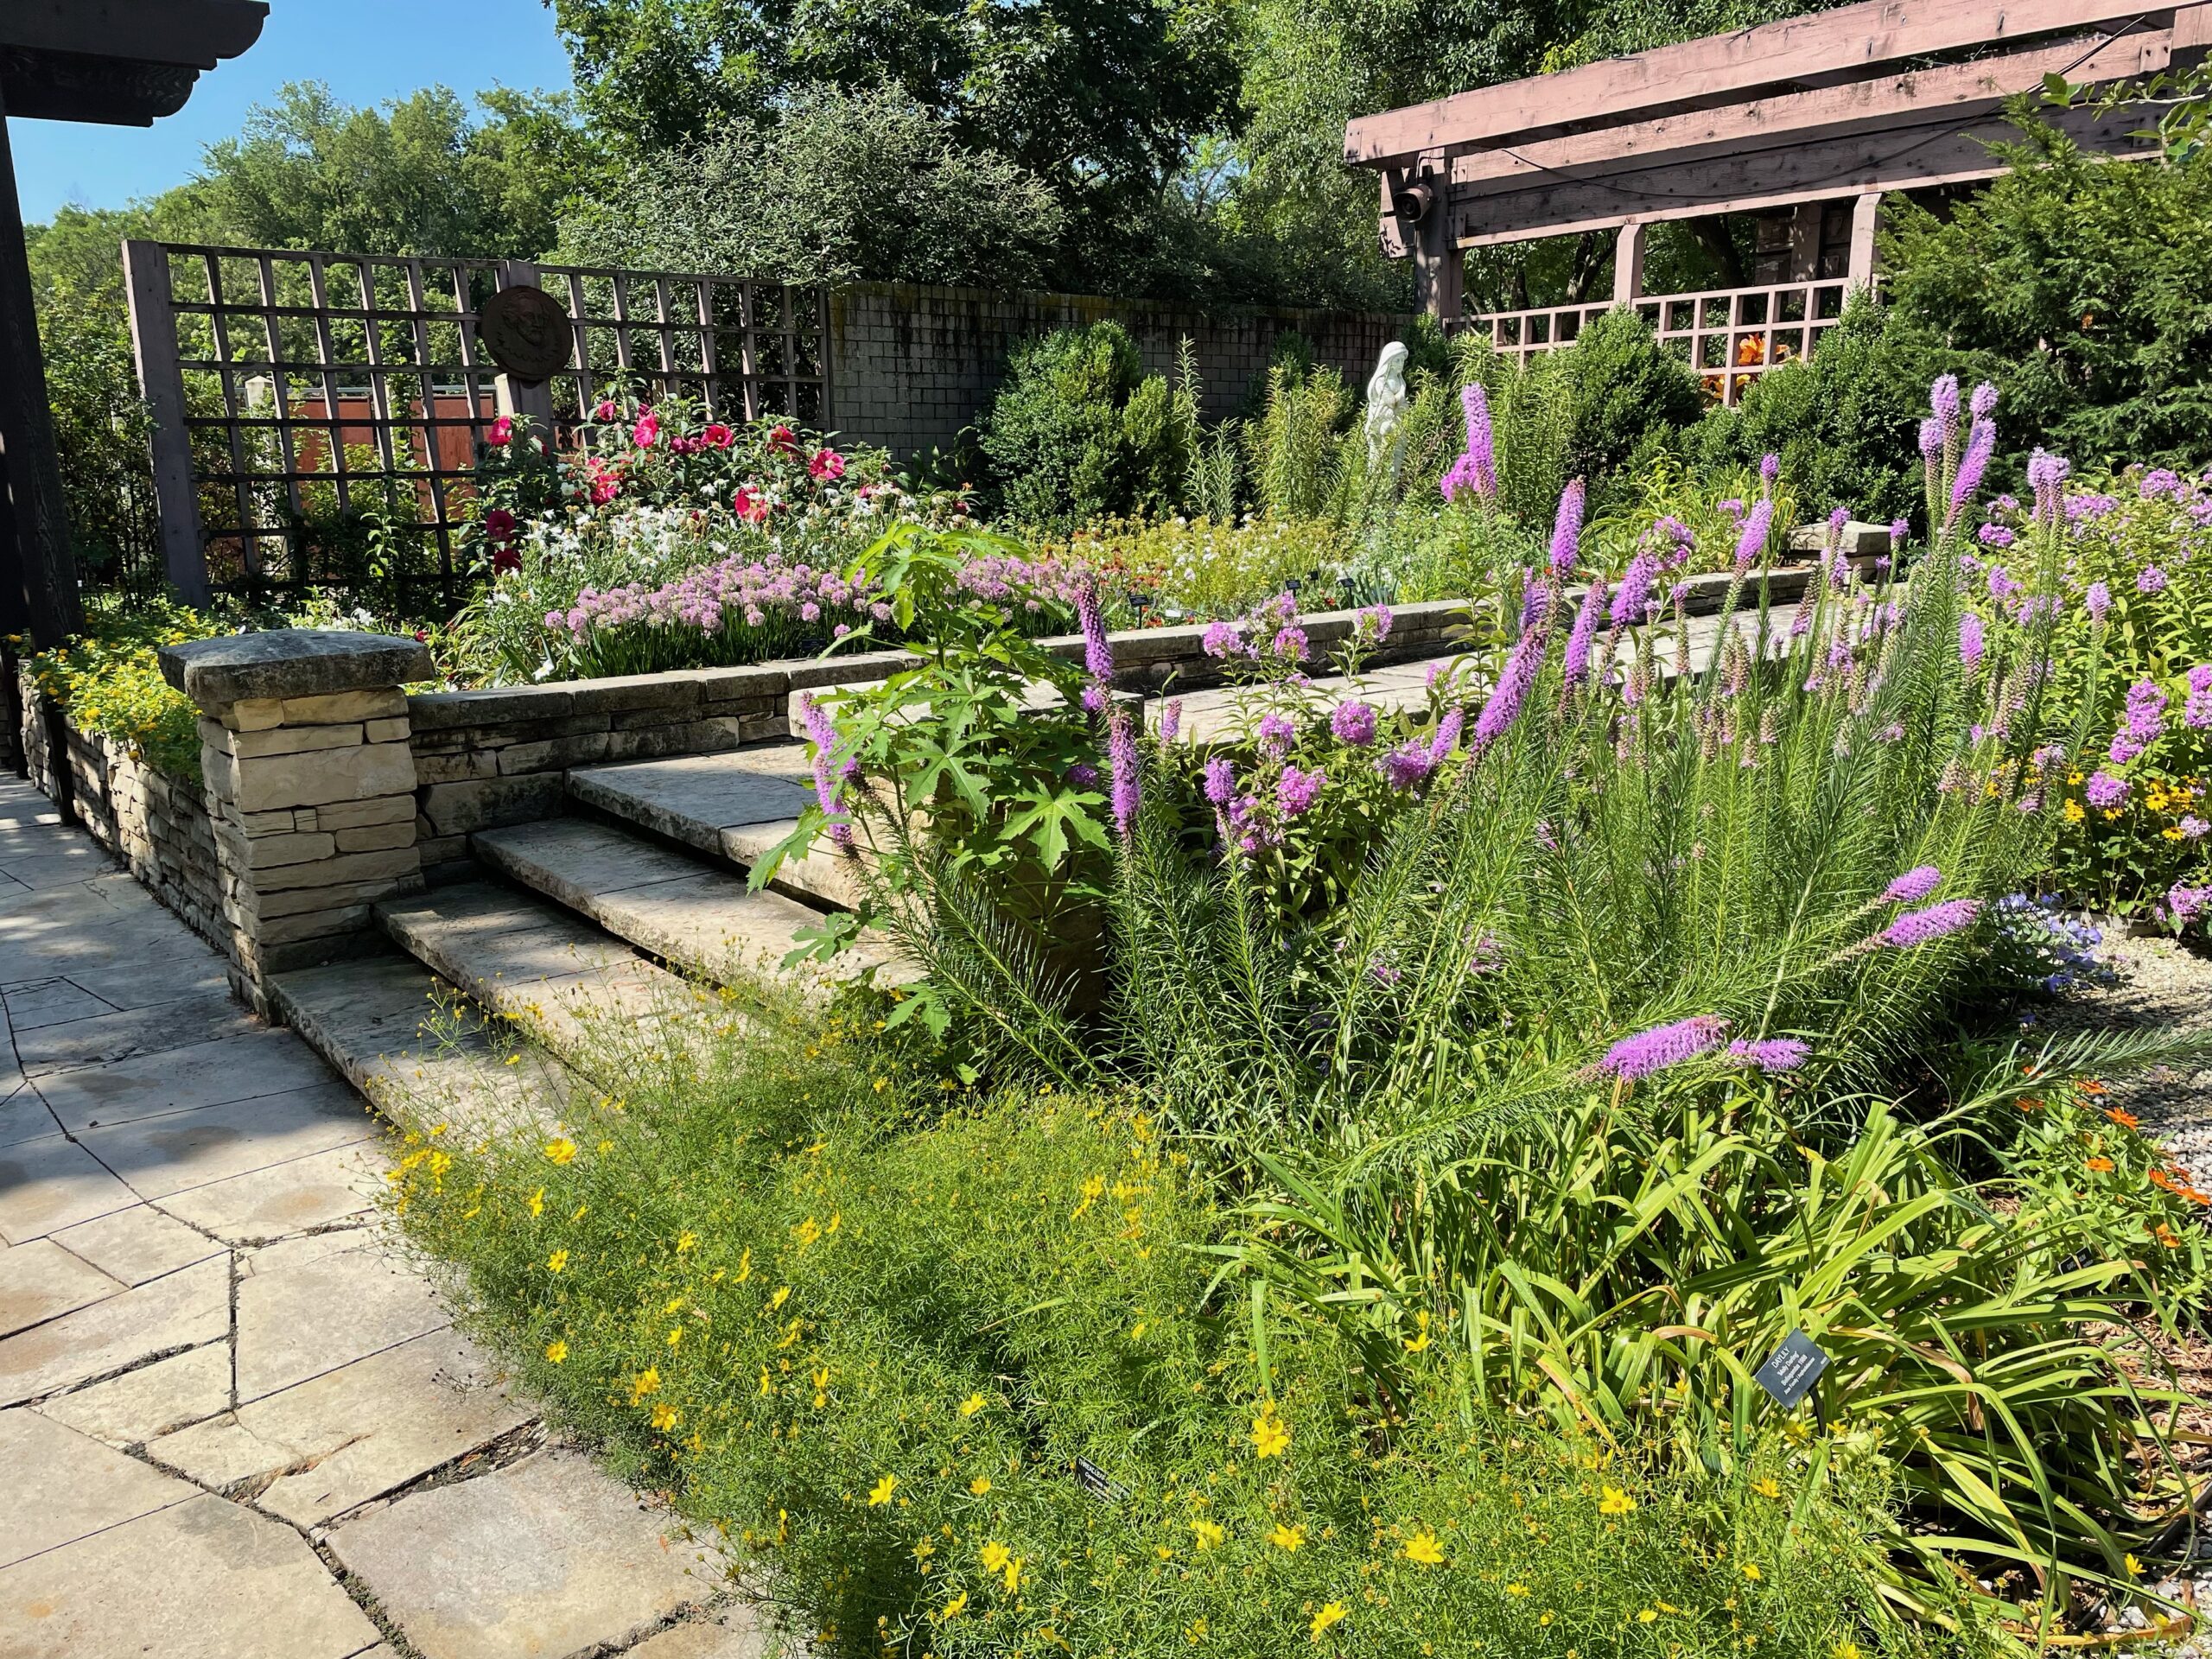
As I said earlier, often our first consideration when choosing plants is aesthetics or ornamental characteristics. I don’t want to downplay this step in the process, but I do want to encourage you to try many different types of plant species. By varying plant species, you provide visual interest, which adds character to your landscape. Some of the most inviting spaces have diverse colors, shapes, blooms, textures, layers, and heights of plants.   

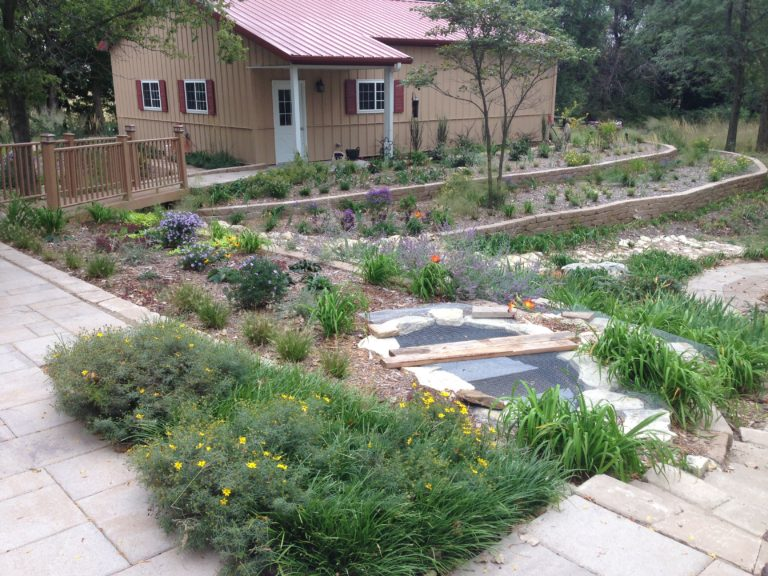
A Diverse Landscape is a Dynamic Plant Community

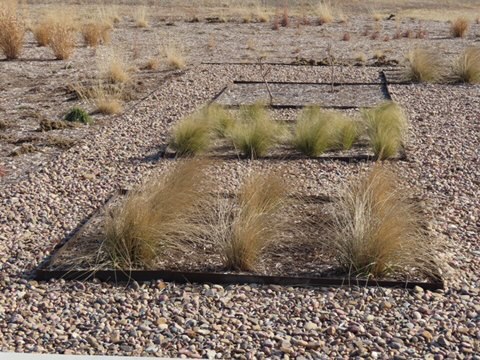
A diverse plant palette suited for your site can look formal, but it generally requires more effort on our part to keep it looking kempt. However, an informal planting can be just as attractive. It depends on your maintenance style and preference. No matter how you want your landscape to look over time, we must prioritize the careful selection and planting of diverse prairie species.

It can’t be overstated – diversifying landscapes in the urban setting is so important. Diversity in the plants you include in your landscape attracts diversity to your landscape. This thoughtful approach to design not only enhances the beauty of our gardens but also strengthens their resilience in the face of environmental challenges.  It also promotes sustainability, conservation of natural resources, and enriches our experiences with nature.

Garden Spotlight: Matrix Planting in Austria

I can’t seem to go on vacation nowadays without being stopped in my tracks when I see examples of habitat gardening. I don’t know if it’s just a result of working at the Dyck Arboretum for over ten years, or a function of having been bit by the native plant bug (pun intended). Either way, I want to share with you an excellent example of drought-tolerant, wildlife-friendly plants being utilized in an urban setting.

This summer I visited Vienna, Austria and the surrounding areas, and was struck by several really well-designed perennial gardens. For example, while waiting for a bus, a matrix planting along a hospital accessibility entrance ramp caught my attention.

I was delighted to see a matrix planting utilizing familiar (to me) perennials outside a clinic in Donaustadt, Austria.

In the 10 minutes we were at the bus stop, my mind (and my camera) took in as much as they could. I immediately set out to identify how the landscape architect had successfully employed the design principles I’ve heard repeated time and again by my co-workers in their Native Plant School classes.

If you’re not familiar with matrix planting, it’s a landscape design style, popularized by Dutch landscape architect Piet Oudolf. Famous North American gardens using matrix planting include public garden spaces such as “The High Line” in New York City and Lurie Garden in Chicago.

In this particular landscape, I could easily identify the three layers of the matrix: the structural layer, the seasonal interest layer and the ground cover layer. In the structural layer, several small shade trees and a few larger perennials anchored the corners of the planting and in some cases softened particularly sharp edges of the hardscaping.

Black-eyed susan and aster blooms provided a nice complementary color scheme.

The seasonal interest layer included repeated blocks of switchgrass, feather reed grass, black-eyed susan, yarrow, asters, ornamental onion, tickseed, and others. Groundcover plants were interspersed throughout for weed management, particularly along the edges of the walkway.

Repeated patterns along the walkway provided both visual and sensory stability.

In addition to its visual impact, I also couldn’t ignore the sensory and emotional function that this garden was fulfilling. As my friends and I waited for the bus, we couldn’t help but walk over to feel the softness of the grasses. This planting certainly engaged multiple senses of passersby – providing a welcome contrast to the hardness of the concrete structures that surround it.

The layers of plants soften the edges of this walkway, but also give patrons of the clinic something interesting to look at and feel as they enter and exit the building.

There was also a rooftop garden that I imagine is a spacious area for visitors and patients to relax and connect with nature. I didn’t have enough time to run up to it, but I was able to identify switchgrass and Mexican feathergrass from below.

A rooftop garden was also visible from the street.

I was so very encouraged by my habitat garden sighting in Vienna. It’s a wonderful feeling to travel and see examples where someone, at some point, must have had the courage to speak up and say “Why don’t we plant a habitat garden here?” It will have a positive impact on our public and our neighborhood, but also on the environment.

My friends touching the soft grasses.

We continue to receive more inquiries here at the Arboretum from all sorts of places: not only homeowners and homeowners associations, but also from for profit and not for profit business entities, and from churches, libraries and schools. The collective impact you are making in your communities is awe-inspiring. Keep it up and continue to share with us your habitat gardening challenges and successes!

Know Your Garden Priorities and Purpose

Portions of this article can also be found in our Summer 2023 issue of the Prairie Window Newsletter.

Having a summer intern here at the Arboretum is a lot of fun. Not only because I have someone to commiserate with when the temperatures are unbearable, or someone to laugh with when everything goes wrong, but also because they always ask “why?”

The island garden here at the Arboretum features an evolving prairie planting from seed. We manage this area with annual prescribed burns.

Why did we cut it by hand instead of mowing? Why did we move those leaves or add mulch? Why do we maintain this garden different from the next one?

The answers to these questions almost always center around priorities and purpose. To curate an Arboretum, we manipulate our natural environment in different ways, with goals in mind for each specific area.

  • Is the purpose of this garden to attract butterflies? Then we don’t do any trimming during peak caterpillar hatching time.
  • Are we hoping to encourage lightning bugs to nest here? Don’t rake away the leaf litter.
  • Is the goal of this space to be symmetrical, patterned, or have a certain color palette? Then we weed more frequently and stick closely to the original design.

Knowing your priorities and the purpose of a space easily guides your decisions.

Plantings at our neighboring retirement community make use of drought tolerant plants with a more traditional approach to design.

Evolving Priorities

Traditional landscaping has one job: to look pretty. We started creating ornamental gardens at castles and estates to signify wealth and create beauty. Several hundred years of horticulture practice have passed with little change. These human-centric values still have a stronghold on the landscaping industry. The typical shrubs, trees, and perennials installed around a newly built home in an American suburb are purely ornamental, with no relation to wildlife, climate, or geographic region.

Their purpose? Purely aesthetic. And so all the future decisions must serve that goal. Heavy chemical use to maintain the green lawn? Yes, to preserve the aesthetic. Constant trimming and shaping of shrubs? Yes, to make them look different from their natural shape. Overuse of water to keep non-native species green in a climate they did not evolve in? Of course. This is not a sustainable option, and at its worst is an outdated practice steeped in vanity and classism. Thankfully these priorities are beginning to shift to a more sustainable model of landscaping.

Find Your Purpose

Everybody has to decide for themselves, and for each unique space, what the purpose and priorities are. If the goal is to teach students about native plants, then we should prioritize plant labels. spacing, and good organization in the garden. If the purpose is to increase habitat, then prioritize ecosystem function — high plant diversity, dense, layered planting, less structure.

This sign garden at Schowalter Villa’s Prairie Lakes begins to move in the direction of building plant communities by planting more densely, but still prioritizes traditional aesthetics over ecological function.

There is no “one way” to successfully use native plants. Some of our members are looking to decrease water usage, but keep their landscaping looking traditional and tidy. In this case, we might suggest using some cultivated varieties of natives that don’t spread or seed out much, but are very drought tolerant. For folks hoping to restore a prairie plot for conservation purposes, we would recommend straight species only and help them find an appropriate ratio of grasses and flower species native to their region, or even their county.

Liatris pycnostachya, or prairie blazing star

The plants chosen for each new project should be chosen with clear purpose in mind. A few years in, when you are adding new plants to the garden or making tough decisions, remembering your purpose and priorities will help keep you on track!

A big thanks to our grounds interns present and past, who have all asked excellent questions and contributed their talents to the Arboretum. You challenge us to always think critically about our priorities and purpose!

Seven Lessons I Have Learned About Native Plants

Over the 26 years that I have been at the Arboretum, I have made my share of mistakes. Some examples include planting prairie dock in a formal garden design, starting a garden too fast, and/or not knowing my site.  I had book knowledge about horticulture, but I had not learned much about native plants.  Through trial and error – mostly error – I learned some hard lessons and even killed a few plants along the way.  I am still learning, but here are seven lessons I believe are essential for a successful prairie garden.

1. Perennial and annual weed control

I have made this mistake too often. In a rush to plant, I don’t get problem weeds like bindweed and Bermudagrass under control before planting.  I am still fighting this issue to this day in some of these landscape settings. However, when I take the time to properly eradicate these weeds, the overall long-term success of the garden increases and the work to maintain it decreases. A little work at the beginning will save you many headaches down the road.

Bindweed

2. Plants should match your site.

This is the most important principle to follow in developing a successful landscape. Take a critical look at the area you want to landscape with native plants. Is it sunny?  It is shaded for part of the day? What type of soil do you have? Is there a microclimate? Is it exposed to wind? All these factors will guide you as you select plants for your site. This step requires some research and time as you familiarize yourself with the qualities and environmental needs of native plants.

Spiderwort (purple), coreopsis (yellow) and penstemon (white) in spring bloom

3. Succession of Bloom

There are no Wave Petunias in the prairie. If you visit a prairie landscape like the Konza Prairie every two to three weeks throughout the year, you will observe plants beginning to bloom, in full bloom or going out of bloom.  That is how you need to design your native landscape. Include plants that bloom in every season of the year and then strategically add grasses for movement and texture in the winter months. Take time to acquaint yourself with the life cycles of wildflowers and grasses.

4. Plan your garden for all seasons of the year

This lesson took the longest to learn, because it meant becoming familiar with the complete life cycle of each native plant. I needed to learn all about them – their bloom times, soil conditions they need to thrive, mature height and what they look like when not blooming, including seedheads and forms. Most of these characteristics had to be experienced over several years.  That information is vital to planning and developing a prairie garden.

5. Be Patient

A prairie garden does not magically appear overnight. I know this goes counter to our “instant everything” culture, but prairie plants don’t work that way. It takes time for those transplants or seedlings to develop root systems that will sustain them during the dry periods of the year. I remember visiting a prairie reconstruction in Wisconsin several years ago. It had been established from seed 20 years earlier and the prairie manager said it was just then really maturing into a true prairie. I have found that if you are patient, you will be rewarded by beautiful, strong and adapted native plants.

Graphic from Grow Native!

6. Start Small

Planting too much too soon – I have made this mistake many times. My eyes get bigger than I can manage. I like too many of these native plants and rather than working at a project in stages, I plant the whole area. I then spend the rest of the summer maintaining a planting that is too big for the time I can give it. It has a tendency to get out of hand in a hurry if I don’t keep up with it on at least a weekly basis. Plant an area that you can handle with your schedule.

7. Remember Why!

Most times we create something for our own enjoyment. A properly designed native garden can be very attractive to you aesthetically. What we often forget, but are quickly reminded of, is that native plants attract many different pollinators and other wildlife to our landscapes. If you plant them they will come.

Pollinators and wildflowers have a symbiotic relationship. Pollinators seek out the wildflowers they need and utilize them throughout the year. Monarch populations are declining. They need milkweed, and since we have milkweed in the Arboretum, they show up. Also, just like the monarchs, songbird populations are declining. They need prairie habitat for survival along with wildflower seeds to feed overwintering birds.

Obviously I have not figured everything out. Learn from my mistakes and maybe a few of your own. Gardening is not an exact science. What works for you may not work for me. Your site may be totally different from mine. The key is to keep learning. Try plants you believe will work in your landscape.

Besides learning lessons the hard way remember to connect with your WHY! The “WHY we do something” gets lost in the tasks of creating something new. I need to be reminded “WHY” from time to time to reset my focus. We each have our own unique perspective and motivation, but reconnecting with your “WHY” will move you ever closer to your native plant gardening goals.

Preparing to Establish a Landscape with Native Plants

It’s obvious to me that interest in landscaping with native plants continues to expand.  More and more people are reconnecting with the natural world through their native landscapes.  Besides creating habitat for wildlife, including pollinators and insects, these newly developed gardens conserve water, reduce chemical and pesticide use and beautify the landscape.  As you think about preparing to establish a landscape with native plants, here are some things to consider.

Analyze the Location

You know your garden better than anyone. You know the soil type. Does it stay wet or is it extremely dry or something in between? You know how much sun your area receives during the day and throughout the year. You know where the water flows. Are there areas that you can utilize as a background or backdrop?  Is there something you are trying to screen? Is there an area you are trying to develop? These are important questions that ultimately determine the types of plants you will choose.

Prepare the Site

Site preparation doesn’t have much to do with plant selection, but it is an important step to consider any time you are preparing to establish a landscape. You need to get perennial weeds such as bindweed and Bermuda grass eradicated before you plant your garden. If these weeds are not eliminated, they will overrun and out compete anything you plant. Trust me on this. I am still fighting these weeds in certain areas in my yard because I didn’t complete this step.

It is also good to define the area with some kind of border. Start by laying out a garden hose and moving it around until you settle on size and shape that seems appropriate for the space. I recommend starting small. Develop an area you can manage and fits your lifestyle. You can always expand, but a bed that is too large can quickly become overwhelming. Once you have defined the border, I use metal edging, brick, limestone or landscape stone as a buffer for a mower or weed eater. Edging makes your native garden look intentional.

Choose the Plants

Once you have gathered all this information about your site and all the initial work has been done, you are ready to decide which plants will grow well together. The most important step in the selection process is matching plants to the site. There are a group of plants or a plant palette that will grow in your site with little or no water once fully established. You need to become familiar with every aspect of the plants through investigation, research and experience. I often start with one or two plants I know will grow in this location. Once I have established them as the foundation, the other plant combinations come easier.

I design each landscape with the finished picture in mind. I consider heights, bloom time, habit, forms and textures. We often only think about these plants when they are in bloom. But don’t forget their other qualities, such as seed heads that provide visual interest in the winter months. It provides you an opportunity to highlight these qualities with another perennials or native grasses (e.g. coneflower seed heads against little bluestem). 

I group plants together for visual affect and stagger blooms throughout the season. Conceptually, I lay out plants in such a way that plants with different bloom times are next to one another. For instance, I would not plant two spring bloomers next to one another, but rather a spring bloomer next to a fall bloomer next to a summer bloomer. I even like to mix some grasses with certain perennials so you have the structure of the grasses propping up the perennial. Also, you want something coming into bloom and going out of bloom from spring through fall. Grasses add wonderful texture and movement to the garden during the winter months.

Maintenance

One of the misconceptions about native plants is that you just plant it and forget it. That is generally not the case. Establishing native plants in your garden or landscape usually requires putting extra work in those first few years. It takes time for those root systems to fully develop. Over time, you will begin to reap the benefits of native plants, especially if you have done your homework before you put the first plant in the ground.

Those tiny plants are most vulnerable during the first two or three weeks after planting. You must water them daily and sometimes twice a day in warm, dry seasons until you start to see some new growth. There is a fine line between over watering and under watering. Generally, you try to rehydrate the potting soil of those plants each time you water. Many maintenance practices used for traditional cultivated plants also work for native plants.

The first couple of years, I try to keep the tags around the plants so I don’t accidentally pull a small wildflower or grass. Pull all the winter and summer annual weeds when they are small and certainly don’t let them go to seed. February or March is the time to prepare your bed for spring. 

Northwind Switchgrass cut back and ready for spring

Your native landscape connects you to the land. The economical, ecological and beautiful garden you create can be enjoyed for years to come. I predict that your native landscape will be a hub of pollinator and butterfly activity. It will be an important link to other gardens in your neighborhood. It may even inspire you to establish other prairie gardens in your landscape. 

Your success may influence others to follow your example. A native plant garden should be cherished, because you are helping the natural world in so many far-reaching ways. Believe it or not, your garden will have a positive impact. So get started! Let your imagination and creativity inspire your design.

Bearer of the Ammonite by Paul Friesen. Photo Courtesy of Jen LeFevre

Photo Credit

Defining Common Horticultural Terms, Part 2

We encounter many enthusiastic new gardeners at FloraKansas who have heard about the importance of planting native plants, but don’t yet have the knowledge base needed to establish a successful planting. If you’re dreaming of a flourishing prairie pollinator garden, let me unpack the why behind the what of a few more horticultural terms for you.

Host Plants

Often, the focus for our gardens is on blooms and succession of blooms, more so than host plants.  Beautiful gardens in full bloom are what we see in catalogs, magazine and books. It is natural to gravitate toward these flourishing gardens that nectar-seeking butterflies need to sustain themselves. However, host plants (food for butterfly caterpillars) will keep them coming back to your landscape for years to come.    

It’s important to plan for the entire life cycle of a pollinator. Butterflies need places to lay their eggs.  Think of host plants as the baby nurseries of the garden. Female butterflies will flit and flutter through your garden looking for the right plant to lay their eggs. Some will lay their eggs on stems, or on the underside of leaves, hidden from predators. If you have a variety of host plants, you will attract a variety of butterflies. 

Newly hatched monarch caterpillar on common milkweed (Photo by Brad Guhr)

Ultimately, the goal of any habitat garden is to provide everything those butterfly species need to complete their life cycle. Food for all stages of their life cycle, protection, and water are needed at different times throughout the year. The tiny larvae (caterpillars) will emerge and begin eating on the host plant. As they eat, they grow until they leave the plant and form a chrysalis. It is a fascinating process that you can watch unfold in your own garden. 

Here are a few host plants and the pollinator they attract:

  • Wild Lupine – Karner Blue butterfly
  • Golden alexander – Black Swallowtail butterfly
  • New Jersey Tea – Spring Azure butterfly
  • Columbine – Columbine Duskywing
  • Smooth Blue Aster – Crescent Butterflies
  • Little Bluestem – Leonard’s Skipper
  • Prairie Violet – Fritillary Butterflies
  • Pearly Everlasting – American Lady
  • Milkweeds – Monarchs
  • Paw Paw – Zebra Swallowtail butterfly
Zebra Swallowtail Butterfly on Pawpaw tree at the Arboretum, photo by Janelle Flory Schrock

Resource: Holm, Heather. Pollinators of Native Plants: Attract, Observe, and Identify Pollinators and Beneficial Insects with Native Plants. Pollination Press, 2014.

Sunlight Defined

Knowing how much light you have within your landscape is an important piece to a sound design. By simply watching sun patterns throughout the year, you will be able to determine how much sunlight your garden receives. Industry standards and labeling can then be used to assist in selecting the right plants for your landscape conditions. Here are some terms worth knowing since all plants require sunlight to grow, but differ in the amount and intensity of light needed to prosper. 

  • Full sun – Plants need at least 6 hours of direct sun daily
  • Part sun – Plants thrive with between 3 and 6 hours of direct sun per day
  • Part shade – Plants require between 3 and 6 hours of sun per day, but need protection from intense mid-day sun
  • Full shade – Plants require less than 3 hours of direct sun per day

Full Sun

Not surprisingly, this type of light describes what most prairie plants need. They enjoy open, bright sunny locations with direct sunlight for most of the day. This could also be morning shade/afternoon sun or vice versa, as long as there is at least 6 hours of continuous sunlight. Most of these plants have deeper root systems or adaptations that help them endure this light intensity for the growing season. 

Let experience be your guide when situating plants. Yes, some plants can handle full sun, but need protection for the hot afternoon sun. Or they can handle full sun with consistent moisture. This is the other reason to understand your site, including soil moisture, soil type, root competition and drainage.  All these factors directly affect plants too.  

Sun loving prairie plants

Part Sun and Part Shade

These light definitions are quite a bit different than plants for full sun.  Plants for part sun and part shade obviously require less light, more importantly, the light intensity is a key factor for their endurance and success.  Filtered sun for most of the day or morning sun afternoon shade fit the bill for situating plants.  Too much direct sunlight for too long a period will stunt plants needing part sun or part shade. 

There is often a fine line between getting too much sun that the plants suffer and getting too little light that the plants don’t bloom. For either group, providing direct morning sun is often the best choice.

Full Shade

Most shade plants require anything from the dappled shade found under deciduous trees, indirect light found on the north side of the house or deeper shade found under evergreens. In our area, growing shade plants can be a challenge because we are trying to grow shade plants in what was once a prairie environment with intense full sun. True shade plants often perish because they get too much sun, too much hot dry wind and/or too little moisture.

To successfully grow shade plants in our area, they need protection and consistent moisture. Any shade gardens must mimic the woodland environment. Loamy soils with leaf litter, consistent moisture – but not too much! – and protection from drying winds. It can be a challenge, but shade gardens can be carefully created with the proper light conditions, too.

Dyck Arboretum woodland garden with columbine, woodland phlox, white woodland aster and solomon’s seal

Defining Common Horticultural Terms

There are many horticultural terms that get tossed around in casual conversation. We hear these words or phrases in presentations, and read them in books and seed catalogs. Presenters often assume that everyone knows what they mean without much explanation. Here are a just a few words I use from time to time that I would like to define for you.

Xeriscape

Denver Water coined the term xeriscape in 1981 by combining landscape with the Greek prefix xero-, from (xēros), meaning ‘dry’. Xeriscaping = water-conserving landscapes. This landscaping concept focuses on several water conserving measures such as:

  • Planning and design that matches plants to the site
  • Water-efficient plant materials, especially native plants
  • Efficient irrigation systems including drip irrigation
  • Use of water-conserving mulch or densely planted gardens
  • Soil preparation only if necessary
  • Appropriate turf since it can be very water consuming

Something to remember: a xeric garden can still be a beautiful garden. It will just require less water over time so it’s a win, win situation.

Xeric garden at the Arboretum

Habitat

A habitat garden is a garden that mimics the natural landscape while also providing food, shelter and potentially water for wildlife, including pollinators. A habitat garden has layers of plants and a succession of blooms. It is a very intentional way of landscaping focused more on giving back rather than taking something from your landscape. Don’t get me wrong, a habitat garden can still be beautiful, but it will certainly give you much more enjoyment as you attract a host of pollinator, birds and other wildlife to your yard.

Stratification

One of the most interesting processes I learned when I first started working at the Arboretum was the process of stratification. It intrigued me that I could collect seed from the wild and get it to germinate in the greenhouse simply by simulating the chilling and warming that seeds would endure if left outdoors for the winter in their native climate. This chilling and warming that seeds are exposed to breaks down natural germination inhibitors until they are ready and able to germinate the next year.

This process is so important for plants and their survival because it keeps seeds from germinating the same year of development. They must go through a cold period such as winter before they are able to germinate. This does two important things: keeps seeds from germinating in the fall and allows the seeds to be worked into the soil over the winter with the natural freeze/thaw of the soil so they can germinate in spring.

If a seed would germinate in the fall, that tiny plant would not have enough time to develop a sustaining root system. The tiny seeding would not survive the winter. The natural process allows a seed to lay dormant all winter and germinated in the spring when conditions are more favorable for survival, it would have the entire growing season to develop a healthy root system.

This process of stratification is why we encourage people to scatter prairie wildflowers and grass seed in November and December. It allows time for this process to occur so the seeds will germinate the following year.

Hopefully, this is helpful. I will discuss some other terms in upcoming blogs.

2005 seed mix of wildflowers and grasses scattered on the Prairie Window Project at the Arboretum

Garden Retreat

As much as we love our work at the Arboretum, sometimes the staff need to get out and about! Once or twice a year we take a staff retreat, spending a day in leisure time together. We eat, laugh, and explore new places. We often visit other gardens or notable landscapes on these retreat days. Luckily, Wichita has two great locations to see beautiful gardens: Botanica and the Wichita Art Museum. Click here to learn more about how your Dyck Arboretum membership gives you free admission to these places.

Mi Garden et Su Garden

Visiting other gardens is always a treat for us plant nerds, and Botanica never disappoints. It has seventeen acres of sprawling gardens including the Chinese Friendship garden, a woodland glade, a prairie-inspired meadow, a butterfly house and a children’s garden. With interactive statues and countless water features, there is excitement around every corner. Although our mission and goals are very different from Botanica’s, we can still draw inspiration and fresh ideas from their exhibits. They have many vibrant annual plantings featuring coleus, begonias, cannas, and more. These would be unsustainable for our garden, given our smaller staff and water-conscious focus, but the color combinations and design principles could be implemented within our ethos of ecological native plantings.

Arb staff enjoying the children’s garden at Botanica.
Botanica does a fabulous job of seamlessly mixing classical garden designs and exotic, tropical plants with prairie favorites. While it is no doubt labor intensive to maintain, the effect is undeniably beautiful.
Their boardwalk and pond includes views of water lilies, lotus flowers, pickerel weed, and many other stunning aquatic plants.

What a WAMmy of a Retreat!

The Wichita Art Museum is full of priceless paintings and sculptures inside, but also has an 8-acre ‘art garden’ outside. The plantings feature prairie natives like coneflower, switchgrass, side-oats grama, alliums, and rattlesnake master. These familiar plants are growing in modern designs, grouped in masses to create large swathes of color and form. As a backdrop for sculptures and surrounded by interesting walkways, the prairie species look wild and yet orderly. They also provide great pollinator habitat in an otherwise urban, nectar-less area. Prairie plants require less water than traditional landscaping, making these gardens green in more than one way.

Mass plantings featuring fountain grass and catmint make a dramatic effect at the WAM. As we have learned here at the Arb, mass plantings are also easier to weed and maintain, especially for volunteers and staff who may be less familiar with the plant material.
The Wichita Art Museum has set their massive outdoor sculptures within several prairie-themed garden spaces. Brad is taking this photo while Scott and I chat about grass varieties and Janelle, the truly wise one among us, seeks shade to prevent a sunburn!
WAM infuses every space with a modern, clean-cut feel. The stepping stones cut an orderly path through a dense planting of grasses.

What a joy it was to take a day away from the Arboretum office, the greenhouse, and the ever-present crabgrass to explore other gardens and refresh our mindset. I returned to the Arboretum with renewed appreciation for what makes our garden unique and what our mission charges us to do, but with new inspiration for how we can do it better. If you are an Arboretum member, be sure to take advantage of that reciprocal membership. Visit these Wichita institutions and support them if you can.

How to Plant Your Garden Kit

There is no “one way” to landscape with native plants. One person’s dream landscape design might be someone else’s nightmare. Native gardens can be wild and wistful, or organized and formal. As long as the plant species being used are beneficial to wildlife and water conscious, you are on the right track! But it can be overwhelming when you have lots of great plants to choose from, but no guidance on how or where to install them in an aesthetically pleasing way. Planting can be daunting for beginners.

Our garden kits are so popular at FloraKansas because they take the guess work out of plant selection. Looking to fill in your shade garden? Our shade garden kit has a mix of spreaders and specimens to keep your interest through the season. Hoping to host caterpillars? The host plant medley we put together is a buffet for monarchs, fritillaries, swallowtails, and more. But after buying the kit, the real work begins!

Mountain mint is a plant included in our Monarch Special kit. A magnet for pollinators, it has a long bloom period and should be placed toward the middle or back of your garden area because of its height.
This is a very simple example schematic you could draft for yourself, depending on your circumstances. Use X’s to show each plant’s future placement and be sure to include existing structures like fences, driveways, sidewalks, or trees.

Keep It Simple

Our basic guidance is simple: cluster plants and design by height. This means keeping some color blocks together. For example, if the species are small like Viola pedata in our host plant kit, consider placing them in close proximity. When they bloom, it will make a much bigger impact and will draw more attention than just one plant here and there. Also keep an eye on height, planting so that one species doesn’t overshadow others. Place tall species at the back or middle of your viewing area, and shorter species toward the front or around the border. These two guidelines alone will help make your garden kit look planned and intentional, and can also help you stay organized when it comes time to weed. Use this simple design as an example, and make your own adjustments based on the kit you purchased.

Plants out in their natural prairie settings have no organization or man-made pattern, which is beautiful and awe inspiring at large scale. In our small home gardens however, careful design and clustering of color is a more manageable and visually pleasing approach. Photo by Brad Guhr.

Let the Plants Be Your Guide

If you purchased a garden kit with taller grasses like switch grass, those can serve as a backdrop for the color of flowers in front. If your kit included little bluestem, consider mixing those into a mid-height section as added structure for Liatris or milkweeds. As for how close to plant, we usually suggest no more than one plant per 2.5 to 3 square feet to accommodate the vigorous growth that is sure to come.

So grab some scratch paper and make a few sketches before you start digging holes. Or don’t! As I said before, there is no right way. You can plan down to the very last inch or throw them in willy-nilly. As long as you are having fun and planting native, you can’t go wrong.

Feeling Edgy

Every good piece of art deserves a good frame. The same goes for gardens! A well-designed, ecologically friendly landscape needs to have borders and edging keeping it in bounds, not only physically, but visually. Joan Nassauer of the University of Michigan makes this point better than anyone in her text ‘Messy Ecosystems, Orderly Frames’.

Novel landscape designs that improve ecological quality may not be appreciated or maintained if recognizable landscape language that communicates human intention is not part of the landscape.

Nassauer, 2007

In layman’s terms, no matter how wonderfully water-wise and pollinator-friendly your garden is, if it looks messy, all the neighbors will hate it.

Proper edging can make a garden look tidier and more intentional. For prairie gardens that may be prone to look unruly, framing and clean lines are very important. Photo from Our Mother’s Garden entrance.

Beauty Standards

Messy, in this usage, is a unique idea borne from our Eurocentric culture. These traditional gardens and landscapes need to be constantly in order, with straight lines, perfect symmetry, short lawns and hedges trimmed into unnatural shapes. Those standards of beauty and acceptability come from the aristocracy of Western Europe; castles and manors with hedge mazes, rose gardens, and endless formal lawns.

In our prairie home, these ideas do more harm than good. Trying to maintain those landscapes of the old country is costly, labor intensive, and destructive. Kansas is hot, dry, and extreme in her fluctuations, unlike the place of my ancestors from Europe – cooler, moist, and temperate. And trying to make the natural world bend to my ideas of perfect order is an uphill battle and a waste of resources. But we can achieve an orderly, formal aesthetic by using proper edging in native landscapes.

Steel edging makes a strong statement. It lends a degree of formality and tidiness, even if the plants inside the edging are aggressive natives!
To install this stone edging, volunteers helped me dig a shallow trench against the sidewalk. We situated them an inch or so below the sidewalk, to make sure they sit tightly together and aren’t moved by heavy rains.

Choosing the Right Edging

Plastic. Metal. Wood. Stone. What is right for your space? This may depend on the design of your house, or the structure a garden is nearest to. It may also depend on the plants. For instance, species with vigorous underground spreaders that need control may require deep steel edging. My personal favorite is stone. If installed properly, stone never has to be replaced. Steel edging is becoming quite popular for its modern, industrial quality, but can be expensive for large spaces.

You can see here my own unfinished edging project. One side looks neat and tidy, and is holding its mulch and soil. The other side sans edging routinely erodes after rain events, sending my mulch and good garden soil into the gutter.
Steel edging is installed by hammering the sections into the soil, then joining them with clips at corners or joints. Mulch or gravel is then added around the edging according to the style you are trying to achieve.

If you are concerned about how your pollinator garden or native landscaping may be perceived by passersby, consider edging it. Edging adds an easily recognizable human element. Onlookers will see this space is purposeful, cared for, and important. And it just might convince someone to create a prairie garden of their own.