
I read an interesting article about Echinacea (coneflowers) the other day. It highlighted the highs and lows of the newfangled coneflower cultivars over the last decade or so. You know – the ones in oranges, reds, yellows and every shade in between. It seems that many coneflower breeders are doing some soul searching and they are coming full circle, back to producing hardier varieties of our wonderful native prairie wildflowers.

The Problems
One of the biggest criticisms of these bright colored coneflower hybrids has always been their (lack of) persistence in the landscape. If you were lucky, you could get one or two years out of them before they disappeared. Maybe one survived, but often you couldn’t find that variety anymore, because it had been replaced with another new form. You would have to go back and start over again with another new coneflower.
These coneflowers had other problems too. Winter kill, color fading and short bloom times soured gardeners toward coneflowers. They were not as reliable or persistent as their parents from the prairie.
Problem solving
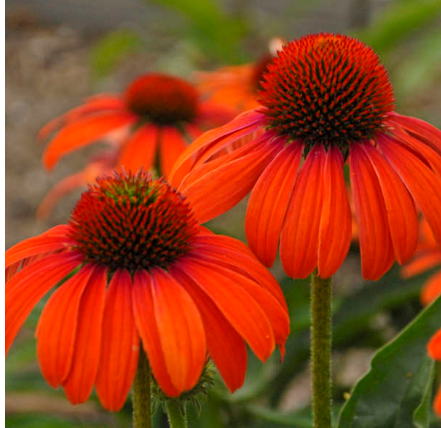
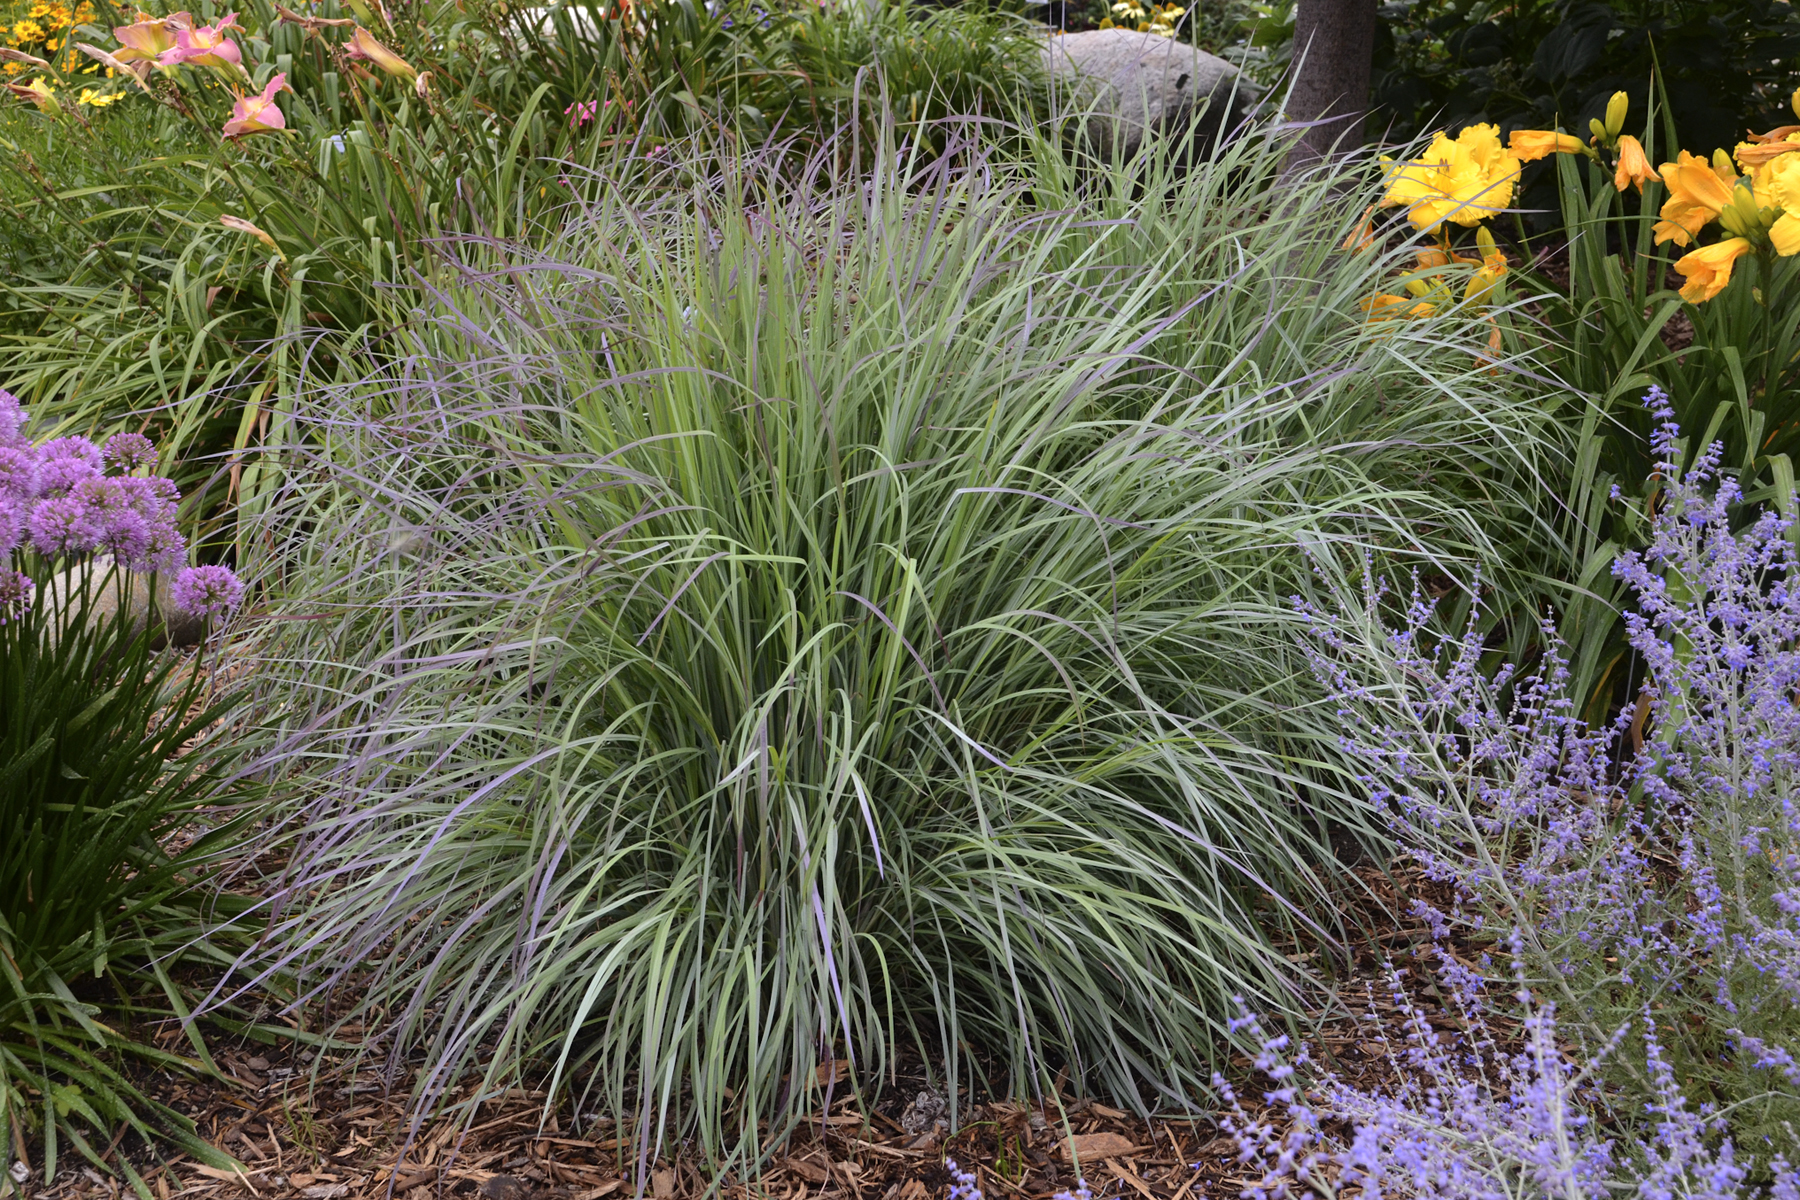
I can still remember offering those first forms such as Orange Meadowbrite and Razzmatazz. These diverged from the adapted forms of Magnus, Ruby Star, White Swan and Kim’s Knee High in dramatic fashion. We no longer only had pink and white coneflowers, but a warm rainbow of colors available on the market. Everyone wanted to try some in their yards.
The problems quickly became evident and the novelty wore off. The coneflower fad stalled. Breeders began to look at coneflowers from a “whole plant” approach. A “good” coneflower was no longer identified by its unique color, but by the extended bloom times, heavy flower count, longer life span, and vibrant colors that don’t fade. Winter survival and multiple growing points were a focus as well.
Most of these colorful coneflowers are produced through tissue culture production. However, some seed forms with reliable color, such as Cheyenne Spirit and the Pow Wow series have become a cost effective alternative to tissue culture forms of coneflowers. These seeded forms are consistent, vibrant, and affordable.
Going Forward
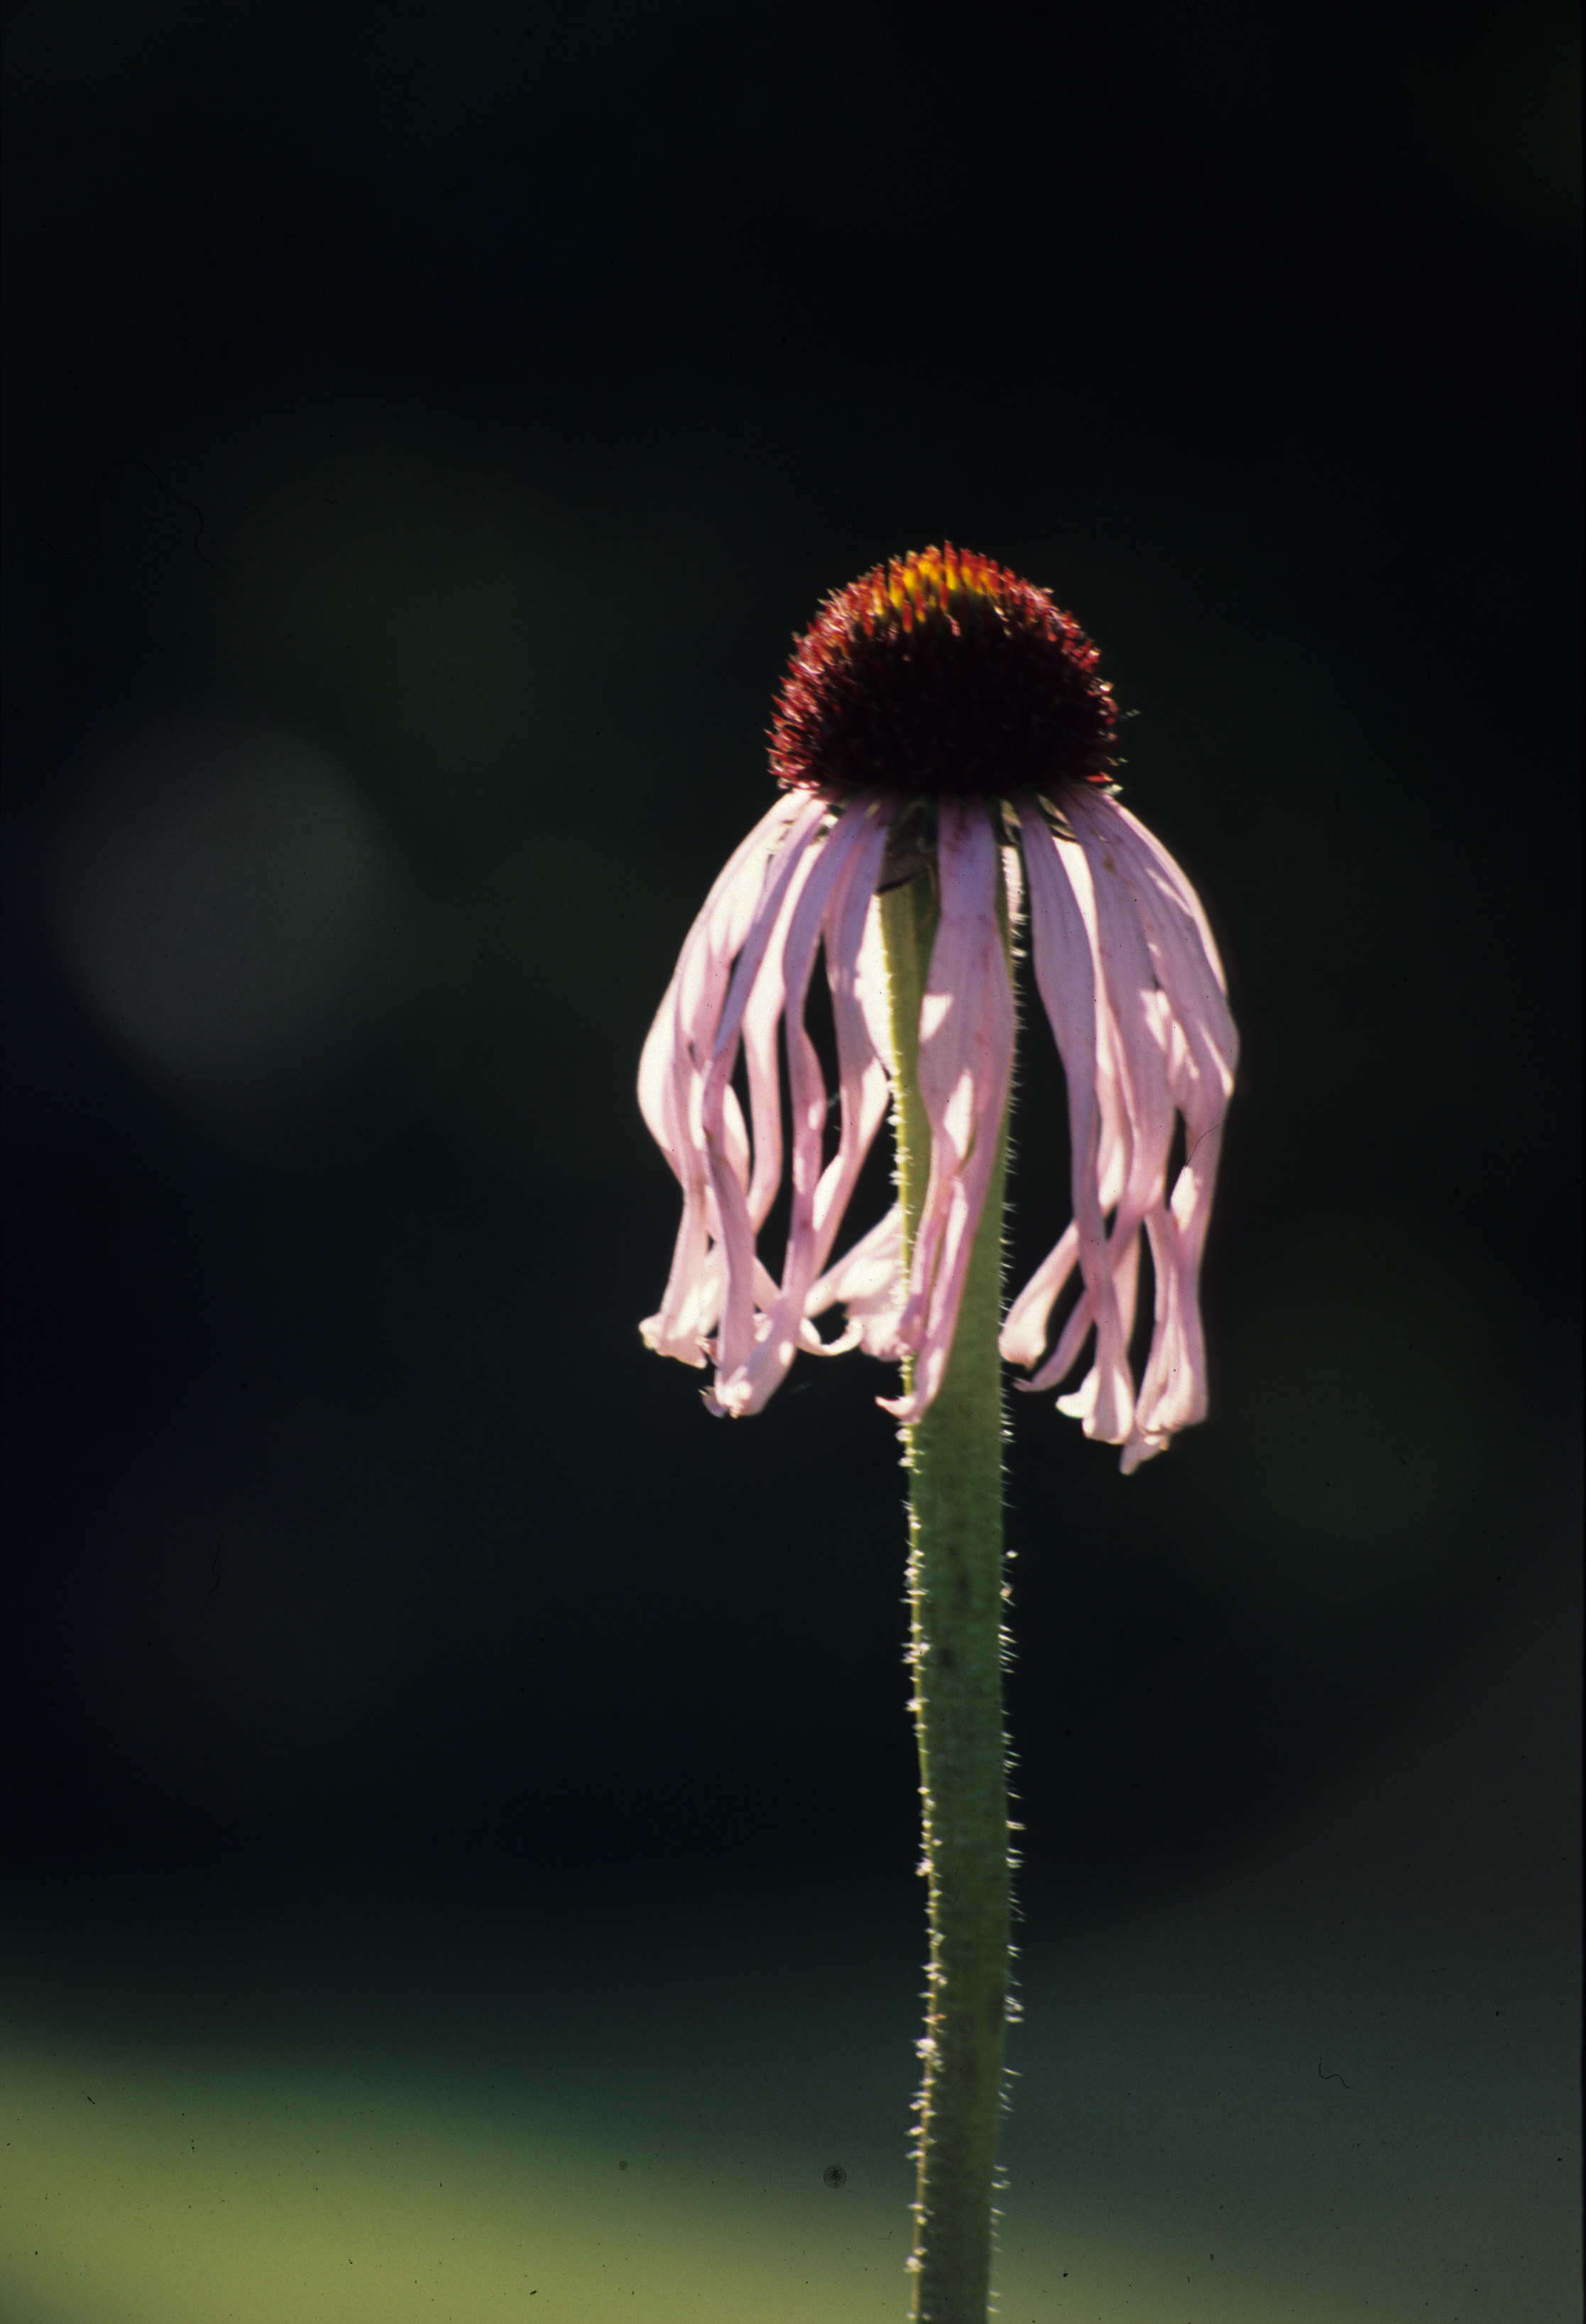
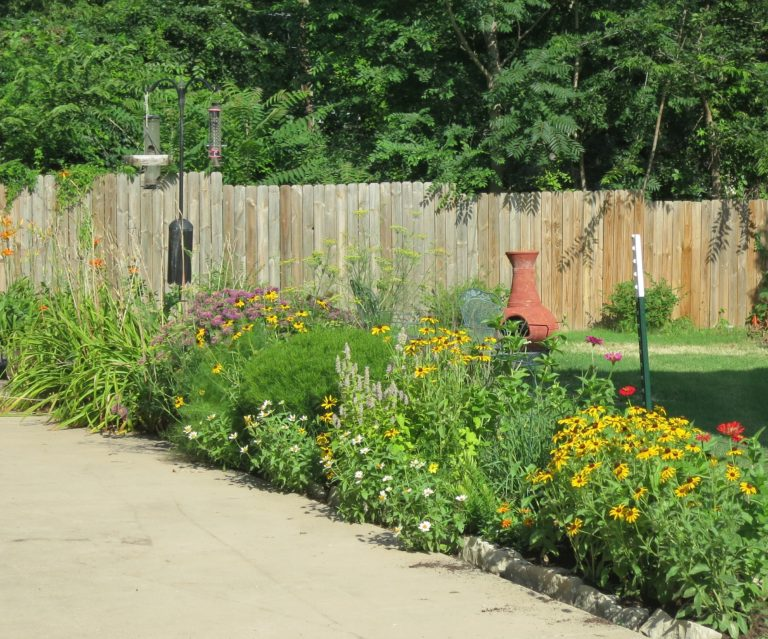
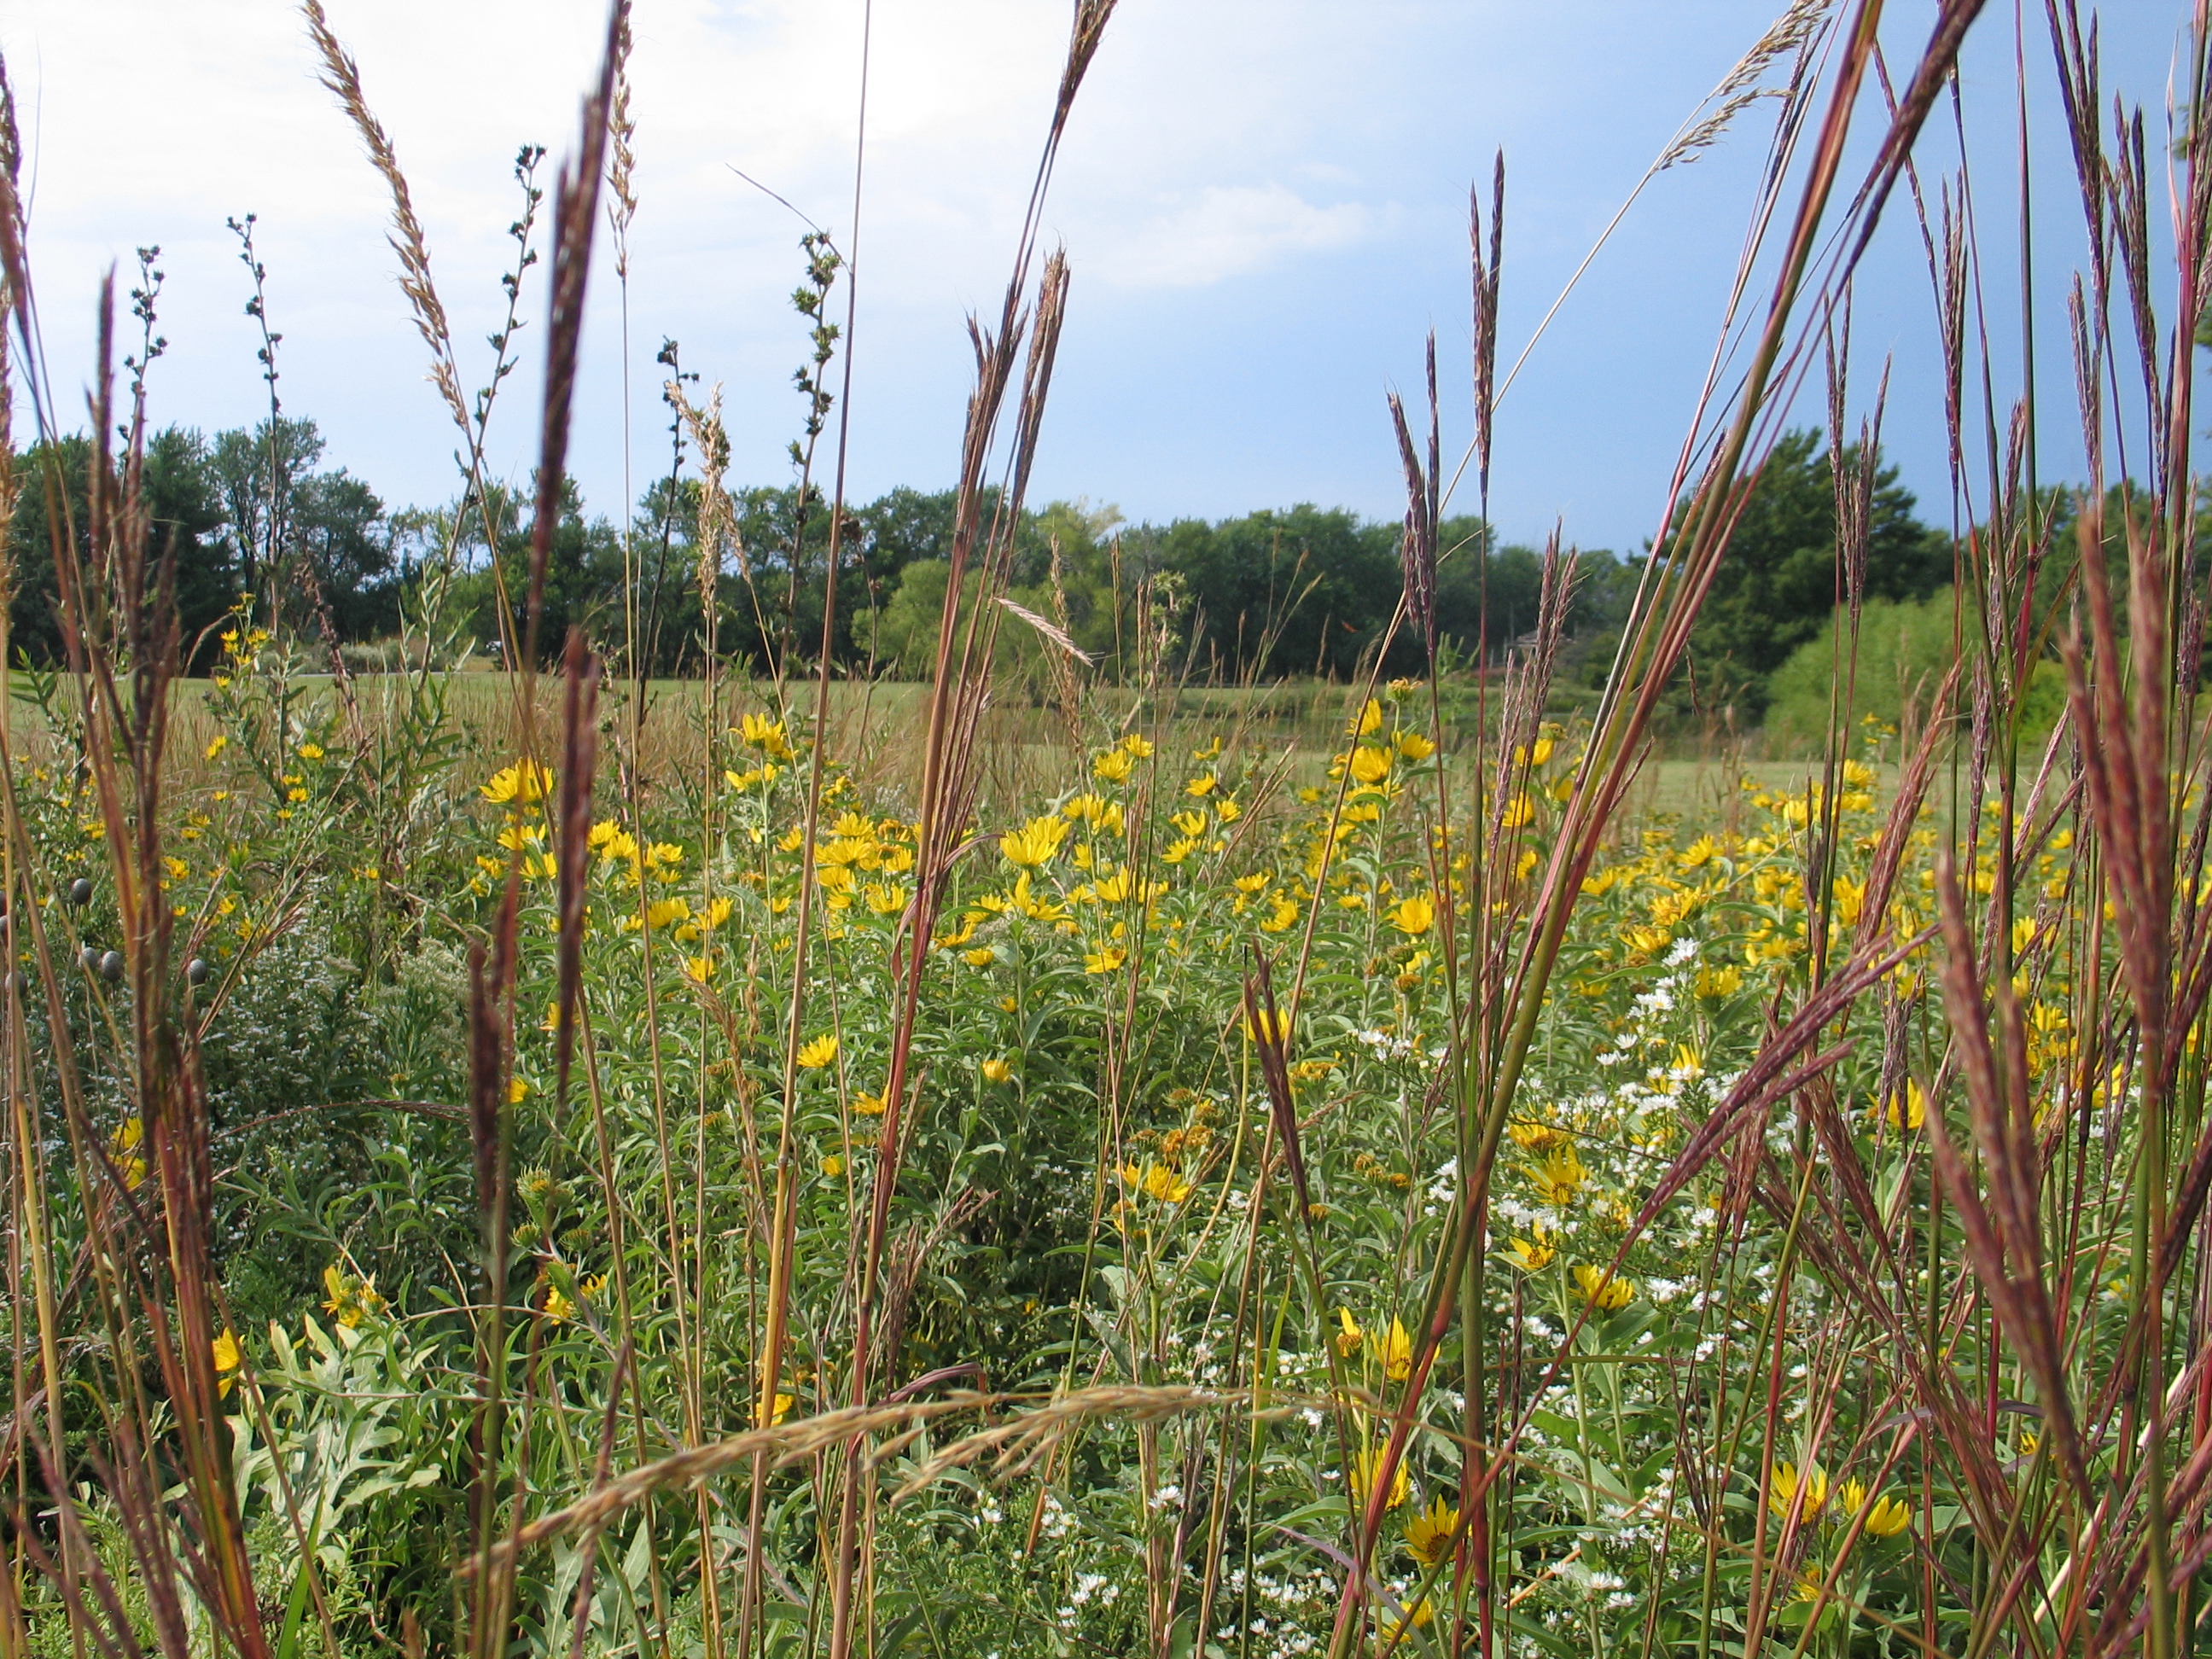
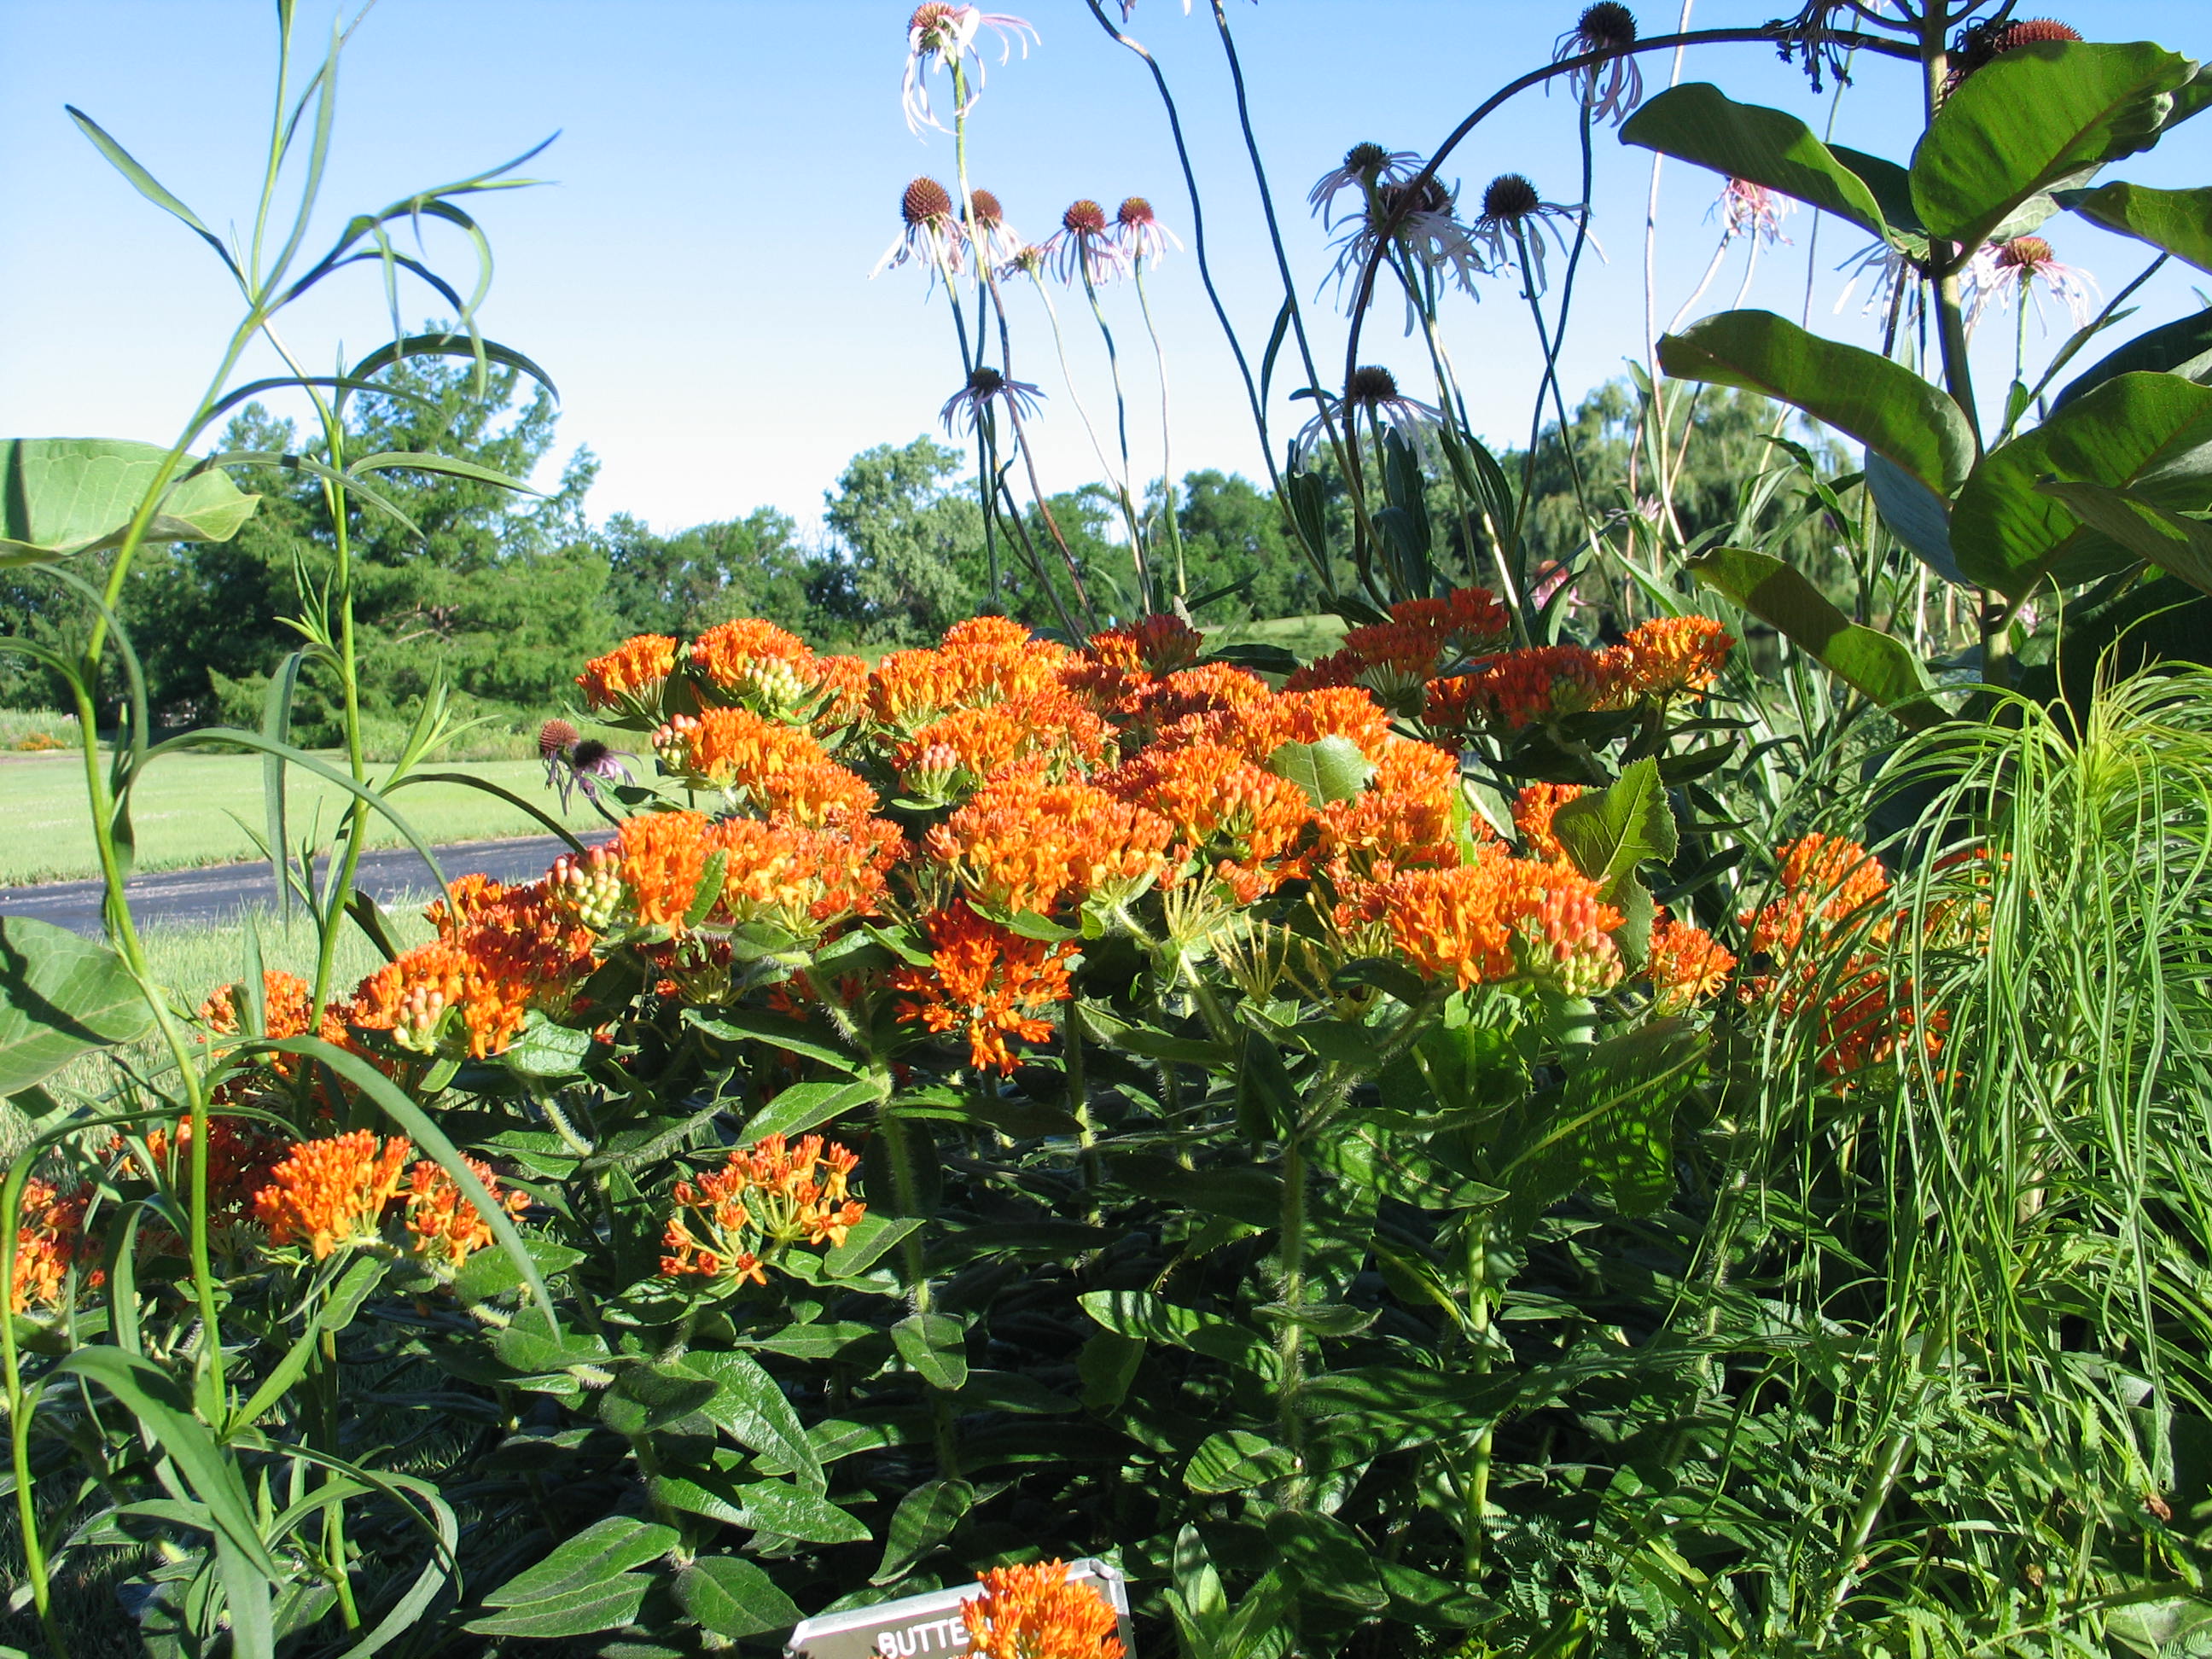
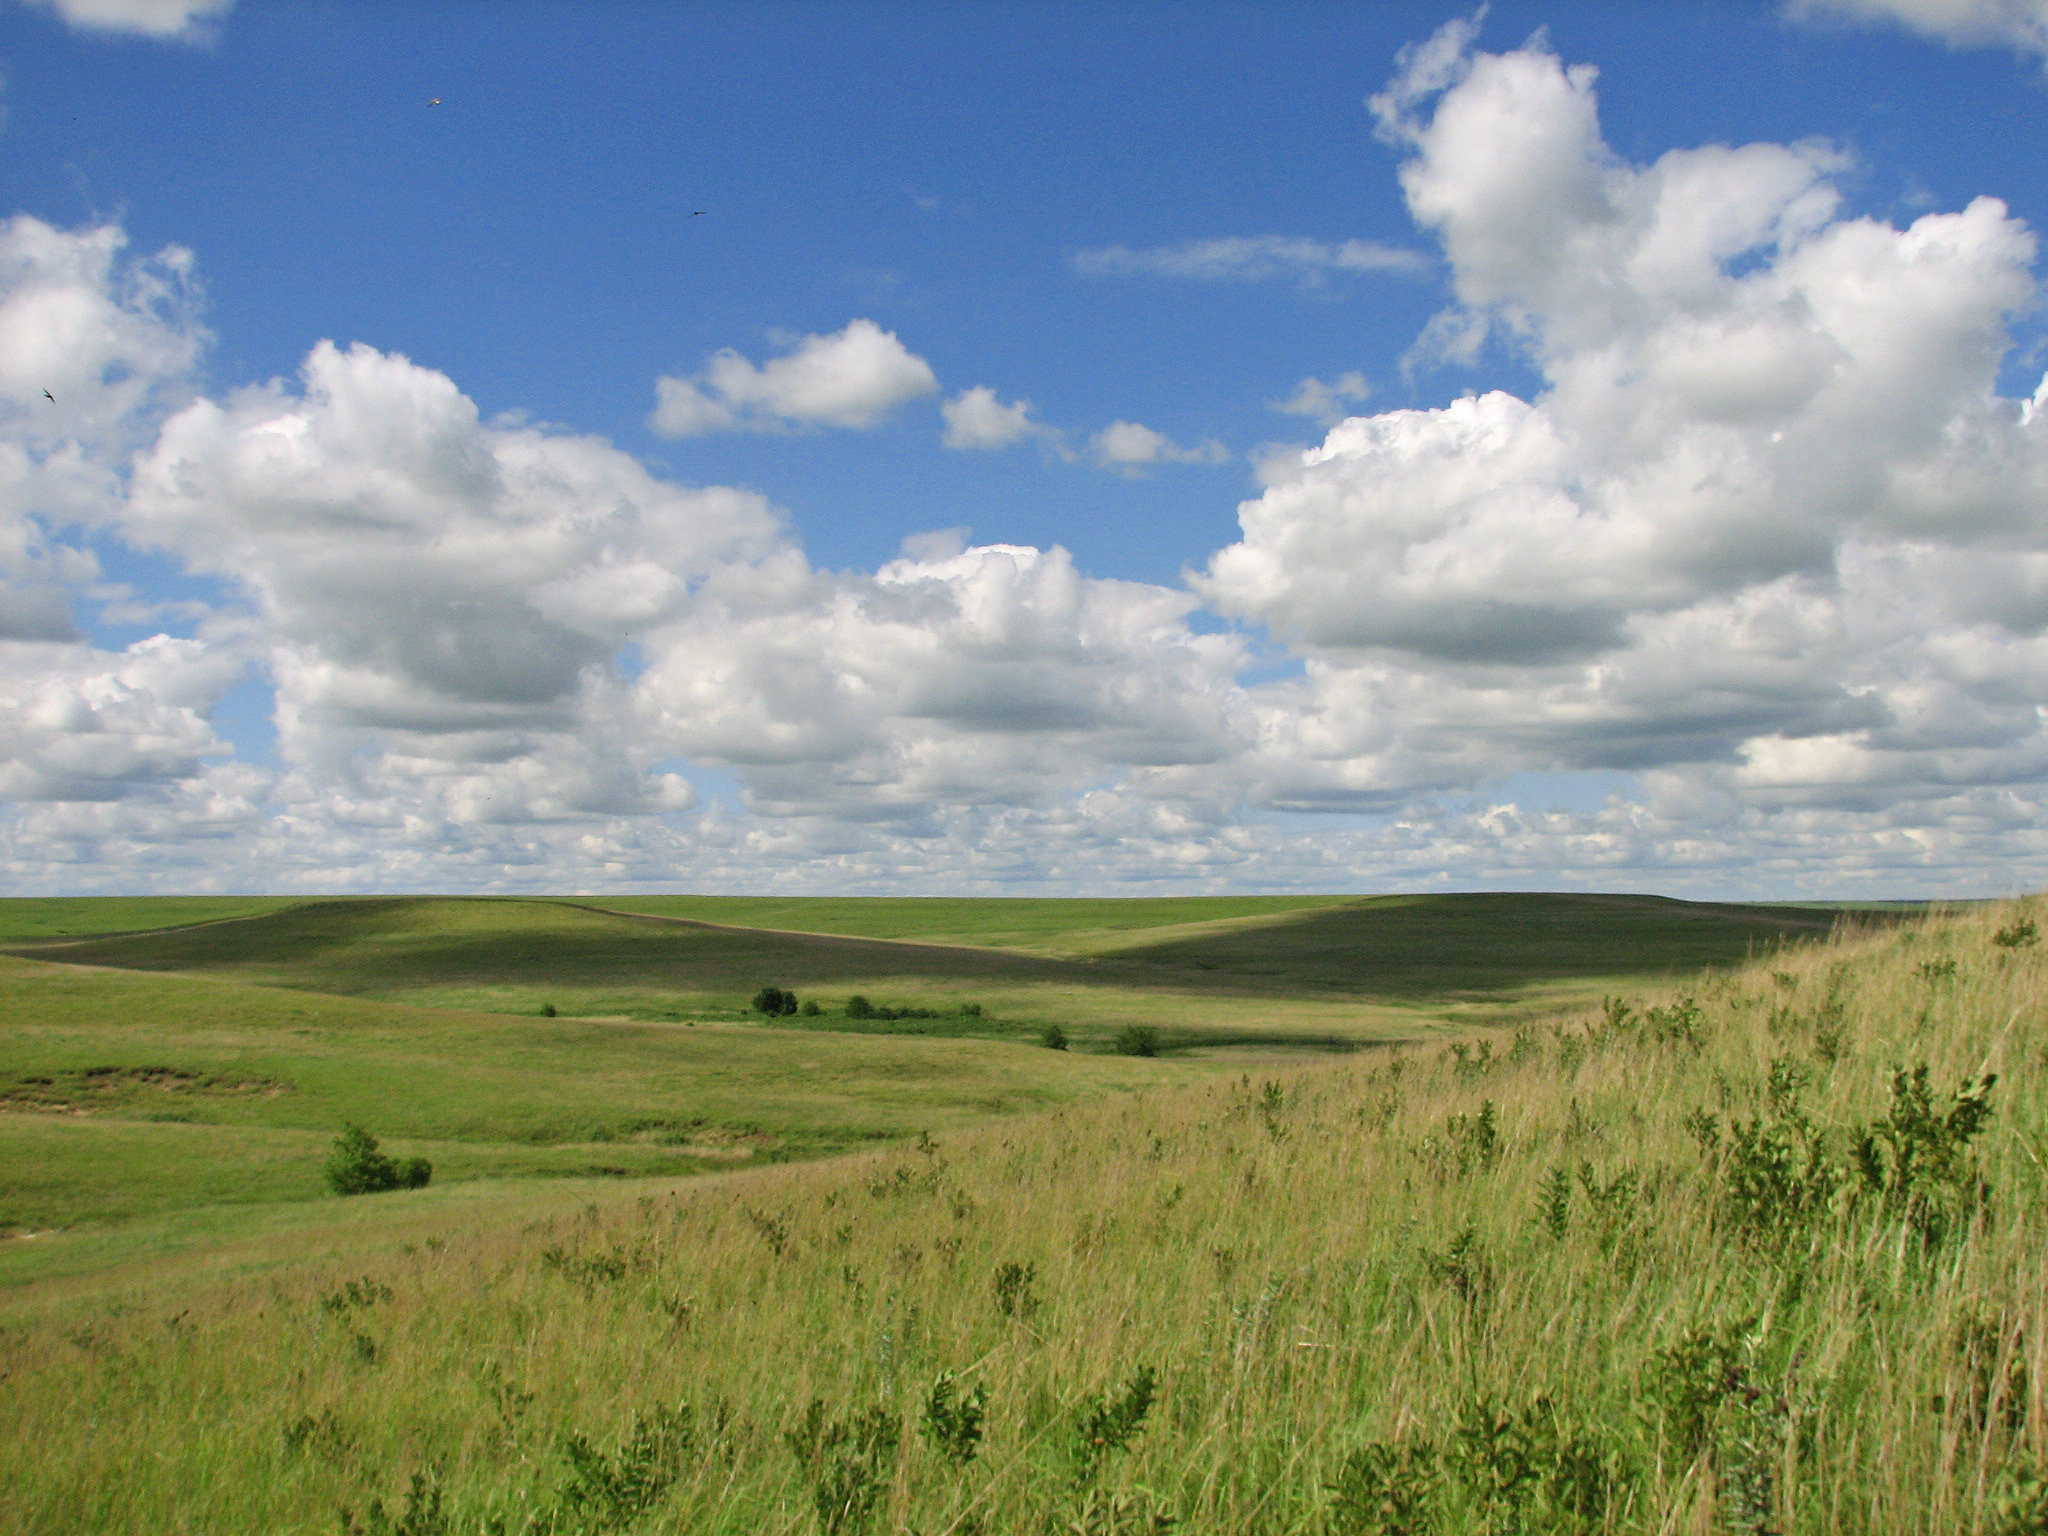
The trend for new coneflowers forms and colors shows no sign of slowing. Innovation drives sales and new styles are always on the horizon. One of my recommendations is to always start with the true natives first. Pale purple coneflower (Echinacea pallida), narrowleaf coneflower (E. angustifolia), yellow purple coneflower (E. paradoxa) and purple coneflower (E.purpruea) are adapted to our climate. They are always a good bet in the landscape. Remember, the pollinators prefer these forms too.

We have been tinkering with coneflowers for a long time and that will continue. The simple prairie coneflowers that we have moved into our landscapes often don’t look the same. I believe these changes come with a price. Sure you get uncommon colors, but it is obviously not the same prairie plant. Do pollinators recognize them?
If you want to try some of these new colors, choose wisely after doing some research. One of the best new coneflowers, according to the Mt. Cuba coneflower trials, is Sensation Pink.


