Summer Garden Checklist

Kansas summers can discourage even the hardiest gardeners. However, taking time to manage your garden now will help your garden later. Here’s my Summer Garden Checklist for the Kansas gardener.

Control Warm Season Weeds

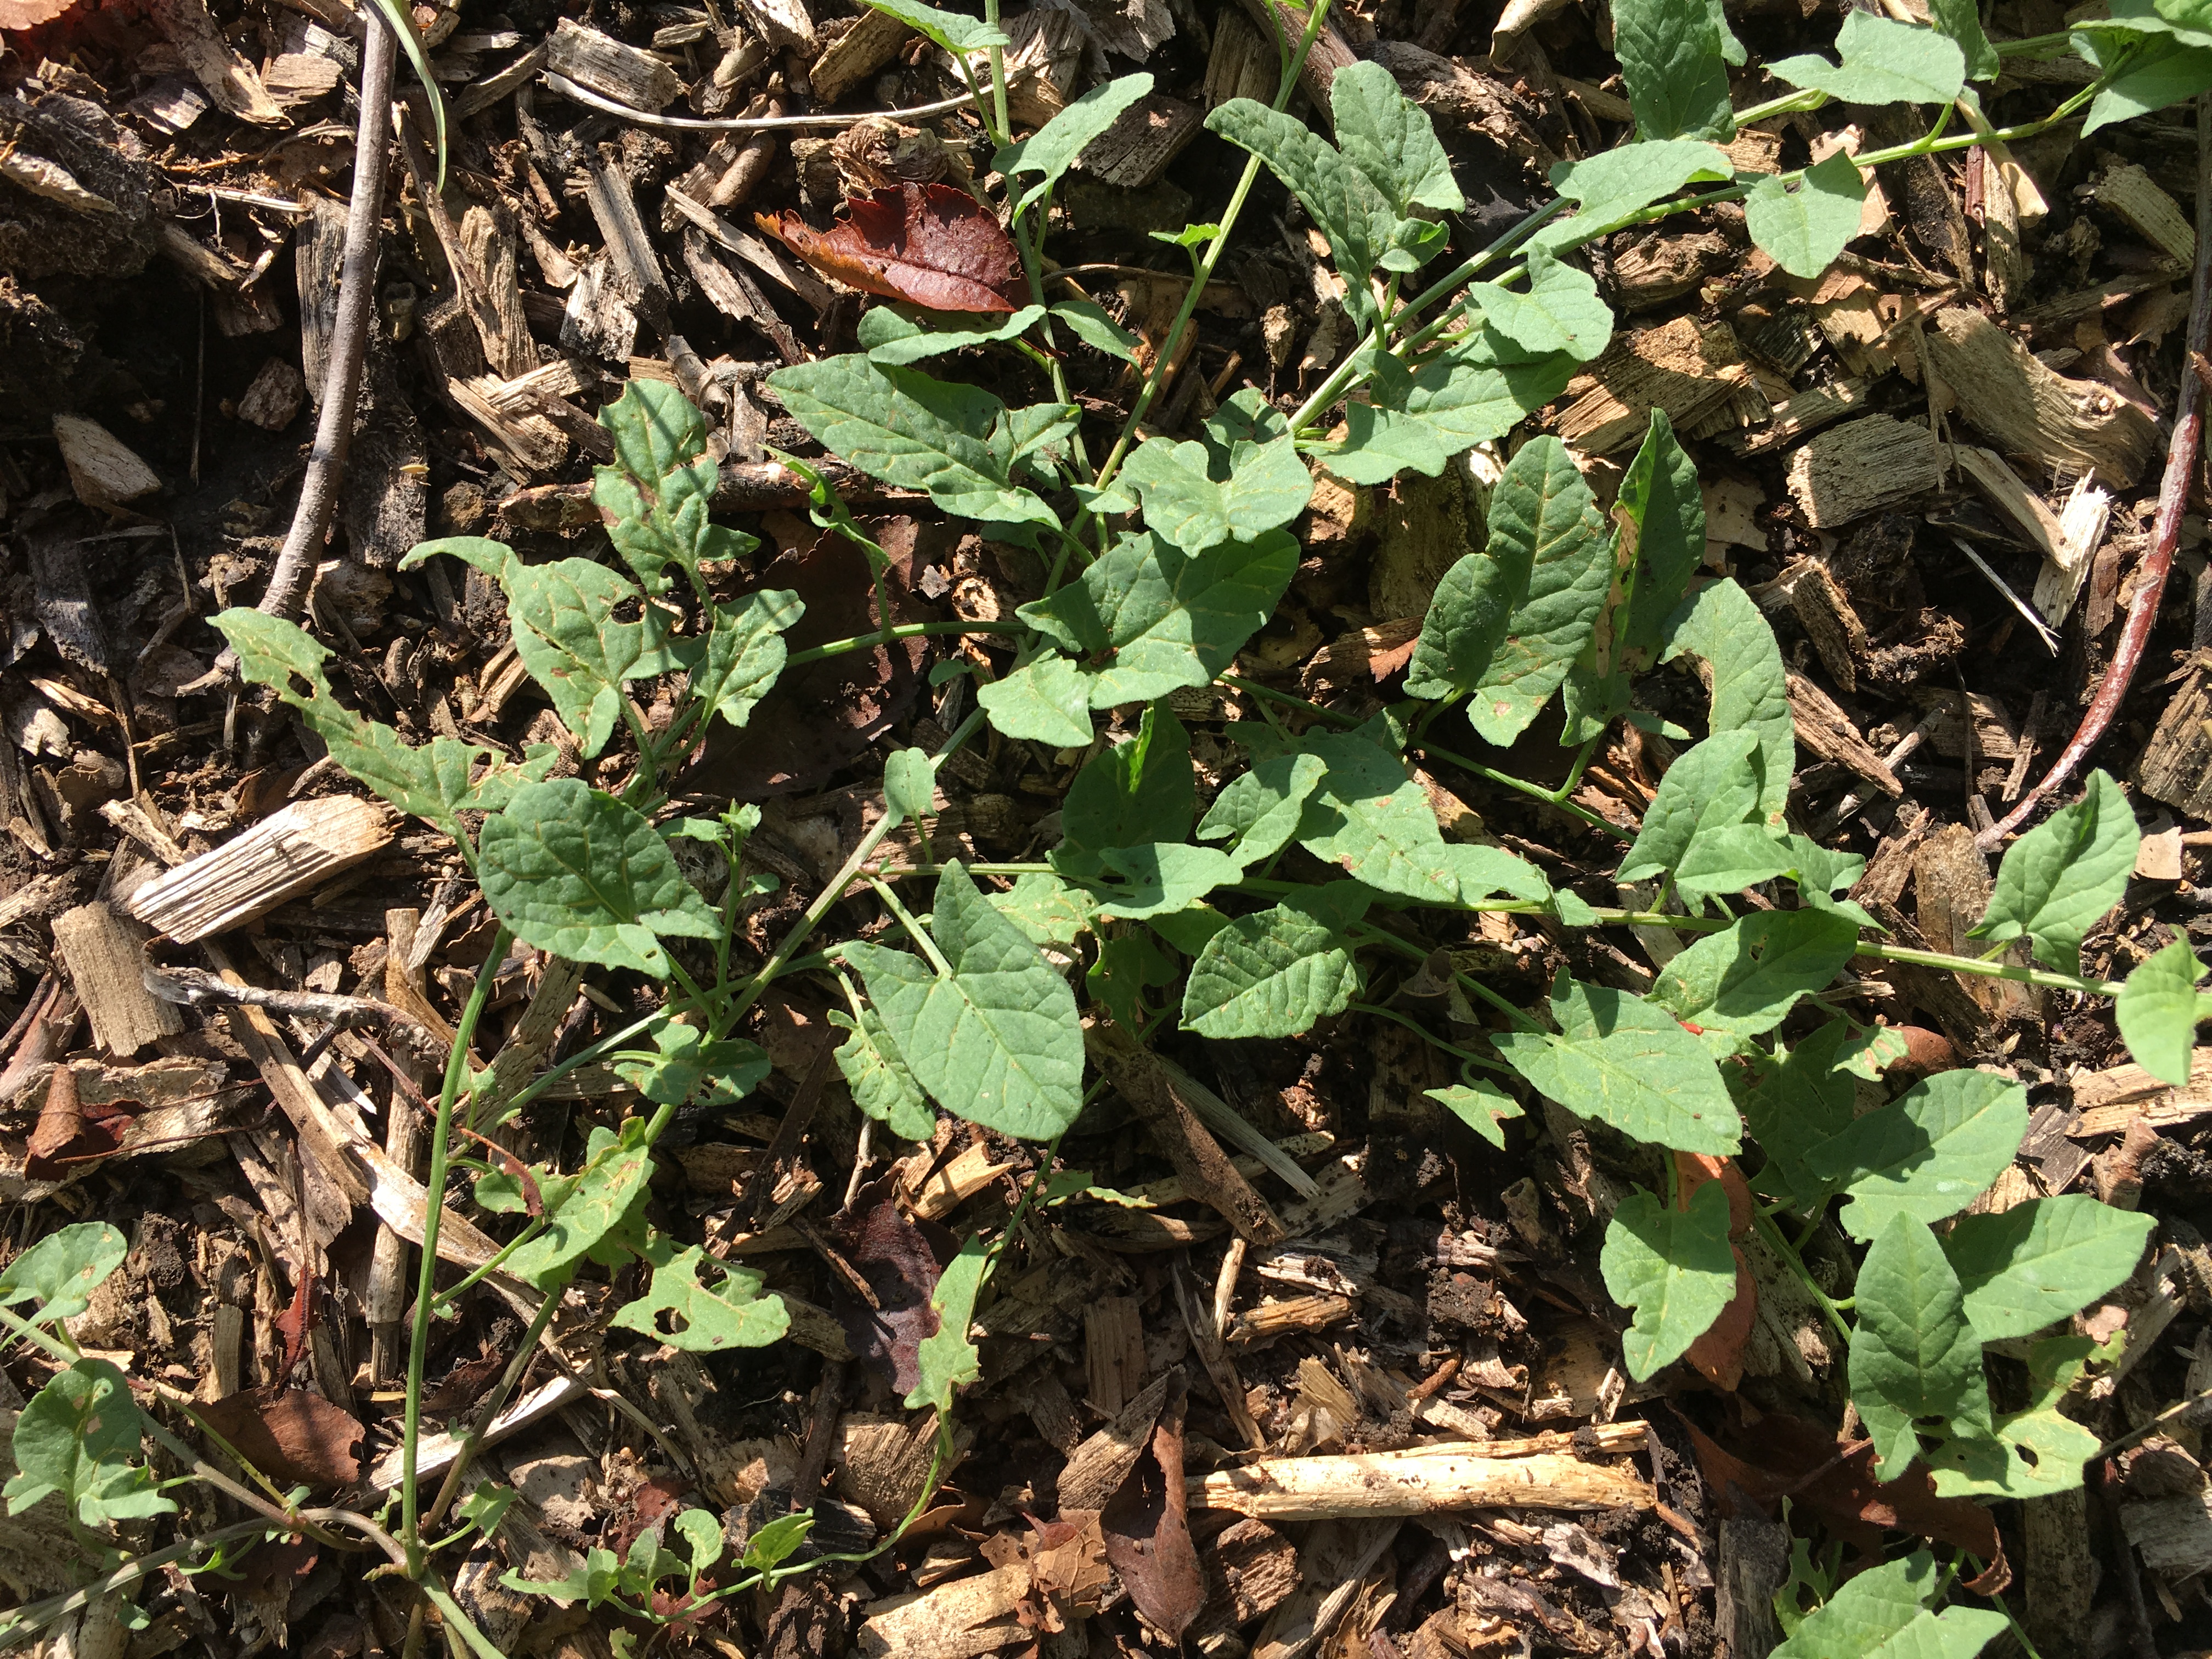
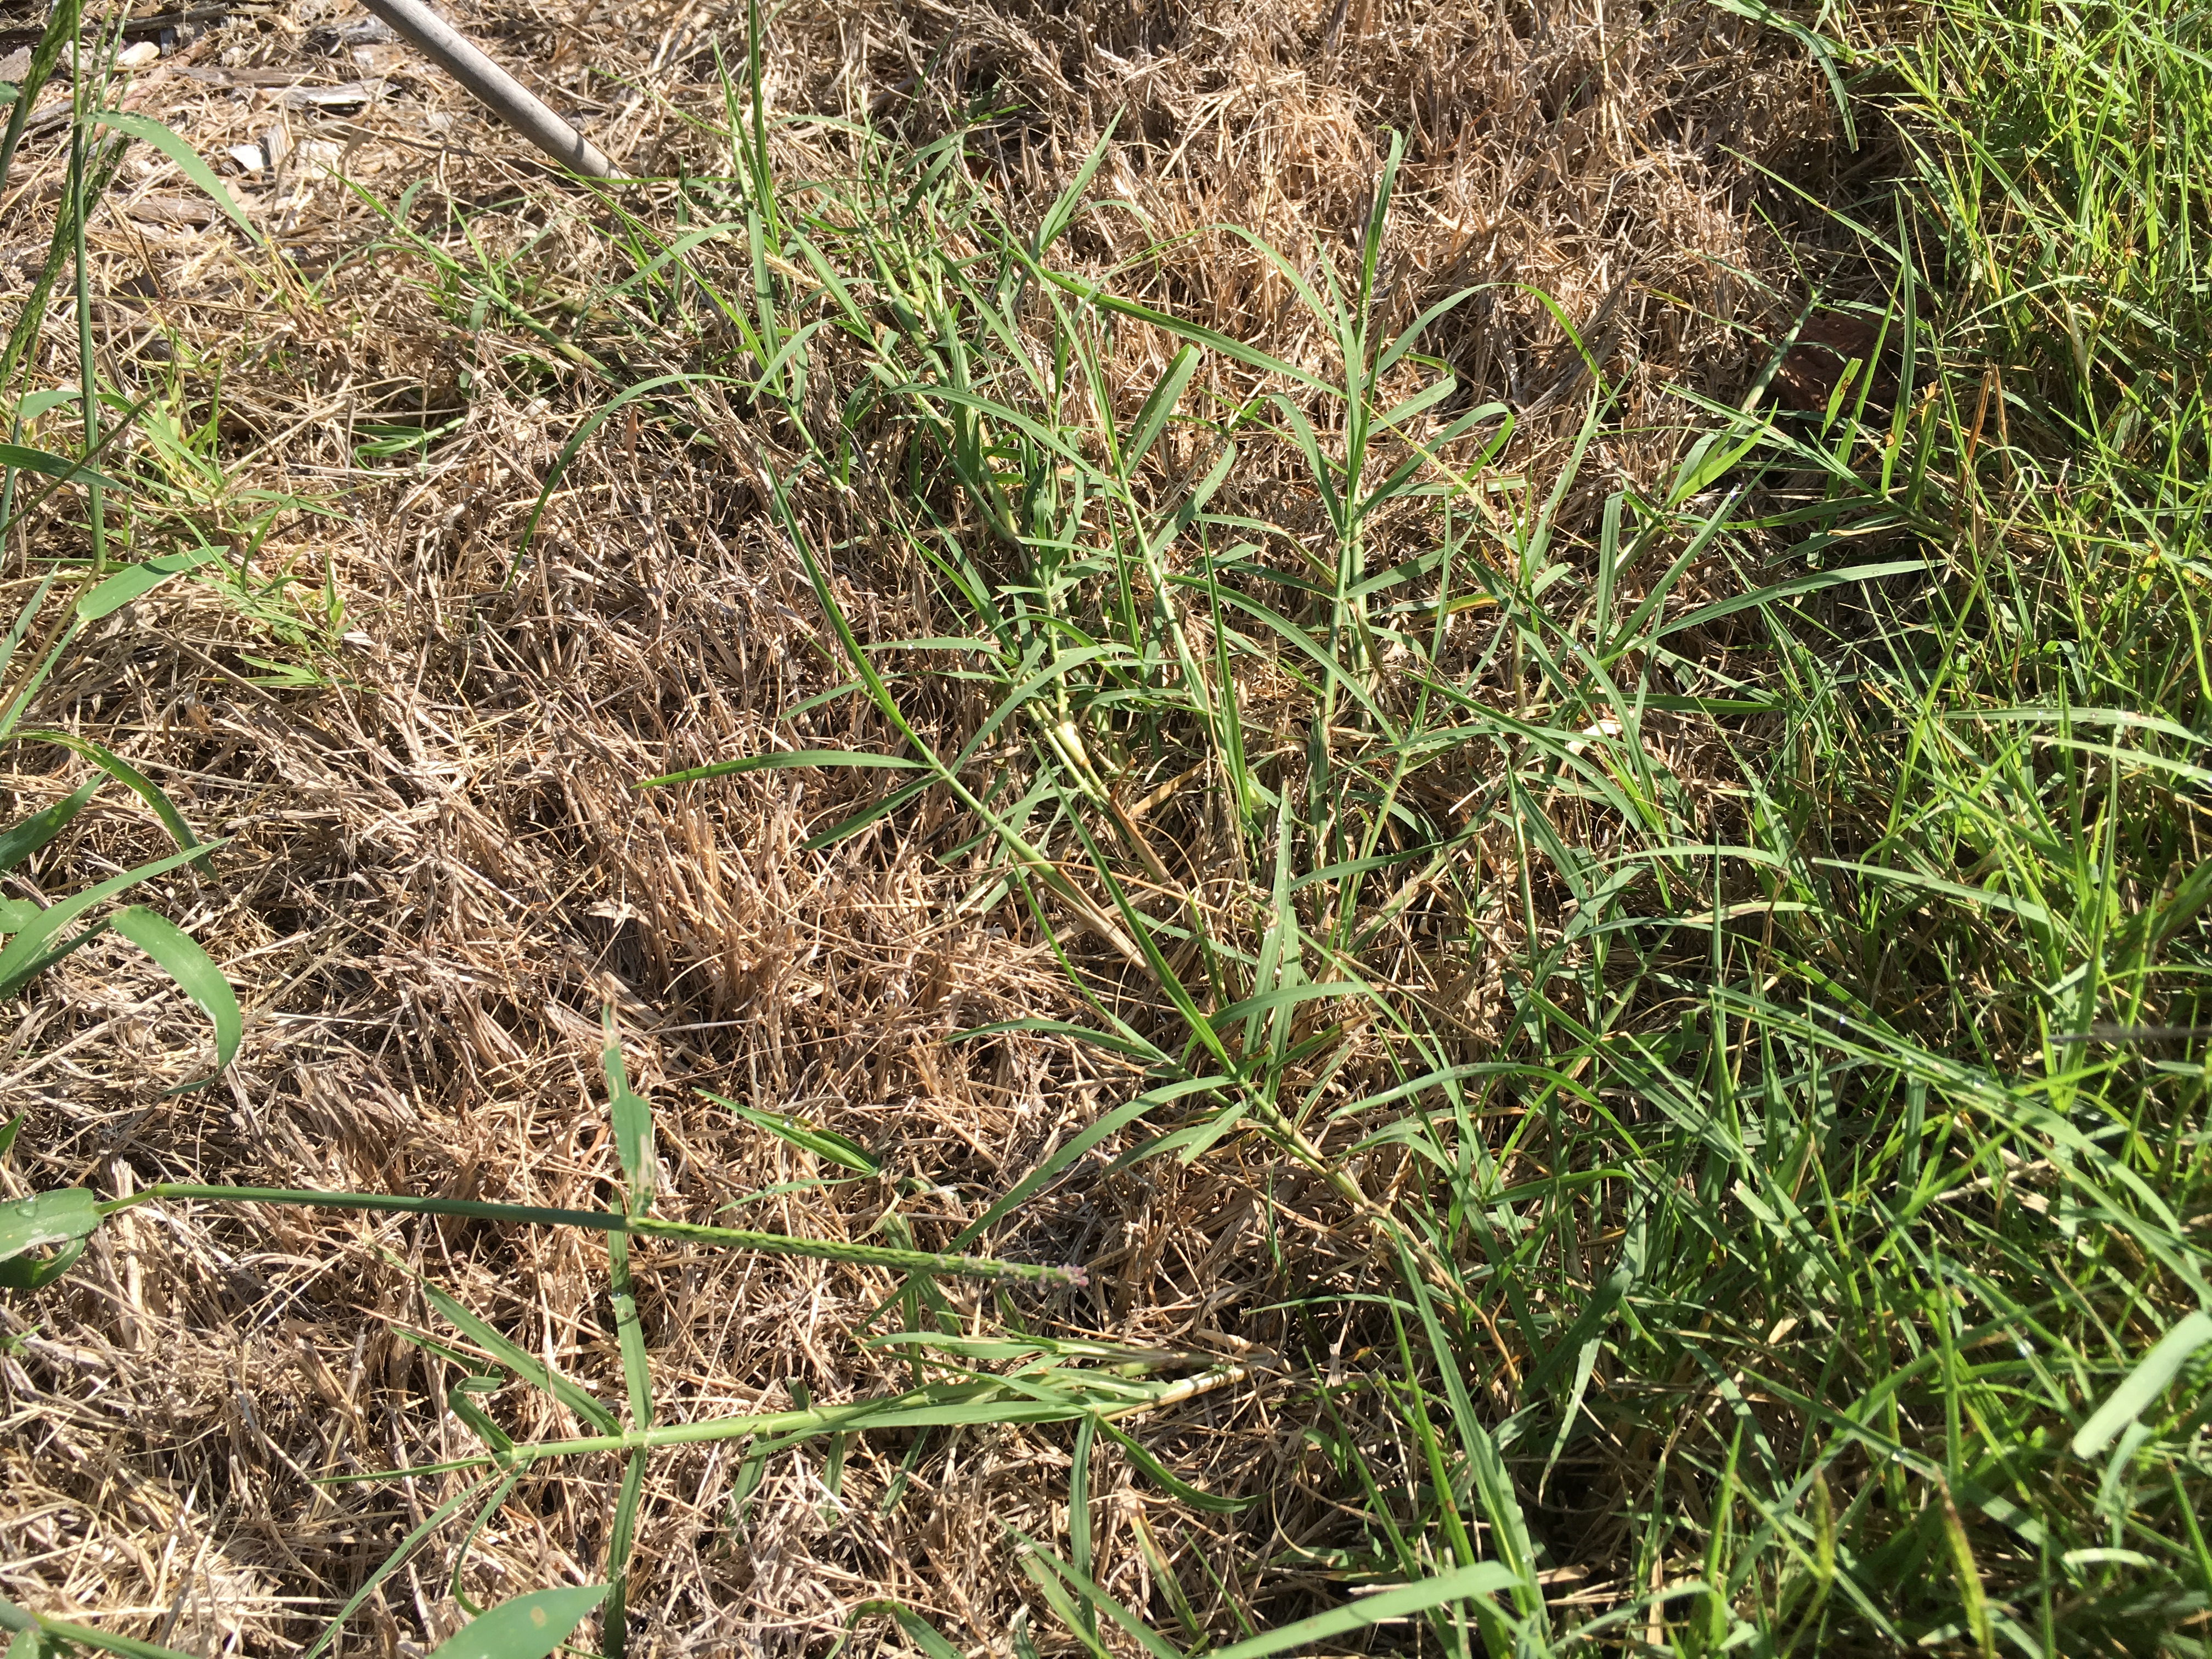
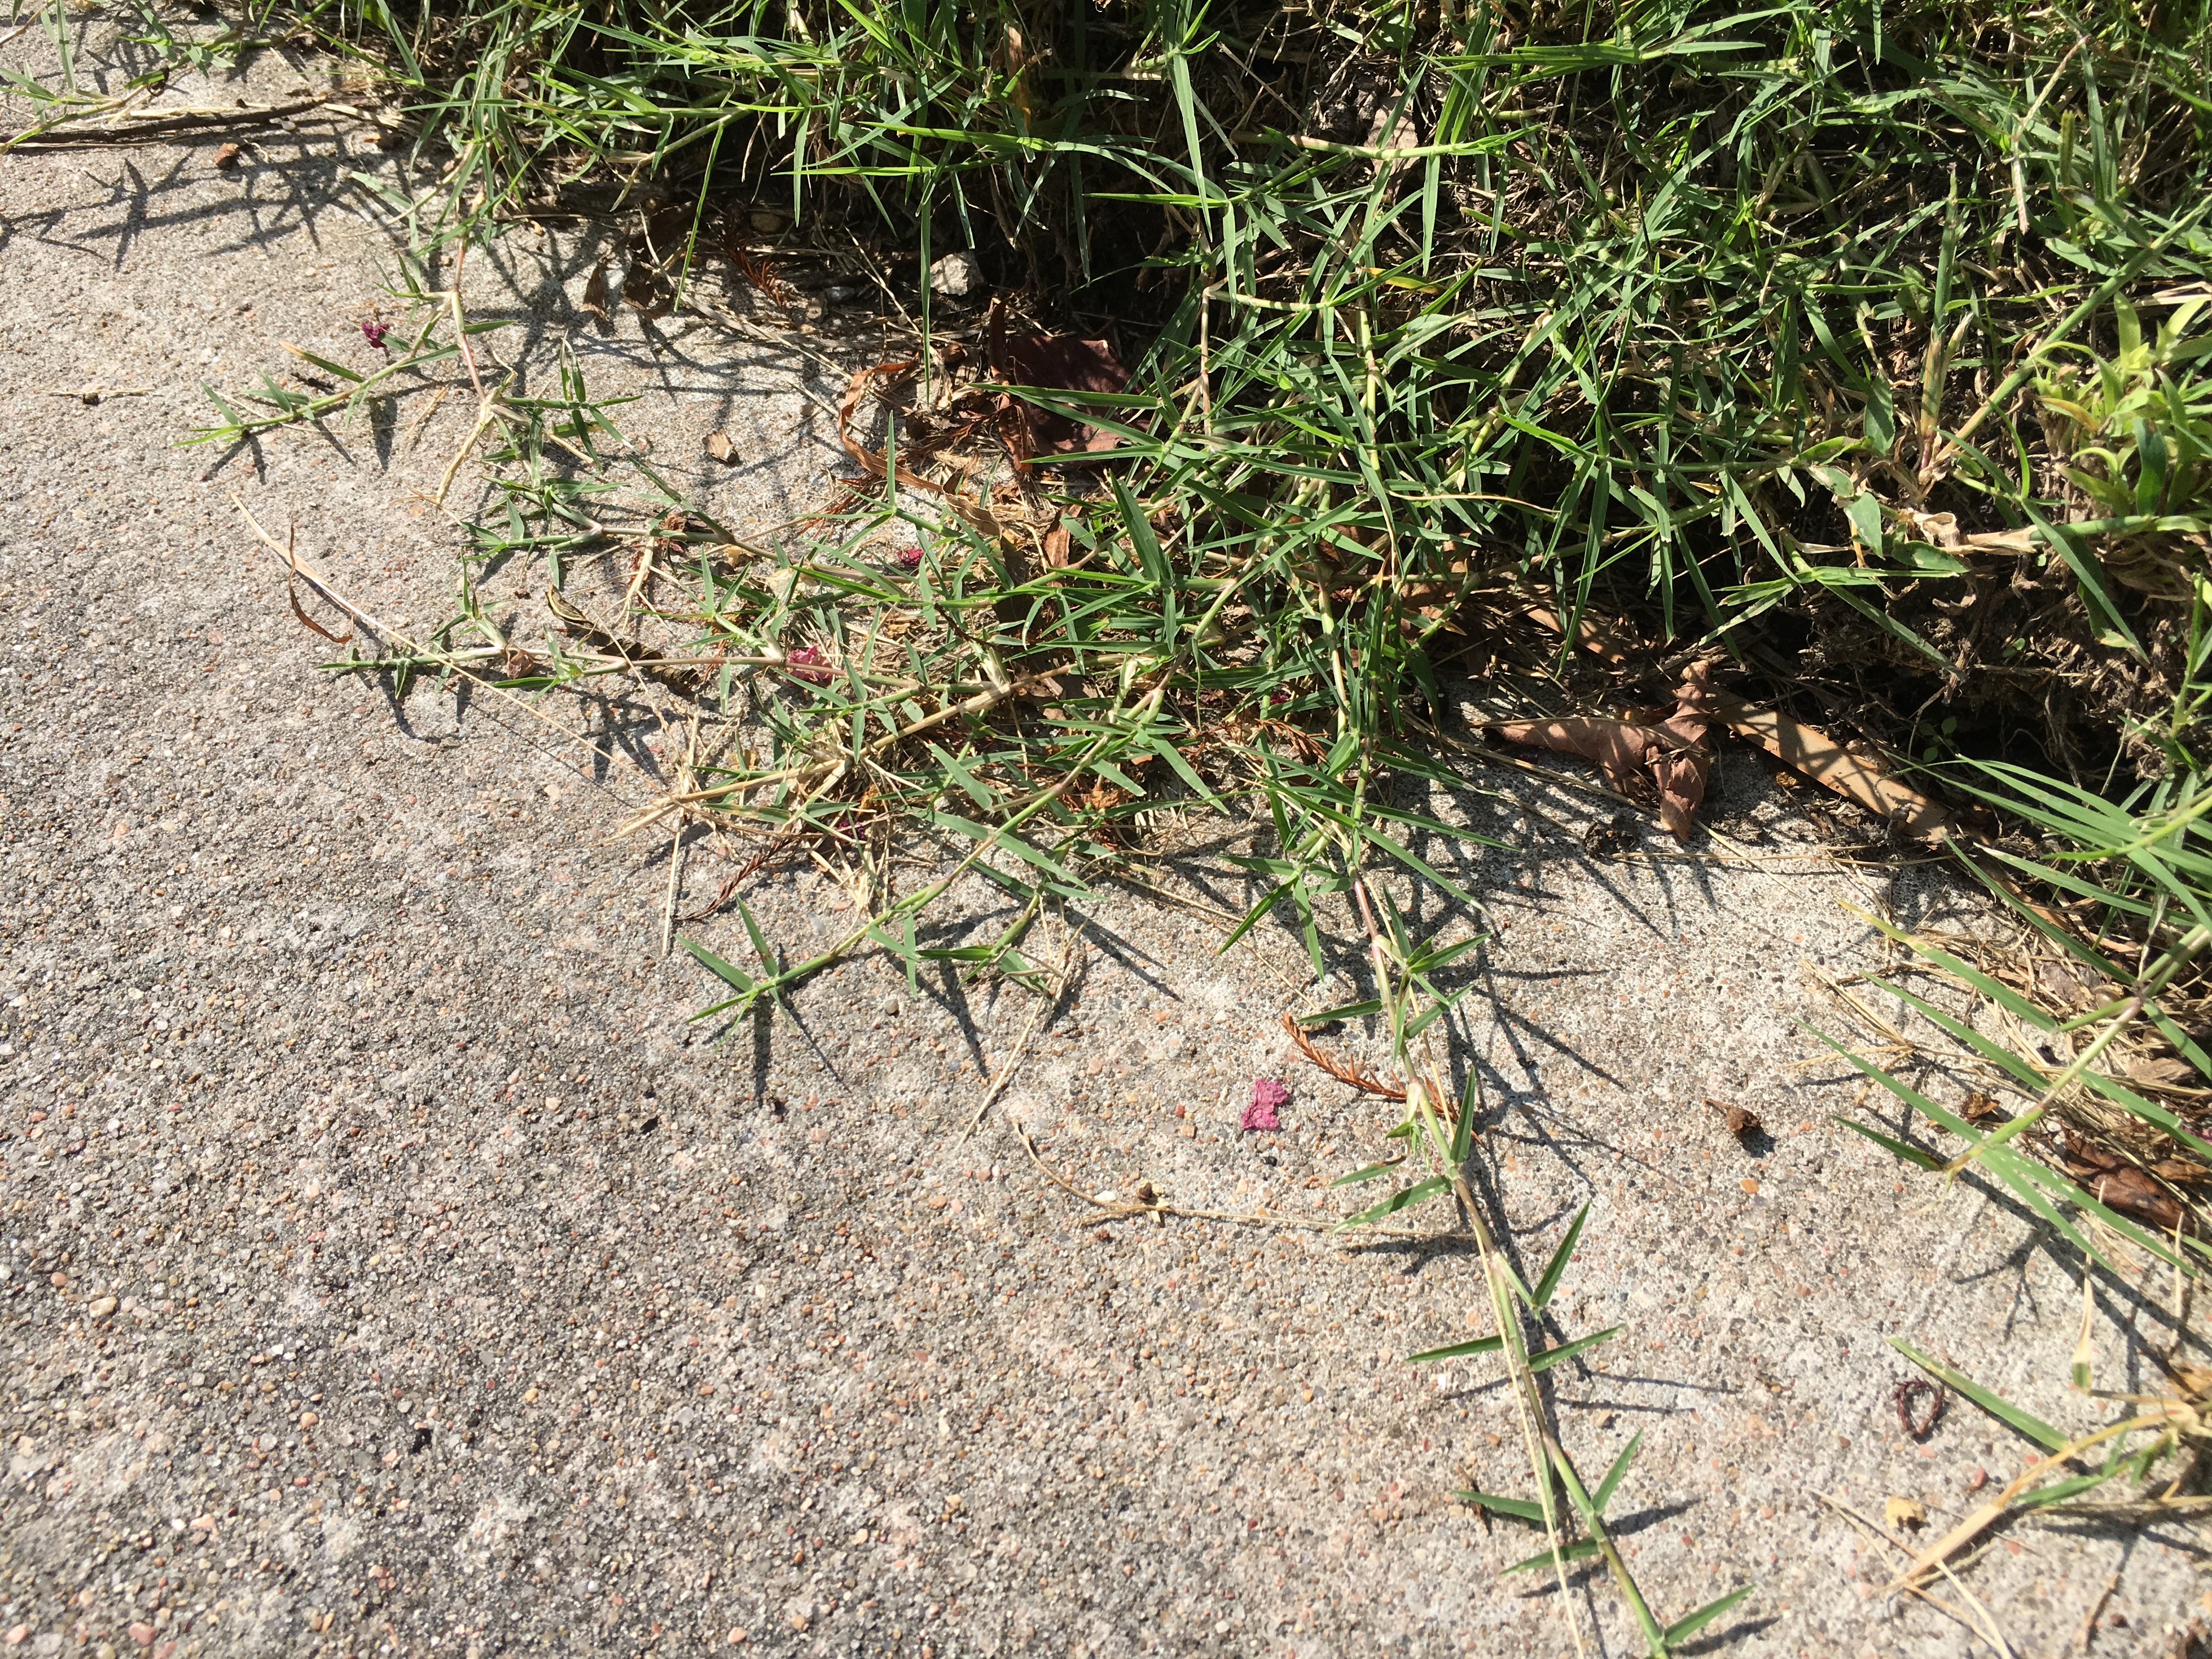
Summer brings with it a new set of weeds to control. Hot weather germinates summer annuals like crabgrass, foxtail. Nutsedge and other weeds invade your lawn and landscape as well. Manage weeds using nonchemical methods such as cultivation, hand weeding, or mowing; use toxic chemicals as a last resort. 

Mowing regularly and occasionally edging along sidewalks and walkways is needed to ensure your lawn is not overrun with weeds. In a landscaped bed, hand pull any of these weeds, especially if they have seed heads.  It is so important to not let these weeds go to seed. Stay vigilant even though the summer heat tries to squash your enthusiasm. A little extra effort now will make your garden better this fall and into next year. 
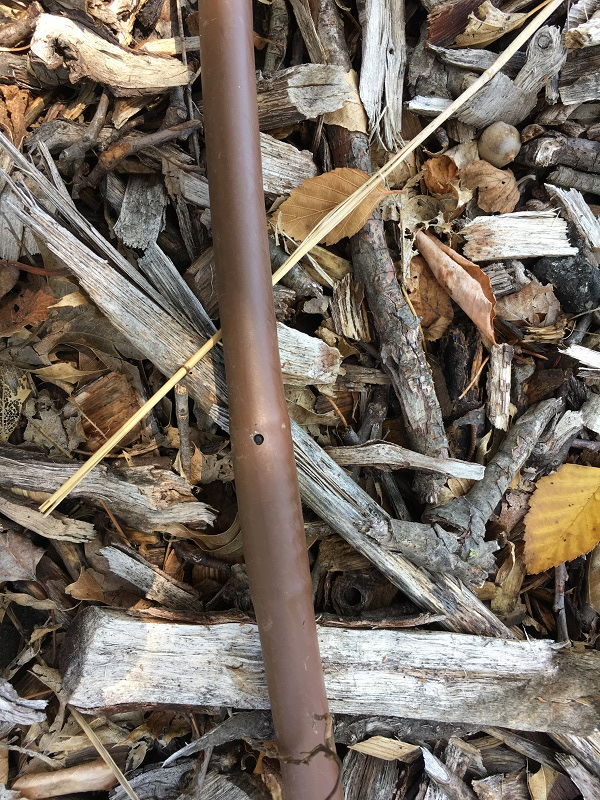
Crabgrass in tree mulch ring controlled with roundup: one treatment should clean up the mulched area and keep it weed free the rest of the season.

Be Water Wise

To reduce evaporation, water when temperatures are cooler and air is still, usually in the early morning. Water deeply to moisten the root zone, but infrequently. About an inch of water each week is a good rule of thumb!  If you have invested in container plants, they will need daily watering, as soil in pots can dry out quickly and damage plant roots on hot summer days.  Each of our gardens have indicator plants that show stress first, let these plants be your guide as when to water.  For new planting started this spring, water when the top one to two inches of soil is dry.  Remember it takes three to five years for sustaining roots systems to develop for most native plants.  Supplemental watering is necessary to encourage growth and root development in these young plants. 
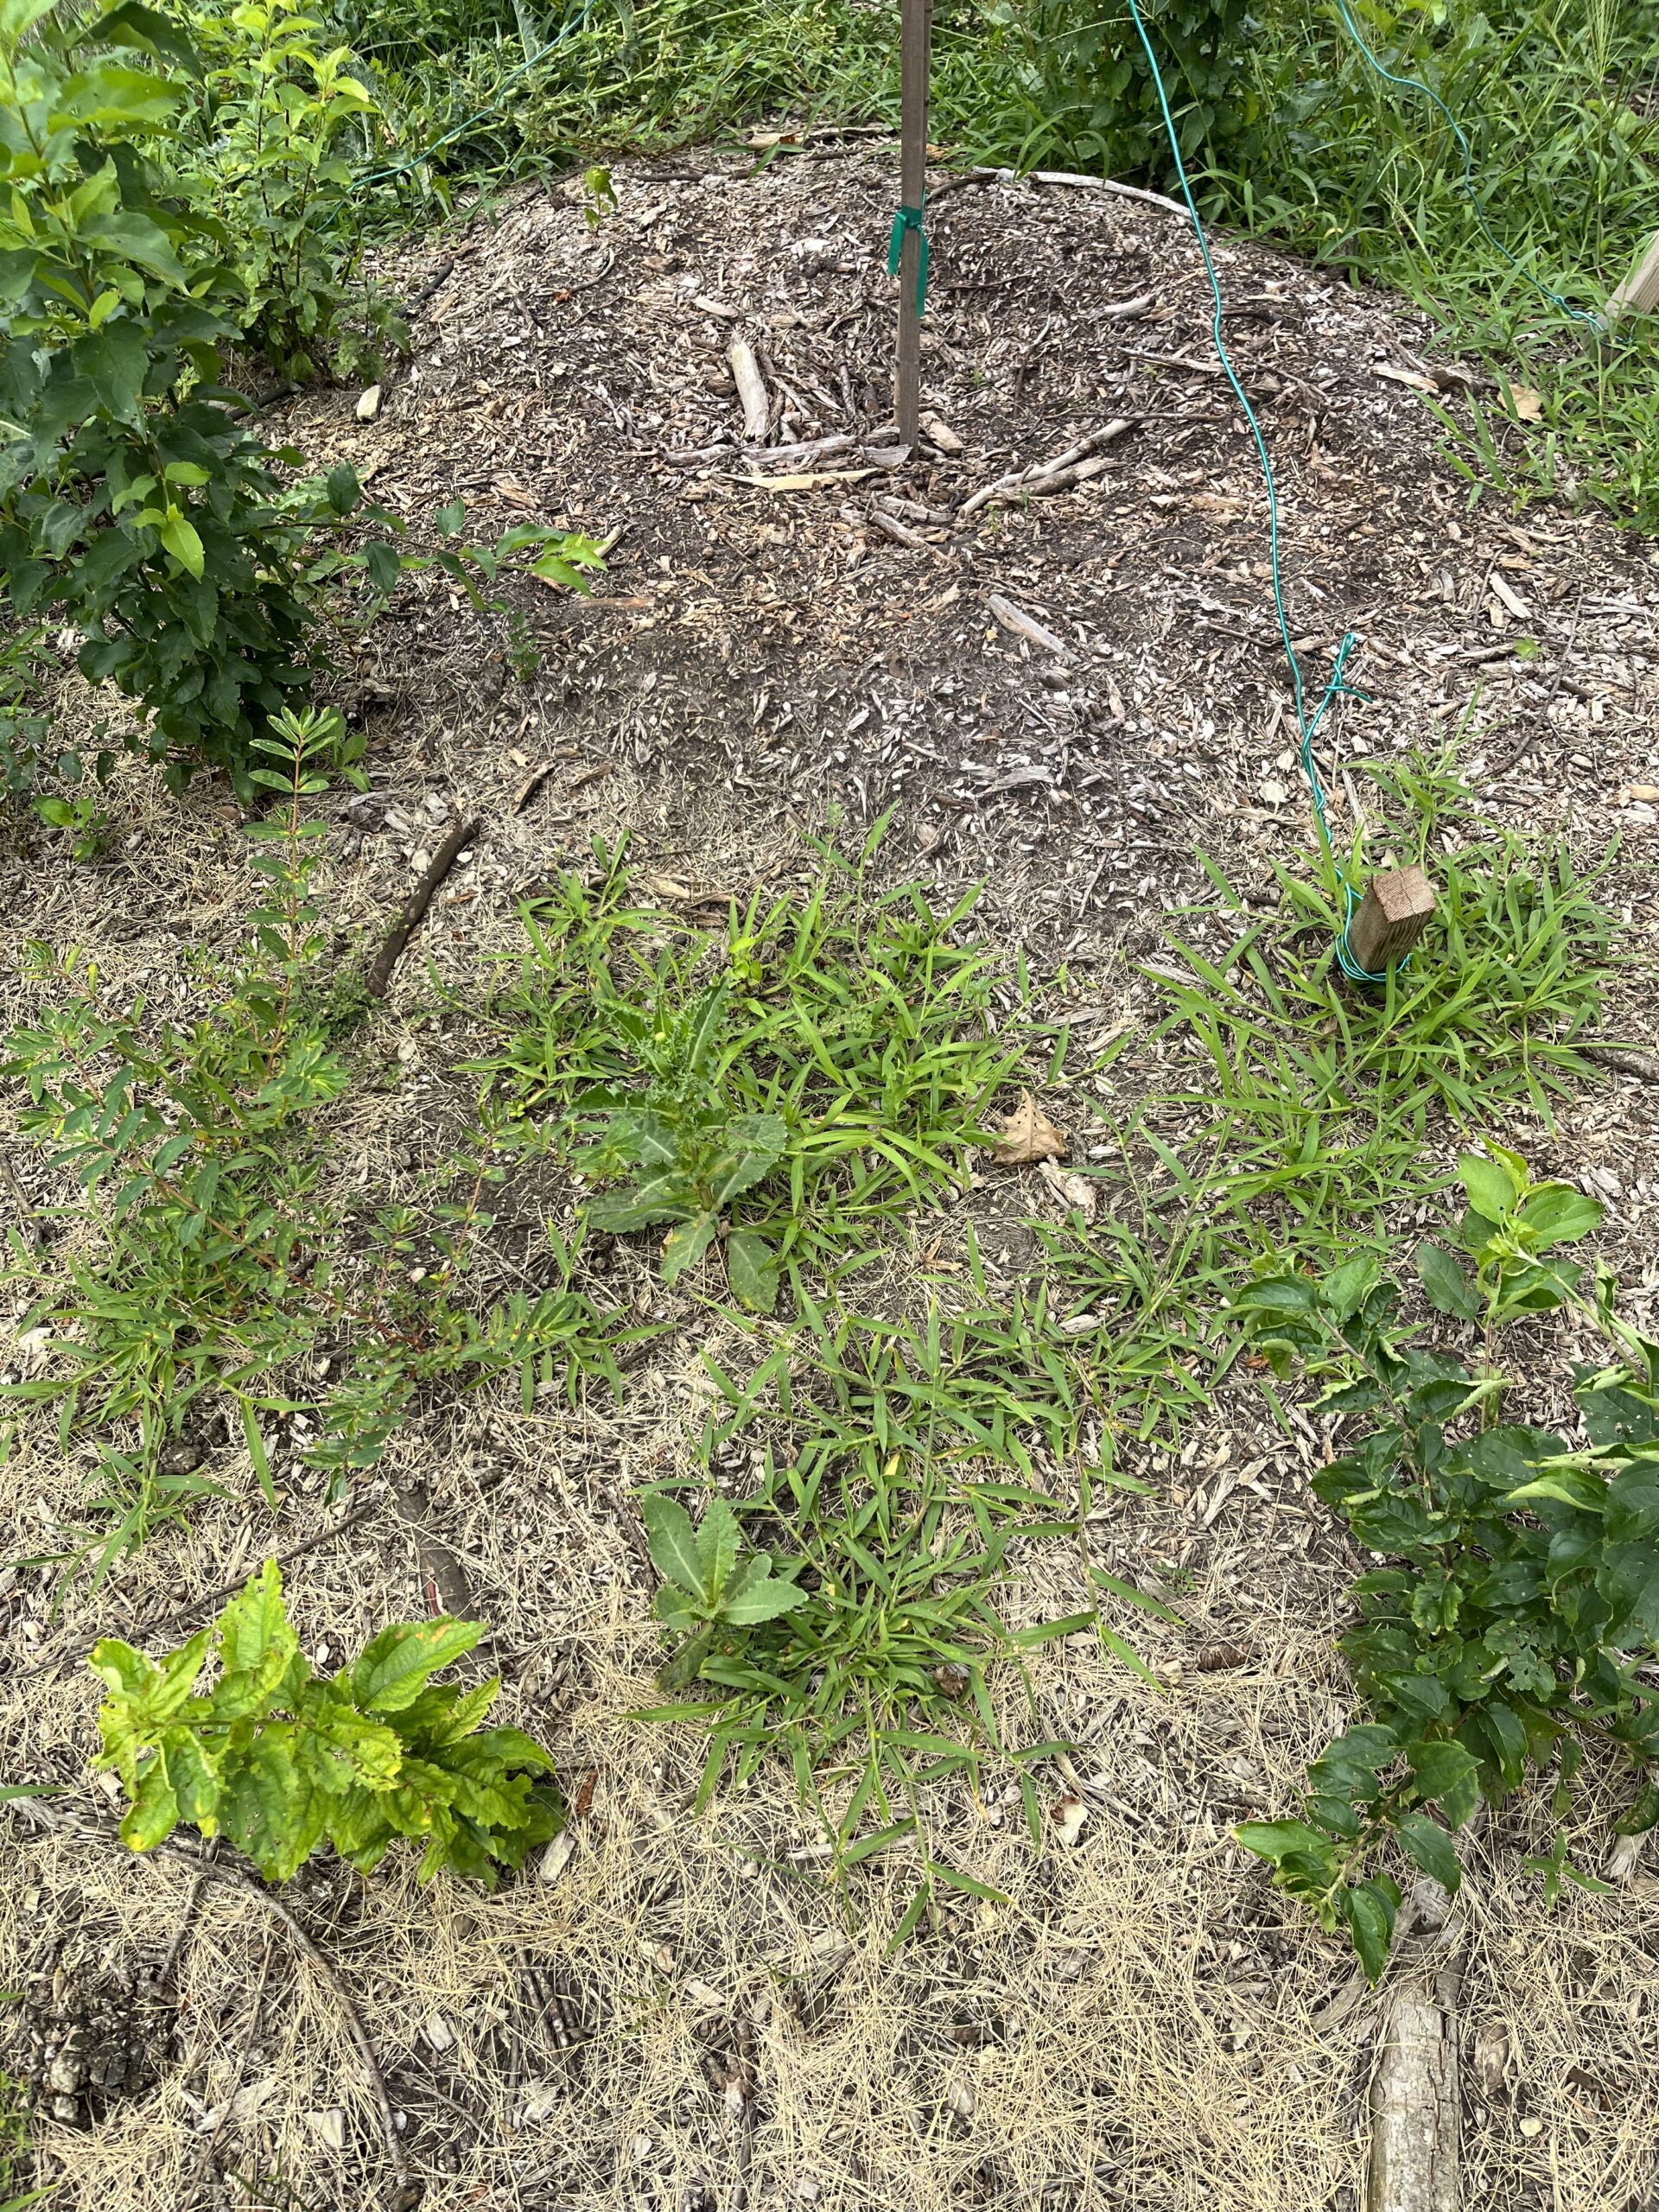
We use pressure compensating 1/2 inch soaker hoses to efficiently water trees, shrubs and a few flower beds. Each emitter puts out 1 gallon of water per hour.

Prepare for seeding

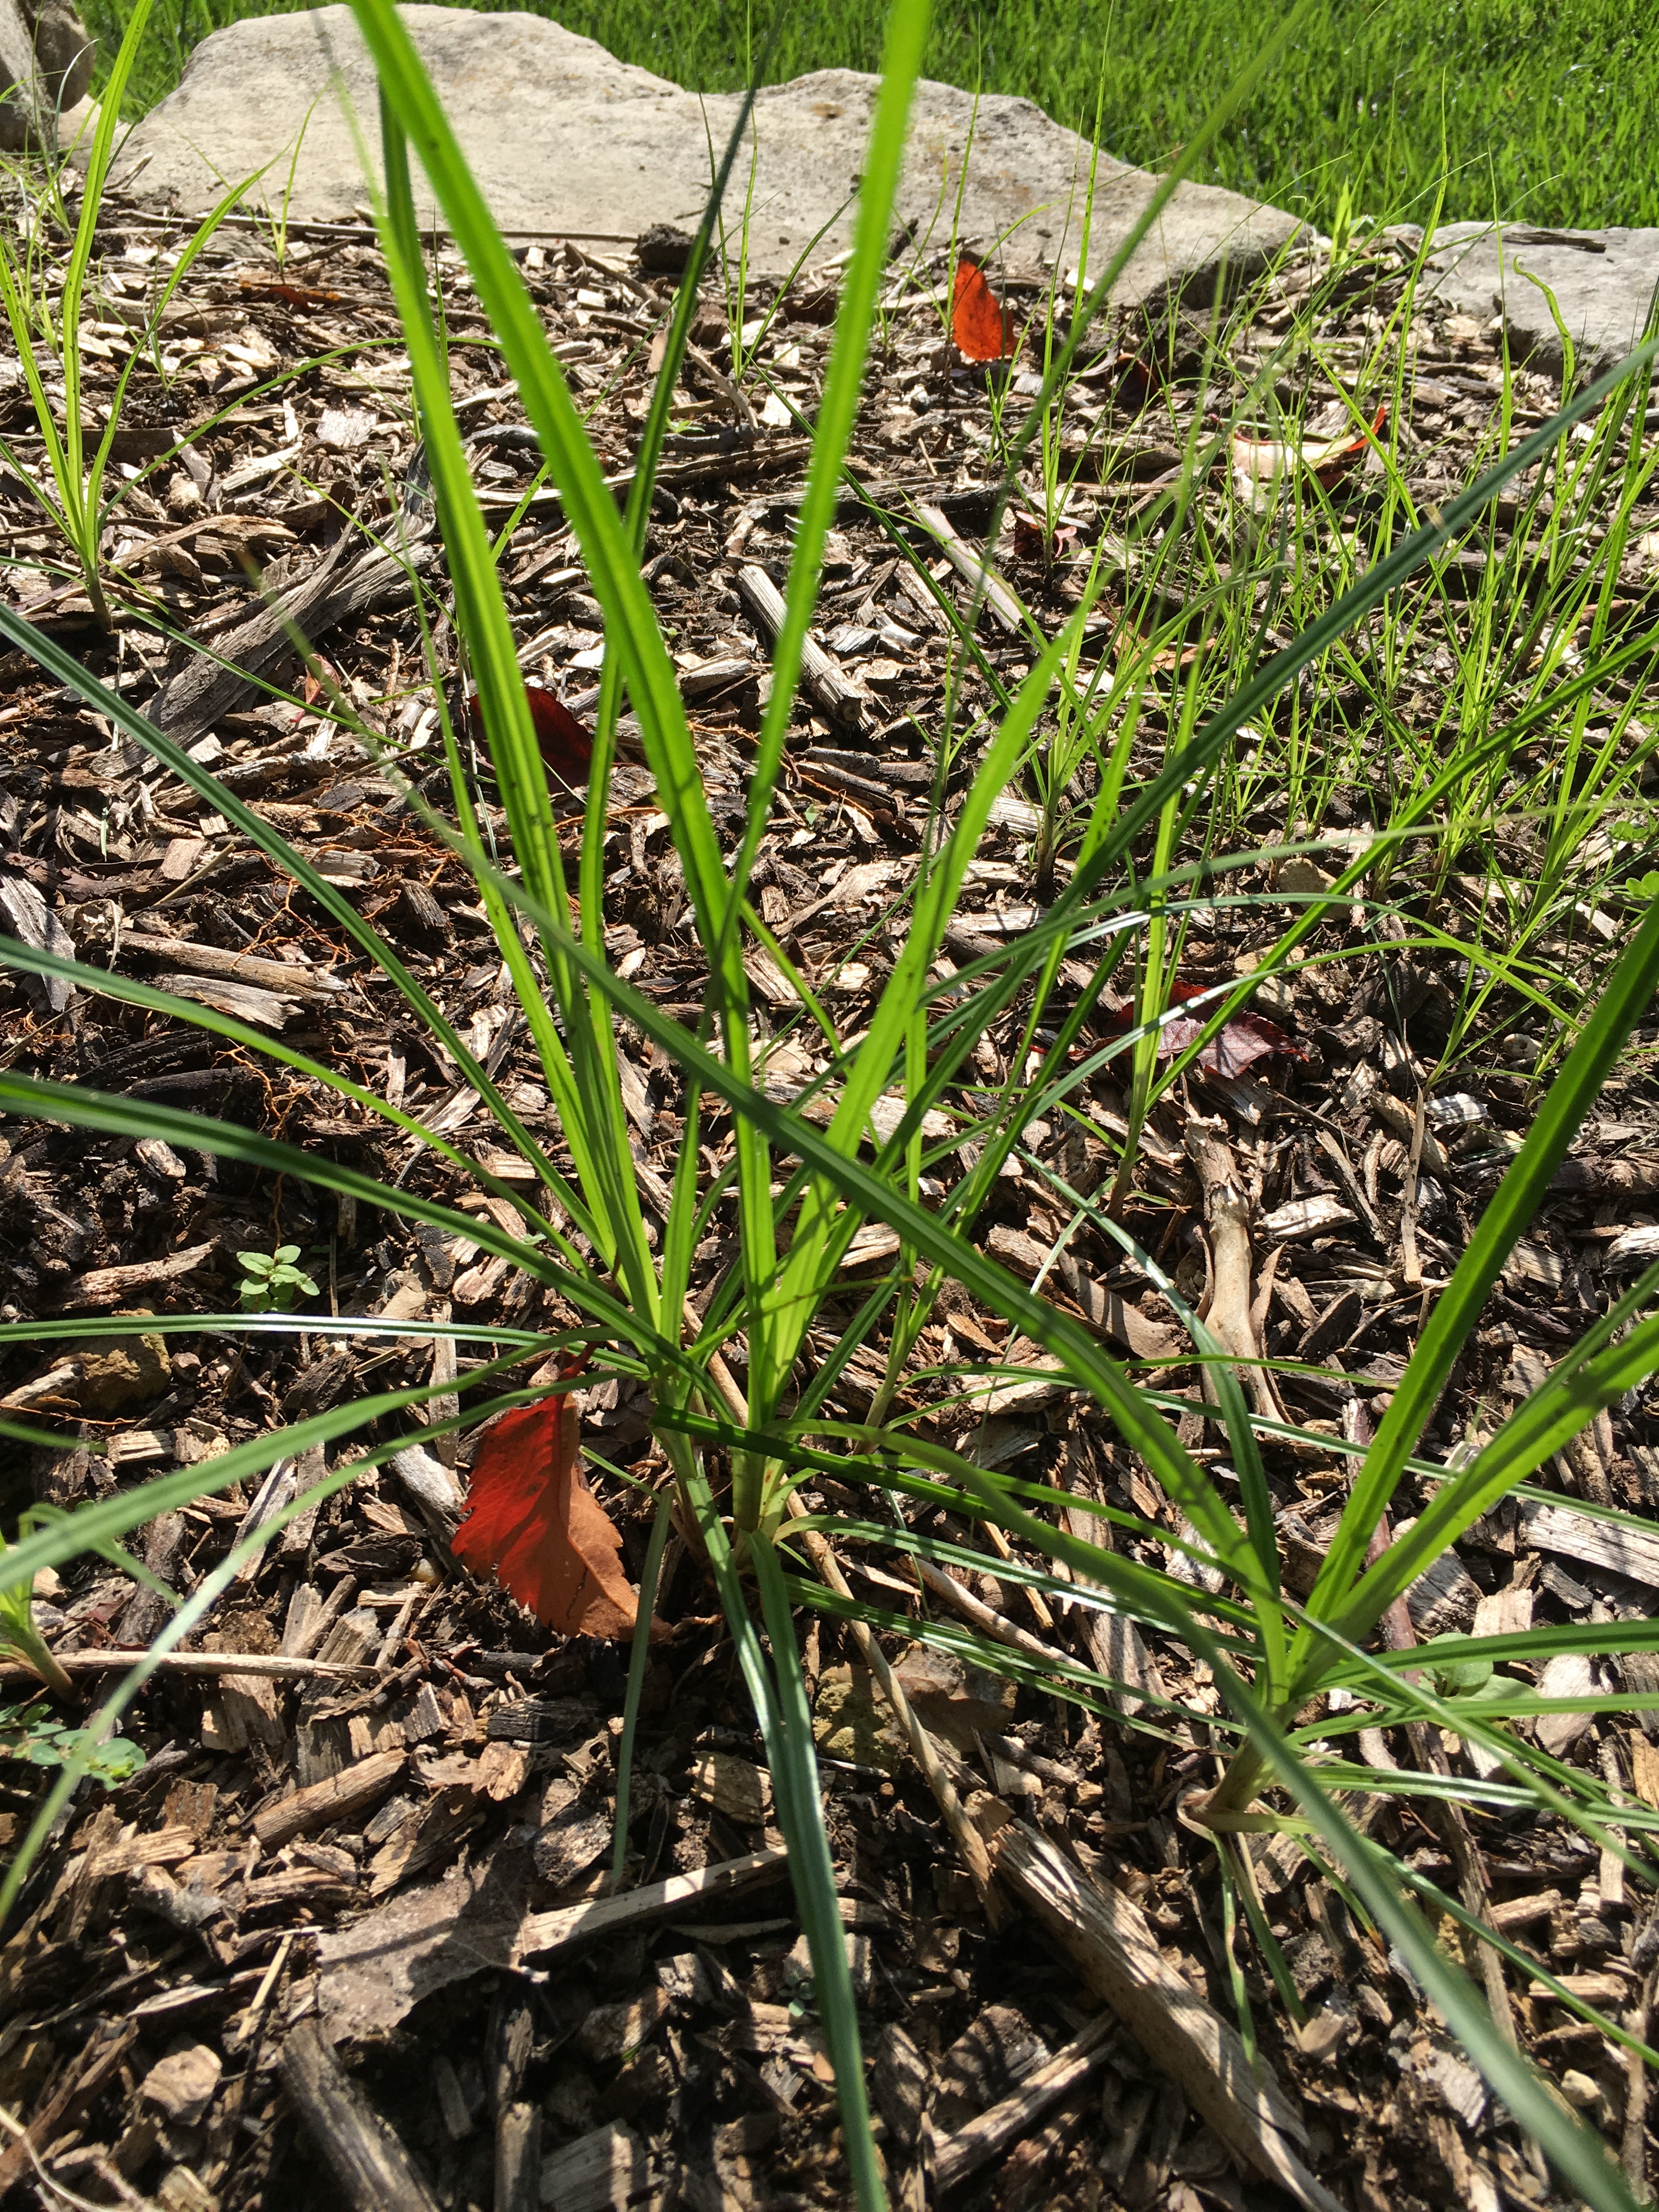
If you are wanting to establish native prairie plants from seed, now is a great time to prepare your area.  Mow your area short (1-2 inches). Control perennial weeds such as bindweed or Bermuda grass by carefully spraying the area with Roundup. It will take several applications to get these problematic weeds under control. If you can see soil, tillage is not necessary. If you can’t see soil, till lightly to expose some bare soil. Remember, each time you till, you bring up more weed seeds, so tread lightly. 

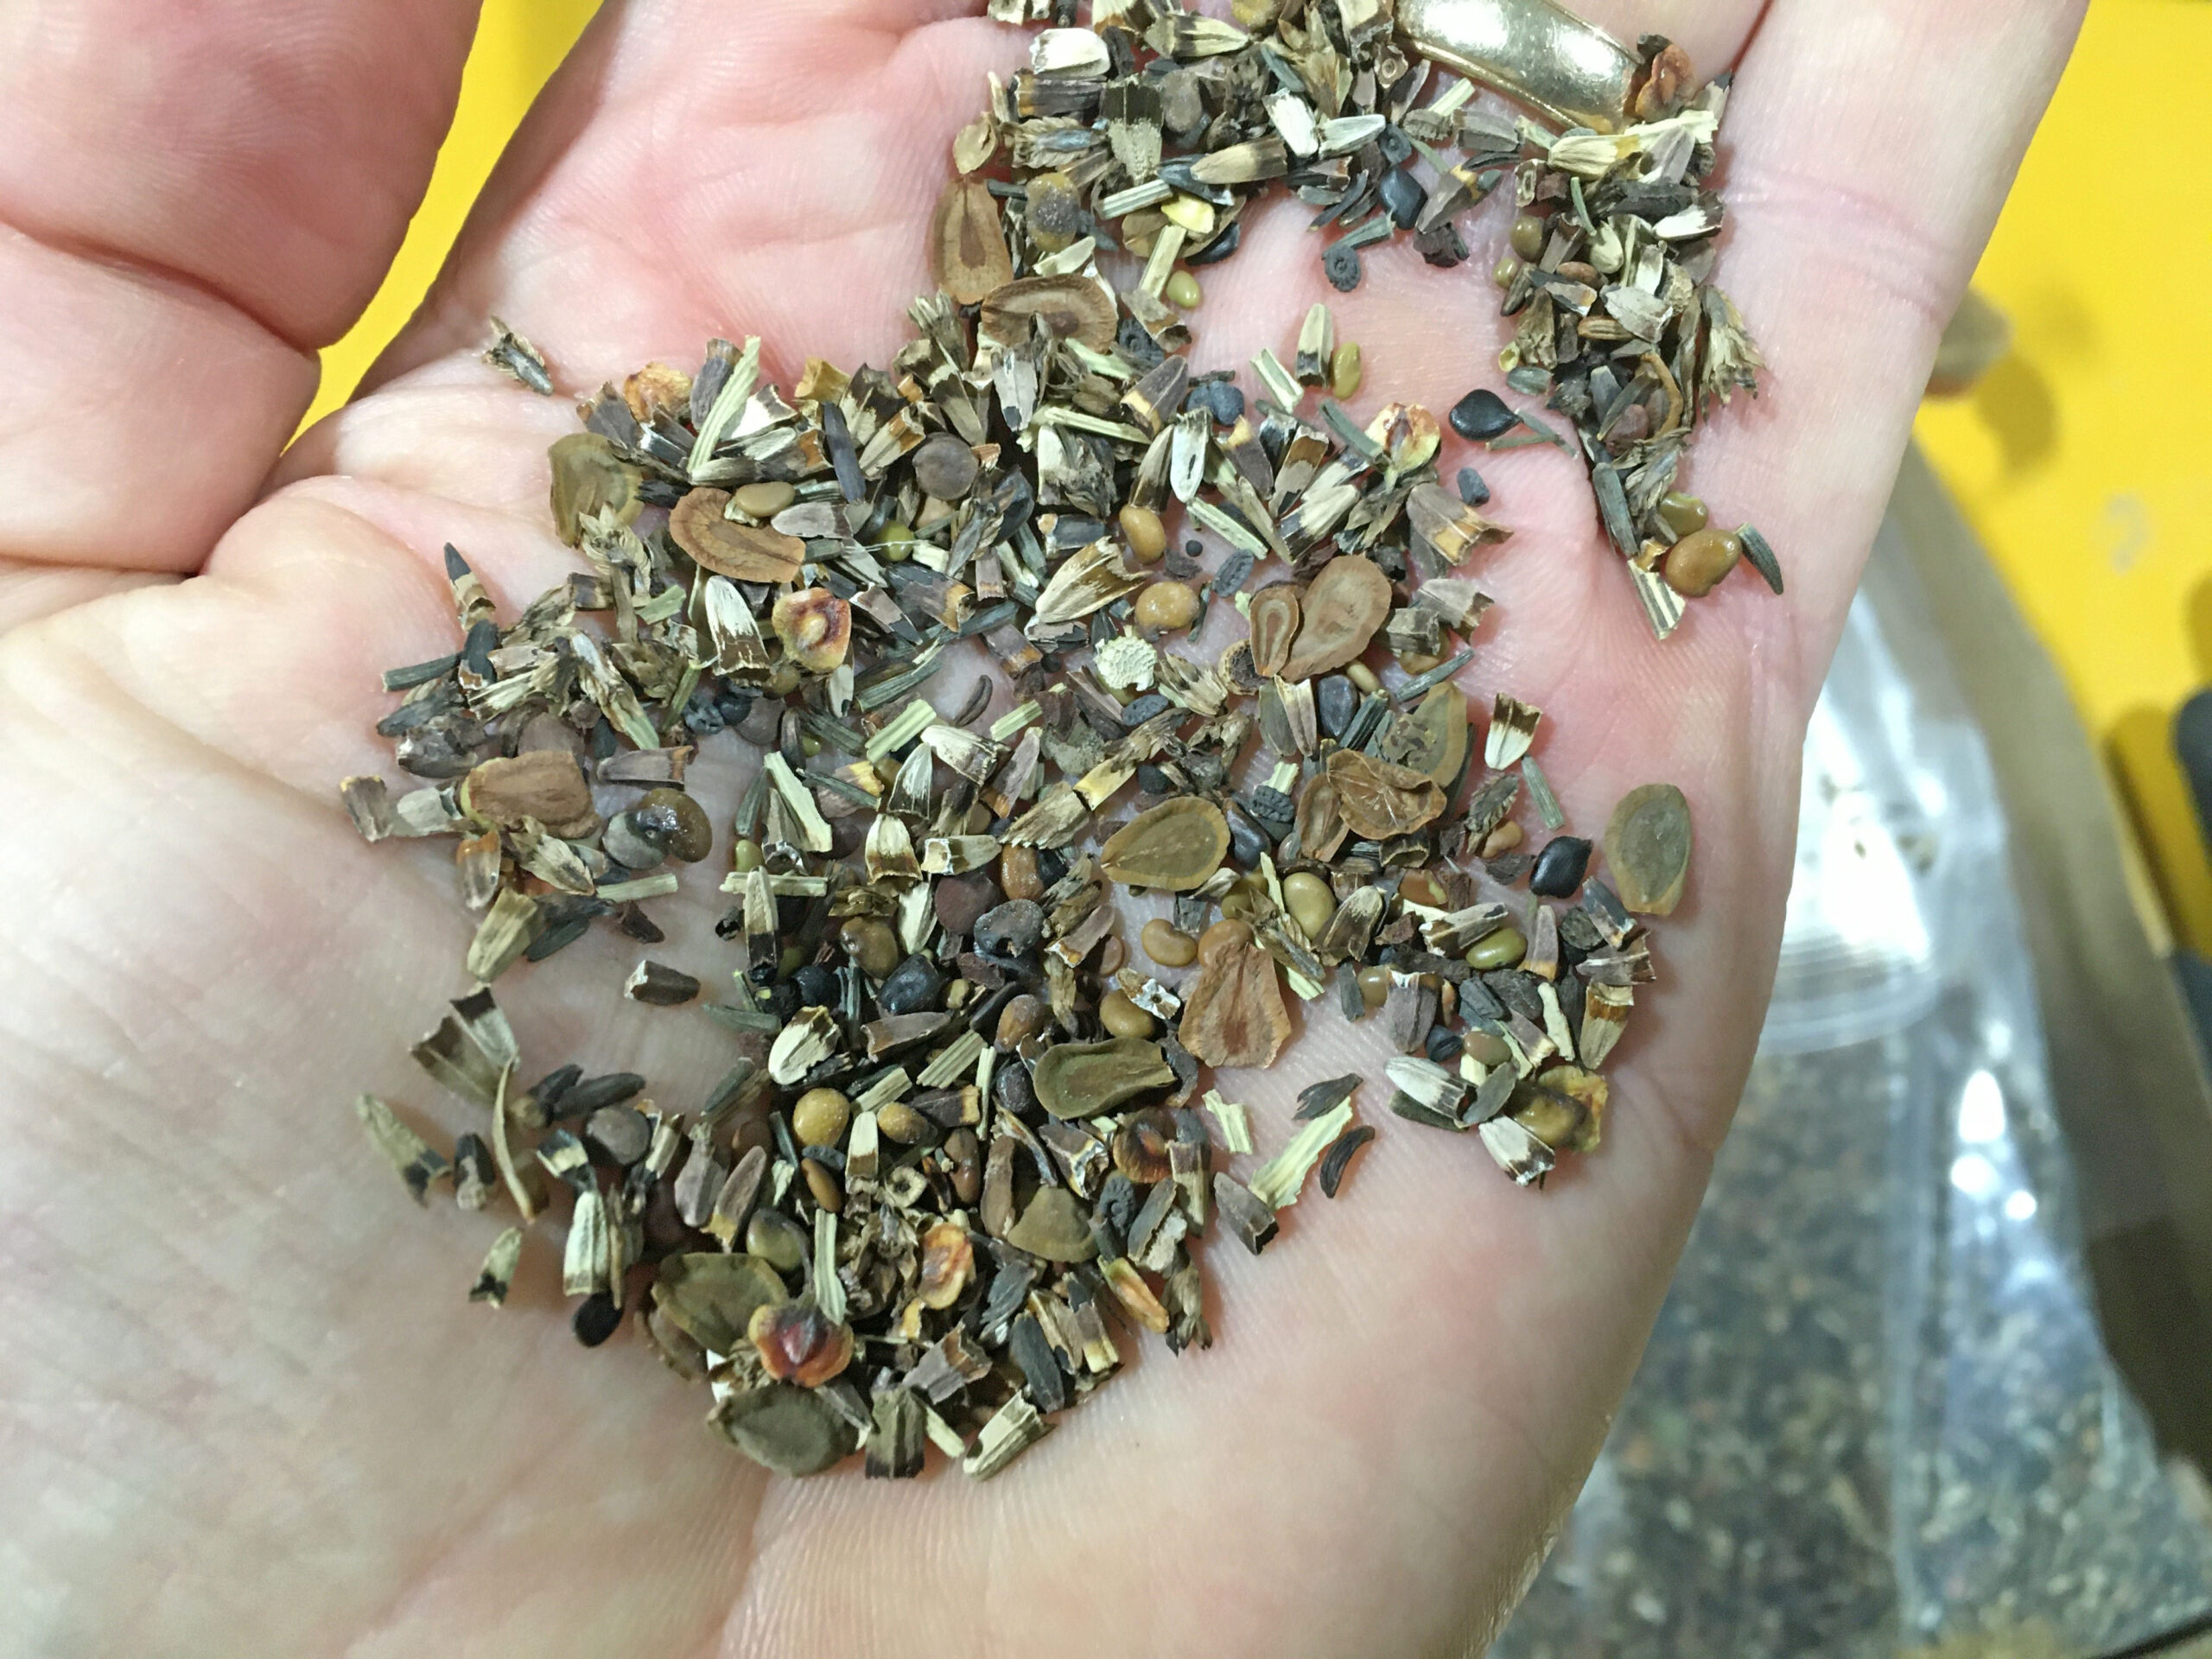
Measure your area and order a seed mixture that matches your site. A good seed mix ratio of wildflower to grass is 70% wildflowers to 30% grasses. Grasses tend to dominate over time, so this ratio will give the wildflowers a good start. We typically spread seed in November and December after the soil temperature has dropped enough to discourage germination. The natural freeze/thaw of the ground will work the seeds down into the soil to the proper depth for germination next spring. 

This is the seed mix we established along our newly renovated path.
Sidewalk edge planting: We mixed some sand with the seed mix to make it easier to distribute. We then let the natural freeze/thaw of the soil plant the seed for us through the winter. Germination occurred the following spring when soil temperatures rose above 60 degrees.

Trim

Now is a great time to trim back perennials that have become unruly. Perennial and grasses that are encroaching sidewalks, paths, and structures can be sheared back to size. If this is a problem every year, you may consider moving the taller plants to another spot. Plants can be divided next February or March before they start to actively grow. 

Low hanging branches from trees can also be pruned. It is getting late in the season to do much pruning on shrubs. New growth may not have enough time to get hardened off before cooler/colder weather.  If a branch or shoot is in the way, then prune it, but prune sooner rather than later. If you can wait until the shrub goes dormant this fall, then wait. 

As a general rule, early spring flowering shrubs such as forsythia, lilac and spirea should be pruned right after they are done blooming since they bloom on the previous year’s growth. Pruning right after blooming will allow the shrub to grow and develop a new set of buds for the next spring. 

A large compass plant that needs to be trimmed away from the path.

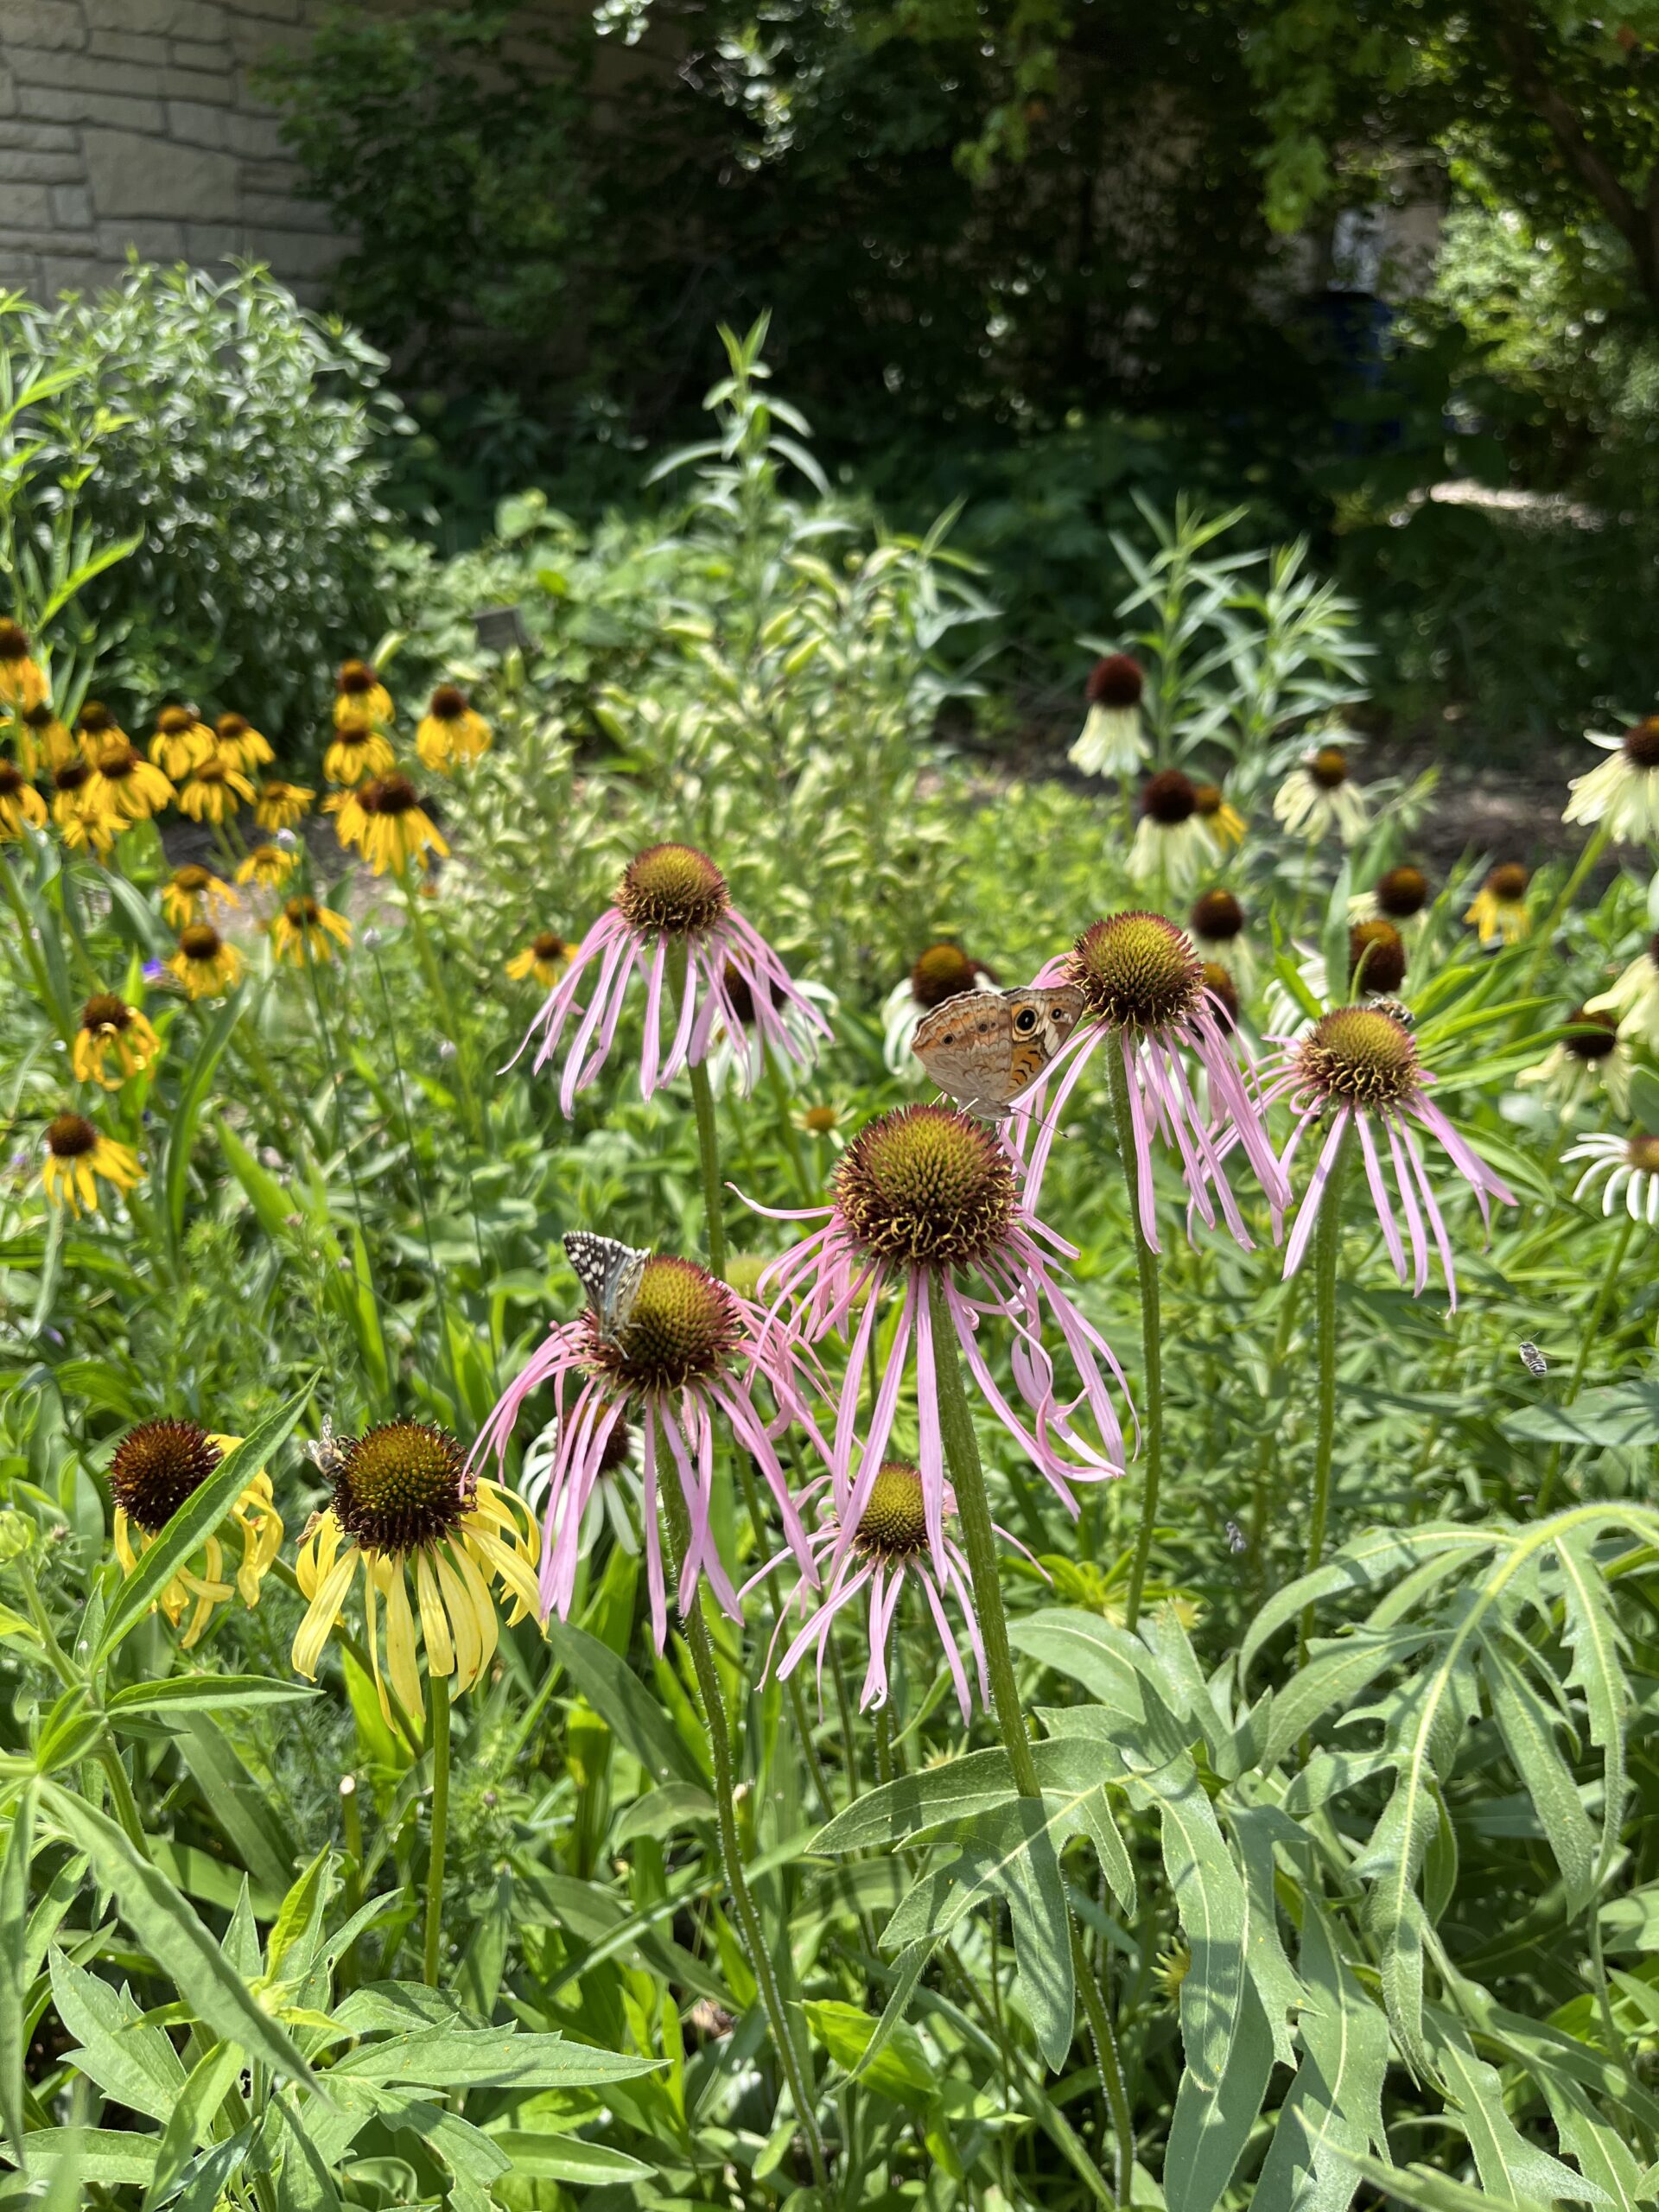
Finally, remember “WHY” you are gardening; creating habitat, conserving water, aesthetics, attracting pollinators, attracting birds and other wildlife or curb appeal. Let your “WHY” reinvigorate you to take care of a few extra tasks that will give your landscape a boost. Don’t sweat the small stuff and don’t forget to step back to enjoy what you are trying to create. If it is all work and no enjoyment, then what is the point.

Pale purple coneflower with a common buckeye butterfly. Fun to watch!

Solarization for Weed Control

At our Native Plant School sessions, the topic of weed control often comes up. When establishing new beds or planting buffalograss, eradicating weeds prior to planting is critical for success.  Hand weeding can be time consuming on these larger areas. Often we first use chemicals to control difficult weeds in our landscapes and garden areas without thinking about other options or ramifications of the chemicals we use. Solarization is another technique you can use without reaching for the chemicals to control problem weeds.  

What is solarization?

Solarization is the process of covering an area with clear plastic to heat the soil and kill weeds and seeds in the top six inches of soil. If done properly, the use of chemicals to control weeds is not necessary. 

File:SOIL SOLARIZATION.jpg
https://commons.wikimedia.org/wiki/File:SOIL_SOLARIZATION.jpg

What weeds can be controlled? 

Solarization can be an effective method of controlling many weeds such as bermudagrass, bindweed and other annual weeds. Keep in mind that some of these weeds have extensive root systems and many re-sprout, even after being subjected to super high temperatures.  It may take several solarization attempts to completely eliminate them from the area.  In the end, it may take a few more months before you are ready to plant, but you have not used chemicals to control these problem weeds. 

Steps to Solarization

  • It is best to use this method during the longest, hottest days of summer.  The goal is to get soil temperatures under the plastic above 140 degrees.  It is easier to reach these temperatures in June through August. 
  • This is a process that will last for a couple months.  Plan ahead in your planting schedule so solarization has enough time to work.  Some of the more aggressive weeds will not be eliminated in just a few weeks. 
  • It is best to remove existing growth and lightly till the entire area.
  • Remove stalks and debris that will puncture the plastic.
  • Rake the area smooth.  It is critical that the area is completely flat so plastic lays right on the soil with no air pockets. 
  • Irrigate the entire area so it conducts heat better.  The soil should be moist to 12 inches deep, but not muddy.  This is a real trick in clay soils.  This is a critical step in the process, because it is not recommended to re-irrigate after the solarization process has started.
  • Dig a 8-12 inch trench around the solarization area.   
  • Lay one entire piece of plastic over the area and tuck the edges into the trench you just dug. 
  • Cover the edges of plastic in the trench with soil, pulling plastic tight as you move across the whole area.  This makes a good seal around the entire site.       

Soil Solarization Illustration by W. Suckow, ucanr
Source: W. Suckow, ucanr.edu

Solarization incorporates the same principles of a hot compost pile to kill weed seeds and break down organic matter.  We have used this technique in smaller areas here at the Arboretum from time to time with mixed results.  Some have been very successful, but others have not completely eliminated some of the target weeds.  Smaller areas have had better results than larger areas especially when dealing with aggressive weeds like Bermudagrass. 

In the end, I think solarization should have a place in your weed control options. It is a nice alternative to using chemicals. Give it a try sometime.

Problem Weeds: Best Management Practices

The problem with weeds is that they grow so well.  If only the plants I love would flourish like the weeds in my yard do.  Weeds can take the fun out of gardening, and during years with so much moisture, like 2016, they spread like a wildfire.

Here are some weeds we are waging war against in our perennial gardens.  The difficulty is that every weed seems to require a different control measure.  The common themes are that these weeds demand immediate eradication or ruthless elimination.  As soon as you see them, spray, pull, hoe, or dig them out.  These weeds can be relentless and you need to remove them from your garden as if you were trying to remove the plague.

Bindweed

I was at the state fair this weekend and stopped by the noxious weed booth.  (Don’t judge me because I am a plant geek.)  The thing that struck me was the display of how much one bindweed seed can grow in one year.  It’s amazing that it was able to produce so many new plants and that the roots could grow 30 feet deep.  No wonder it is so hard to get rid of in a garden.

IMG_0764

Obviously, the best time to eradicate bindweed is before you plant.  I spray the area with Roundup™ several times starting in July and August.  Anytime we see green, the area is sprayed.  This is the best time to spray because the plant is moving energy from the leaves into the roots for winter storage.  The chemical is also moved throughout the extensive root system, killing even those deep roots.  On the other hand, spring is not a good time to spray bindweed, because the plant is moving everything from the roots upward to produce new growth.  If you spray at that time, you will not kill the roots.  Make sure it is completely gone before planting.  Trust me, it is worth waiting to plant until this weed is removed permanently.

We have had limited success controlling bindweed by solarizing an area with clear plastic.  This process starts by laying a clear tarp on the soil surface and anchoring the edges with soil or bricks and leaving it in place for several months.  The problem with this method is that it kills the surface roots, but does nothing to the deep roots that will sprout after the plastic is removed.  The plant may be weakened but not completely eliminated.

Small patches can be hand pulled but you have to stay on it.  Every sprig that pops up must be pulled immediately.  We have also had limited success with hand painting the leaves with Round-up.  Again, every new plant must be found and painted.  Essentially, you have to be as ruthless and relentless as this weed is to completely remove it from your garden.  I thank my ancestors for bringing this over to America with their wheat seed.

Bermuda grass

This perennial grass is a problem because of its vigorous creeping habit.  The plant spreads by seeds and by above and below ground stems that can take over a garden in one season.  It is drought tolerant and thrives with neglect.

Like bindweed, bermudagrass is best removed before planting (same as bindweed).  If you have it growing next to your gardens, a buffer must be maintained between the perennial display and the lawn area.  This buffer can be sprayed every few weeks with Roundup™ to burn back any new runners toward the garden.  Raised beds are another defense against bermuda grass.  Don’t blow bermuda grass clippings into your gardens.

People have had success with solarizing their area before planting, because the roots are not as deep as bindweed.  Another method requires mowing the area closely.  Next, put down a layer of thick cardboard making sure to leave no gaps.  Next, spread a layer of leaves at least 6 inches deep.  As time goes on make sure no plants emerge through the leaves.  The area can be planted in 6-8 weeks by cutting small holes through the cardboard.

IMG_0771

IMG_0769

Nutsedge

This weed loves our mulched beds.  The yellow nutsedge and purple nutsedge spread quickly in areas with little or no competition, garden areas that are regularly watered and poorly drained, rich soil.

This problem weed has triangular grass-like leaves and forms a colony if left unchecked.  Nutsedges produce underground tubers, and runners that make it difficult to pull out of the ground.  Each of these can produce another plant if not completely removed.  Again, you need to relentlessly pull the plants every time a new plant emerges.  It is most active in May through October.

We have had more success spraying nutsedge.  We use Manage™ (Sledgehammer) herbicide.  It is a selective herbicide that only kills nut sedge.  It can be sprayed in close proximity to other perennials, shrubs and trees.  It takes a few weeks for the plants to show decline, but Manage™ kills the whole plant including the runners and tubers.

IMG_0766

“Weeds” are plants out of place.  Some of us have more plants out of place than others, but we all can have success in controlling them.  It takes time.  It takes persistence.  It takes endurance to ultimately get these weeds controlled.  If you have them, I am sorry.  If they are out of control, you will need to evaluate whether it is easier to start over or systematically begin to remove these weeds.  It can be done.  Hang in there, but be as unrelenting as the weeds.  I wish I had better news. As they say on the Red Green Show, “We are all in this together. I am pulling for you.”