Is Your Gumbo Soil Making You Sing the Blues?

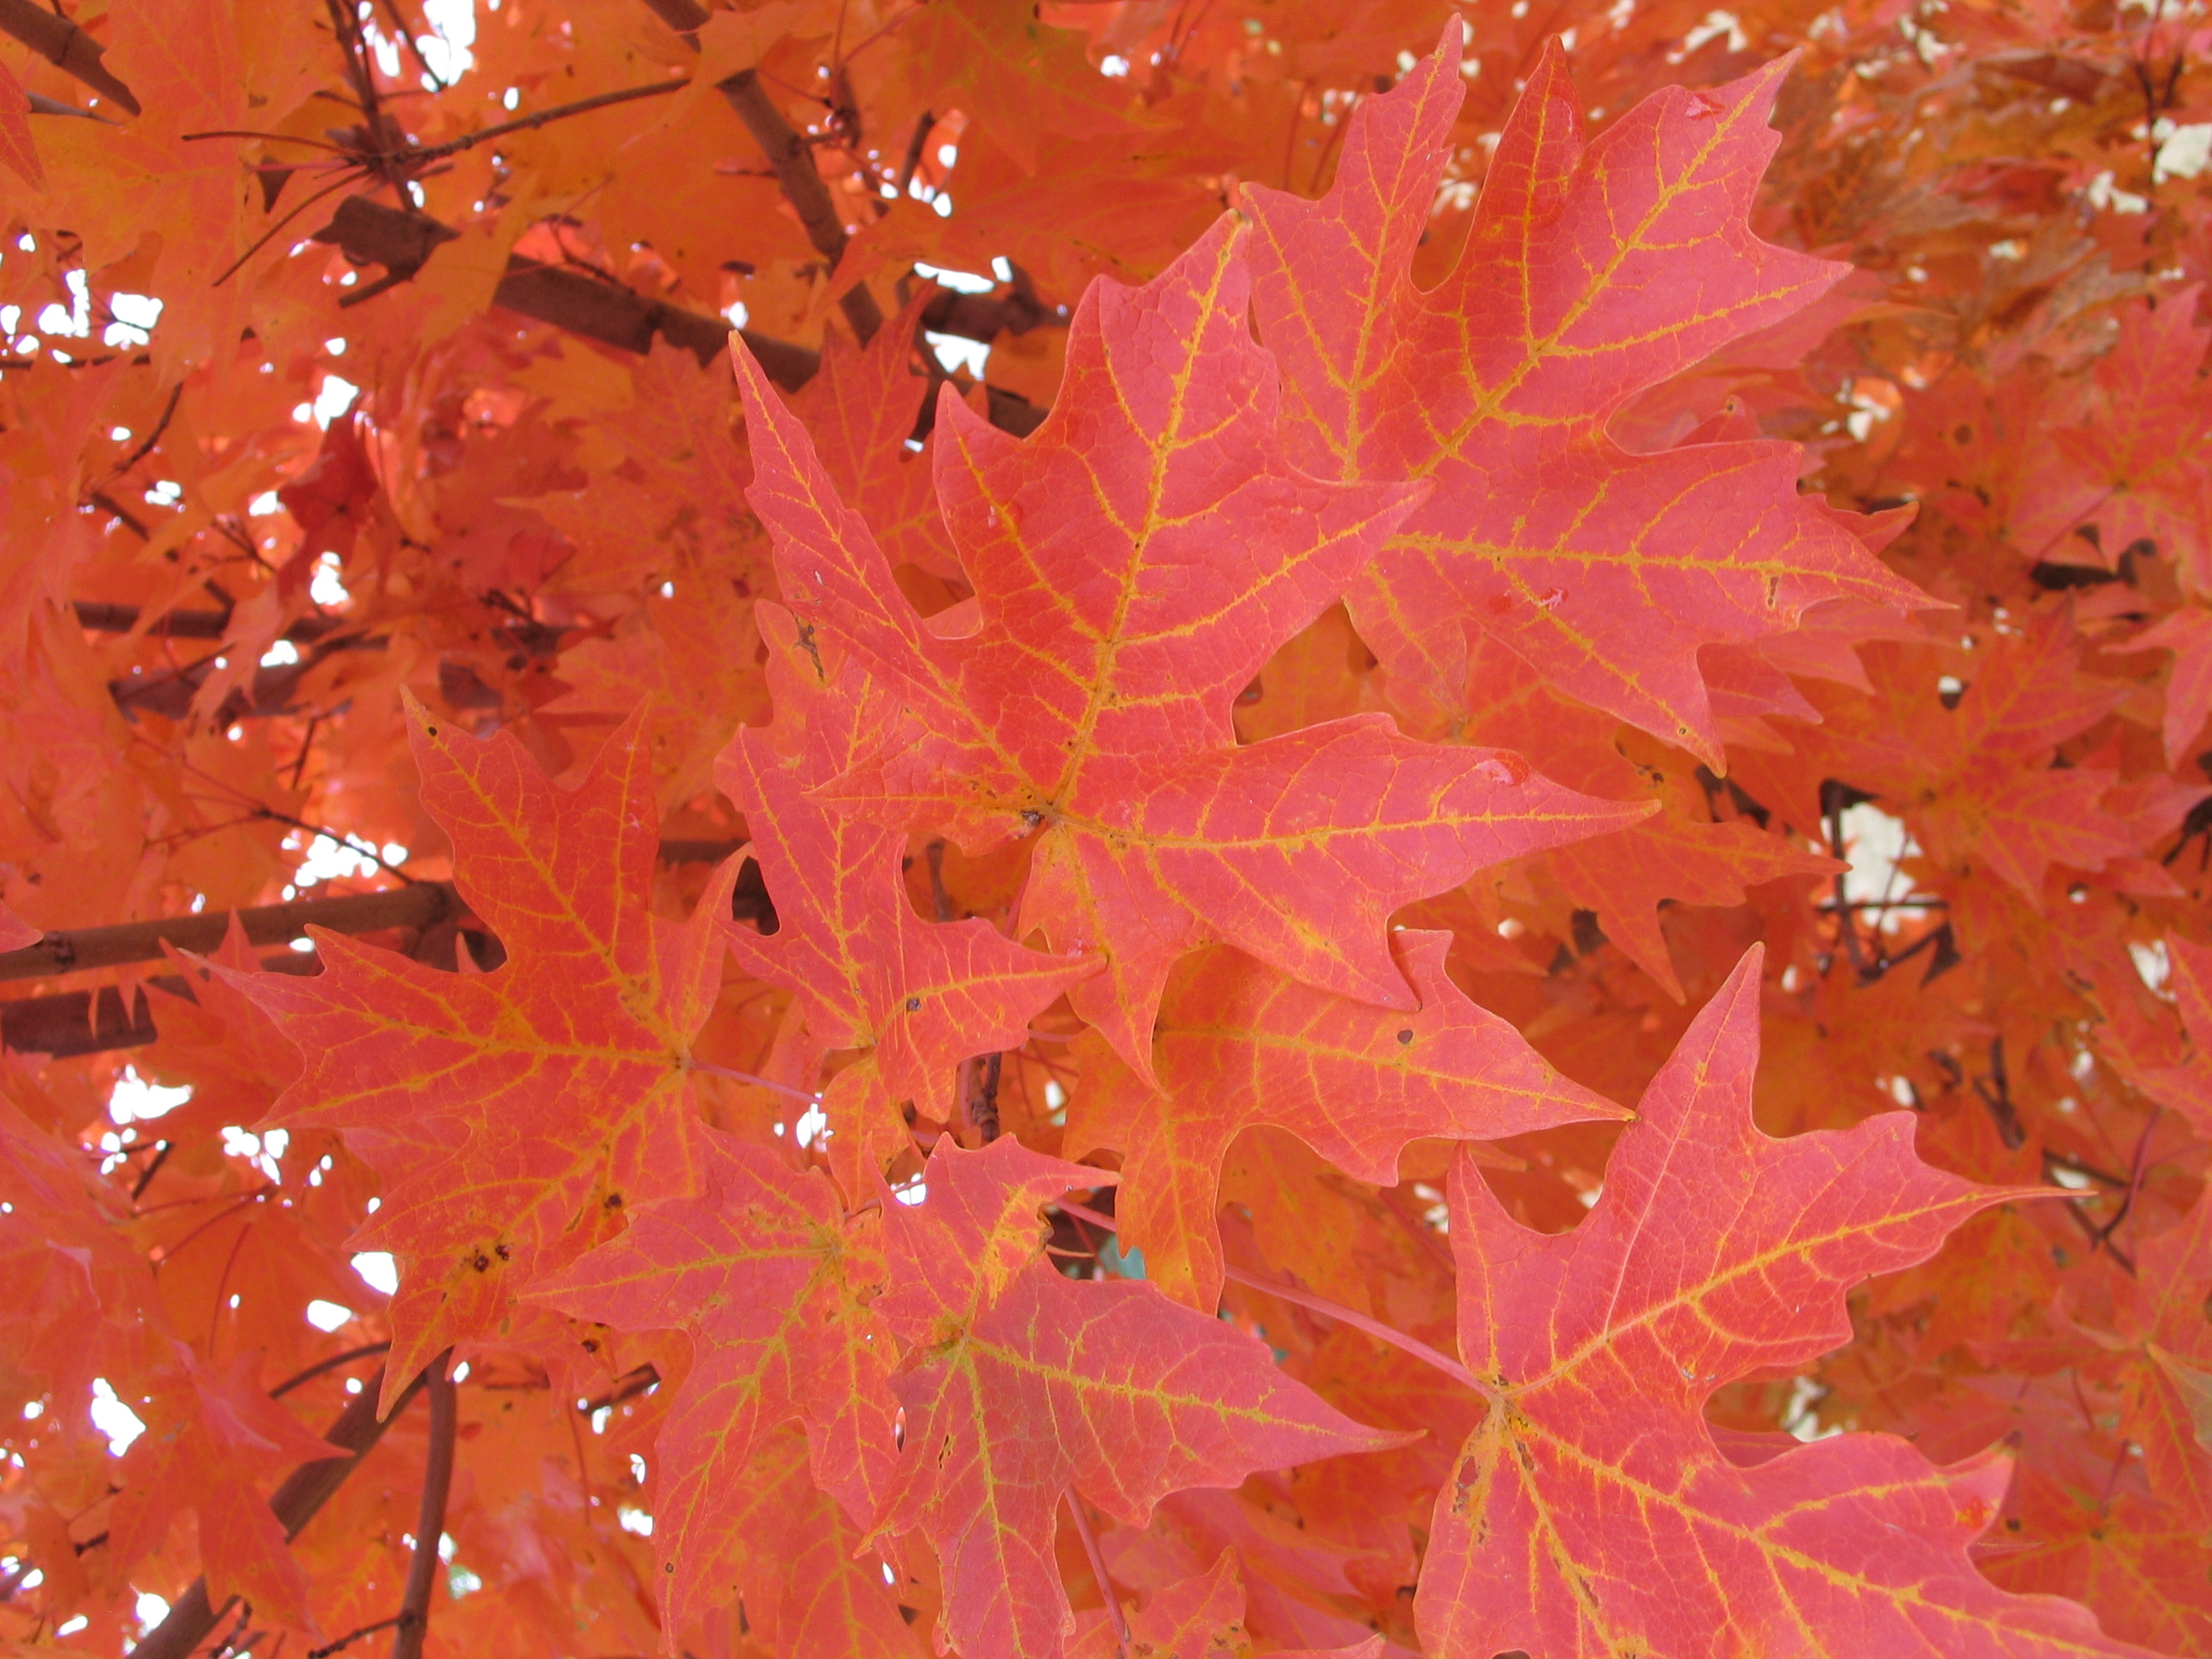
Our soil here in Kansas is gumbo.  Not the delicious soup, but heavy clay.  It is clay all the time and all the time it is clay.  I have tried to describe it to others, but it needs to be experienced.  They may say they have something similar, but for us who endure it and garden in it and curse it, it is exasperating.  Unbelievable, really.

Clay soil is often too wet or too dry.  When wet, it sticks to your shoes and tools like a leach.  Every step you take makes you one inch taller.  When dry, it is like concrete, impenetrable, and cracks wide open.

Do you ever feel like you need one of these to work in your clay soil?

Do you ever feel like you need one of these to work in your clay soil?

I had a gentleman from Ohio work with me one spring.  Every morning with anticipation I awaited his next derogatory comment about our clay soils.  He really grew to dislike it and even questioned my sanity for trying to garden in it.  “I have never seen anything like it!” he said.  He was so ready to go back home to his beautiful Midwestern soil.

Our soil is amazing stuff – no doubt – and it presents challenges for growing plants. But let’s take a look at some of the pros and cons of clay soil.

Positives of clay soils (Yes. There are a few.)

  • It holds water well – The fine particles are porous retaining water and holding it tightly.
  • It holds nutrients well – The tiny particles are negatively charged attracting many positive elements like phosphorus, potassium and other minor nutrients.

Negatives of clay soils

  • Low water infiltration rate (usually one inch per hour)
  • Shrinks and swells with moisture
  • Keeps root zone wet for prolonged periods, which is problematic for drought-tolerant native plants
  • Slow to warm in the spring
  • Compacts easily when worked wet
  • Often so tight that plant roots cannot grow

Tips for improving clay soils

So, do we have any hope of improving our clay soil? It can be done, but will require some work.

  • Organic matter, organic matter and more organic matter is what it will take to improve your soil.  Put down at least six to eight inches of organic matter on the entire area you want to enhance.  Organic matter can include shredded leaves, compost, grass clippings or aged manure.
  • Next, you must till the organic matter into the soil to a depth of at least six inches or deeper.  Keep in mind that the deeper you go the more benefit to the soil you will realize.
  • When complete, the bed will be built up several inches.  Not to worry, it will settle over time as the organic matter continues to break down and melt into the clay.  It will take several seasons to fully accomplish the desired result which is a soil that is manageable.
  • Add organic matter on an annual basis for a garden or initially when establishing a new display bed.
Planting Shrubs in our Prairie Window Project

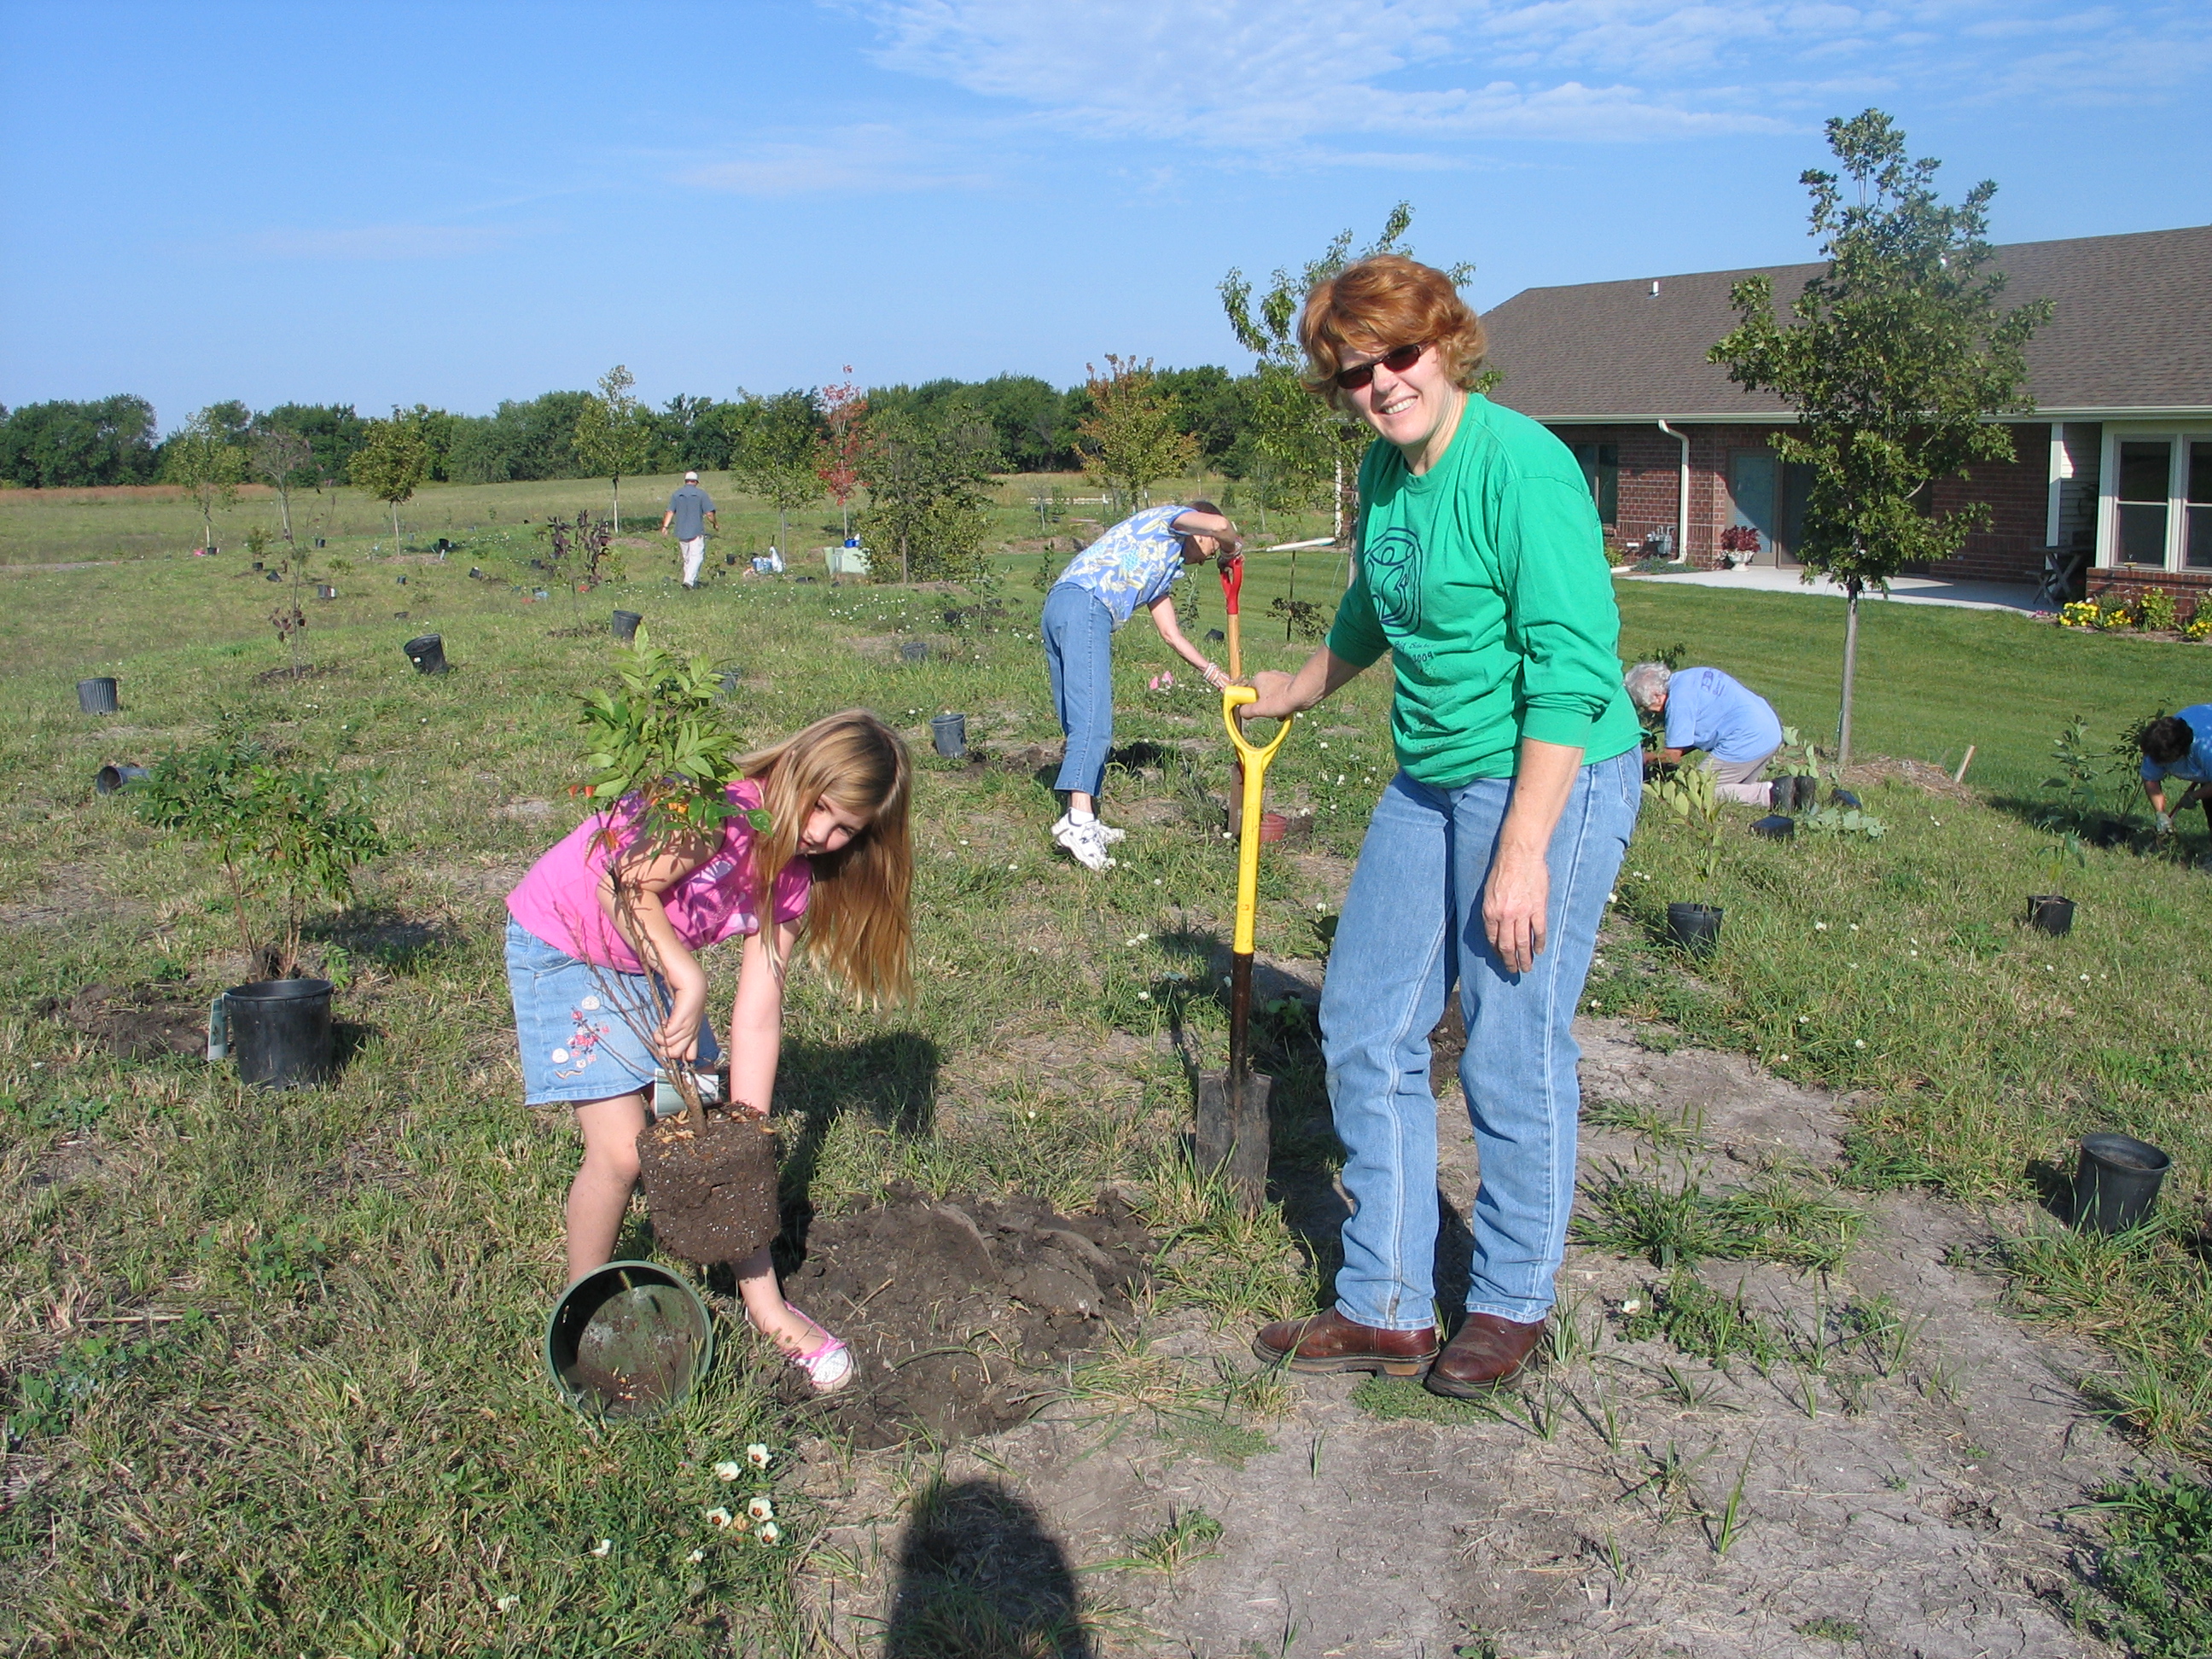
Volunteers planting shrubs in our Prairie Window Project.

It is very difficult to improve an established bed.  Adding mulch will improve it over time as the mulch begins to decompose.  Any new plants that are established can benefit by digging a hole at least twice as big as needed and incorporating compost and existing soil together as you back fill around the root ball.  Don’t just put compost around the roots as you back fill, because it will discourage the plant from rooting out into your gumbo soil.  It is essentially like repotting the plant in the soil.  The roots will only grow in the loose compost.

You will be rewarded for your efforts.  Even a little compost mixed with your gumbo will improve your soil.  Mulch it with two to three inches of mulch and over time you will develop a soil where plants thrive.  Don’t let your soil get the best of you.


What to Do with Those Leaves, Leaves, Leaves.

The other day I was driving through town and really noticed the changing leaves for the first time this fall.  They are looking particularly colorful this year.  The Maple tree varieties like ‘John Pair’, ‘Autumn Splendor’, ‘Table Rock’ and Oaks like Red Oak and Shingle Oak put on quite a show.  My favorite tree at the arboretum is the Sugar Maple called ‘Table Rock’.  It has consistent orange-red fall color.


Table Rock Maple

Table Rock Maple


These leaves, no matter how beautiful, will eventually fall.  Then we need to decide what to do with them.  Here at the arboretum we compost them.  Leaf compost makes excellent plant food and humus that can be incorporated into your garden or flower bed.  Leaf compost is high in valuable minerals such as nitrogen, phosphorus, magnesium, calcium and other trace elements.  Analysis shows that leaves from most trees can contain up to twice as many minerals as aged manure.


Gingko biloba

Gingko biloba, ‘Autumn Gold’


Why wouldn’t you want to make your own compost from leaves?  Good compost developed from leaves also adds organic matter to the soil.  This organic matter is great for aerating heavy clay soils or increasing water holding in sandy soils.  Take advantage of these free gifts.

Steps for composting leaves:

  1. Collect leaves. Shred them into small pieces to speed decomposition. Place leaves on the ground, which will make it easier to turn them and allow beneficial organisms such as worms to infiltrate the pile.
  2. To start your compost pile, your first layer should be several inches of leaves on the bare ground. This helps aerate the entire pile.
  3. Layer with alternating green (nitrogen rich) and brown (carbon rich) material. Green material can be grass clippings, food scraps, algae, tea bags or any nitrogen source.  These green ingredients speed the decomposition of the brown material.  Brown material can be leaves, newspaper, cardboard, sawdust, or straw.  These ingredients are generally slow to decompose and clump together.  They need time and moisture for optimum breakdown.  As a general rule, try to have one-third green and two-thirds brown.  The secret to a healthy compost pile is to maintain a working balance between these two elements.  Too much green makes a smelly, anaerobic mess.  More brown is better than too much green.
  4. Keep pile moist by either manually watering or allowing rain to infiltrate compost, but don’t go overboard.
  5. Turn the pile every few weeks. This incorporates and mixes all the elements together while aerating the pile.  If the pile is never turned, oxygen, which is an essential component in the process of decomposition, will be excluded.  Allow the compost pile to reach an internal temperature of 140-160 degrees to kill weed seeds.  If your compost pile is not reaching these temperatures, add more green material.
  6. In 4-6 months (next spring) the composting process will be complete.
Leaf House

Leaf house at the Dyck Arboretum of the Plains


If you don’t have need of fresh compost, the arboretum is willing to take your bagged leaves.  We are again filling our leaf house with our leaves, but we can take more.  Just drop your bags of leaves in the bus parking area at the arboretum.  We will take them back to the leaf house.  The leaf house is a great example of decomposition in action.