
During a typical rainstorm, water is removed from your roof through downspouts and drains. Then the water runs off your lawn, which may have been treated with pesticides and fertilizers. This water and the oily street water are collected in the gutter. All these pollutants in the water are carried into larger streams and rivers downstream.
Rain gardens address this problem at the source, your yard. Though rain gardens are relatively new in the gardening world, they gained popularity after people began to realize the benefits of capturing and holding water on their property. This water can be utilized and filtered by native plants, reducing the quantity of polluted water that ultimately reaches the drain. Rain gardens work like a sponge, holding water, filtering the water and finally allowing it to slowly percolate down into the soil.
Here are the simple steps to create your own rain garden:
Choose a proper site
The most important step in creating a rain garden is determining where the water naturally flows. You will also need to discover what type of soil you have, keeping in mind that sandy soils drain much faster than heavy clay soils. You can create a smaller rain garden in sandy soil than if you have heavy clay soil. A rain garden larger than 150 square feet will look intentional rather than plunked down in the middle of your yard. Make sure it is located at least 10 feet from the house foundation.
Determine the shape
After factoring in the existing landscape, choose a shape that adds aesthetic value to your property. I like to lay out a garden hose to visually help me determine the proper shape. It can be oval, long and narrow, kidney shaped or a combination. Decide the shape of the rain garden that will fit your existing landscape.
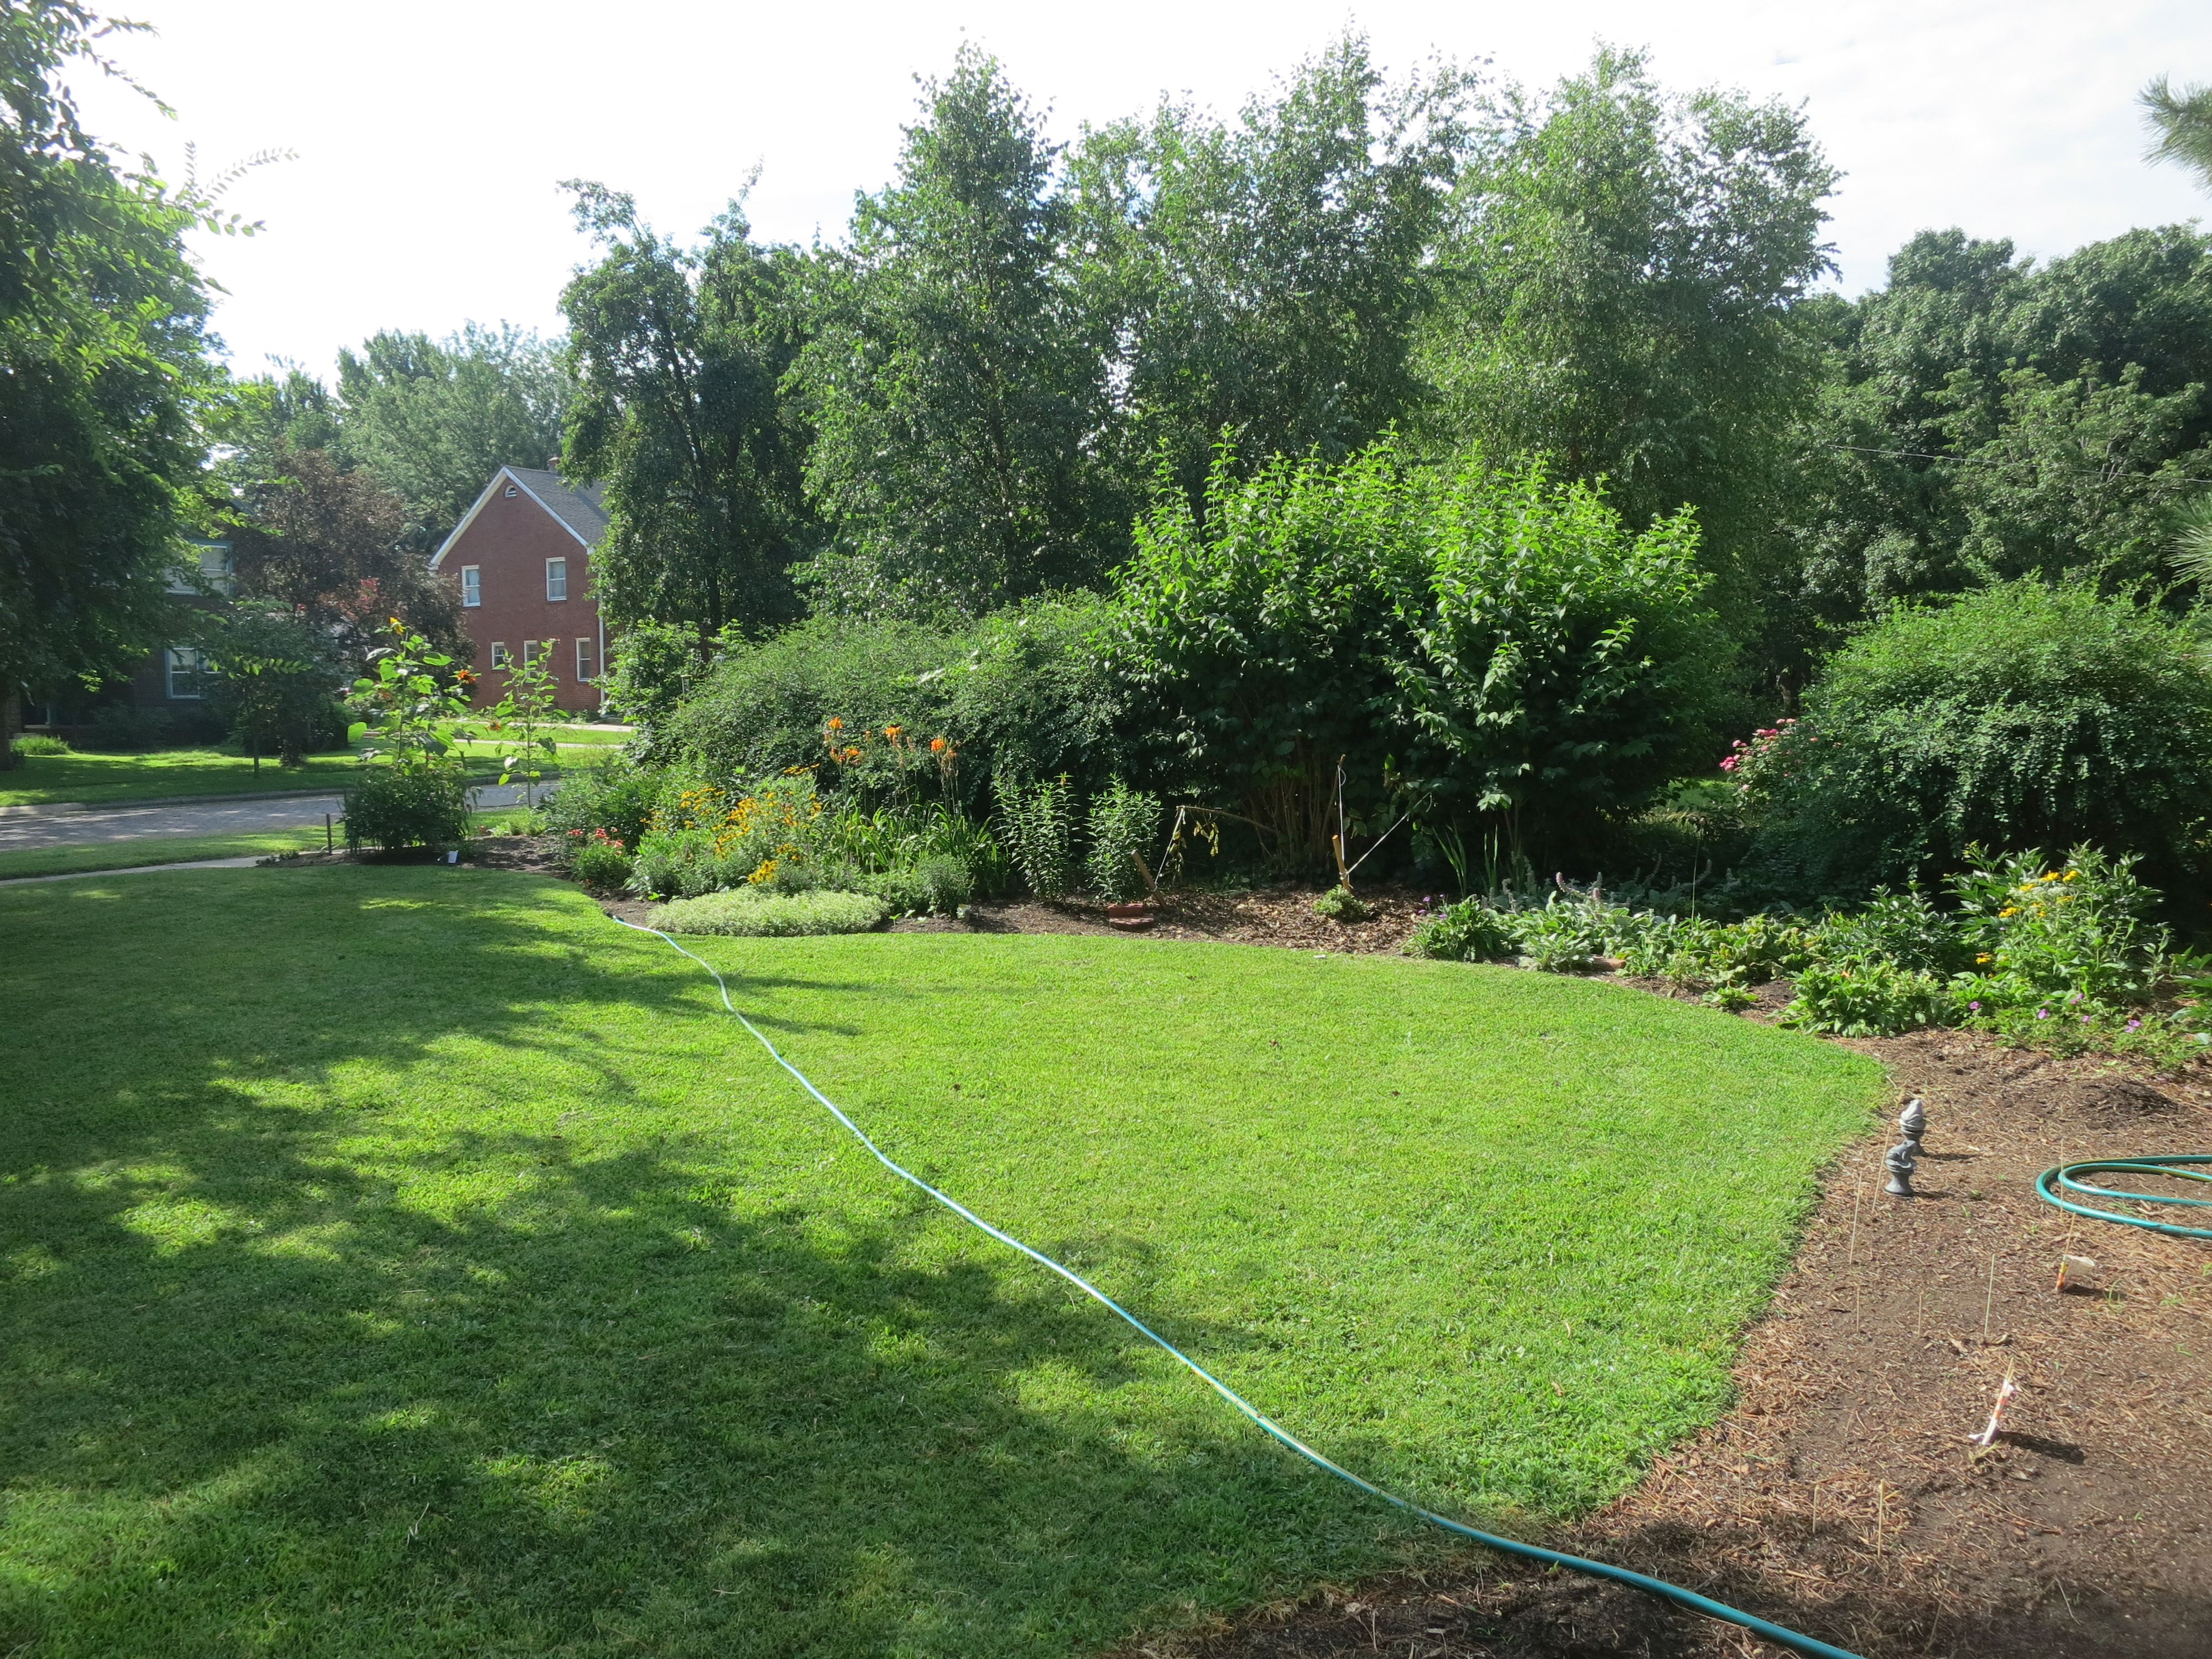
Garden hose to determine shape of garden
Dig out the rain garden basin
Before digging, make sure you won’t encounter any utility lines. Contact (800) DIG-RITE so utility lines can be marked. A typical rain garden is four to 8 inches deep. I like to create shallow drainage ditches from the downspouts to the rain garden to direct the water.
Rainwater diversion channels near the Prairie Pavilion
Choose appropriate native plants
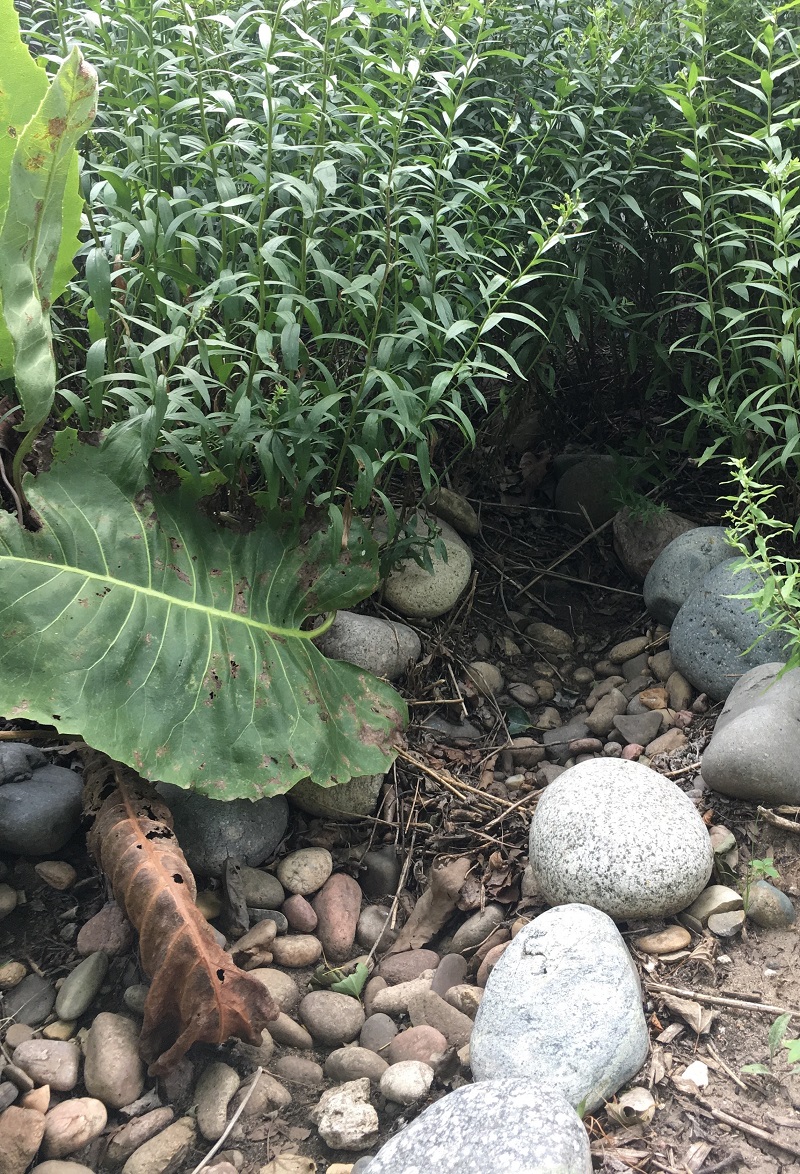
A rain garden is comprised of three zones. In the lowest zone, plant species should be selected that can tolerate short periods of standing water as well as fluctuating water levels and dry conditions. Plants like sedges and swamp milkweed grow well in this zone. In the middle zone, vegetation will need to tolerate both wet and dry conditions. And in the upper zone, along the outer edges of the berm, plants should be selected that prefer dryer conditions. Plants like little bluestem, butterfly milkweed, and coneflowers will grow well along the edges. Once established, you will only need to water your rain garden during periods of extreme drought.

Swamp milkweed, Asclepias incarnata
Mulch the garden
I like to apply one to two inches of wood mulch along the edges of the rain garden to control weeds and conserve water. I use pea gravel in the bottom and sides of the garden because the wood mulch will float away during larger rain events.
Rain gardens are not only about controlling stormwater runoff from your yard, but also creating a habitat that adds aesthetic value to your landscape. Imagine the cumulative effect a series of rain gardens will have within a community on water quality. Creating a rain garden in your yard is another simple way to have a positive impact on the environment.