Plant Profile: Eastern Redbud (Cercis canadensis)

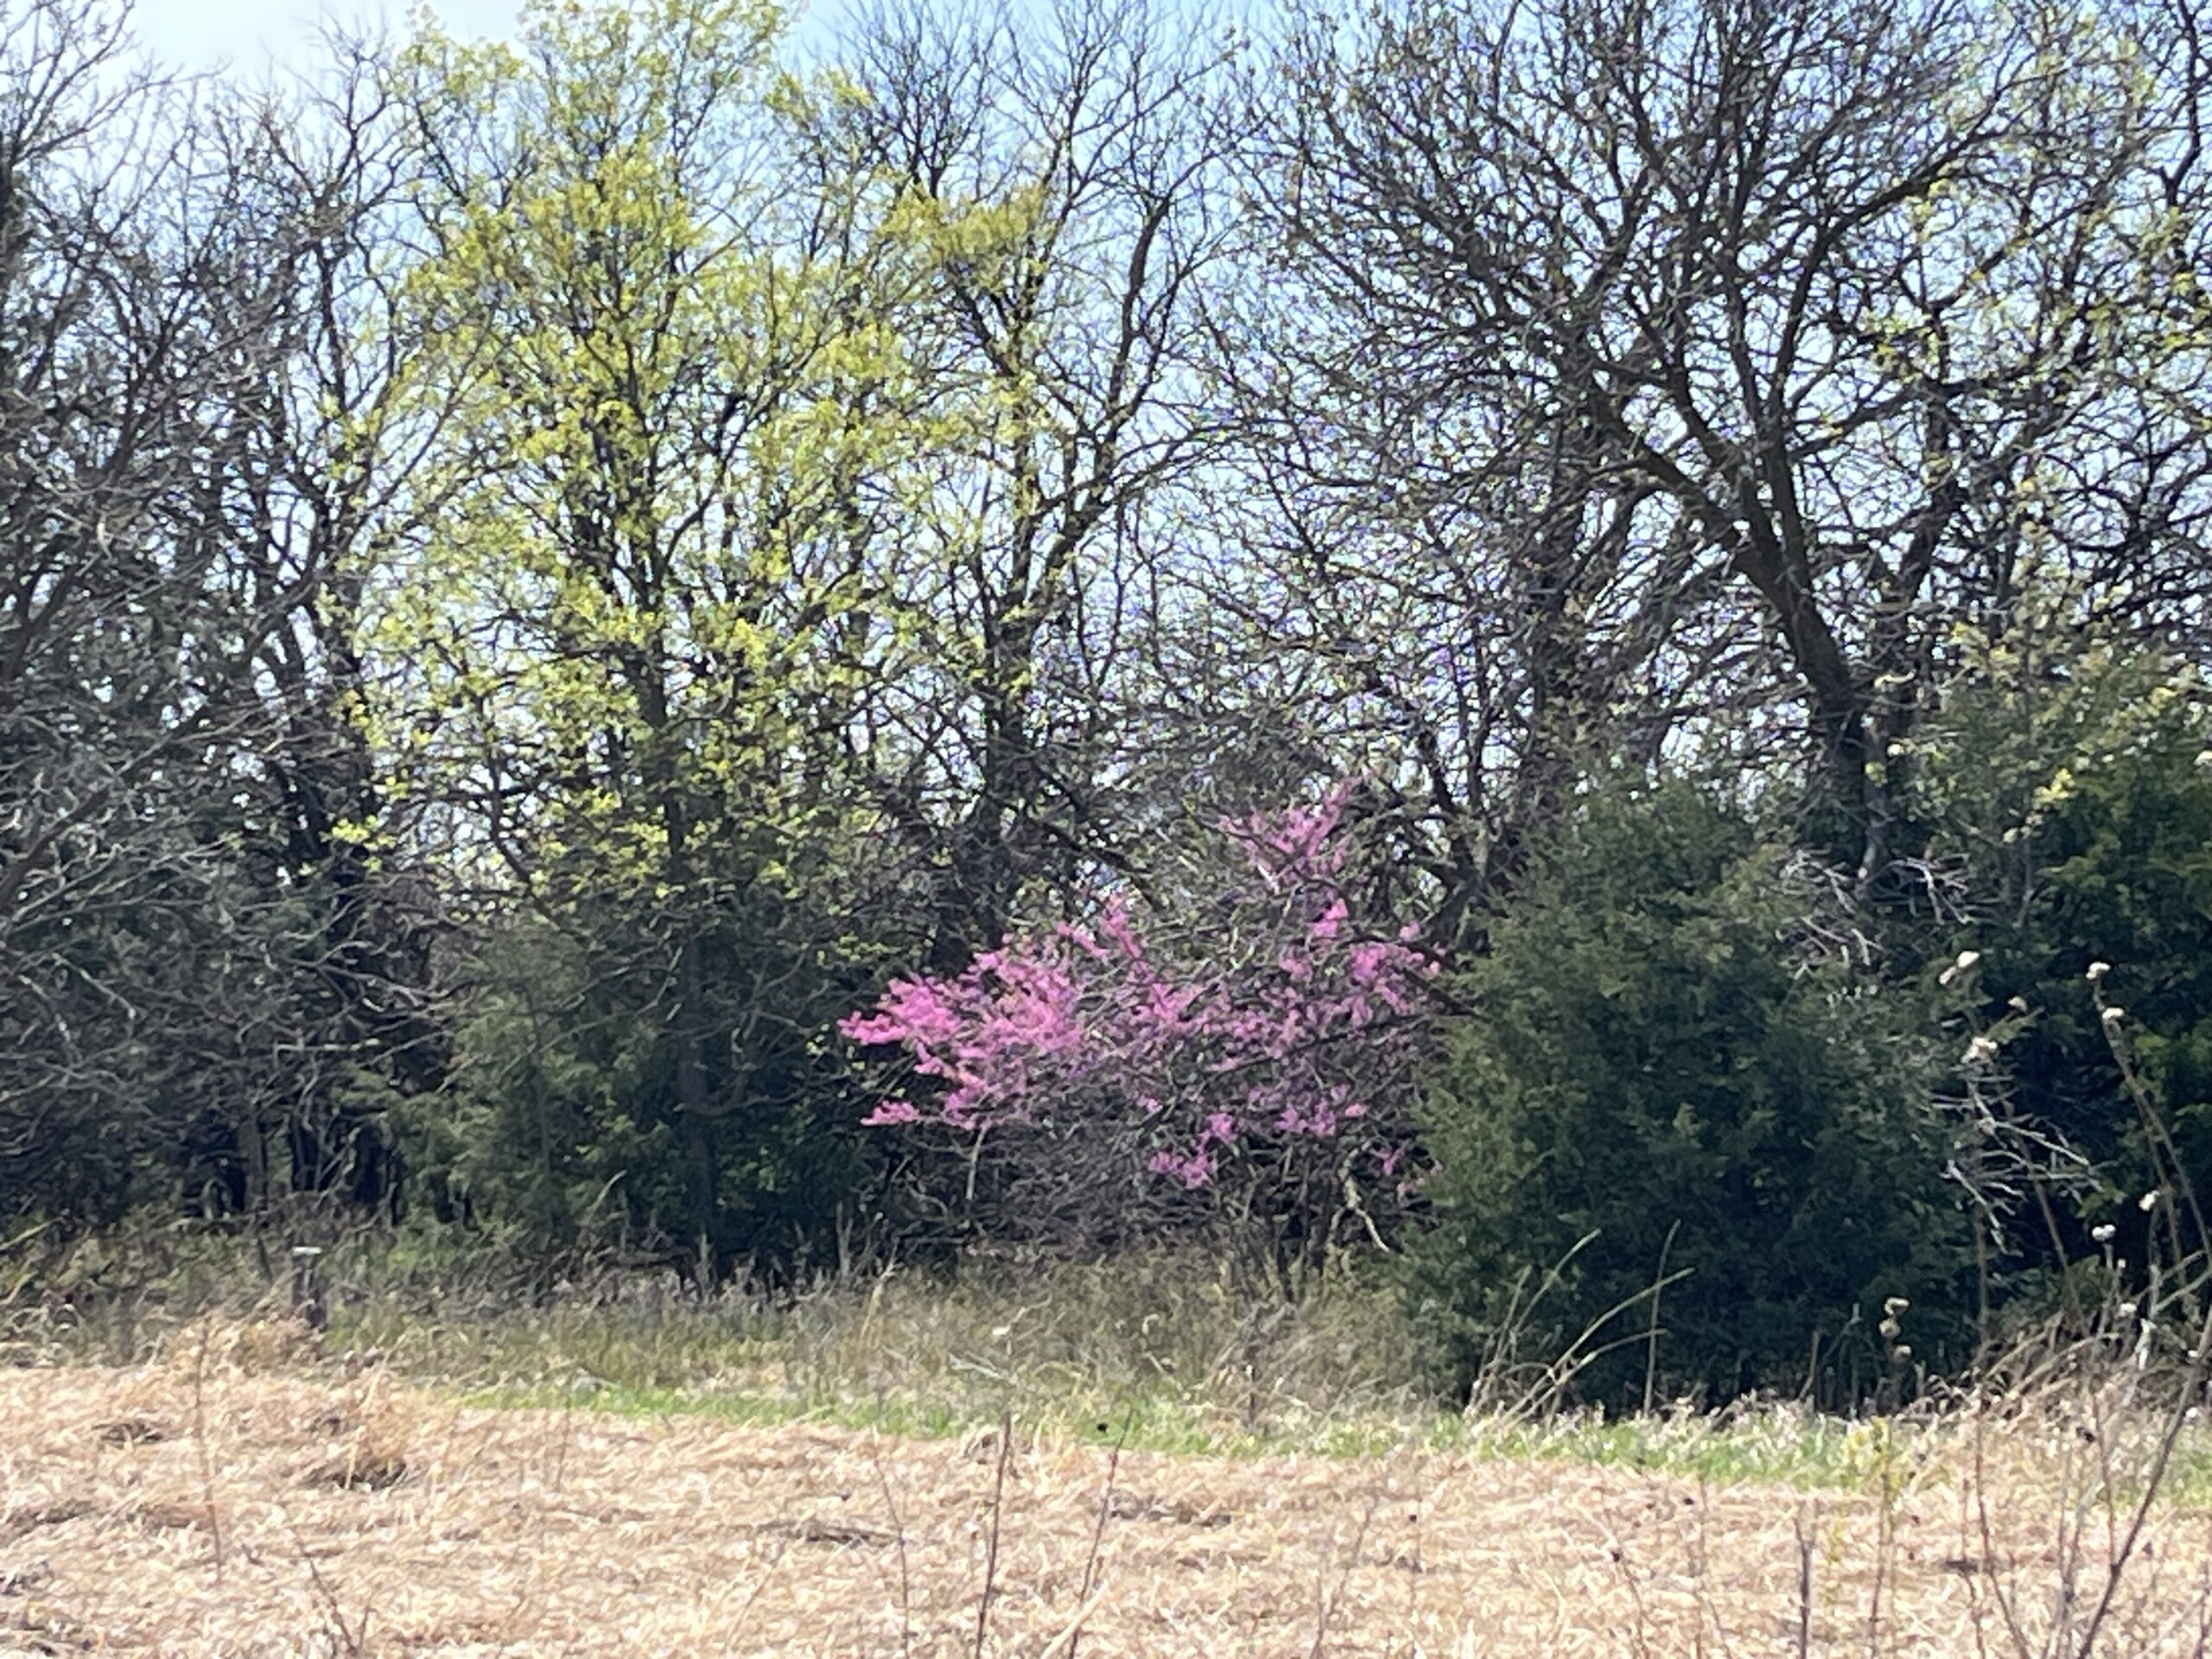
Have you noticed the redbud trees blooming this year?  They have really been putting on quite a show.  For some reason, they have really popped in the landscape this year.  Maybe it’s because they are a stark contrast to the drab landscape that is slowly coming to life. Or maybe it’s because they are a native alternative to the ubiquitous and noxious Callery pear trees that are spreading everywhere. Anyway, take some time to admire this small native ornamental tree. 

Benefits of Redbuds

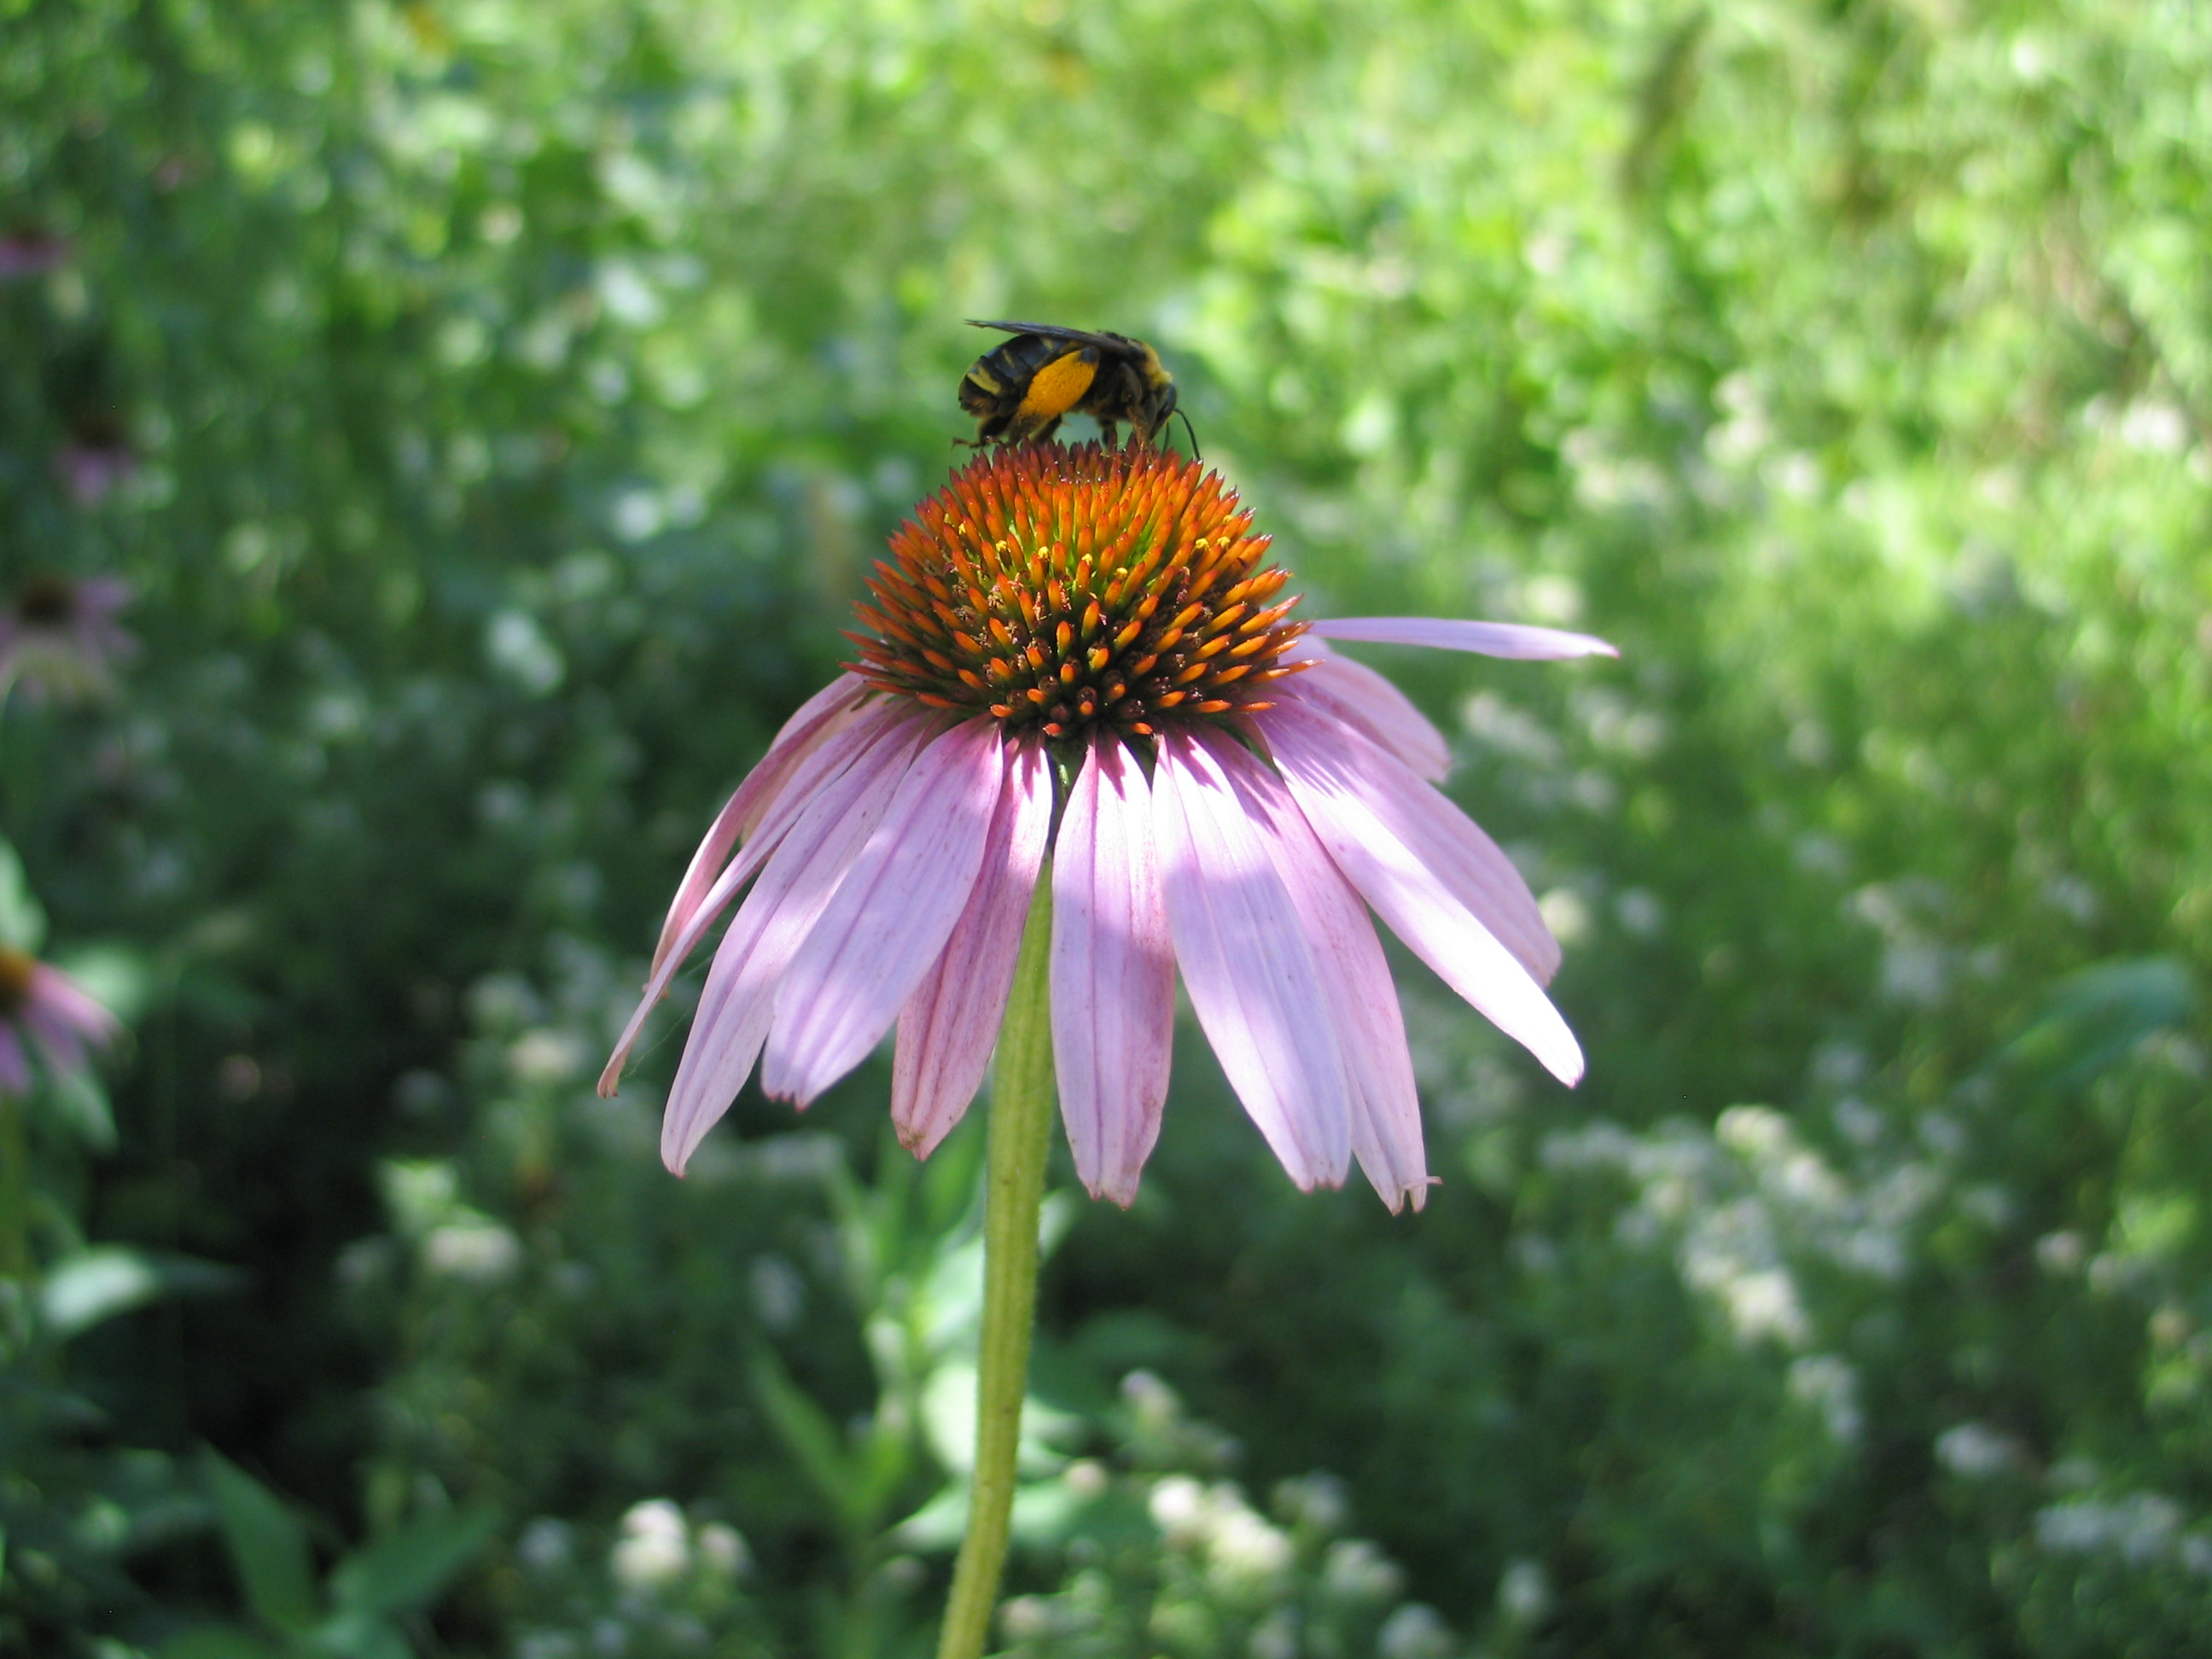
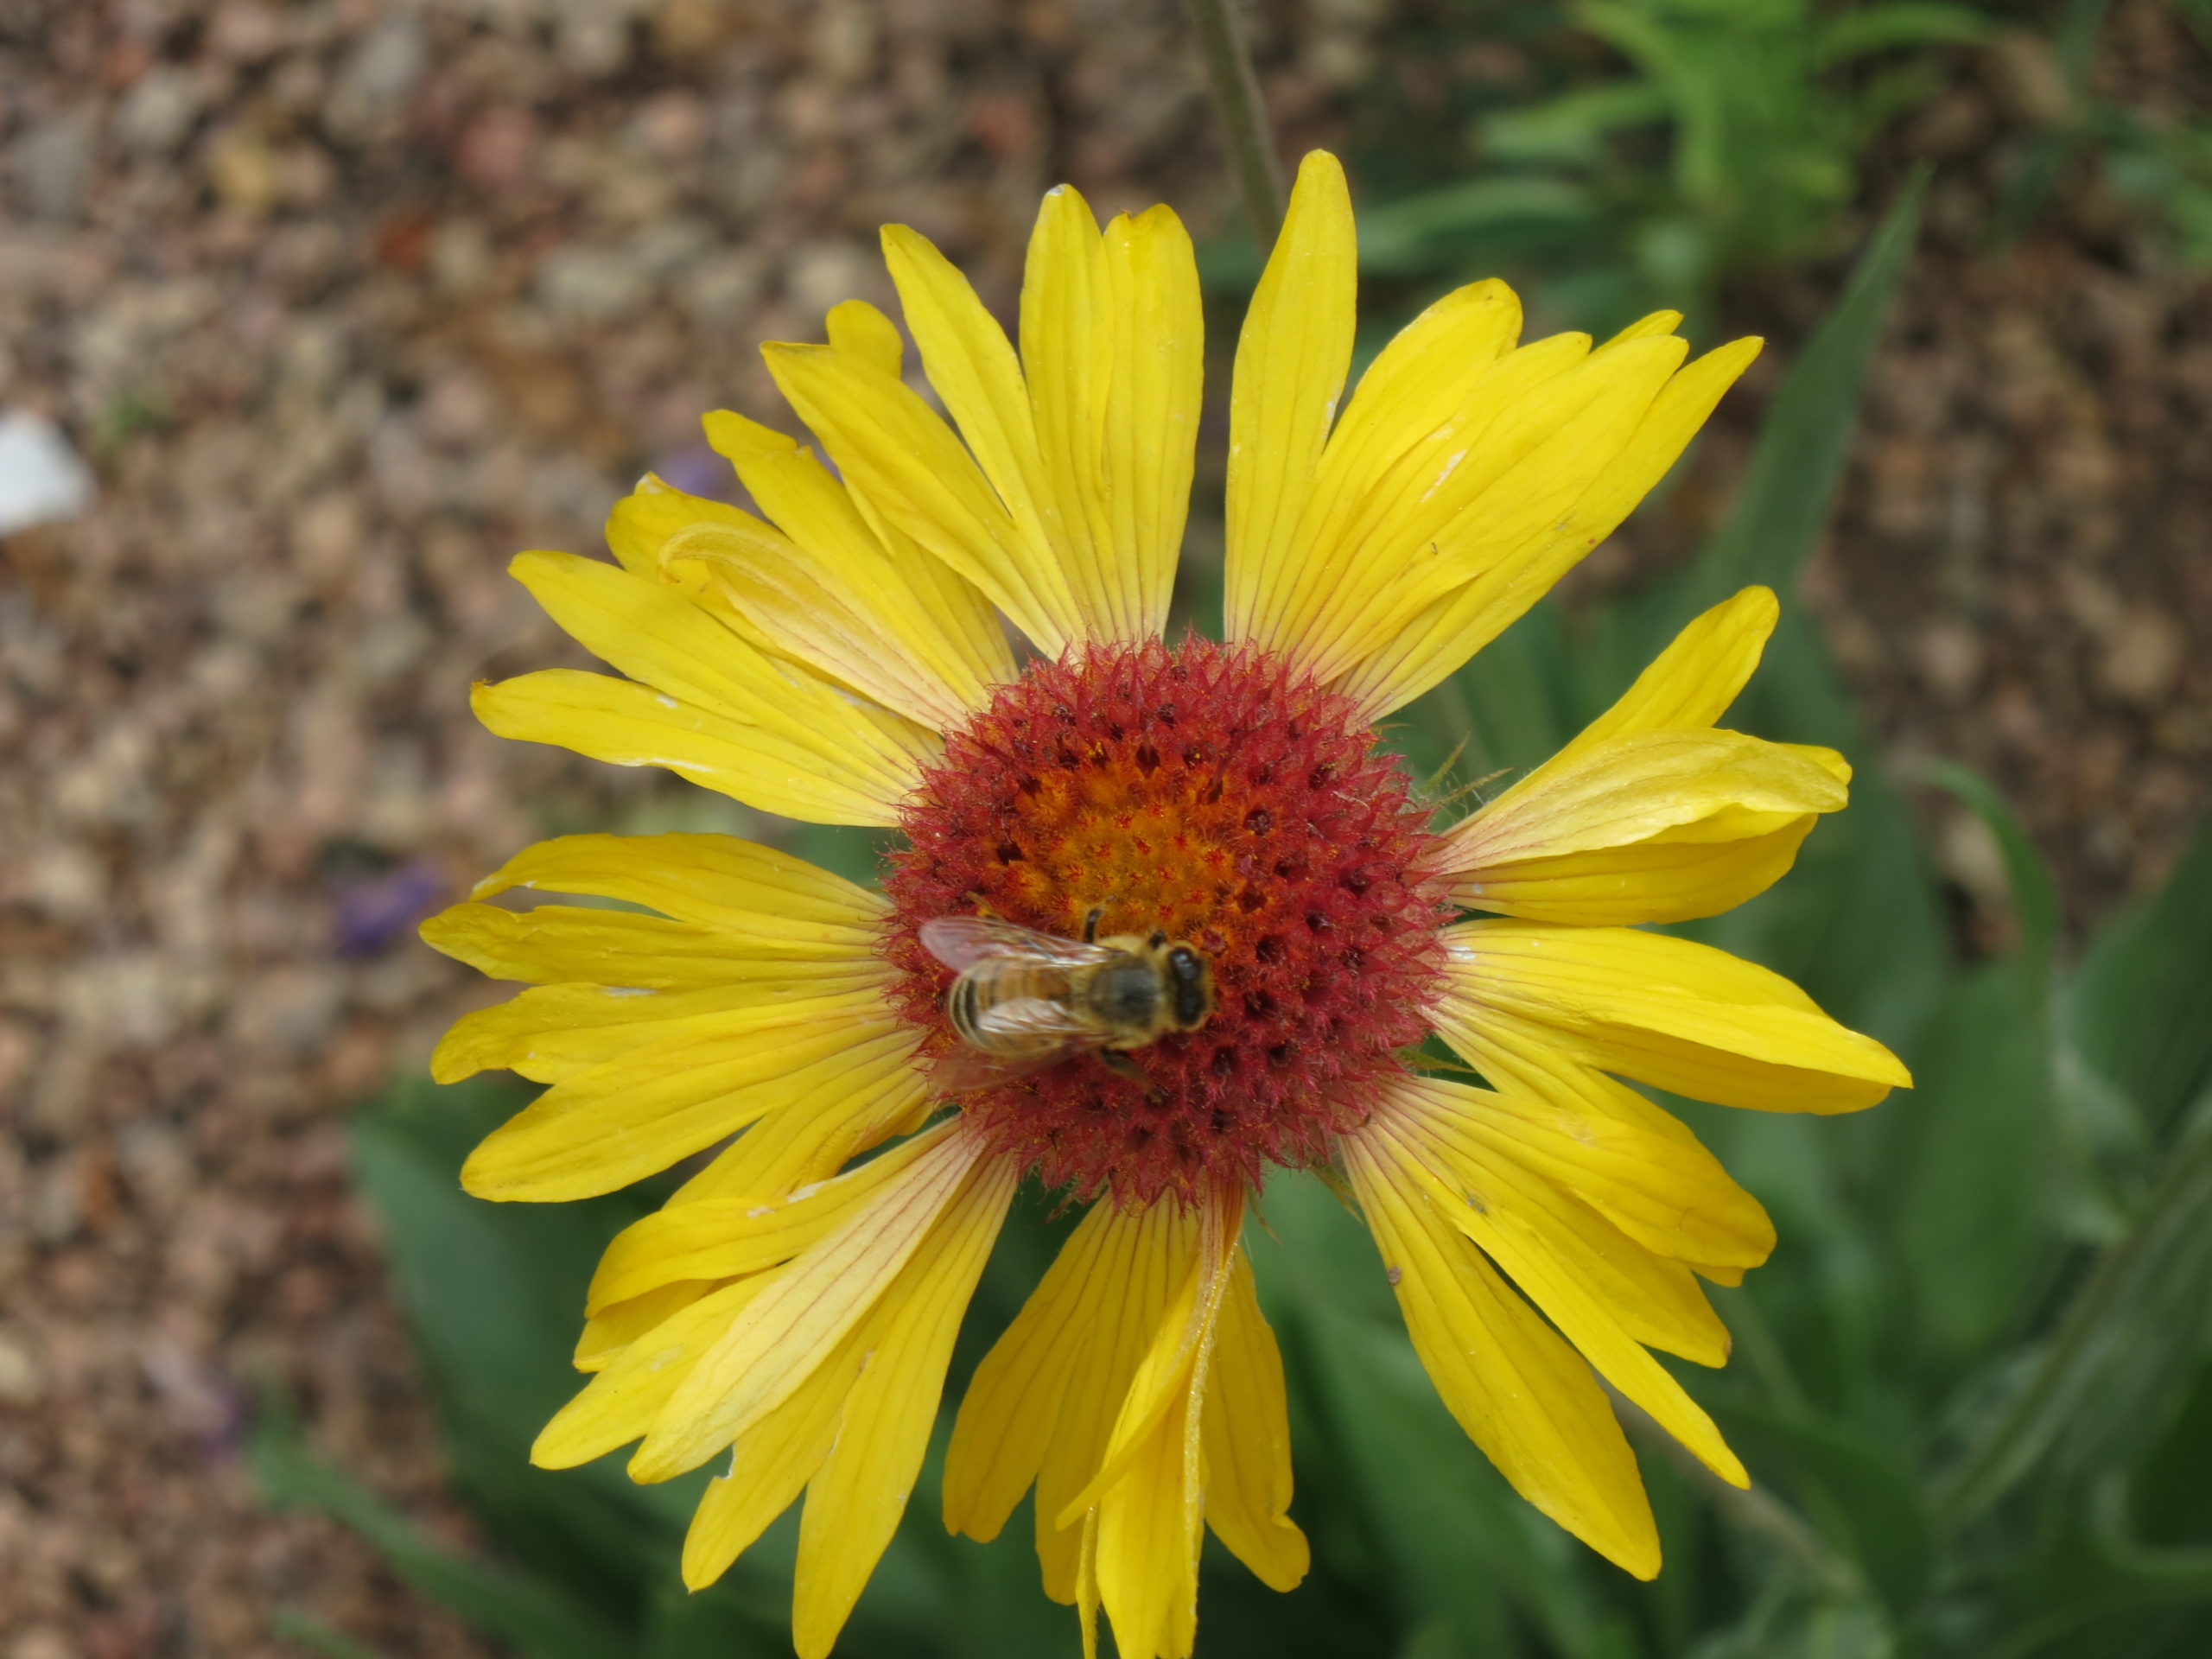
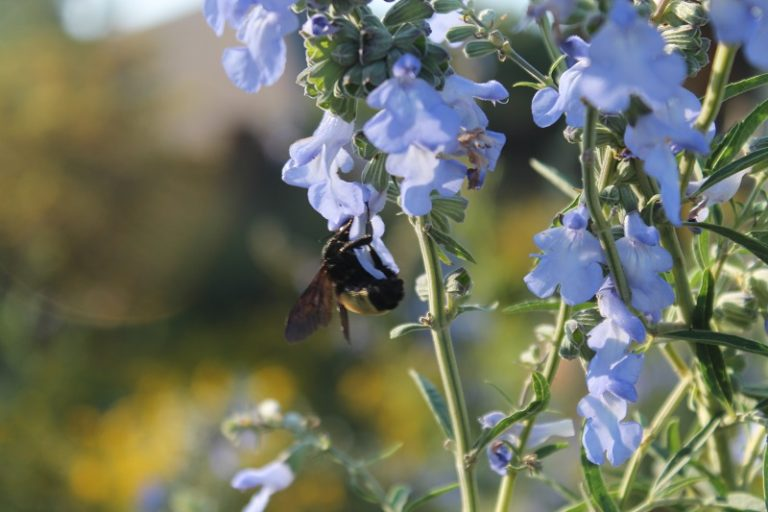
The edible pink blooms are a favorite of many different pollinators in early spring.  There are not many trees and shrubs blooming this time of year, so they rely on the flower nectar to keep them going. These early blossoms draw in nectar-seeking insects that are quickly plucked up by birds too.  Northern bobwhite quail and a few songbirds, such as finches and chickadees, will eat the seed pods. It can be used for nesting sites and nesting materials, and it also provides shelter for birds and mammals.

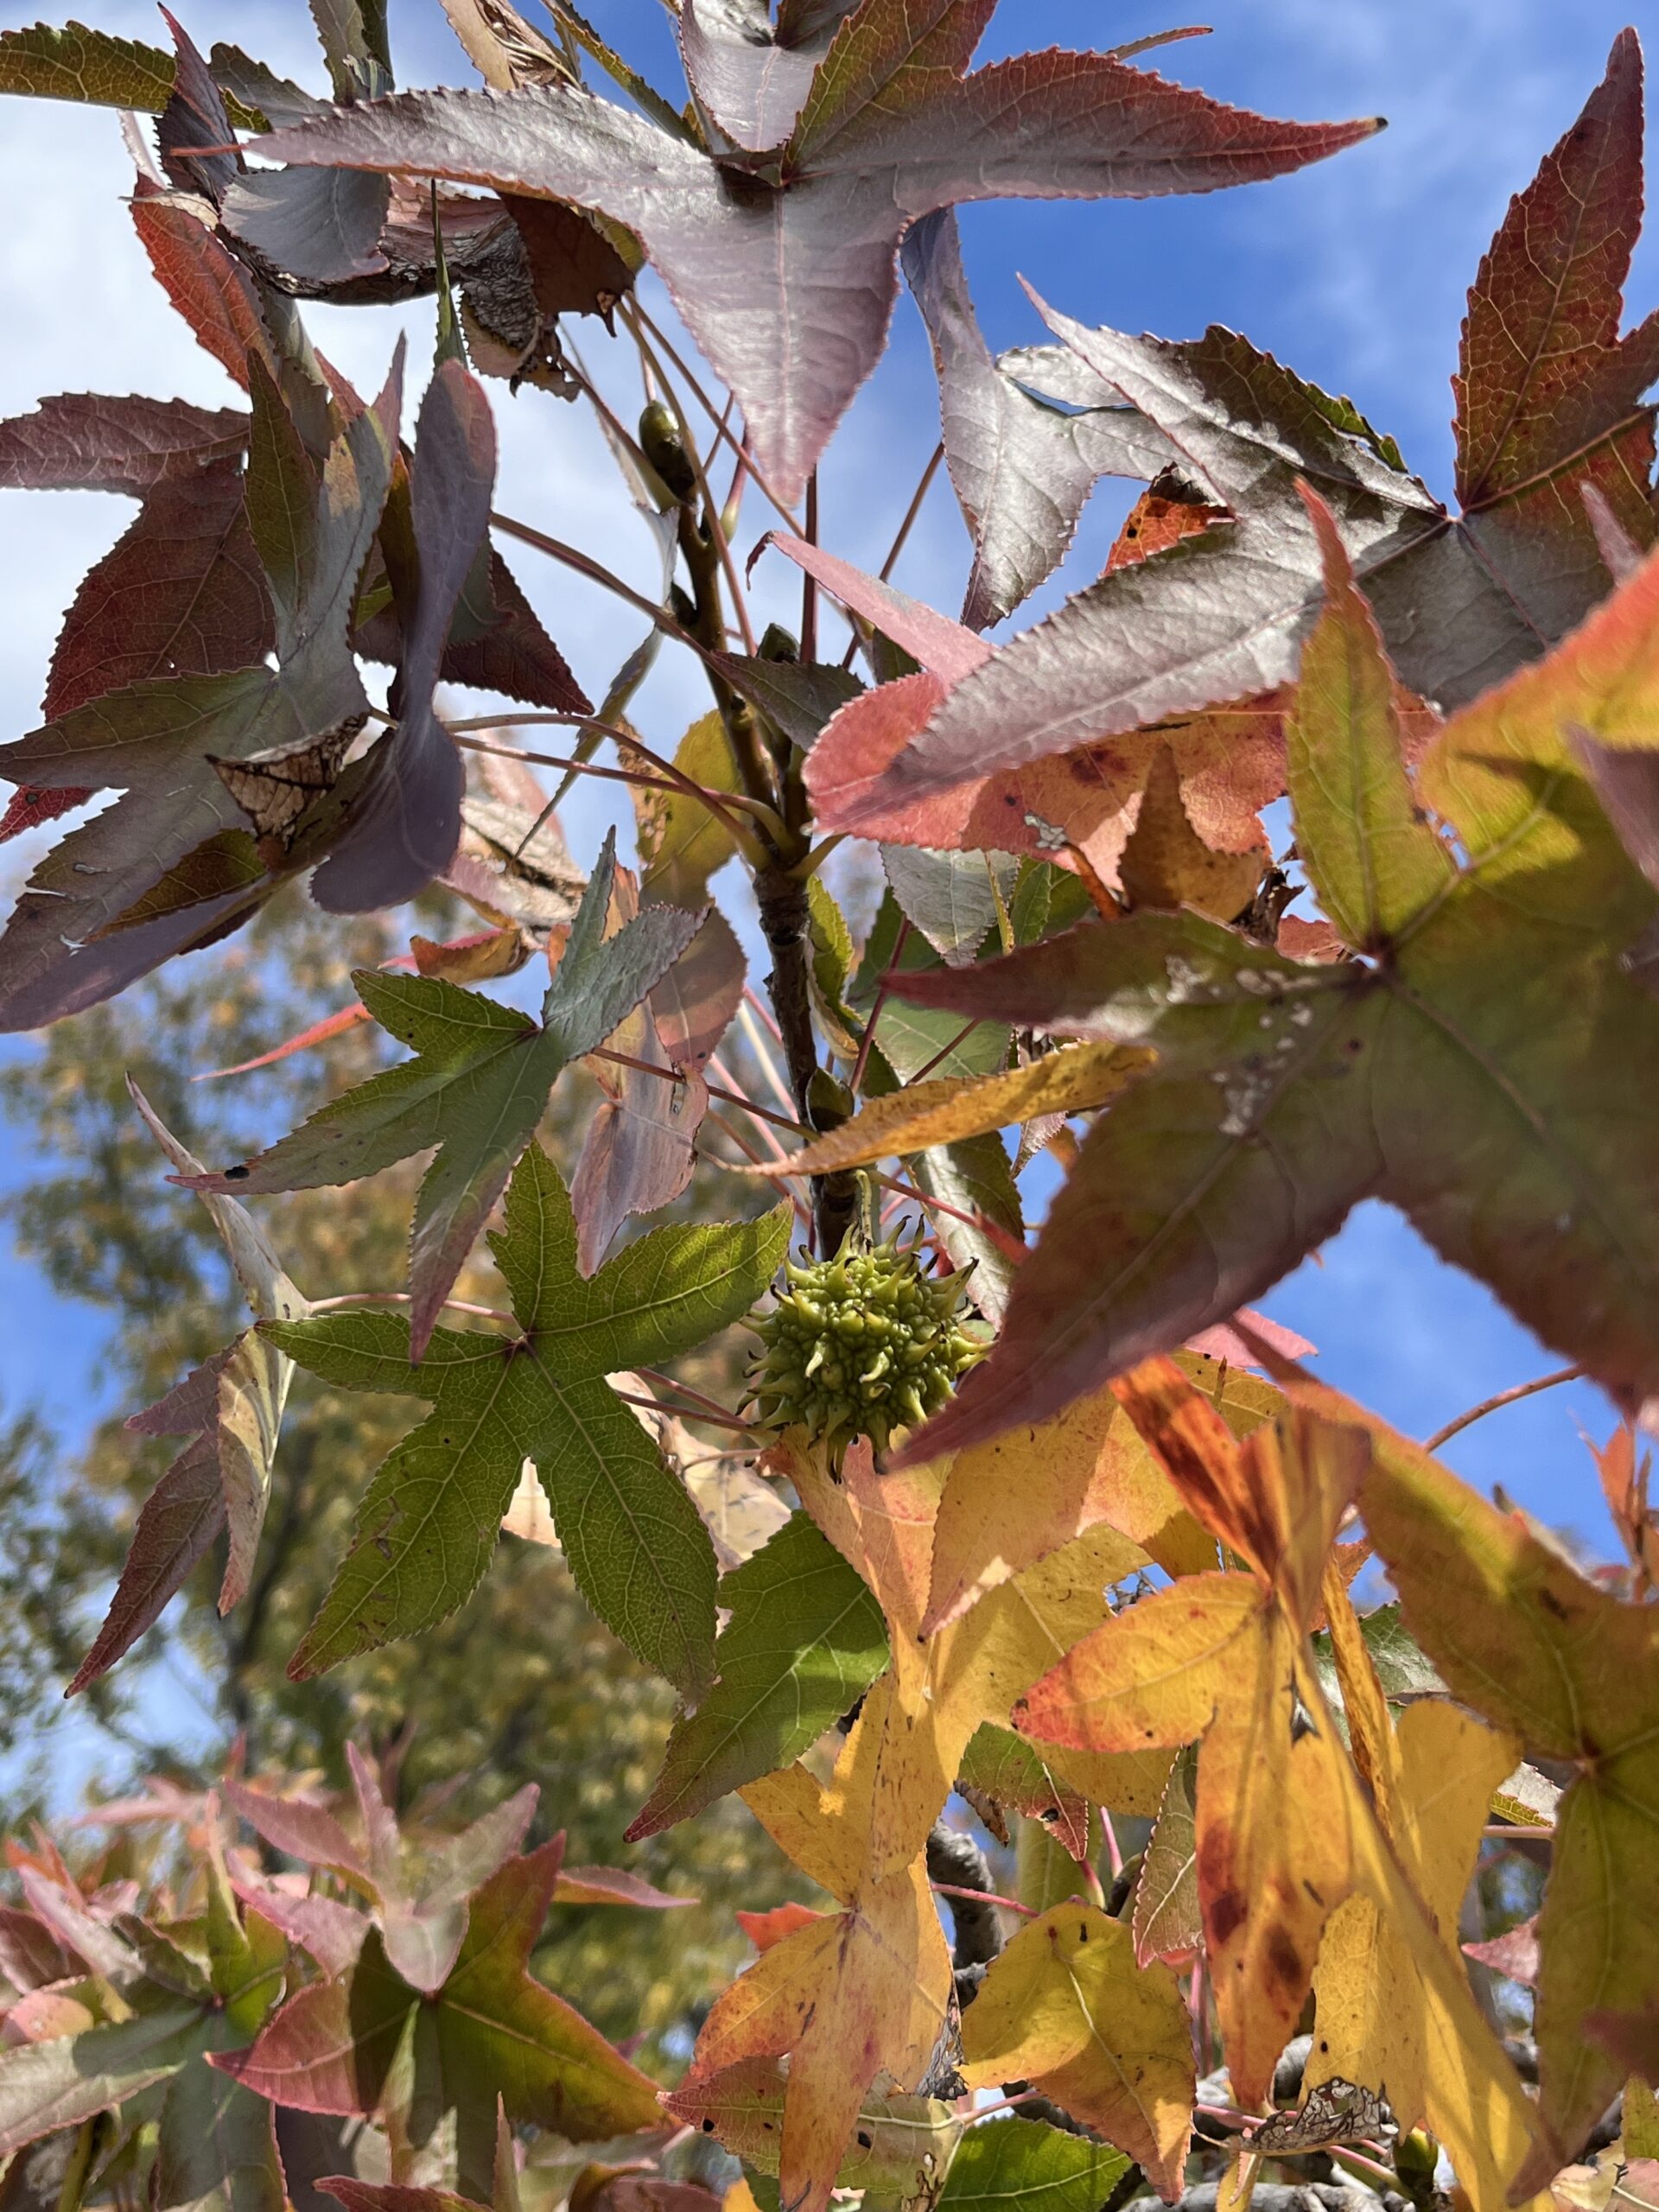
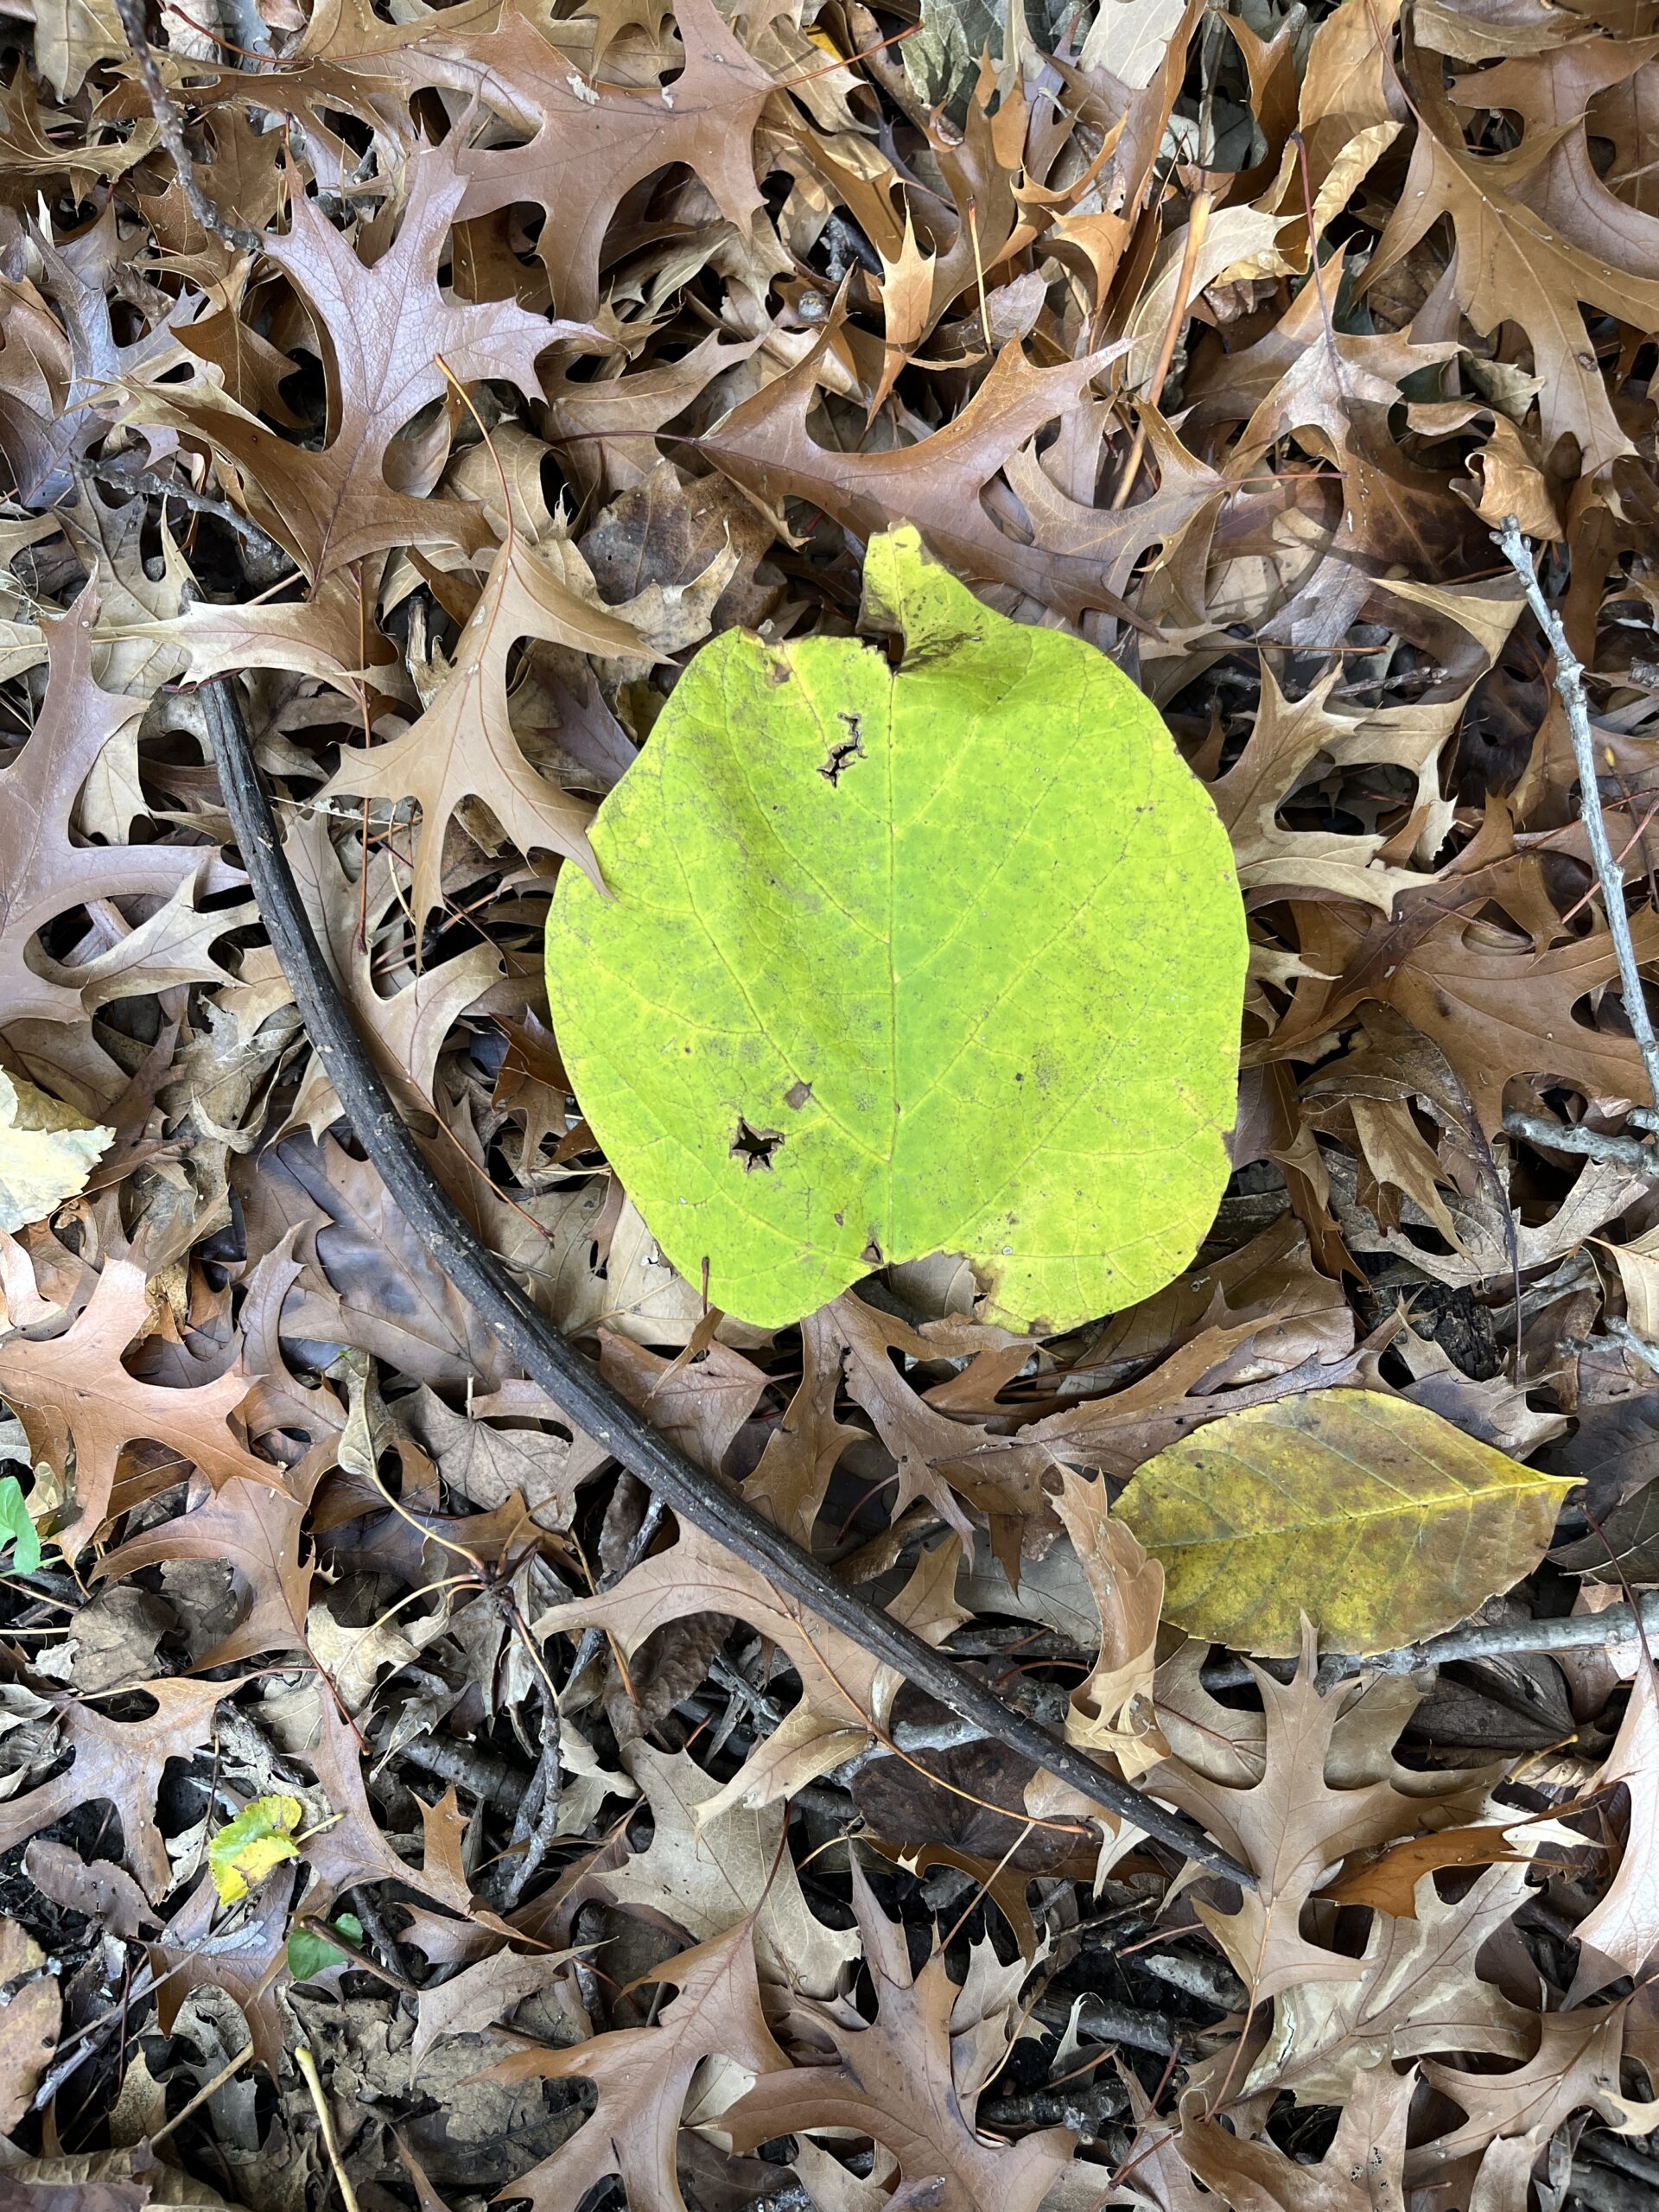
In the wild, redbuds are commonly seen in tree margins and along swales and ravines. The small stature of the tree allows it to fit into most landscapes. Most trees develop a nice vase-shape that shows off the attractive reddish tan bark.  The heart shaped leaves emerge as the flower clusters fade.  In the fall, these leaves turn yellow and orange before dropping off before winter. 

Growing an Eastern Redbud

With multiple seasons of interest, redbuds (Cercis canadensis) deserve a place in just about any landscape setting. Redbuds are hardy in zones 4 to 9 so they are adapted to our climate here in Kansas. New trees can be planted in the spring or fall with my preference being a fall planting.   

This small ornamental tree is native to the eastern half of Kansas. It is one of the earliest trees to bloom and produces an abundance of purplish-pink flowers. For best growth, plant them as an understory tree with morning sun and afternoon shade. They can grow in full sun but prefer protection from the hot afternoon sun. In too much shade they are leggy and sparse. A moist soil is preferred, but they are quite drought tolerant once established.

We have seen our redbud foliage damaged by herbicide drift, some of our on doing but other times from farmer spray drift, so be cautious when using chemicals around your trees. Redbuds are in the legume family so they develop bean pods. These tan pods can sometimes be very abundant so keep that in mind when choosing a location. I have never seen this as a problem, but they will eventually fall from the tree. 

Darker flowers of Oklahoma redbuds

Eastern Redbud Pruning and Maintenance

Redbud trees grow quickly, usually putting on a foot or two per year depending on their growing conditions. Typically, they live for about 30 to 40 years. Once established, most trees will only need to be watered during periods of prolonged drought. Mulch around the trunk with coarse wood chips will help the soil retain moisture and cool the root system. The gnarled trunks and branches can break from strong winds, so occasional pruning may be needed to thin out the canopy.

Besides breakage, redbuds are afflicted with cankers on the branches and stems.  Usually, this is not a problem that is lethal.  Most redbuds have some sort of raised bark that adds to the character of the tree.  Also look for fungal problems like mildew, verticillium wilt, and leaf spots. These are more likely to occur when airflow is limited, so consider pruning your tree so it has a more open structure to provide better ventilation. Insects are not usually a problem, but webworms and Japanese beetles may appear and can be treated with an appropriate but cautious application of a recommended insecticide.

Top Eastern Redbud Cultivars

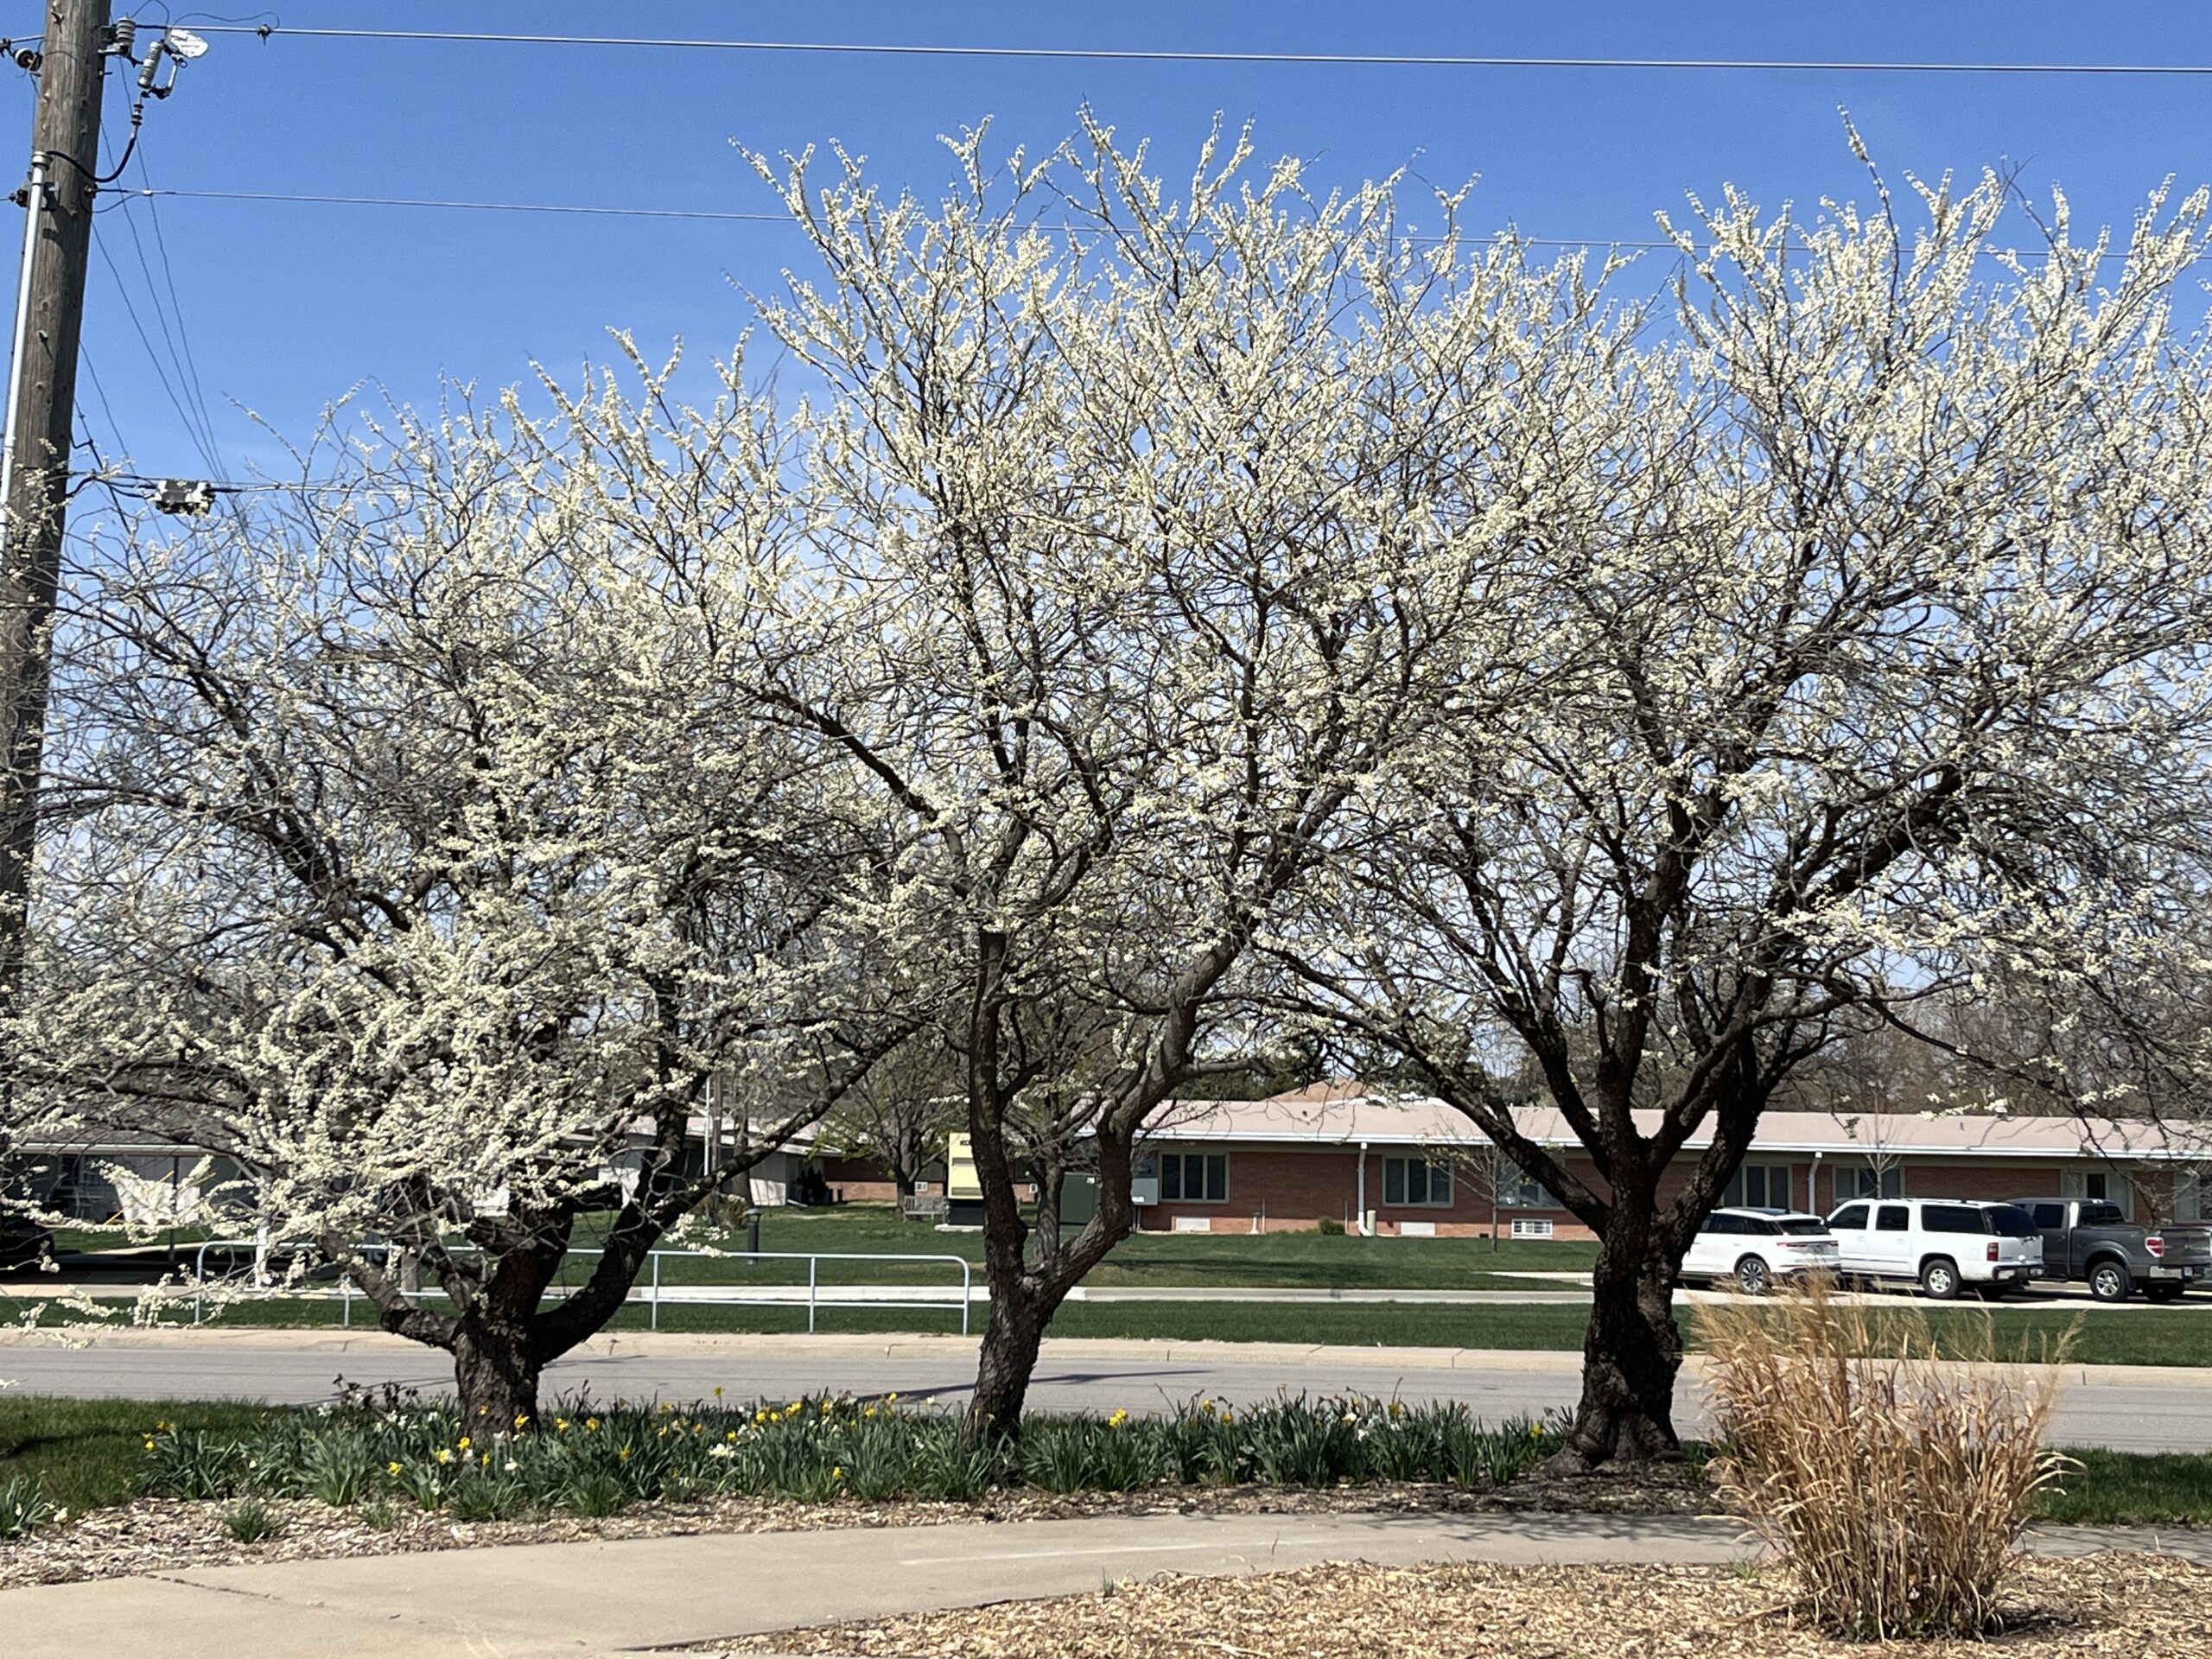
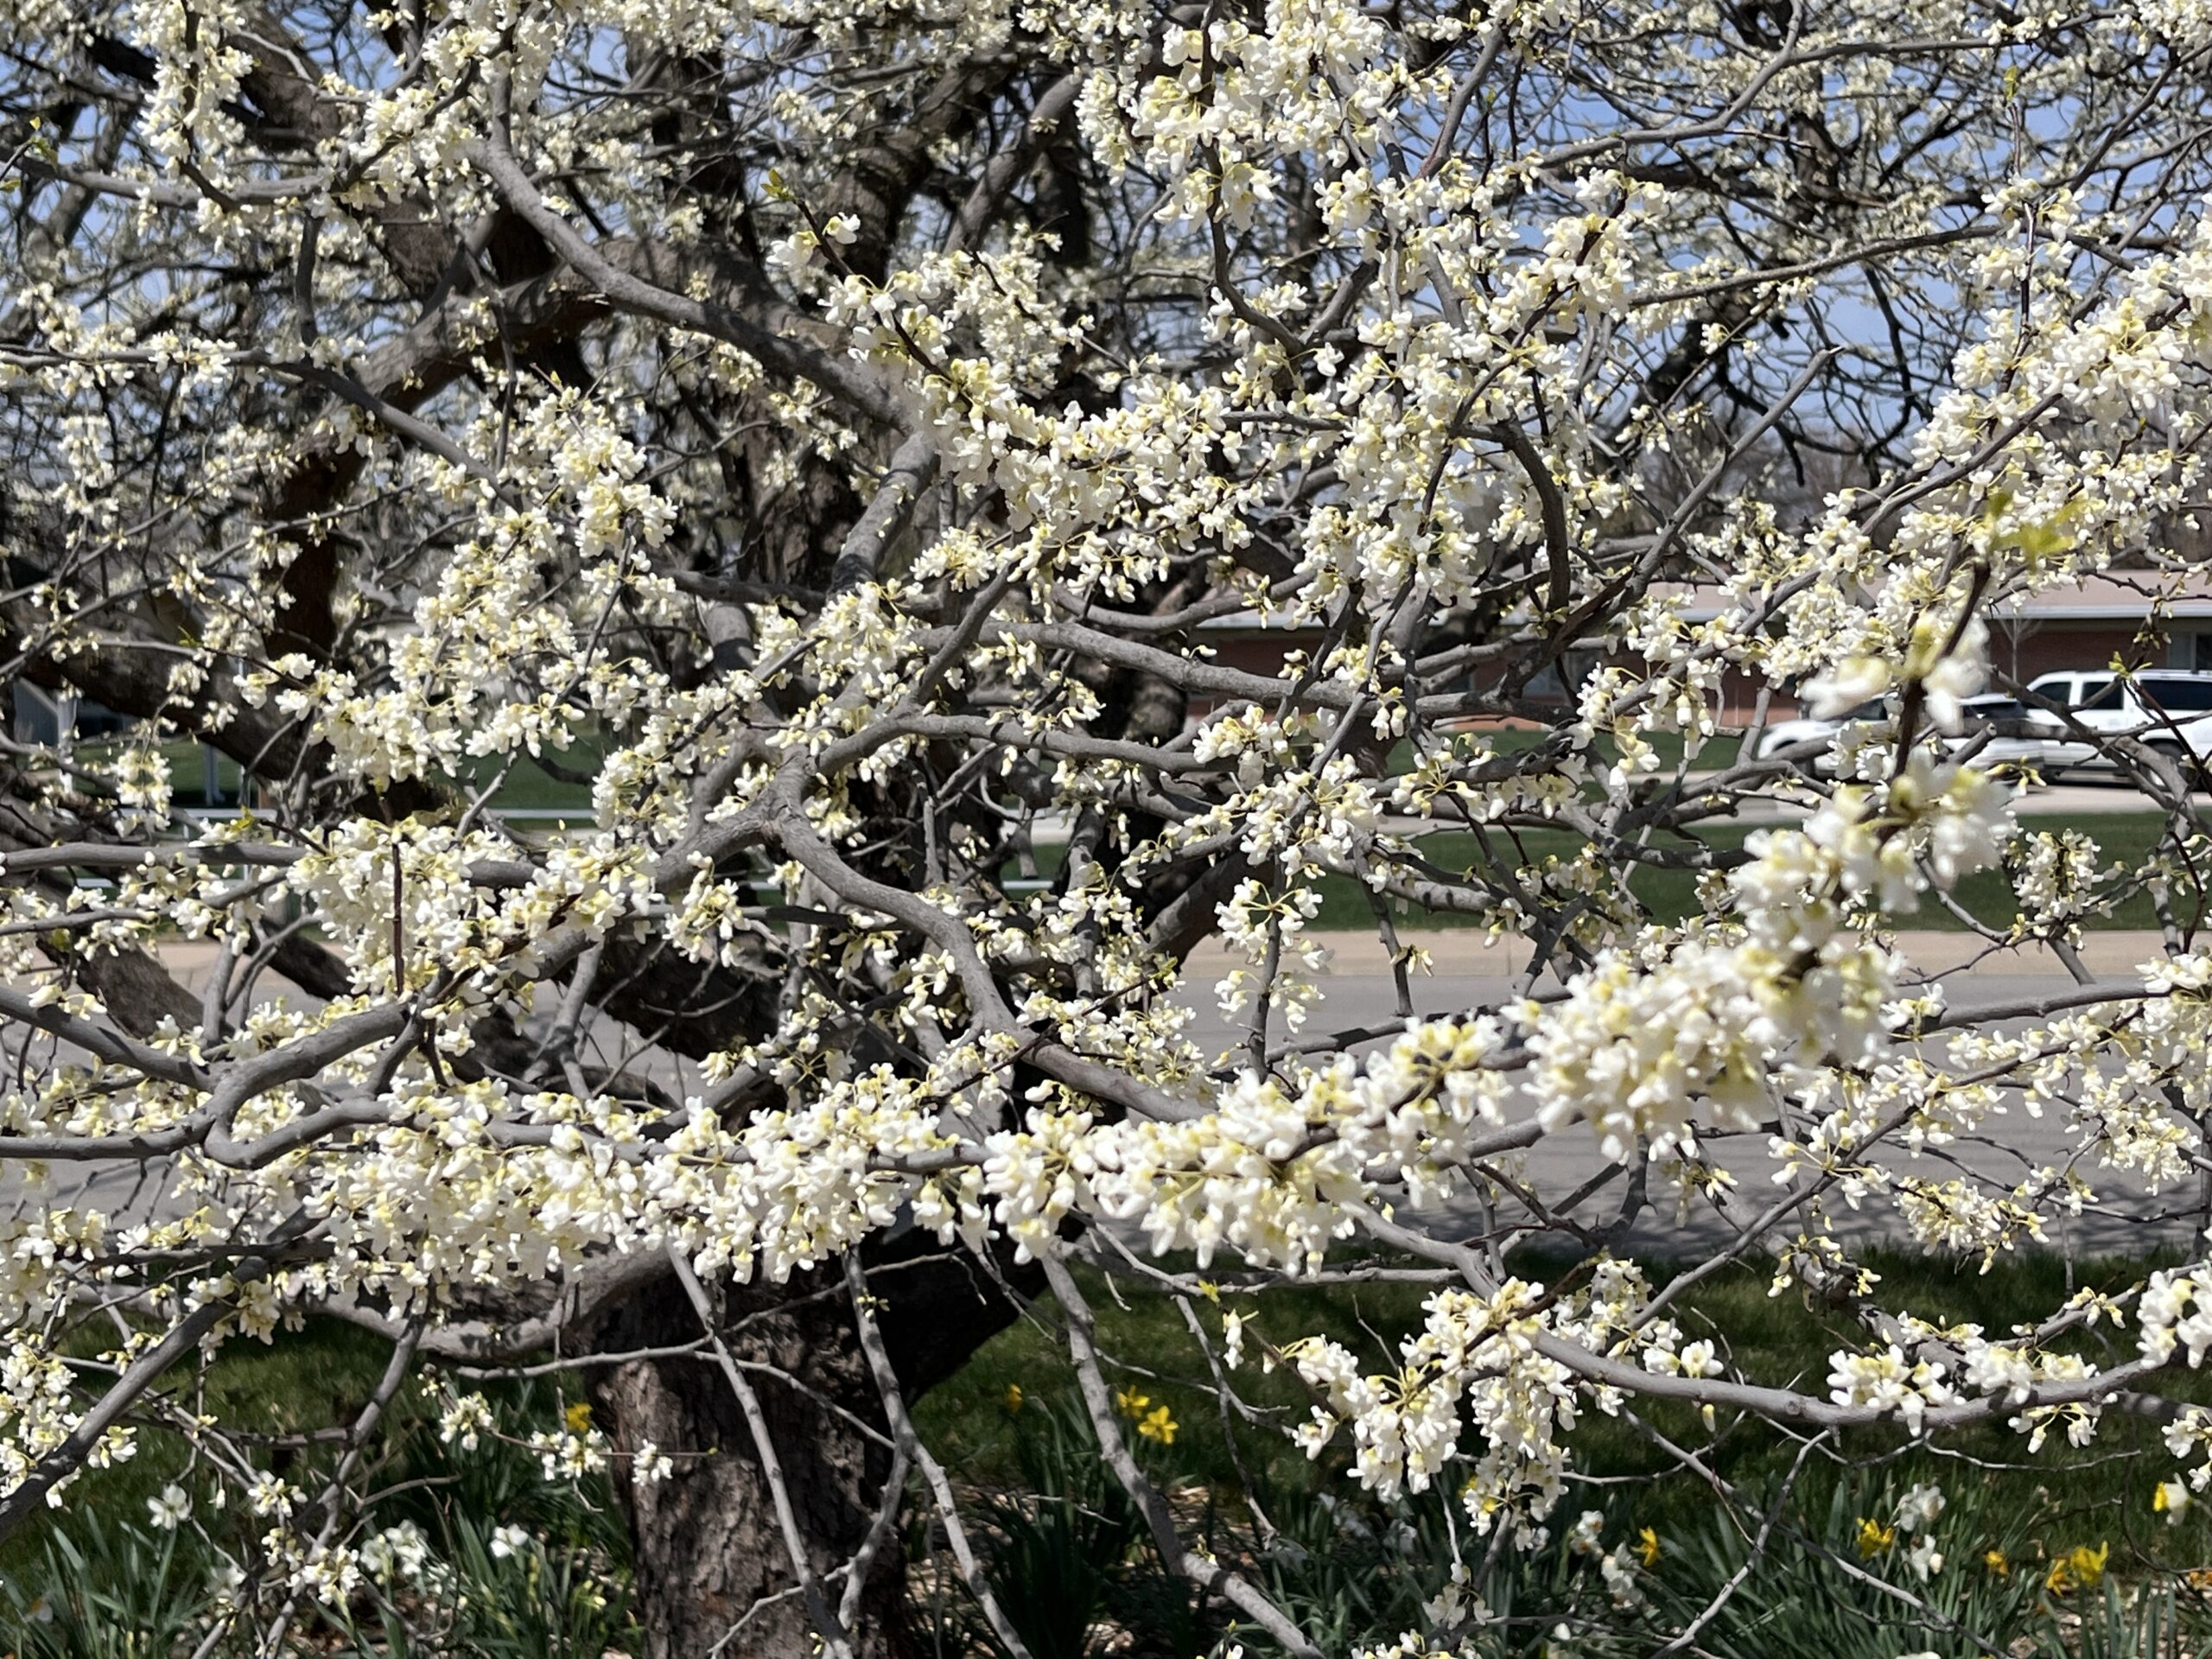
  • Eastern Redbud (Cercis canadensis var. alba) (white flowers)
  • ‘Forest Pansy’ and ‘Merlot’ have red/purple new growth.  In my experience, these red leaf forms need more protection from the hottest afternoon sun. 
  • Oklahoma Redbud (Cercis canadensis var. texensis ‘Oklahoma’) Glossy green leaves, more intense flower color, insect resistance.
  • Rising Sun Redbud-dwarf flowering tree (6-10 ft tall) has unique tri-colored leaves that blend sunny yellows and bright orange colors.  This will need full sun protection as well.
  • Ruby Falls Redbud-A petite, one-of-a-kind, cascading tree with maroon-purple to dark green leaves.  Again, it will need to be protected from hot afternoon sun.
White buds in full bloom

Rest the Water

Over the past few years, I have taken up the hobby of fly fishing.  It has been challenging to say the least.  Learning the basics of casting, choosing the right fly or flies, reading the water and so much more has taken me to new heights of frustration and sometimes elation. Like many hobbies, learning to fly fish will take the rest of my life to just scratch the surface of all there is to know. 

My journey to fly fish began with evening classes through WSU Community Education.  I started with the basics and continued on to the casting class.  During those classes, I devoured as much information as I could, but still felt like I was floundering. I watched videos, and read blog posts. I practiced casting a little bit before I went to Colorado and hired a guide who help me catch my first trout. It was small but I had accomplished my first goal of just catching one fish. That first fish was incredible. So colorful but resilient living in that cool flowing stream. It was quite the memorable experience. 

My very first trout. Small but incredibly beautiful.

From those humble beginnings, I worked even harder to learn all I could about the art of fly fishing.  I practiced casting several times a week when the weather was suitable.  I watched more videos and read articles about streams and trout. 

The next summer, I hired a different guide who was an incredible teacher. He was patient and kind to this novice. I learned more from him that day than from any videos I had watched or blogs I had read. It was like drinking from a fire hose. We caught fish…a LOT of fish. But he also made me stop for a moment and look around. While we were eating our lunch, he told me about the geology of the place, where the river starts, how it flows, the beauty of the surrounding mountains, the trees and plants, the clouds and sun, and the trout. He encouraged me to not just fish, but to observe, learn, listen and enjoy the beauty all around me.  

A little better sized fish, but look at where I am standing.
I was fly fishing down there. A stunningly beautiful place.

You see, I was so intent on learning to fly fish that I had not stopped to look around. I was determined to catch as many fish as possible, but I almost missed the beauty in every direction. By making me stop for a few moments, I was able to really appreciate the majesty of my surroundings. It is so easy to forget to look up that we often miss some of the most rewarding experiences of our lifetime. 

You may wonder what the point of this story is. Well, it started with a short phrase I read in an article that reminded me of what my guide taught me. It simply said, “…take a break and let’s rest the water.” These words made me pause and contemplate. Learning to rest the water is a way to fish, but also a way to live your life. Too often, our gaze is so hyper focused on something that we don’t take time to look up and around, to listen, and then to savor and enjoy the moments that too quickly pass. 

I say this as we approach another spring. As our landscapes are transformed from dormant to green in the coming months, take time to step back and enjoy your handywork. Don’t over work it.  Watch the pollinators, and birds. Observe the beauty of a delicate flower. Appreciate the resiliency of a native grass.  This is one of my goals in 2025, whether with relationships, landscapes or hobbies – to take time to rest the water. Step back and take it all in, be present, and be attentive to the beauty all around us.

I leave you with a few images of the Flint Hills in the spring.

What Do Pollinators Need?

It hard to believe that spring is coming as I sit here and await sub-zero temperatures tonight.  This extended period of cold weather with ice and snow is hard to embrace but I know “this too shall pass”.  Anyway, this cold weather has me hunkered down doing some reading and planning for spring. 

While reading a horticulture trade magazine, I came across a short blurb called “The Perfect Mix” by Jennifer White.  The gist of the article highlighted a study by Auburn University that observed which wildflowers attract and help pollinators in the southeastern United States.  Of all the wildflowers they observed, Butterfly weed (Asclepias tuberosa), Indian blanket flower (Gaillardia pulchella) and Blue vervain (Verbena hastata) attracted 89% of all bee taxa. 

Bumblebee on Echinacea purpurea – photo by Janelle Flory Schrock

The study also found that even obscure wildflowers are important in the lifecycles of many uncommon or “common specialist” native bees.  These rare and uncommon native bees need the most help as they struggle to find enough nectar sources for their survival. 

From this study the researchers were able to put together a seed mix of wildflowers that is highly attractive to pollinators, particularly bees. Those three wildflowers are important for many native bees, but they only bloom for a short period during the growing season. The takeaway for me from this article was that pollinators need many different wildflowers to complete their lifecycles.  You may say, “DUH”, that seems to make sense, but we don’t always think about pollinators along with aesthetics as we are putting together a native habitat garden.

Gaillardia aristata

Successful plantings that help pollinators the most have a succession of blooms throughout the year.  A good design has a progression of blooms starting in April and continuing through October.  As I put together a design, I pay close attention to groupings of wildflowers and when they bloom.  I generally don’t put two spring blooming wildflowers groups right next to each other in the design but rather have a spring bloomer next to a summer bloomer next to a fall bloomer with some native grasses incorporated for cover and texture. These overlapping blooms mimic what we find in the prairies.    

I work really hard to create a succession of bloom in most of my designs.  It can be difficult in smaller designs, but it is so important.  By having plants coming into and out of bloom throughout the year, pollinators will keep coming back to your yard to find the sustenance they need for their survival.  Grouping the same species of wildflowers together also makes it easier for pollinators to find blooming plants. They just have to buzz from one blooming plant to the next without expending much energy.  Pollinators love clusters of blooming plants.     

Overlapping bloom periods with a diversity of plants is the key to a successful pollinator garden. I try to map out wildflower bloom times to make sure I have all the months of the growing season covered.  Become familiar with the plants in your garden and put together a simple spreadsheet focused specifically on bloom times. This will not only help you create a beautiful garden, but one that attracts bees and other pollinators to your garden all year long.  This seems so simple, but it will have a dramatic affect.

Blue sage with bumblebee

Messy Trees

I love this time of year. Cool mornings and warm afternoons are a welcome break from the heat of summer. This time of year also reminds me that not all trees are the same. Some have beautiful fall colors of orange, red, yellow and purple while others shades of tan and brown. Once the leaves drop from the trees, the fruit stands out even more.

We also quickly realize that some trees are “messier” than others. Whether it is the leaves that drop, the fruit that drops or the sticks that litter the yard, trees are constantly dropping something. Sure, there is not a perfect tree that magically cleans up after itself, but there are some trees to avoid planting in certain locations within your landscape if you have a choice. Here is a list of trees to think twice about planting in your landscape.

Sweet Gum (Liquidamber styraciflua)

This ornamental tree is primarily grown for its brilliant fall color of oranges, reds, yellows and purples. It can be quite stunning, but it also produces copious amounts of spiky gum ball fruit. My in-laws had one of these growing in their front yard and it was a prolific fruit producer that they complained about every year. Like most messy trees, it has its place in the landscape, but not in a place where your grandchildren will be walking barefoot.

Sweet gums have great fall color, but spiny fruit

Catalpa (Catalpa speciosa)

The large heart shaped leaves of this native lowland tree along with the fluffy white blooms in the summer can be reasons to have this tree in your landscape. However, the long cigar shaped seed pods and thousands of catalpa caterpillars are major drawbacks. I have one of these trees in my yard in a low spot that has standing water when it rains. I can appreciate the blooms from a distance but in the fall, I do have to collect the large leaves so they don’t smother my lawn.

Catalpa heart-shaped leaf with long cigar shape fruit pod

Cottonwoods (Populus deltoides)

These trees are notorious for dropping sticks and debris throughout the year. The fluffy cotton clogs up air conditioner units and seedlings sprout up any place with constant moisture in the spring. They are also susceptible to many diseases and insect pests. As our state tree, their native habitat is along rivers, streams and ponds. Their roots are typically shallow, buckling sidewalks and driveways. My colleagues have been lobbying to cut one of these down that currently grows on the edge of our prairie.

Black Walnut (Juglans nigra)

This tree is often found along prairies, stream margins and fencerows. While native, you should avoid planting a black walnut along streets and driveways. The round, hard nuts will stain concrete and they are tripping hazards. The fruit and foliage can be quite pungent as well and the leaves are a favorite of walnut caterpillars. These pests can become so numerous that they will totally defoliate the tree. It also produces a toxic compound that can kill other plants you are trying to grow around and under its canopy. Leave it in the wild and go to it to collect the black walnut fruit if you like to eat them.

Oaks (Quercus sp.)

I hesitated including oaks in this list, but then I looked at my back deck, currently covered with tiny acorns. We value oaks for their long life, shade, hardiness, fall color (sometimes), and wildlife attraction to our yards. In fact over 900 species of winged insects rely on oaks for their life cycles, not to mention birds and other wildlife. If you plant one of these mighty oaks in your yard, just know that you have to take the good with the bad. In my case, the good far outweighs the bad.

Pin oak acorns roll around my backyard like marbles, but at least the squirrels are happy.

Ginkgo (Ginkgo biloba)

The ginkgo tree is a living fossil with distinct fan-like leaves. The beautiful yellow fall color and hardy disposition make it a much sought after street tree. However, there are male and female trees. The female trees produce a fruit that is both messy and smelly. Some liken the fruit smell to rotting flesh. If you really want a ginkgo in your landscape, seek out one of the many male varieties.

Other obvious trees to avoid

Bradford pear, mimosa, Goldenrain tree, silver maple, Norway maple, weeping willow, river birch, Siberian elm, tree of heaven, mulberry, black locust and Russian olive.

Choose Wisely

As I said earlier, there are no perfect trees. We view some trees as “messy” because they require us to repeatedly clean up the yard. Every tree drops something, but messy trees with stinky, messy fruit and large branches that can damage your house or pests are more problematic. If possible, do your research before planting so you know what to expect as the tree matures. To get good shade, you might have to put up with some messiness. If you are stuck with a messy tree, either embrace its faults by regularly cleaning up the mess or choose to have it removed.

As you know, trees in Kansas are a luxury, so think carefully before removing a mature tree. The downsides of a mature tree needs to far outweigh the upsides. In the case of my 60 year old oak trees that frame my backyard, I regularly pick up fallen branches and routinely blow off my deck and sidewalks of acorns and leaves. I have come to appreciate these trees because they attract so many different forms of wildlife, provide shade, and add to the diversity of my entire landscape.

Water Smart: Steps to Establishing Your Native Plants

Originally published on April 29, 2015, here are some helpful hints from our Executive Director Scott Vogt on getting your native plants established using “waterwise” methods.

Over the past few weeks, we have been fielding quite a few questions about how to properly establish plants purchased at our fall FloraKansas Native Plant Days.  Hopefully, many of you have a great start and your plants are beginning to attach to the soil. But if you have questions, keep reading for some helpful reminders and step by step instructions for our method of establishing plants.


Now that you have purchased your plants at our FloraKansas plant sale and hopefully gotten them planted in your landscape, you’ll want to be intentional about watering methods. It’s true, native plants are more drought-tolerant than you may be used to. However, in order to get your plants successfully established, they will still need some careful attention these first few weeks and through the summer.

Follow these steps to be “water smart” as you establish your native plants:

4-23 photo 2

The First Year

When planting: Water plants as soon as you get them in the ground. Allow the water to soak in, then water again until the soil is thoroughly moistened.

First Two Weeks: Water plants daily depending on the weather.   If it rains, skip a watering.  Just-planted roots are only able to absorb soil moisture from the potting soil.  They have not attached to their surrounding soil.  When you see new growth, the plants have begun to get established.

First Month: Unless the weather is extremely hot and dry, you may be able to decrease watering frequency to two or three times per week.  Generally, you want the soil to be dry an inch or two below the surface before you water. Too much water leads to foliar and root problems.  It is optimal to allow the soil to dry between watering because this encourages roots to grow deep.

Following Months: Water only when top inch or two of soil dries or when plants display signs of being dry.  Water deeply and infrequently.  How much water will depend on your soil and environmental conditions.  Don’t forget to check your plants during the winter months.

IMG_0380

The Second Year

Water deeply as needed.  During prolonged periods of dry weather water once or twice per week.  Generally, it takes plants at least two years to fully develop a sustaining root system.

The Following Years

Properly planted and watered plants should be fairly well established, and can thrive with less watering than you may expect. Drought-tolerant plants may need no supplemental water, whereas shallow-rooted plants or plants with greater water needs may need water weekly. Many plants, when selected for the conditions in your yard, may need watering only once or twice a month in dry weather.

Best Management Practices for Native Plants (BMPs)

Drought-tolerant plants: Even drought-tolerant plants need regular water until they are established!

Young Trees and Shrubs: Young trees and shrubs need deep regular watering. During times of little or no rain, water deeply once a week until trees become established.

Fertilization: Don’t fertilize new plants.  Fertilizing during establishment encourages rapid top growth that is not sustainable by the root system.

Mulch: Mulch new plantings with 1-3 inches of mulch and keep mulch away from plant stems.

Water in the morning: Less water is lost to evaporation.

Choose the right watering method: A soaker hose applies water directly to the soil and reduces evaporation. If you are planting a few plants in an existing planting bed, hand watering can get the new plants the water they need while not overwatering the rest of the bed.

Get to know your soil: Is your soil sand or clay?  It greatly affects watering frequency and duration.  Our clay soils can only take in about an inch of rain per hour.

Check soil moisture before watering: Check soil moisture with finger or spade.  Soil should be dry an inch or two below the surface before you water.

Recheck soil after watering: At least an hour after you water (or two hours with clay soil), probe soil to see how deeply the water penetrated. If it didn’t reach the root zone, you may need to increase your watering.  If the area is soggy, try cutting back on watering next time.

Pick the right plant for the right place: Choose plants that are pest-resistant, require less water, and match the sun, shade, and soil in your yard.

Avoid planting in hot, dry weather: Plants will easily stress and not develop healthy roots under hot, dry conditions.  If you must plant in summer, plant in the cool of the morning when less water is lost to evaporation.

The Johnsongrass Problem

This summer in my travels through Kansas and surrounding states, I have seen more Johnsongrass than ever before. It is everywhere. It has proliferated to the point that it is pushing out native vegetation, including remnant prairies and most roadside ditch prairie plants. The expansion of this exotic grass is so aggressive that I am afraid that nothing can be done to reverse the trend in most of the areas that I see. It is a travesty.

Johnsongrass has a narrow leaf blade similar to milo or sorghum and a panicle seedhead similar to switchgrass.

History

Johnson grass, or sometimes Johnsongrass, Sorghum halepense, is native to Asia, North Africa, and the Mediterranean. It was introduced in the U.S. around the 1800s and is named after Alabama plantation owner Colonel William Johnson who is said to have actually planted a crop of the grass on river bottom land in 1840. However, Johnson grass had been established in several other states about a decade earlier.
It was originally considered a prospective forage crop but Johnsongrass turned out to be an agricultural weed. The unintended consequence of Johnsongrass introduction was that it caused tremendous economic loss due to its invasive spread by seed and rhizomes. Cash crops were pushed out and livestock were poisoned by the plant. Today, it is considered one of the ten worst weeds in the world, especially for range land.

This grass was promoted as good for cattle grazing and hay, but it has had the opposite effect. It is very hard to eradicate once it gets a foothold. If you try to plow it under, it simply spreads more plants similar to tilling a stand of bermudagrass. Plants stressed by drought or freezing weather will produce hydrogen cyanide (prussic acid), which will kill livestock when the grass is eaten in larger quantities. Horses and repeat grazers are most susceptible to harmful effects such as bloating or death.

Johnsongrass colony along a stream bank in Hesston.

Control

You may ask, then, what can be done? Small stands can be hand pulled, dug up and monitored for resprouting, but you must be diligent and vigilant to make sure you have removed the entire plant. Scouting the peripheral edges of you property and immediate eradication with Round-Up is the best.

Always use caution when using any chemical including Round-Up. I hate to spray, but in this case, an application of glyphosate/Round-Up is warranted. Round-Up is a non-selective herbicide that will kill any plant it is sprayed on, so care has to be taken when applying it. Again, monitor and respray the sprouts that pop up after the original burn down.

You must be vigilant. A few years of growth of Johnsongrass unchecked can have very dangerous consequences to your prairie or landscape. We can’t reverse all the damage already done, but we can keep it from damaging your corner of the world. It takes some effort to keep invasive species at bay, but it is always worth it.

Plant Resiliency

As we edge closer to summer, I have been thinking about how we go about choosing plants for our yards. Certainly, we choose plants that we like aesthetically, but many of us also want to choose plants that help wildlife survive. Yet another reason for choosing a particular plant is its resiliency or persistency in the landscape. How does it fair during times of stress? (Because the Kansas climate can be very stressful!)   

If you can’t stand the heat…

Last summer was really hard on a number of long established plants here at the Arboretum.  We lost trees that were 40 years old.  We lost perennials that we thought should be alright with a little supplemental watering. These plants were watered, but they just could not endure the stress of the summer heat and drought. 

This Black Hills Spruce was permanently damaged by last summer’s heat and drought. Notice the soaker hose at the base of it, but even that was not enough to save it.

Now, we could lament the fact that we lost these trees, but I believe their demise was inevitable. They were not the best choice because of where they come from. 

Take Colorado blue spruce as an example. It grows naturally in higher elevations, with regular afternoon showers, and cooler night time temperatures. Yes, the sun is intense in Colorado, but it can recover during the cooler nights. You bring that evergreen tree to Kansas and subject it to full sun, dry winds and night time temperature in the 80’s, it cannot recover what is lost during the day. Each day, it keeps getting beaten down more and more until it just gives up. We lost several tops of evergreen trees last year because the top half was just scorched off.  We were watering them, but the water loss during the day was too great to overcome. 

Norway spruce with the top scorched off last summer.

If at first you don’t succeed…

In Kansas, we mourn the loss of any tree. Trees in south central Kansas are a luxury. We love the shade or screening they provide. However, we have to keep in mind that our area was once all prairie. The only trees to be found were along creeks and swales that offered regular water. We are trying to grow trees in the much harsher prairie environment.  

So think about your own landscape.  Which plants are thriving and which are struggling?  What plants have been difficult to keep going in their current location? Is there a certain plant in your yard that you worry about when it gets hot? You can keep trying to pamper that plant into the future but don’t be surprised when it all of a sudden doesn’t come back the next year. 

With loss comes an opportunity to make a better plant choice. Do your homework and learn about plants that are adapted to our areas. There are recommended trees and shrubs for our area. Obviously, we promote native plants because of all the good things they do in our landscapes if properly situated. 

One more thing…

I would also encourage you to diversify your landscapes with as many different plants as you can. Many different plants will attract many different types of wildlife.  Don’t make it so hard on yourself.  Choose plants that are resilient in the landscape.

Perennials in front of Taylor Junipers.

Early May Blooms at the Arboretum

As we work further into spring, I thought I would share some rare and some common prairie plants in bloom at the Arboretum the first week of May. Enjoy!

Prairie Iris-Nemastylis geminiflora
Wild Quinine-Parthenium integrifolium
Prairie Parsley-Polytaenia nuttallii
Plains wild indigo (Baptisia bracteata)
Missouri evening primrose (Oenothera macrocarpa)
Native Blue False Indigo-Baptisia australis var. minor and Golden Alexander-Zizia aurea
Red Buckeye-Aesculus pavia
Native columbine-Aquilegia canadensis
Grape Honeysuckle-Lonicera reticulata
Eastern Gama Grass-Tripsacum dactyloides reestablishing itself along the new concrete pathway in the Prairie Window Project south of the hedgerow.

We have been fortunate to receive just enough rain to green up the prairie nicely. If you are in the area, stop by and see the many other early May blooms. The Arboretum will be at its peak for spring bloom in a couple weeks.

The Importance of Site Analysis, Part 3

As we have discussed over the past few weeks, beautiful gardens don’t happen by accident. You need to analyze and deeply understand your garden over time. Once you have a pretty good handle on what you are working with, you will be ready to begin the process of choosing the right plants. Here are a couple more things to be aware of within your landscape.

Sight Lines

One of the questions I ask clients about their property is “Where will you be looking at your garden from?” Seems like a simple question, but it is often overlooked. This helps orient the plants in the right lines and heights for maximum viewing.

For instance, for an island planting in your backyard, will you be mostly looking at it from your living room or deck? If so then put the taller plants in the back and the shorter perennials along the front. In the case of a foundation planting, then the viewing would be mostly from the street, but you will want to see it from your windows. I would not use really tall plants that block the view from the front porch or windows.

Another aspect of sight lines is screening. Is there a view that you want to hide/screen? Are taller plants needed to provide you with privacy? Both can be achieved with plant material but your need to be thinking about mature plant height. Is there a structure arbor, fountain or garden art that you want to guide people to with a path or by using the clean lines of a flower bed?

Topography and Drainage

Positive drainage away from your house is so important. Basements are ruined with poor drainage around your home. Really work at getting water to flow away from your home before putting any plants in the ground.

Another thing to understand within your landscape is where the water flows. Standing water for a few hours is one thing, but if the water stands for days then plants will be adversely affected. If you have pooling water after a big rainstorm, then you can divert it away more quickly via a ditch or shallow swale. A better idea might be to develop a rain garden?

Butterfly milkweed in the small rain garden at the arboretum

By understanding these aspects of your landscape, you will be rewarded season after season with beautiful, functional, earth-friendly oasis. A garden that works with landscape and not against it. Whether, you just moved to a new home that you are unfamiliar with or want to start over with your current garden, site analysis is the place to start. Good luck!

If you need help with your native garden come to FloraKansas: Native Plant Days.

The Importance of Site Analysis Part 2

The more you understand your garden, the easier it will be to choose the right plants for your site.  We all have plant preferences but not all of your plant preferences will grow in your garden.  Here are a few more aspects to consider as you analyze your landscape. 

Soil Type

Here in south central Kansas, our soils are typically alkaline, which is good for growing most prairie plants.  Soils can be pH neutral with a value of 7.0, or anything below that is classed as acid, and anything above, alkaline. To determine your pH, a simple soil test can be done by yourself from kits at most garden centers or through the extension service. 

Other soil considerations are consistency and texture. At the Arboretum, we deal mostly with clay soils.  This soil type compacts easily and drains poorly. You must find plants with root systems that can penetrate through the dense structure of clay, i.e., big bluestem, asters, and indigos.  Other soil types are sandy (dries out quickly, low nutrient holding capacity, low organic matter and loose in your hand), Silty (mixture of a sand and clay, easily compacted), Chalky (stoney, exposed subsoil after construction, good drainage) and Loamy (high in organic matter, holds moisture and nutrients). 

If you have been working in your garden for any length of time, you have a good idea of what type of soil you have.  You can add some compost to your soil if it is really terrible, but typically, you can find plants that will grow in your soil conditions.  For example, there are plants that appreciate the consistent drainage of sandy soils especially during the winter months. 

If your soil is alkaline, you will struggle growing rhododendrons and azaleas that need acidic soil.  Try to gather as much information about your soil and then find plants that grow in it. Finding the right plant for the right place will make you garden smarter not harder.

Think of Garden Aspect

Once you have defined the area you want to landscape, you need to understand aspect. Garden aspect simply means which way your garden is facing.  If it north facing, typically shadowed by your house, it needs plants that can grow in shade or partial shade.  If it is south facing, then choose plants for all day sun.  If it east facing, then choose plants that need six hours of sunlight, but are protected from the hottest sunlight hours.  If your garden is west facing then choose plants that can endure the hottest sunlight hours. 

South-facing garden with prairie dropseed, blackeyed susan, Amsonia hubrichtii, russian sage and Taylor junipers.

Obviously, trees, structures, and house orientation play a role in garden aspect.  The key is to observe your garden at different times throughout the year.  This will help you understand completely where the sunlight is coming from and how intense it can be.

One other thing to consider is microclimates within your garden.  There may be small areas that behave totally different than other areas ten to fifteen feet away.  One example would be a protected area along a fence or under a tree the shields that site from hot west sunlight and drying winds. Or, a low area in your yard that stays consistently moist is another example. These areas might allow you the opportunity to try a few different plants that would not otherwise grow in your garden.

Next Week: Site Analysis Part 3