The First Year: Getting Native Plants Established

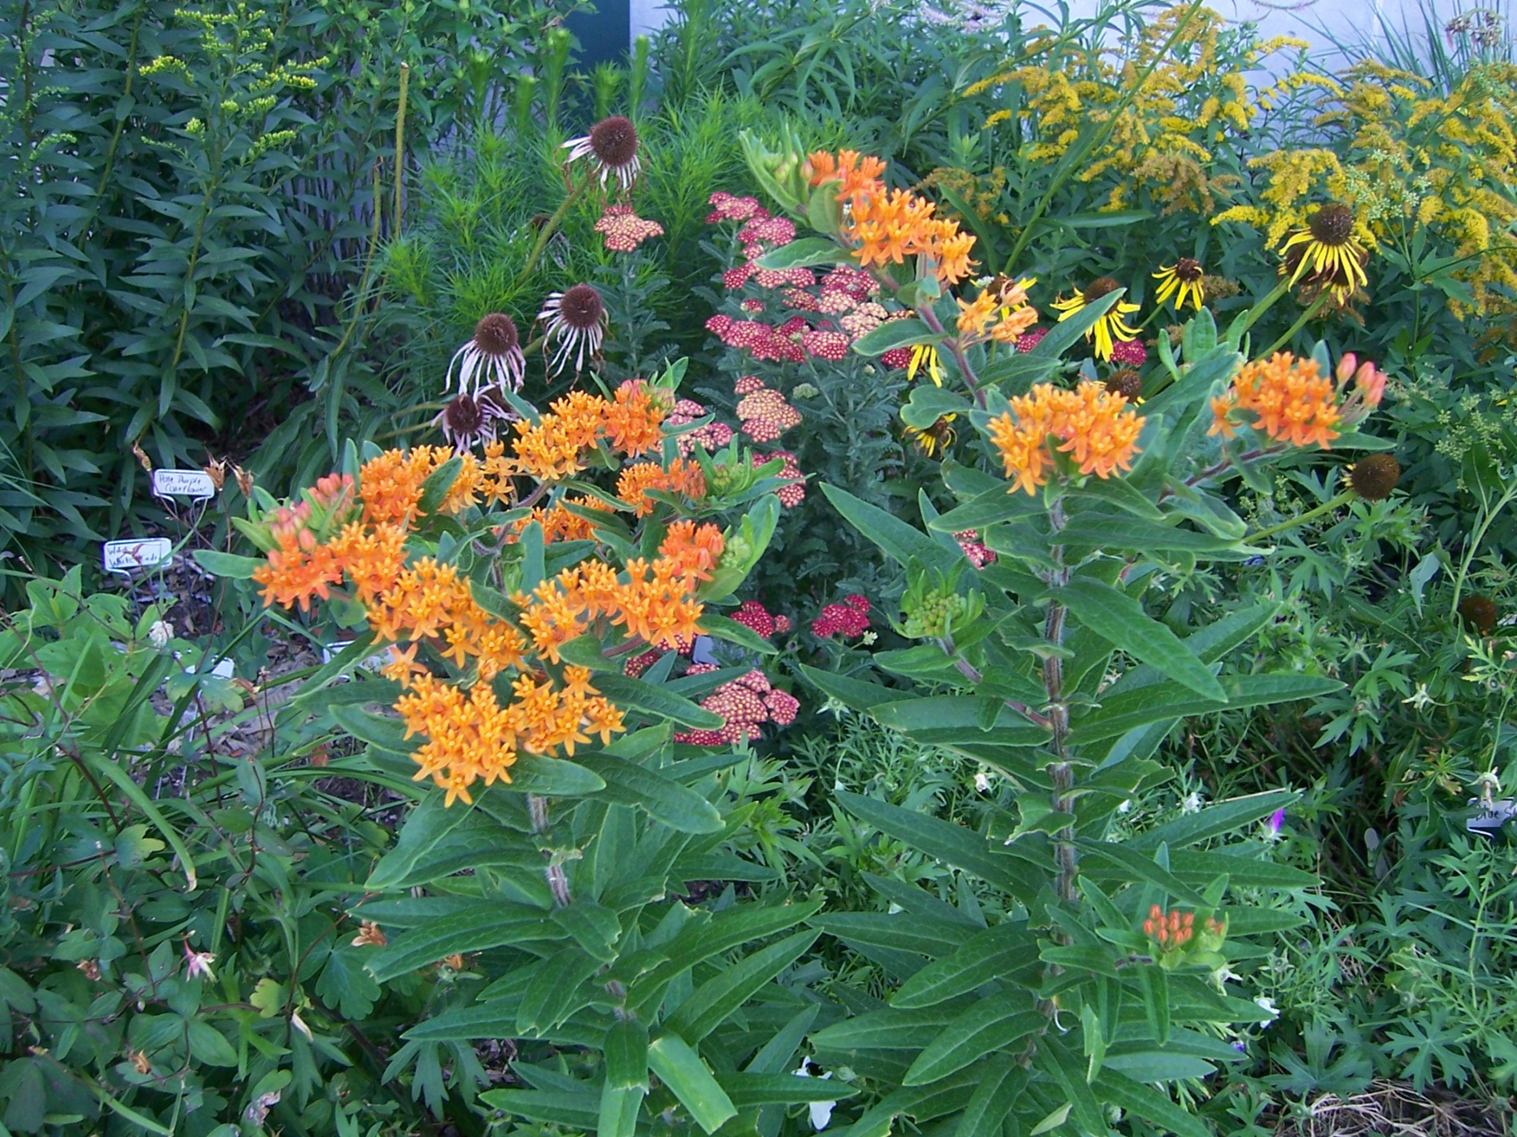
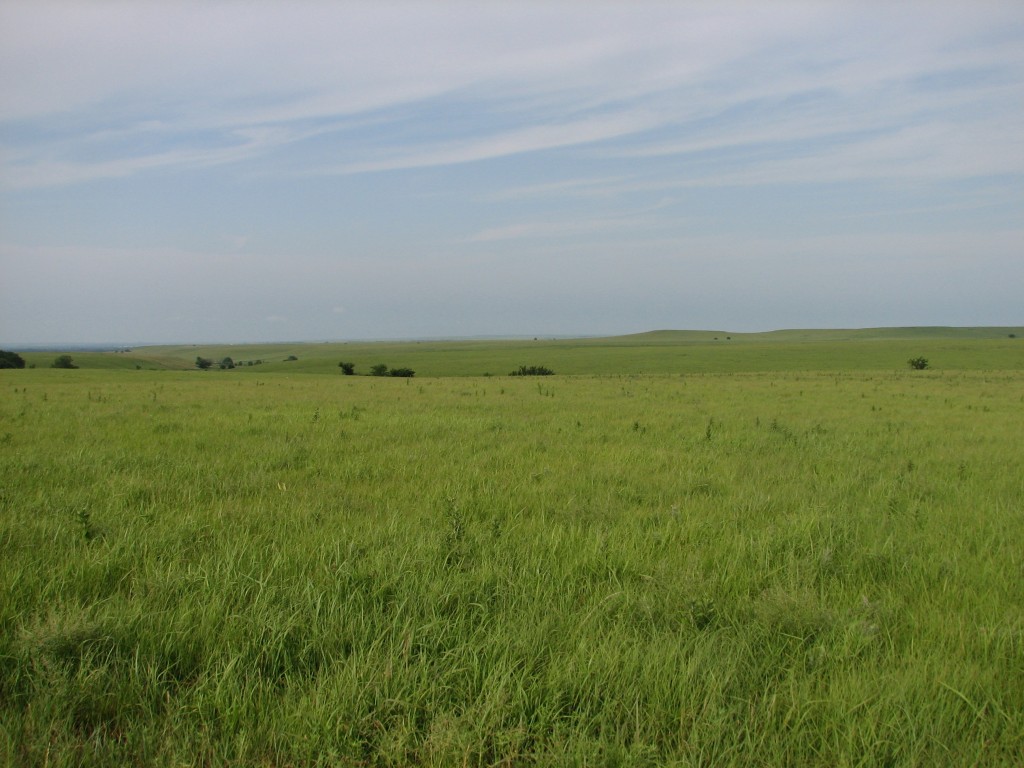
The prairie communities we see are diverse and complex.  Plants, intricately woven together, crowd out weeds and harmoniously coexist.  When you look at a prairie, you only see about 1/3 of the plant.  The root systems that sustain these native plants make up the remainder, because they reach deep into the soil.  The first year is so critical to the whole process of getting native plants established. Developing these root systems properly is vitally important and the establishment period takes time.  Here are a few steps I take to get my new native plants started. 

Prairie Photo by Brad Guhr

Planting

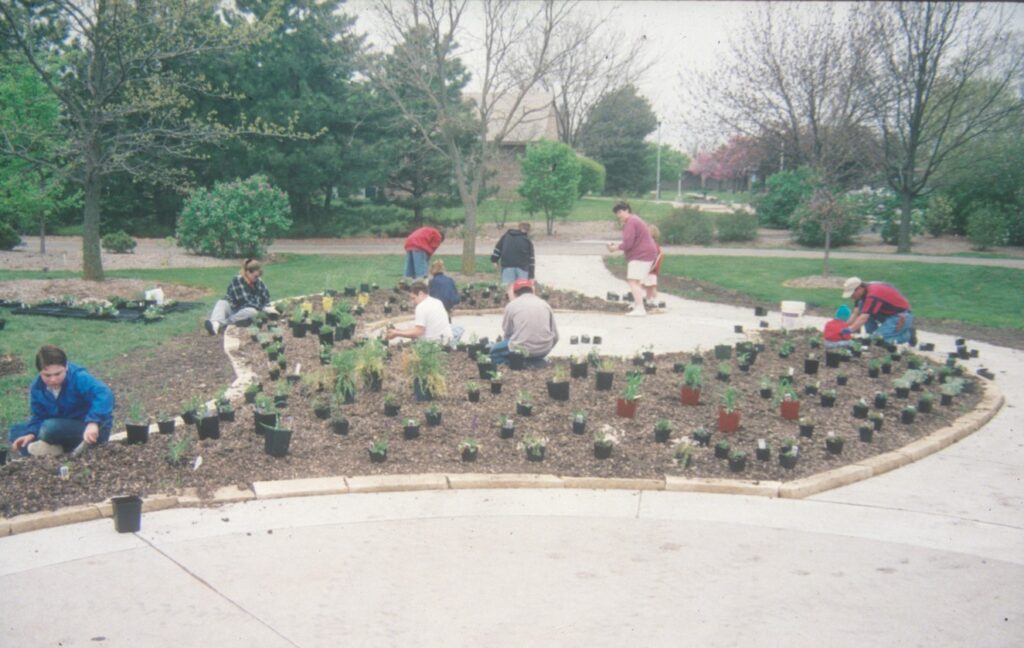
I like to lay out the entire area by placing the plants where they are supposed to be planted.  This does a couple things: first, it helps with proper spacing of the plants and second, it helps to visualize the final outcome.  Think about mature size, rather than what the plants looks like in its infant state. 

Now that we have the plants laid out, we can start putting them in the soil.  It is critical to not plant them too deep.  In our heavy clay soils, it is best to plant them level or slightly higher (1/8 to ¼ inch) than the soil line, especially in heavier clay soil.  This keeps the crown drier, which is important for disease control.  Over time, these natives will develop at the depth they prefer to grow in. 

Lay out entire bed for proper spacing

Watering

Now that the plants are in the ground, they need frequent watering until they get established. Even drought-tolerant plants need to be watered daily until they begin to root and connect with the soil around them. Keep in mind that improper watering is the most common reason for plant loss during the establishment period. 

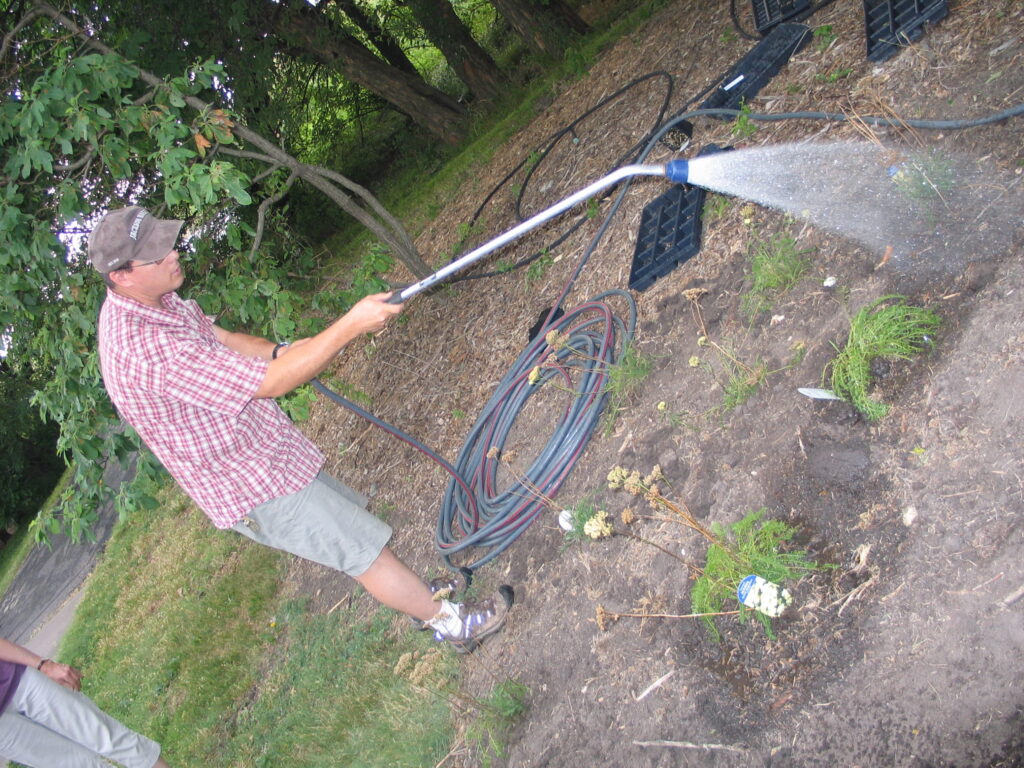
For me, I water each new area by hand rather than with a sprinkler. It helps me control the amount of water each plant receives and directs it to the intended plant.  I water every day for the first two weeks depending on the weather.  After that first two weeks, you should start to see new growth. 

For the next few weeks, I water every other day or every third day as needed, monitoring the planting each day for signs of stress/wilting. 

Even after this month long process of establishment, each plant must be monitored and watered through the following summer, fall, winter and spring.  Native plants are not established until the second summer. 

Remember, it takes a few years for those roots to fully develop.  If your plants are properly sited, you will not need to water much after the first full year.  However, if you must water your area during a dry period, natives will appreciate deep and infrequent watering. 

Using a watering wand to direct water on to new plants

Don’t Fertilize

People ask me all the time about fertilizing native plants.  As a general rule, I don’t fertilize our native plants especially during that first year. Think about those small plants in the ground and what will happen to them if they are fertilized. They will have tremendous top growth that is not sustainable by the small root system. This will put the plant under stress and slow its progress. 

Natives are resilient and adaptive. The deep roots most often will find the nutrients and moisture each plant needs.

Mulch

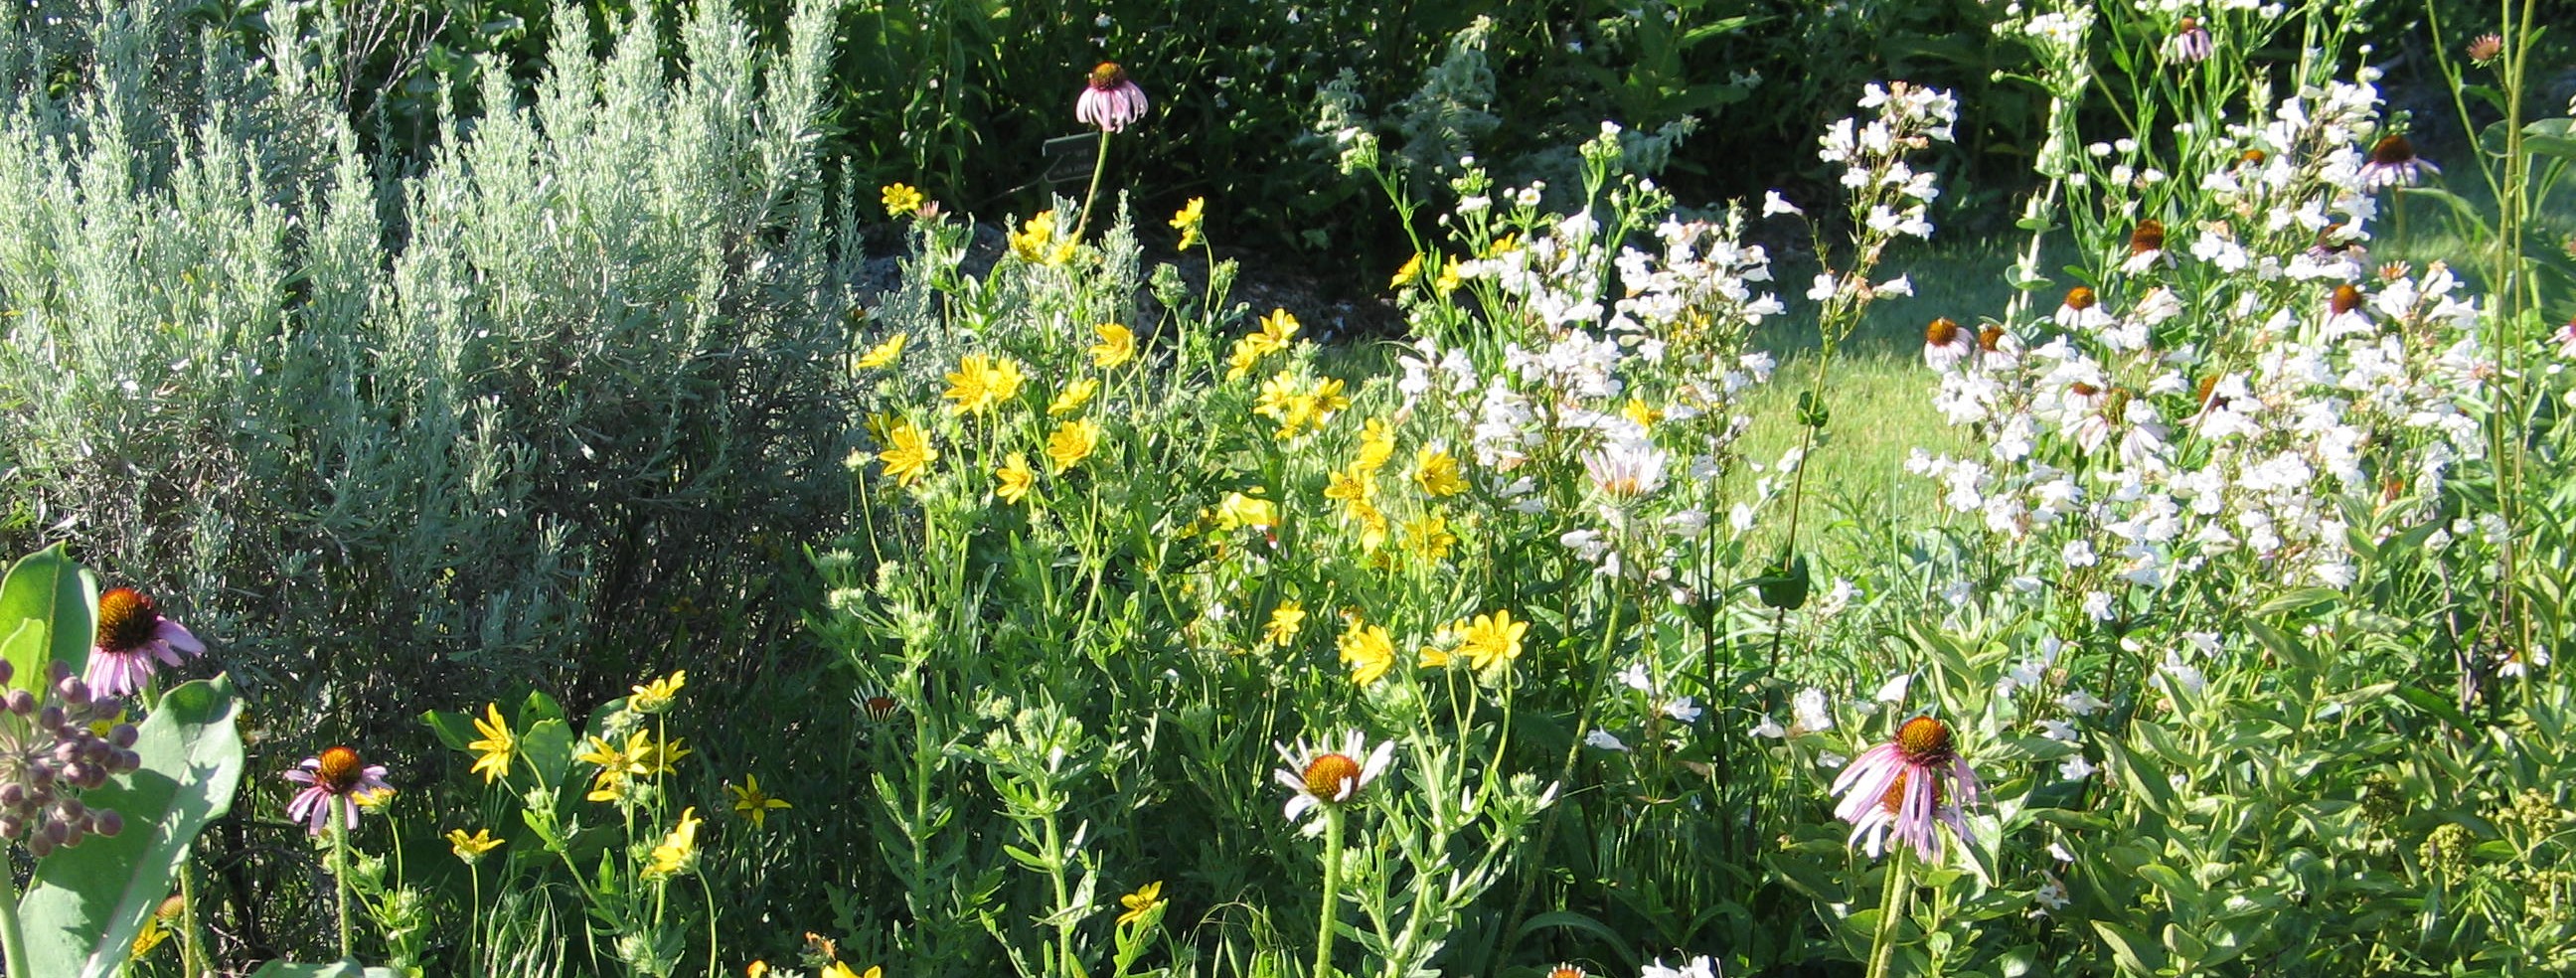
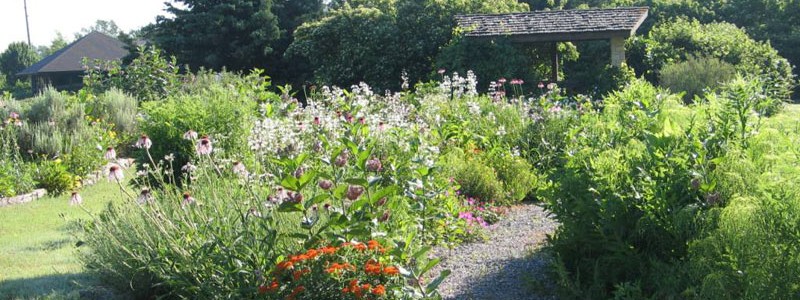
In the book Planting in a Post-Wild World: Designing Plant Communities for Resilient Landscapes, Thomas Rainer and Claudia West develop the ideas of layering plants. There are usually at least three distinct layers of plants: the upper layer filled with taller structural plants used to frame and punctuate the landscape, the middle layer filled with ornamental flowering plants and the ground level that weaves the other layers together and shades the soil, which controls weeds. 

These layers mimic natural plant communities and each layer is important for the health of the plants.  A collection of plants living in community can be extremely drought tolerant and water-thrifty.

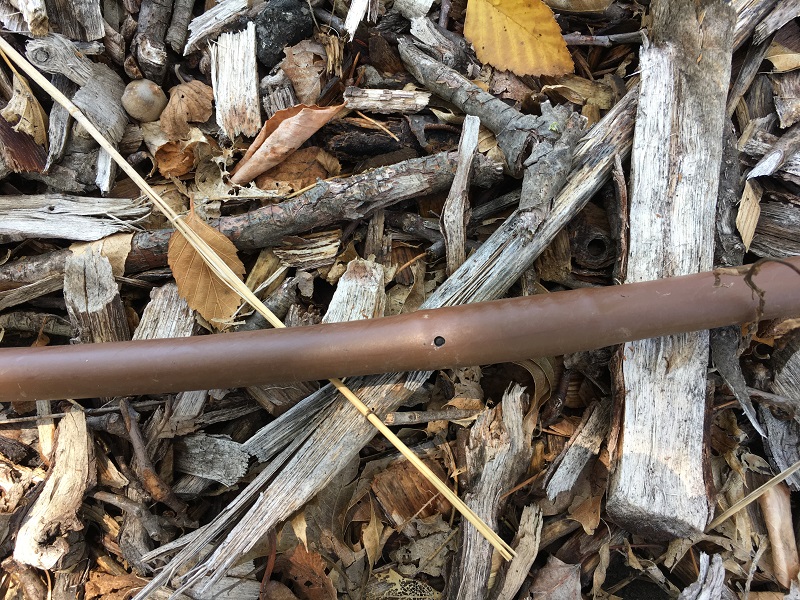
If you decide to mulch your display beds initially, only place one to two inches of mulch down and keep it away from the stems.  This is fine as the beds are first established. As they mature, less mulch is needed because, with the right care, the plants become the mulch.  Something to think about is whether you have seen mulch in the prairie?  No, the plants eventually co-mingle and intertwine to push out weeds.     

Creating a native landscape takes time.  With each new plant established comes an expectation of a brighter future. Often, we garden and landscape our yards with the anticipation of what we will get rather than what we are giving back.  By adding native plants to our gardens, we will help make our gardens not only beautiful, but also productive and full of life.

Five Water Saving Practices for your Landscape

Last week the Arboretum staff visited a flower farm near Lawrence.  It was interesting to see how they were growing their flowers to be used in arrangements and displays for special occasions. They focused on native plants, but also had some annuals, bulbs and shrubs, too.  During our tour, the topic of irrigation and water use were explored, because they are under severe drought conditions.  It made me think about our irrigation practices and ways to create a water-wise landscape.  Here are five water saving practices for you to implement in your garden.

Choose plants adapted to your site

One of the biggest mistakes I have made when establishing a new garden is choosing plants that I like rather than plants that like the area in which I am trying to establish them.  There is a big difference. It is critical to match plants to the site. The closer they are adapted to your landscape the less water they will need to survive.  Native plants are always a good choice, because they are already adapted to our climate.  Evaluate your landscape’s soil, sun exposure, and moisture content.  By understanding these aspects of your landscape, you will be able to make informed plant choices.  There is a palette of plants that will almost effortlessly grow in your garden.  Grouping plants with similar water needs that match your landscape conditions will ensure success.


Space Plantings Tightly

In their book Planting in a Post-Wild World: Designing Plant Communities for Resilient Landscapes, Thomas Rainer and Claudia West develop the ideas of layering plants.  There are usually at least three distinct layers of plants: the upper layer filled with taller structural plants used to frame and punctuate the landscape, the middle layer filled with ornamental flowering plants and the ground level that weaves the other layers together and shades the soil which controls weeds.  These layers mimic natural plant communities and each layer is important for the health of the plants.  A collection of plants living in community can be extremely drought tolerant and water-thrifty.

Use mulch around trees and shrubs

Mulches can be a blessing and a curse depending your mulching practices. We typically apply a two to three inch layer of mulch around a tree by simply mulching a tree a few inches away from the root flare and extending out to its drip line. Shrubs get the same treatment.  It is vital to keep mulch several inches away from the trunk or stem. Please, no mulch volcanoes!  Mulches prevent weeds, eliminate erosion, retain soil moisture, help moderate soil temperatures, provide a buffer between equipment and the trunks and stems and increase the aesthetics of the overall landscape.  Too much mulch (over four inches) starves roots of oxygen by sealing off the ground suffocating the plants. Old mulch can matte up and restrict water infiltration, too.

Viburnum prunifolium in bloom

Irrigate efficiently

During times of prolonged drought, irrigation may be necessary.  Plants naturally go dormant, but in a display bed you can add supplemental water to keep them more vibrant and healthy.  We use pressure compensating drip irrigation tubing with emitters spaced 12 inch apart.  Drip irrigation puts water where it is needed for optimum efficiency in the root zone rather than on the leaves. If you irrigate with overhead sprinklers, start sprinklers early in the morning or later in the evening.  Avoid watering during the hottest part of the day to reduce evaporation and loss from wind.  You can also recycle rainfall and create a rain garden.

Pressure compensating 1/2 inch soaker hose


Reduce your lawn

Cool season grass lawns with roots that are maybe six to twelve inches deep are one of the most watered landscape plants. If you think strategically and replace part of a water-guzzling lawn with deep rooted wildflowers, grasses, shrubs and trees or even with native buffalograss, you will save water and increase wildlife diversity in your landscape.  You may like open spaces with lawn for play or leisure, but you can scale back the size of your lawn and still have the aesthetics you appreciate.  Mow your lawn at the highest height and water only as needed.  Turfgrass has its place in the landscape, but maybe not the most prominent place it currently does.

We don’t think often enough about the water we use. It is a precious commodity. Remember the 2011 and 2012 drought in Kansas? We were using tremendous quantities of water to keep our landscapes alive. It made us evaluate each plant according to its response to these extreme conditions.  Obviously, some plants did better than others and we lost some plants those years. It made us think critically about our plant choices and irrigation practices. A beautiful and resilient landscape that uses little if any supplemental water is an achievable result.  A few changes can make a big difference.