This spring is going to be anything but normal. I know that’s an obvious understatement. All this social distancing has made me think of the many things I need to get done around my house. Social distancing time may be beneficial and help me stop procrastinating. My house needs to be painted. I need to add a fresh layer of mulch on my front flower beds. Another thing I was thinking about was planting another tree.
For those of you who are looking for things to do with your children who are home from school, planting a tree is a great activity to do together outside. And with the 50th Anniversary of Earth Day on April 22nd and Arbor Day on April 24th, there are many related online educational resources available to help talk about the importance of trees and caring for the earth.
So in that vein, here are the steps I take when planting a tree.
Choose the right tree
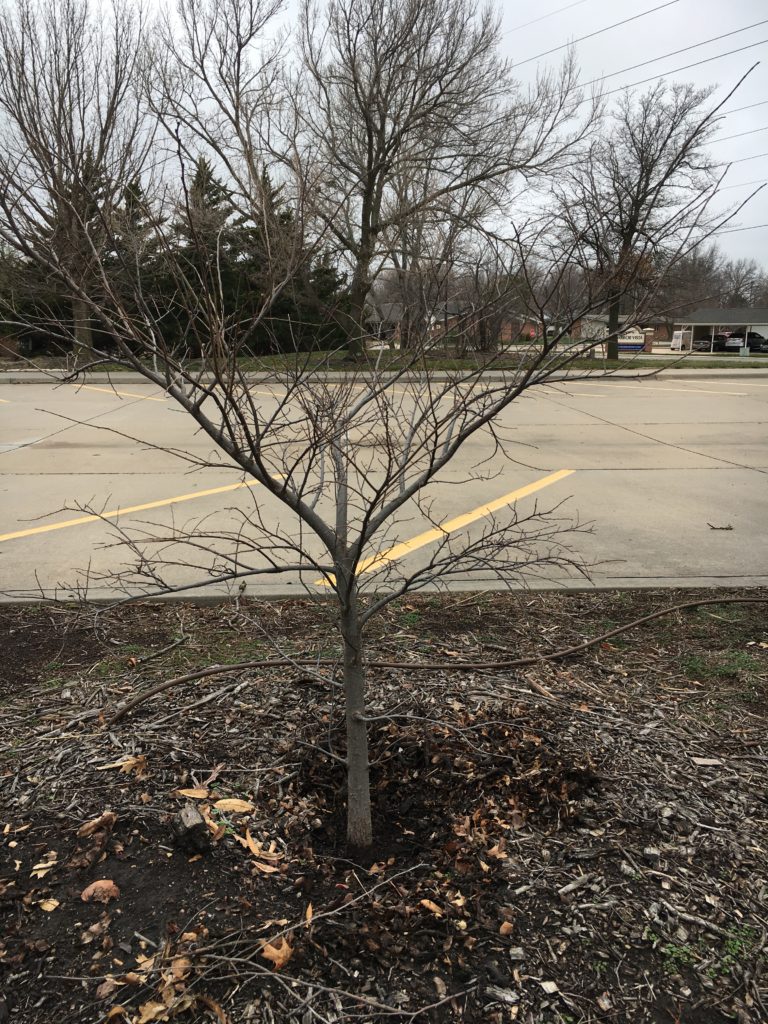
I work from a short list of trees I know will grow well in our area. Some of my favorites are: Caddo sugar maples such as ‘John Pair’ and ‘Autumn Splendor’, Shumard Oak, disease resistant crabapples, Shantung maple, and bur oak. There are so many good options for our area, but make sure you are aware of the tree’s mature size. This will affect power lines, crowding buildings and porches, and heaving sidewalks. See our Native Plant Guide or recommended plants from KSU extension for other options.

Dial 811
We have all seen the cheesy commercials to “dial before you dig”, but the truth is it’s important to locate utilities. It doesn’t cost anything. You just give the location and then wait a few days for them to flag the area. It is worth making the call rather than guessing while you’re digging.
Locate the tree
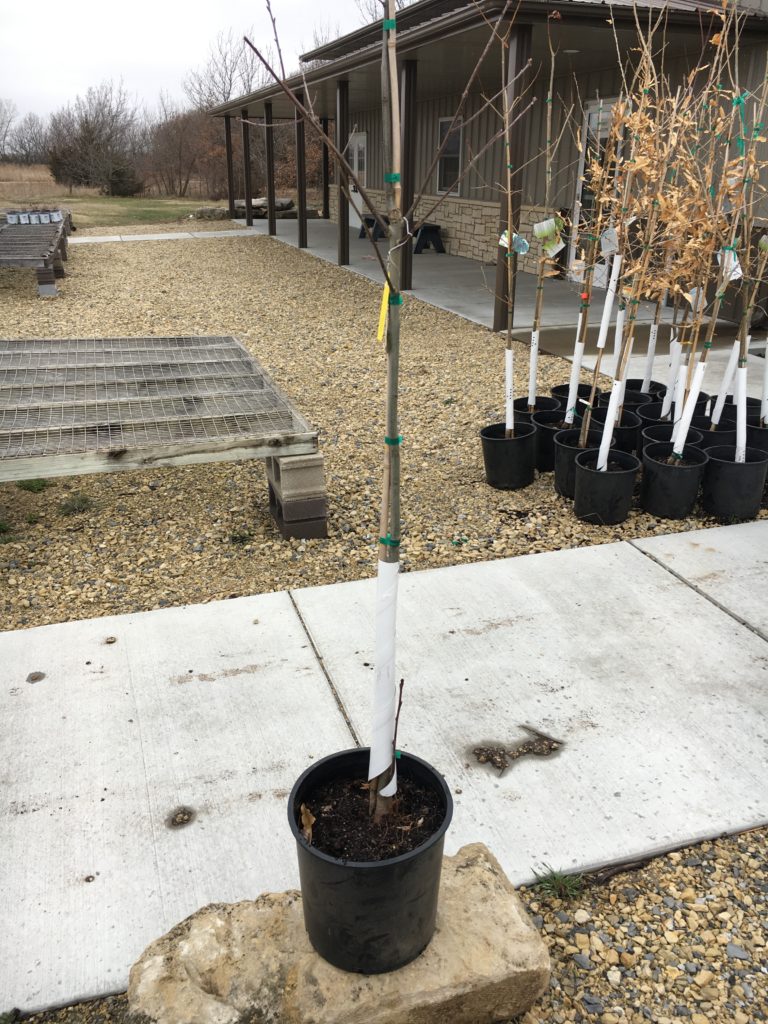
Depending on the tree, some may be easy to find while others may take some time. We recommend smaller trees that are ¾” to 1 ½’ caliper trees. In our experience, these smaller caliper trees tend to root faster and acclimate to the site better than larger 2-3 inch caliper trees. Plus, they are more economical and as I get older, I am less willing to wrestle with a 200 pound root ball than I used to be.
Before Planting
As you look at your new tree in a pot or balled and bur lapped, you must find the root flare. This is the point where the trunk widens to transition to roots. If the root flare isn’t visible, you will need to remove enough soil until it is exposed. This is a critical step to insure the tree is not planted too deep because this root flare needs to be slightly above the soil line. Sometimes, nurseries heap two to three inches of soil on top of the flare, causing you to plant it too deep.
Dig a proper hole
Dig and measure, dig and measure so you don’t dig too deep of a hole. Make sure the root flare is a couple inches above the soil line. The tree needs to sit on solid soil, not loose soil that will settle and move the tree deeper. Make the hole two to three times the diameter of the root ball.
Plant the tree
Before putting the tree in the hole, remove all wires, twine or anything else tied to the tree. If you don’t, these ties and wire can girdle the trunk or branches and cause severe damage.
Once the tree is in the hole, orient the larger branches to face south. The prevailing winds are from the south, which force branches to grow on the north side of the tree making it lopsided.
Once oriented, carefully remove the wire basket and cut circling roots from potted trees in two or three spots around the root ball. This process will encourage new outward rooting of the tree.
Back fill with the same soil you removed from the hole. Don’t amend the soil with something like peat moss, because you want the tree to immediately root into original soil, not some artificial environment. Trees planted into peat moss or amended soil have toppled over by wind because they just circled in that loose soil, never venturing out into our clay soils. Don’t give them an option, force the trees to grow in our challenging soils from the start.
There is no need to fertilize at this time either. Fertilizing forces growth that cannot be supported by the new root system. If you need to fertilize, it is better to wait several years until the root system is more established. I don’t add root stimulator either. In my opinion, it is an added expense that doesn’t benefit the plant enough to justify the cost.
Build a basin for watering
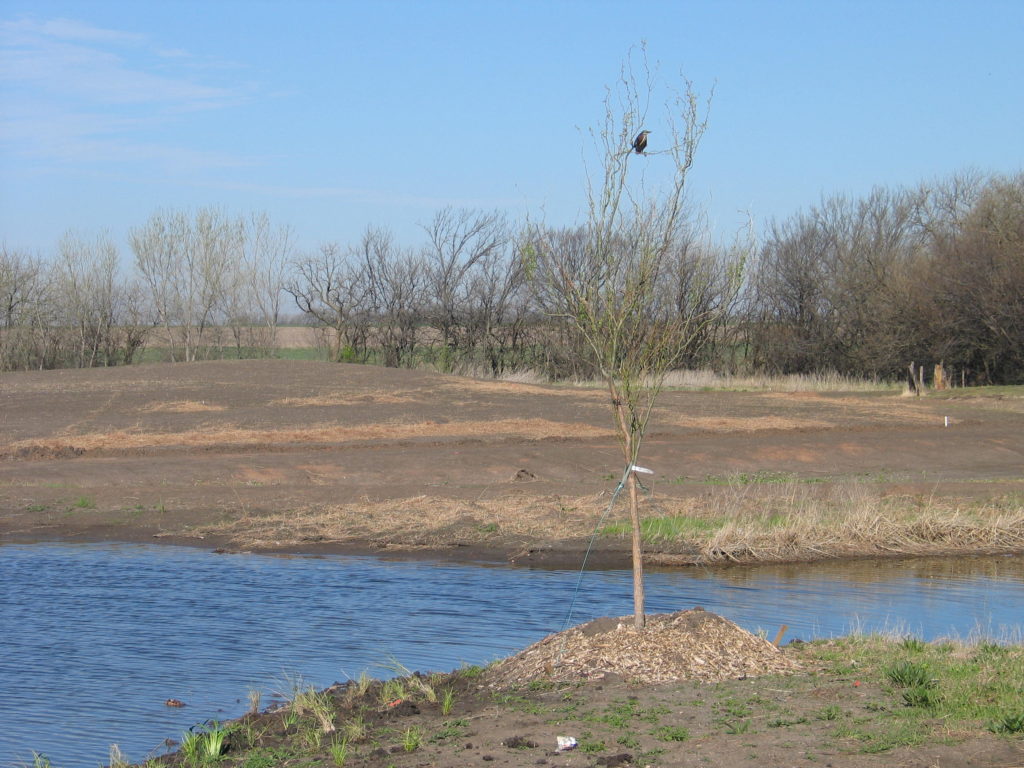
After the tree is properly back filled, I like to build a small basin around the tree. This will help with watering the tree, but also slowly settle as the back fill settles. This basin can be mulched to help with cooling the environment, retaining moisture and controlling weeds. Give it a good soaking at this time.

Staking the tree
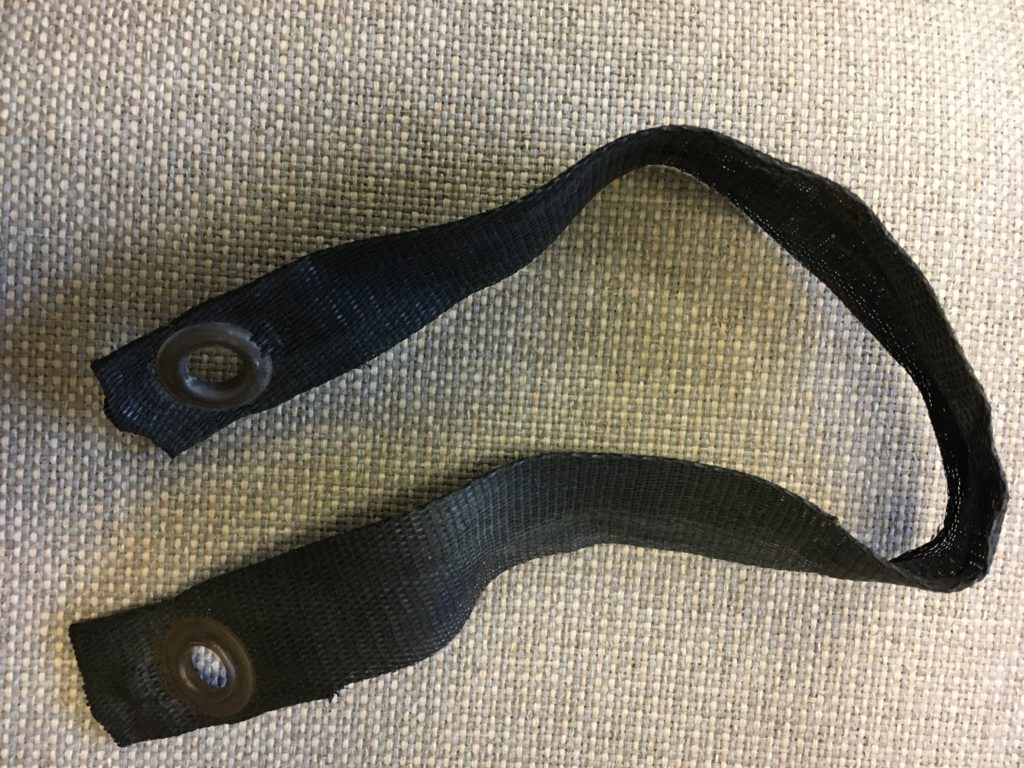
Most smaller trees will not need to be staked. It has been proven that trees will establish quicker when left to move with the wind, which make the trunks stronger. Larger trees will obviously need to be staked the first year, but stake only when necessary to keep the tree from toppling over until roots can anchor the tree on their own. If you do need to stake a tree, we put one stake on the north side and two on the south side of the tree. These stakes are evenly spaced around the tree. Don’t use old garden hose but rather true tree straps around the trunk of the tree tied back to these stakes. After one year, remember to remove all of the stakes, wire and straps from the tree.


Maintenance after planting
It is better to wait to do any pruning on the tree for the first year. The only exception would be removing any damaged branches. With the basin you have created around the tree, it makes it easier to water it thoroughly once a week for the first year depending on rainfall. Keep in mind that it takes a year or two to develop an adequate root system to sustain a tree on its own without supplemental watering.
I have a placard at my desk with a quote from Martin O’Malley that says, ‘Reversing deforestation is complicated; planting a tree is simple.’ This post seems rather lengthy, but the process of planting a tree goes rather quickly once you get started.
